The first time I baked polymer clay, I was convinced I had ruined it.
I followed a tutorial, set the oven, and waited.
When I pulled my pieces out, some felt too soft, others looked slightly dark, and I stood there wondering if polymer clay was supposed to feel like that or if I had just wasted an entire afternoon.
If you have ever asked yourself how long to bake polymer clay, you are not alone.
It is one of the most confusing parts for beginners and even for experienced crafters trying a new brand or thickness.
The truth is, polymer clay baking is not complicated, but it does require the right timing, temperature, and a little patience.
Bake it for too short a time and your pieces stay weak. Bake it too long or too hot and you risk burning, bubbling, or discoloration.
In this guide, I will break down exactly how long to bake polymer clay, what affects baking time, and how to tell when your clay is fully cured.
By the end, you will feel confident putting your pieces in the oven and taking them out perfectly baked every time.
Also See – Air Dry Clay Jewellery Ideas
How Long to Bake Polymer Clay for Strong, Professional Results
When I first started working with polymer clay, baking was the part that stressed me out the most.
I worried about burning my pieces, underbaking them, or ruining hours of work in one mistake. I remember sitting on the kitchen floor watching the oven light like it was a science experiment.
Over time, and after plenty of trial and error, I learned that polymer clay is actually very predictable once you understand a few core rules.
If you have ever wondered how long to bake polymer clay or why your finished pieces sometimes feel weak or crumbly, this guide will walk you through everything step by step so you can bake with confidence every single time.
The Golden Rule for Baking Polymer Clay
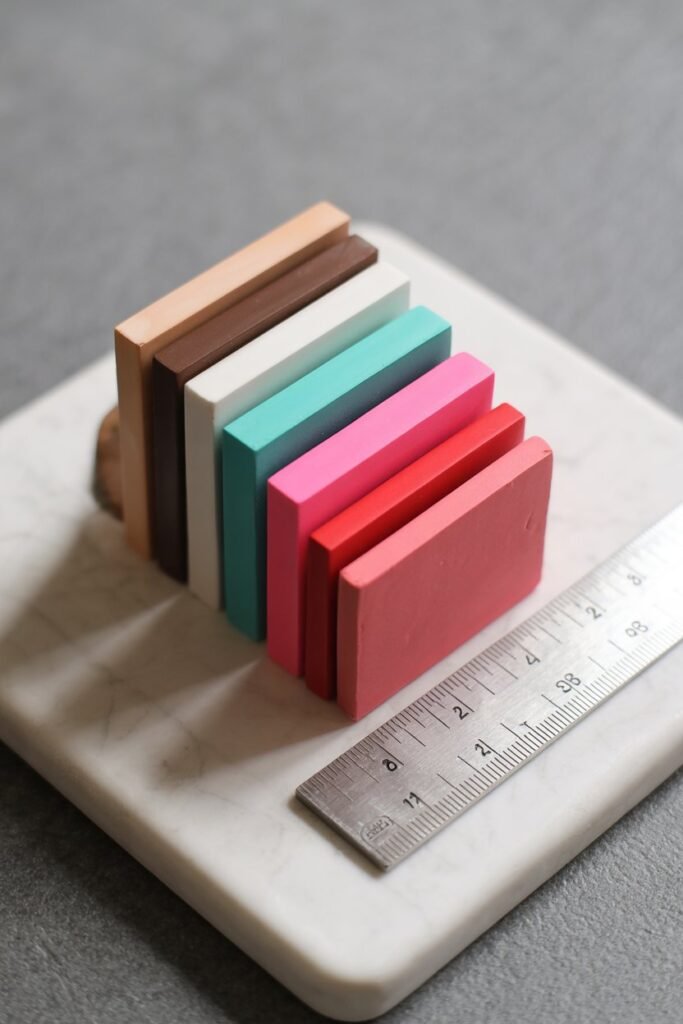
The most reliable guideline is baking polymer clay for 30 minutes per quarter inch of thickness at 275°F or 130°C.
This rule applies across almost all major polymer clay brands.
Thickness is measured at the thickest point of your project. Decorative details do not change the baking time unless they increase thickness.
This rule works because polymer clay cures through heat penetration, not surface exposure. The center needs enough time at the correct temperature to fully harden.
You Will also Love – Anthropologie-Inspired DIY Air-Dry Clay Trinket Dish Tutorial
Real Life Baking Time Examples
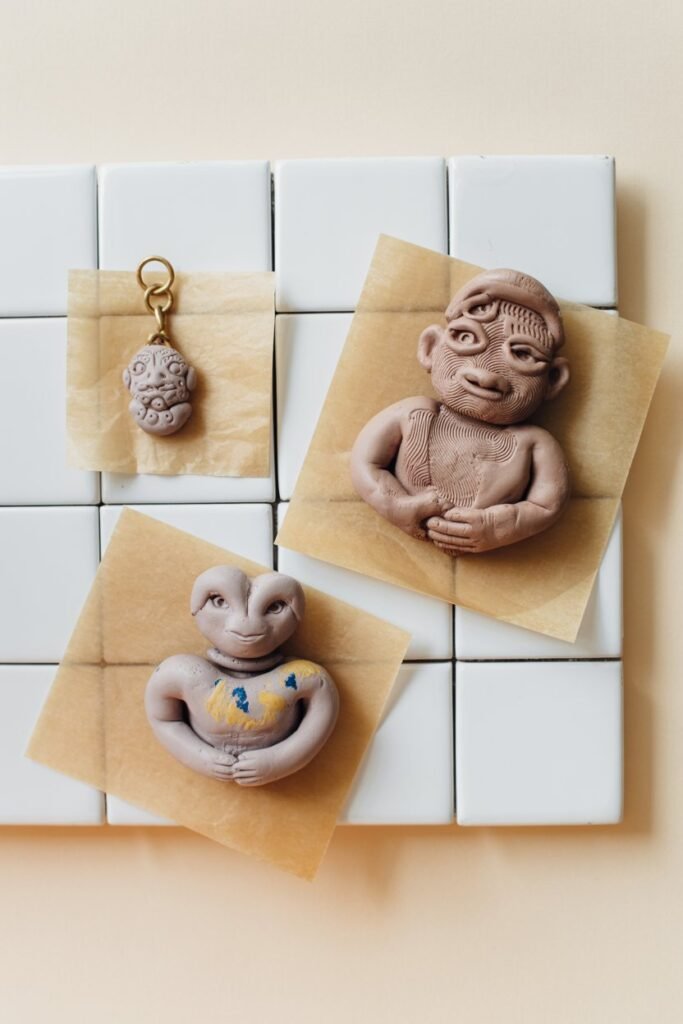
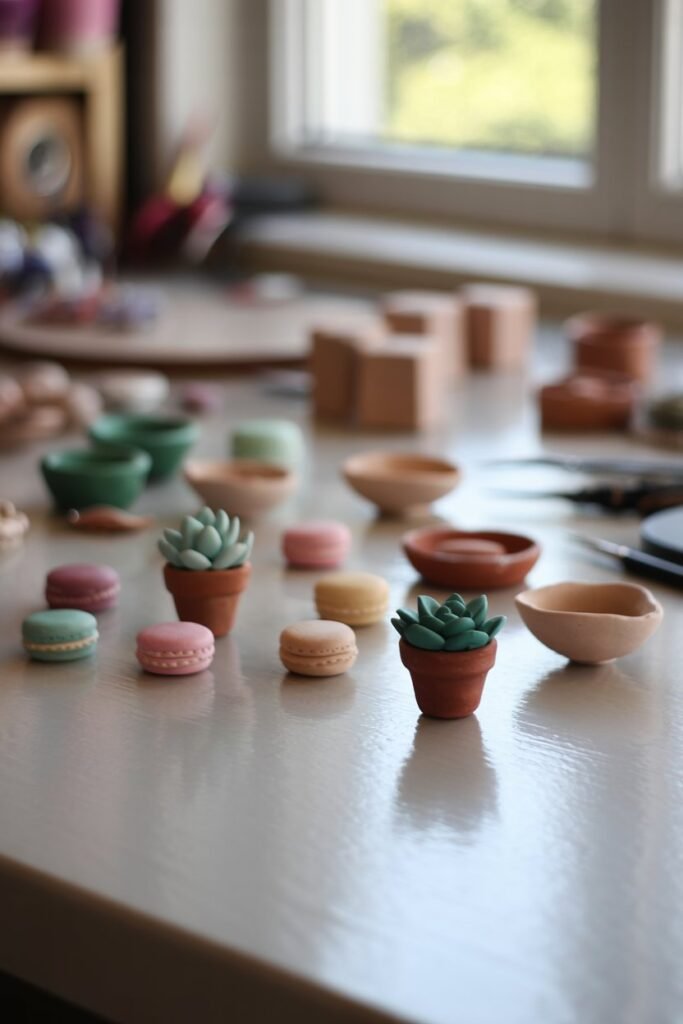
A charm that is 1/4 inch thick will fully cure in about 30 minutes.
A small figurine with a 1/2 inch thick base needs around 60 minutes.
A solid sculpture that is 1 inch thick can safely bake for up to 2 hours.
I often bake thicker pieces longer than the minimum. Extra time at the correct temperature increases durability and reduces the risk of breakage later.
Why Underbaking Is Worse Than Overbaking
One of the biggest misconceptions is that longer baking will ruin polymer clay. In reality, underbaking is far more damaging.
Underbaked clay feels firm at first but becomes brittle over time. Pieces may snap, crumble, or crack weeks later.
As long as you keep the oven at the proper temperature, extended baking improves strength. Overbaking only becomes an issue when the temperature exceeds the recommended range.
Oven Temperature Control Matters More Than You Think
One of the biggest hidden issues with polymer clay baking is oven accuracy. Most home ovens do not heat evenly, and many run hotter or cooler than the temperature dial suggests.
I learned this the hard way when several of my early pieces came out slightly darkened and brittle, even though I followed the instructions exactly.
When I finally placed an oven thermometer inside, I discovered my oven was running about 15 degrees hotter than expected.
Preheating your oven fully is essential because polymer clay needs consistent heat from start to finish.
Sliding clay into a warming oven causes uneven curing and weak spots.
Always place an oven thermometer near your clay, not on a different rack, so you know the exact temperature your piece is experiencing.
This one habit alone can prevent burning, cracking, and discoloration more than almost any other technique.
Check out – How to Glaze Air Dry Clay
Best Surfaces for Baking Polymer Clay
The surface your clay rests on during baking plays a major role in how evenly it cures.
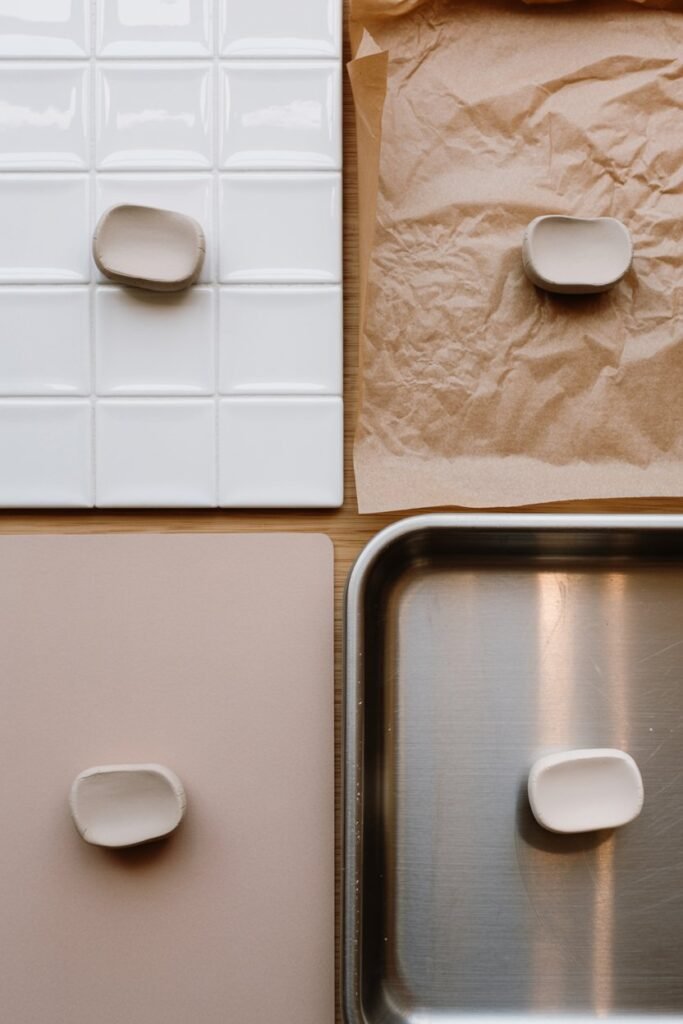
Some surfaces absorb and distribute heat gently, while others heat too fast and create shiny patches or scorch marks on the bottom of your piece.
Ceramic tiles are one of the best options because they heat slowly and evenly, which helps prevent hot spots.
Cardstock or index cards work well for thin or delicate pieces because they slightly insulate the clay and reduce glossiness on the underside.
Thin metal trays should generally be avoided because metal heats rapidly and unevenly, which can cause browning or warping.
I personally use a ceramic tile lined with parchment paper for almost everything. It gives me consistent results and makes cleanup easy if any residue transfers during baking.
Preventing Browning and Burn Marks
Polymer clay darkens when exposed to excessive direct heat, especially from top heating elements.
Even when the temperature is correct, radiant heat can still cause surface browning if the clay is too exposed.
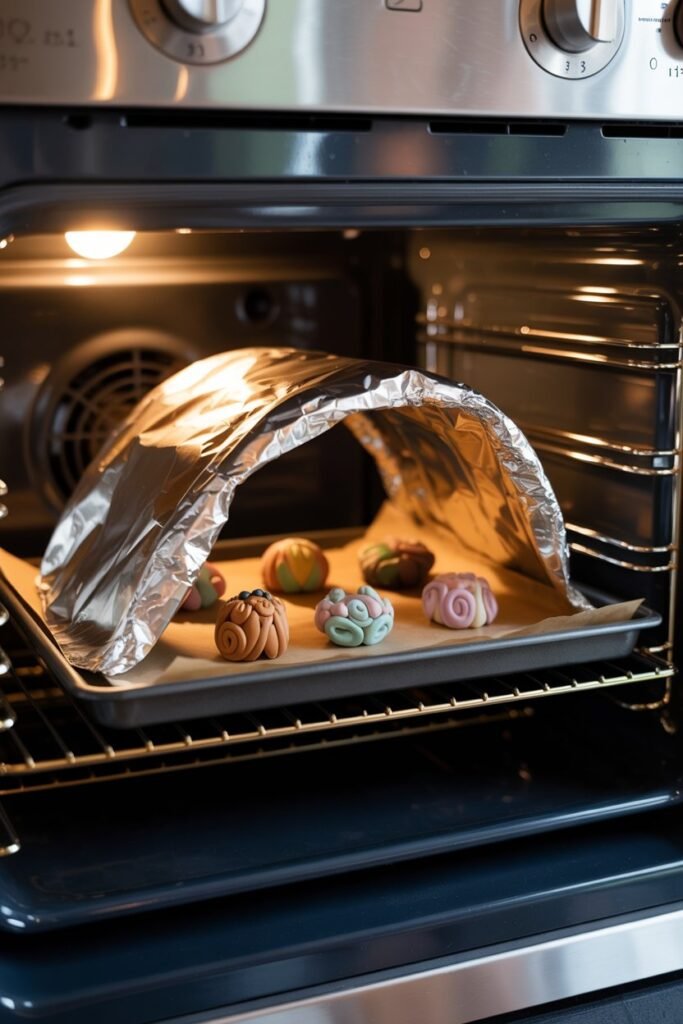
A simple solution is to loosely tent your pieces with aluminum foil. This creates a protective barrier that reflects direct heat while still allowing warm air to circulate around the clay.
The foil should never touch the clay, as contact points can leave marks.
If your oven has visible heating elements, placing your rack in the center or lower section helps reduce exposure.
Keeping distance between the clay and the heat source makes a noticeable difference in color consistency.
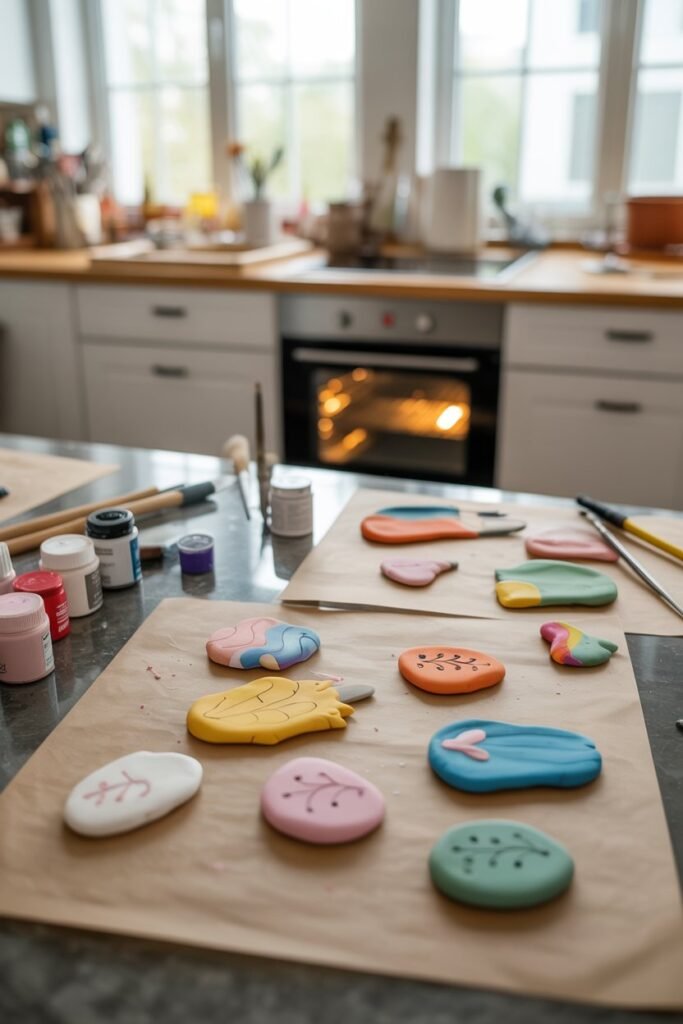
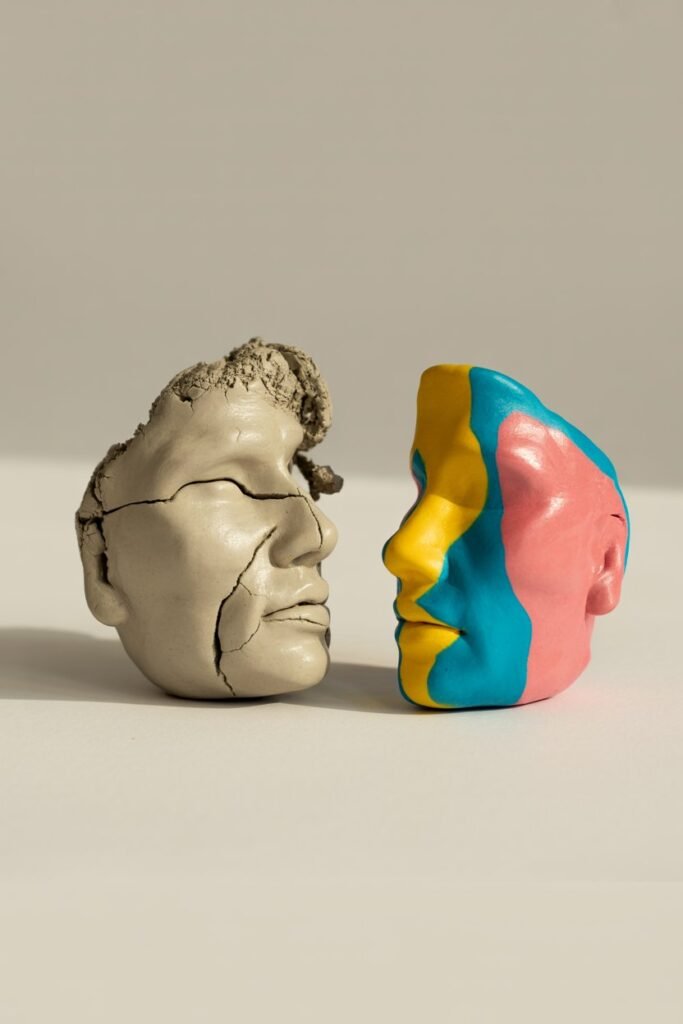
How Polymer Clay Feels When Properly Baked
Right out of the oven, polymer clay can feel soft or flexible, especially in thinner areas.
This often worries beginners, but it is completely normal. Polymer clay firms up as it cools, so testing strength too early can lead to false assumptions.
Once fully cooled, thin sections should bend slightly without snapping, while thicker sections should feel solid and strong.
If a piece cracks, crumbles, or breaks easily after cooling, it usually means it needs more baking time rather than less.
Cooling patience is just as important as baking time when judging results.
Rebaking Polymer Clay Safely
One of the most forgiving aspects of polymer clay is that it can be baked multiple times without damage, as long as the temperature stays within the recommended range.
I rebake pieces often when adding layers, attaching findings, or reinforcing areas that feel fragile.
Rebaking actually improves durability because it allows heat to penetrate more thoroughly.
Many professional clay artists intentionally bake in stages to achieve stronger final results. If a piece feels underbaked, returning it to the oven is always better than trying to fix weakness later.
Common Mistakes I See Beginners Make
Many beginners rush the baking process because they are afraid of burning their work.
Others skip temperature checks and rely on oven dials that are not accurate.
I also see people assume larger pieces need less time because they look thin overall, even when certain areas are thick.
Testing strength before cooling and using uninsulated metal trays are also very common issues.
Every one of these mistakes is easy to fix once you understand how polymer clay behaves under heat.
Slow baking, accurate temperature control, and proper surfaces make all the difference.
Final Thoughts
Understanding how long to bake polymer clay and how to control the baking environment completely changes the crafting experience.
Once you trust the process, you stop hovering over the oven and start enjoying the creative side again.
Measuring thickness, managing heat, and giving your pieces enough time leads to strong, lasting results.
I went from cracked charms and fragile figurines to pieces that hold up to daily wear, and that transformation started with learning how baking really works. Polymer clay rewards patience, and when you bake it correctly, it shows.