Introduction
Every year when Easter approaches, I start looking for simple ways to decorate my home without spending a lot of money on store bought decorations.
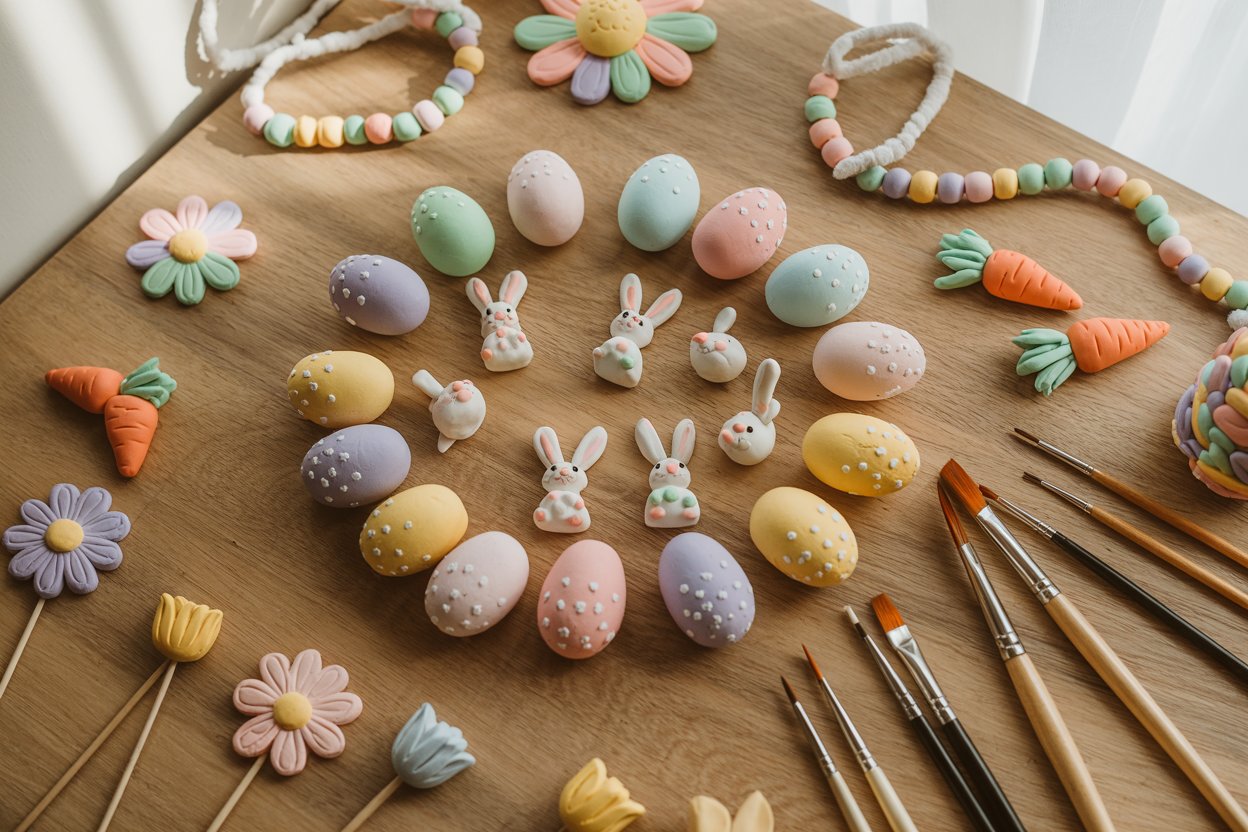
While browsing craft ideas one spring, I discovered just how fun and easy air dry clay Easter decorations can be.
What I love most about air dry clay is that you do not need a kiln, special equipment, or professional crafting skills.
You simply shape the clay, allow it to dry naturally, and then paint or decorate it however you like.
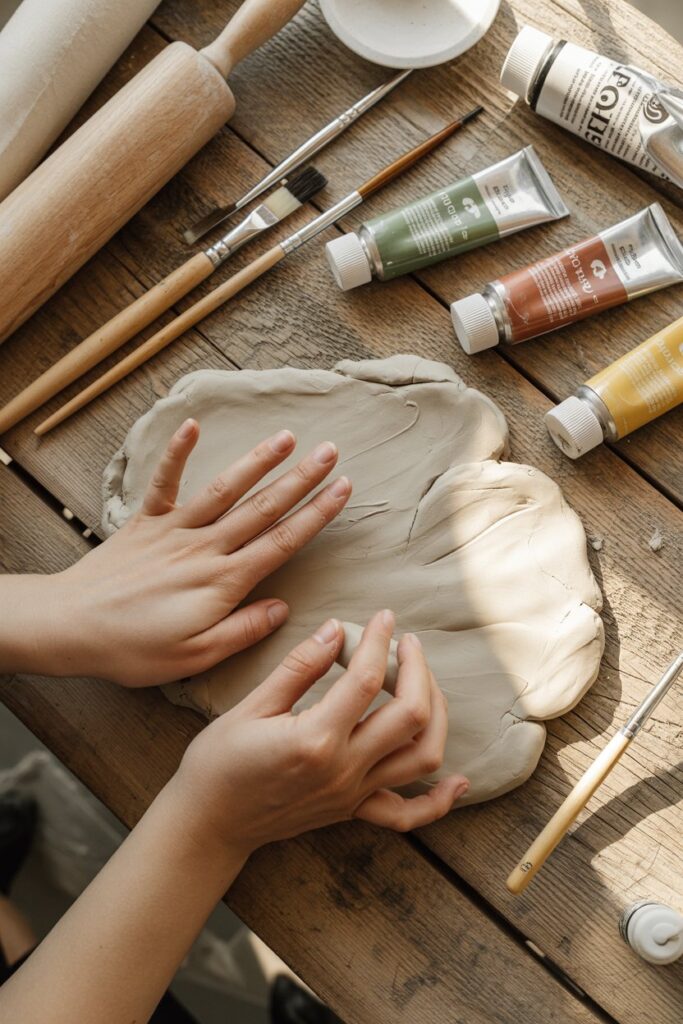
It is one of the easiest materials to work with, especially if you enjoy handmade decorations that feel personal and unique.
If you enjoy creative projects, this is something you will love trying. These decorations are perfect for Easter tables, spring shelves, tiered trays, or even thoughtful handmade gifts.
In this guide, I will walk you through simple DIY air dry clay Easter decorations that you can make at home. I will also share tips that I have learned along the way to help your projects turn out beautifully.
Shop This Post
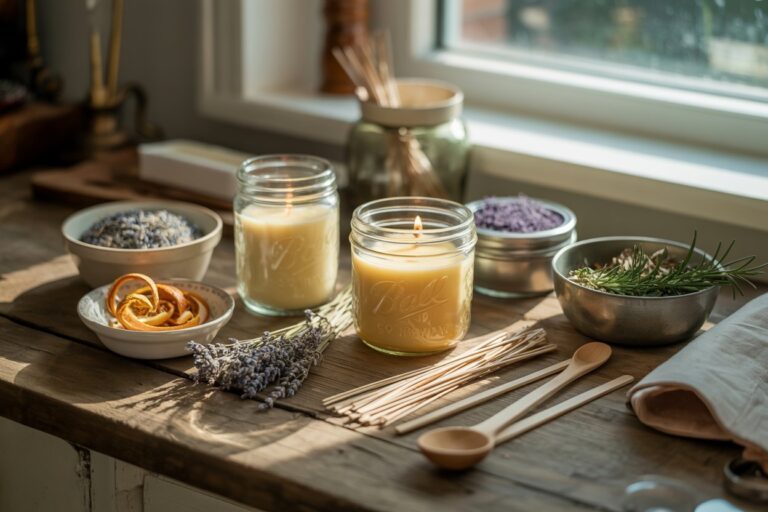
If you plan to make air dry clay decorations, a few affordable tools make the process easier and help your designs look more polished.
These are the items I like to keep in my craft supplies.
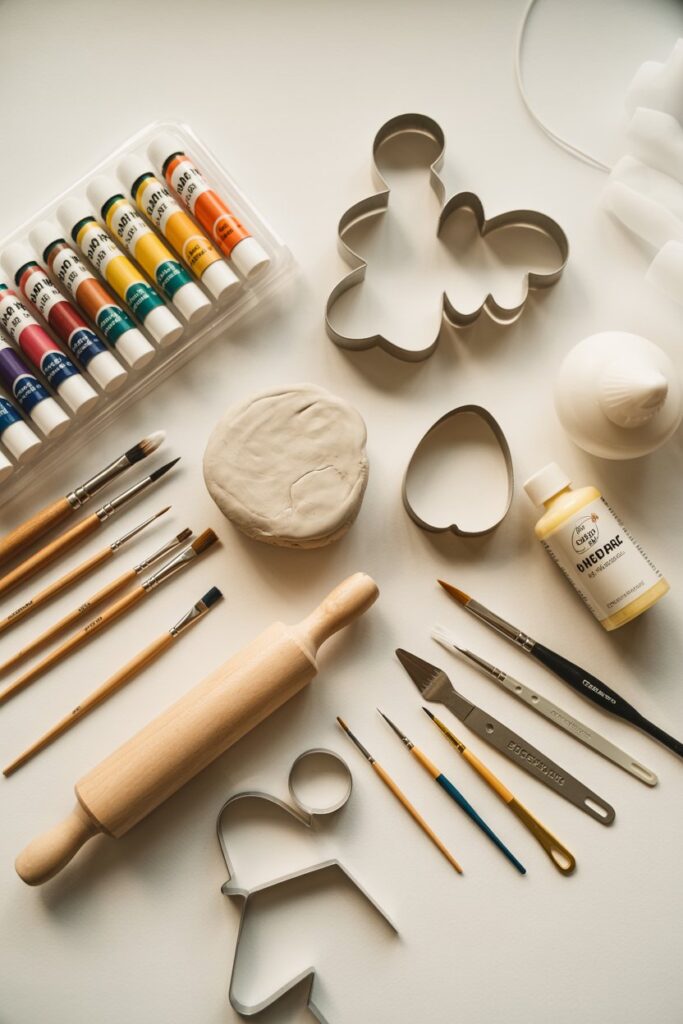
Recommended Craft Supplies
• Air Dry Clay – perfect for beginner friendly projects and dries naturally without a kiln.
• Acrylic Paint Set – ideal for painting colorful Easter designs once your clay dries.
• Small Detail Paint Brushes – helpful for painting patterns, flowers, or bunny faces.
• Mini Rolling Pin – makes it easier to flatten clay evenly for ornaments and shapes.
• Clay Sculpting Tools – useful for adding texture and details to your decorations.
• Easter Cookie Cutters – bunny, egg, and flower shapes make crafting much easier.
• Clear Craft Sealer – protects your paint and gives the finished pieces a smooth look.
These tools are easy to find on Amazon and they are affordable supplies that make clay crafting much easier for beginners.
Why Air Dry Clay Is Perfect for Easter Crafts
Air dry clay has become one of my favorite crafting materials, especially for seasonal decorations.
Here are a few reasons why it works so well.
It Is Beginner Friendly
Unlike traditional pottery clay, air dry clay does not require special equipment. You simply shape it and let it dry at room temperature.
It Is Very Versatile
You can create ornaments, small sculptures, gift tags, bowls, and garlands with the same material.
It Is Perfect for Painting
Once the clay dries, it becomes the perfect surface for acrylic paint. This allows you to add pastel colors, floral patterns, or fun Easter designs.
It Works for Kids and Adults
If you enjoy crafting with family, air dry clay projects are simple enough for kids but still creative and relaxing for adults.
1. Air Dry Clay Easter Egg Ornaments
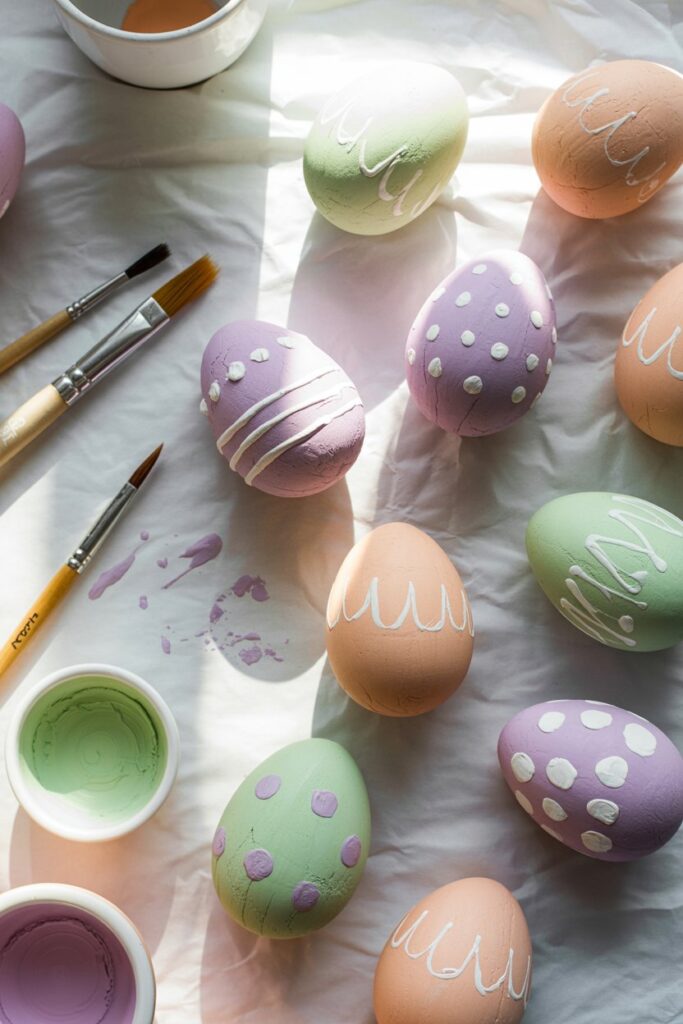
Easter egg ornaments are one of the easiest projects to start with, especially if you are new to working with clay.
These ornaments look beautiful hanging from decorative branches, Easter baskets, or spring garlands. I like making several at once so I can decorate different areas of my home.
What You Need
• Air dry clay
• Rolling pin
• Egg shaped cookie cutter
• Straw or skewer
• Acrylic paints
• Small paint brush
How to Make Them
Start by rolling your clay into a flat sheet that is about a quarter inch thick. Using a cookie cutter, cut out several egg shapes.
If you plan to hang the ornaments, use a straw or skewer to create a small hole near the top of each egg. This will allow you to thread ribbon or twine later.
Place the shapes on parchment paper and allow them to dry for at least 24 hours.
Once the clay has completely hardened, you can begin decorating. I like using pastel colors like soft pink, mint green, light yellow, and baby blue.
You can also paint simple patterns like stripes, polka dots, or tiny flowers. Even the simplest designs look charming because they have that handmade touch.
Styling Idea
Hang these clay eggs from small tree branches placed in a vase. It creates a beautiful Easter display that looks elegant and minimal.
2. Clay Bunny Decorations
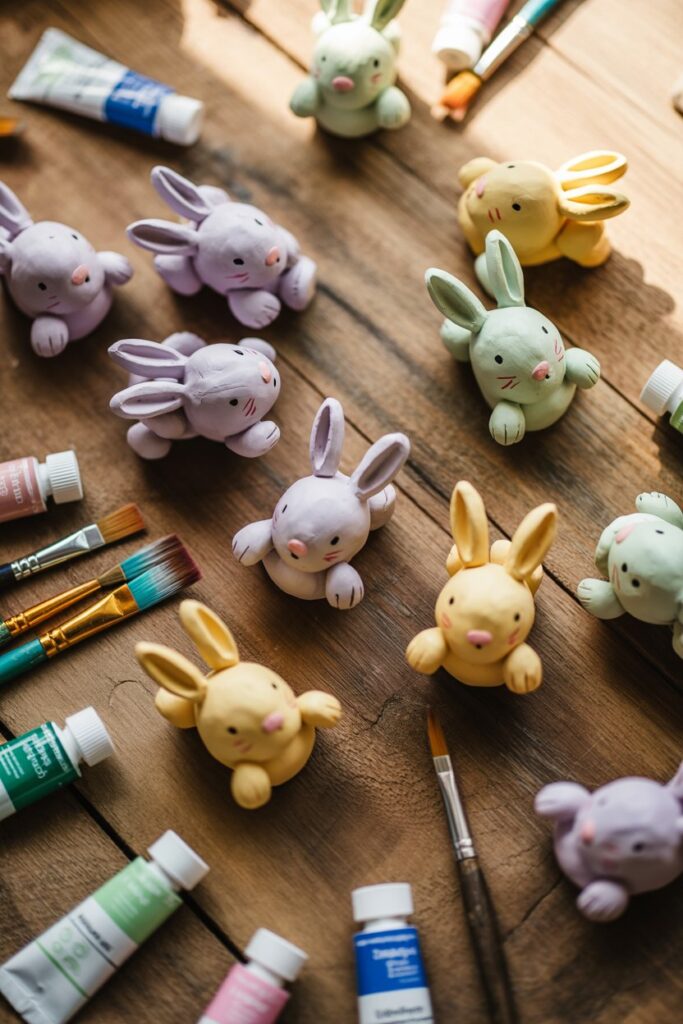
Little clay bunnies are one of my favorite Easter decorations. They are simple to make and look adorable on shelves, tables, or spring tiered trays.
What I love about this project is that each bunny turns out slightly different, which makes them feel more handmade and unique.
What You Need
• Air dry clay
• Sculpting tool or toothpick
• Acrylic paints
• Small paint brushes
How to Make Them
Start by rolling a small ball of clay for the bunny body.
Next, roll two small oval shapes for the ears. Attach them gently to the top of the body using a little water to smooth the seams. The water acts like glue and helps the pieces stick together.
You can use a toothpick or sculpting tool to lightly press small details like eyes or whiskers.
Allow the bunny to dry completely for about 24 hours.
Once dry, paint the bunny using white, beige, or light gray paint. I like adding a tiny pink nose and soft blush on the cheeks for a cute look.
Styling Idea
These clay bunnies look beautiful when placed on a spring tiered tray with greenery and candles.
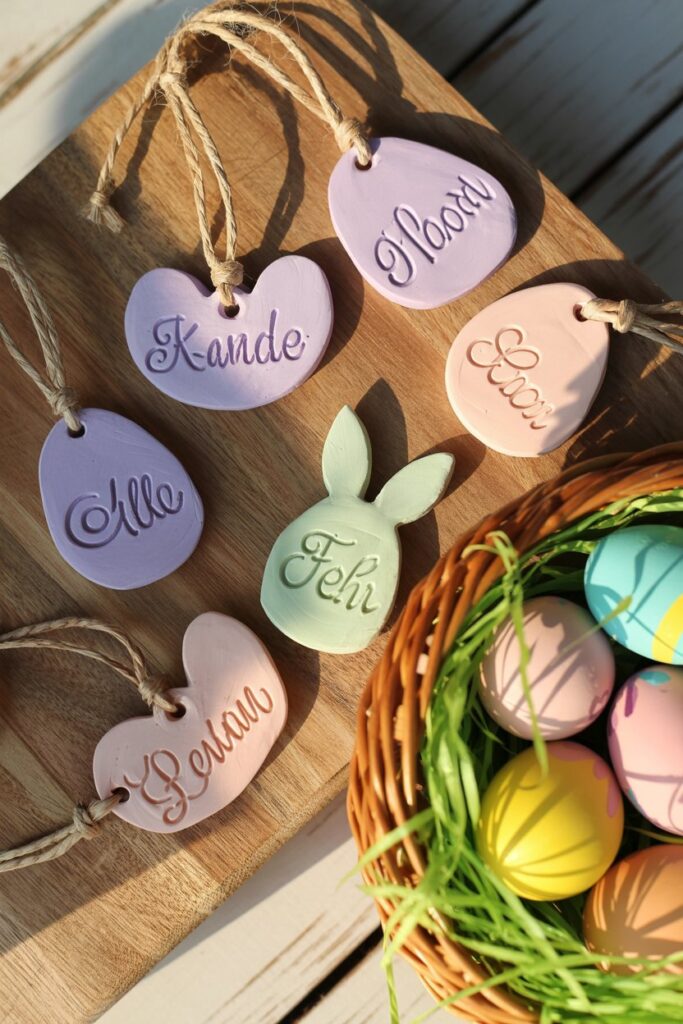
3. Easter Clay Gift Tags
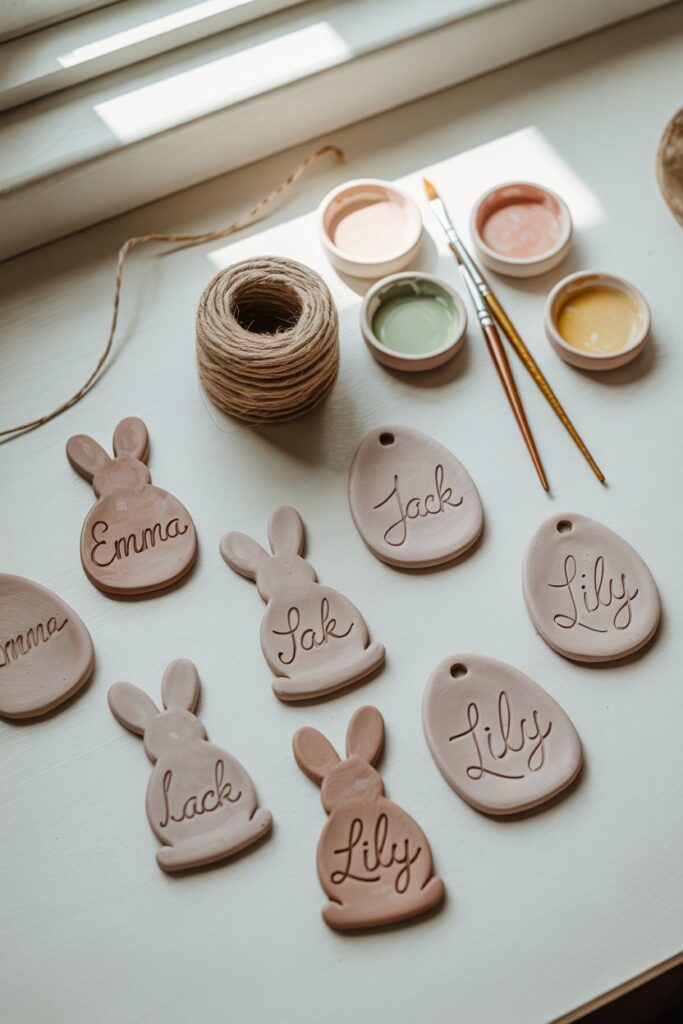
One creative idea that I absolutely love is making air dry clay gift tags. They add a handmade touch to Easter baskets and gifts.
Instead of using paper tags that get thrown away, clay tags become a small keepsake that people can reuse as decorations.
What You Need
• Air dry clay
• Rolling pin
• Cookie cutters
• Toothpick or wooden skewer
• Acrylic paint
How to Make Them
Roll the clay flat and cut shapes like eggs, bunnies, or flowers.
Use a toothpick to write names or short messages directly into the clay before it dries. You can write things like:
Happy Easter
For You
Love
Or someone’s name.
Make a small hole at the top so ribbon or twine can be added later.
Allow the clay pieces to dry completely before painting them with soft spring colors.
Styling Idea
Attach these tags to Easter baskets using twine. It makes the basket feel more personal and thoughtful.
4. Clay Spring Flower Magnets
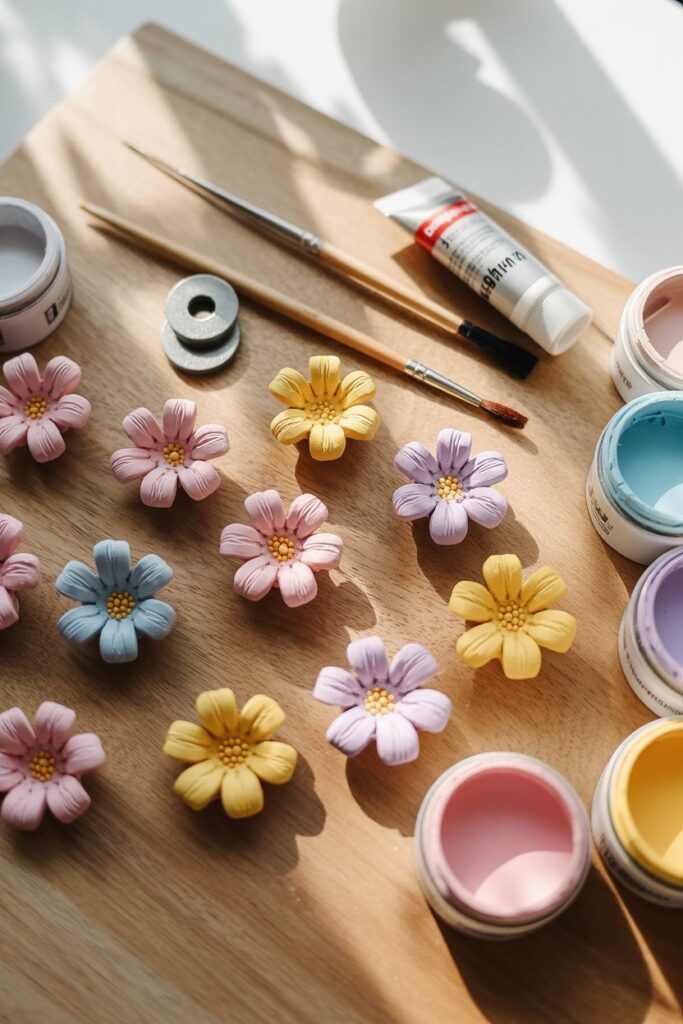
Spring flowers are a perfect theme for Easter decorations. I love making clay flower magnets because they are colorful, cheerful, and very easy to create.
They also make great handmade gifts for friends or family.
What You Need
• Air dry clay
• Small sculpting tool or toothpick
• Acrylic paints in spring colors
• Craft glue
• Small magnets
How to Make Them
Start by rolling a small ball of clay and flattening it slightly to create the center of the flower.
Next, shape several small oval pieces for the petals. Gently attach them around the center, pressing lightly so they stick together. You can smooth the edges using a little water.
Once the flower shape is complete, allow it to dry fully for about 24 hours.
After the clay has hardened, paint the petals using bright spring colors like yellow, pink, lavender, or soft blue. Let the paint dry completely.
Finally, glue a small magnet to the back of the flower.
Styling Idea
These magnets look beautiful on the refrigerator during spring, and they are also perfect for holding Easter cards or shopping lists.
5. Clay Easter Bunny Garland
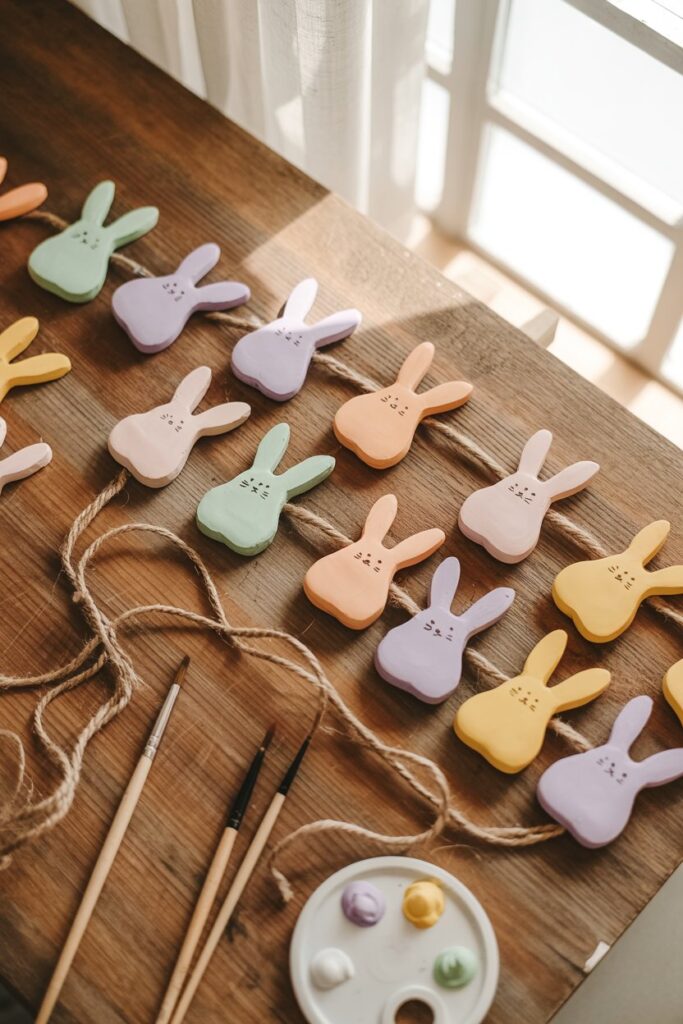
A bunny garland is a charming decoration that instantly makes your home feel festive for Easter. I like hanging these across a mantel, a window, or even along a shelf.
What You Need
• Air dry clay
• Rolling pin
• Bunny shaped cookie cutter
• Straw or skewer
• Twine or ribbon
• Acrylic paint
How to Make It
Begin by rolling out the clay evenly using a rolling pin. The clay should be about a quarter inch thick.
Use a bunny shaped cookie cutter to create several bunny shapes. The number depends on how long you want your garland to be.
Use a straw or skewer to create two small holes near the ears of each bunny. These holes will allow you to thread twine through later.
Place the shapes on parchment paper and let them dry for 24 hours.
Once dry, paint them with pastel colors such as soft pink, mint green, or light yellow. After the paint dries, thread twine or ribbon through the holes to connect each bunny.
Styling Idea
Hang the garland across a mantel with greenery or fairy lights for a soft spring display.
6. Air Dry Clay Easter Bowl
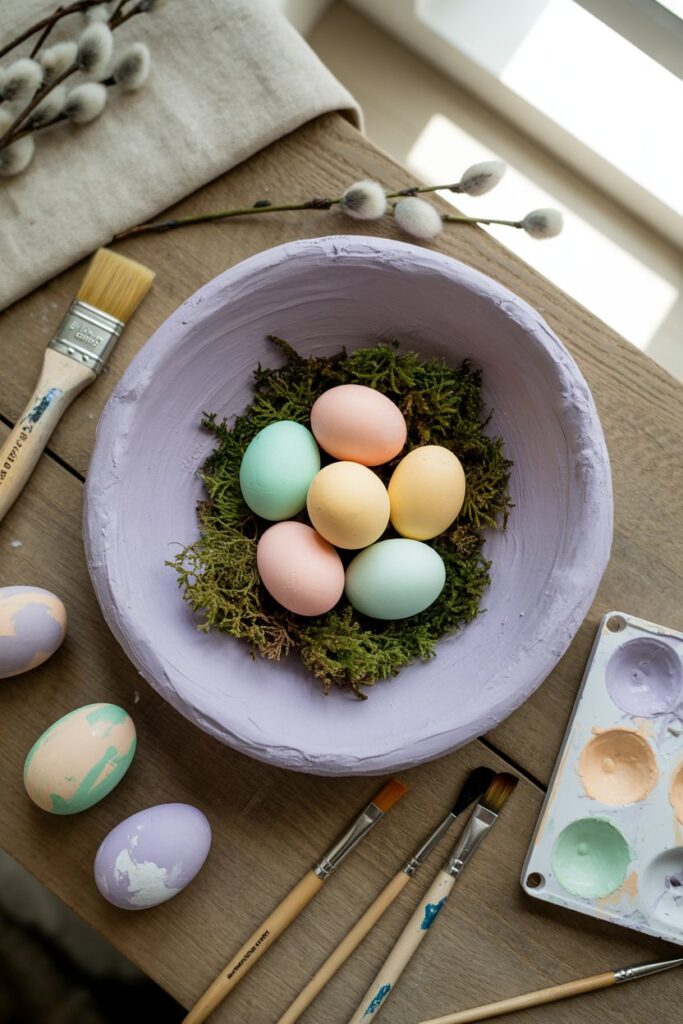
This is one of my favorite projects because it is both decorative and functional.
A clay bowl can be used to hold Easter candy, decorative eggs, or small spring ornaments.
What You Need
• Air dry clay
• Rolling pin
• A regular kitchen bowl
• Acrylic paint
• Clear craft sealer
How to Make It
Roll the clay into a flat circle that is slightly larger than the bowl you plan to use as a mold.
Turn the bowl upside down and gently place the clay over the top. Carefully shape the clay so it curves around the bowl and forms a shallow dish.
You can smooth the edges or leave them slightly textured for a rustic look.
Allow the clay to dry completely before removing it from the bowl.
Once it is dry, paint the bowl in a soft pastel color or leave it natural and seal it with a clear craft sealer.
Styling Idea
Place the finished bowl in the center of your dining table and fill it with colorful chocolate eggs or decorative moss.
7. Clay Easter Egg Napkin Rings
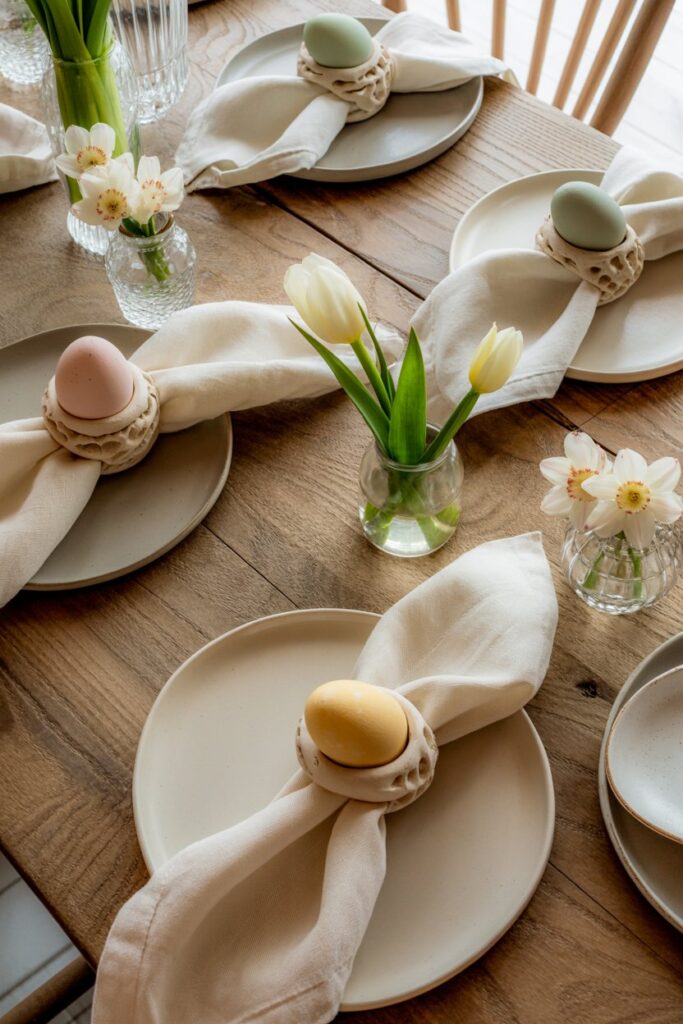
If you enjoy decorating your Easter table, these napkin rings are a beautiful handmade detail.
They are surprisingly simple to make and add a personal touch to your holiday table setting.
What You Need
• Air dry clay
• Rolling pin
• Egg shaped cutter or knife
• Napkin ring base or thick ribbon
• Acrylic paint
How to Make Them
Roll the clay and cut small egg shapes.
Allow them to dry completely before painting them with simple spring patterns like stripes, dots, or tiny flowers.
Once the paint dries, glue the clay egg onto a napkin ring base or attach it to a ribbon that can wrap around a napkin.
Styling Idea
Pair these napkin rings with neutral linen napkins and fresh flowers for a beautiful Easter tablescape.
8. Personalized Clay Easter Basket Charms
One of my favorite things to make for Easter is personalized clay charms for baskets. They are simple but make Easter baskets feel very special.
What You Need
• Air dry clay
• Rolling pin
• Cookie cutters
• Toothpick or letter stamps
• Acrylic paint
• Twine or ribbon
How to Make Them
Roll the clay flat and cut shapes like eggs, bunnies, or carrots.
Before the clay dries, use a toothpick or letter stamps to write a name into the surface. This makes the charm personalized.
Create a small hole at the top so you can attach ribbon later.
Allow the clay to dry completely before painting it with pastel colors.
Once finished, thread ribbon or twine through the hole and tie the charm onto an Easter basket.
Styling Idea
These charms also work beautifully as small keepsake ornaments that children can keep long after Easter is over.
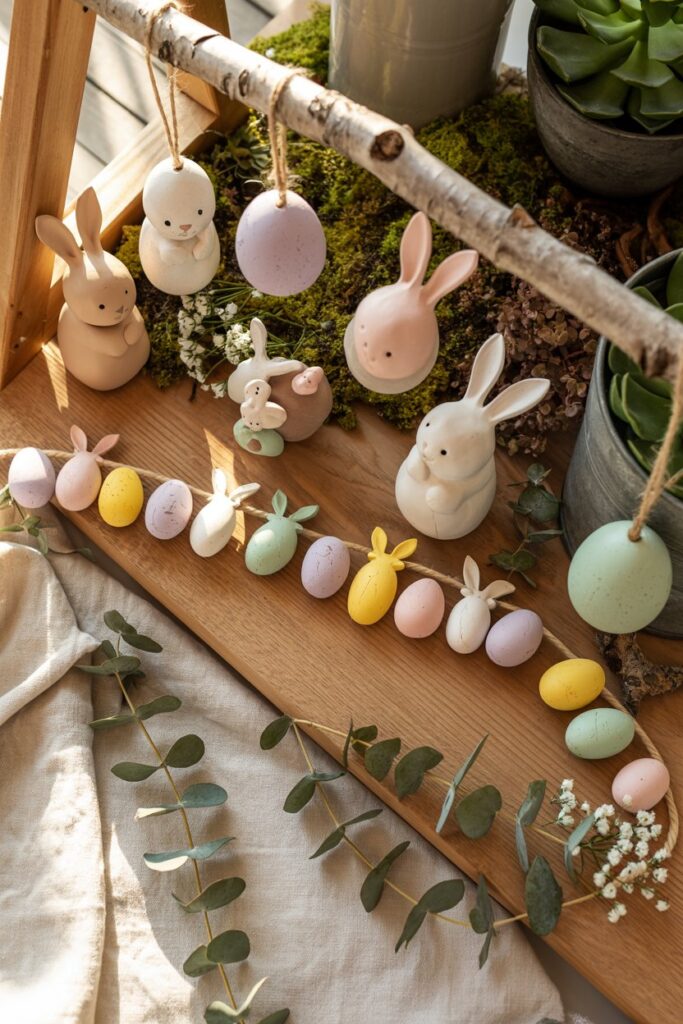
9. Clay Easter Egg Garland
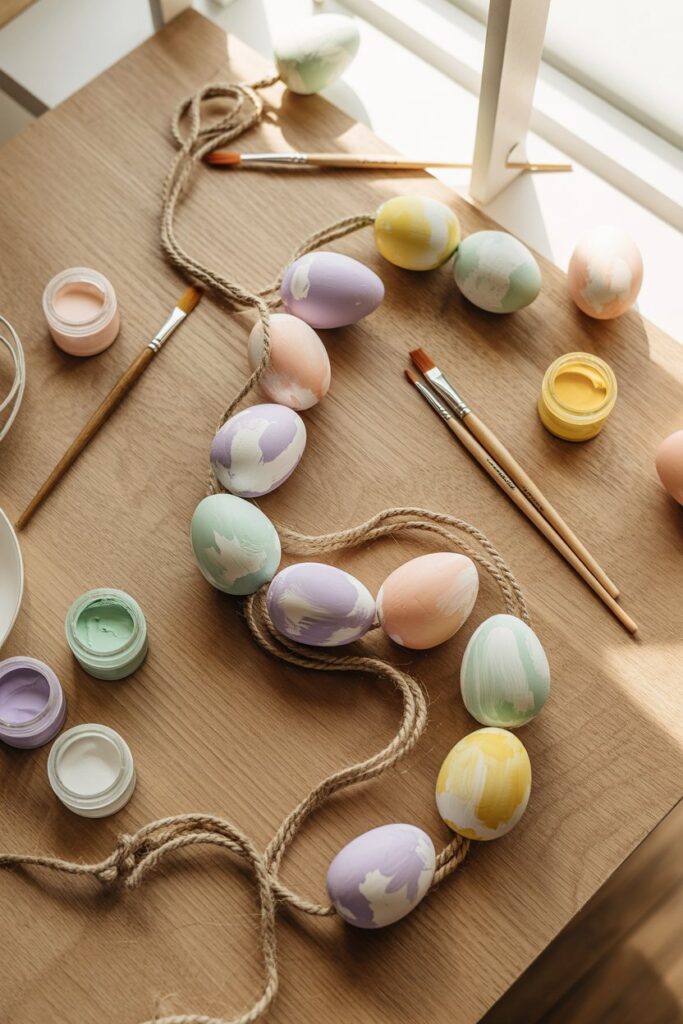
An Easter egg garland is one of the simplest decorations you can make with air dry clay, but it can have a big impact when styled in your home.
I like using this garland across a mantel, along a shelf, or even draped over a window.
What You Need
• Air dry clay
• Rolling pin
• Egg shaped cookie cutter
• Straw or wooden skewer
• Acrylic paint
• Twine or ribbon
How to Make It
Start by rolling the clay flat until it is about a quarter inch thick. Use an egg shaped cookie cutter to cut several egg shapes.
Create two small holes at the top of each egg using a straw or skewer. These holes will allow you to thread the twine later.
Place the clay pieces on parchment paper and allow them to dry completely for at least 24 hours.
Once they are dry, paint them in pastel colors like lavender, mint green, soft pink, or pale yellow. You can also add simple patterns like stripes or tiny flowers.
After the paint dries, thread twine or ribbon through the holes to connect all the eggs and create your garland.
Styling Idea
Hang the garland across a bookshelf with small potted plants and candles for a cozy spring display.
10. Clay Easter Bunny Ornaments
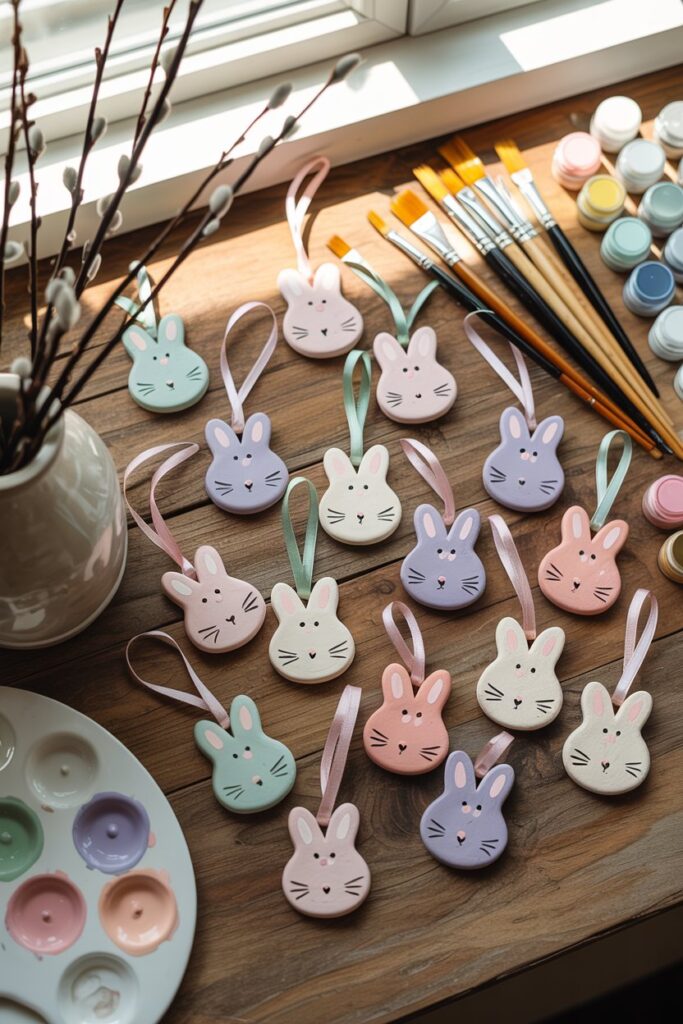
These ornaments are perfect if you enjoy decorating small Easter trees or spring branches.
I like making several of them and hanging them on decorative branches placed in a vase.
What You Need
• Air dry clay
• Rolling pin
• Bunny shaped cookie cutter
• Straw or skewer
• Acrylic paints
• Ribbon or twine
How to Make Them
Roll the clay flat and use a bunny cookie cutter to cut out several shapes.
Use a straw or skewer to make a small hole at the top so the ornament can be hung later.
Allow the shapes to dry for at least 24 hours.
Once dry, paint them using soft pastel colors or leave them white for a simple minimalist look. You can add tiny details like whiskers, flowers, or polka dots.
When the paint has dried, thread ribbon or twine through the hole.
Styling Idea
Hang these bunny ornaments on small decorative branches to create a beautiful Easter centerpiece.
11. Clay Carrot Decorations
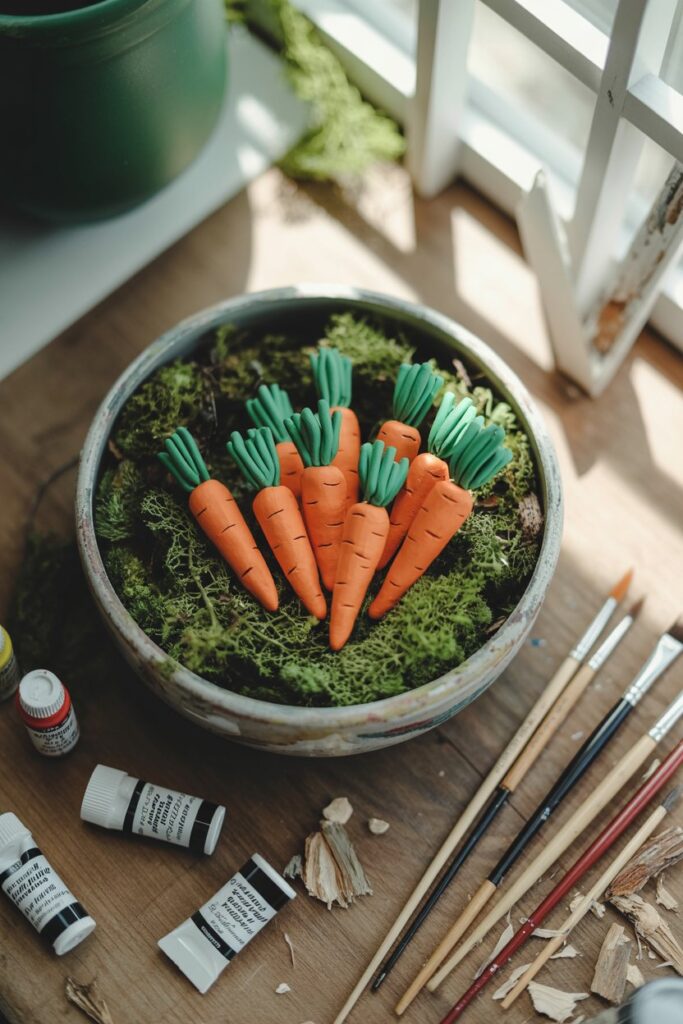
Carrots are a fun Easter theme because they connect perfectly with the idea of the Easter Bunny.
These small clay carrots look adorable in baskets or tiered trays.
What You Need
• Air dry clay
• Sculpting tool or toothpick
• Acrylic paint in orange and green
• Small paint brush
How to Make Them
Roll a small piece of clay into a cone shape to create the carrot.
Use a toothpick to lightly add texture lines along the carrot so it looks more realistic.
Next, shape tiny pieces of clay into leaf shapes and attach them to the top of the carrot.
Allow the carrot to dry completely.
Once dry, paint the body of the carrot orange and the leaves green.
Styling Idea
Place several clay carrots in a decorative bowl filled with moss for a simple spring decoration.
12. Clay Easter Egg Bowl Fillers
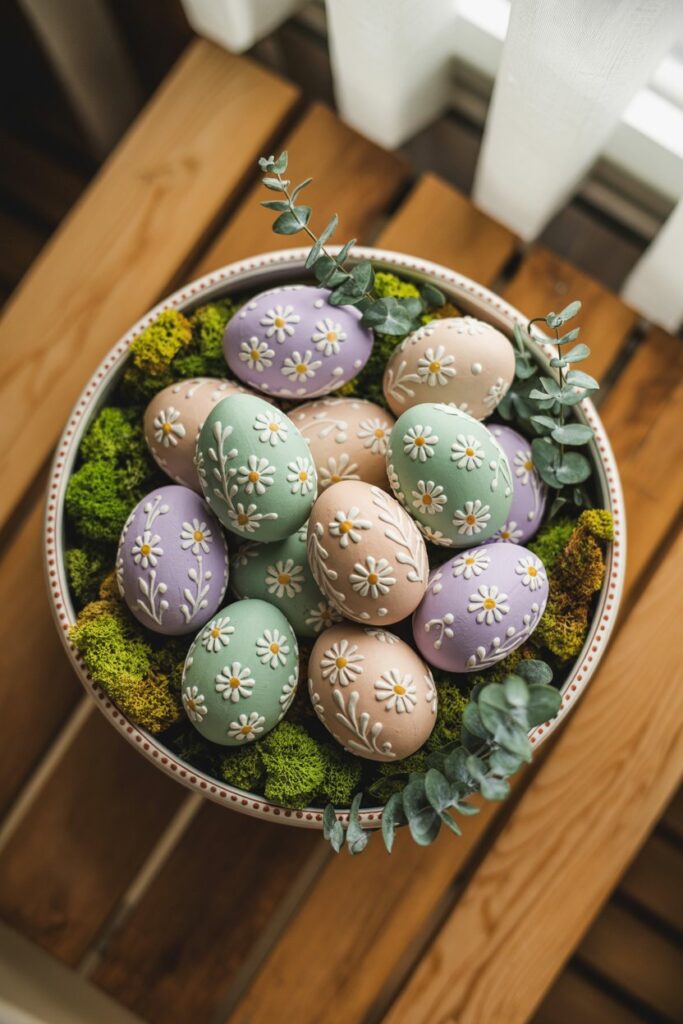
If you enjoy decorating with trays or bowls, clay egg fillers are a beautiful option. I like placing them in a decorative bowl on my coffee table or dining table during spring.
What You Need
• Air dry clay
• Your hands for shaping
• Acrylic paints
• Small detail brushes
How to Make Them
Roll small pieces of clay into egg shapes using your hands. The shapes do not need to be perfect. Slight variations make them look more natural and handmade.
Place the eggs on parchment paper and allow them to dry completely.
Once dry, paint them using soft pastel colors. You can keep them simple or add delicate patterns like flowers, dots, or stripes.
After the paint dries, you can seal them with a clear craft sealer to protect the finish.
Styling Idea
Fill a decorative bowl with these painted eggs and add a little decorative moss or greenery to create a beautiful Easter centerpiece.
Tips for Working With Air Dry Clay

When I first started using air dry clay, I made a few mistakes that caused cracks or uneven drying. Over time I learned some simple tips that help every project turn out better.
Keep the clay covered
Air dry clay dries quickly, so cover any unused portion with plastic wrap.
Roll the clay evenly
This prevents thin areas that may crack.
Allow enough drying time
Most projects need at least 24 hours to fully dry.
Seal the finished piece
A clear craft sealer protects the paint and gives your decoration a smoother finish.
Decorating Ideas for Your Easter Crafts
Once your clay decorations are finished, you can style them in many creative ways around your home.
Some of my favorite ideas include:
• Placing clay bunnies on a spring tiered tray
• Hanging clay eggs on decorative branches
• Adding clay tags to Easter baskets
• Creating garlands for mantels or windows
• Displaying handmade pieces on a dining table centerpiece
These small touches can make your home feel festive without needing expensive decorations.
Final Thoughts
DIY air dry clay Easter decorations are a fun and relaxing way to welcome the spring season. I enjoy these projects because they allow you to create decorations that feel unique and personal.
You do not need advanced crafting skills to make something beautiful. With a little creativity and a few simple supplies, you can create charming Easter decorations that bring warmth and personality into your home.
If you enjoy handmade decor, these clay crafts are definitely worth trying this season.
Once you make your first few pieces, you will likely find yourself coming up with even more creative ideas for future holidays.