The first time I painted air dry clay, I ruined it.
Not cracked.
Not broken.
Just… ruined.
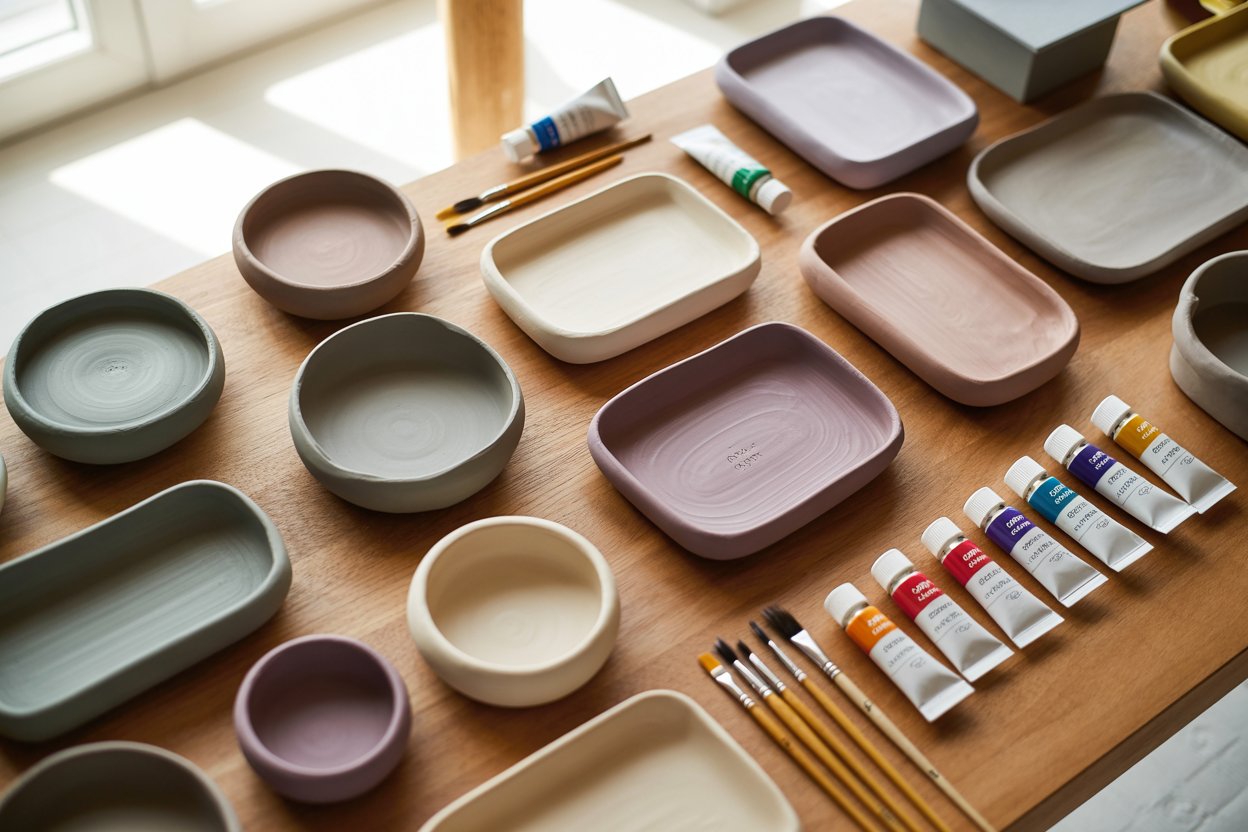
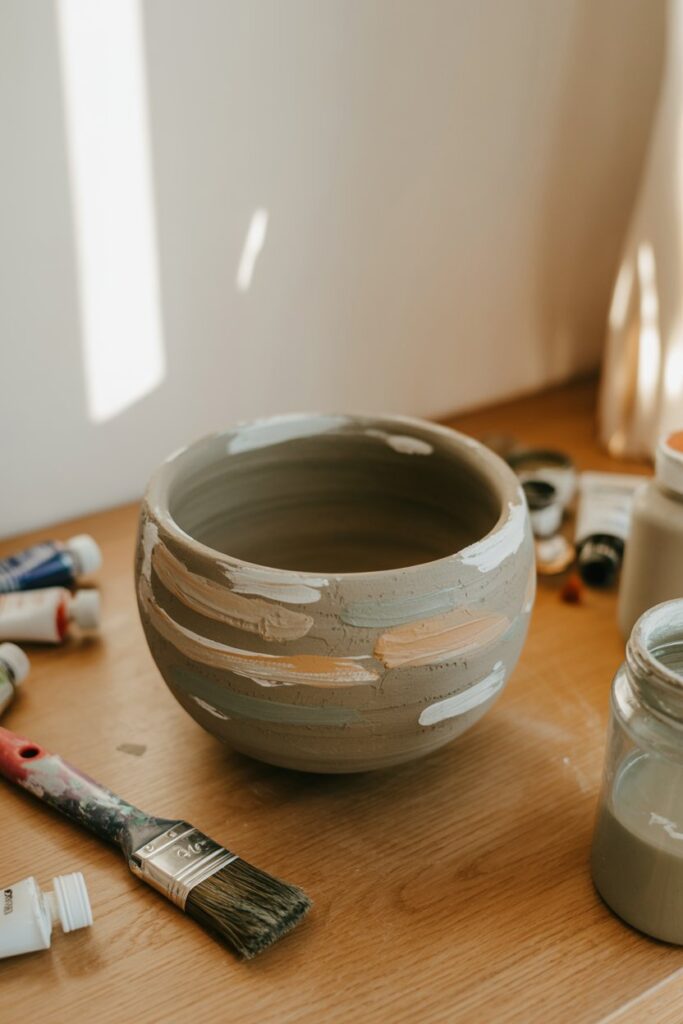
I had spent hours shaping the perfect decorative bowl. It dried beautifully. Smooth surface. No cracks. I was proud of it.
Then I grabbed the wrong paint.
Within minutes, the surface looked streaky. Patchy. Chalky in some spots and thick in others. The color soaked in unevenly, and instead of that clean, modern finish I imagined, it looked dull and messy.
That’s when I realized something important:
Painting air dry clay isn’t just about adding color.
It’s about preparing the surface properly and using the right techniques.
Once I understood the process, everything changed.
Now my trays look polished. My decorative pieces look professional. And the finish actually lasts.
In this guide, I’ll walk you through exactly how to paint air dry clay step by step — even if you’re a complete beginner.
And yes, it’s easier than you think.
Why Painting Air Dry Clay Is Different
Before we dive into the steps, it helps to understand one thing:
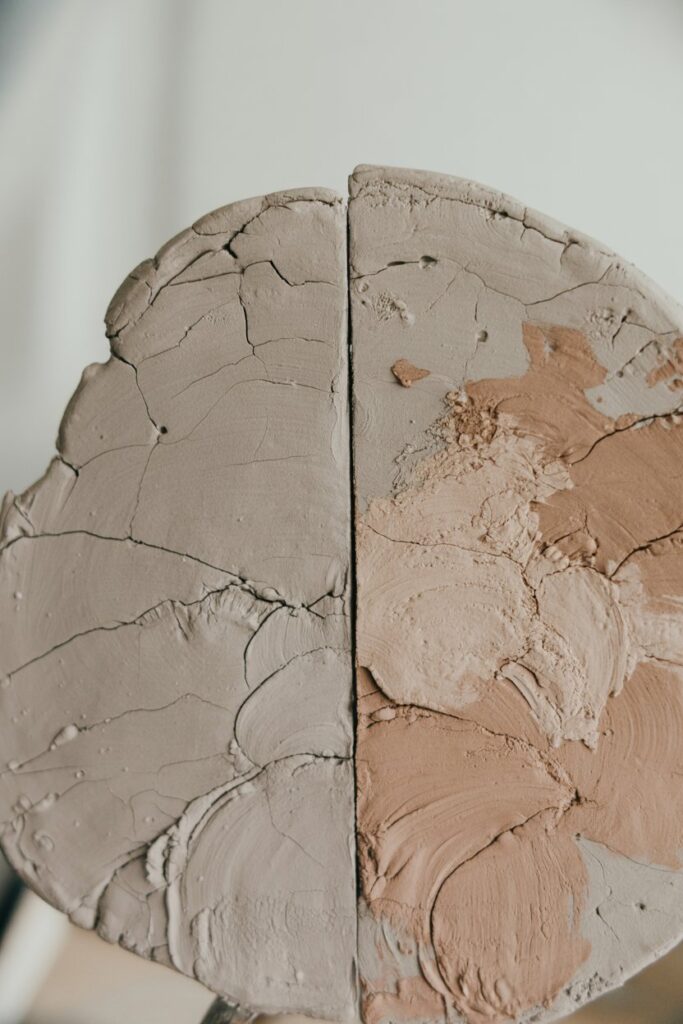
Air dry clay is porous.
That means it absorbs moisture — including paint — very quickly.
If you apply paint directly without prepping the surface:
- The color may look dull
- It may soak in unevenly
- You’ll need more coats
- The finish may look chalky
The key to a smooth, professional finish is sealing and priming first.
Once you control absorption, painting becomes simple.
Step 1: Make Sure the Clay Is Completely Dry
This sounds obvious, but it’s one of the biggest mistakes beginners make.
Even if your piece feels dry on the outside, the inside may still hold moisture.
Painting too early can cause:
- Peeling
- Bubbling
- Weak adhesion
- Cracking later
How Long Should It Dry?
Small pieces: 24 hours
Medium pieces: 48 hours
Thicker projects: 72 hours or more
If you’re unsure, wait an extra day. Patience pays off here.
Step 2: Sand the Surface Smooth
Even well-made clay pieces can have:
- Slight bumps
- Fingerprints
- Rough edges
- Uneven spots
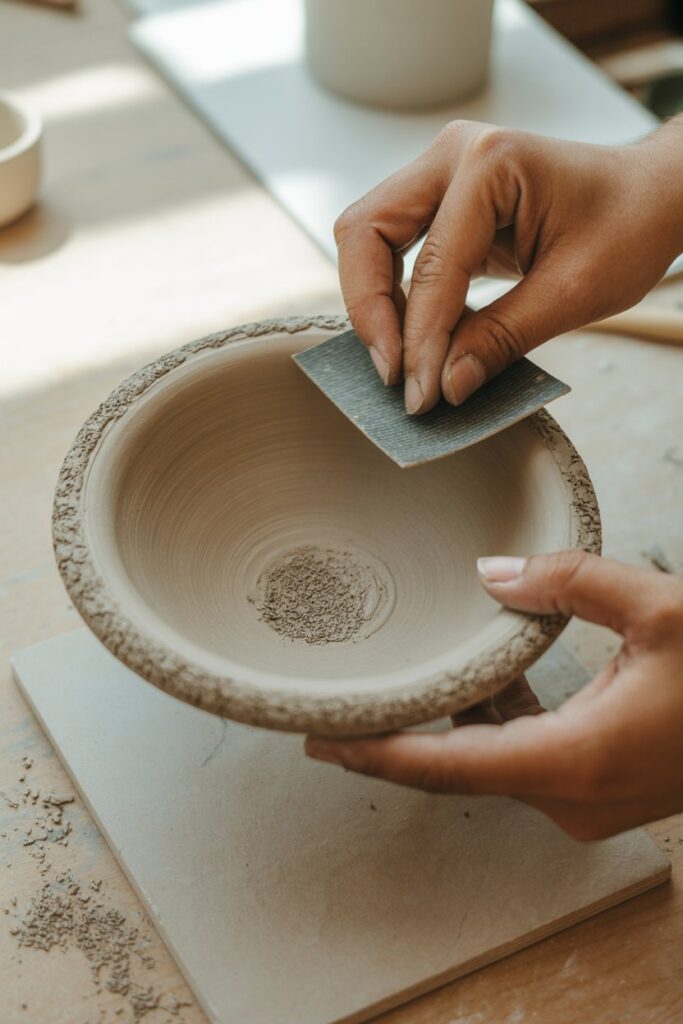
Sanding gives your paint a flawless base.
What You’ll Need
- Fine-grit sandpaper (220–400 grit)
- A soft cloth
How to Sand Properly
- Lightly sand the entire surface
- Focus on edges and imperfections
- Don’t press too hard
- Wipe off dust with a dry cloth
You’ll immediately notice the difference.
Smooth clay = smooth paint finish.
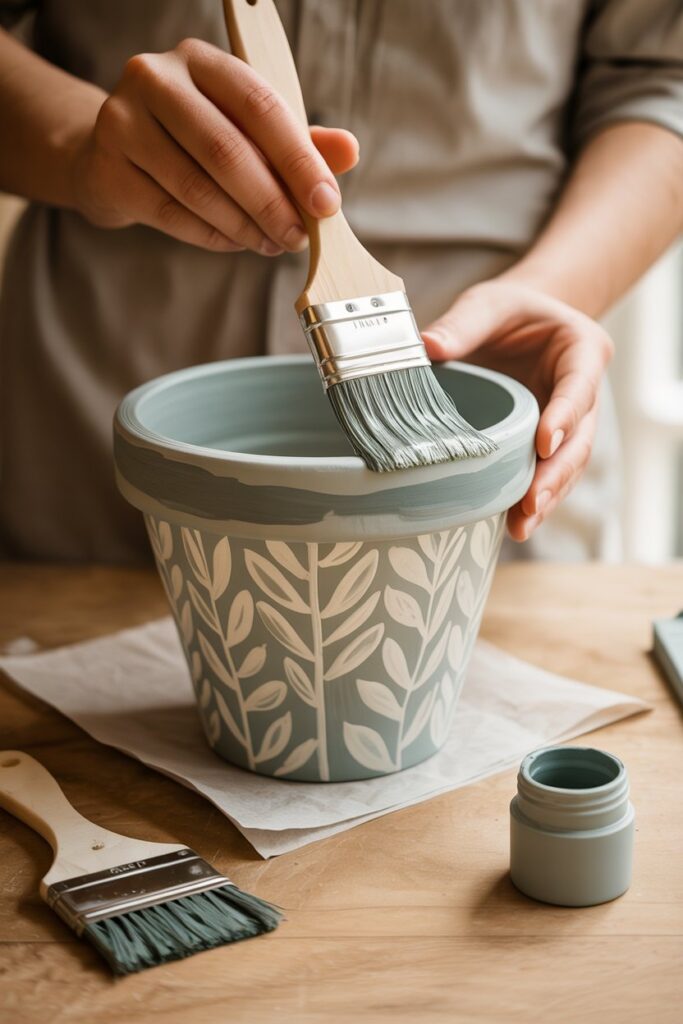
Step 3: Apply a Primer or Base Coat
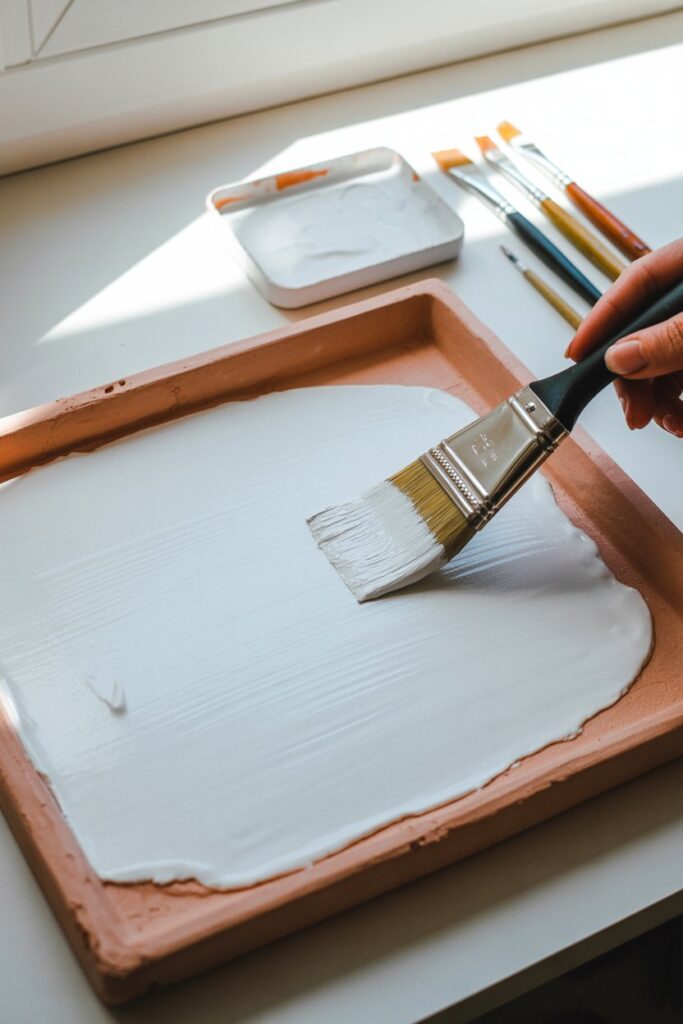
This is the step that changed everything for me.
Instead of painting directly onto clay, apply a base layer first.
Why?
Because primer seals the surface slightly and prevents uneven absorption.
Best Primers for Air Dry Clay
- Acrylic gesso
- White acrylic paint (as a base coat)
- Multi-surface primer
Apply one thin, even coat and let it dry completely before painting.
This creates a neutral, consistent surface so your colors look brighter and more even.
If you’re going for pastel or light colors, a white base coat is especially important.
Step 4: Choose the Right Paint
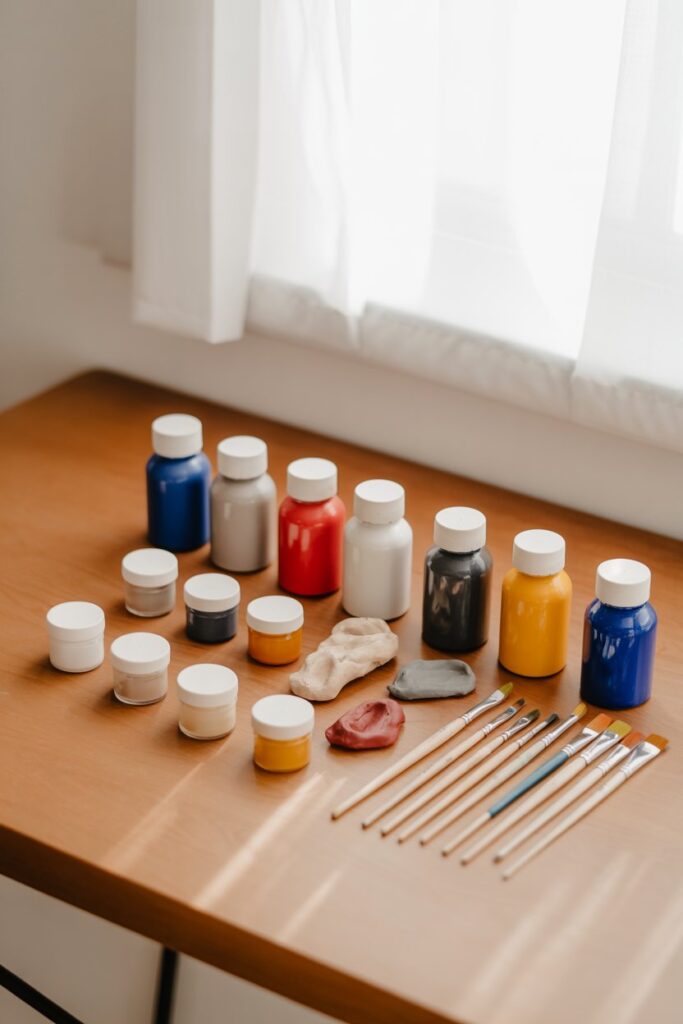
Not all paint works well on air dry clay.
The best option?
Acrylic paint.
Why acrylic works:
- It dries quickly
- It adheres well
- It’s flexible
- It comes in endless colors
Avoid:
- Watercolors (too thin)
- Heavy oil paints (slow drying)
- Extremely watery craft paints
If your acrylic feels too thick, add a tiny drop of water — but don’t overdo it.
Thin layers are better than thick ones.
Step 5: Apply Thin, Even Coats
This is where beginners usually go wrong.
They try to get full coverage in one coat.
That leads to:
- Brush marks
- Streaks
- Drips
- Uneven color
Instead:
- Use a soft brush
- Apply a thin layer
- Let it dry completely
- Add a second (or third) coat if needed
Two to three thin coats will always look better than one thick coat.
Trust the process.
Step 6: Let Each Layer Dry Fully
Acrylic paint dries fast — but not instantly.
If you layer too quickly, you can:
- Lift the previous coat
- Create texture
- Smudge the finish
Let each coat dry for at least 20–30 minutes before adding another.
If the piece feels cool to the touch, it’s still drying.
Step 7: How to Prevent Brush Strokes
One of the biggest frustrations when painting air dry clay is visible brush marks.
Even if the color is beautiful, streaks can make the piece look unfinished.
Here’s how to avoid that.
Use a Soft, High-Quality Brush
Cheap brushes tend to leave lines.
Look for:
- Soft synthetic bristles
- Flat or angled brushes for smooth coverage
- Smaller detail brushes for edges
The softer the brush, the smoother the finish.
Don’t Overwork the Paint
This was my biggest mistake in the beginning.
I would keep brushing over the same spot to “perfect” it — and that’s exactly what caused streaks.
Instead:
- Apply the paint
- Smooth it in one direction
- Leave it alone
Acrylic paint levels slightly as it dries. Let it do its thing.
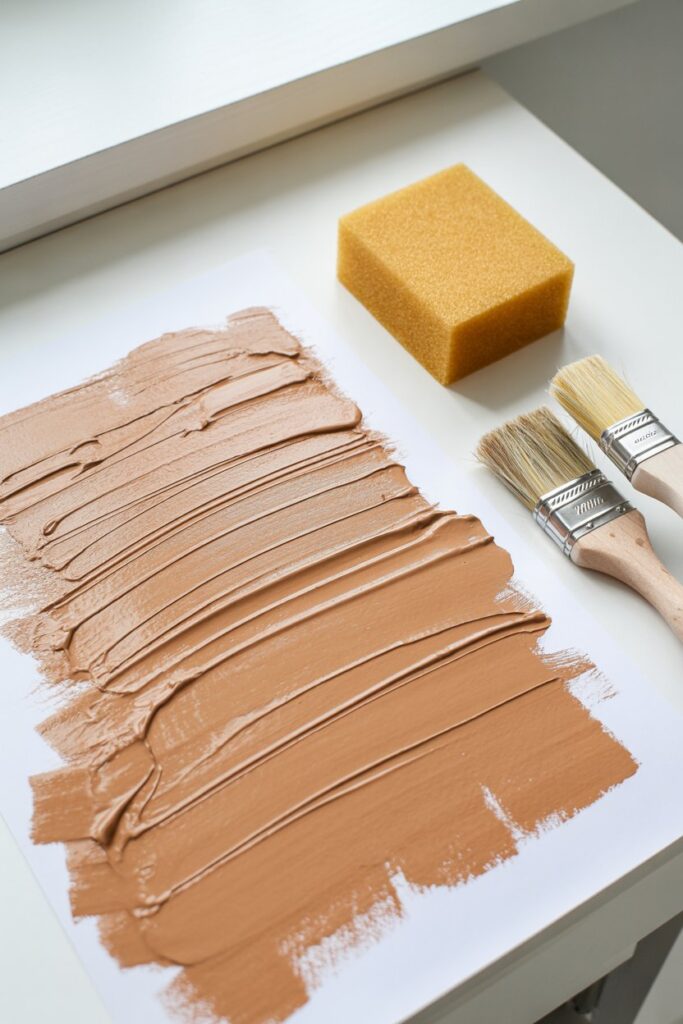
Consider a Foam Brush or Sponge
For ultra-smooth finishes (especially on trays and bowls), foam brushes work beautifully.
They:
- Reduce brush lines
- Create even coverage
- Work well with thin coats
Light dabbing works better than dragging.
Step 8: Creating Matte vs Glossy Finishes
The finish changes the entire look of your project.
Here’s how to control it.
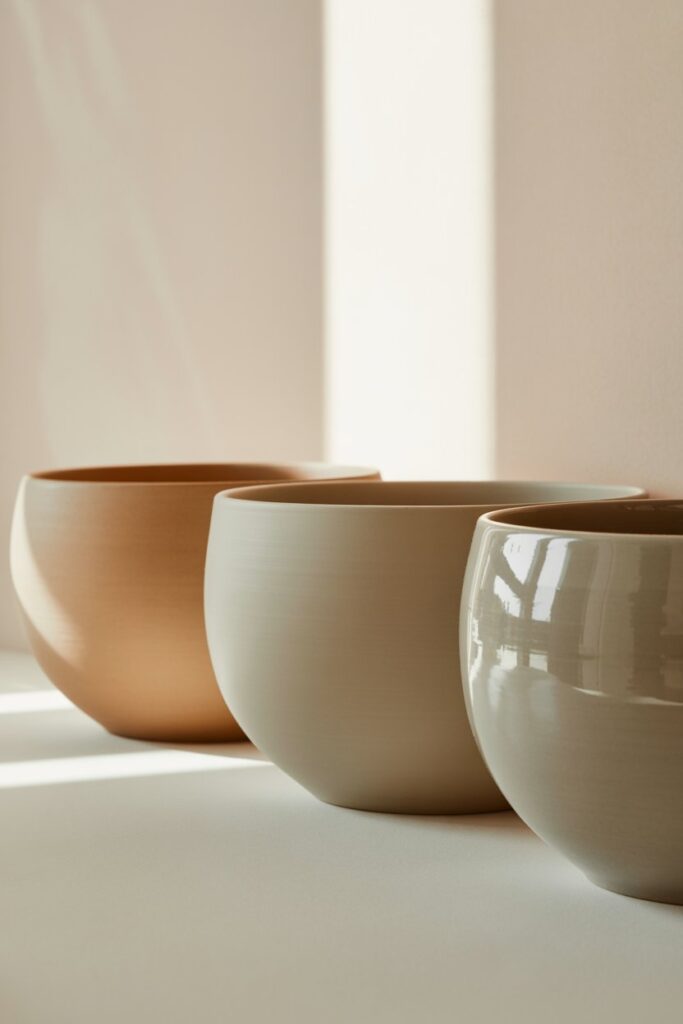
For a Matte Finish
Use:
- Matte acrylic paint
- Matte sealer
This gives a soft, modern, ceramic-style look.
Perfect for minimalist home decor pieces.
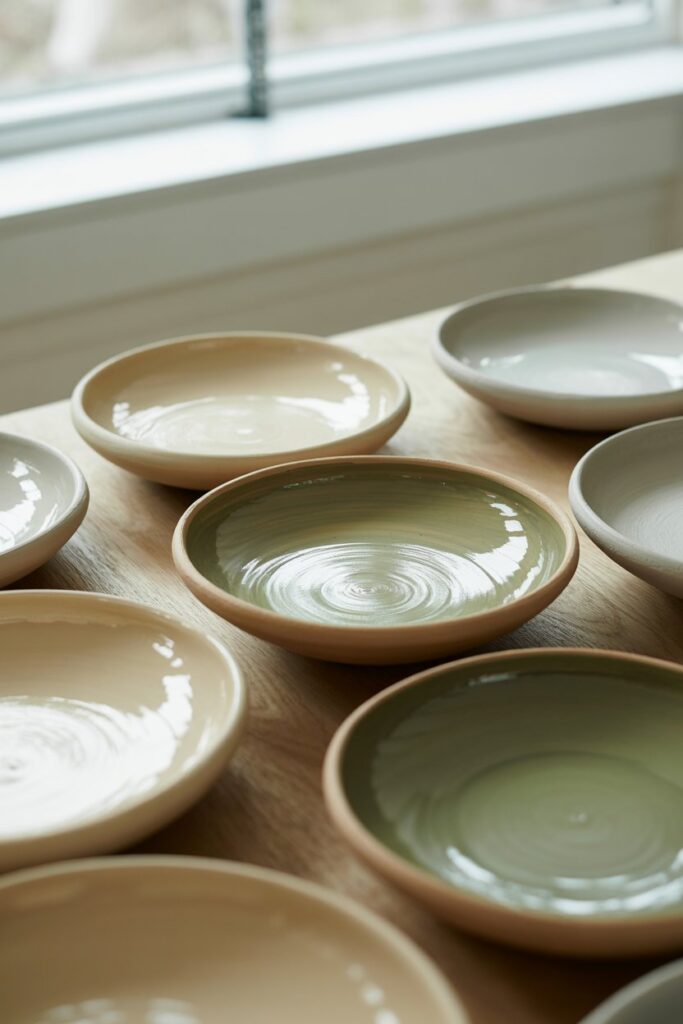
For a Glossy Finish
Use:
- Gloss acrylic paint
- Gloss varnish or clear gloss sealer
This creates a shiny, polished look — almost like glazed pottery.
Great for decorative bowls and statement pieces.
For a Satin Finish
Choose a satin or semi-gloss sealer.
It’s the perfect in-between option — subtle shine without looking overly glossy.
Step 9: Seal Your Painted Clay Properly
Sealing is not optional.
Unsealed painted clay can:
- Scratch easily
- Absorb moisture
- Chip over time
A good sealer protects your hard work.
Best Sealers for Painted Air Dry Clay
- Acrylic spray sealer
- Brush-on varnish
- Polycrylic
- Mod Podge (as a top coat)
Apply 2–3 thin coats.
Let each coat dry fully before adding the next.
Thin layers prevent cloudiness and drips.
Step 10: How to Make Painted Clay Water-Resistant
Important note:
Air dry clay is not fully waterproof.
Even when sealed.
But you can make it water-resistant enough for:
- Decorative trays
- Planters (with liner)
- Bowls for dry items
- Jewelry dishes
How to Improve Water Resistance
- Seal the inside and outside
- Don’t skip the base
- Use multiple thin coats
- Let cure for 24–48 hours after sealing
Avoid using air dry clay for items that hold water long-term.
Common Mistakes When Painting Air Dry Clay
If your project doesn’t look how you expected, check for these:
- Painting before the clay fully dried
- Skipping sanding
- Not priming first
- Using thick paint coats
- Not letting layers dry
- Skipping sealer
Almost every painting issue comes from rushing the process.
Slow down, and the results improve immediately.
Frequently Asked Questions
Can you paint air dry clay without primer?
Yes, but the paint may absorb unevenly and require more coats. Primer creates a smoother, brighter finish.
What kind of paint is best for air dry clay?
Acrylic paint is the best option because it dries quickly, adheres well, and is easy to work with.
Do you have to seal painted air dry clay?
If you want durability and longevity, yes. Sealing protects against scratches and moisture.
Why does my paint look streaky?
Usually because:
- The paint layer was too thick
- You overworked it
- The surface wasn’t sanded
- The brush wasn’t soft enough
Thin coats fix most of these issues.
Can I use spray paint on air dry clay?
Yes, but apply light coats and work in a ventilated area. Spray paint can give a very smooth finish when done properly.
Final Thoughts
Learning how to paint air dry clay the right way completely changed my DIY results.
The difference between amateur and professional-looking pieces isn’t talent.
It’s preparation.
Dry fully.
Sand smoothly.
Prime properly.
Paint in thin layers.
Seal carefully.
When you follow these steps, your air dry clay projects won’t just look good.
They’ll look intentional.
Polished.
Display-worthy.
And once you master painting, you unlock endless design possibilities — neutral minimalist decor, bold statement pieces, soft pastels, textured finishes.
It all starts with doing it the right way.