The first time I used air dry clay, I was so excited.
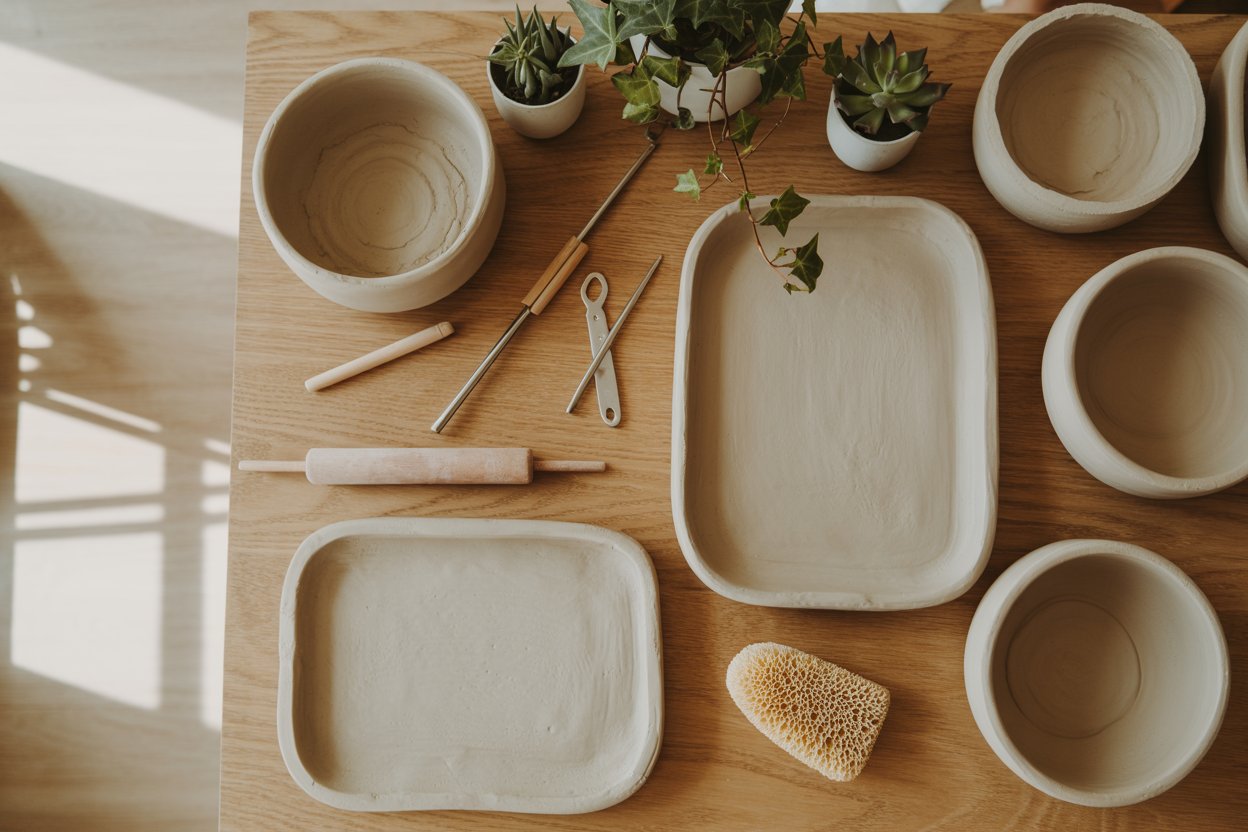
I had made the cutest minimalist ring dish. It was smooth, evenly shaped, and I could already picture it styled on my nightstand.
The next morning?
It looked like a dried riverbed.
Cracks across the base.
Tiny splits along the rim.
One deep line straight down the side.
If you’ve ever had that happen, you know the feeling. It’s frustrating. You start wondering if you bought the wrong clay. Or if you just aren’t good at working with it.
But here’s what I eventually learned:
Air dry clay cracks because of how it dries — not because you lack skill.
Once I understood what was actually happening, my projects improved immediately. No more ruined bowls. No more split planters. No more wasted time.
In this guide, I’m going to walk you through exactly how to avoid cracks in air dry clay, especially if you’re a beginner. These are the same techniques I now use for trays, decorative bowls, wall art, and small home decor pieces.
And yes, they actually work.
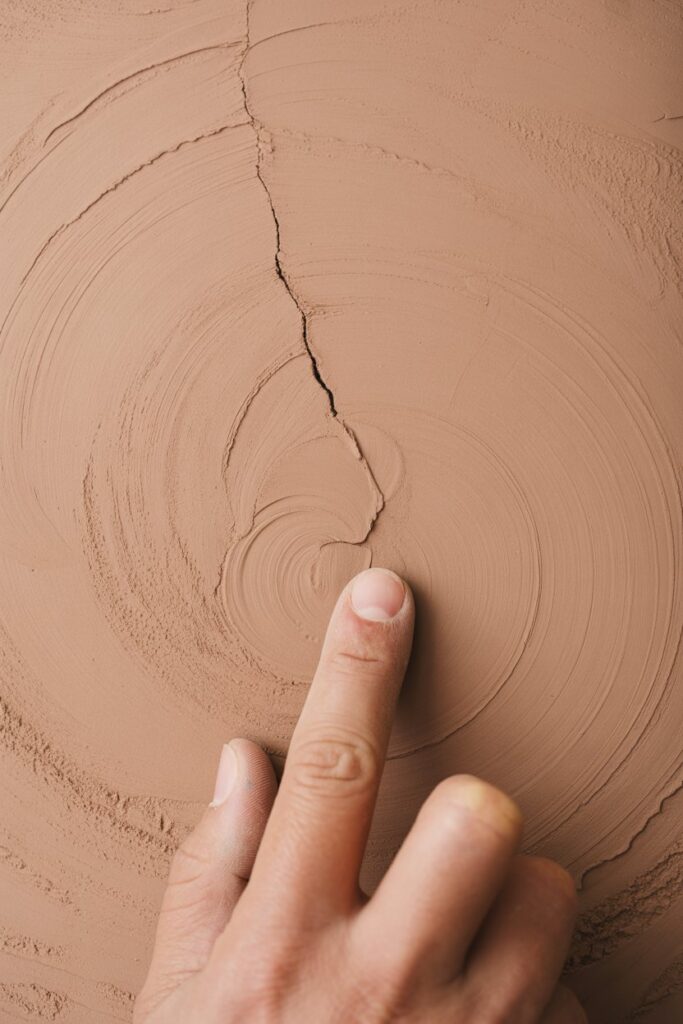
Why Does Air Dry Clay Crack?
Before we fix the problem, let’s understand it.
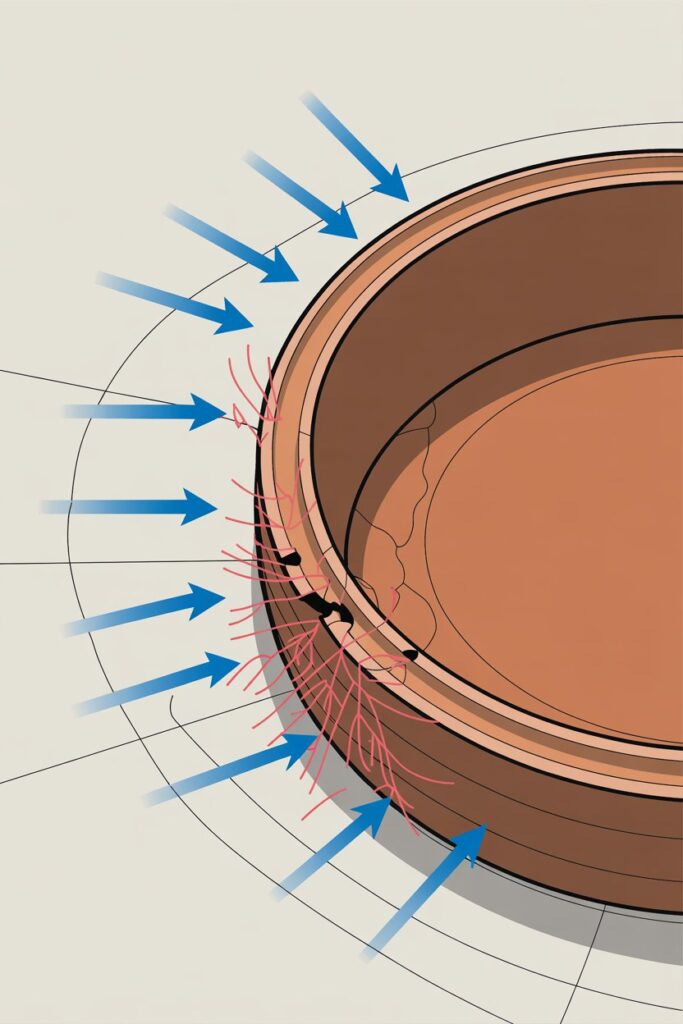
Air dry clay dries by evaporation. That means moisture slowly leaves the clay and the material shrinks slightly as it hardens.
Cracks happen when that moisture leaves unevenly.
If the outside dries faster than the inside, tension builds. That tension has to go somewhere — and it usually shows up as cracks.
The most common causes are:
- Uneven thickness
- Clay that’s too thick overall
- Drying too quickly
- Overuse of water while sculpting
- Air pockets inside the clay
- Dry climate or direct sunlight
The key is controlling moisture and shrinkage.
Once you understand that cracking is a moisture control issue, everything becomes much easier to manage.
Always Knead the Clay First
I used to skip this step because the clay felt soft already.
Big mistake.
Air dry clay straight out of the package can have:
- Air bubbles
- Uneven moisture pockets
- Slight stiffness in certain areas
Those trapped air bubbles expand slightly as the clay dries. That pressure can create surface cracks or internal splitting.
How to Knead Properly
- Cut off only what you need and seal the rest tightly
- Knead for 3 to 5 minutes
- Fold, press, and rotate repeatedly
- Keep going until the texture feels completely smooth
You want it to feel consistent all the way through, not slightly crumbly in spots.
Think of it like preparing dough. A smooth base leads to a smooth result.
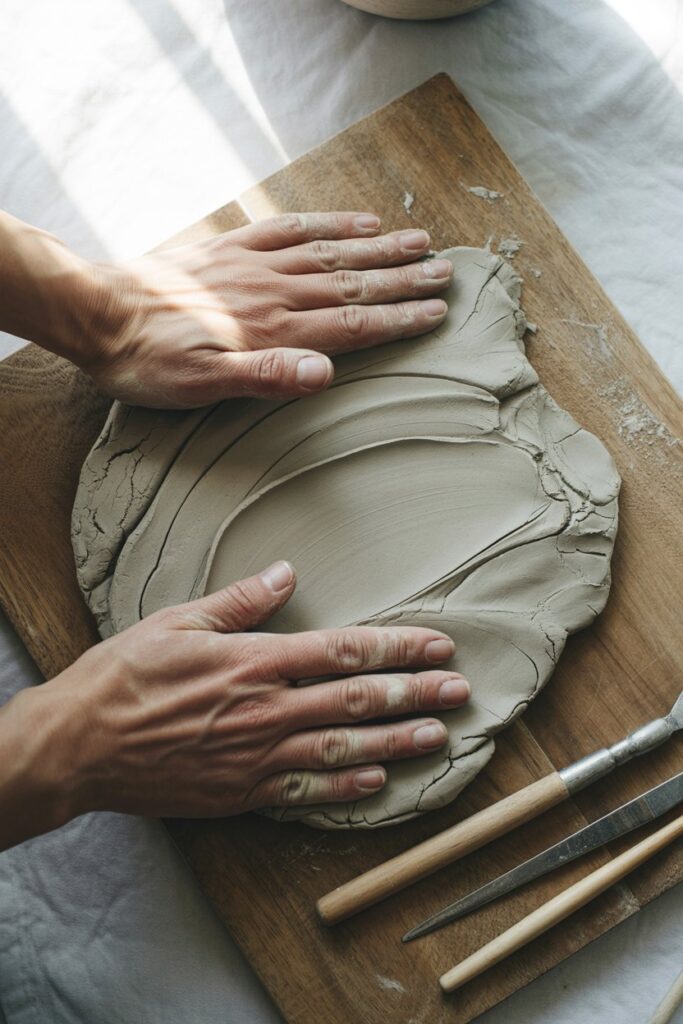
Keep Your Thickness Even
This is the number one mistake beginners make.
If one part of your project is thin and another part is thick, they will not dry at the same speed.
The thin areas dry and shrink first.
The thick areas stay wet longer and shrink later.
That uneven shrinkage creates tension.
And tension creates cracks.
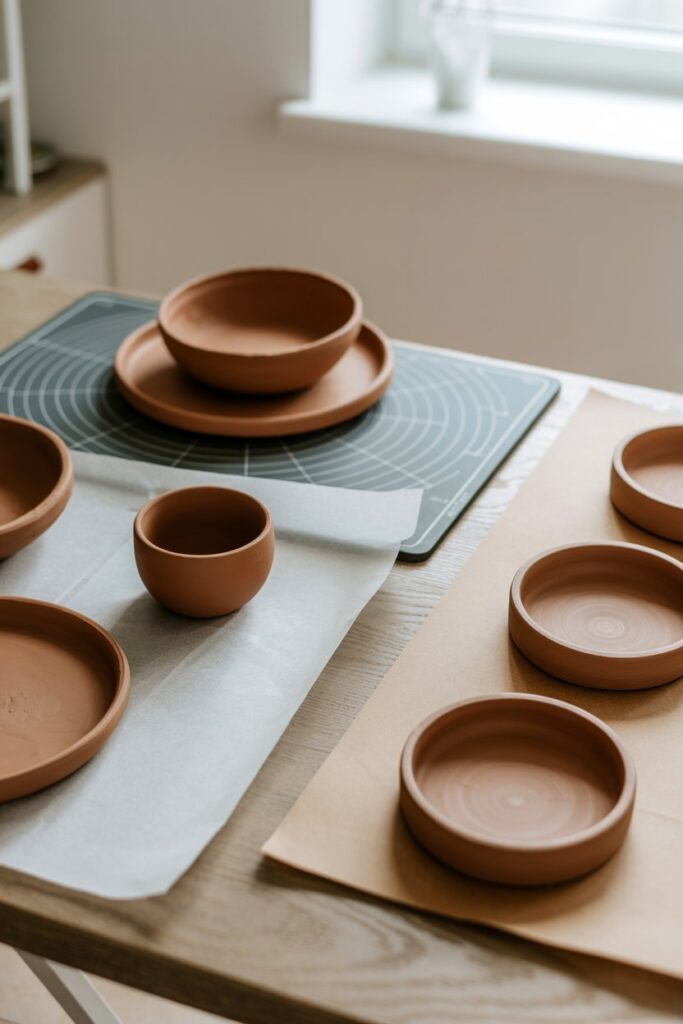
Ideal Thickness Guide
- Flat pieces: about 1/4 inch thick
- Bowls and trays: consistent wall thickness
- Avoid heavy, bulky bases with thin edges
If you’re rolling clay flat, use rolling guides or stack two wooden rulers on each side of your clay to keep it even.
Consistency is everything.
Do Not Overuse Water
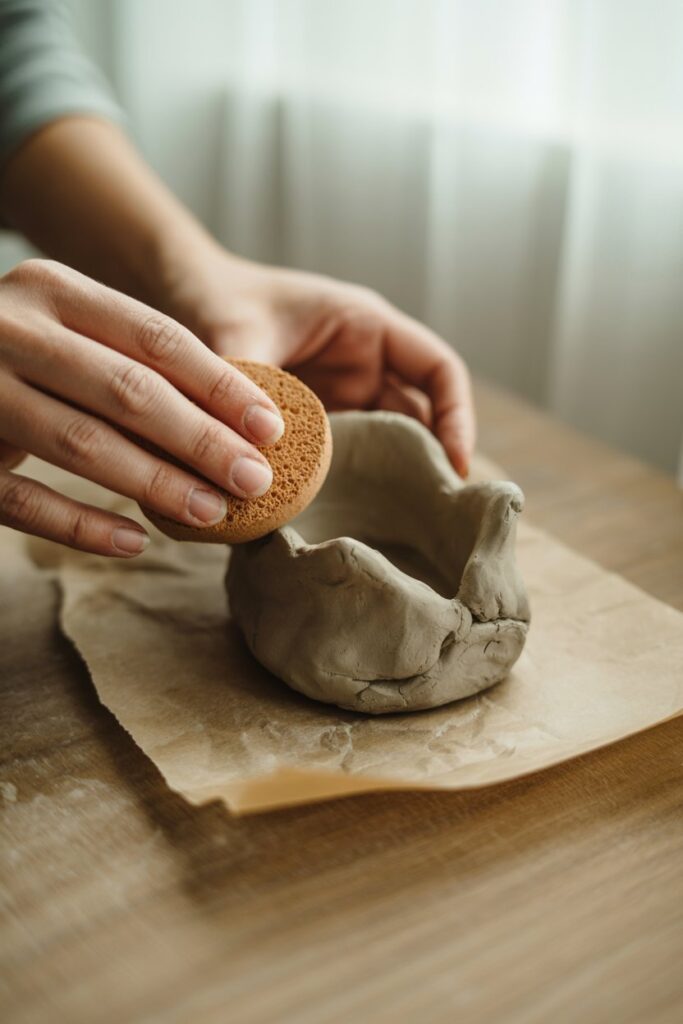
Water feels like the solution when clay starts sticking or cracking while you shape it.
But too much water weakens air dry clay.
When clay absorbs excess water:
- It becomes structurally weaker
- It shrinks more as it dries
- It increases the chance of cracking
I learned this the hard way when I kept dipping my fingers in water to smooth edges. The result was a piece that dried beautifully on the surface but cracked along the curves.
What to Do Instead
- Use a slightly damp sponge, not dripping fingers
- Smooth gently, don’t saturate
- Let overly wet areas sit for a few minutes before continuing
Less water equals stronger clay.
Slow Down the Drying Process
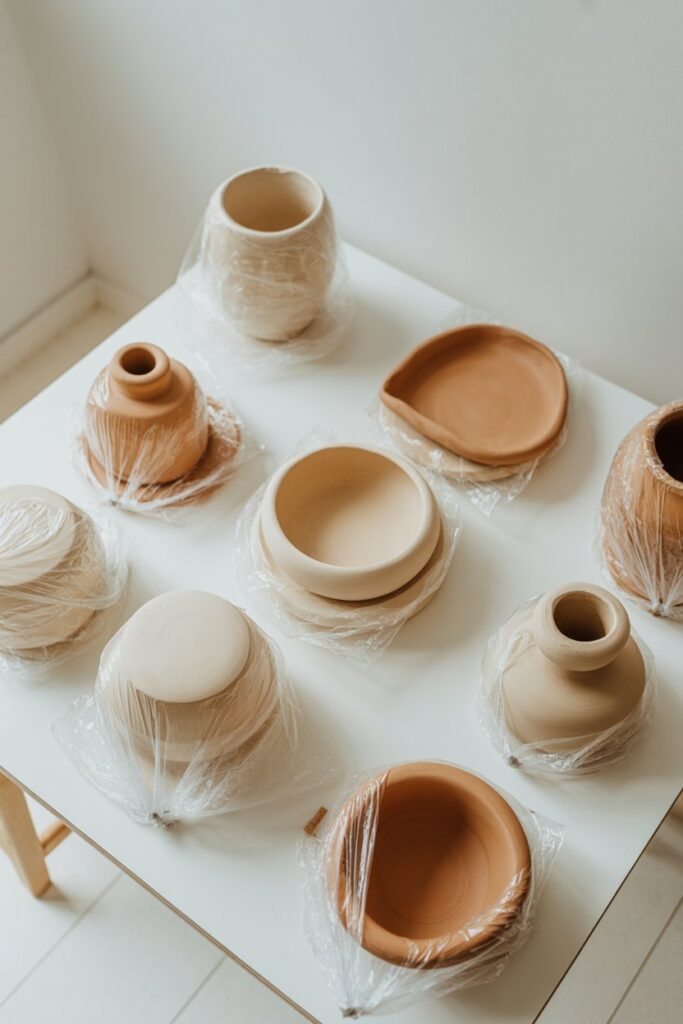
This is the most important rule.
Air dry clay needs slow, even drying.
When clay dries too fast, the outer layer hardens while the inside is still shrinking. That difference in shrinkage causes cracking.
Never dry your projects:
- In direct sunlight
- Under a fan
- Near a heater
- In front of an air conditioner
The Right Way to Dry
- Leave pieces at room temperature
- Turn them occasionally so the bottom dries evenly
- If your climate is very dry, loosely cover with plastic for the first 24 hours
When I started covering my projects lightly overnight, the difference was dramatic. Fewer cracks. Smoother finishes. Stronger pieces.
Patience truly makes a difference here.
Use the Right Surface While Working
Your work surface affects how moisture leaves the clay.
Surfaces like:
- Cardboard
- Paper towels
- Fabric
Pull moisture out of the bottom too quickly.
That causes the base to shrink faster than the top, which can lead to cracks forming underneath.
Better Surface Options
- Parchment paper
- Silicone baking mats
- Plastic boards
- Sealed wooden surfaces
These surfaces allow more balanced drying and reduce stress on the clay.
Score and Slip When Attaching Pieces
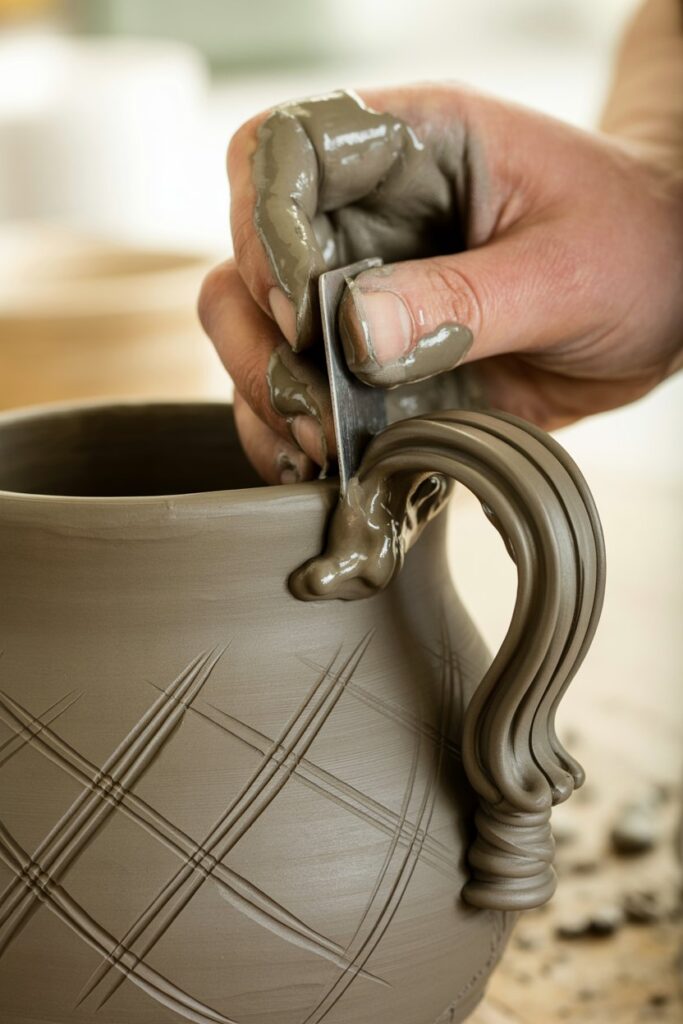
If you’re attaching handles, decorative shapes, or raised designs, simply pressing pieces together is not enough.
They may look secure at first.
But as the clay dries and shrinks, those joints will crack or separate.
Proper Attachment Method
- Lightly scratch both surfaces
- Apply slip (a paste made from clay and a small amount of water)
- Press together firmly
- Smooth the seam
This strengthens the connection and allows both pieces to shrink at the same rate.
Skipping this step almost guarantees cracking at the joint.
How to Fix Cracks in Air Dry Clay Before It Fully Dries
If you catch a crack early while the clay is still slightly damp, fixing it is simple.
Method 1: Smooth and Blend
For small surface cracks:
- Lightly dampen your finger or a small brush
- Gently smooth over the crack
- Blend the clay together
Do not soak it. Just enough moisture to help the clay fuse.
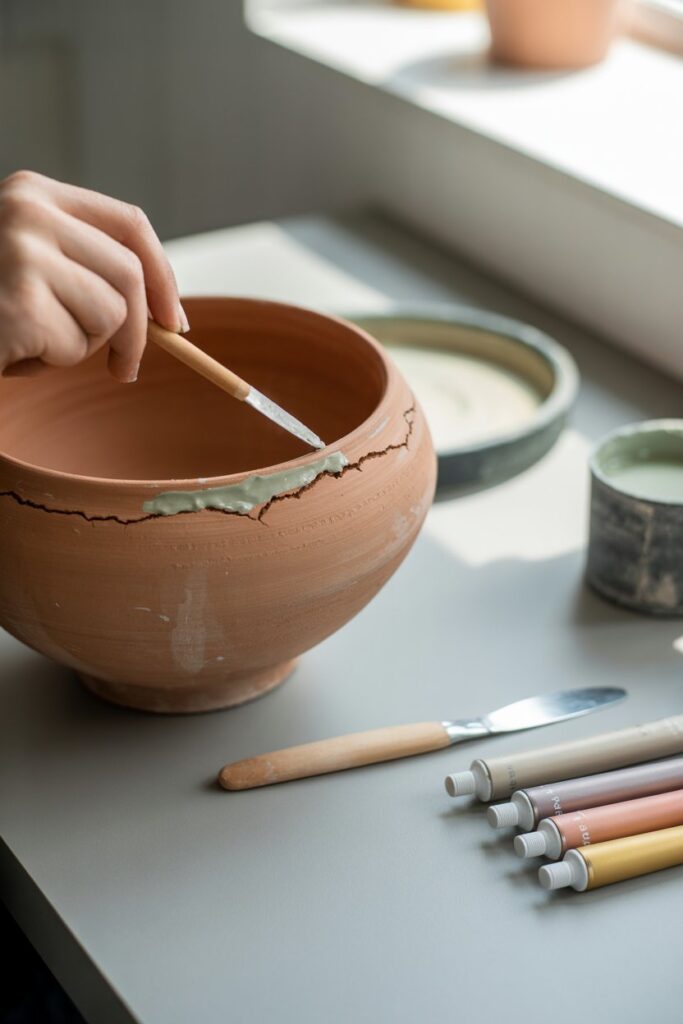
Method 2: Use Slip for Deeper Cracks
For larger cracks:
- Mix a small amount of clay with water to create slip
- Fill the crack completely
- Smooth the surface gently
- Let it dry slowly
Slip acts like glue and helps reinforce the area.
How to Fix Cracks After the Clay Has Dried
If the piece is already fully dry, don’t panic.
You still have options.
Option 1: Fill with Slip or Clay Paste
- Slightly dampen the crack area
- Apply fresh slip
- Smooth carefully
- Let dry again slowly
This works best for hairline cracks.
Option 2: Sand and Seal
For very fine cracks:
- Lightly sand the surface with fine-grit sandpaper
- Apply a primer or gesso layer
- Seal properly
Sometimes sealing hides minor surface cracks completely.
Seal Your Finished Project Properly

Sealing is critical if you want long-lasting, crack-resistant pieces.
Unsealed air dry clay continues absorbing moisture from the air, which can weaken it over time.
Best Sealers for Air Dry Clay
- Acrylic sealer spray
- Mod Podge
- Clear varnish
- Polycrylic sealant
Apply 2 to 3 thin coats instead of one thick coat.
Let each coat dry completely before adding the next.
This adds durability and helps prevent future cracking.
Understand How Humidity Affects Clay
Your environment matters more than you think.
In Dry Climates
Clay dries too quickly.
Solution: Loosely cover with plastic for the first 24 hours.
In Humid Climates
Clay dries slowly.
Solution: Increase airflow slightly, but avoid direct fans.
Balanced drying equals fewer cracks.
Common Beginner Mistakes That Cause Cracks
If you’re still struggling, check for these:
- Making pieces too thick
- Skipping kneading
- Using too much water
- Drying in direct sunlight
- Not scoring and slipping attachments
- Not turning the piece while drying
I made almost every one of these mistakes when I started.
Once I corrected them, my success rate improved immediately.
Frequently Asked Questions
Can you completely prevent cracks in air dry clay?
You can dramatically reduce them, but tiny hairline cracks can occasionally happen. Proper kneading, even thickness, and slow drying prevent most issues.
Why does my clay crack at the bottom?
Usually because the bottom is drying faster than the top. Use parchment or a silicone mat and flip the piece occasionally.
Is cracking a sign of bad quality clay?
Not necessarily. Even high-quality clay can crack if dried improperly.
Can I add glue to prevent cracking?
Some people mix a small amount of white glue into clay for strength, but this changes texture slightly. Proper technique is usually enough.
How long should air dry clay take to dry?
Small pieces: 24 hours
Medium pieces: 48 hours
Thicker projects: 72 hours or more
Rushing this process increases cracking risk.
Final Thoughts
Learning how to avoid cracks in air dry clay completely changed how I approach DIY projects.
What used to feel unpredictable now feels controlled.
The biggest shift for me was understanding this:
Cracks are not random.
They’re a moisture problem.
Once you control moisture, thickness, and drying speed, your projects become smoother, stronger, and more professional-looking.
Air dry clay is an amazing material for home decor, trays, bowls, wall art, ornaments, and gifts.
It just requires patience and smart technique.
Slow drying.
Even thickness.
Minimal water.
Proper sealing.
Master those, and your cracked clay days are behind you.