There was a point where I genuinely dreaded evenings outside.
I love the idea of sitting out, relaxing, maybe reading or just enjoying the quiet. But every time I tried, it turned into a constant battle with mosquitoes.
I’d apply bug spray, sit down, then get bitten anyway. Reapply, repeat, and eventually just give up.
If that sounds familiar, I completely get it.
That frustration is exactly what pushed me to start making my own bug repellent lotion bars, and I’m not exaggerating when I say they changed the experience for me.
They’re simple, natural, easy to use, and most importantly, they don’t feel like a chore to apply.
In this guide, I’m going to walk you through everything you need to know, from what they are to why they work, and how to start making your own with confidence.
What Are Bug Repellent Lotion Bars?
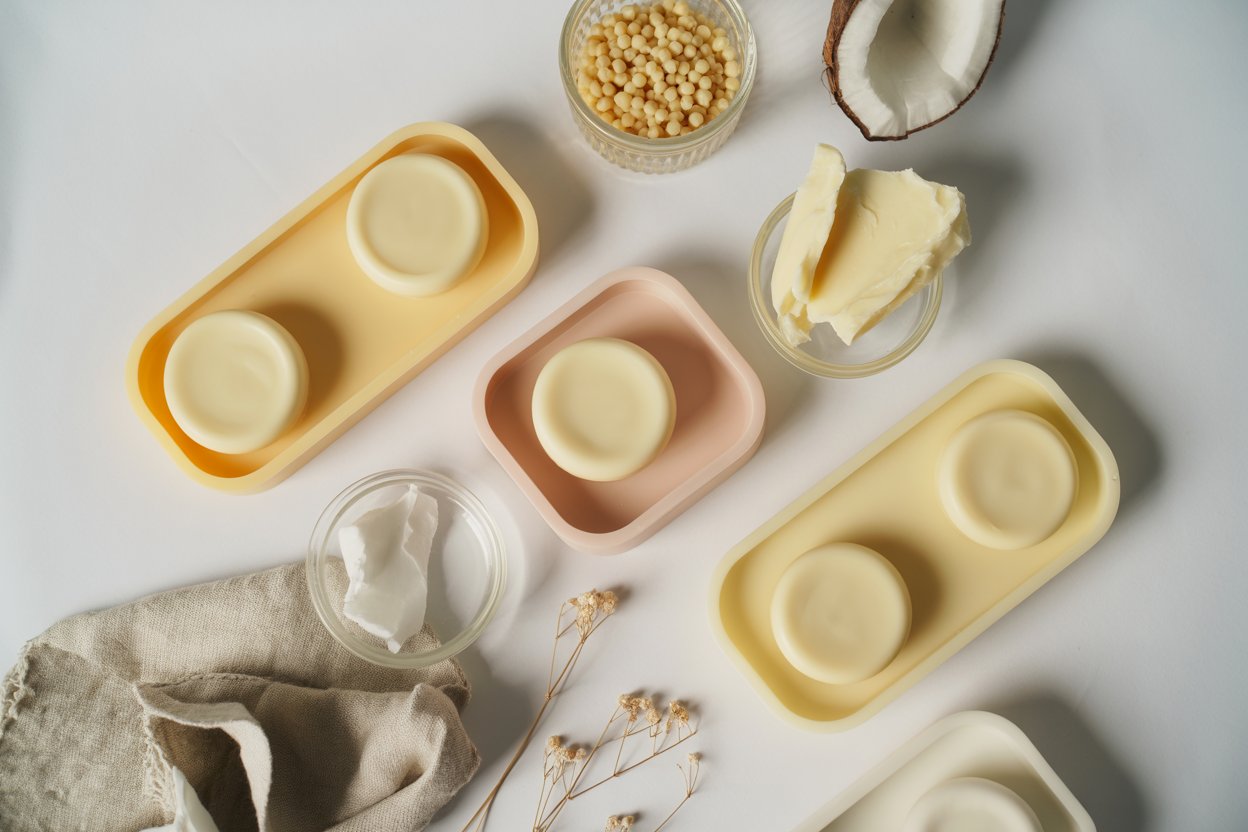
Bug repellent lotion bars are solid bars made from a combination of natural butters, waxes, and oils, blended with essential oils known for their insect-repelling properties.
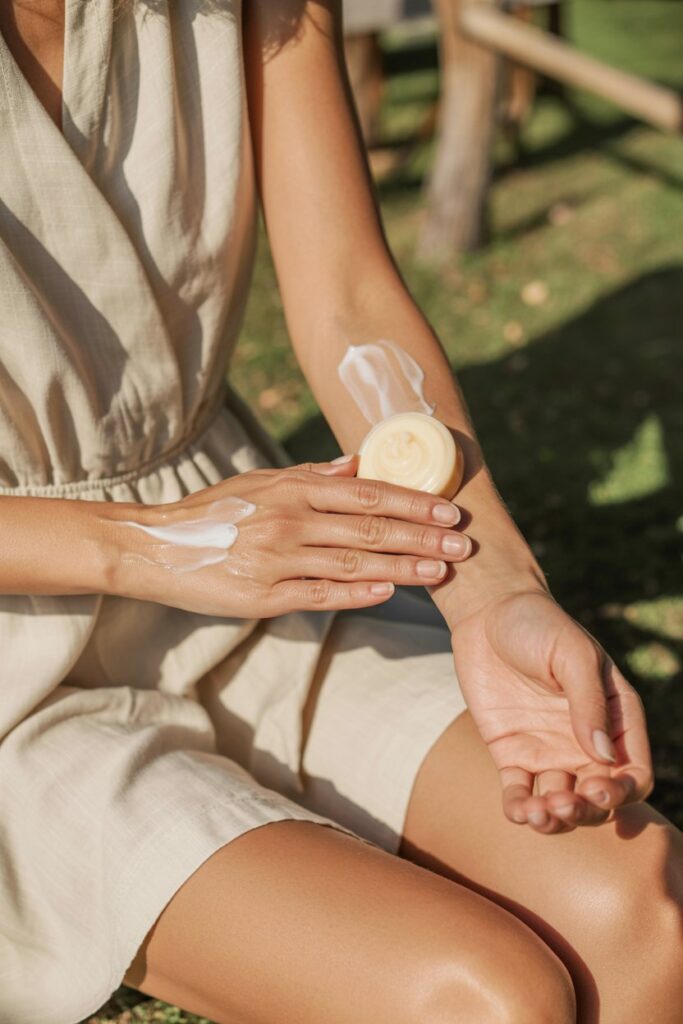
Instead of spraying a liquid onto your skin, you rub the bar directly onto your body. The warmth of your skin melts a thin layer, leaving behind a light, protective coating.
The first time I used one, I immediately noticed how different it felt.
There was no sticky residue, no overwhelming chemical smell, and no need to worry about spraying it everywhere. It felt more like applying skincare than applying bug repellent.
And that alone made me want to keep using it.
Amazon Shopping Essentials You Need for Your Bug Repellent Lotion Bars
- Beeswax Pellets
- Coconut Oil
- Shea Butter
- Citronella Essential Oil
- Lemongrass Essential Oil
- Eucalyptus Essential Oil
- Lavender Essential Oil
- Double Boiler
- Silicone Mold Tray
- Glass Measuring Cup
- Mixing Spoon
Why I Stopped Using Bug Sprays

I didn’t switch overnight.
For a long time, I kept using store-bought sprays because they were convenient and familiar. But over time, a few things started to bother me more and more.
First, the smell. It lingered longer than I liked and never really felt pleasant.
Second, the texture. My skin always felt either sticky or oddly dry afterward, especially in hot weather.
And third, the ingredients. I started paying more attention to what I was putting on my skin, and I realized I didn’t actually recognize half of what was in those bottles.
That’s when I started looking for alternatives, and eventually landed on lotion bars.
If you’ve ever had that same feeling of “there has to be a better way,” this is exactly that.
Do Natural Bug Repellents Actually Work?
This is probably the biggest question, and I’ll be honest with you.
Yes, they do work, but not in the exact same way as chemical repellents.
Instead of killing or aggressively repelling insects, natural options work by making it harder for bugs to detect you. Certain essential oils help mask the scents that attract mosquitoes in the first place.
From my experience, they work really well for everyday situations like:
- sitting outside in the evening
- short walks
- relaxing on a balcony or patio
If you’re in a heavily infested area, you may need to reapply more often. That’s just part of using a more natural option.
But for regular use, I’ve found them to be more than enough.
Benefits of Bug Repellent Lotion Bars
Once I started using these consistently, I realized they weren’t just an alternative, they were actually better in a lot of ways.
1. Completely Mess-Free
This is one of my favorite things about them.
You don’t have to deal with leaks, spills, or accidentally spraying your clothes or surroundings. You just glide the bar over your skin and you’re done.
It’s simple, clean, and quick.
2. Skin-Friendly and Moisturizing
Unlike sprays that can leave your skin feeling stripped or irritated, lotion bars actually nourish your skin.
Ingredients like shea butter and coconut oil help keep your skin soft while still doing the job of repelling bugs.
It feels like you’re taking care of your skin, not just protecting it.
3. Travel-Friendly and Convenient
I can throw one in my bag without thinking twice.
No worrying about liquid restrictions, no risk of spills, and no bulky bottles taking up space.
If you’re someone who likes practical, low-maintenance solutions, this is a big win.
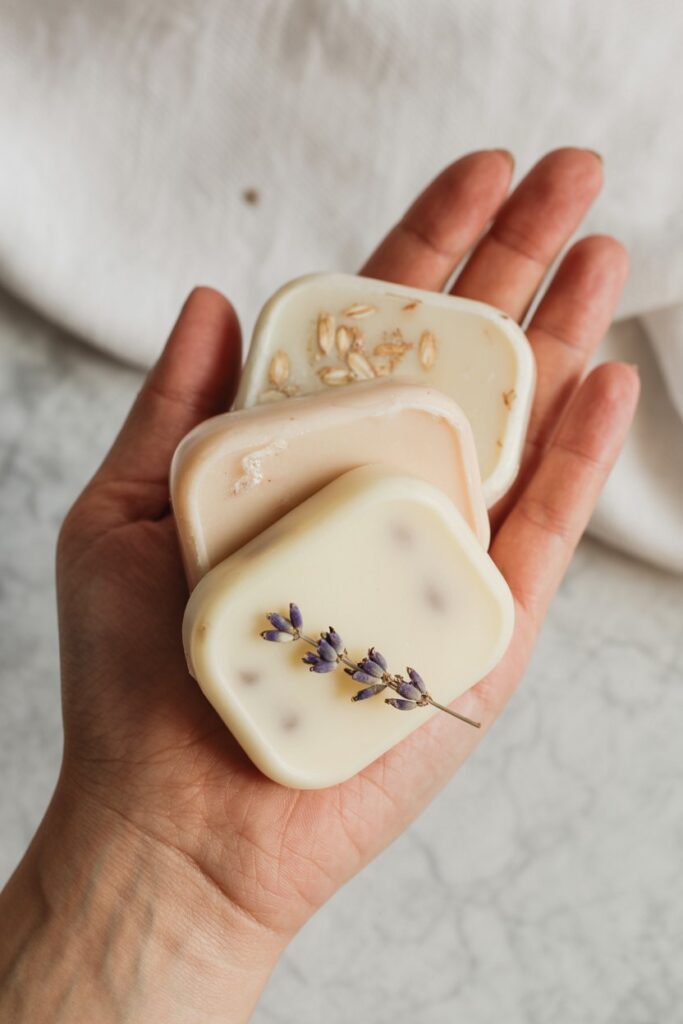
4. Customizable to Your Preference
This is where it gets fun.
You can adjust the scent, the strength, and even the texture depending on what you like.
I personally prefer a softer, more subtle scent, so I balance my essential oils carefully. But if you want something stronger, you can absolutely tweak the recipe.
Ingredients You’ll Need (And Why They Matter)

One of the reasons I love this recipe is how simple and intentional the ingredients are.
You’re not just throwing random things together. Each ingredient plays a specific role.
Base Ingredients
These create the structure and feel of your lotion bar.
Beeswax
This is what gives the bar its solid shape. It also creates a light barrier on your skin, helping lock in moisture.
Shea Butter
Deeply moisturizing and soothing. It balances the firmness of the beeswax and makes the bar feel smooth and nourishing.
Coconut Oil
Adds softness and helps the bar glide easily over your skin. It also helps everything melt together nicely.
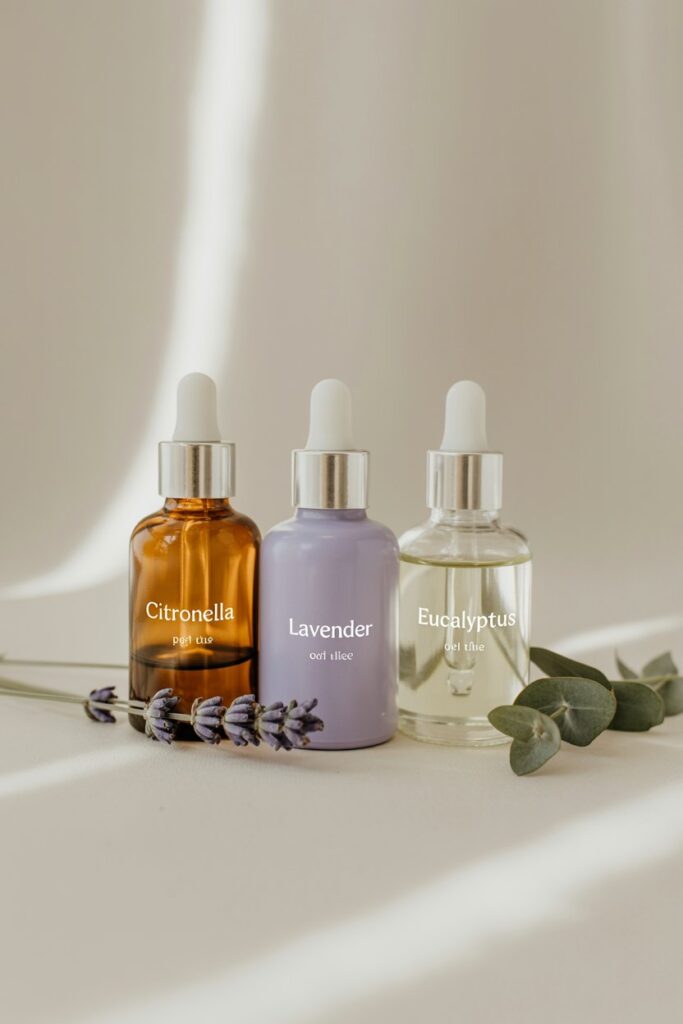
Essential Oils for Bug Repelling
This is where the effectiveness comes from.
Some of the most commonly used options include:
I usually combine a few instead of using just one. It creates a more balanced scent and tends to work better overall.
Tools You’ll Need
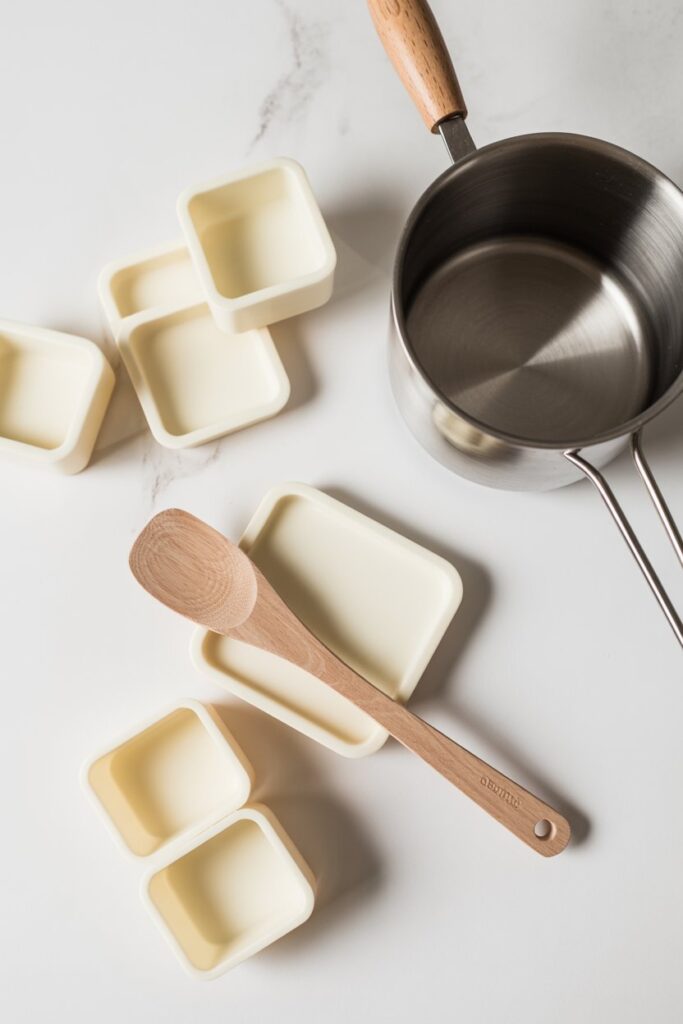
This is one of those DIYs where you really don’t need anything complicated.
Here’s all I use:
- a double boiler (or a heat-safe bowl over a pot of water)
- silicone molds
- a spoon or spatula
That’s it.
The simplicity is honestly part of what makes this so easy to stick with.
A Few Things I Wish I Knew Before Starting
Before you jump into making your first batch, there are a couple of small but important things to keep in mind.
First, essential oils are potent. It’s tempting to add more for a stronger scent, but that can actually irritate your skin. It’s better to stay within a safe range.
Second, always do a patch test, especially if you have sensitive skin.
I learned this the hard way after using a little too much peppermint oil in my first batch. It wasn’t terrible, but it definitely got my attention.
Since then, I’ve been a lot more intentional with my measurements.
My Honest Experience Using Lotion Bars
I didn’t expect these to become a regular part of my routine.
At first, I just wanted something that worked better than sprays. But over time, it became more than that.
There’s something about the process, from making them to using them, that feels a bit more intentional.
Instead of quickly spraying something and hoping for the best, you’re actually applying something you made, something you understand.
And surprisingly, that small shift makes the whole experience feel better.
Up Next
Now that you understand what bug repellent lotion bars are and why they work, the next step is actually making them.
In the second half, I’ll walk you through:
- the exact measurements I use
- step-by-step instructions
- how to get the perfect texture
- common mistakes to avoid
- and how to store them so they last through the entire season
How to Make Bug Repellent Lotion Bars (Step-by-Step)
Now for the part you’ve been waiting for.
The first time I made these, I expected it to be a whole process. But it turned out to be one of the simplest DIYs I’ve ever done.
Once you make them once, you’ll realize how easy it is to keep a fresh batch ready whenever you need it.
Ingredients (Exact Measurements)
This is the ratio I personally use because it gives the perfect balance, not too hard, not too soft.
- 1/4 cup beeswax pellets
- 1/4 cup shea butter
- 1/4 cup coconut oil
- 20 to 30 drops essential oils (combined total)
My go-to blend:
- 10 drops citronella
- 8 drops lavender
- 6 drops lemon eucalyptus
- 4 drops peppermint
You can adjust this depending on your preference, but this mix gives a clean, fresh scent without being overpowering.
Step 1: Melt the Base Ingredients
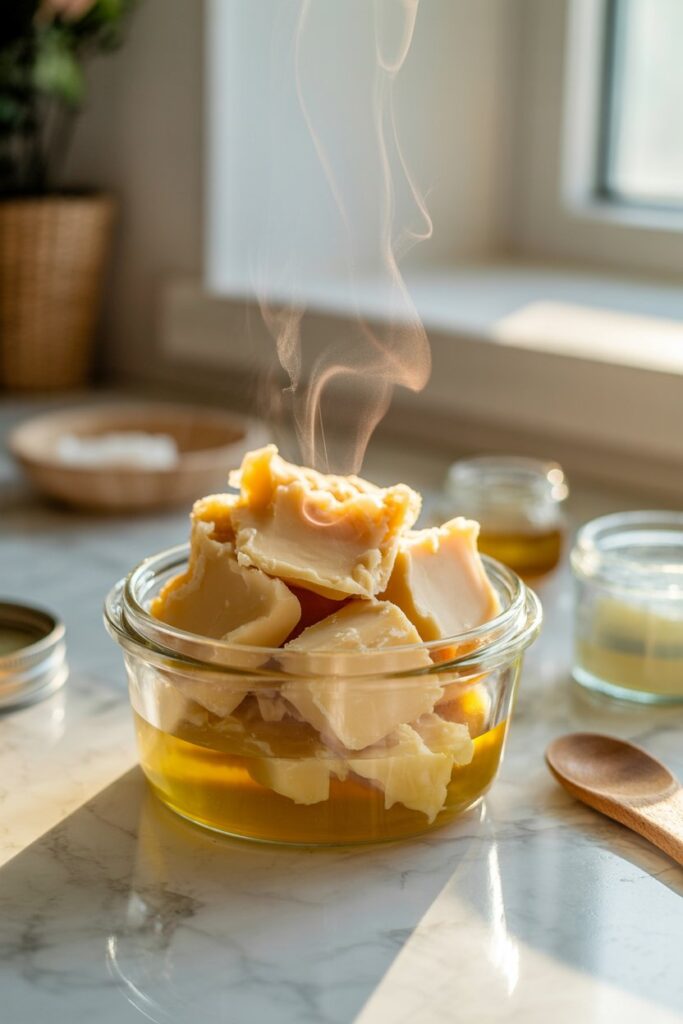
Add your beeswax, shea butter, and coconut oil into a double boiler.
If you don’t have one, just place a heat-safe bowl over a pot of simmering water.
Let everything melt slowly, stirring occasionally.
I’ve learned not to rush this part. High heat can mess with the texture, so keep it gentle and steady.
Step 2: Remove From Heat
Once everything is fully melted and smooth, take it off the heat.
Let it cool for about 1 to 2 minutes.
This step matters more than it seems. If the mixture is too hot, it can weaken the effectiveness of your essential oils.
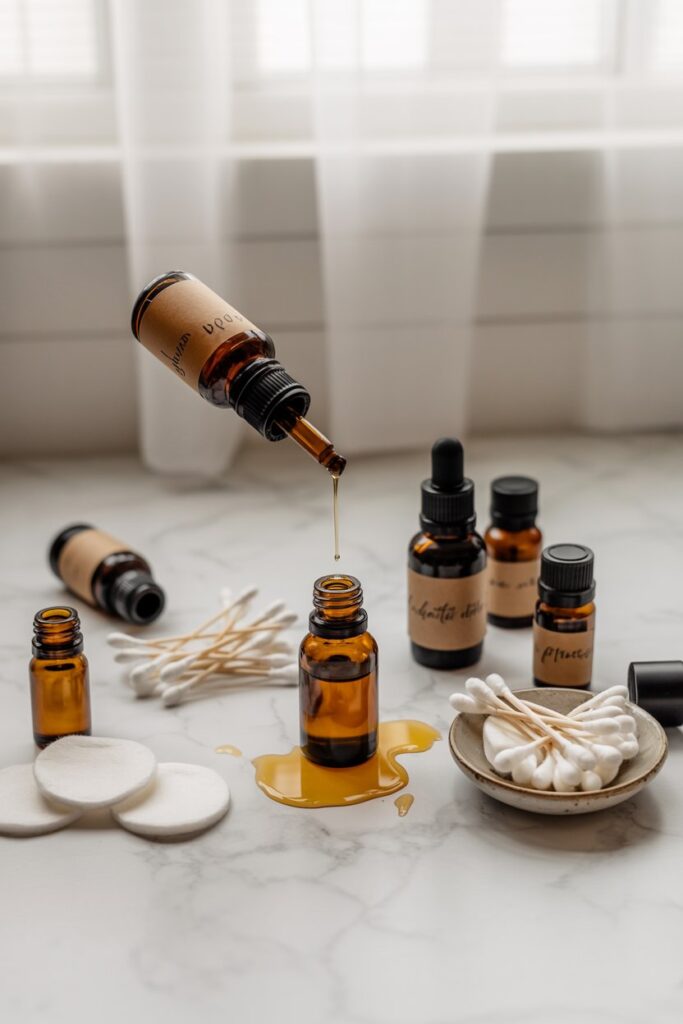
Step 3: Add Essential Oils
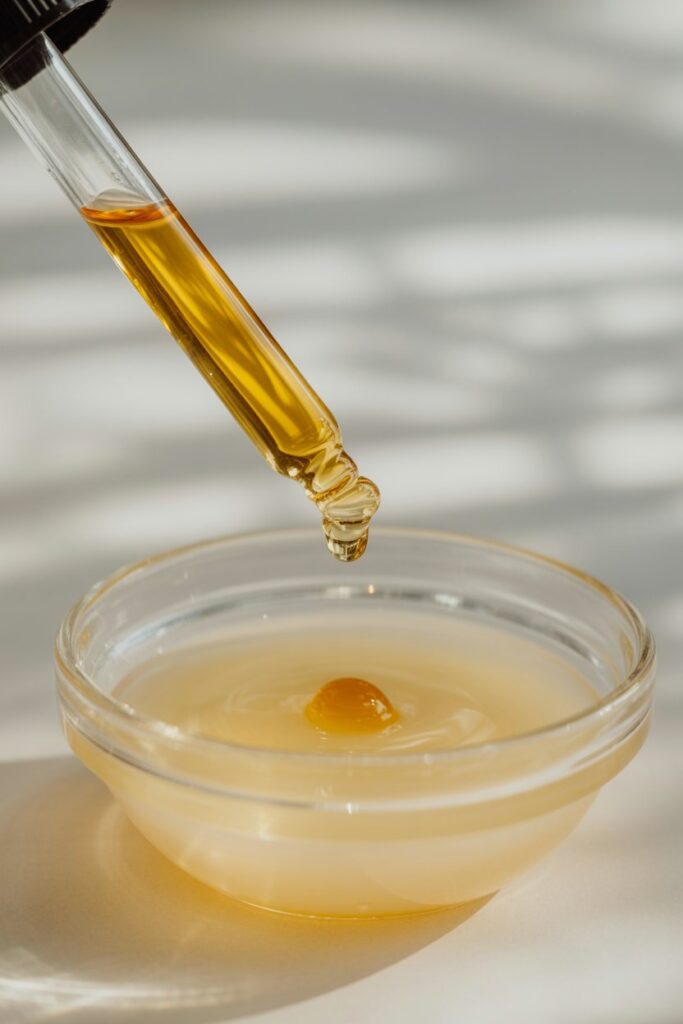
Now add your essential oil blend.
Stir gently but thoroughly so everything is evenly distributed.
This is the moment where it starts to smell amazing, and honestly, it’s one of my favorite parts of the whole process.
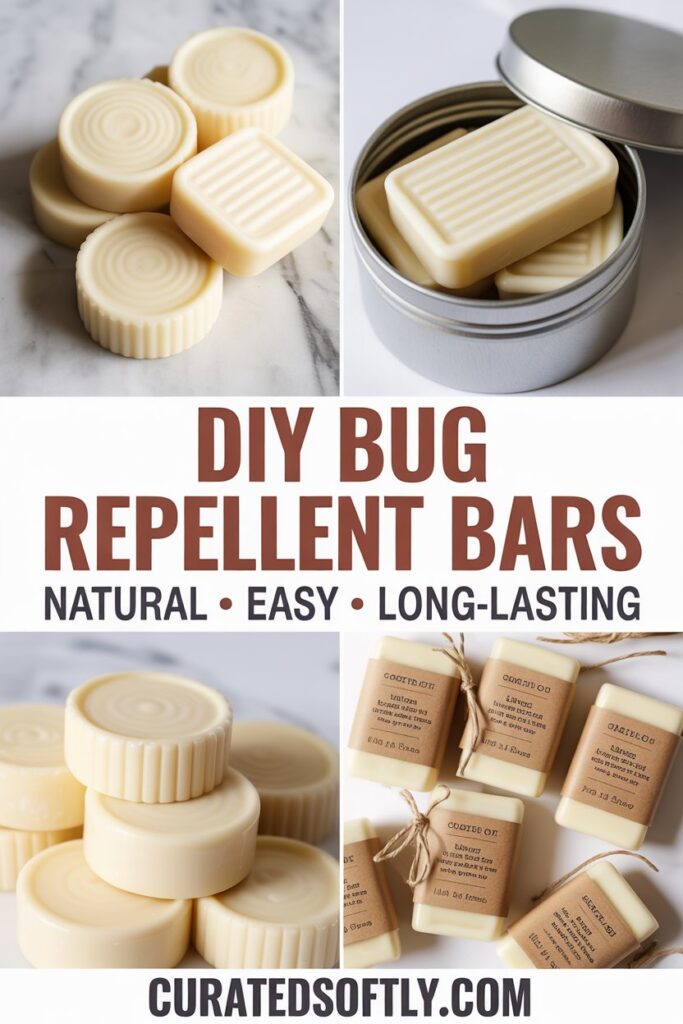
Step 4: Pour Into Molds
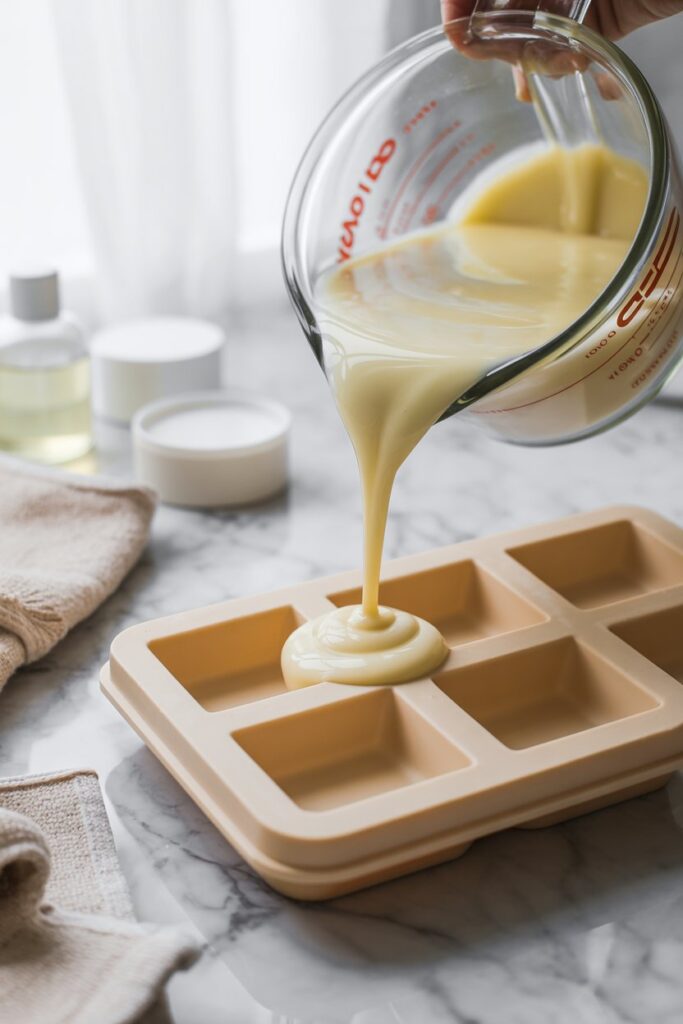
Carefully pour the mixture into silicone molds.
You can use:
- round molds
- heart shapes
- simple bars
I personally like smaller molds because they’re easier to carry around and use on the go.
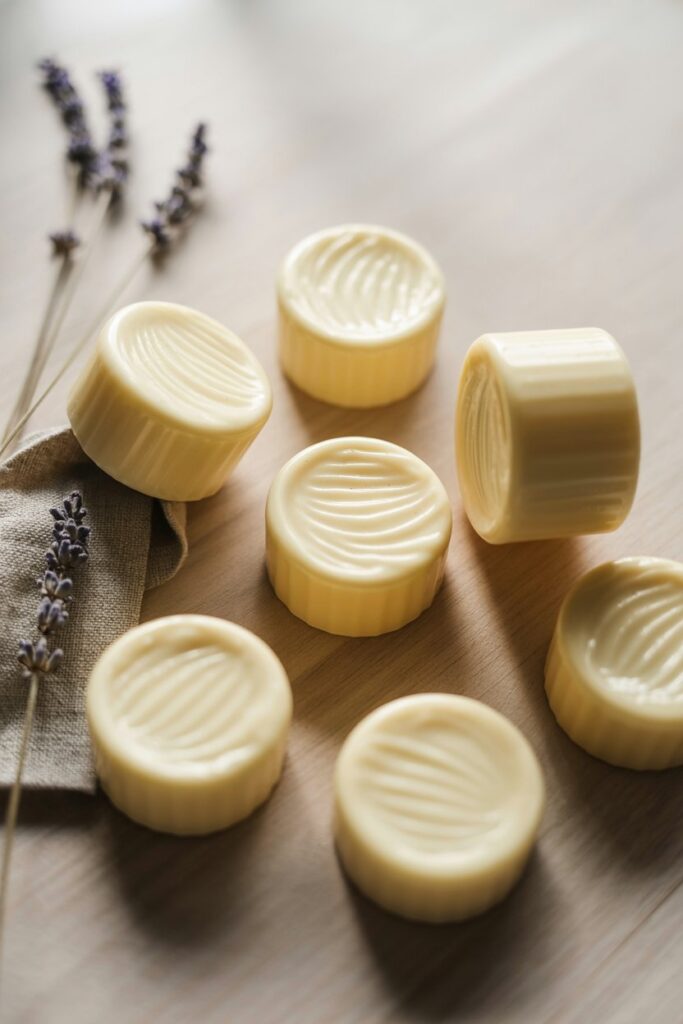
Step 5: Let Them Set
Leave the molds at room temperature or place them in the fridge to speed things up.
They usually harden within 1 to 2 hours.
Once fully set, pop them out of the molds and they’re ready to use.
That’s it. No complicated steps, no special skills needed.
How to Use Your Lotion Bars
Using them is as simple as it gets.
Just rub the bar directly onto your skin, focusing on areas like:
- arms
- legs
- ankles
- neck
The warmth of your skin will melt a thin layer, leaving a light coating behind.
I usually apply mine right before heading outside, and reapply every couple of hours if I’m staying out longer.
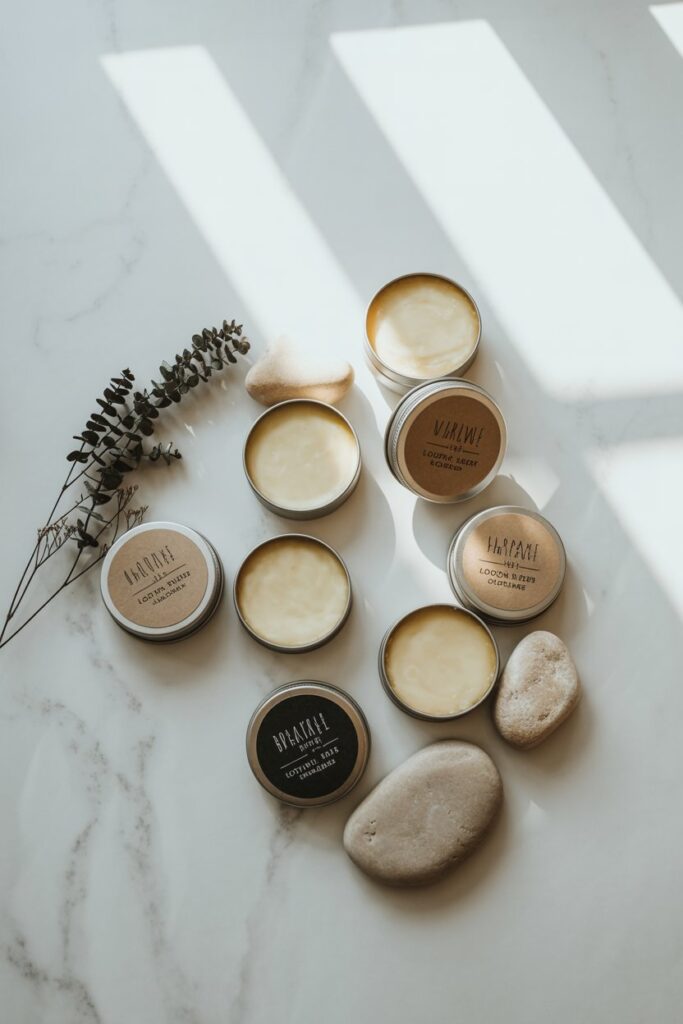
How to Store Them Properly
Storage makes a big difference in how long your lotion bars last.
Here’s what works best for me:
- Keep them in a cool, dry place
- Store in a tin or container if you’re traveling
- Avoid leaving them in direct sunlight or hot spaces
Because they’re made with natural oils and butters, they can soften or melt in high heat.
I learned this after leaving one in my bag on a hot day. Still usable, just a little messier than planned.
Common Mistakes to Avoid
If you want your lotion bars to turn out perfectly the first time, these are the things to watch for.
Adding Too Many Essential Oils
More is not better here.
Too much can irritate your skin and make the scent overwhelming. Stick to safe amounts and build from there if needed.
Overheating the Ingredients
High heat can affect both the texture and the quality of your oils.
Keep the heat low and be patient while melting.
Wrong Wax-to-Oil Ratio
If your bars feel too hard, you likely used too much beeswax.
If they’re too soft, you may need a bit more wax next time.
Don’t stress about getting it perfect immediately. Small adjustments make a big difference.
Skipping the Patch Test
Even natural ingredients can cause reactions.
Always test a small area first, especially if you’re trying a new essential oil blend.
How Long Do Lotion Bars Last?

From my experience, they last surprisingly long.
- Shelf life: about 3 to 6 months
- Usage: one bar can last several weeks depending on how often you use it
To keep them fresh longer, store them properly and avoid exposing them to heat.
Are These Safe for Everyone?
For most people, yes, but there are a few things to keep in mind.
- Always dilute essential oils properly
- Avoid using on very young children without researching safe oils
- If you’re pregnant or have sensitive skin, double-check which oils are suitable
When in doubt, keep your blend simple and gentle.
Frequently Asked Questions (SEO Boost Section)
Do bug repellent lotion bars really work?
Yes, they help repel insects by masking your scent. They work best for everyday use and may need reapplication in high mosquito areas.
Can I make lotion bars without beeswax?
Beeswax is what keeps the bars solid. You can substitute with plant-based waxes like candelilla, but the texture may vary.
What is the best essential oil for bug repellent?
Citronella and lemon eucalyptus are two of the most effective, especially when combined with others like lavender and peppermint.
Will these melt in hot weather?
They can soften or melt in high heat, so it’s best to store them in a cool place or container when outdoors.
Final Thoughts
I started making bug repellent lotion bars out of frustration, but they quickly became something I genuinely enjoy using.
They’re simple, effective, and feel so much better than traditional sprays.
And once you get into the habit of making your own, it becomes one of those small, satisfying swaps that just makes sense.
If you’ve been looking for a more natural, mess-free way to keep bugs away, this is definitely worth trying.