I still remember sitting at my table with my first pack of polymer clay, feeling equal parts excited and confused. I had saved so many beautiful earring ideas on Pinterest, and in my head, I was about to recreate all of them.
Reality? My first pair was uneven, slightly burnt, and full of fingerprints.
But here is what I wish someone told me earlier. You do not need to be “naturally creative” to make beautiful polymer clay earrings. You just need the right process, a little patience, and a willingness to learn as you go.
If you have been thinking about trying this, whether for fun, gifts, or even to make money, I am going to walk you through everything step by step in a way that actually makes sense.
Why Polymer Clay Earrings Are So Popular Right Now
If you have been on Pinterest or Instagram lately, you have probably noticed how everywhere polymer clay earrings are.
There is a reason for that.
They are:
- Lightweight and comfortable to wear
- Easy to customize in endless styles
- Affordable to start making at home
- Perfect for small businesses and side hustles
When I made my first decent pair, I wore them out and someone asked me where I bought them. That moment stuck with me because it made me realize this is not just a hobby. It is something you can genuinely get good at.
And you can too.
What You Need to Make Polymer Clay Earrings (Beginner Setup)
Let’s keep this simple because you do not need a huge investment to start.
When I began, I tried to “make do” with random tools at home. It worked… but it also made everything harder than it needed to be.
If you want a smoother start, here is what I recommend.
Basic Tools You Actually Need
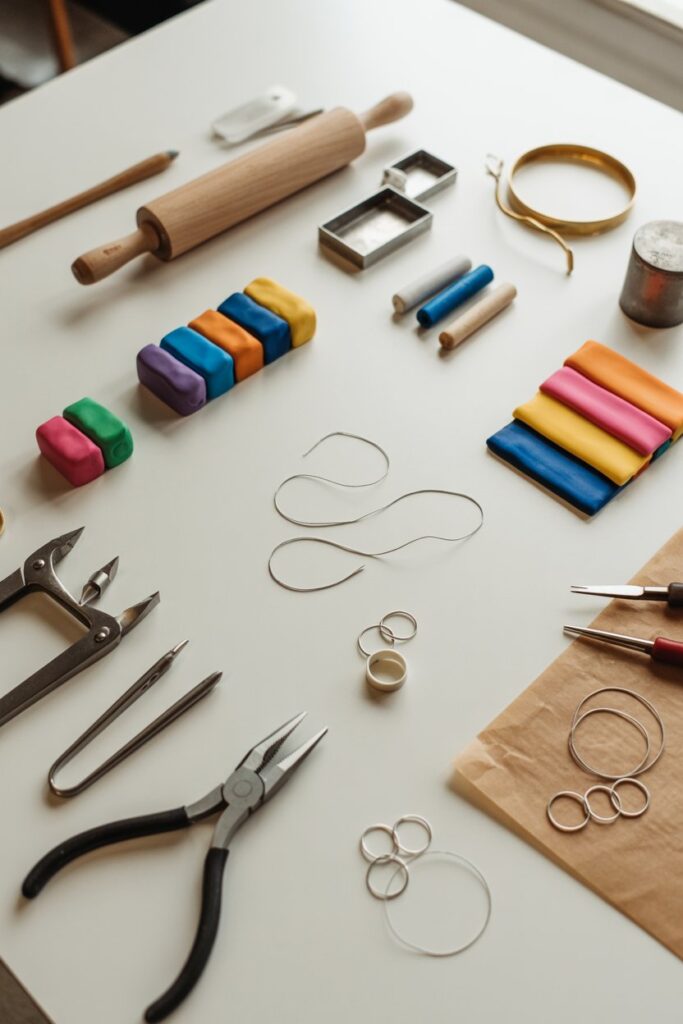
- Polymer clay (start with 2 to 3 colors)
- A rolling tool (rolling pin or smooth glass cup)
- Parchment paper or baking paper
- A clean, flat surface
- A sharp blade or clay cutters
- Toothpick or needle (for holes)
- Baking tray
- Oven
Jewelry Supplies
- Earring hooks or studs
- Jump rings
- Small pliers
That is it. You can upgrade later, but this is enough to create beautiful pieces right away.
I did not buy fancy tools at first, and honestly, I am glad I didn’t. It helped me focus on learning the basics instead of overcomplicating things.
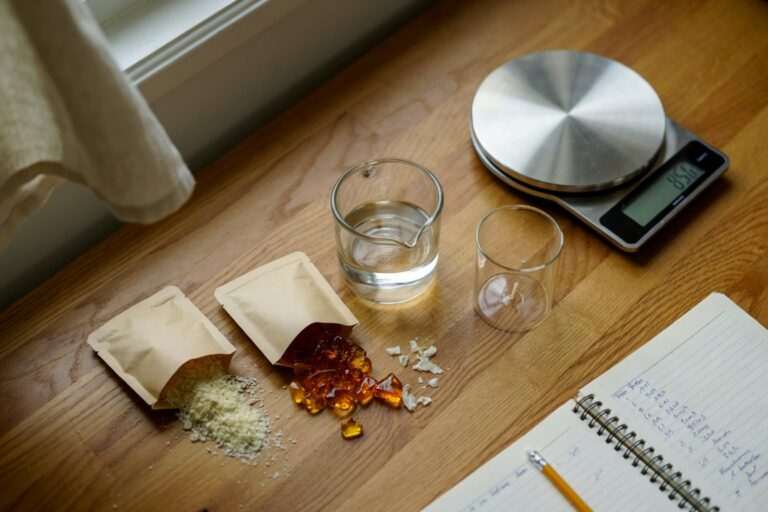
Choosing the Right Polymer Clay (This Matters More Than You Think)
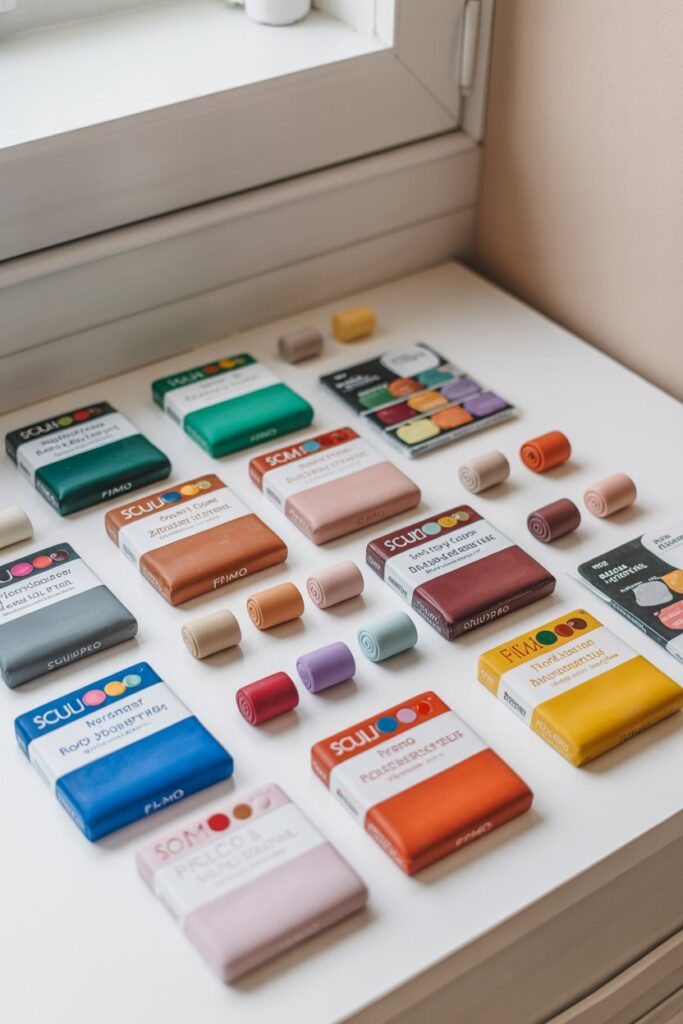
This is one part that can quietly affect your results without you realizing it.
Different brands feel very different.
If you are just starting:
- Softer clay (like Sculpey III) is easier to shape
- Firmer clay (like Premo or Fimo Professional) holds cleaner edges and lasts longer
When I switched from soft clay to a firmer one, my earrings instantly looked more polished. The shapes were sharper, and the finish looked more “store-bought.”
A Quick Tip I Learned the Hard Way
Always condition your clay.
This simply means kneading it until it becomes soft and smooth. If you skip this, your clay might crack or feel stiff while working.
I used to rush this step… and it always showed in the final result.
Step-by-Step: How to Make Polymer Clay Earrings at Home
This is the exact process I use now, and once you follow it a few times, it becomes second nature.
Step 1: Set Up a Clean Workspace
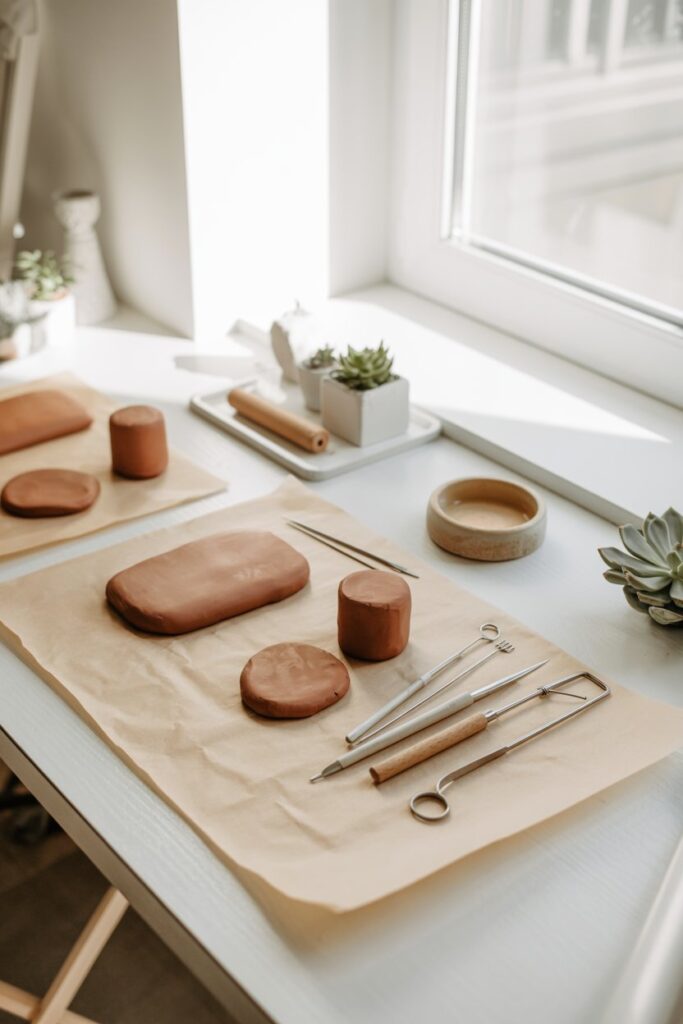
I cannot stress this enough.
Polymer clay picks up dust, lint, and tiny particles so easily. The first time I worked on a random table, my earrings had little specks all over them.
Now I always:
- Wipe down my surface
- Wash and dry my hands
- Work on parchment paper
It takes less than a minute, but it makes a huge difference in how your final earrings look.
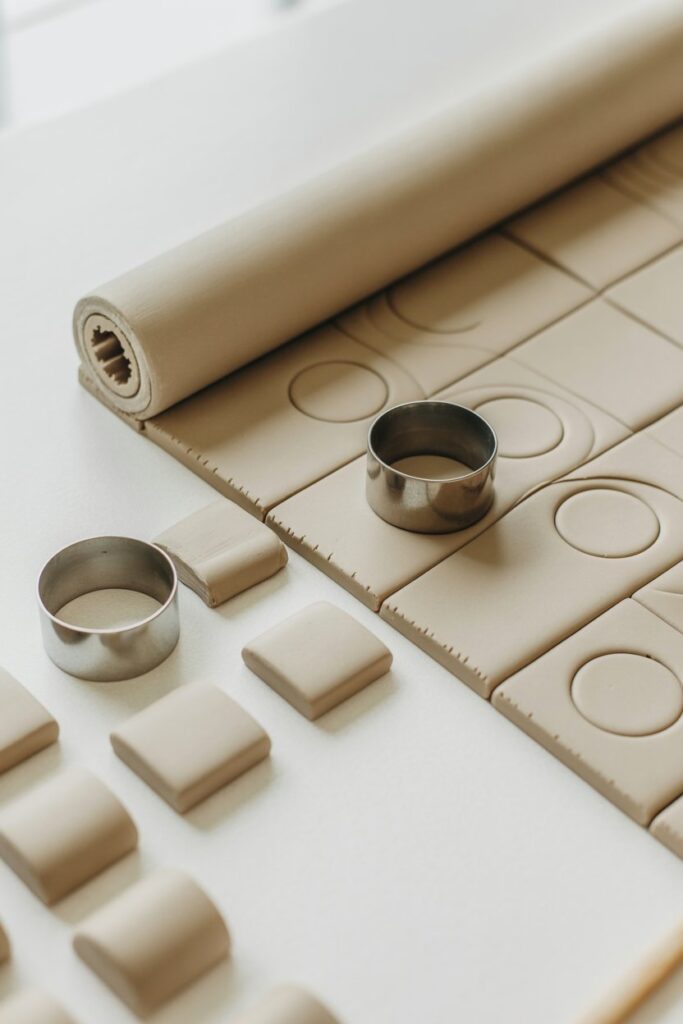
Step 2: Condition and Roll Out Your Clay
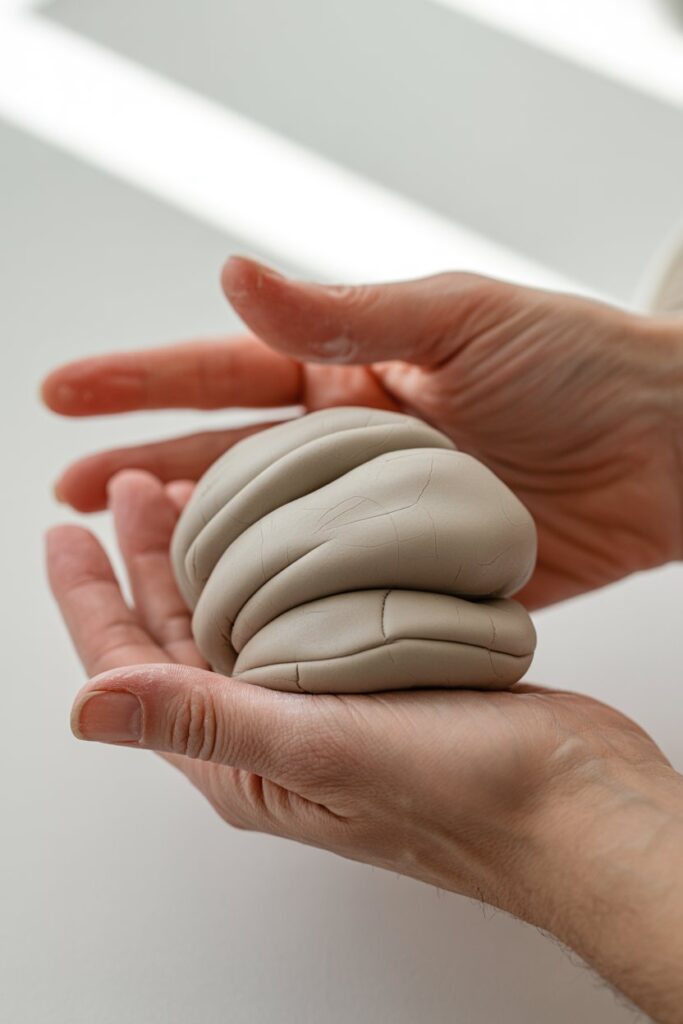
Take a small piece of clay and knead it between your hands until it feels soft and flexible.
Then roll it out evenly.
Try to keep your thickness around 2 to 3 mm.
- Too thin and it might break after baking
- Too thick and it can feel heavy and bulky
My early mistake was rolling unevenly, which gave me one earring thicker than the other. It sounds small, but it really affects the final look.
Step 3: Create Your Earring Shapes
Now comes the fun part.
If you are a beginner, start simple. You do not need complicated designs to make something beautiful.
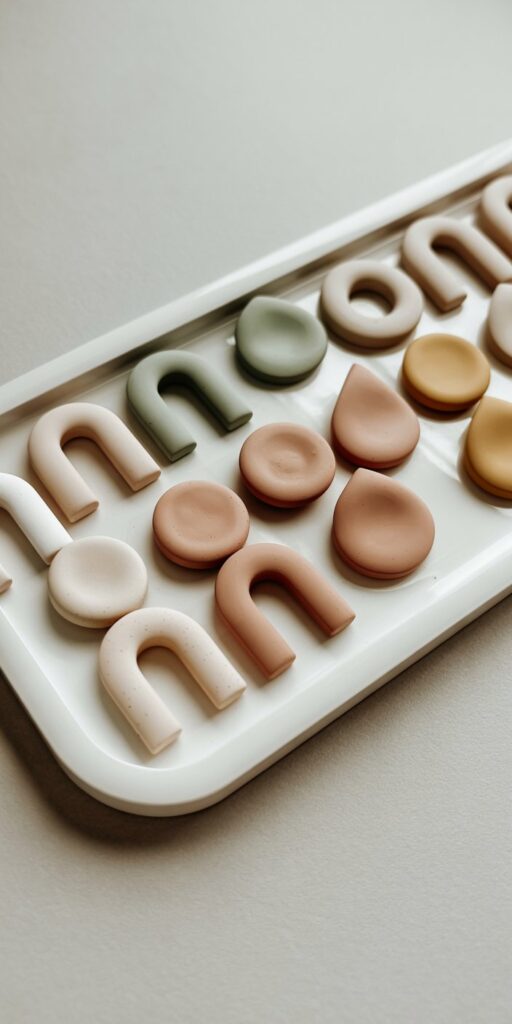
Easy ideas you can try:
- Circles or half circles
- Arches
- Minimal geometric shapes
- Simple layered pieces
If you are using cutters, press them straight down and lift carefully.
If you are cutting by hand, go slowly and keep your edges as clean as possible.
This is one step where slowing down really pays off. I used to rush it, and my shapes always looked slightly off.
Step 4: Add Design Details (Optional but Fun)
Once your base shapes are ready, you can leave them plain or add details.
Some beginner-friendly techniques:
- Mixing two colors for a marble effect
- Adding tiny clay pieces for a terrazzo look
- Using a toothpick to create texture
- Layering shapes for dimension
I still remember trying a marble effect for the first time. It looked messy while I was making it, but after baking, it turned into one of my favorite pairs.
So do not overthink this part. Experiment a little.
Step 5: Make Holes Before Baking
This is a step that is very easy to forget… and very annoying to fix later.
Use a toothpick or needle to make holes where your jump rings will go.
Make sure:
- The hole is not too close to the edge
- It is large enough for your hardware
I have definitely baked a full batch of earrings and realized I forgot the holes. Learn from me and double-check before baking.
Step 6: Bake Your Polymer Clay Properly
Place your earrings on a baking tray lined with parchment paper.
Then bake according to your clay’s instructions, usually around 110 to 130°C.
A few things that made a big difference for me:
- Do not guess the temperature
- Avoid opening the oven constantly
- Let the pieces cool completely before touching
They might feel slightly soft when hot, but they harden as they cool.
The first time I got the baking right, everything changed. My earrings stopped snapping and actually felt durable.
Step 7: Let Them Cool Completely
This part requires patience.
After baking, leave your earrings to cool fully before moving them.
I used to touch mine too early and accidentally bend them slightly. Once they cool down, they become firm and strong.
Common Beginner Mistakes (I Made All of These)
Before you move on, I want to save you some frustration.
Here are the mistakes I made when I started:
- Skipping clay conditioning
- Working on a dusty surface
- Rolling uneven thickness
- Forgetting to make holes
- Baking at the wrong temperature
None of these are a big deal, but fixing them early will improve your results fast.
A Quick Reality Check Before You Make Your First Pair
Your first pair will probably not look like the ones you saved online.
Mine definitely didn’t.
But your second pair will be better. And your third will be even better.
That is how this works.
If you stay consistent, you will reach a point where people start asking you where you bought your earrings. And that is when things get really exciting.
By now, you should have your baked clay pieces ready sitting in front of you. I still remember the first time I got to this stage. I was excited… and then immediately confused about how to turn those little shapes into actual earrings.
This is where everything comes together.
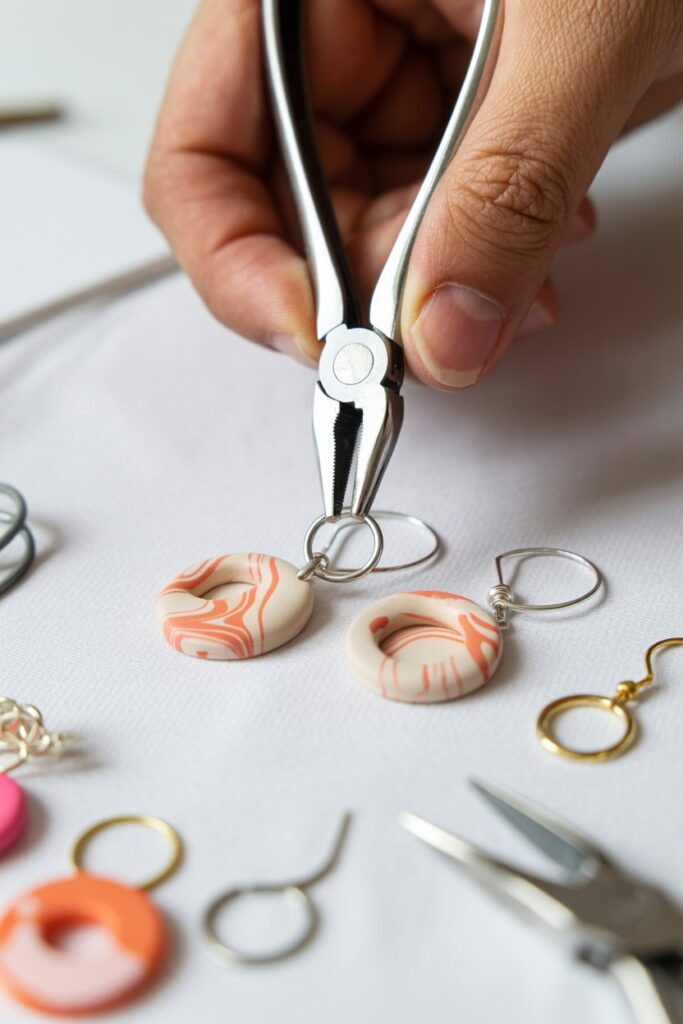
Step 8: Assemble Your Earrings Like a Pro
This step felt intimidating to me at first, but once you understand the basics, it becomes almost automatic.
You will use your jump rings and pliers to connect everything.
How I Do It
- Open your jump ring by twisting it sideways (not pulling it apart)
- Slide it through the hole in your clay piece
- Attach your earring hook or connect another clay piece
- Twist it back closed securely
That’s it.
The first time I tried this, I kept pulling the jump ring open the wrong way and ended up bending it out of shape. Once I learned the twisting method, everything got easier and neater.
A Small Detail That Makes a Big Difference
Make sure all your hooks face the same direction.
It sounds tiny, but when they don’t, your earrings will sit awkwardly when worn. I learned this after proudly finishing a pair… only to realize they looked slightly “off.”
Step 9: Smooth and Finish for a Professional Look
If you want your earrings to go from “DIY” to “wait, you made this?”, this step matters more than you think.
What You Can Do
- Lightly sand rough edges using fine sandpaper
- Buff the surface for a natural shine
- Add a thin coat of resin for a glossy finish (optional)
I did not bother with finishing at first, but once I started sanding and polishing, my pieces instantly looked cleaner and more expensive.
Even just smoothing the edges can completely change the final result.
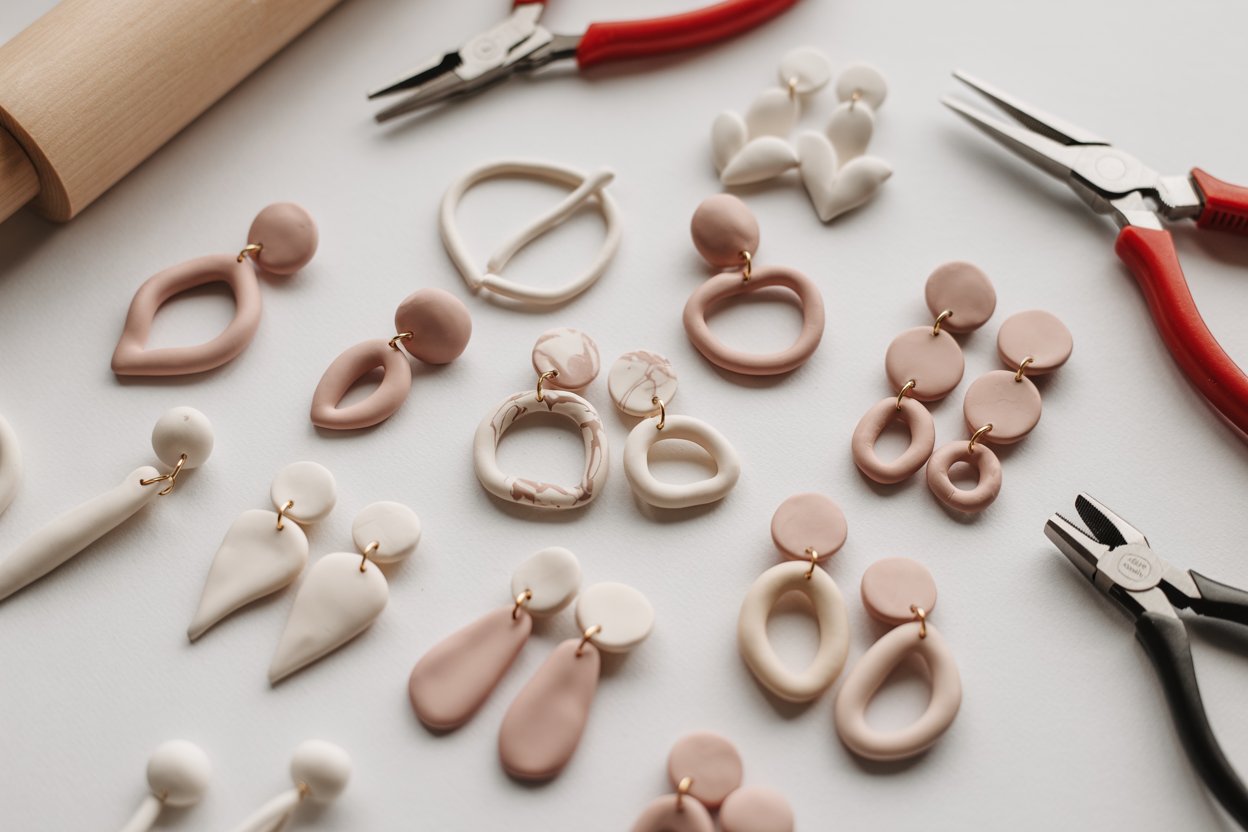
Easy Polymer Clay Earring Ideas You Can Try
When I started, I spent way too long trying to come up with “perfect” ideas. You really do not need to.
Here are some simple designs that always look good:
Minimal Everyday Styles
- Small circles or studs
- Neutral color arches
- Matte finish shapes
Trendy Pinterest Styles
- Terrazzo (multi-color speckled look)
- Marble swirls
- Abstract shapes
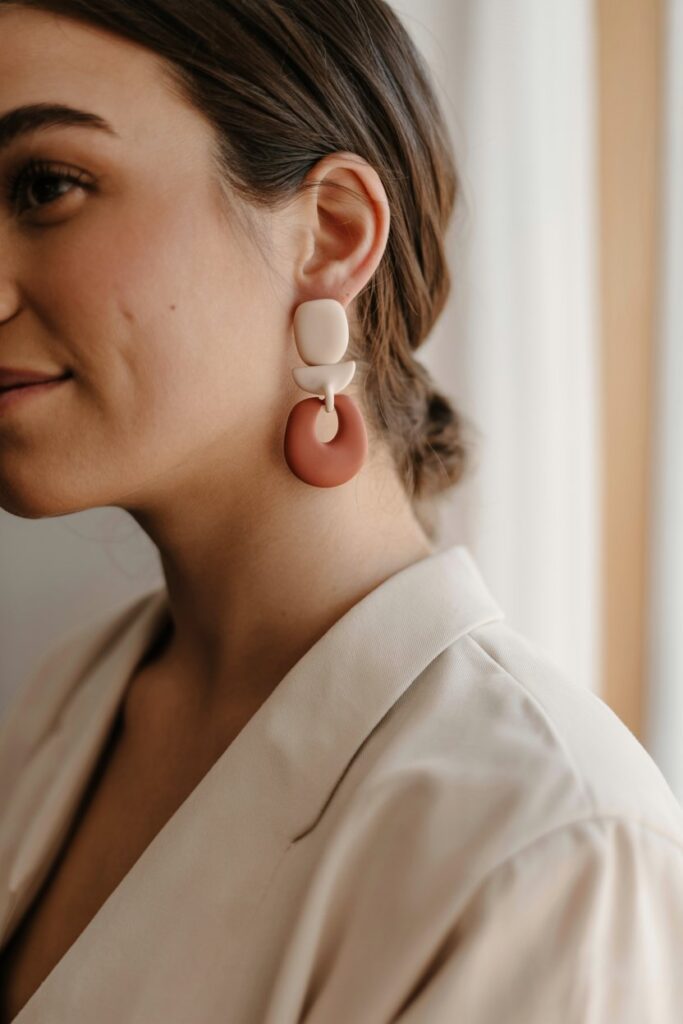
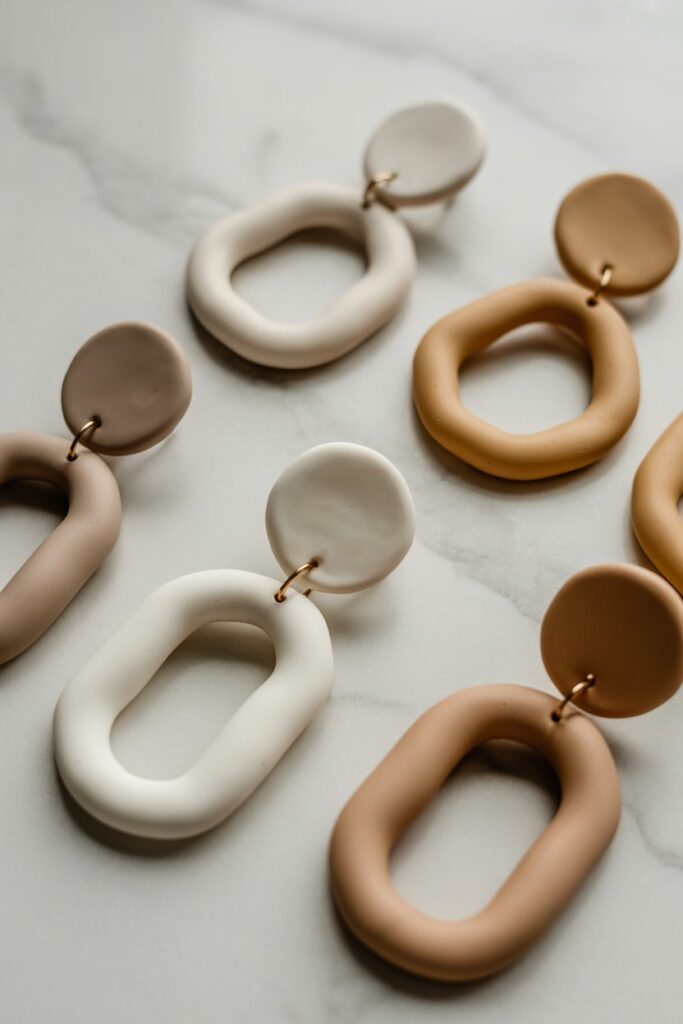
Layered Designs
- A small top piece with a hanging bottom piece
- Mixed shapes (circle + arch, square + drop)
One of my best early designs was just a simple arch with a soft neutral color. It took less than 20 minutes, and I got more compliments on that than anything complicated.
So do not underestimate simple.
How to Make Your Earrings Look Expensive (Even as a Beginner)

This is the part that changed everything for me.
When I stopped focusing on making “more” and started focusing on making “better,” people started noticing.
Here is what actually helps:
Keep Your Edges Clean
Rough edges make earrings look unfinished. A quick sand can fix this instantly.
Use Thoughtful Color Combinations
Instead of using every color, try:
- Neutrals (beige, white, brown)
- Soft pastels
- Black and gold combinations
Make Pairs Consistent
Try to keep both earrings as similar as possible in size and shape.
I used to “eyeball” everything, and it showed. Once I paid attention to symmetry, my work looked much more professional.
Avoid Fingerprints
This one took me time to fix.
Tip: Lightly smooth the surface with your fingers or a soft tool before baking.
How to Turn This Into a Side Hustle (If You Want To)
I did not start making polymer clay earrings to sell.
But after a few compliments and people asking, “Do you sell these?”, I started thinking… maybe I should.
If you are even a little interested, here is how you can start.
Start Small
- Make 5 to 10 pairs
- Take clear, bright photos (natural light works best)
- Share them on WhatsApp, Instagram, or Pinterest
You do not need a full website right away.
Price Your Earrings Simply
When I started, I underpriced a lot.
A simple way to price:
- Cost of materials
- Your time
- A small profit margin
Even beginner pieces can sell if they look neat and well-made.
Focus on a Style
Instead of making everything, try to develop a “look.”
For example:
- Minimal neutral designs
- Bold colorful statement pieces
- Soft feminine styles
This helps people recognize your work.
Real Talk: What I Wish I Knew Earlier
Let me be honest with you.
You will make mistakes.
You will have pieces that crack, burn slightly, or just do not turn out right.
I had days where I felt like I was wasting clay and time.
But every single mistake taught me something.
And slowly, without even realizing it, I improved.
If you stick with it, you will improve too.
Final Thoughts: Your First Pair Matters Less Than You Think
If you take anything from this guide, let it be this:
Start before you feel ready.
Do not wait until you have perfect tools or perfect ideas. Use what you have, follow the steps, and make your first pair.
Because once you do, everything becomes easier.
And who knows… this could turn into something you genuinely love, or even something that makes you money on the side.