There’s something incredibly satisfying about creating your own jewellery. I love how a simple piece of clay can transform into a statement necklace, a set of delicate earrings, or even a bold ring that completely elevates an outfit.
Air dry clay is my favorite material for DIY jewellery because it’s versatile, affordable, and requires no baking.
Every time I sit down with a piece of clay, I feel a mix of excitement and curiosity.
What shape should I try? Should I make it bold or minimal?
These little moments of creativity make crafting so enjoyable, and the fact that I can wear my creations later makes it even more rewarding.
If you’ve ever wanted to try making your own jewellery, air dry clay is the perfect starting point. It’s easy to work with, dries naturally in 24 hours, and the possibilities are endless.
Why I Love Air Dry Clay Jewellery
For me, the magic of air dry clay jewellery is in its flexibility and customization. You can create earrings, necklaces, bracelets, or rings in any color, shape, or texture you like.
I especially love that I can experiment with patterns and textures without worrying about ruining a piece.
If I make a mistake, I simply reshape it or blend it back in.
Plus, painting or sealing the clay after it dries allows me to add a professional finish that makes the jewellery look polished and store-bought.
Another reason I keep coming back to air dry clay is that it’s cost-effective.
You don’t need expensive tools or materials, just clay, basic sculpting tools, and maybe some paint or varnish if you want to add color.
See Also – How Long to Bake Polymer Clay
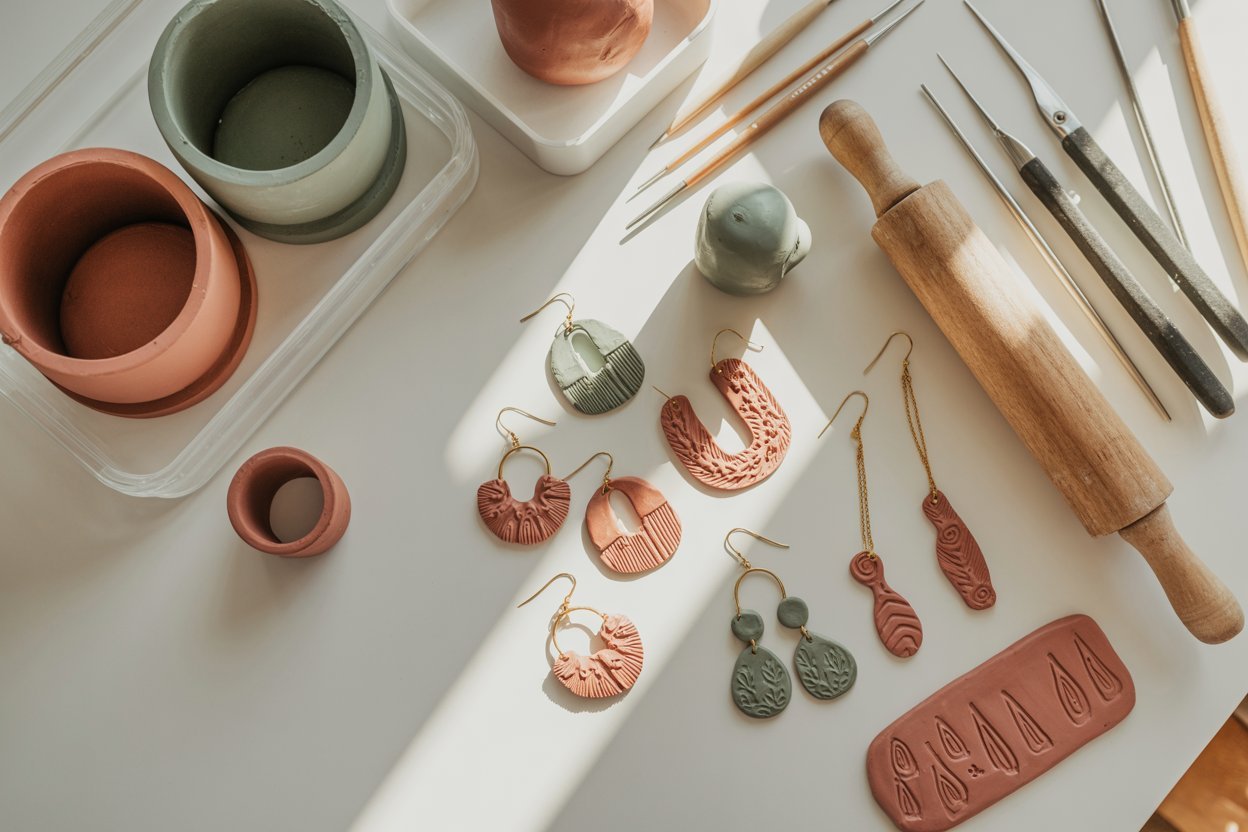
Supplies You’ll Need
Before you start creating your air dry clay jewellery, it’s helpful to have all the basic supplies ready.
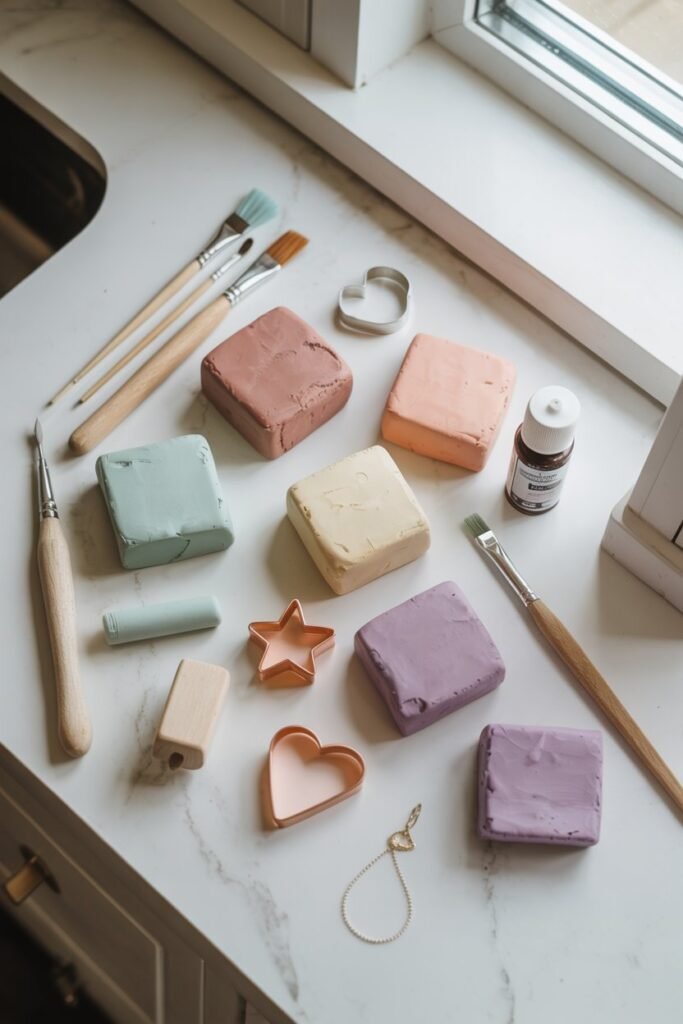
I always keep a small crafting kit on hand so I can dive in whenever inspiration strikes. Here’s what I use and recommend:
Air dry clay (various colors)
Sculpting tools (or toothpicks, small knives)
Cutters or molds (for shapes like circles, triangles, hearts)
Rolling pin or smooth surface
Sandpaper or emery board
Acrylic paints and brushes (optional)
Clear sealant (optional)
Jump rings, hooks, and chains for jewellery
Storage containers or trays
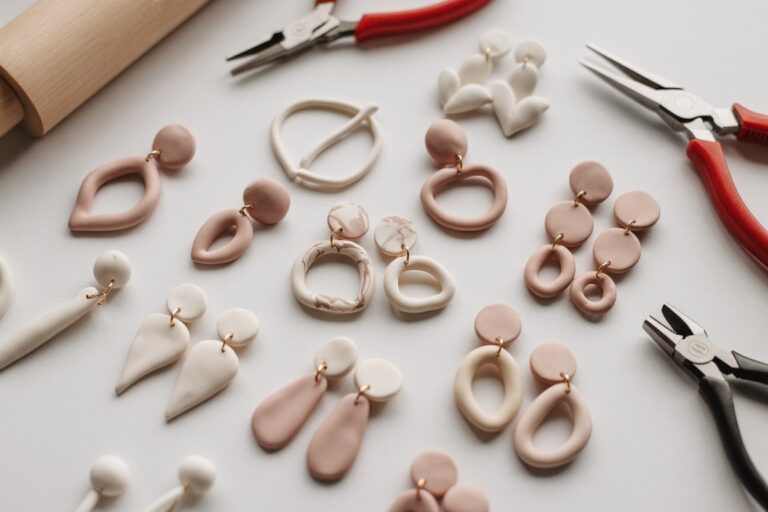
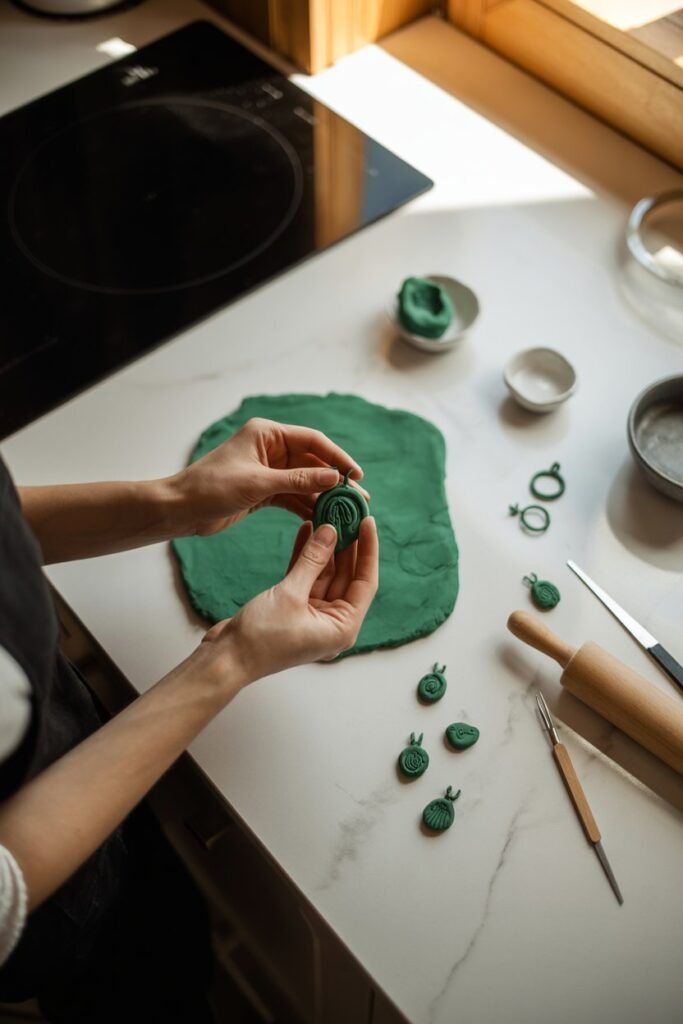
1. Minimalist Geometric Earrings
Minimalist geometric earrings are my favorite place to start because they are simple, chic, and perfect for beginners.

I love how just a circle, triangle, or rectangle can make a modern statement.
The first time I made them, I was surprised at how professional they looked even though I had no prior jewellery experience.
They are light, easy to wear, and perfect for pairing with casual or work outfits.
Supplies:
- Air dry clay (pastel or neutral shades for a modern look)
- Sculpting tools or toothpicks for shaping and smoothing
- Mini cookie cutters or silicone molds for precise geometric shapes
- Rolling pin or smooth, clean surface to flatten the clay evenly
- Jump rings and earring hooks for assembly
- Sandpaper or emery board to refine edges
- Acrylic paints and brushes (optional) for added color accents
- Clear sealant (optional) for durability and shine
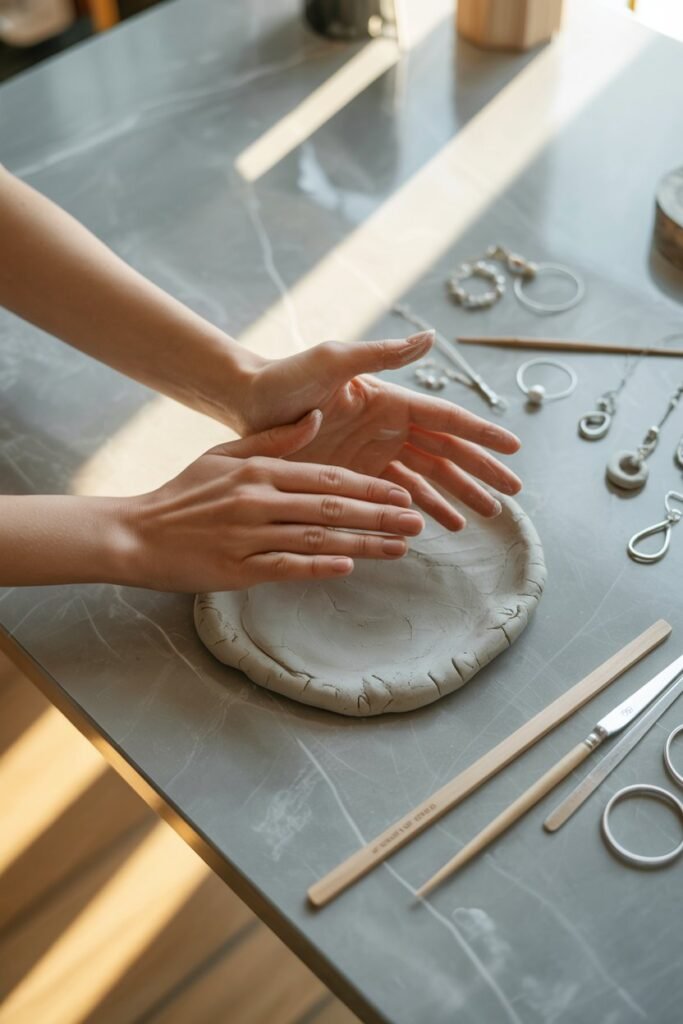
How to Make:
- Knead the clay until it is soft and pliable to make it smooth and easy to shape
- Flatten the clay with a rolling pin to an even 3 to 4 millimeter thickness
- Press cookie cutters or molds into the clay to create clean geometric shapes
- Smooth the edges with your fingers or a damp brush to give a polished look
- Use a toothpick to make a hole for the earring hooks
- Place the pieces on a flat tray or parchment paper and let them dry for 24 hours
- Lightly sand the edges for a smooth finish
- Optionally paint or seal the earrings
- Attach jump rings and hooks
Also read – How to Seal Air Dry Clay (Step-by-Step Guide for Beginners)
2. Statement Necklaces
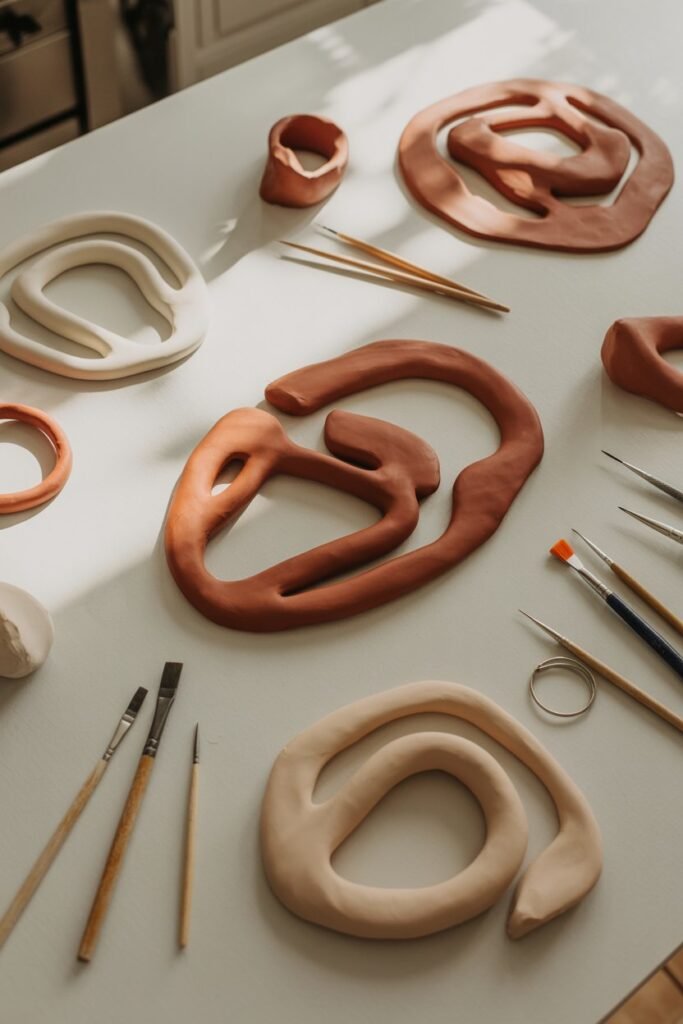
Statement necklaces are where I get to be creative. They allow me to experiment with bold shapes and vibrant colors.
I enjoy combining abstract forms and layering pieces to make a one-of-a-kind accessory.
Every time I wear one, I get compliments and it is satisfying to know I made it myself
Supplies:
- Air dry clay in bold or complementary colors
- Sculpting tools or toothpicks for shaping and blending layers
- Rolling pin or smooth surface for even thickness
- Acrylic paints and brushes for details or color gradients
- Clear sealant to protect the pieces and add shine
- Necklace chains or cords
- Jump rings for attaching clay pieces to chains
- Sandpaper or emery board for refining edges
- Storage tray for drying
How to Make:
- Knead and soften the clay then flatten it with a rolling pin to the desired thickness, usually 4 to 5 millimeters
- Shape the clay into bold abstract forms
- Layer different colors if you want a multi-tonal effect and smooth the joints with your fingers
- Use sculpting tools or toothpicks to create textures or patterns
- Pierce holes for jump rings or chain attachment
- Let the clay dry completely for 24 hours
- Lightly sand the edges for a refined look
- Paint or seal for a polished finish
- Attach chains or cords with jump rings
Also check out my post on – Simple and Easy 15 Air Dry Clay Projects Your Kids Will Love
3. Textured Clay Rings
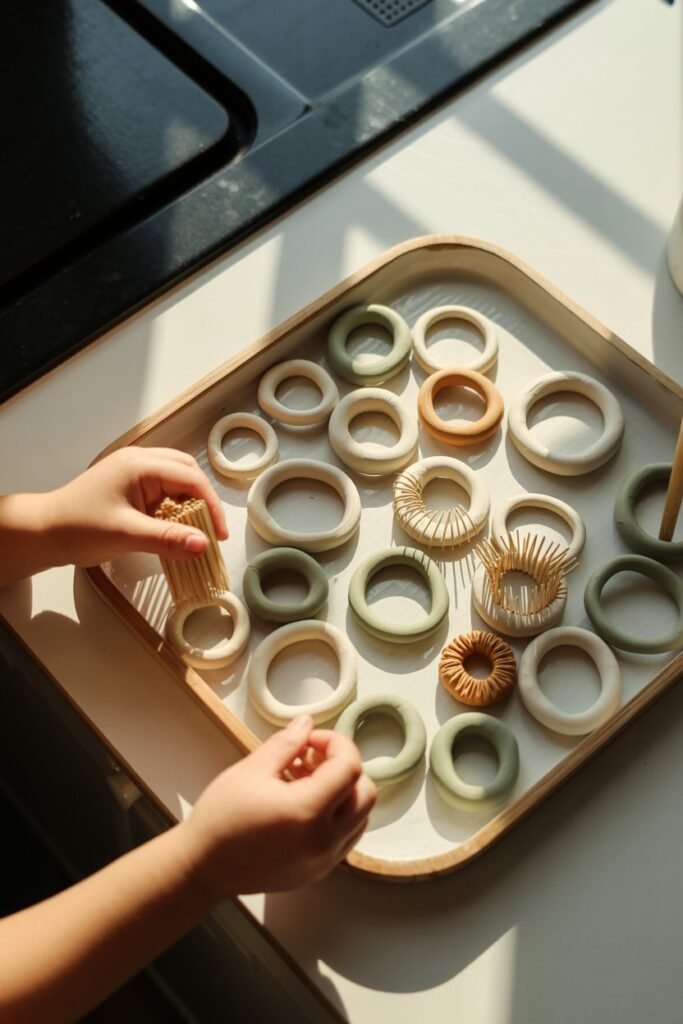
Textured clay rings are small but versatile. I enjoy experimenting with patterns from delicate floral designs to bold abstract textures.
Each ring feels like a tiny piece of art. Adding textures transforms a simple clay disc into a unique jewellery statement.
Supplies:
- Air dry clay (neutral or metallic shades)
- Sculpting tools, toothpicks, or stamps for patterns
- Rolling pin or smooth surface for even thickness
- Sandpaper or emery board for edges
- Clear sealant for durability
- Storage tray for drying
- Optional ring bases or glue if creating a band separately
How to Make:
- Knead the clay and flatten a small piece to 3 to 4 millimeters thickness for the ring top
- Use stamps, toothpicks, or sculpting tools to create textures or patterns
- Roll a thin coil of clay and attach it as a band if needed, blending carefully
- Let the ring dry completely for 24 hours
- Lightly sand edges and textured areas
- Optionally paint or seal the ring
- Wear alone or stacked with other rings
4. Beaded Bracelets
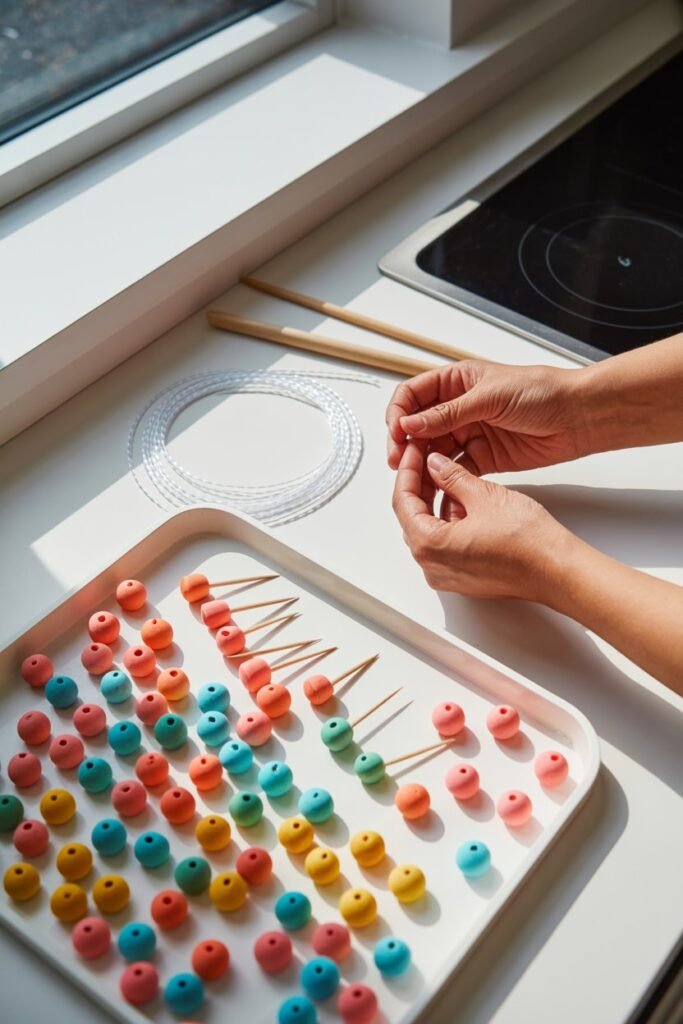
Beaded bracelets are playful and customizable. I like making clay beads in different colors, sizes, and textures.
They are perfect for gifts or stacking with other bracelets. Every time I create a set, I experiment with color combinations I would not normally try.
Supplies:
- Air dry clay in various colors
- Sculpting tools or toothpicks for shaping beads
- Toothpick or small skewer for piercing holes
- Rolling pin or smooth surface
- Elastic cord or string
- Jump rings or clasps (optional)
- Sandpaper or emery board
- Acrylic paint and brushes (optional)
- Clear sealant (optional)
- Storage tray for drying
How to Make:
- Knead and soften the clay then roll small balls for beads, keeping sizes consistent
- Pierce each bead with a toothpick or skewer for stringing
- Smooth edges with fingers or a small tool
- Let beads dry completely for 24 hours
- Lightly sand if needed
- Optionally paint or seal beads
- String beads on elastic cord or string
- Tie knots or add clasps as desired
5. Personalized Pendants
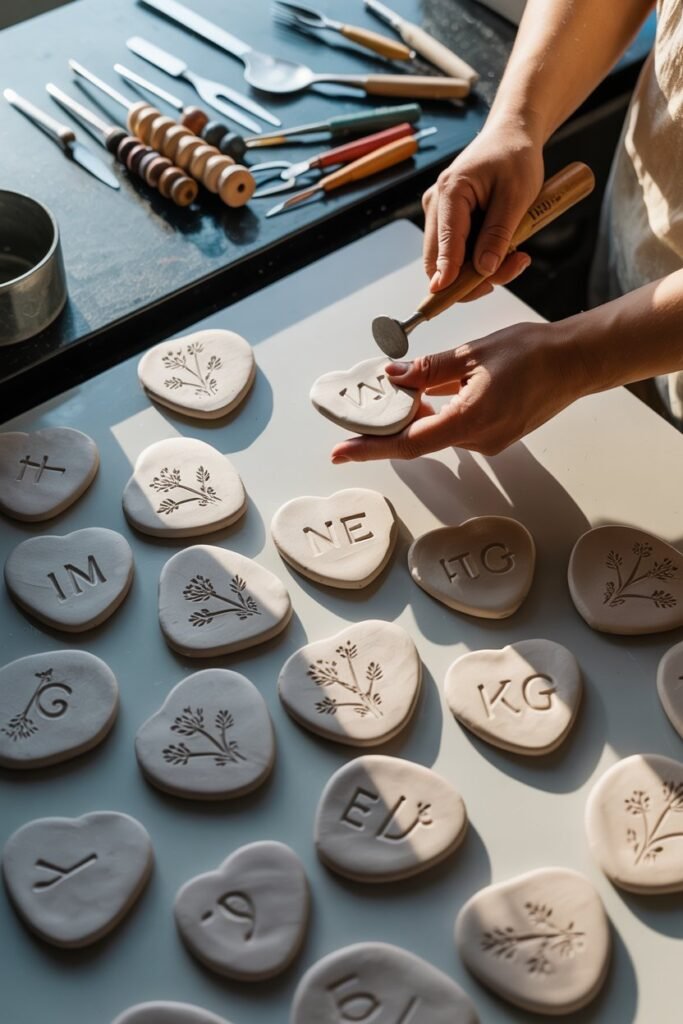
Personalized pendants are one of my favorite projects because they let me add a personal touch to my jewellery.
I enjoy creating initials, tiny symbols, or small words on clay. It makes the pieces feel special and unique, and it is always exciting to wear something that no one else has
Supplies:
- Air dry clay in your preferred color
- Sculpting tools or toothpicks for carving letters or symbols
- Rolling pin or smooth surface
- Small stamps for letters or patterns (optional)
- Sandpaper or emery board
- Clear sealant for durability
- Necklace chains or cords
- Jump rings for attaching pendants
- Storage tray for drying
How to Make:
- Knead the clay until soft, then flatten it to about 3 to 4 millimeters thickness
- Use sculpting tools, stamps, or a toothpick to carve initials, symbols, or patterns
- Smooth edges and surfaces with your fingers to avoid rough spots
- Pierce a hole for a jump ring or cord attachment
- Let the pendant dry completely, usually 24 hours
- Lightly sand the edges for a clean finish
- Optionally paint or seal for added color and protection
- Attach to a chain or cord using a jump ring
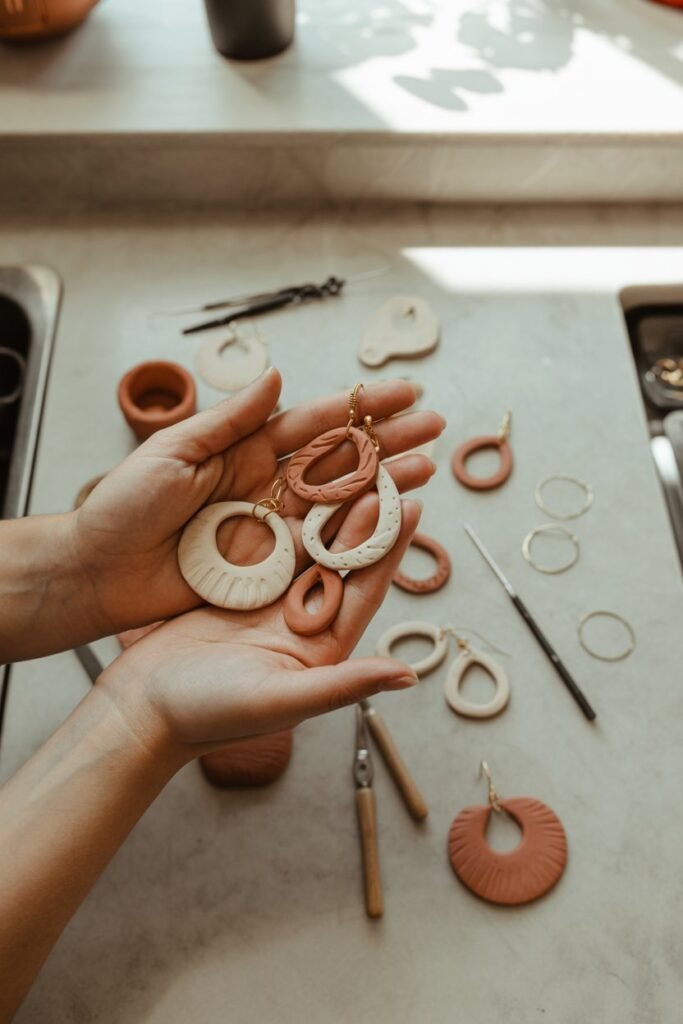
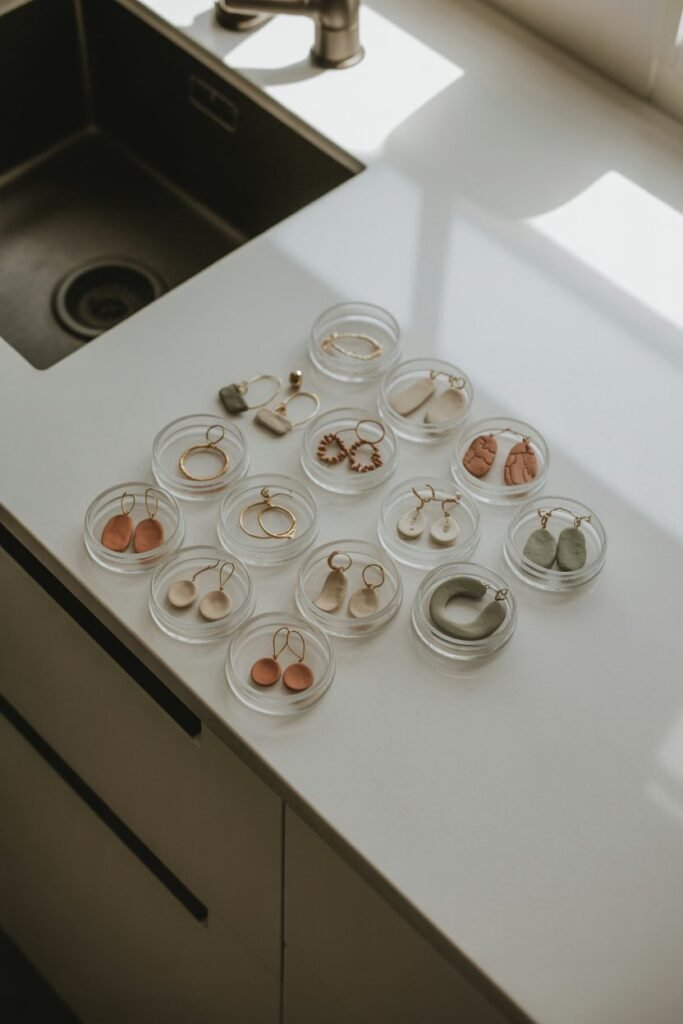
6. Mixed Sets of Clay Jewellery
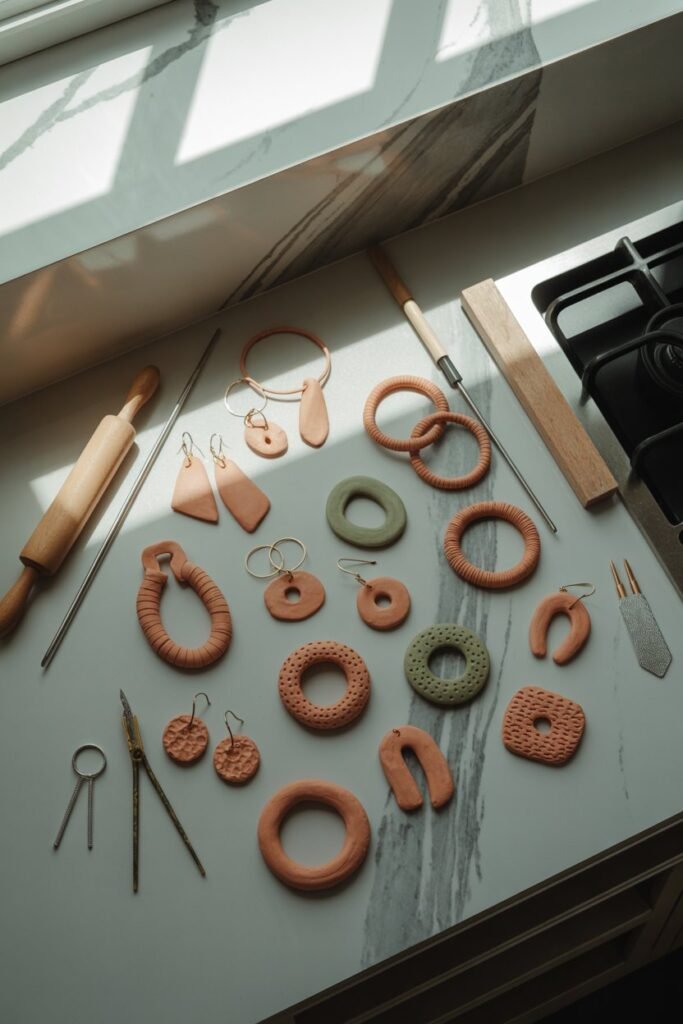
Creating mixed sets is one of my favorite ways to experiment with air dry clay.
I often combine earrings, pendants, rings, and bracelets in matching colors or textures.
It feels satisfying to create a cohesive collection, and it also makes gifting easier because the set looks polished and intentional.
Supplies:
- Air dry clay in several colors
- Sculpting tools or toothpicks
- Rolling pin or smooth surface
- Cookie cutters or molds for shapes
- Sandpaper or emery board
- Acrylic paints and brushes (optional)
- Clear sealant for durability
- Jump rings, hooks, chains, or cords
- Storage trays for drying
How to Make:
- Decide on a color palette and shapes for the set
- Knead and flatten the clay for each piece according to its size
- Cut or shape the clay into earrings, pendants, rings, or beads
- Add textures, patterns, or initials as desired
- Smooth all edges and surfaces before drying
- Pierce holes for hooks, jump rings, or stringing if needed
- Dry all pieces completely, usually 24 hours
- Sand edges lightly and paint or seal as desired
- Assemble the pieces into a coordinated set
Helpful Tips for Making Clay Jewellery
A few small tricks make a big difference when working with air dry clay. I always keep the clay soft by kneading it well or adding a tiny bit of water if it starts to dry.
Starting with smaller pieces helps me practice shapes and textures before moving on to larger designs.
I also pay attention to thickness so pieces dry evenly and hold their shape. Patience is key.
I never rush drying, sanding, or assembling because letting each piece fully set ensures the jewellery looks polished and professional.
Storage and Care for Clay Jewellery
Proper care keeps your clay jewellery looking great. I make sure every piece is fully dry before storing it in airtight containers to protect it from dust and moisture.
I like organizing pieces by type or set so they stay safe and easy to find. Cleaning is simple with a soft cloth and I avoid water, especially on painted or delicate pieces.
Sometimes I add a clear sealant for shine and extra protection. A little care goes a long way in keeping handmade jewellery beautiful for a long time.
Helpful Air dry clay resources
Start Your Air Dry Clay Journey with These 10 Essential Tips
How to Make Air Dry Clay Waterproof
Conclusion
Making air dry clay jewellery is one of those creative projects that feels both relaxing and rewarding.
I love how a few simple materials can turn into earrings, rings, bracelets, or pendants that are truly unique.
The best part is that each piece can reflect your style, whether you prefer bold statement designs or subtle, minimalist shapes.
I keep coming back to these projects because they are so versatile. You can experiment with colors, textures, and shapes, and every time I try something new, I discover a design I love even more.
With a little patience and care, your handmade clay jewellery can last a long time and become a signature part of your style.