
How to Glaze Air Dry Clay: A Beginner’s Guide to a Smooth, Glossy Finish

If you love making things with air dry clay, you probably know that the project does not always look finished when the clay dries. The surface can look a little dull, the colors may need more depth, and painted pieces can feel vulnerable to scratches, moisture, and everyday handling.
That is where a good finish comes in.
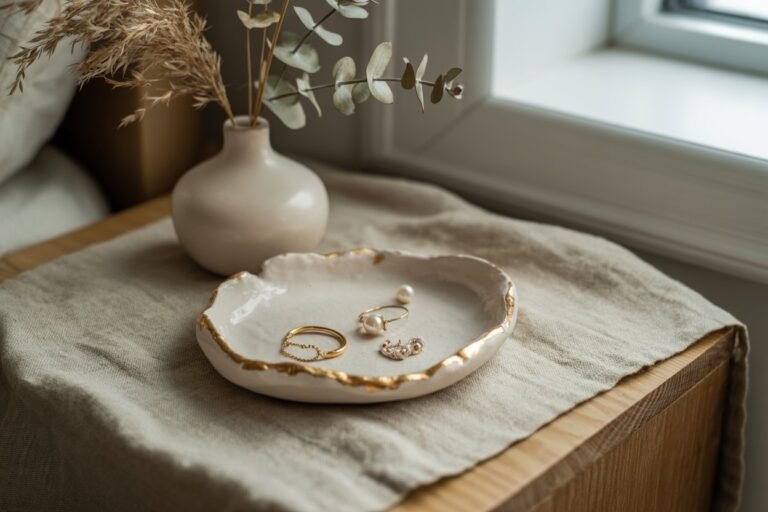
Learning how to glaze air dry clay can completely change the appearance of your finished projects. A clear gloss finish can make painted colors look brighter and give a jewelry dish, trinket tray, figurine, or decorative piece a smooth, polished appearance.

The important thing to understand is that air dry clay is not glazed in exactly the same way as traditional ceramic clay.
Ceramic glaze is normally applied to pottery and hardened in a kiln. Air dry clay does not go through that process.
Instead, when we talk about glazing air dry clay, we are usually talking about applying a clear craft finish, varnish, glaze, or sealer over the hardened surface.
Once I understood that difference, choosing products and getting a smooth finish became much easier.
In this guide, I’ll show you how to glaze air dry clay from start to finish, including how to prepare your piece, choose the right finish, apply it without streaks, and avoid the mistakes that can ruin an otherwise beautiful project.
What You Need to Glaze Air Dry Clay
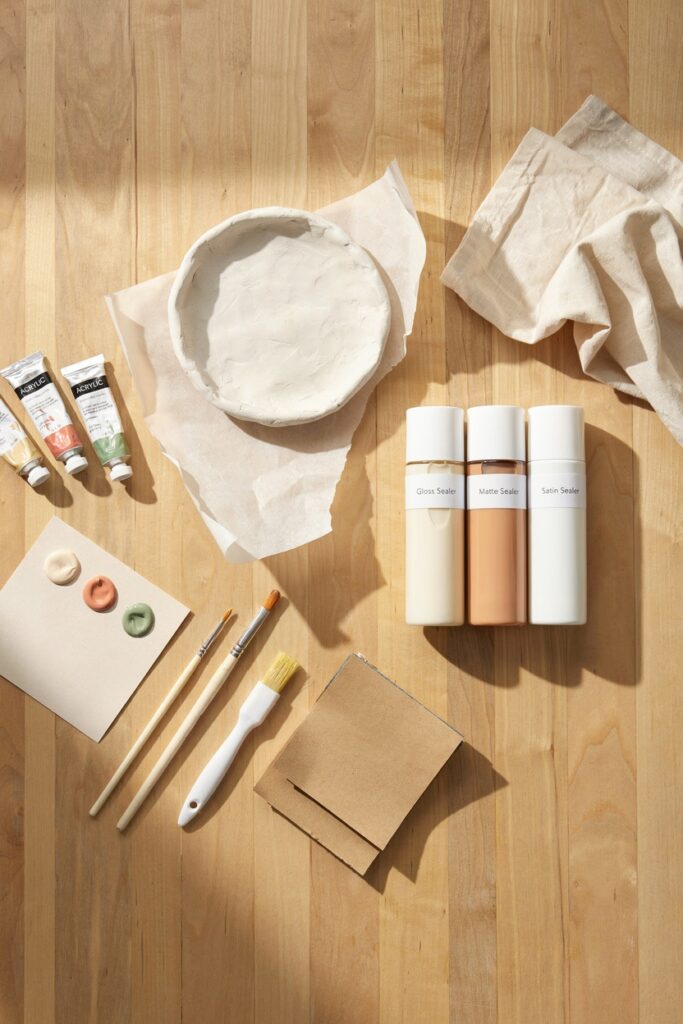
You do not need a large collection of supplies to get started. Most beginners can glaze air dry clay with a few simple craft materials.
Basic supplies
- Mod Podge Gloss Sealer – Most popular all-purpose glaze for air dry clay
- DecoArt Triple Thick Gloss Glaze – High-shine, glass-like finish in fewer coats
- Clear Acrylic Sealer Spray – Quick spray option for smooth sealing
- Soft Foam Paint Brushes Set – Helps apply glaze smoothly without streaks
- Detail Paint Brush Set for Crafts – Good for small or detailed clay pieces
- Disposable Paint Palette Tray – Keeps sealing products easy to manage
- Optional (Better Finish)
- Fine Sandpaper Assortment – Smooths clay before glazing for a cleaner finish
- UV Resin Top Coat for Crafts – Ultra glossy, durable finish for decorative pieces
Acrylic paint is a popular choice for decorating air dry clay because it is easy to work with and dries relatively quickly.
For the finishing coat, you can choose between a gloss, matte, or satin product depending on the appearance you want.
Gloss: Creates a shiny, reflective surface.
Matte: Keeps the piece looking softer and more natural.
Satin: Sits between matte and gloss and gives the piece a subtle sheen.
Want To Level Up Your Air-Dry Clay?
If you’ve been wanting to make more beautiful air-dry clay pieces but aren’t sure what to create next, I made this guide for you.
Air Dry Clay For Beginners – Beginner To Expert Fast gives you 30 fun projects with easy-to-follow instructions and step-by-step photos, so you can create with more confidence.
Instant digital download • $9.99 • Create at your own pace
Before You Start: Make Sure Your Clay Is Completely Dry
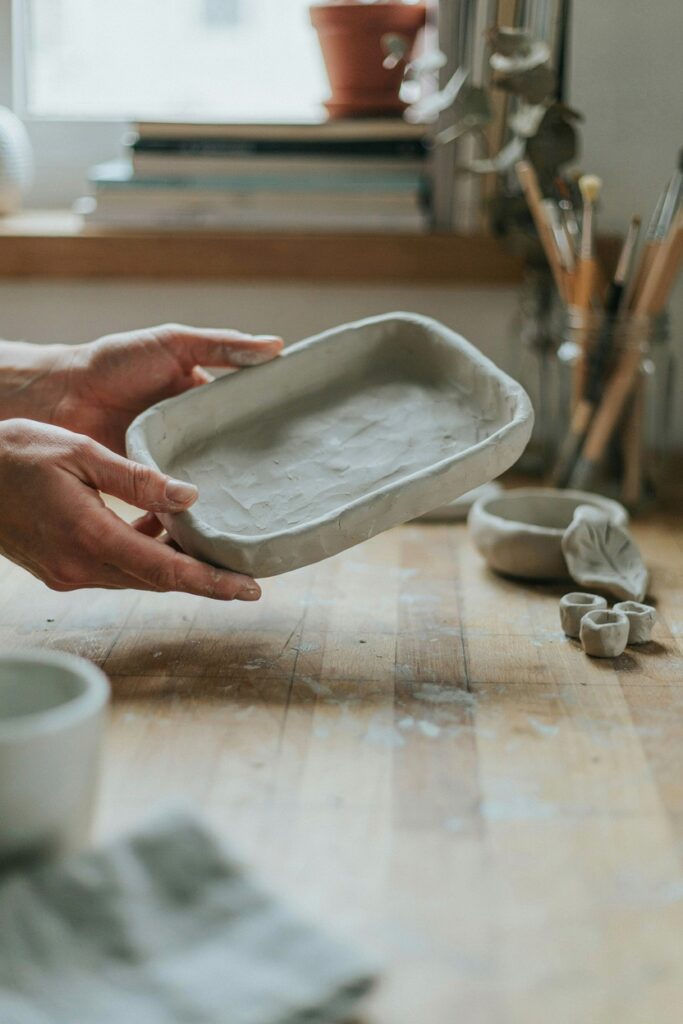
This is one of the most important steps.
Do not glaze a piece simply because the outside feels dry.
Air dry clay can feel hard on the surface while moisture is still trapped inside, particularly if you made a thick project. Applying a finish too early can interfere with the drying process and may lead to problems with the final surface.
Allow your project to dry according to the clay manufacturer’s instructions. Thicker pieces generally need considerably more time than thin ornaments or small decorations.
If you are unsure, give the piece extra drying time.
I would much rather wait another day than cover a piece that is not completely dry.
Once the clay has dried, inspect it carefully before moving on.
Look for:
- Soft areas
- Cracks
- Rough edges
- Dust
- Fingerprints
- Uneven paint
- Small imperfections
Fix anything you can before applying the finish because a clear coating can make imperfections more noticeable rather than hiding them.
Sand Your Air Dry Clay Before Glazing
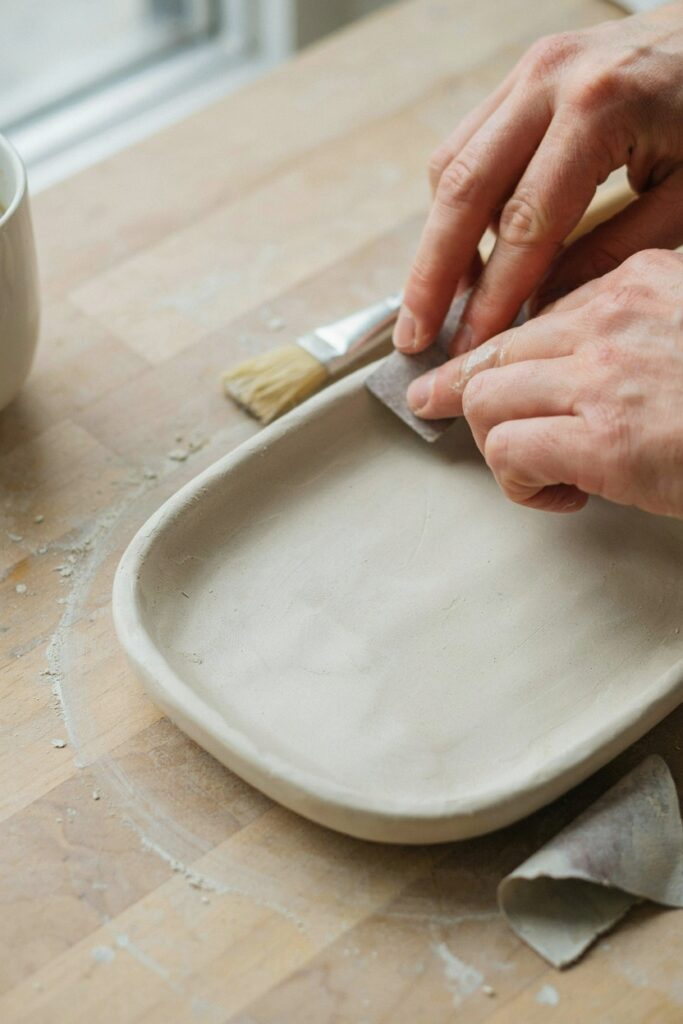
You do not always need to sand air dry clay, but it can make a noticeable difference when you want a smooth finish.
Use fine-grit sandpaper and gently smooth rough edges or uneven areas. You do not need to aggressively sand the entire project.
The goal is simply to remove noticeable imperfections.
After sanding, carefully remove the dust with a soft, dry cloth.
Dust left on the surface can become trapped underneath the finish and create a rough or cloudy appearance.
RELATED POST: [How to Paint Air Dry Clay: A Step-by-Step Guide]
Should You Paint Air Dry Clay Before Glazing?
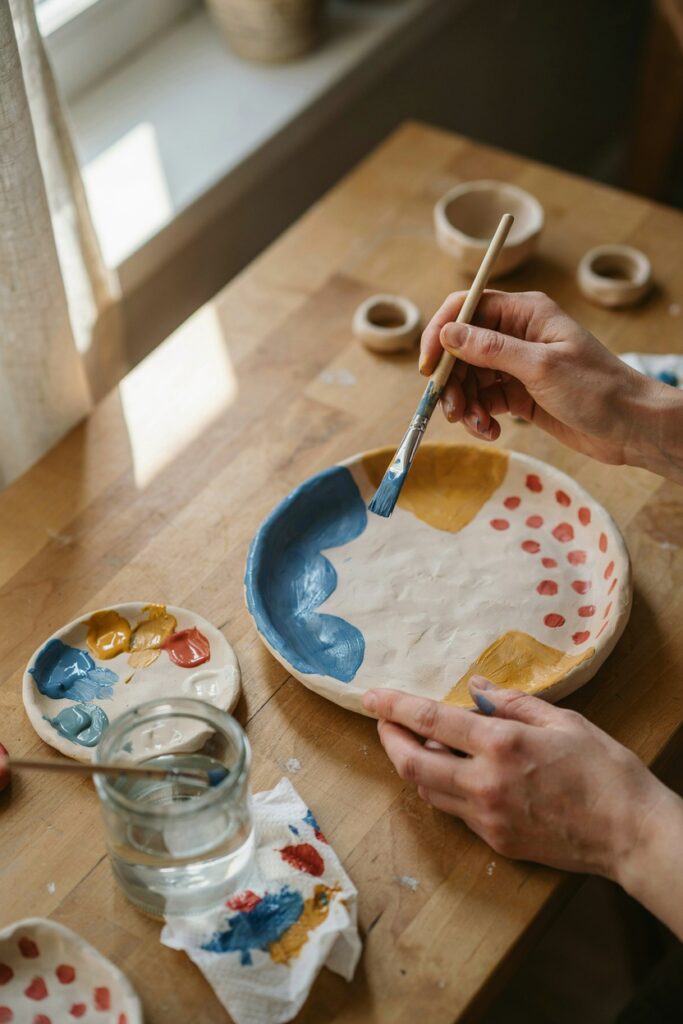
Yes, if you want to add color to your project, paint it before applying the final clear finish.
Acrylic paint works particularly well for many decorative air dry clay projects. Apply thin, even coats rather than trying to cover everything with one thick layer.
Allow each coat of paint to dry before applying another.
This is especially important when working with detailed pieces. If you rush, you can accidentally move wet paint around while brushing on the glaze.
Once the paint is completely dry, inspect your project again.
This is your last opportunity to touch up the design before adding the clear finish.
What Is the Best Glaze for Air Dry Clay?
There is not one single product that is best for every air dry clay project.
The right choice depends on the appearance you want and how you intend to use the finished piece.
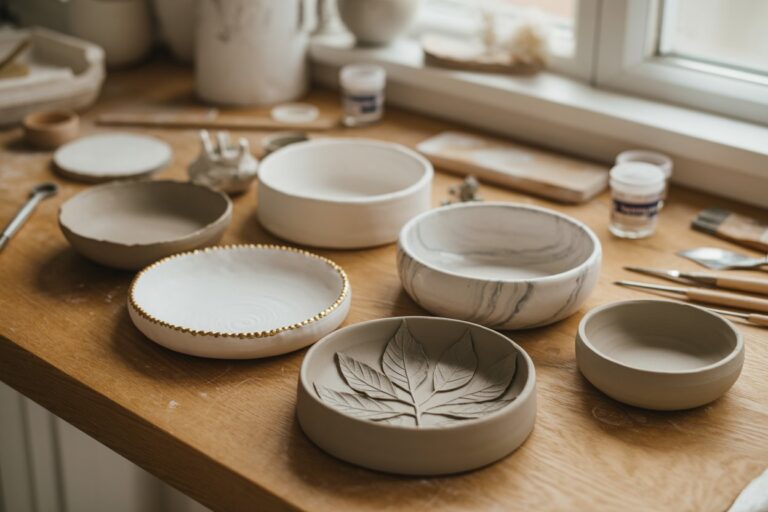
Gloss finish
A gloss finish is ideal when you want your clay project to have a shiny, polished appearance.
It works especially well on:
- Jewelry dishes
- Decorative trays
- Painted ornaments
- Figurines
- Miniature decor
- Colorful clay projects
A glossy finish can make colors appear richer and give a simple project a more finished appearance.
Matte finish
A matte finish is better when you prefer a soft, natural look without noticeable shine.
It works beautifully for:
- Neutral-toned decor
- Sculptures
- Minimalist pieces
- Clay flowers
- Figurines
- Rustic projects
Satin finish
Satin is a good middle ground if you want some sheen without the highly reflective appearance of gloss.
It can be particularly nice for projects where you want the texture and shape of the clay to remain the main focus.
Can You Use Mod Podge on Air Dry Clay?
Yes. Mod Podge is commonly used as a protective finish for decorative air dry clay projects.
It is available in different finishes, including gloss and matte, so you can choose the appearance you prefer.
However, it is important to understand that a craft sealer does not automatically make an air dry clay item completely waterproof.
If your project will regularly come into contact with water, choose a product specifically designed for the level of protection you need and follow its manufacturer’s instructions.
For decorative indoor projects that are not intended for food or constant water exposure, a suitable craft sealer can provide a useful protective finish.
How to Glaze Air Dry Clay Step by Step
Once your clay is dry, painted, and dust-free, you can finally apply the finish.
Step 1: Prepare a clean workspace
Choose a clean, dry area with good ventilation.
Cover your work surface with parchment paper or another protective material.
You want to avoid dust, hair, crumbs, and other particles landing on the wet finish.
Step 2: Stir the product gently
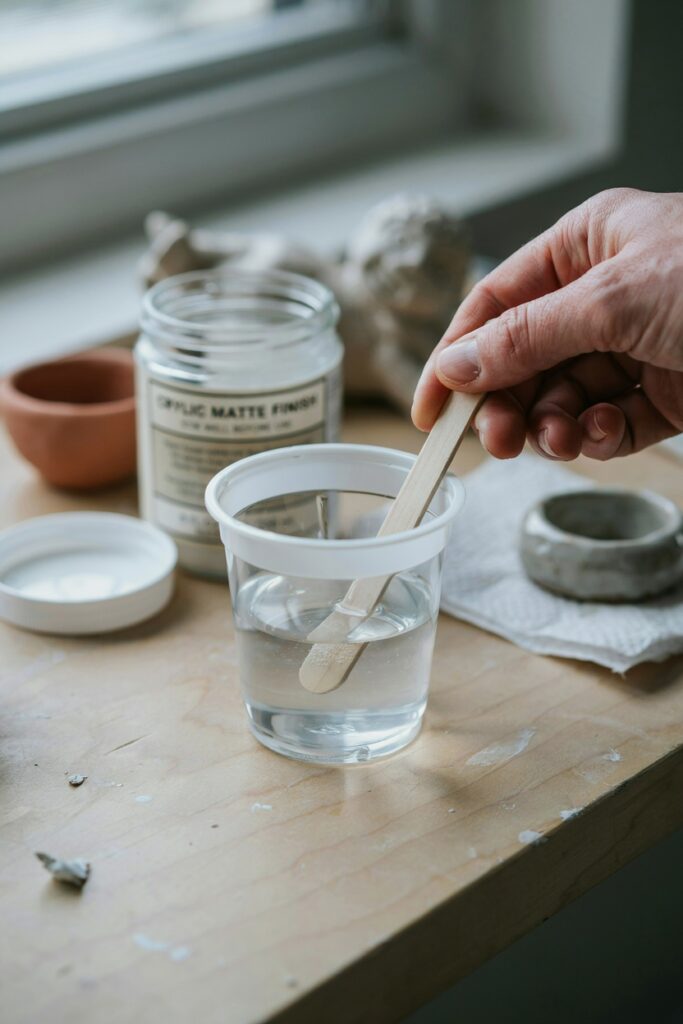
If the product instructions recommend stirring, do so gently.
Avoid creating lots of bubbles because those bubbles can appear on the surface of your finished piece.
Always follow the instructions on the specific product you are using.
Step 3: Apply a thin coat
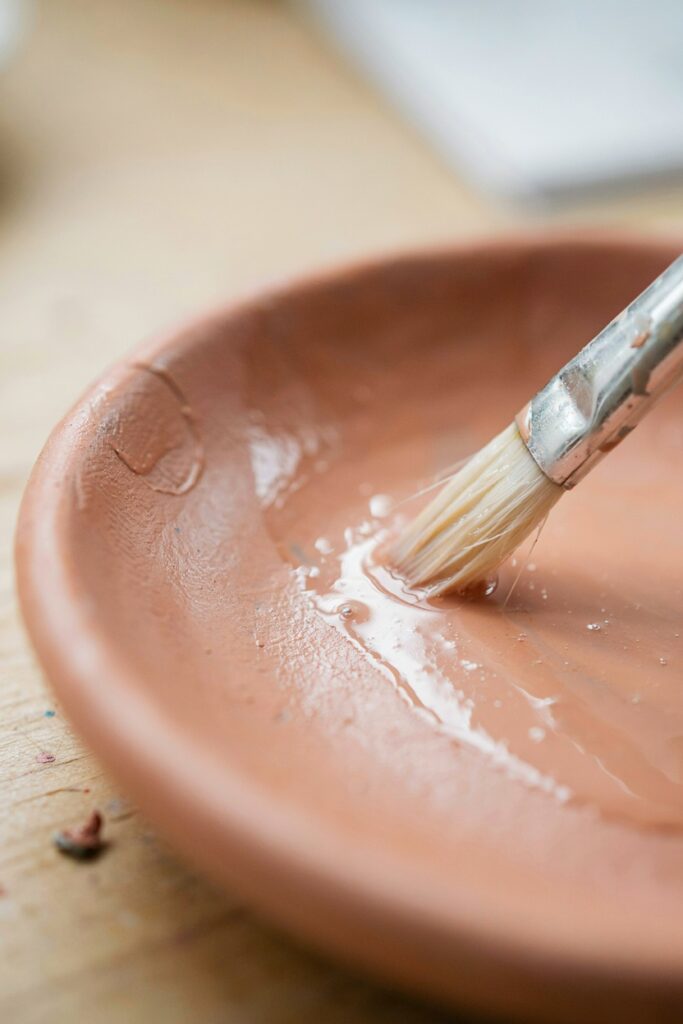
Use a clean, soft brush and apply a thin, even layer.
Do not overload the brush.
Start with a small amount and spread it gently across the surface.
One of the biggest mistakes beginners make is trying to create a thick, glossy finish in one application.
A thinner first coat gives you much more control.
Step 4: Do not keep brushing the same area
Once the product starts settling, repeatedly brushing over the same area can create streaks and uneven patches.
Apply the finish smoothly and then leave it alone.
This was something I had to learn through experience. The temptation to keep fixing a tiny brush mark usually makes it worse.
Step 5: Let the first coat dry
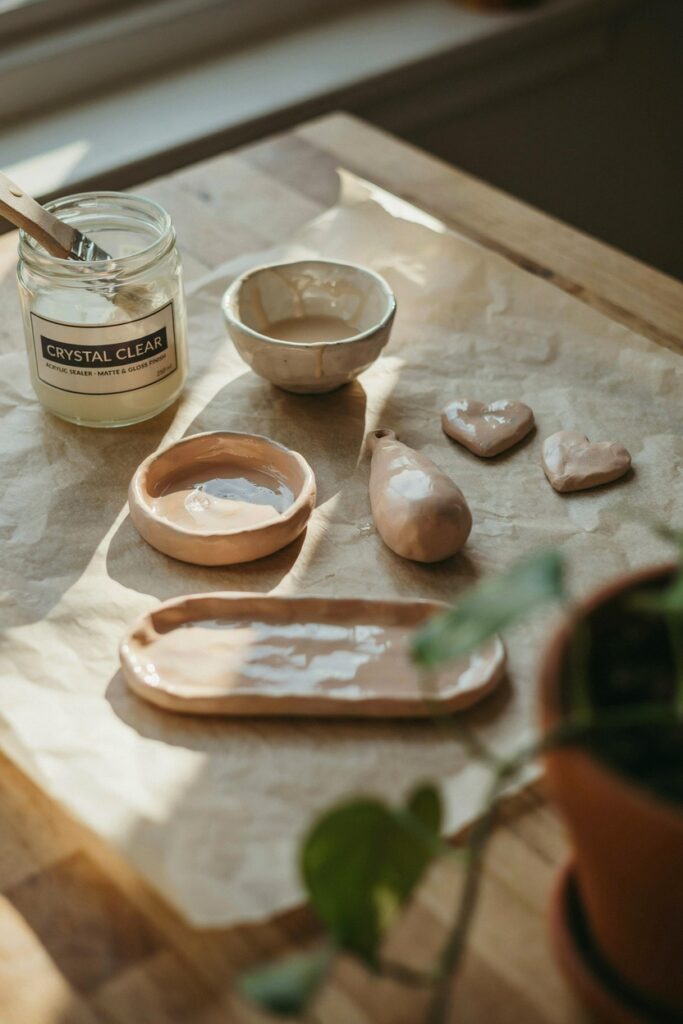
Allow the first coat to dry according to the product instructions.
Do not rush straight into another coat simply because the surface feels dry.
Drying and curing are not always the same thing.
Step 6: Add another thin coat if needed
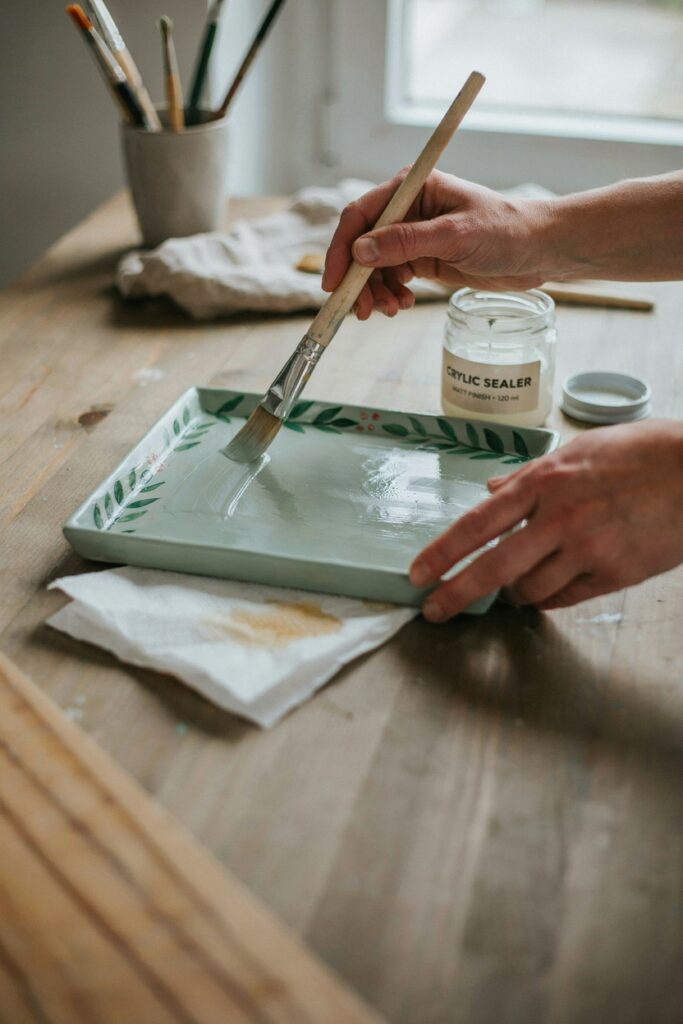
Once the first coat is properly dry, inspect the piece.
If you want more shine or additional protection, apply another thin coat.
Several thin coats generally give you better control than one very thick coat.
Step 7: Leave the piece undisturbed
After the final coat, place your project somewhere clean where it will not be touched or knocked over.
Give it enough time to fully cure according to the product instructions before using or handling it regularly.
How Many Coats of Glaze Should You Use?
The answer depends on the product and the type of project.
For many decorative projects, one or two thin coats may be enough to achieve the appearance you want.
If you want additional coverage, you may need more.
Do not automatically assume that more coats mean a better result. Too much product can create drips, cloudiness, tackiness, or an uneven surface.
Always follow the instructions for the specific sealer or glaze you are using.
How to Get a Smooth, Streak-Free Finish
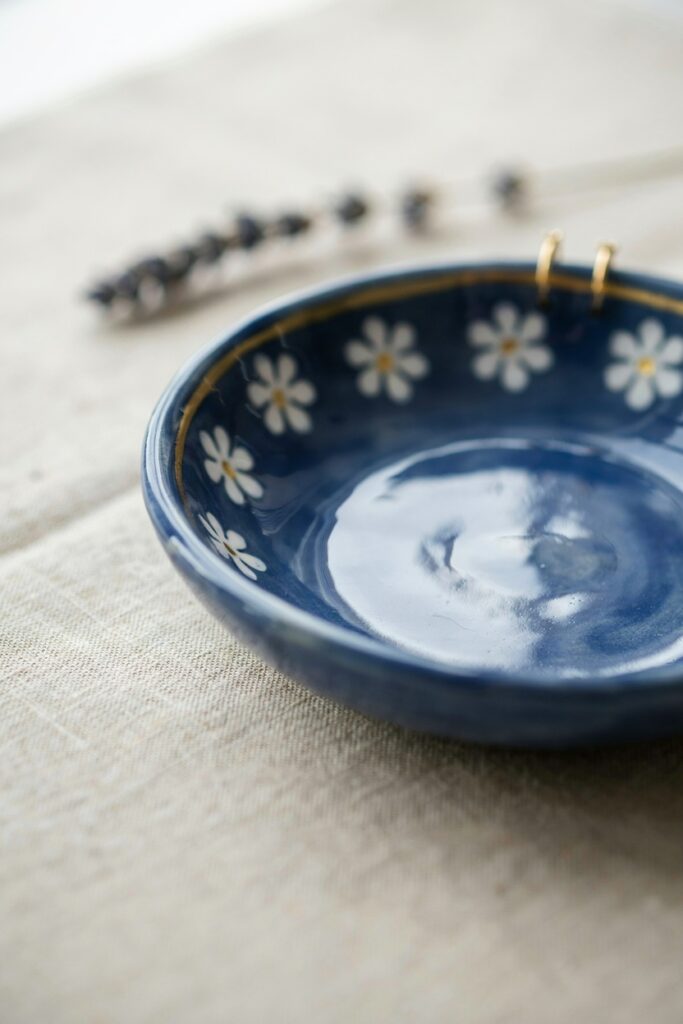
Getting a smooth finish is mostly about preparation and patience.
Here are the habits that make the biggest difference:
Use a soft brush
A stiff or damaged brush can leave visible marks.
A soft synthetic brush or foam brush is often easier to control.
Keep your coats thin
Thick layers are much more likely to pool around edges and create uneven areas.
Work in good lighting
A bright workspace makes it easier to see missed spots, drips, and streaks while you are working.
Keep dust away
A tiny piece of dust can become surprisingly obvious underneath a glossy finish.
Give each coat enough time
Do not rush the drying process.
Avoid overworking the finish
Once the product has been spread evenly, stop brushing it.
This simple habit can make a huge difference.
Common Air Dry Clay Glazing Mistakes
Even a simple finishing step can go wrong when you are new to it.
Here are some of the most common mistakes to avoid.
Glazing clay that is not completely dry
This is one of the biggest problems.
Always make sure the clay has dried thoroughly before applying a finish.
Applying one extremely thick coat
A thick coat may look impressive while wet, but it can dry unevenly and leave you with drips or tacky areas.
Thin coats are easier to control.
Using a dirty brush
Dust, dried paint, or old finish on your brush can end up in your new coating.
Use a clean brush every time.
Brushing over the same area repeatedly
Once the product begins to settle, leave it alone.
Constant brushing can create visible marks.
Handling the piece too soon
A finish can feel dry while still being soft underneath.
Give your project enough time to cure before regular handling.
Assuming every sealer is waterproof
A clear finish may provide some moisture resistance without making an air dry clay project completely waterproof.
Always check what the product is actually designed to do.
Can You Make Air Dry Clay Waterproof With Glaze?
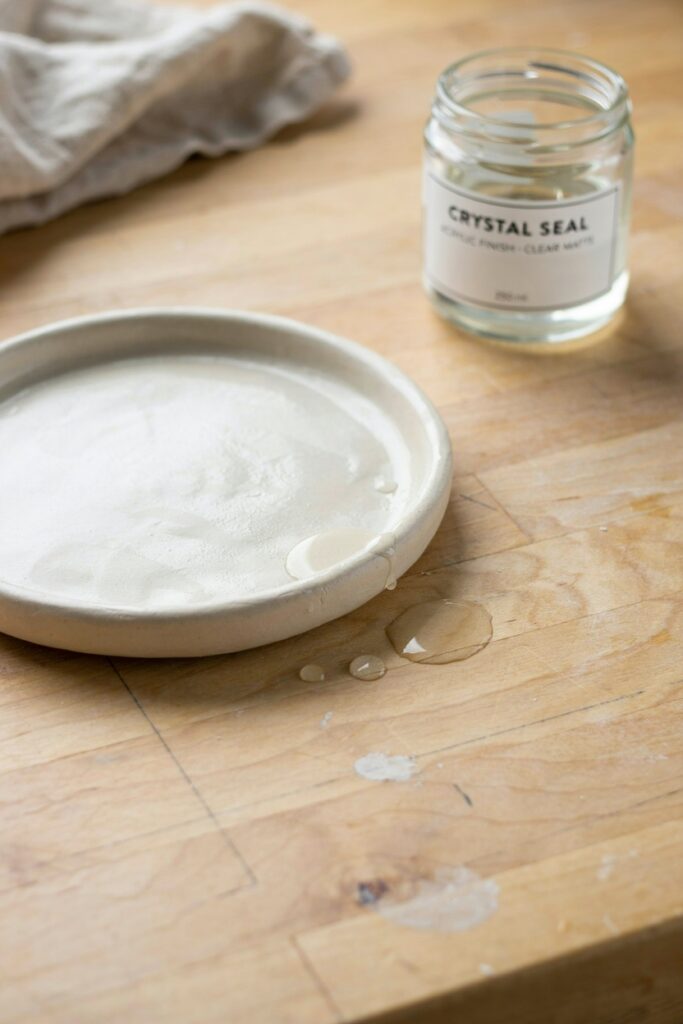
This is one of the most common questions about finishing air dry clay.
A sealer can help protect the surface from moisture, but you should not automatically assume that a standard craft glaze makes air dry clay completely waterproof.
The level of protection depends on the product, application, curing process, and intended use.
If you are making a decorative piece that may occasionally encounter a small amount of moisture, an appropriate sealer can provide useful protection.
However, air dry clay is generally not the best material for items that will be constantly exposed to water.
For projects such as plant pots, dishes, or other items that may experience regular moisture, choose your materials and finishing system carefully and follow the manufacturer’s instructions.
And remember that decorative air dry clay pieces should not automatically be treated as food-safe simply because they have been coated with a clear finish.
RELATED POST: [How to Make Air Dry Clay Waterproof]
Can You Use Resin Over Air Dry Clay?
Yes, resin can be used as a topcoat on some air dry clay projects, particularly when you want an extremely glossy finish.
However, resin requires more preparation and safety precautions than a simple brush-on craft sealer.
It can be useful for small decorative pieces such as jewelry trays, ornaments, and other flat projects where you want a thick, glass-like surface.
If you are new to resin, start with a small project and carefully follow the manufacturer’s instructions regarding mixing, ventilation, protective equipment, curing, and handling.
For simple beginner projects, you may find that a regular craft sealer is easier and more convenient.
What Finish Should You Choose?
If you are unsure which finish to use, think about the final appearance you want.
Choose gloss if you want:
- A shiny surface
- Brighter-looking colors
- A polished decorative appearance
Choose matte if you want:
- A soft finish
- Little to no shine
- A more natural appearance
Choose satin if you want:
- A subtle sheen
- Something between matte and gloss
- A less reflective finish
There is no wrong choice. The finish should complement your project.
How Long Does Glazed Air Dry Clay Take to Dry?
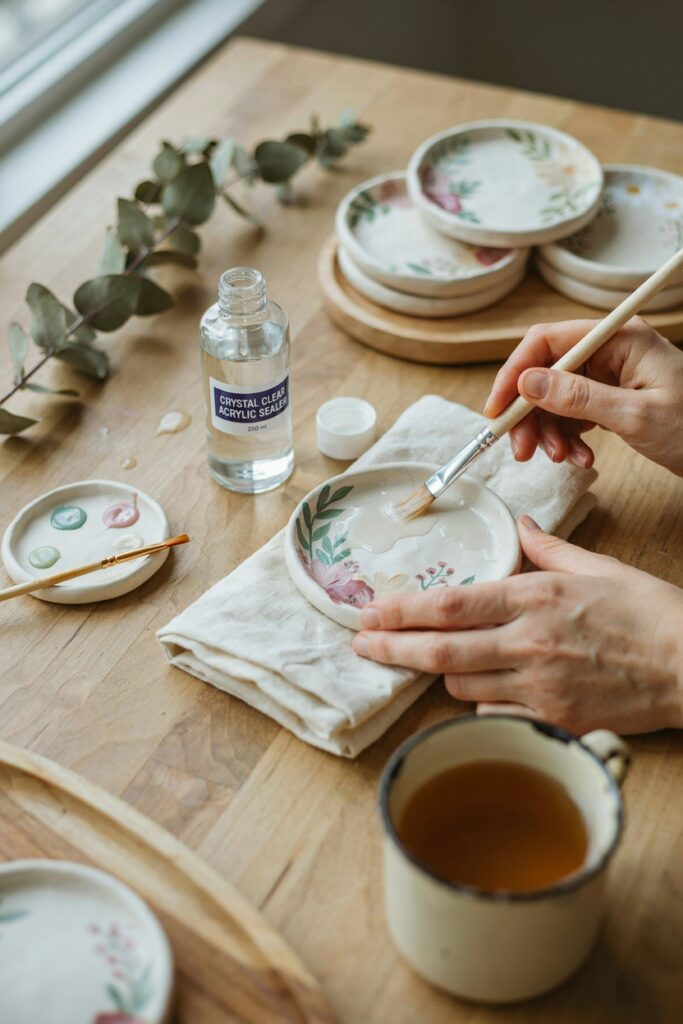
Drying and curing times vary considerably between products.
Your clay first needs to be completely dry before you apply the finish.
After that, the glaze or sealer needs to dry and potentially cure before the piece is ready for regular handling.
Do not rely on a single universal drying time because different products have different formulas.
Instead, check the label or manufacturer’s instructions for:
- Recoat time
- Touch-dry time
- Handling time
- Full cure time
When in doubt, giving the project additional time is usually safer than handling it too soon.
What to Do If Your Glaze Looks Cloudy
If your finished piece looks cloudy, do not immediately add another thick coat.
First, consider whether the product has fully dried or cured.
Cloudiness can sometimes be related to application conditions, moisture, product compatibility, or applying the finish too heavily.
Allow the piece to dry completely and check the manufacturer’s recommendations before attempting to correct it.
If you are experimenting with a new product, test it on a small scrap piece of clay first.
That little test can save an entire project.
My Best Tips for Better Air Dry Clay Finishes
After working with air dry clay for a while, I have found that the best results usually come from slowing down rather than buying more products.
These are the habits I would recommend to any beginner:
- Let the clay dry completely.
- Sand rough areas gently.
- Remove every bit of visible dust.
- Make sure paint is completely dry.
- Use a clean, soft brush.
- Apply thin coats.
- Avoid repeatedly brushing wet glaze.
- Let every layer dry properly.
- Keep the finished piece away from dust while curing.
- Test unfamiliar products before using them on an important project.
The biggest difference between a rushed finish and a professional-looking one is often patience.
Frequently Asked Questions
Can you glaze air dry clay without painting it?
Yes. You can apply a clear finish directly to fully dried, unpainted air dry clay. This can enhance the appearance of the surface while providing a protective coating.
Is Mod Podge a good glaze for air dry clay?
Mod Podge can be useful as a finish for many decorative air dry clay projects. Choose the formula and finish based on the appearance and protection you need.
Can you use clear nail polish on air dry clay?
Although clear nail polish may create a shiny surface, it is not my first choice for finishing larger clay projects. A product specifically designed as a craft sealer or finish is generally a more appropriate option.
Do you glaze air dry clay before or after painting?
Paint the fully dried clay first, allow the paint to dry completely, and then apply the clear finish over the painted surface.
How do you make air dry clay shiny?
Use a suitable gloss finish or clear glossy sealer designed for craft projects. Apply thin, even coats and allow each layer to dry properly.
Does glazing air dry clay stop it from cracking?
A finish can help protect the surface, but it cannot prevent cracks caused by problems during shaping or drying. Proper construction and slow, even drying are still important.
RELATED POST: How to Fix Cracked Air Dry Clay
Final Thoughts
Learning how to glaze air dry clay is much less complicated than it first appears.
The key is not to rush the finishing stage.
Make sure your clay is completely dry, smooth away rough areas, finish your painting first, and then apply your chosen sealer in thin, even coats. Give each layer enough time to dry and let the finished project cure before handling it regularly.
You also do not need the most expensive products to create beautiful clay projects.
A simple gloss, matte, or satin finish can be enough to take a handmade piece from looking unfinished to looking polished and intentional.
And honestly, that final step is one of my favorite parts.
After spending all that time shaping, sanding, and painting a piece, there is something satisfying about watching the final coat bring everything together.
Start with a small project, experiment with different finishes, and do not worry if your first attempt is not perfect. You will learn what works best for your clay, your tools, and the style you love creating.
RELATED POSTS



Thank you for the post, I just started with air dry clay and this post on glazing will definitely help.
Now on to a successful gift making project.