
DIY Air Dry Clay Mini Pots Tutorial
There is something incredibly satisfying about making home décor with your own hands, especially when it is both beautiful and practical.
The first time I made an air dry clay mini pot, I honestly expected it to end up in the bin.
I had never shaped clay into anything that needed to be perfectly round, and I assumed it would crack, lose its shape, or simply look homemade in the wrong way.
Instead, it became one of my favorite DIY projects.
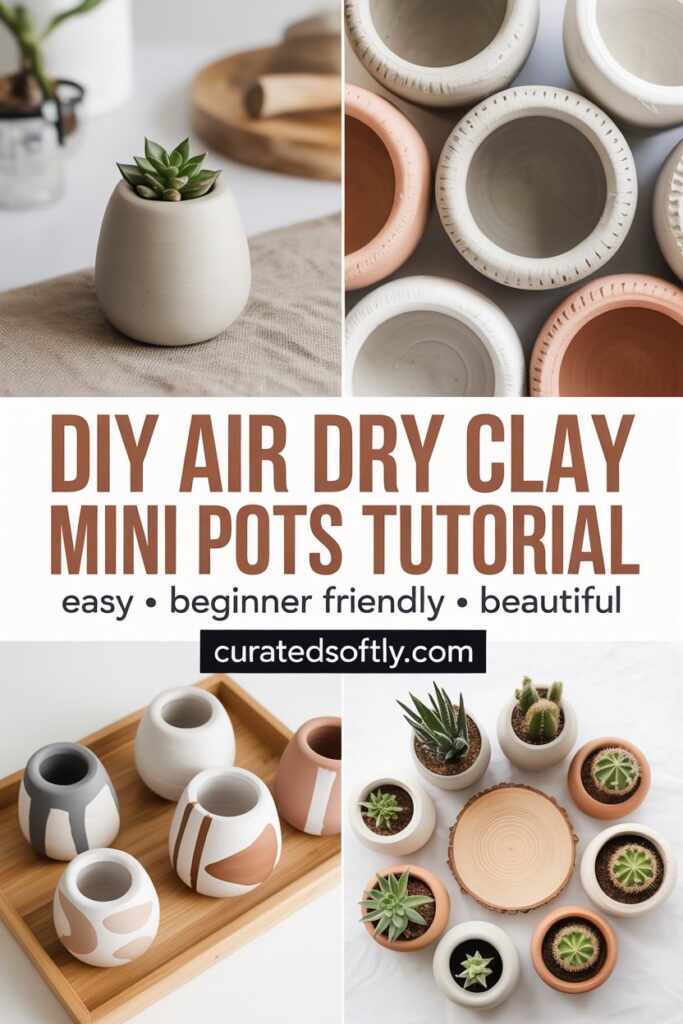
It was simple enough to finish in an afternoon, cost very little to make, and looked surprisingly expensive once it was painted and styled on a shelf.
Since then, I have made dozens of mini clay pots for succulents, dried flowers, paintbrushes, jewelry, and even tiny desk organizers.
They are one of those projects that look impressive but are actually beginner friendly.
If you have never worked with air dry clay before, this is an excellent place to start.
In this step-by-step tutorial, I’ll show you exactly how I make smooth, modern mini pots that look beautiful in any room.
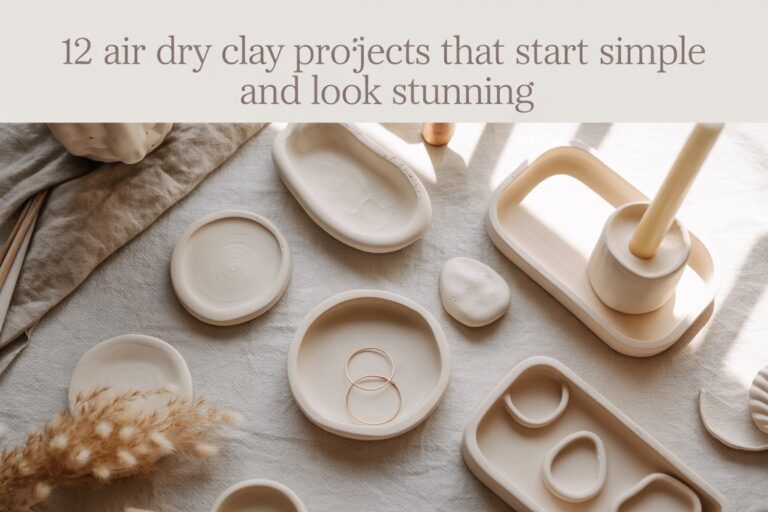
This is a similar mold-and-shape process to my air dry clay trinket dish and ring holder tutorial, if you want to see the technique applied differently.
Why I Love Making Air Dry Clay Mini Pots
There are plenty of air dry clay projects you can make, but mini pots are still one of my favorites.
They are quick enough to finish in an afternoon, require very few materials, and are easy to customize with different shapes, textures, and paint colors.
I also love that every finished pot is completely unique.
Even when I follow the exact same steps, no two pots ever look identical, and I think that handmade character is what makes them so special.
Some of the reasons I keep coming back to this project include:
- Beginner friendly
- Budget friendly
- Easy to customize
- Perfect for home décor
- Great handmade gifts
- Ideal for practicing clay techniques
The best part is that you do not need expensive tools or years of experience to create something beautiful.
Supplies You’ll Need
One of the reasons I recommend this project to beginners is because the supply list is refreshingly short.
You probably already own some of these items.
Materials
- Air dry clay
- Rolling pin
- Sandpaper (fine grit)
- Small bowl of water
- Soft paintbrush
- Acrylic paint
- Clear matte or satin sealer
Optional Supplies
Step 1. Prepare Your Workspace
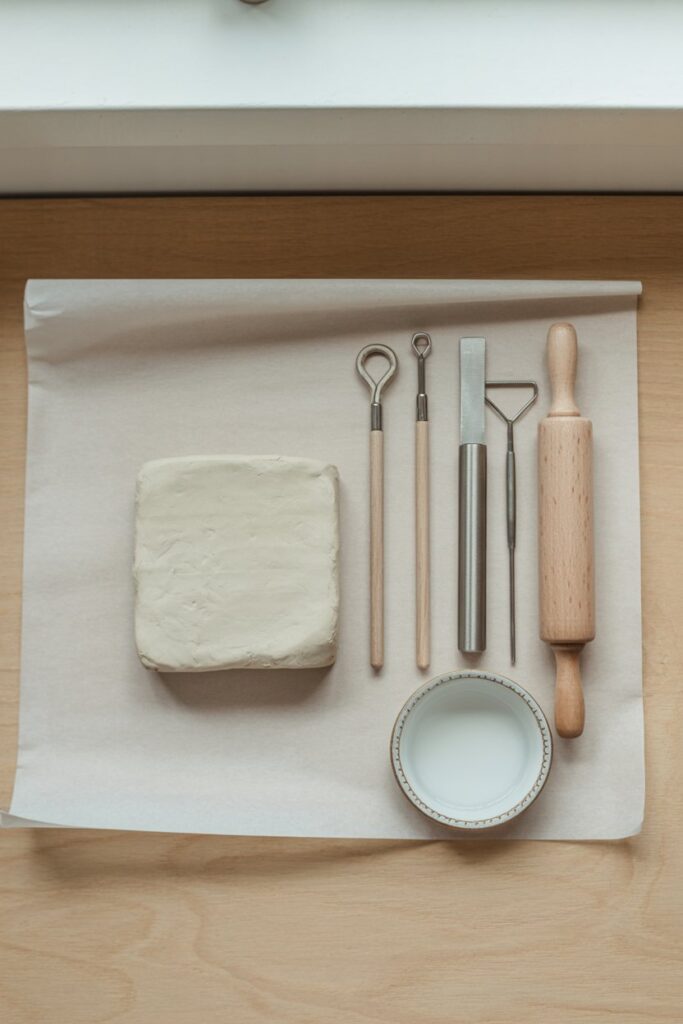
Before I even open the clay, I like to spend a few minutes preparing my workspace.
It might seem like an unnecessary step, but it makes the entire project much easier.
I cover my table with baking paper or a reusable craft mat so the clay does not stick to the surface.
Then I gather every tool I will need before I begin rolling the clay.
Air dry clay starts drying as soon as it is exposed to the air, so having everything within reach helps me work much more efficiently.
Why This Step Matters
A clean workspace helps prevent dust, crumbs, and fibers from becoming trapped in the clay.
It also makes shaping and smoothing much easier.
My Tip
Keep a small bowl of water and a soft paintbrush beside you.
I use them constantly throughout the project to smooth fingerprints and blend small seams before the clay begins to dry.
Step 2. Roll the Clay Evenly
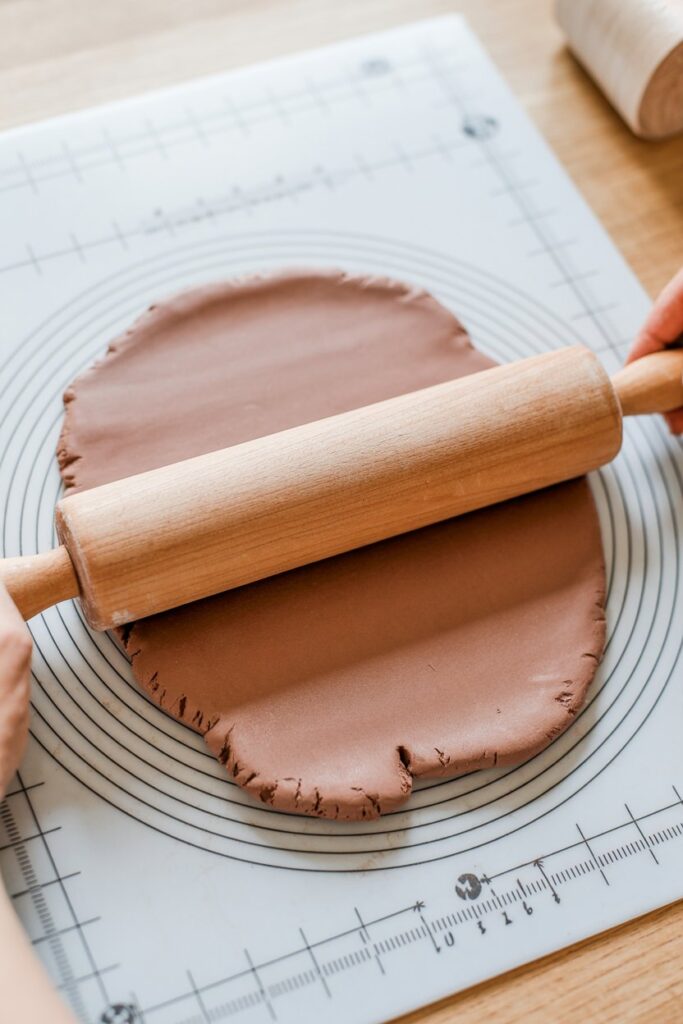
This is probably the most important step in the entire project.
The thickness of your clay affects how strong your finished pot will be.
If the clay is rolled too thin, it becomes much more likely to crack.
If it is too thick, the pot can feel bulky and take much longer to dry.
I usually roll my clay until it is around 5 to 7 millimeters thick, which creates a sturdy mini pot without making it overly heavy.
How I Roll the Clay
I begin in the center and roll outward in different directions.
Every few passes, I rotate the clay to help keep the thickness even across the entire slab.
If the rolling pin starts sticking, I simply lift the clay gently before continuing.
My Tip
Use two wooden craft sticks, rulers, or rolling guides on each side of the clay.
This helps keep the slab an even thickness from edge to edge and creates a much more professional-looking finished pot.
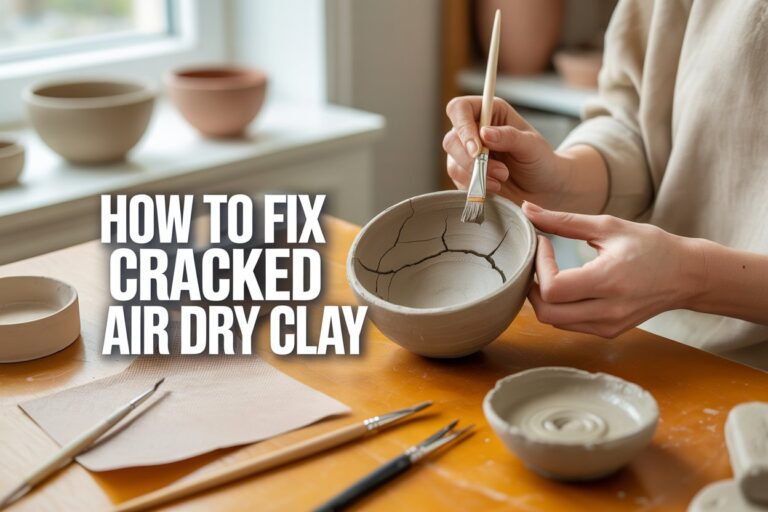
Getting the thickness right is also the key to avoiding cracks — my guide to avoiding cracks in air dry clay goes deeper into this.
Step 3. Cut the Base and Side Pieces
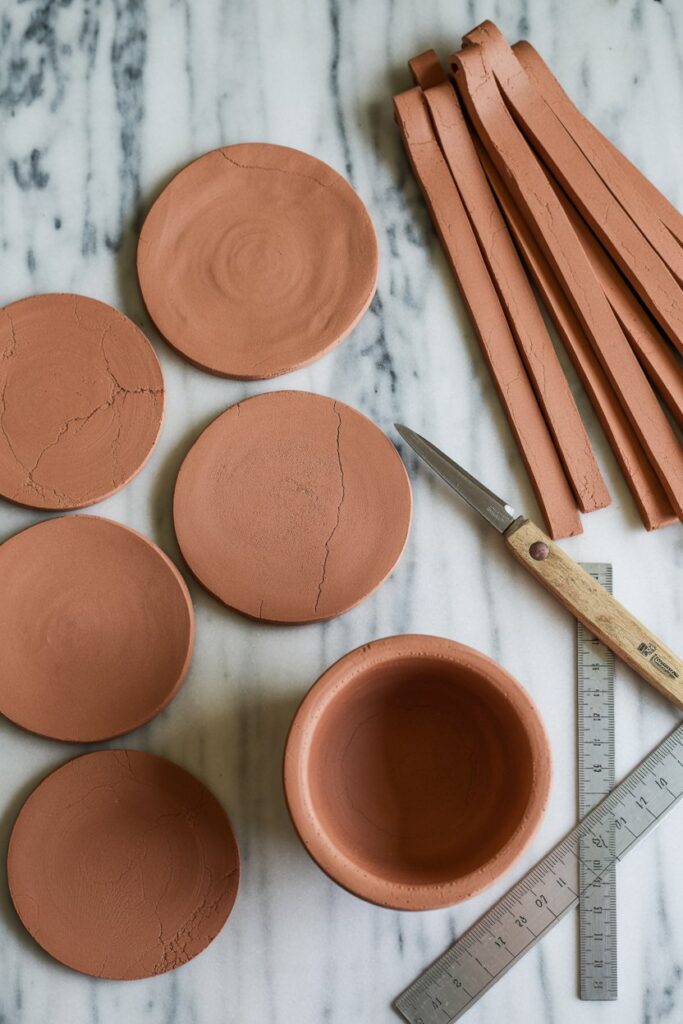
Once the clay has been rolled out evenly, it is time to cut the pieces that will form the pot.
I like using a small bowl, cookie cutter, or circular template to create the base because it gives me a perfectly round shape every time.
For the sides, I cut a long strip that wraps neatly around the circular base.
I always cut the strip slightly longer than I think I need because trimming away excess clay is much easier than trying to stretch a piece that is too short.
Why I Take My Time Here
Neat, clean cuts make assembling the pot much easier later.
The straighter the edges are now, the smoother your seams will be once everything is joined together.
My Tip
Use a sharp craft knife rather than pulling the blade through the clay.
A clean downward cut leaves smoother edges that require much less sanding after the pot has dried.
Step 4. Assemble the Pot
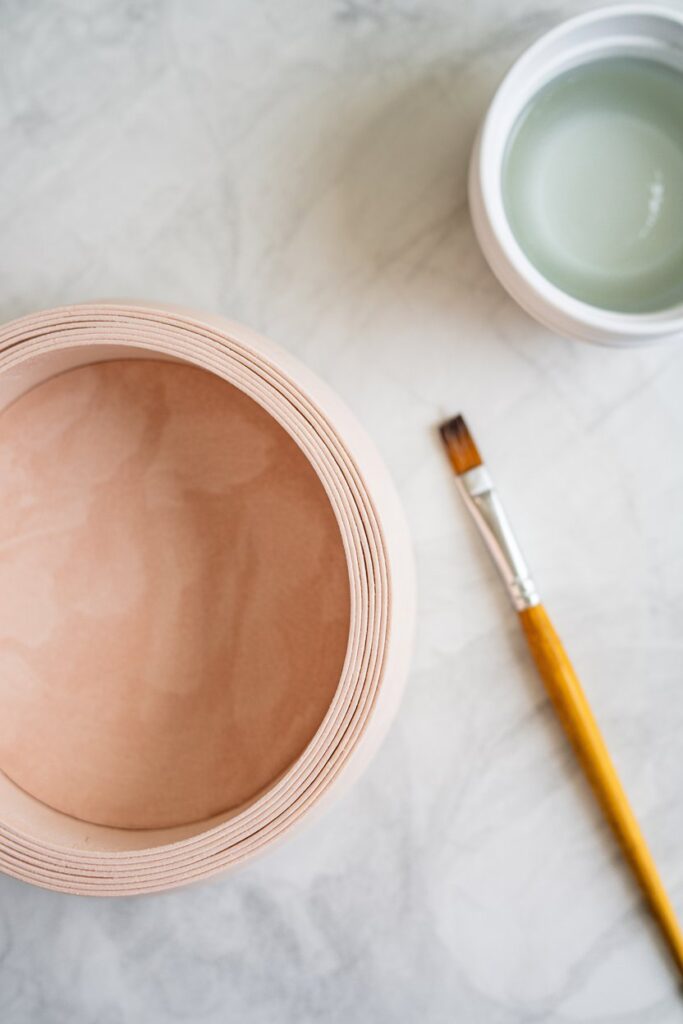
This is the stage where your project really starts to come together.
At first, joining the pieces might seem a little intimidating, but it is actually much easier than it looks. The key is not to rush.
I always test how the side strip fits around the base before attaching anything permanently. If it overlaps too much or leaves a gap, I trim it until the fit is just right.
How I Assemble It
I lightly brush a small amount of water along the edge of the circular base and one end of the side strip.
Then I gently press the strip around the base, working slowly as I go until the two ends meet.
Once everything is attached, I use my fingertips to lightly press the seams together before smoothing them with a damp paintbrush.
Why This Step Matters
Taking a few extra minutes here creates a much stronger pot and helps prevent cracks from forming as the clay dries.
My Tip
Use gentle pressure instead of squeezing the clay too firmly. Pressing too hard can easily change the shape of the pot.
Step 5. Smooth Every Surface
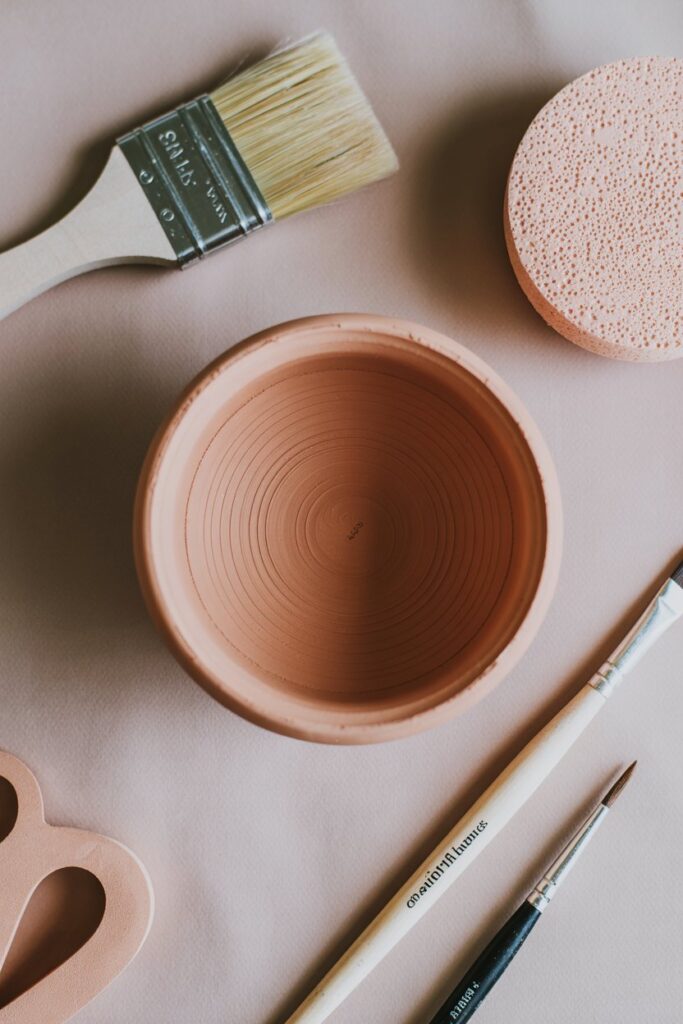
Whenever someone asks how to make air dry clay projects look more professional, this is always my answer.
Spend extra time smoothing.
The smoother your clay is before it dries, the less sanding you will have to do later.
I usually spend several minutes going over the entire pot, looking for fingerprints, uneven edges, or small cracks that can be fixed while the clay is still soft.
How I Smooth the Clay
I dip a soft paintbrush into clean water and gently brush over the surface using light strokes.
For larger areas, I sometimes use my fingertip with just a tiny amount of water to blend the clay until it feels smooth.
My Tip
Do not add too much water.
A slightly damp brush is enough. Too much moisture can weaken the clay and make it difficult to keep the pot’s shape.
Step 6. Let the Pot Dry Completely
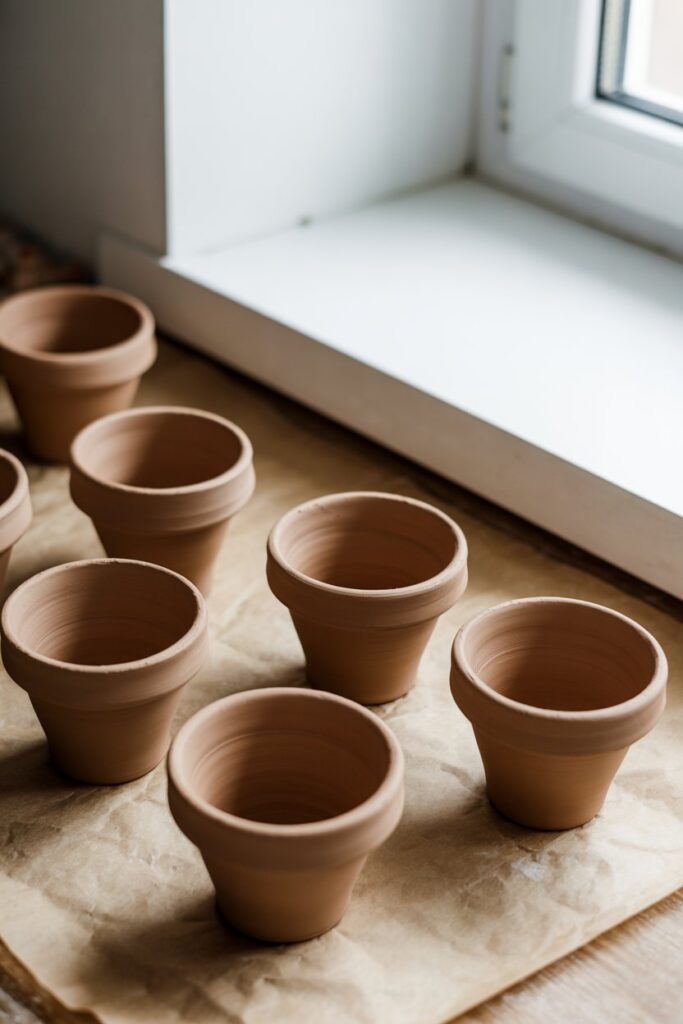
Waiting is probably the hardest part of the project.
I always want to start painting straight away, but allowing the clay to dry properly makes a huge difference to the final result.
Most mini pots need between 24 and 48 hours to dry completely, depending on the size, thickness, and humidity in your home.
How I Dry My Pots
I place them on a flat surface lined with baking paper and leave plenty of space around each one so air can circulate freely.
After the first day, I gently turn the pot over so the base dries evenly too.
My Tip
Avoid placing your clay project in direct sunlight or next to a heater.
Drying too quickly can increase the chances of cracks forming.
Step 7. Sand Until Smooth
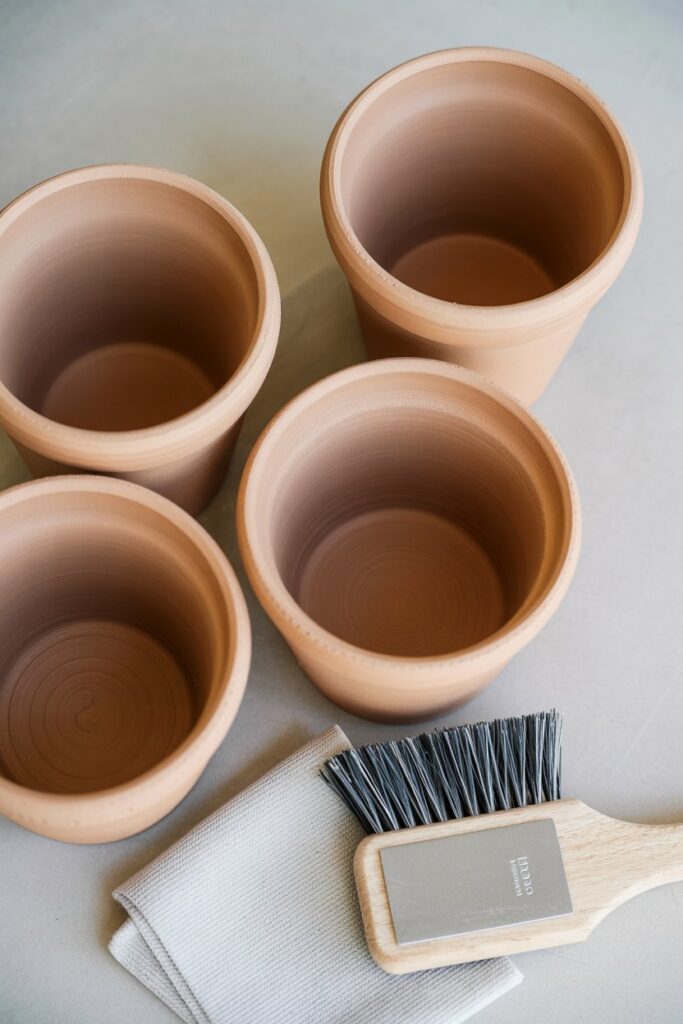
Once the clay is fully dry, I always spend a little time sanding before painting.
It is a simple step, but it can completely transform how the finished pot looks.
Fine-grit sandpaper removes rough edges, softens seams, and creates a much more polished finish.
How I Sand
I use gentle circular motions, paying extra attention to the rim and the joined seam.
If I notice any tiny imperfections, I smooth them out before moving on to painting.
My Tip
Wipe away all the clay dust with a soft, dry cloth before applying paint.
A clean surface helps the paint go on much more evenly.
Step 8. Paint and Personalize
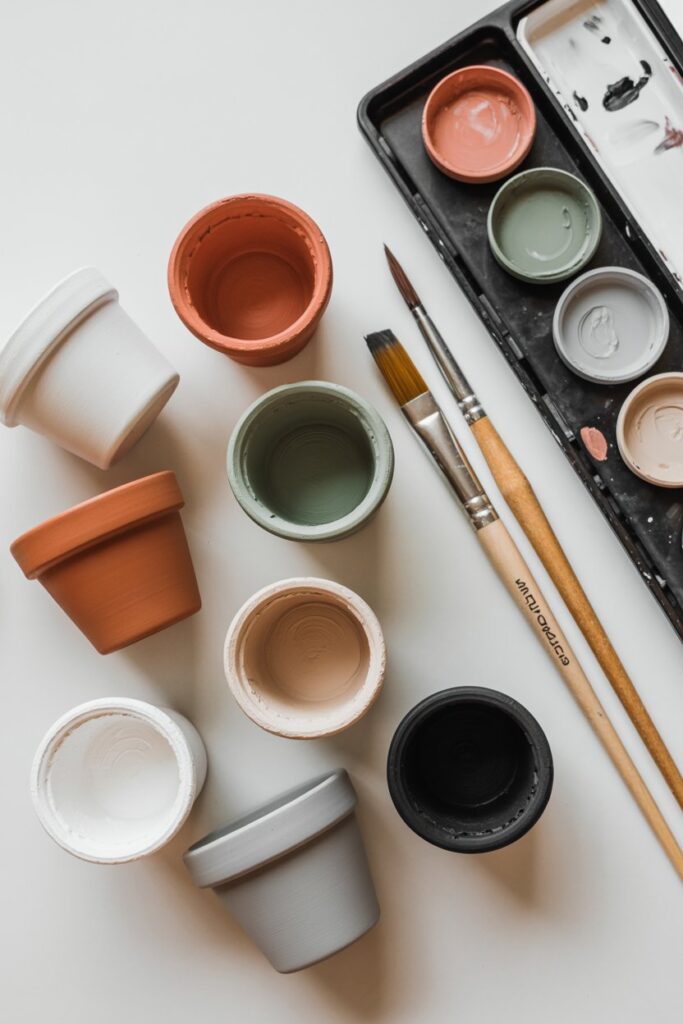
This is my favorite part because it is where every mini pot becomes completely unique.
Sometimes I keep things simple with soft neutral colors like white, beige, or terracotta.
Other times I experiment with bold colors, abstract patterns, or delicate gold details.
There really is no right or wrong style.
How I Paint My Pots
I usually apply two thin coats of acrylic paint instead of one thick coat.
This gives better coverage and creates a much smoother finish.
Once the paint has dried, I add a clear matte sealer to help protect the surface from scratches and everyday wear.
Fun Decorating Ideas
- Speckled stone effect
- Minimalist black lines
- White textured finish
- Sage green or olive tones
- Soft pastel colors
- Gold rim detailing
- Tiny painted flowers
- Geometric patterns
My Tip
Allow each coat of paint to dry fully before applying the next one.
It takes a little longer, but the final finish looks much cleaner.
For more detail on layering paint smoothly, check out How to Paint Air Dry Clay: A Step-by-Step Guide.
Creative Ways to Use Your Mini Clay Pots
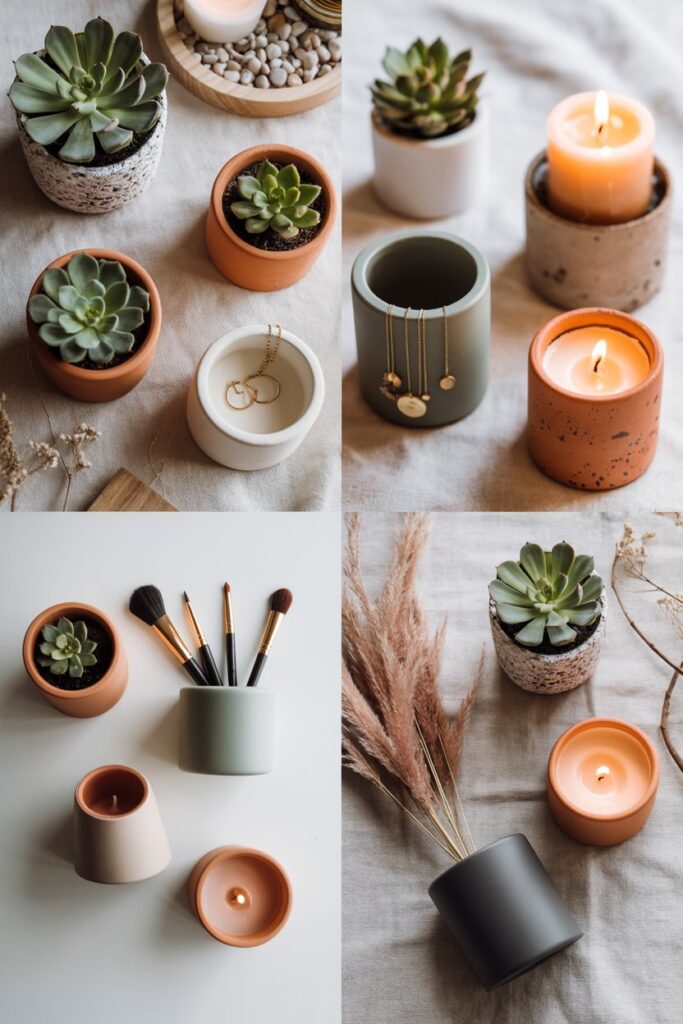
One of the reasons I love this project so much is how versatile the finished pots are.
I have made them for almost every room in my home, and they always end up being both decorative and useful.
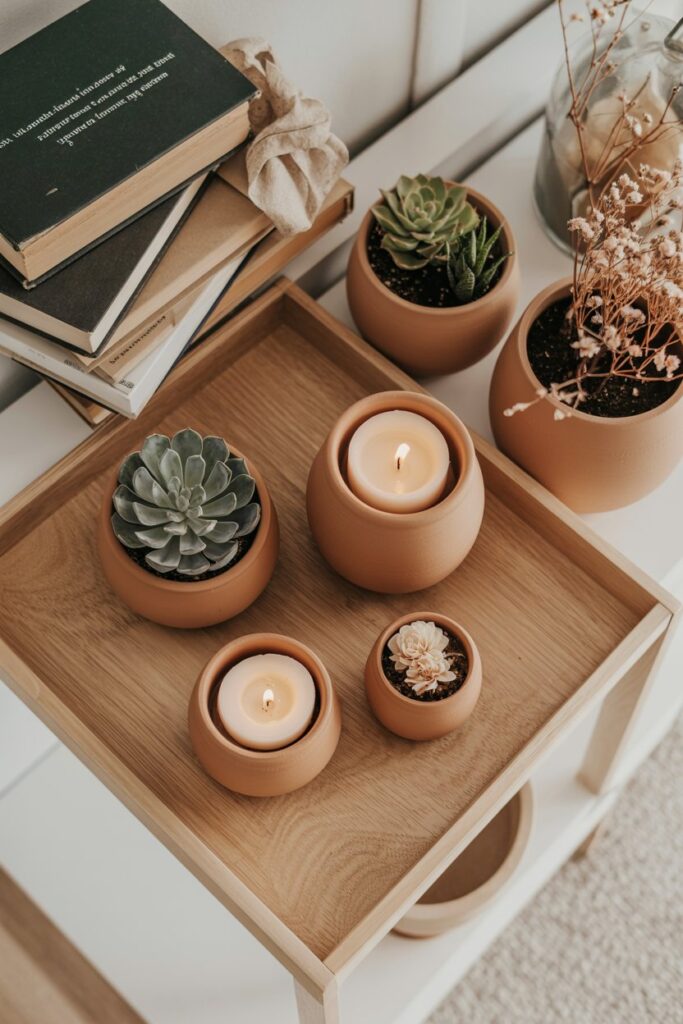
Some of my favorite ways to use them include:
- Tiny succulent planters
- Dried flower holders
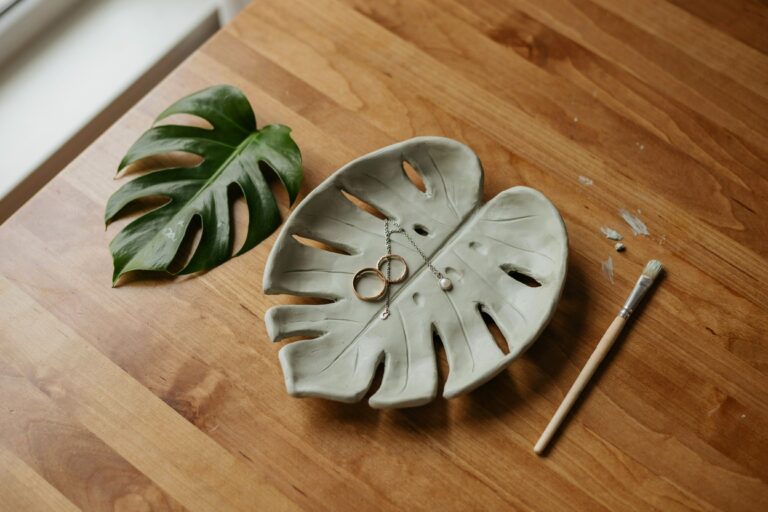
- Jewelry storage
- Makeup brush organizers
- Desk organizers for pens and pencils
- Candle holders using battery-operated tealights
- Cotton bud storage
- Small gift containers
- Bathroom shelf décor
- Kitchen herb labels
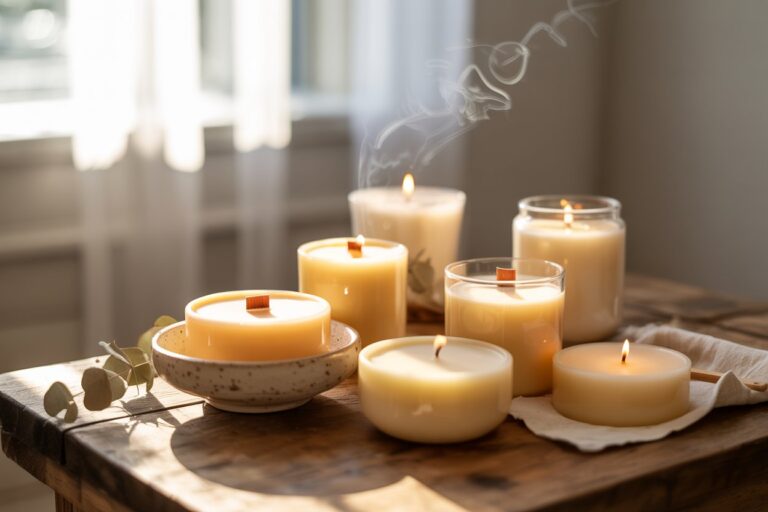
Want to try the candle idea? My Air Dry Clay Candle Holder Tutorial shows the full process.
Expert Tips That Will Make Your Clay Pots Look Store Bought
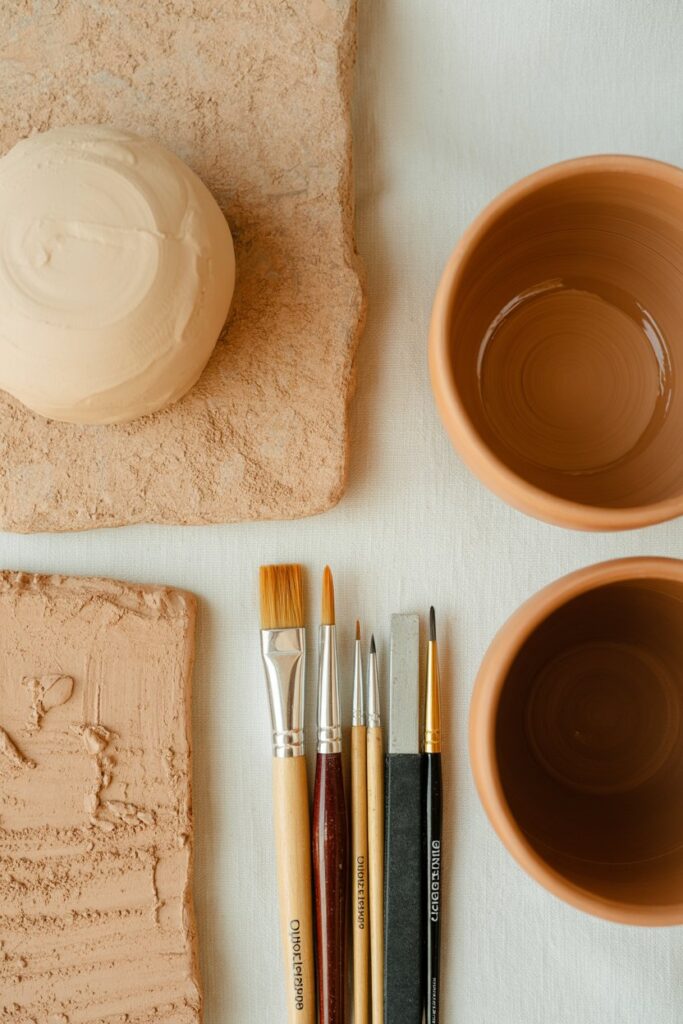
When I first started working with air dry clay, I thought the secret to beautiful projects was having expensive tools.
It turns out that was not true at all.
The biggest difference between a beginner project and one that looks professionally made usually comes down to patience and attention to detail.
I have learned that slowing down during each step almost always produces better results than trying to finish the project as quickly as possible.
Here are the habits that have made the biggest difference in my own projects.
Work With Fresh Clay
If your clay starts feeling dry or crumbly while you are shaping it, stop and wrap the unused portion tightly in plastic.
Fresh clay is much easier to smooth, shape, and blend together.
Smooth Before It Dries
The more time you spend removing fingerprints and uneven areas while the clay is still soft, the less sanding you will need later.
I always keep a small bowl of clean water and a soft paintbrush nearby because they help create a much smoother finish.
Build in Thin Layers
If you want to add decorative details like raised patterns, handles, or small feet, avoid making them too thick.
Thin, well-attached pieces dry more evenly and are much less likely to crack.
Let Each Stage Fully Dry
One mistake I made early on was rushing from drying to painting.
Allowing the clay, paint, and sealer to dry completely between each step creates a stronger, cleaner, and longer-lasting finish.
Common Mistakes to Avoid
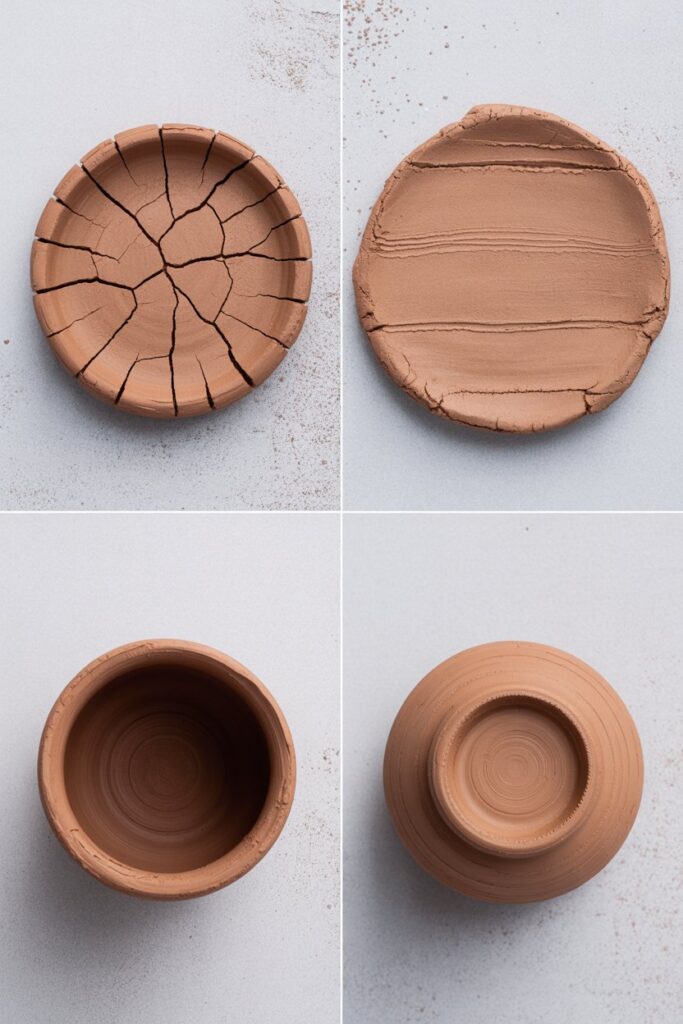
Every air dry clay project teaches you something new.
Even after making dozens of mini pots, I still discover little improvements that make each project better than the last.
These are the mistakes I recommend avoiding if you want professional-looking results.
Rolling the Clay Too Thin
Thin clay can crack more easily and may not support the weight of decorative elements.
Aim for an even thickness throughout the project.
Using Too Much Water
Water is useful for smoothing, but too much can weaken the clay and make it difficult to hold its shape.
A lightly damp brush is all you need.
Painting Before the Clay Has Fully Dried
Even if the surface feels dry, moisture can still be trapped inside.
Waiting the full drying time helps prevent bubbling, peeling, and cracks later.
Forgetting to Seal the Finished Pot
A clear sealer protects the paint, makes the surface easier to clean, and helps your handmade project last much longer.
How to Care for Your Air Dry Clay Mini Pots
Once your mini pot is finished, taking care of it is surprisingly simple.
Although air dry clay becomes quite durable after sealing, it is still best suited for decorative use rather than heavy everyday wear.
I like to dust my pots regularly with a soft microfiber cloth to keep them looking clean.
If they need a deeper clean, I gently wipe them with a slightly damp cloth before drying them immediately.
To help your handmade pots last as long as possible, I recommend:
- Keeping them indoors
- Avoiding long exposure to water
- Using artificial plants or dried flowers if the pot is not waterproof
- Lifting rather than dragging them across shelves
- Storing them safely if you change seasonal décor
With a little care, your handmade pots can stay beautiful for many years.
Frequently Asked Questions
Can I plant real succulents in an air dry clay pot?
Yes, but only if you have sealed the inside and outside thoroughly with a waterproof sealer. Even then, I prefer using a small plastic nursery pot inside my clay pot to protect it from moisture over time.
How long does air dry clay take to dry?
Most mini pots dry within 24 to 48 hours, although thicker projects or humid environments may require a little longer.
Can I paint air dry clay?
Absolutely.
Acrylic paint is my favorite choice because it offers excellent coverage, dries quickly, and comes in almost every color imaginable.
Do I need to seal my finished project?
I always recommend it.
A good quality matte or satin sealer helps protect both the clay and the paint while giving the finished pot a more polished appearance.
For the full waterproofing process, see How to Make Air Dry Clay Waterproof: A Step-by-Step Guide That Actually Works.
Final Thoughts
One of the reasons I keep coming back to air dry clay is that it reminds me you do not need expensive equipment or years of experience to create something beautiful.
With just a few simple supplies, a little patience, and an afternoon of creativity, you can make mini pots that look stylish enough to display anywhere in your home or give as thoughtful handmade gifts.
Do not worry if your first pot is not perfect.
Mine certainly was not.
Every project teaches you something new, and every pot you make helps you build more confidence.
Before long, you will find yourself experimenting with new shapes, textures, and colors, creating handmade pieces that are completely unique to your own style.
The best part is that every time you look at your finished mini pot, you will know you made it yourself, and that is what makes handmade décor so rewarding.


6 Comments