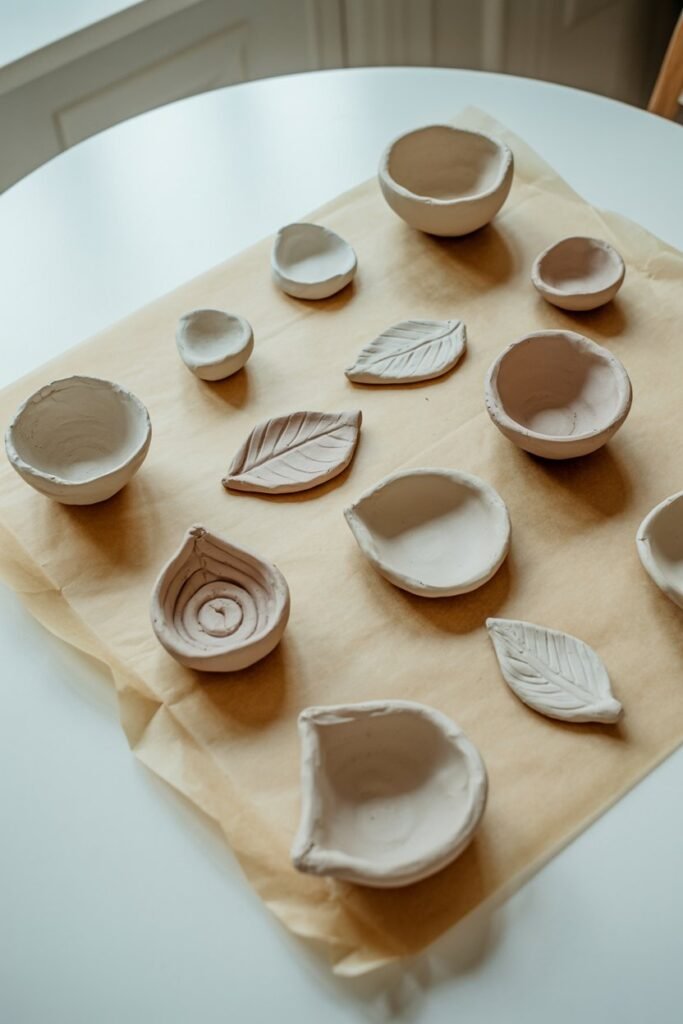
Air dry clay is one of my favorite materials for DIY and home décor projects. I love it because it’s easy to use, super versatile, and you don’t need a kiln or oven.
It’s perfect for beginners, kids, or anyone who wants to get creative without a lot of fuss.
I remember making my first clay trinket dish and accidentally leaving it near the sink.
When it got splashed with water, it started to soften and lose shape. I was frustrated but also curious — can you make air dry clay waterproof?
The short answer is yes, but not in the way most people think.
Air dry clay will never be completely waterproof like ceramic, but with the right sealing methods, you can make your creations highly water-resistant
That means your décor pieces, planters, or functional art can survive moisture, humidity, and accidental splashes without losing their charm.
In this post, I’ll show you how to make air dry clay waterproof step by step, share the best sealants to use, and highlight a few common mistakes to avoid so your projects last longer and look beautiful.
What You’ll Need
Here’s a simple list of supplies you’ll want to have ready before you begin. (You can link each item to your Amazon affiliate products.)
- Air dry clay
- Fine-grit sandpaper (400–600 grit)
- Acrylic paint or spray paint
- Paintbrush
- Waterproof sealant (choose one of the following):
- Mod Podge Outdoor
- Polycrylic water-based sealant
- Clear acrylic spray sealant
- Epoxy resin (for full waterproofing)
- Disposable gloves
- craft mat
- Soft bristle brush for dusting
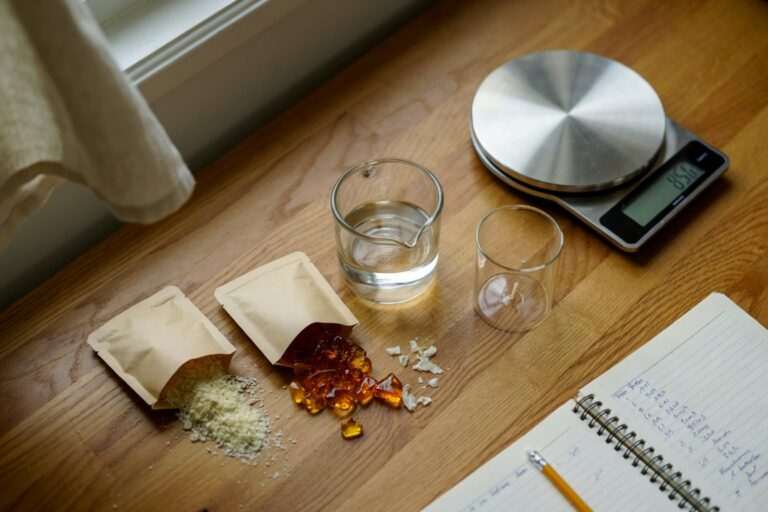
Step 1: Let Your Air Dry Clay Fully Cure
Before you even think about sealing your clay, I’ve learned it has to be completely dry — not just surface dry. On my first few projects, I rushed this step and ended up with cracks, and it was so frustrating.
I recommend allowing at least 48 to 72 hours of drying time, depending on the size and thickness of your piece. I like to flip my items halfway through so both sides dry evenly.
Avoid drying your clay in direct sunlight or near heaters. I learned the hard way that this causes cracks and weak spots, and nobody wants that.
A good test: press gently on your piece. If it feels cool or slightly soft, it’s still holding moisture inside. Wait until it feels hard and dry all the way through before moving on to sealing.
Step 2: Sand and Smooth the Surface
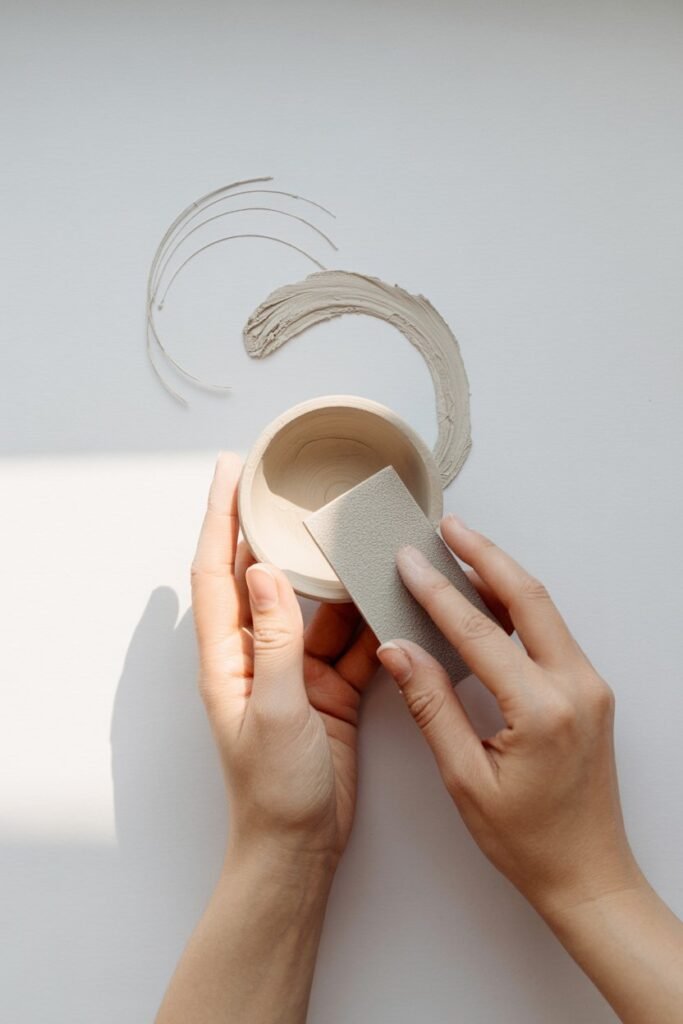
Once your clay is completely dry, it’s time to prepare it for sealing.
I always take this step seriously because it makes a huge difference in how smooth and polished the final piece looks.
Using a fine-grit sandpaper (400 to 600 grit), gently sand the surface and edges.
This helps remove any small bumps, fingerprints, or uneven spots that might have formed while shaping your piece.
I’ve learned that skipping this step can leave your sealant looking blotchy or uneven, which is frustrating after all the hard work.
Tips I Follow:
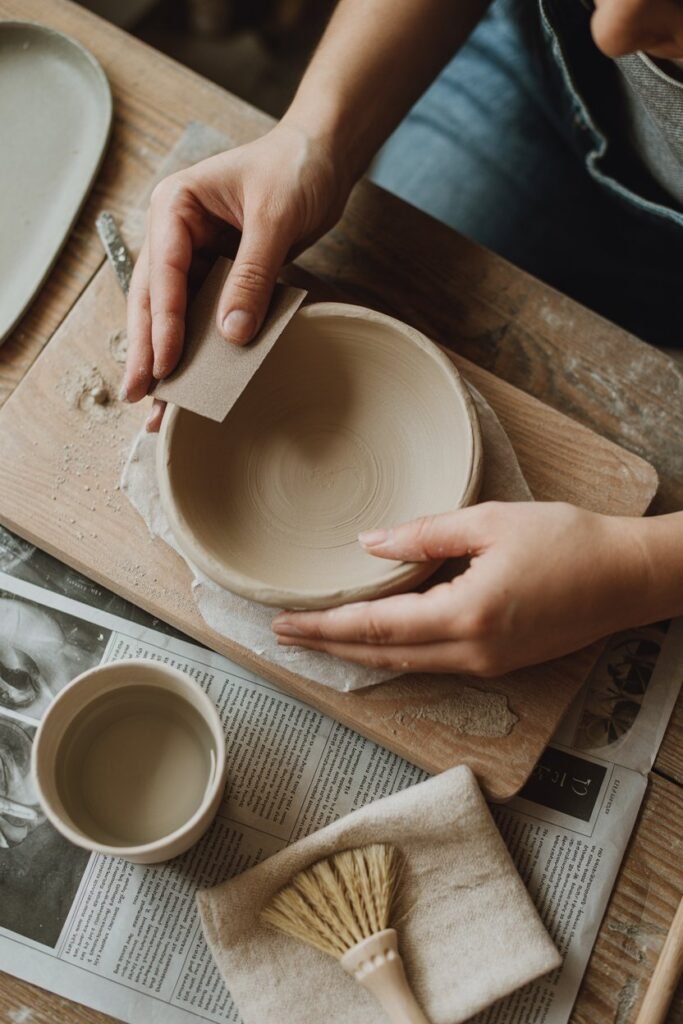
- Sand outdoors or over newspaper to catch dust. Trust me, it saves cleanup and keeps the clay dust out of your furniture.
- Be gentle — you don’t want to accidentally sand away any delicate details. A light, circular motion works best.
- Wipe your piece afterward with a slightly damp cloth or a soft brush to remove all residue. I sometimes use a small paintbrush to get into tiny crevices.
- Let it dry completely again before sealing. I always double-check by touching the surface; it should feel dry, smooth, and ready for the next step.
Taking the time to properly sand and clean your clay not only improves the look but also helps the sealant adhere better and last longer, making your piece more durable and professional-looking.
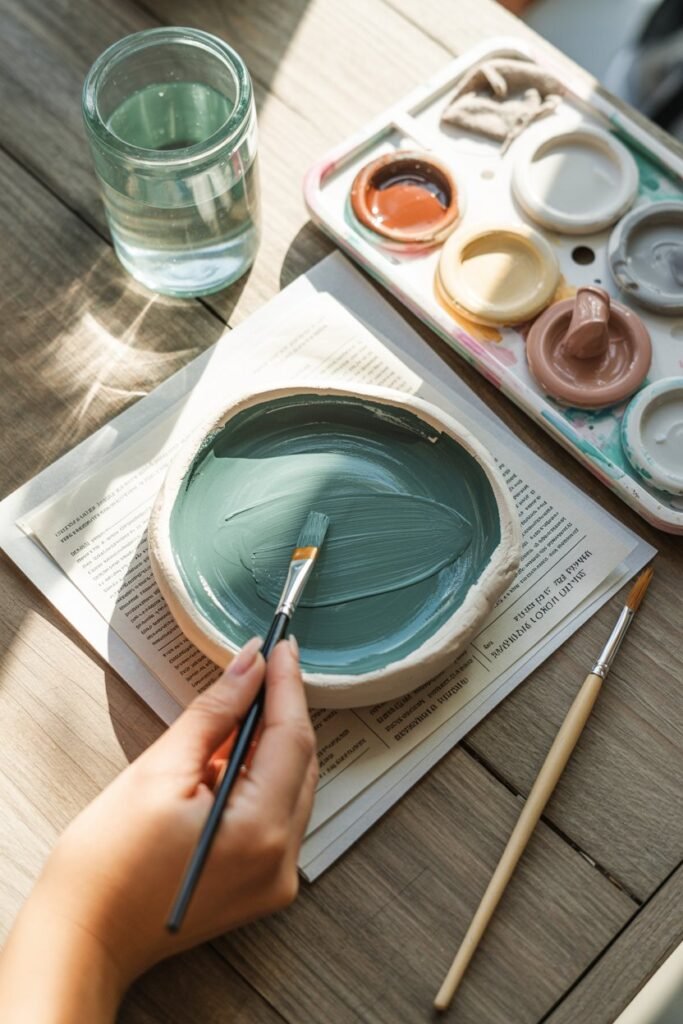
Step 3: Add a Base Coat of Paint (Optional)
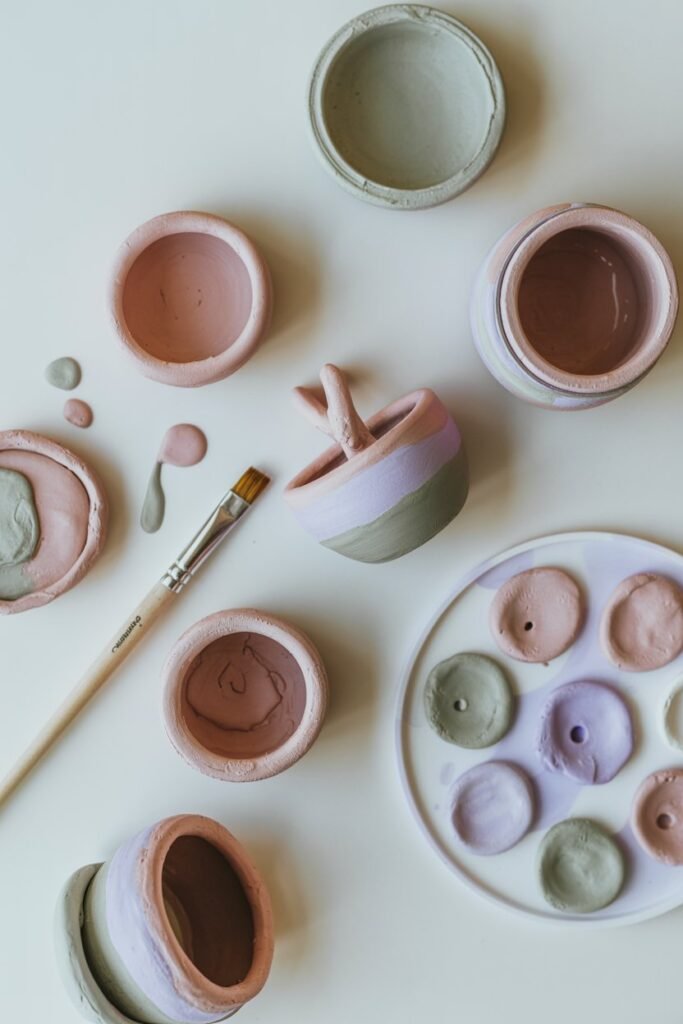
Painting your clay is one of my favorite parts of the process because it not only adds color and personality but also gives your piece an extra layer of protection.
I love experimenting with different shades and finishes to make each creation feel unique.
I usually use acrylic paint or spray paint, as they work best on air dry clay. When painting, apply thin, even coats, and let each layer dry completely before adding the next. This prevents streaks, uneven texture, or cracking.
If you prefer a more natural, earthy look, you can leave your clay unpainted and move straight to sealing.
I sometimes do this for planters or rustic décor pieces, it lets the clay’s natural texture shine.
Once the paint is fully dry, which usually takes about 24 hours, your piece is ready for the final sealing step. At this point, it’s time to make your clay water-resistant and long-lasting.
Step 4: Choose Your Waterproofing Method

When I first started working with air dry clay, I quickly realized that not all sealing methods are created equal.
Some left my pieces still vulnerable to splashes, while others worked beautifully.
There are several ways to make your clay water-resistant, but some are much more reliable than others.
In this section, I’ll walk you through the options that I trust for creating durable, long-lasting pieces, so your creations can handle moisture, humidity, and everyday use without losing their charm.
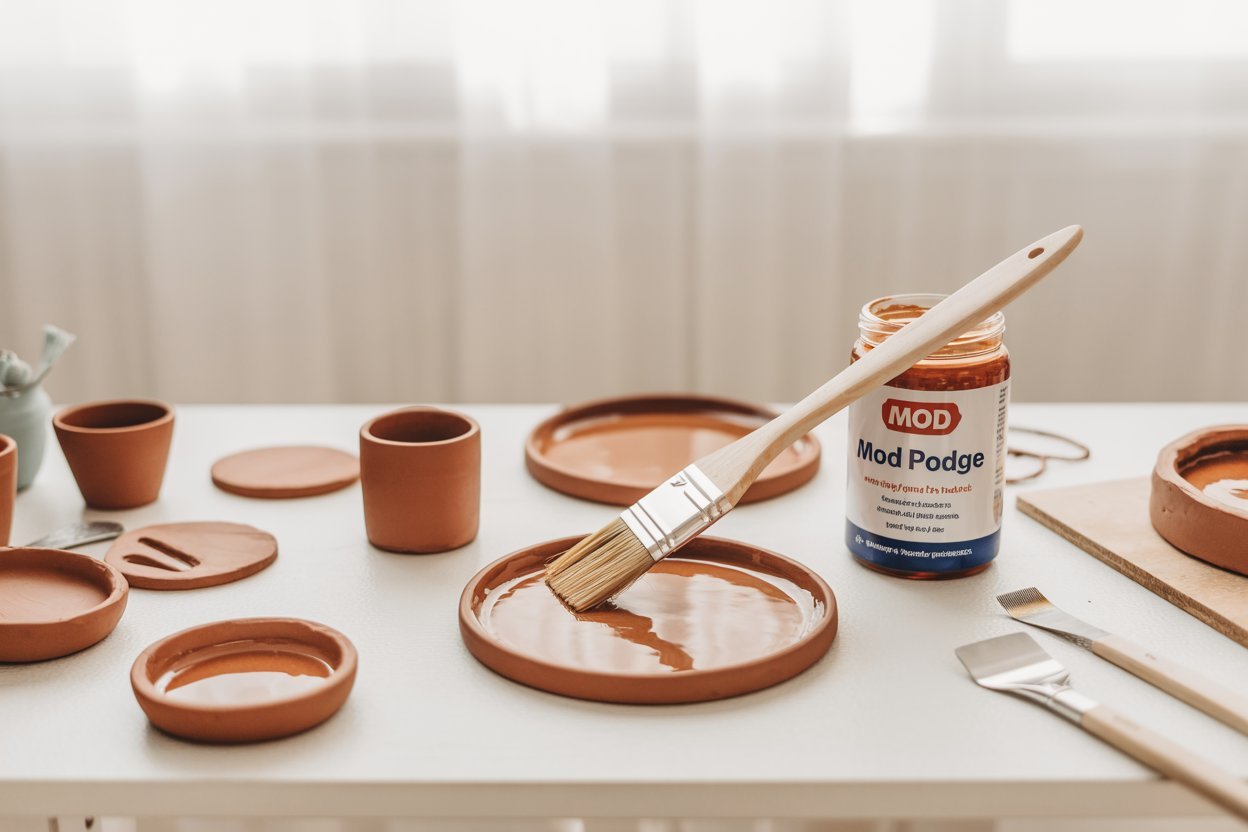
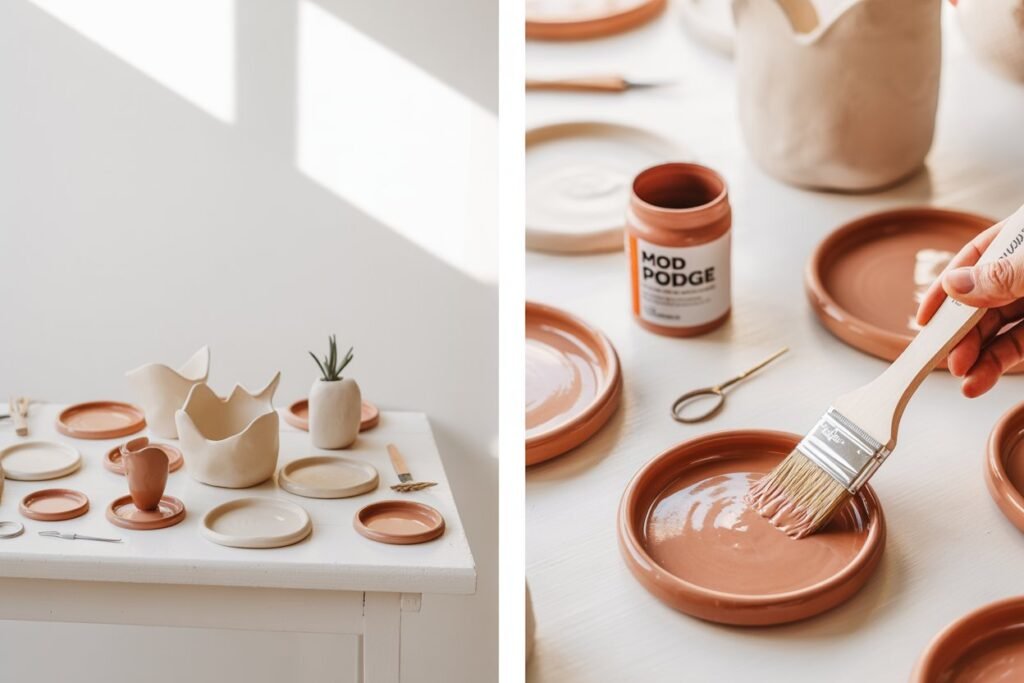
Method 1: Using Mod Podge Outdoor (Best for Decorative Items)
Mod Podge Outdoor is one of the easiest ways to add water resistance to air dry clay projects like jewelry dishes, ornaments, or décor items.
How to Apply:
- Stir (don’t shake) your Mod Podge to avoid bubbles.
- Use a soft brush to apply a thin, even coat over the entire surface.
- Allow to dry for 15–20 minutes between coats.
- Apply 2–3 coats total for full coverage.
- Let the final coat cure for 24–48 hours before exposing it to moisture.
This creates a protective, slightly glossy finish that resists humidity and light splashes.
Method 2: Using Polycrylic Sealant (Best for Planters and Bowls)
For projects that might be near water like small pots or trays, a polycrylic water-based sealant provides stronger protection than Mod Podge.
How to Apply:
- Use a foam brush for a streak-free finish.
- Apply the first coat evenly across the surface.
- Let dry for 1–2 hours, then sand lightly with fine-grit sandpaper.
- Add 2–3 additional coats, letting each dry in between.
- Allow the piece to cure for at least 24 hours before use.
This method gives a smooth, professional finish and strong moisture resistance.
Method 3: Using Clear Acrylic Spray (Quick and Easy Option)
If you prefer a fast-drying, easy-to-apply method, a clear acrylic spray sealant is perfect. It’s great for small decorative crafts or ornaments.
How to Apply:
- Place your clay item on a covered surface outdoors or in a well-ventilated area.
- Shake the can well.
- Spray lightly from 8–10 inches away, keeping the can moving to avoid buildup.
- Let dry for 15–30 minutes, then apply a second coat.
- Allow 24 hours to cure completely.
Acrylic spray gives an even, glossy finish and repels light moisture but isn’t suitable for full submersion.
Method 4: Using Epoxy Resin (For Full Waterproofing)
If you want your clay project to be completely waterproof, like for vases or outdoor garden decorations, I have found that epoxy resin is the strongest option.
It creates a thick, glass-like coating that fully seals your piece and gives it a professional, glossy finish.
How I Apply It:
- Mix the resin and hardener carefully according to the manufacturer’s instructions. I always double-check the ratios, even a small mistake can affect curing.
- Pour or brush a small amount onto your piece. I usually start with a thin layer to avoid drips.
- Spread it evenly using a brush or gloved hand, making sure every nook and cranny is coated.
- Let it cure undisturbed for 24 to 48 hours. Patience is key here, touching it too soon can ruin the finish.
- Avoid touching during curing because any dust or fingerprints will harden into the surface. I like to cover my workspace lightly with a clean box or container to protect it.
Epoxy gives a beautiful, high-gloss finish and is fully waterproof. The only catch is that it requires patience and careful handling, but the results are worth it, especially for pieces that will see water regularly.
Comparison: Which Waterproofing Method Should You Choose?
| Method | Best For | Water Resistance | Finish | Difficulty |
|---|---|---|---|---|
| Mod Podge Outdoor | Decorative pieces, ornaments | Moderate | Glossy | Easy |
| Polycrylic | Bowls, planters, trays | High | Satin/Gloss | Moderate |
| Clear Acrylic Spray | Small crafts, fast sealing | Moderate | Glossy | Easy |
| Epoxy Resin | Vases, outdoor décor | Full | High gloss | Advanced |
Step 5: Let the Sealer Cure Properly
Even after the final coat is dry to the touch, most sealants need additional curing time.
Avoid exposing your project to moisture for at least 48–72 hours to ensure the coating has hardened completely.
Rushing this step is one of the most common mistakes that lead to tacky finishes or peeling later on.
Step 6: Maintenance and Care
To extend the life of your sealed clay projects:
- Wipe gently with a damp cloth; don’t soak.
- Keep out of direct sunlight to prevent fading or cracking.
- Avoid placing sealed clay directly in water or outdoors during heavy rain unless epoxy-coated.
- If the finish starts to dull, reapply a thin layer of sealant.
Common Mistakes to Avoid
- Skipping the drying stage: Sealing wet clay traps moisture and causes bubbling.
- Using the wrong sealer: Regular Mod Podge or non-waterproof varnish will not resist moisture.
- Applying thick coats: Always use several thin layers instead of one heavy coat.
- Not waiting for curing: Even waterproof sealants fail if not fully cured before use.
Final Thoughts
Air dry clay might not be naturally waterproof, but with the right preparation and sealing, it can be made strong, durable, and water-resistant enough for most home décor and DIY uses.
Whether you’re making jewelry dishes, planters, ornaments, or keepsakes, sealing your clay the right way ensures your hard work lasts. It’s a small step that makes a big difference in the quality and longevity of your creations.
Once sealed, your pieces can safely handle everyday moisture, humidity, or the occasional splash — making your DIY crafts not only beautiful but practical too.
So next time you open a pack of air dry clay, take a few extra minutes to seal it properly — your future self (and your projects) will thank you.