I have always loved fresh flowers in my home, but I never loved how limited store bought arrangements felt. Most vases force your flowers to fall where they want, not where you want them.
That is exactly why I started making my own flower frogs.
Creating DIY flower frogs with air dry clay completely changed the way I arrange flowers. It gave me control, creativity, and a slower, more intentional way to work with blooms.
Every piece feels personal, imperfect in the best way, and uniquely mine.
What I love most about this project is how approachable it is. You do not need fancy tools, pottery skills, or a kiln.
Air dry clay makes it possible to create beautiful, functional flower frogs right at your kitchen table.
Whether you are working with garden clippings or grocery store flowers, these handmade frogs help each stem sit exactly where it belongs.
This is one of those DIYs that feels calming from start to finish. The process of shaping the clay, pressing the holes, and letting it dry is surprisingly grounding.
And when you finally place it in a bowl and start arranging flowers, it feels incredibly rewarding knowing you made it yourself.
In this post, I will walk you through everything step by step. I will show you what materials I use, how I shape my flower frogs, how I decide where to place each hole, and how I use them once they are finished.
If you love handmade decor, slow DIY projects, and simple ways to make your home feel more intentional, this is a project you are going to love.
Why You Will Love This DIY
You will love this DIY because it feels slow, creative, and genuinely satisfying from start to finish.
Making your own flower frogs with air dry clay gives you full control over the shape, size, and look, so each piece feels intentional and personal.
I love how simple the process is, yet the final result looks thoughtful and handmade in the best way. There is no rush, no special equipment, and no pressure to be perfect.
Each flower frog ends up slightly different, which is exactly what makes them special. They add character to your vases and make even the simplest flowers feel styled and elevated.
This is also one of those projects that fits easily into real life. You can make it in short sessions, clean up quickly, and let the clay dry naturally.
It is calming, beginner friendly, and perfect if you enjoy home decor that feels meaningful rather than mass produced.
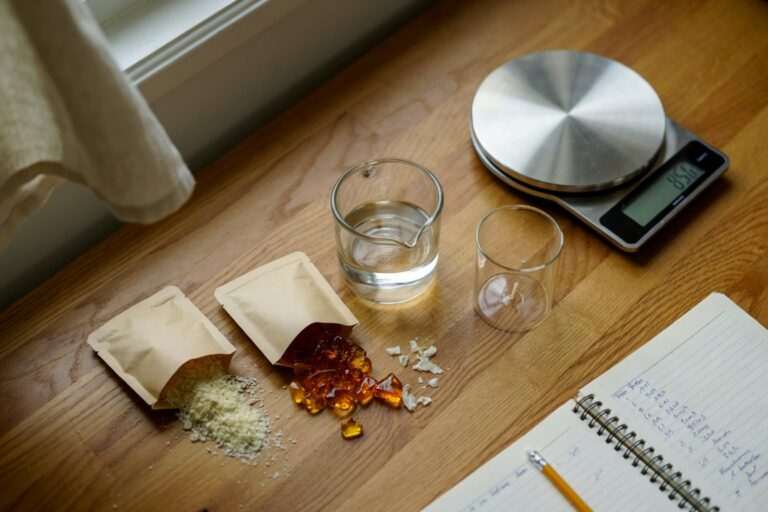
Materials You Will Need
For this DIY, you only need a few basic supplies, which is part of why I love it so much.
Air dry clay is the main material and it is easy to work with, forgiving, and widely available.
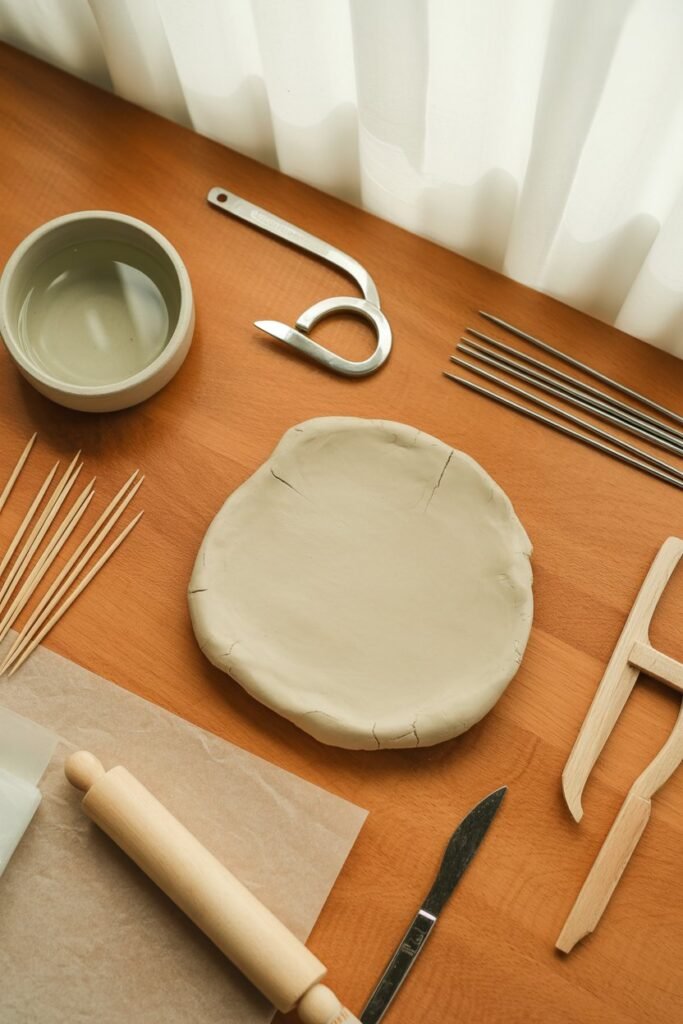
I like using a smooth white or natural toned clay because it keeps the finished flower frogs looking clean and timeless.
You will also need a small bowl of water to smooth cracks and edges as you shape the clay.
To create the holes for the stems, I usually use a skewer, toothpick, or the end of a paintbrush.
A small knife or clay tool helps refine the edges, but it is optional. I also keep a flat surface lined with parchment paper so the clay does not stick while drying.
Once everything is set out, the process feels relaxed and intuitive.
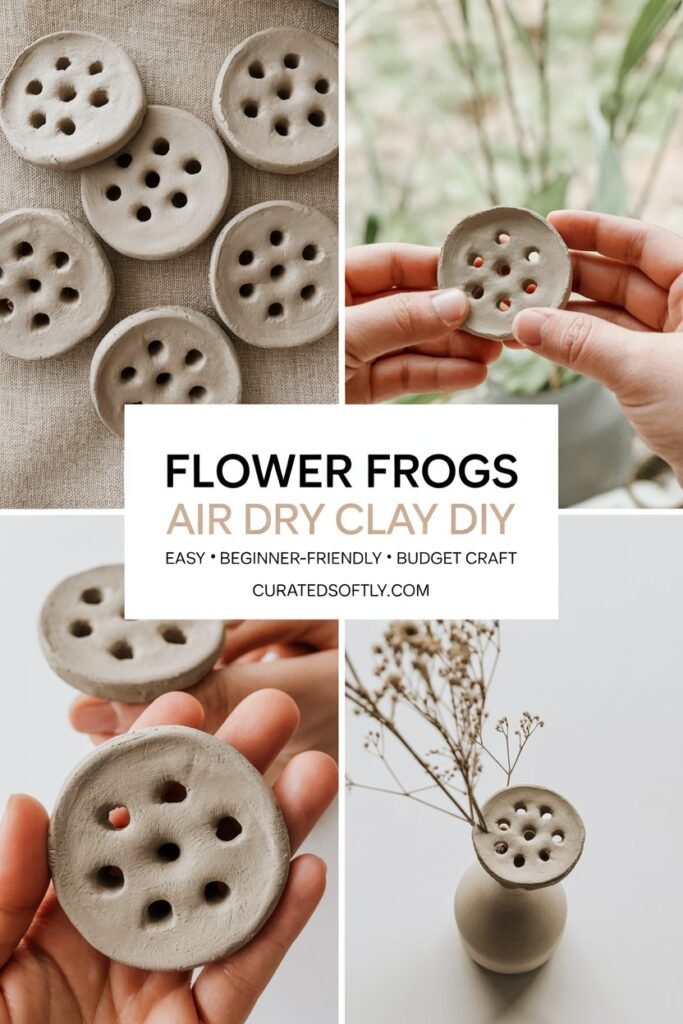
How I Make DIY Flower Frogs with Air Dry Clay (Step by Step)
This is one of my favorite slow, creative projects. I usually make these in the afternoon with a cup of tea nearby and no rush at all.
The beauty of this DIY is that it is simple, but the result feels thoughtful and handmade in the best way.
Step 1: Shape the base
I start by taking a palm sized piece of air dry clay and rolling it between my hands until it feels smooth and warm.
Then I place it on my work surface and gently press it down into a thick disc.
I aim for a sturdy shape, about one to one and a half inches thick, because I want the flower frog to have enough weight to stay put inside a vase. If it feels too thin, I add a little more clay and reshape.
Step 2: Slow down and smooth
This is the step where I really slow down. I lightly dip my finger into water and smooth the surface, moving in small circles.
I pay extra attention to the edges because rough edges are what usually make DIY pieces look unfinished. I rotate the piece as I go, checking it from every angle until it feels even and calm to the touch.
Step 3: Plan the stem holes
Before making any holes, I pause and look at the top of the clay. I imagine how flowers will sit in it later.
This helps me decide where each hole should go. Using a toothpick or skewer, I gently press holes into the clay, spacing them evenly.
I angle a few of them slightly outward so the flowers will naturally fan out instead of standing straight up.
Step 4: Adjust and refine
Once the holes are done, I take a final moment to refine the shape. If the clay has shifted or cracked a little, I smooth it again with a touch of water.
I also clean up the edges of the holes so they look intentional, not messy. These small adjustments make a big difference once everything dries.
Step 5: Let it dry fully
I place the finished flower frog on parchment paper and set it somewhere quiet and dry.
I usually leave it alone for twenty four to forty eight hours. Halfway through drying, I gently flip it over so the bottom dries evenly too.
I know it is ready when it feels completely hard and cool, with no soft spots at all.
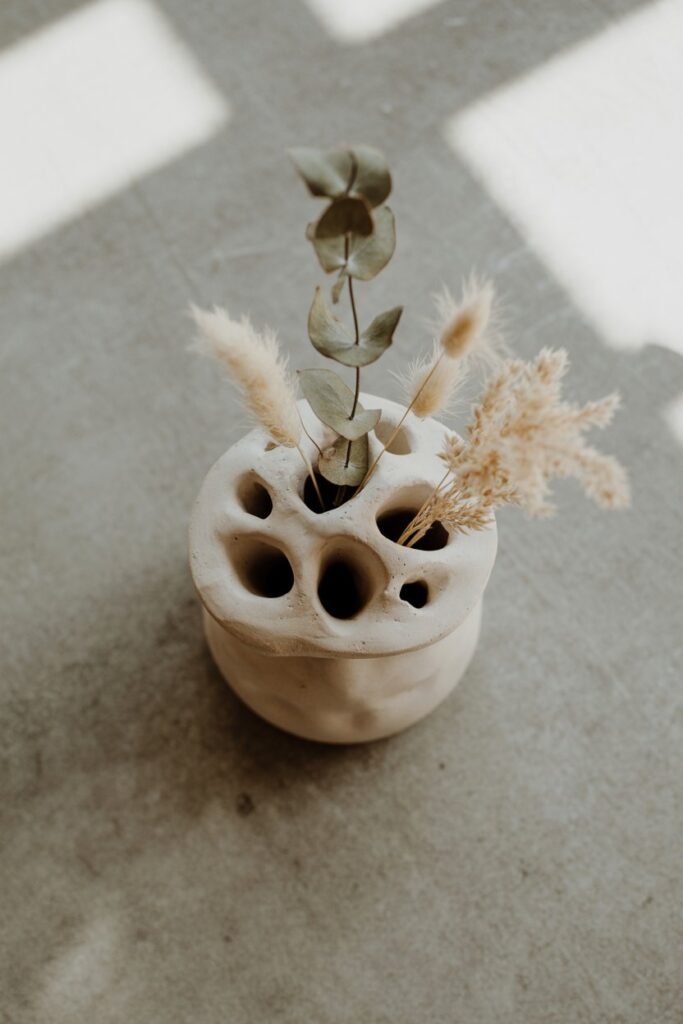
When it is fully dry, I love seeing how each piece turns out slightly different. That is what makes these flower frogs special. They are simple, functional, and full of personality, just like a good DIY should be.
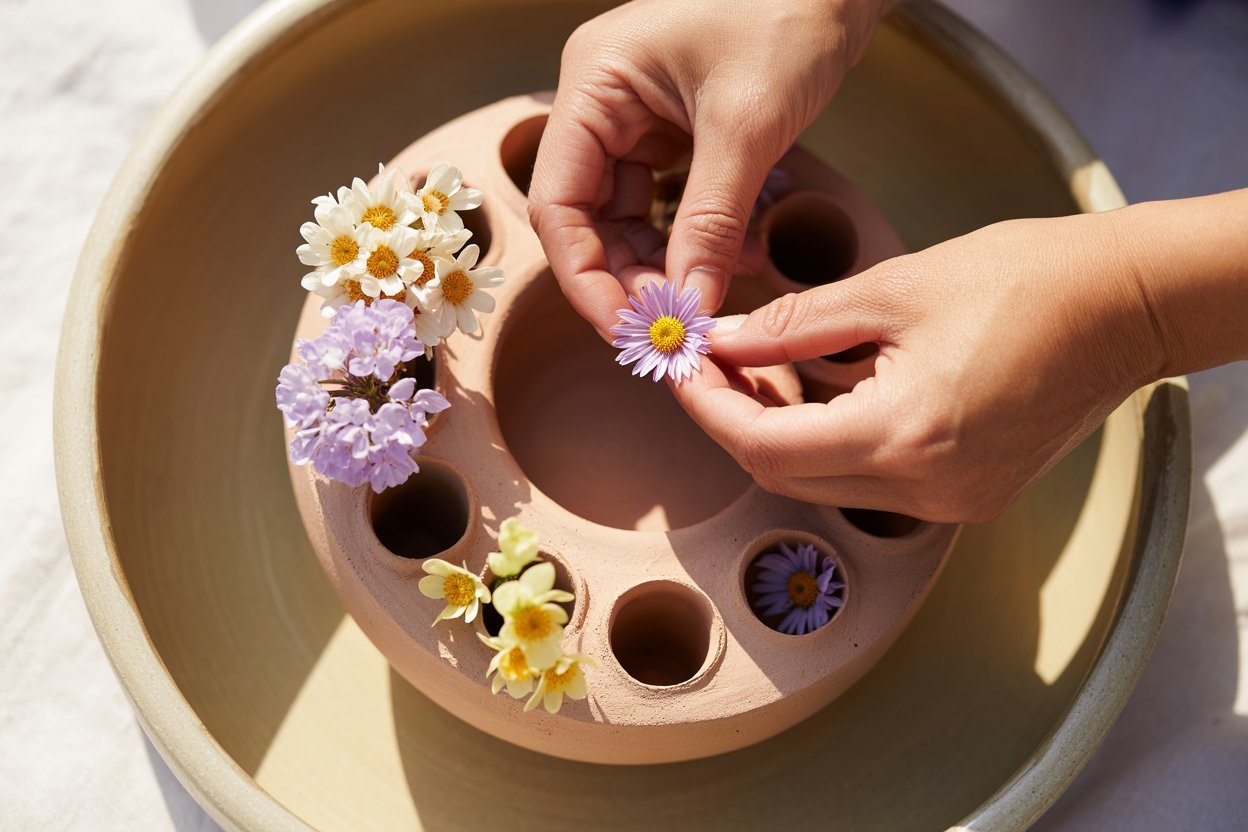
How I Use My DIY Flower Frogs in Everyday Arrangements
Once these are fully dry, this is where the magic really happens. I did not make these just to sit on a shelf.
I made them to be used, and they quickly became one of my favorite tools for simple flower styling at home.
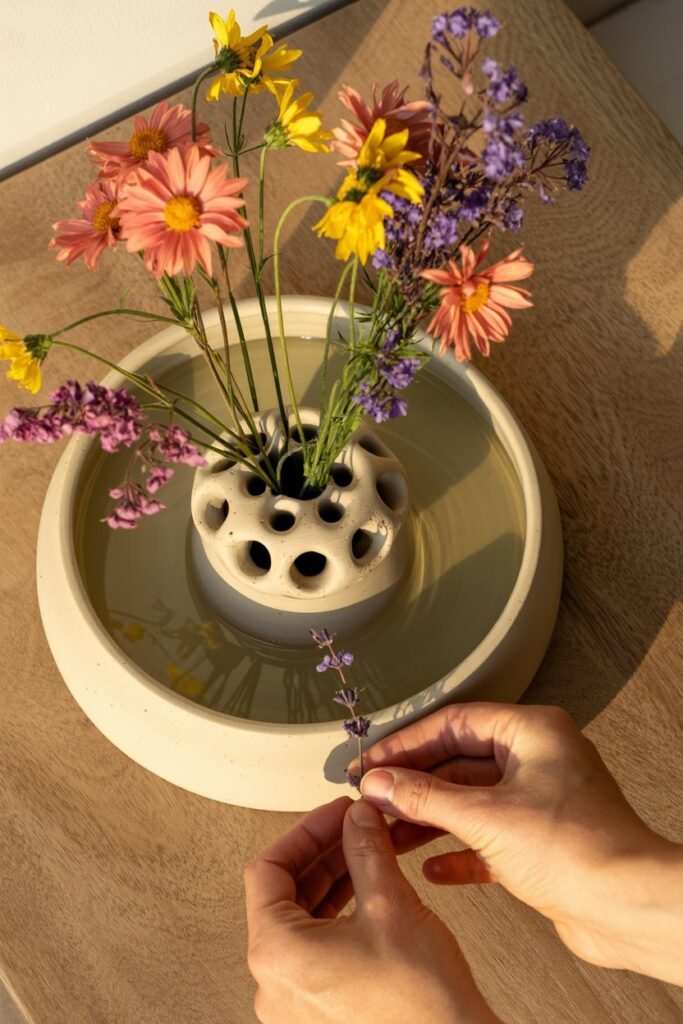
I usually place the flower frog at the bottom of a small bowl or low vase and add a little water, just enough to cover the base. Because the clay has weight, it stays in place and does not float or shift when I start adding stems.
I love using garden clippings, a few wildflowers, or even herbs like rosemary and basil.
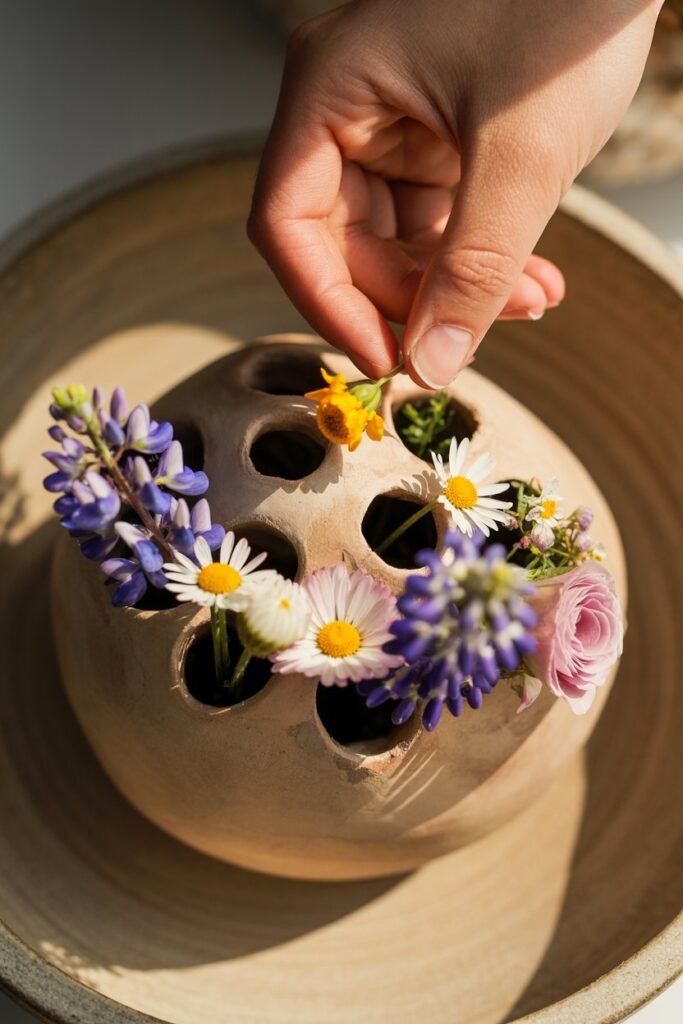
I insert one stem at a time, letting the holes guide the placement. The angled holes help the flowers naturally spread out, so the arrangement looks full without effort.
What I enjoy most is how relaxed the process feels. There is no foam, no fuss, and no pressure to make it perfect. I can move stems around until it feels right, and the frog holds everything steady.
These little flower frogs have turned everyday moments into something slower and more intentional for me. Even a single bloom feels special when it is placed with care.
Tips for Best Results
Over time, I have learned a few tricks that make working with air-dry clay for flower frogs much easier.
First, always knead the clay well before starting. Warming it up makes it softer and easier to shape. I like to work on a clean, dry surface and use a small rolling pin to get an even thickness before poking the holes.

When placing the holes for your flowers, I make them slightly wider than the stems I plan to use. This prevents them from feeling too tight while still keeping the flowers upright.
I also let the clay dry completely in a dust-free area. Sometimes I leave mine overnight and turn them gently to ensure all sides dry evenly.
Another tip I swear by is smoothing the edges of each hole with a damp finger. It gives the final piece a polished look and prevents flowers from snagging.
Patience is key. Rushing the drying process can cause cracks, so I always remind myself that taking time results in a better flower frog.
Variations and Creativity
One of the best parts about making your own flower frogs is how customizable they are. I love experimenting with different shapes.
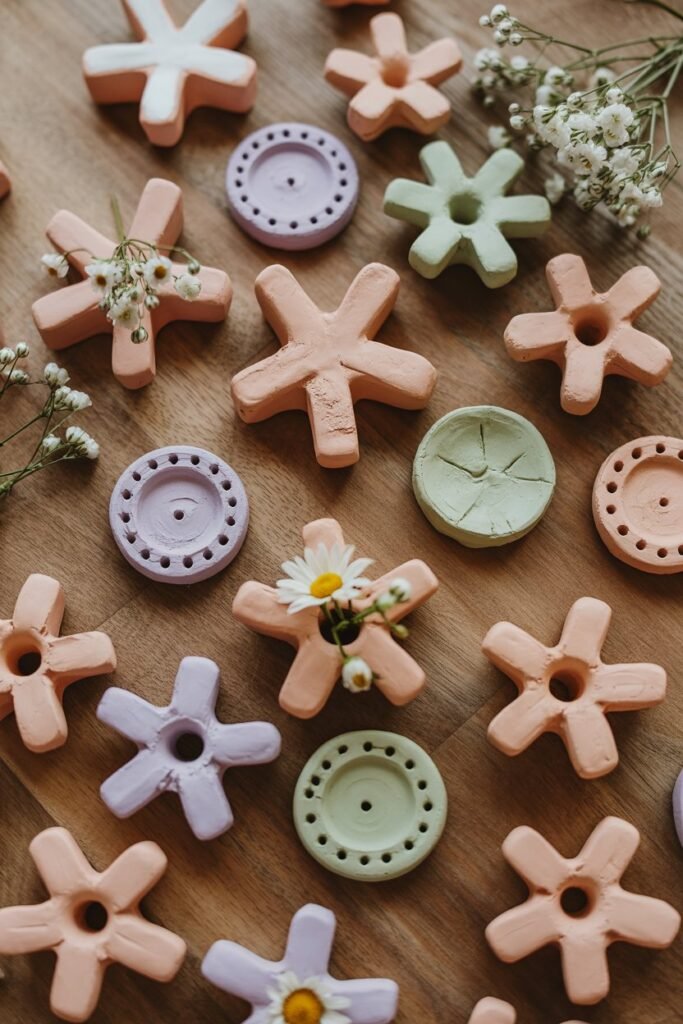
Sometimes I make little hearts or stars instead of plain circles. It feels playful and adds personality to my arrangements.
You can also play with texture. I like pressing a fork or textured stamp into the clay before it dries to create subtle patterns that catch the light. Color is another fun element.
While air-dry clay can be painted once dry, I sometimes mix in a little pigment or mica powder beforehand for a soft pastel or metallic finish.
If I am feeling especially creative, I make miniature flower frogs in sets of different sizes.
This allows me to create tiered arrangements or use them as tiny accents in terrariums or succulent pots. Small tweaks can make each piece uniquely mine.
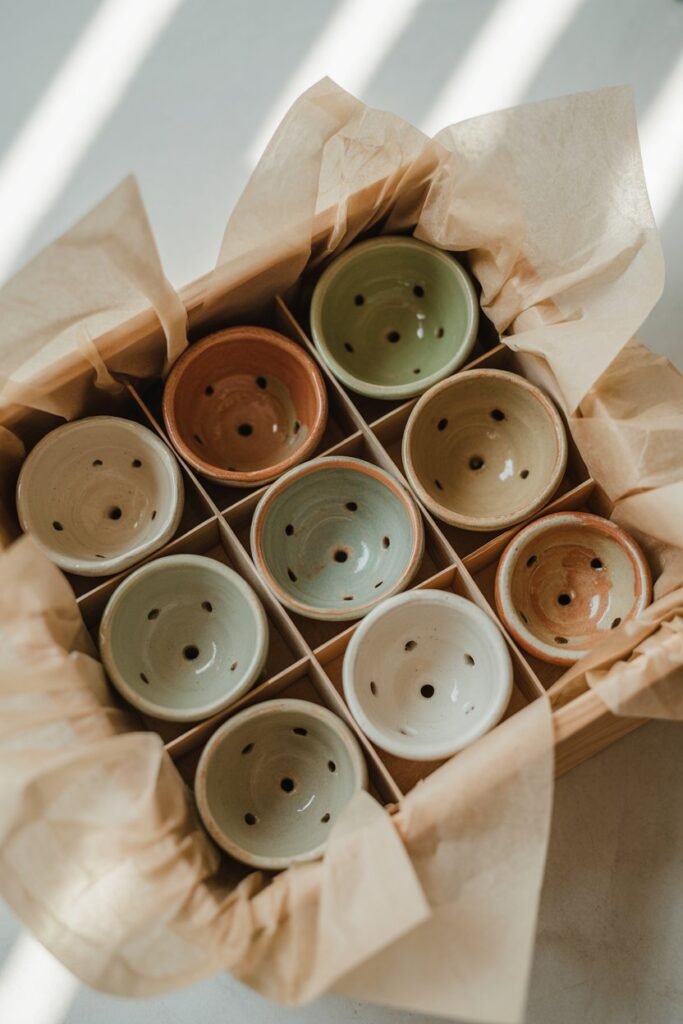
How I Store My Flower Frogs
Once my flower frogs are fully dry, I store them carefully to avoid chips or cracks. I usually place them in a box lined with soft tissue paper or bubble wrap, separating each piece so they do not touch.
If I have painted or sealed them, I make sure they are completely dry before stacking them.
I also keep them out of direct sunlight and away from moisture because air-dry clay can soften if exposed to humidity.
I like keeping a few flower frogs in a small drawer near my workspace so they are ready for quick arrangements, while the rest stay safely stored until needed. This system keeps them in perfect condition and makes decorating stress-free.
Final Thoughts
Making DIY flower frogs with air-dry clay has become one of my favorite creative rituals. It is simple, inexpensive, and endlessly satisfying. I love that each piece is uniquely mine, from the size and shape to the texture and finish.
Beyond crafting, I enjoy seeing how these small handmade pieces transform my flowers and my home. They make arranging flowers effortless, elevate everyday blooms, and spark conversations when friends notice them.
Whether you are a seasoned crafter or looking for a relaxing weekend project, flower frogs are an easy way to add personality, charm, and creativity to your home.
Take your time, experiment, and enjoy the process. Each frog is a small piece of art that brings extra joy to your space.