
How to Fix Cracked Air Dry Clay (Easy Solutions That Actually Work)
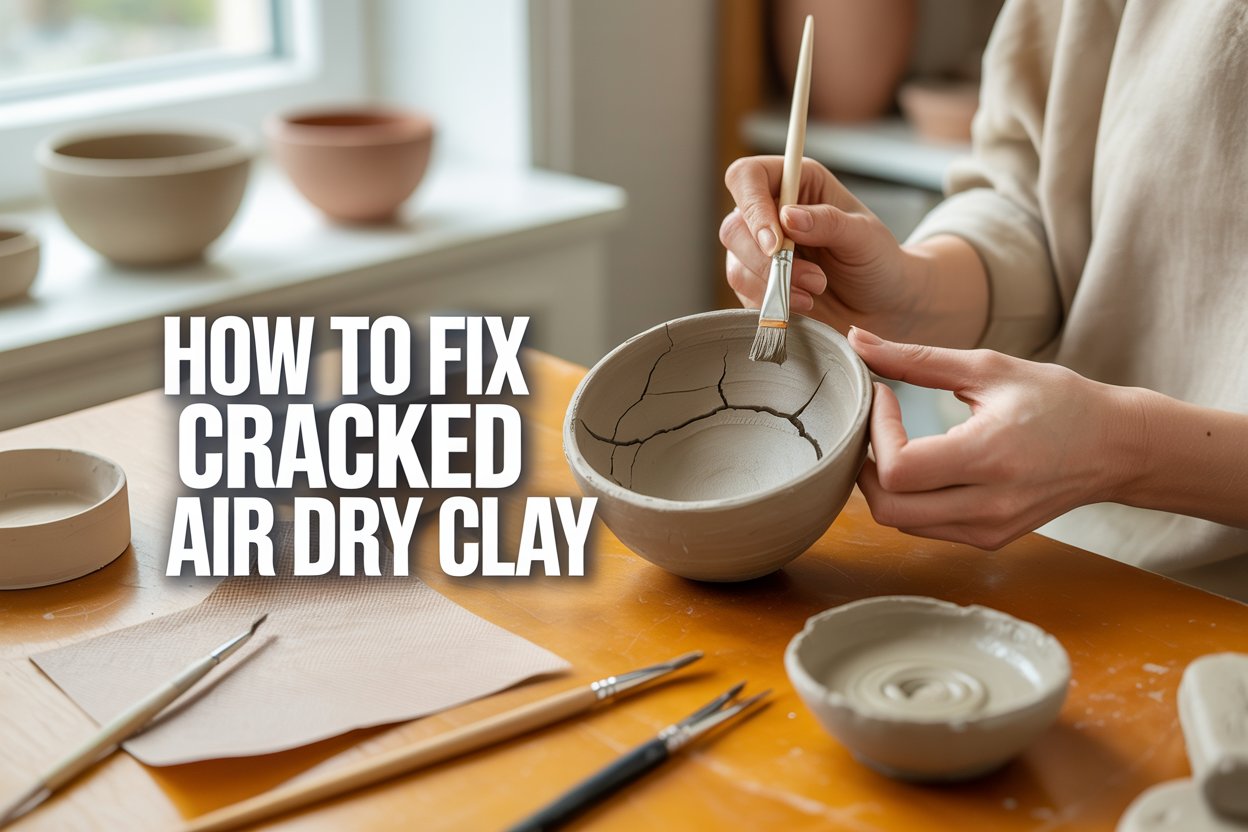
There is nothing more frustrating than spending hours shaping an air dry clay project, only to come back later and find cracks running across the surface.
I have been there more times than I would like to admit.
The first time it happened, I assumed I had completely ruined my project. I almost threw it away because I thought there was no way to fix it.
Thankfully, I was wrong.

Over time, I learned that small cracks are incredibly common when working with air dry clay, especially if you are still learning. More importantly, most of them are surprisingly easy to repair.
The key is understanding why the clay cracked in the first place. Once you know the cause, it becomes much easier to fix the damage and prevent it from happening again.
In this guide, I’ll show you exactly how I repair cracked air dry clay, the mistakes I avoid, and the techniques that have helped me save countless projects.
Why Does Air Dry Clay Crack?
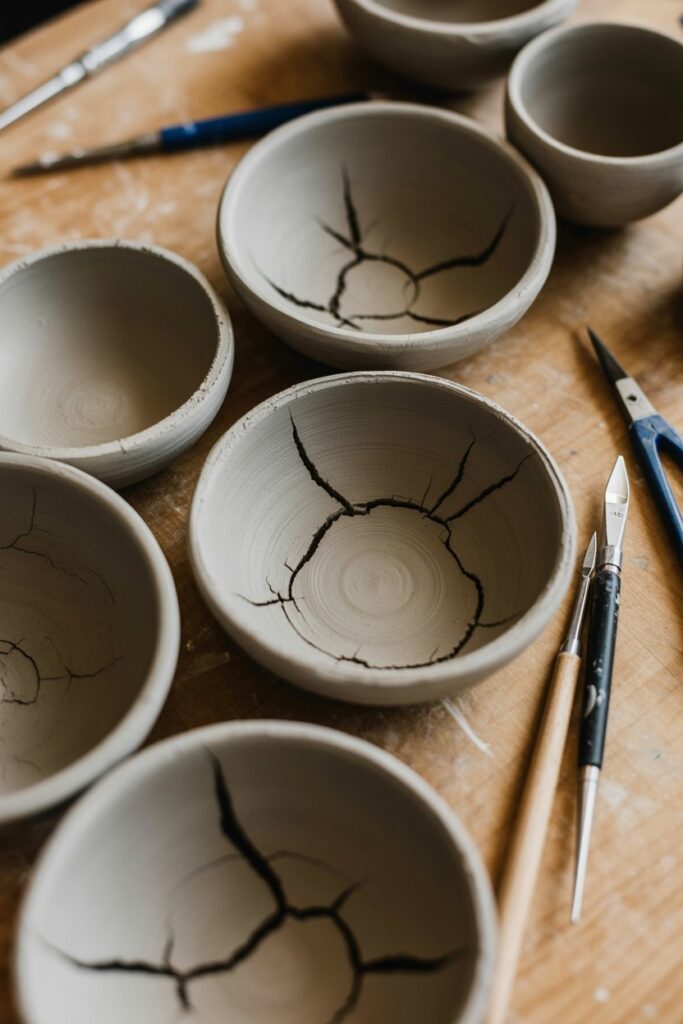
Before you try to repair a crack, it helps to understand what caused it.
I used to think cracking meant I had done something wrong every time.
In reality, even experienced crafters deal with cracks occasionally.
Most cracks happen because the clay dries unevenly or loses moisture too quickly.
Once I understood that, I stopped feeling frustrated and started focusing on preventing the problem instead.
Some of the most common causes include:
- Clay drying too quickly
- Projects that are too thick
- Uneven moisture throughout the clay
- Working with clay that has started drying out
- Moving or bending pieces before they are fully dry
Knowing what caused the crack often tells you the best way to repair it.
Before You Fix the Crack
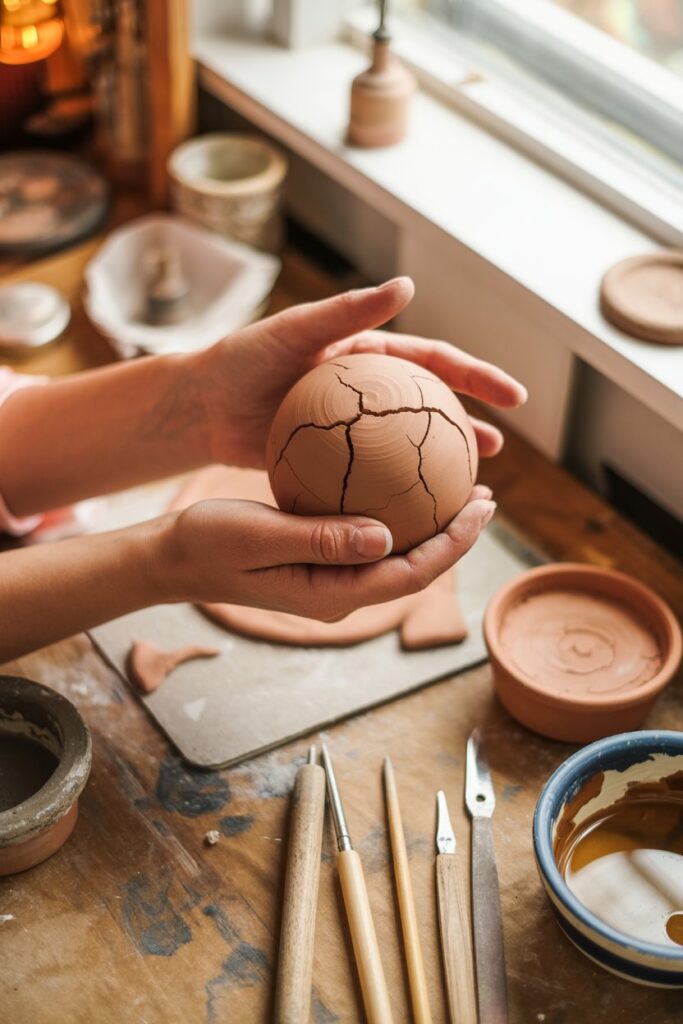
One mistake I made early on was trying to repair cracks while the clay was still drying.
That usually made the problem worse.
Now I always check whether the project is completely dry before deciding how to repair it.
If the crack appears while the clay is still soft, the repair process is different than if the clay has already hardened.
Taking a minute to assess the project first saves a lot of frustration later.
1. Repair Small Hairline Cracks with Clay Slip
This is the repair method I use most often because it works incredibly well for tiny surface cracks.
If the crack is thin enough that it has not changed the shape of the project, you can usually repair it without anyone noticing.
Why This Works
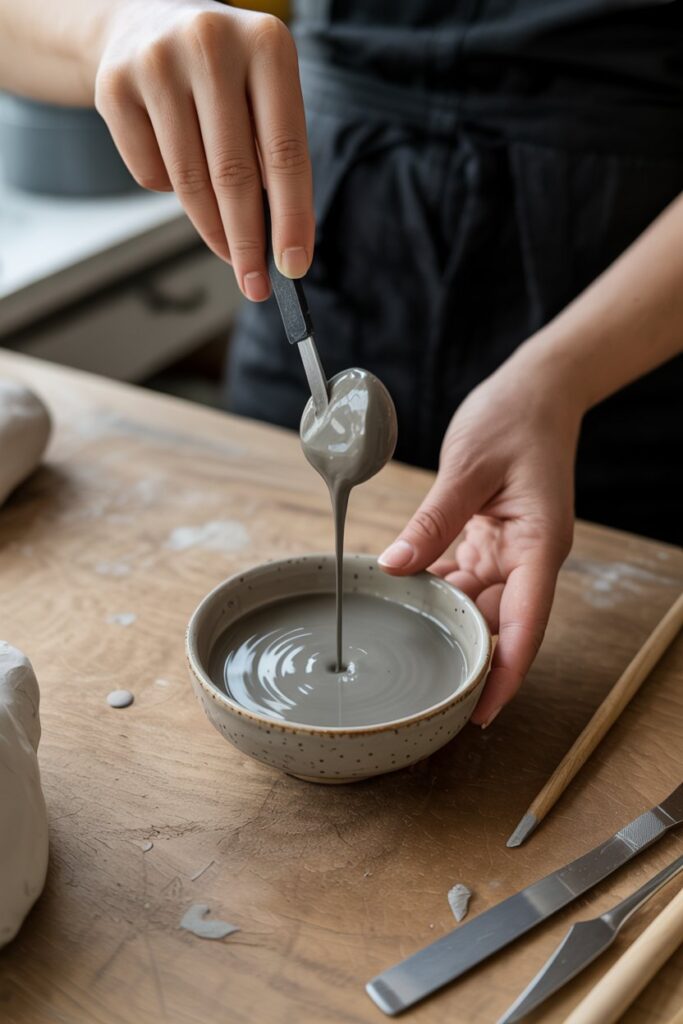
Clay slip acts almost like a glue made from the same material as your project.
Instead of simply covering the crack, it fills it with clay, creating a much more natural repair.
How I Make Clay Slip
I mix a tiny amount of air dry clay with water until it becomes a smooth paste.
The consistency should be similar to thick yogurt.
If it feels too runny, I add a little more clay.
If it is too thick, I add another drop or two of water.
How I Fix the Crack
Using a small paintbrush or my fingertip, I gently press the clay slip into the crack.
I make sure it fills the entire opening rather than just sitting on top.
Once it begins drying, I smooth away the excess with a damp finger.
After it dries completely, I lightly sand the area before painting.
Best For
- Hairline cracks
- Small decorative pieces
- Jewelry dishes
- Ornaments
- Mini sculptures
2. Fill Larger Cracks with Fresh Clay
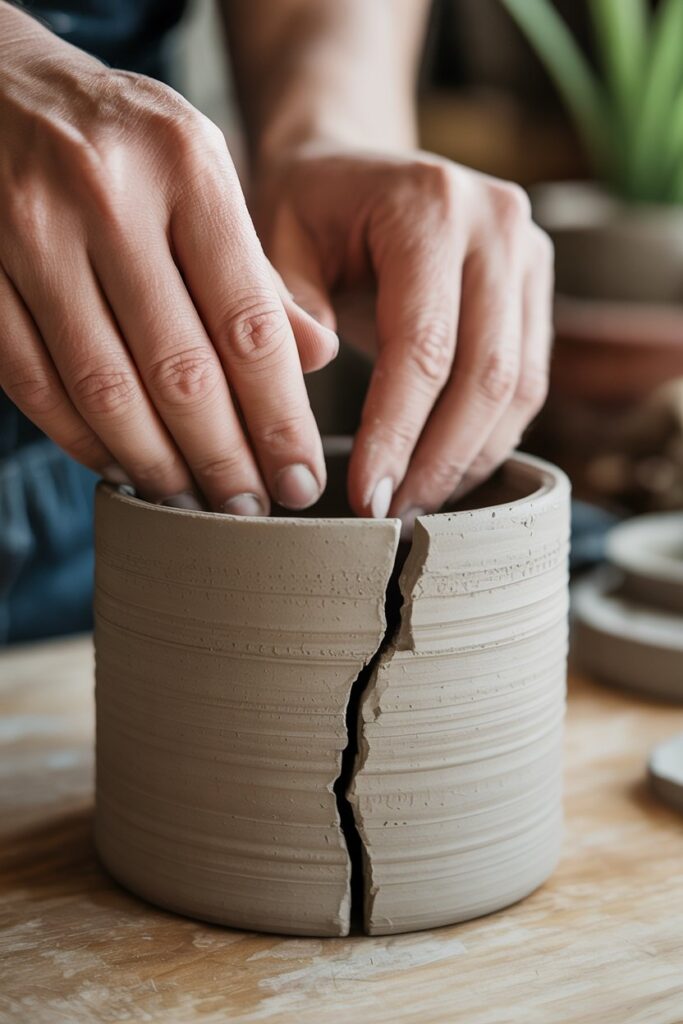
Some cracks are simply too deep for clay slip alone.
I learned this after trying to fix a large split with only slip and watching it crack again a few days later.
For wider openings, fresh clay creates a much stronger repair.
Why I Use Fresh Clay
Fresh clay gives the damaged area new structure instead of simply filling the surface.
It also blends much better after sanding.
How I Repair Larger Cracks
First, I lightly dampen the cracked area.
Then I press a small amount of fresh clay firmly into the opening, making sure there are no air pockets trapped inside.
Using a damp finger or silicone sculpting tool, I smooth the repair until it blends naturally into the surrounding surface.
Once everything has dried completely, I sand the repaired area until it feels seamless.
My Biggest Tip
Do not use more clay than necessary.
It is much easier to build up a repair gradually than spend extra time sanding away excess material later.
3. Sand the Repair Until It Disappears
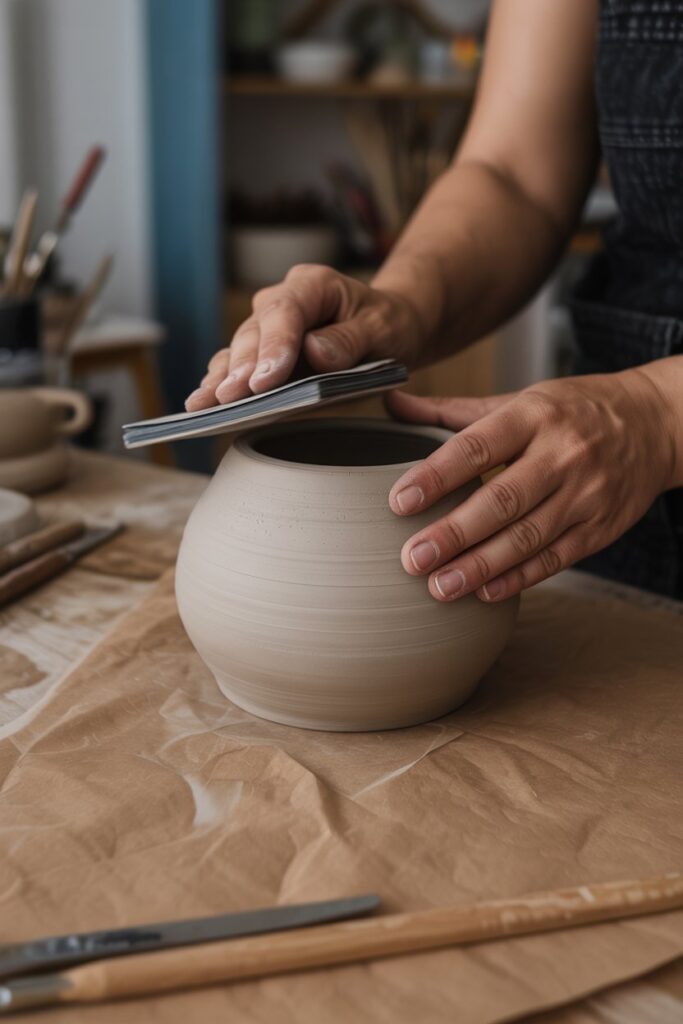
This is the step that completely changed how my finished projects looked.
In the beginning, I skipped sanding because I thought the repair already looked smooth.
Then I painted the piece.
Suddenly every bump, ridge, and repair line became obvious.
Now I never skip this step.
Why Sanding Matters
Paint highlights imperfections.
A repair that looks invisible before painting can become very noticeable once color is added.
Sanding creates one continuous surface, allowing the paint to go on much more evenly.
How I Sand My Repairs
I always use fine-grit sandpaper and work slowly.
Instead of pressing hard, I use light circular motions until the repaired area blends into the rest of the project.
When it feels perfectly smooth under my fingertips, I know it is ready for paint.
My Favorite Tip
After sanding, I always wipe away the dust with a soft cloth before painting.
It only takes a few seconds, but it leaves a much cleaner finish.
At this point, you’ve repaired the most common types of cracks, but there are still a few situations that require a different approach.
In the next section, I’ll cover when a cracked project can actually be saved, how to prevent cracks from coming back, common repair mistakes to avoid, and the simple habits that have dramatically reduced cracking in my own air dry clay projects.
4. Fix Cracks While the Clay Is Still Wet
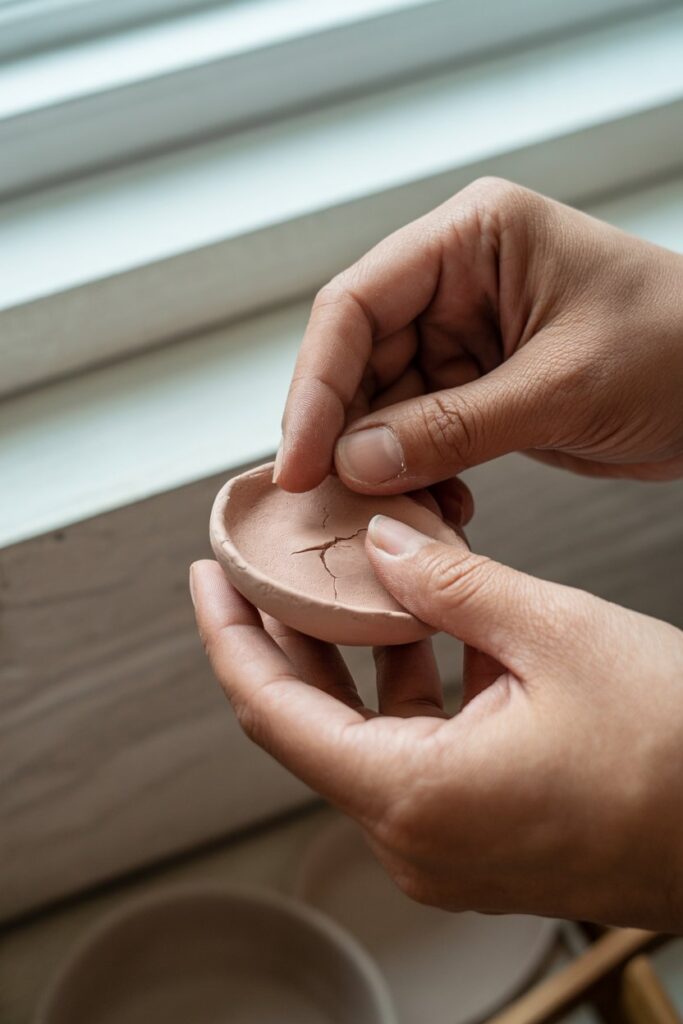
One of the biggest lessons I have learned is that not every crack needs to wait until the project is dry.
If you notice a small crack while the clay is still soft, you can often repair it immediately before it has a chance to get worse.
I always keep an eye on my projects during the first few hours of drying because that is when tiny cracks are most likely to appear.
Why This Works
Wet clay blends into wet clay much more easily than dry clay.
Making the repair early often means you will not even be able to tell where the crack was once the project has dried.
How I Fix It
I lightly dampen my fingertip with water and gently smooth over the crack.
If the crack is slightly larger, I work a tiny amount of fresh clay into the opening before smoothing everything together with a silicone sculpting tool or my finger.
The goal is to blend the repair naturally into the surrounding clay instead of simply pushing the crack closed.
Best For
- Fresh cracks
- Small surface splits
- Thin decorative projects
- Clay that is still workable
5. When a Crack Is Too Large to Repair
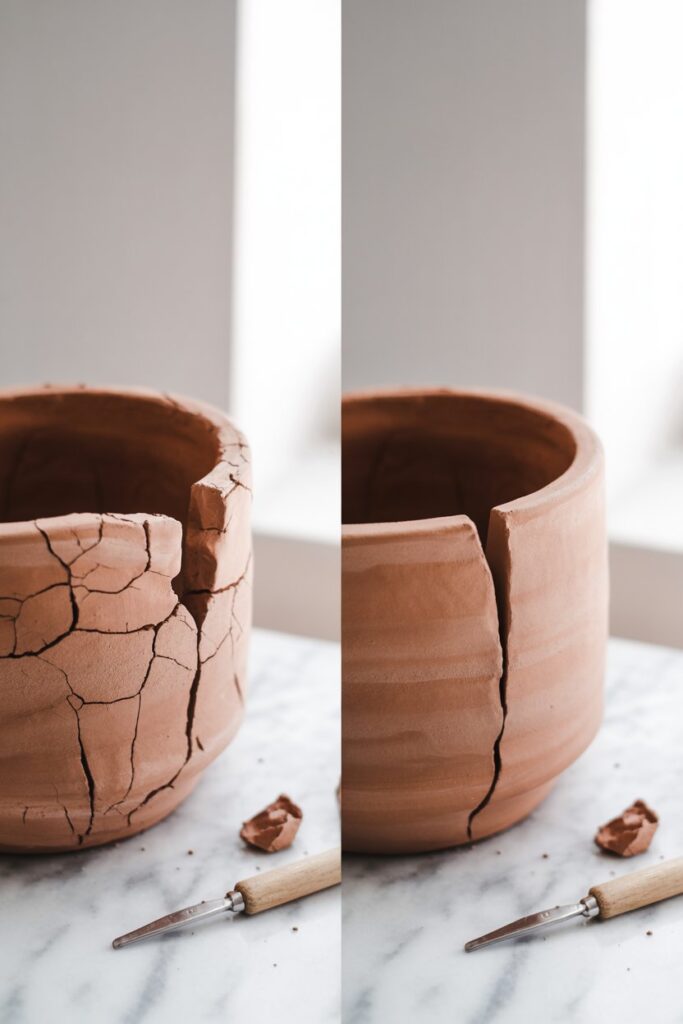
I used to think every cracked project could be saved.
Unfortunately, that is not always true.
If a crack runs completely through the piece or large sections begin separating, a simple surface repair may not be enough.
That does not always mean you have to throw the project away, but it usually means rebuilding part of it instead of simply filling the crack.
Signs the Damage Is More Serious
- The project splits into multiple pieces
- Large sections move when touched
- Deep cracks continue through the entire thickness
- The structure no longer feels stable
What I Usually Do
If the project is still worth saving, I carefully reattach the broken sections using fresh clay or clay slip before smoothing the seams.
Sometimes I even reshape the design slightly rather than trying to recreate the original perfectly.
I have found that some of my favorite finished pieces actually started as repair jobs.
6. Seal Your Finished Project
After spending time repairing a crack, the last thing you want is for another one to appear later.
That is why I almost always seal my finished projects.
A quality sealer helps protect the paint, reduces moisture absorption, and gives the surface a more durable finish.
My Favorite Finish Options
- Matte for a natural handmade look
- Satin for a soft sheen
- Gloss for a polished finish
The finish you choose depends on your project, but all three add an extra layer of protection.
Common Mistakes That Cause Cracks
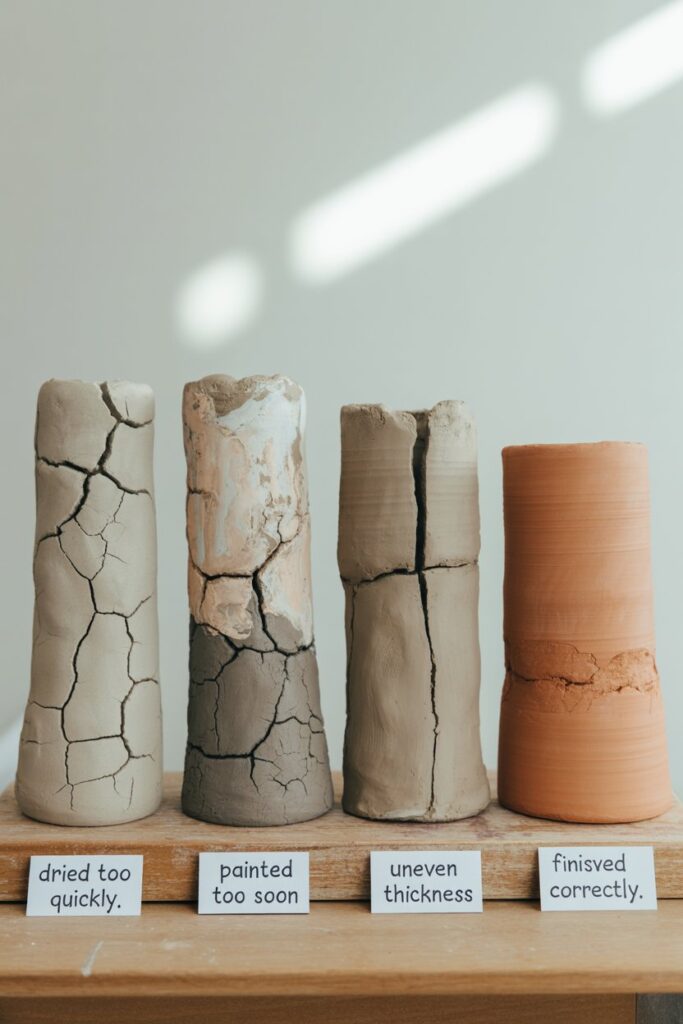
Most cracks can be prevented with a few simple habits.
These are the mistakes I made most often when I first started working with air dry clay.
Making Pieces Too Thick
Thicker clay dries much more slowly than the outside surface.
As the inside continues shrinking, cracks are more likely to appear.
Whenever possible, I try to keep the thickness fairly even throughout the project.
Drying Projects Too Quickly
I used to place my projects in direct sunlight because I thought they would dry faster.
They did.
Unfortunately, they also cracked much more often.
Now I let my clay dry naturally at room temperature, even if it takes a little longer.
The slower drying process usually produces much better results.
Using Dry Clay
If your clay already feels stiff or crumbly before you begin, it is much more likely to crack while you are shaping it.
I always store unopened clay in airtight packaging and wrap any leftovers tightly in plastic to keep moisture in.
Skipping the Repair Until After Painting
I made this mistake once.
Never again.
Even tiny cracks become much more obvious after paint is applied.
Fixing them before painting saves a lot of time and produces a much cleaner finish.
Expert Tips for Preventing Cracks

After making dozens of air dry clay projects, I have realized that preventing cracks is much easier than repairing them.
One habit that has helped me the most is keeping my clay at a consistent thickness.
Areas that are much thicker than the rest of the project tend to dry unevenly, which puts stress on the surface as the clay shrinks.
I also avoid rushing the drying process. It can be tempting to place projects near a heater or in direct sunlight, but I have found that slow, even drying almost always produces stronger results.
Finally, I always smooth my clay while I am still sculpting. The fewer imperfections there are before the clay dries, the less repair work I usually have to do later.
These small habits have dramatically reduced the number of cracks I see, and they have made my finished projects look much more polished.
Final Thoughts
Finding a crack in your air dry clay project can feel disappointing, especially after spending hours creating it.
But the good news is that most cracks are completely fixable.
With a little patience, the right repair method, and a few simple tools, you can often make the damage almost impossible to see.
More importantly, every project teaches you something new. Each crack helps you understand how air dry clay behaves, how it dries, and how to improve your technique the next time you create something.
Do not let a few imperfections discourage you from continuing.
Some of my favorite clay projects are the ones I almost gave up on. Once they were repaired, painted, and finished, no one would have guessed they had ever cracked in the first place.





One Comment