15+ Pumpkin Painting Ideas That Are Cute, Easy, and So Fun
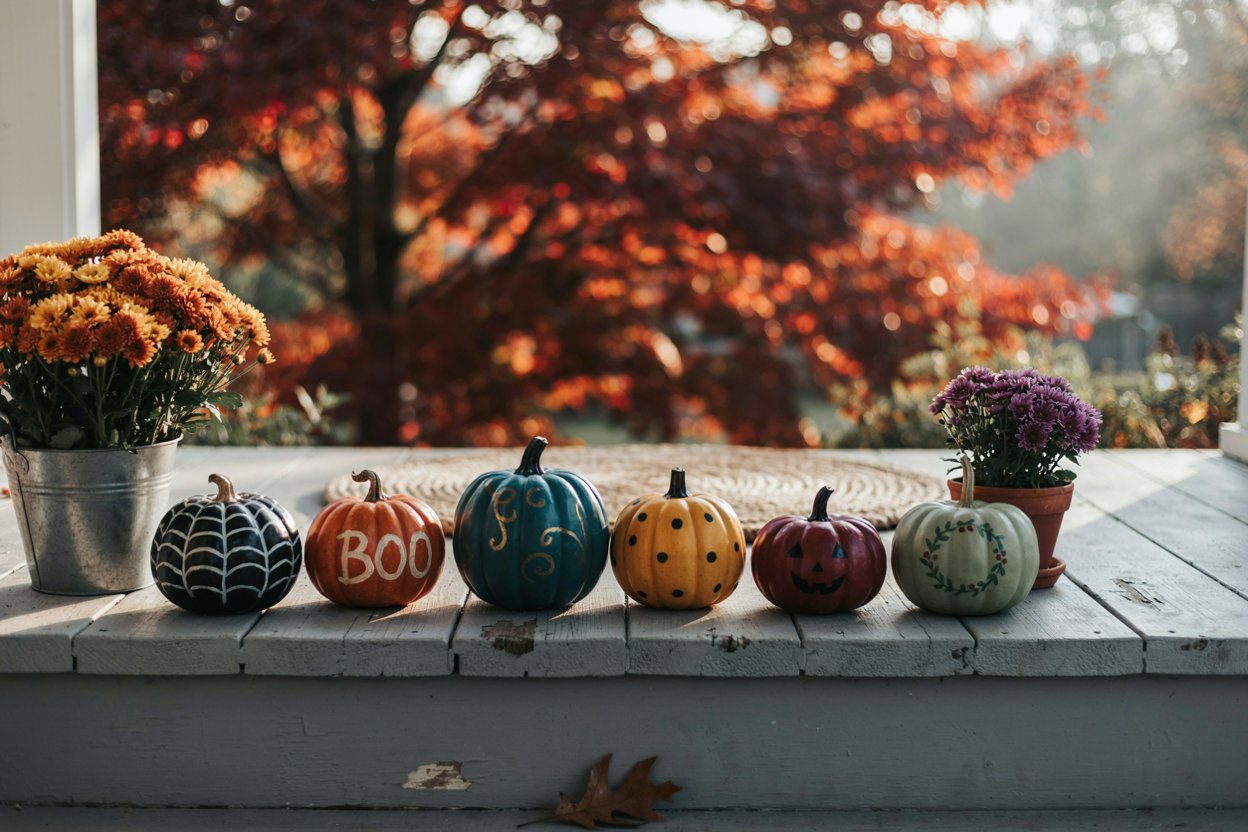
I gave up on carving pumpkins a few years back, mostly because I got tired of the mess and the way a carved pumpkin starts looking sad and caved-in within about four days. Painting solved both problems at once, no scooping, no mushy pumpkin guts, and a finished pumpkin that actually lasts the whole season on my porch instead of collapsing by the second week of October.
This list leans into the same instinct that runs through most of what I share here, simple techniques, real personality, nothing that requires special skills or expensive supplies.
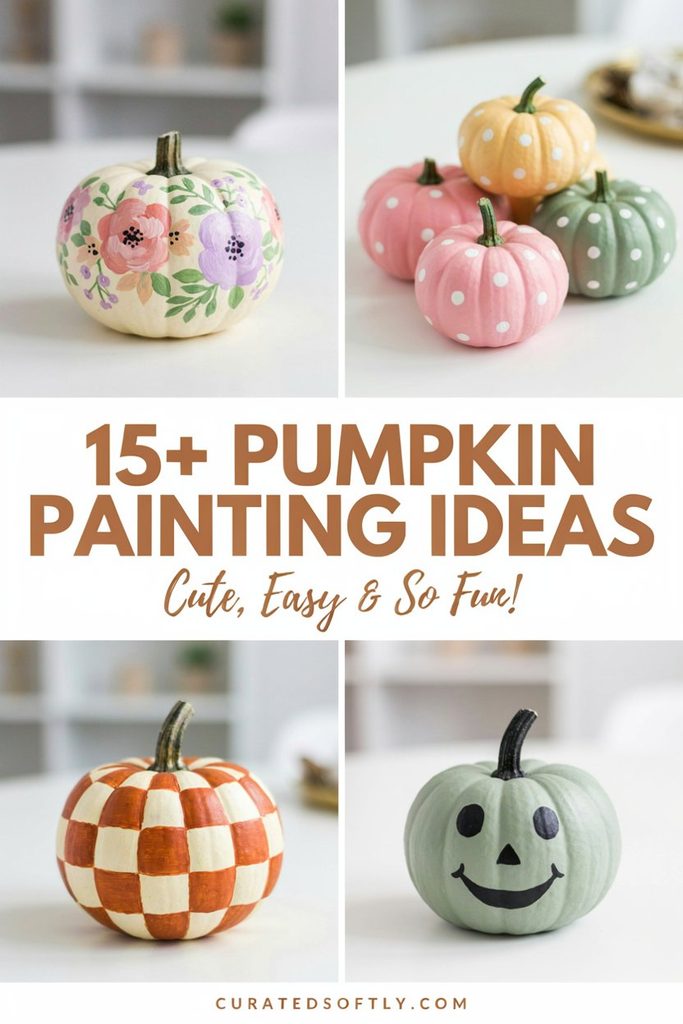
A few of these are genuinely a twenty-minute project, and a few are worth a full afternoon if you want to go all in.
If you want the full rundown on paint types, sealants, and technique before you start, my step-by-step painting guide covers a lot of the same acrylic paint basics that apply here too, even though it was written for clay.
Getting Started: What You’ll Actually Need
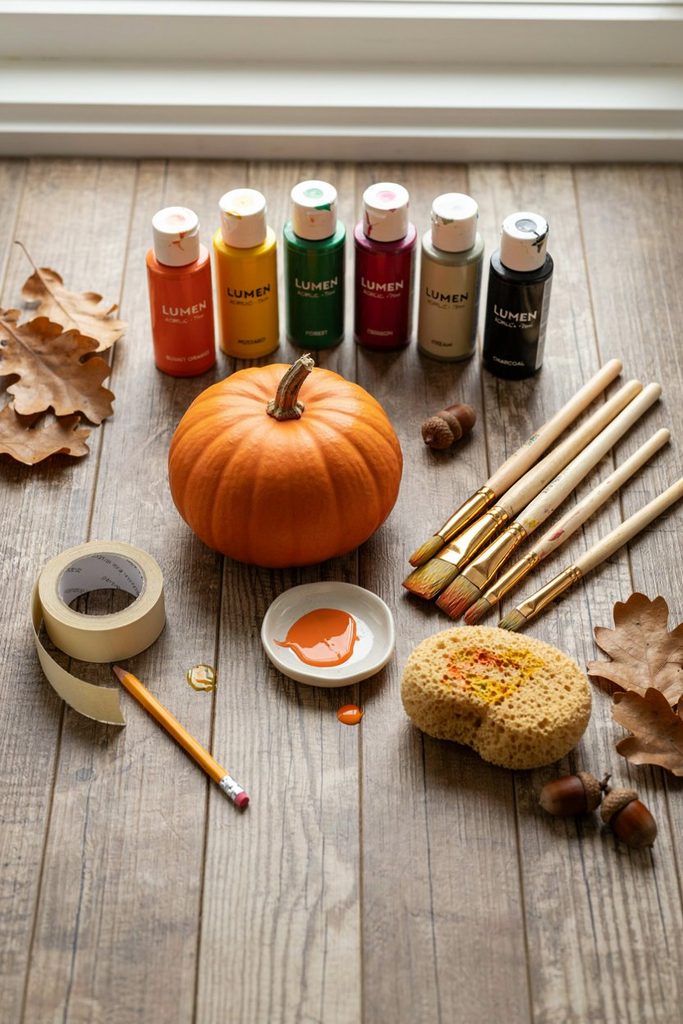
- Real or faux pumpkins. Faux pumpkins from a craft store last for years and are genuinely worth the higher upfront cost if you plan to do this more than once. If you’re using real pumpkins, look for ones with a smoother, less ridged surface for anything with fine detail work, deep ridges make clean linework much harder to pull off.
- Acrylic paint, in your chosen colors, plus white and black for outlining and details. Regular craft acrylic works fine for an indoor display, but if your pumpkins will sit outside for weeks, an outdoor-rated acrylic or a paint labeled for exterior/patio use holds color noticeably better against sun and moisture than standard craft paint.
- Paintbrushes in a range of sizes, a wide flat brush for base coats, a round detail brush for faces and linework, and a small angled brush if you’re doing anything with clean edges like stripes or plaid.
- A pencil, for sketching your design onto the pumpkin before committing to paint. A white or light-colored pencil works better than graphite on a dark base coat.
- Painter’s tape, for any design with clean geometric lines, stripes, plaid, color blocking.
- A small sponge or piece of makeup sponge, specifically for blending techniques like the ombre fade.
- A clear sealant spray, to protect a real pumpkin’s finish and help a faux pumpkin resist fading if it’s stored and reused. A matte sealant keeps the pumpkin’s natural look, while a glossy one adds shine if that’s more the effect you want.
Choosing a Design Based on Your Time and Skill Level
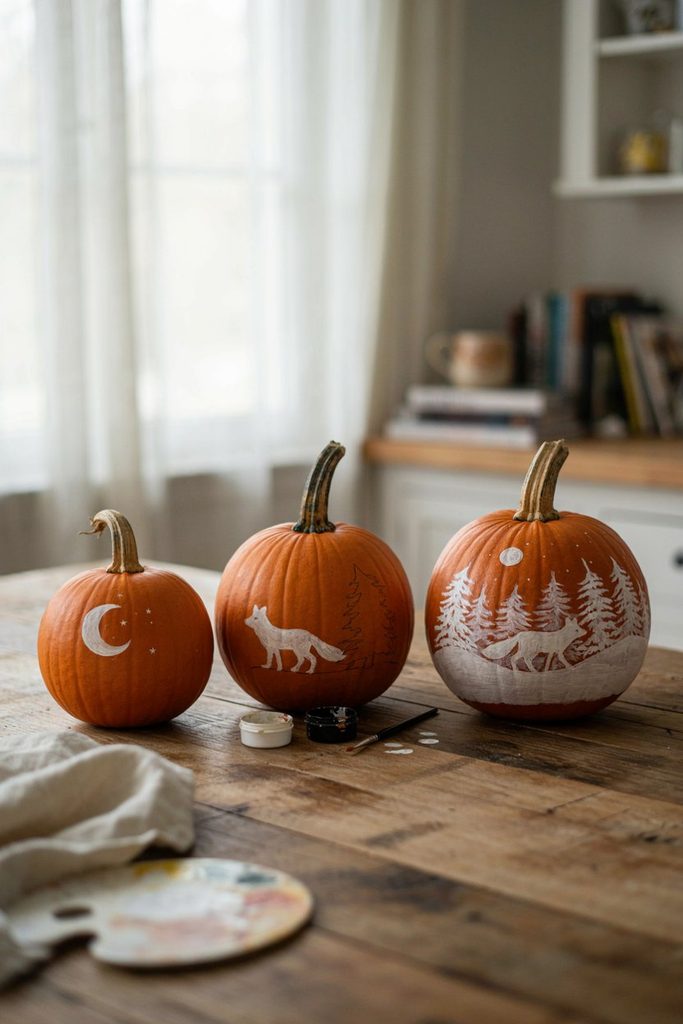
Not every design on this list takes the same effort, and it’s worth picking based on how much time you actually have rather than starting with the most ambitious option and running out of patience halfway through.
Under 20 minutes, genuinely beginner-friendly: Simple Dot Pattern, Painted Stripes, Speckled Finish, Googly Eye Monster. These have almost no room to go wrong and are the ones I’d hand to a first-timer or a young kid.
20 to 40 minutes, some patience required: Ombre Fade, Metallic Dip Look, Watercolor Wash, Cartoon Face, Painted “Sweater” Pumpkin, Painted Bow or Ribbon. These involve a bit more technique, blending, layering, or working within a specific shape, but nothing that requires steady hands for fine detail.
40 minutes or more, worth setting aside real time for: Painted Wood Grain, Botanical Line Art, Painted Plaid, Mini Terra Cotta Pot Look, Painted Acorn or Leaf Cluster, Constellation Pumpkin. These have finer detail work or multiple layers that need drying time between steps, so budget a full session rather than squeezing it into a spare ten minutes.
Three Full Tutorials to Start With
If you want real step-by-step guidance rather than just a design idea, these three cover the range of technique you’ll use across the whole list, blending, clean linework, and layered detail.
Ombre Fade, Step by Step
- Paint the entire pumpkin in your lightest shade and let it dry fully.
- Load a small amount of your deepest shade onto a damp sponge.
- Starting at the base of the pumpkin, dab the color on in a rough band, concentrating the color most heavily right at the bottom.
- While that paint is still wet, use a clean, damp section of the sponge to gently blend the top edge of the band upward, pulling a little color with it each time so the transition softens rather than stopping in a hard line.
- Let it dry, then assess, if the transition still looks too abrupt anywhere, repeat the blending step with a very small amount of paint until it feels seamless.
Cartoon Face, Step by Step
- Choose the flattest section of the pumpkin as your face, this makes the features look proportional instead of stretched around a curve.
- Lightly sketch the eyes and mouth placement with a pencil first, stepping back to check the spacing before committing to paint.
- Paint the whites of the eyes first, in white, and let dry.
- Add the pupils in black once the white is fully dry, using a round detail brush for clean, even circles.
- Paint the mouth last, a simple curved line for a smile is far more forgiving than trying to paint teeth or a more complex shape your first time.
- Optional: add a small white highlight dot to each pupil once dry, it’s a tiny detail that makes the whole face feel more alive.
Constellation Pumpkin, Step by Step
- Paint the entire pumpkin in a deep navy or black base coat and let it dry completely, this usually needs two coats for full, even coverage.
- Using a white paint pen or a fine detail brush loaded with white paint, dot out small stars scattered across the surface, varying the size slightly for a more natural look.
- Choose two or three star clusters and connect a handful of dots with thin, straight lines to form simple constellation shapes.
- While the final layer of paint is still slightly tacky, lightly dust the surface with fine glitter for a subtle shimmer, tapping off any excess once dry.
- Finish with a matte sealant once everything is fully dry, since a glossy finish tends to wash out the subtlety of this design.
Cute & Simple Designs
1. Simple Dot Pattern
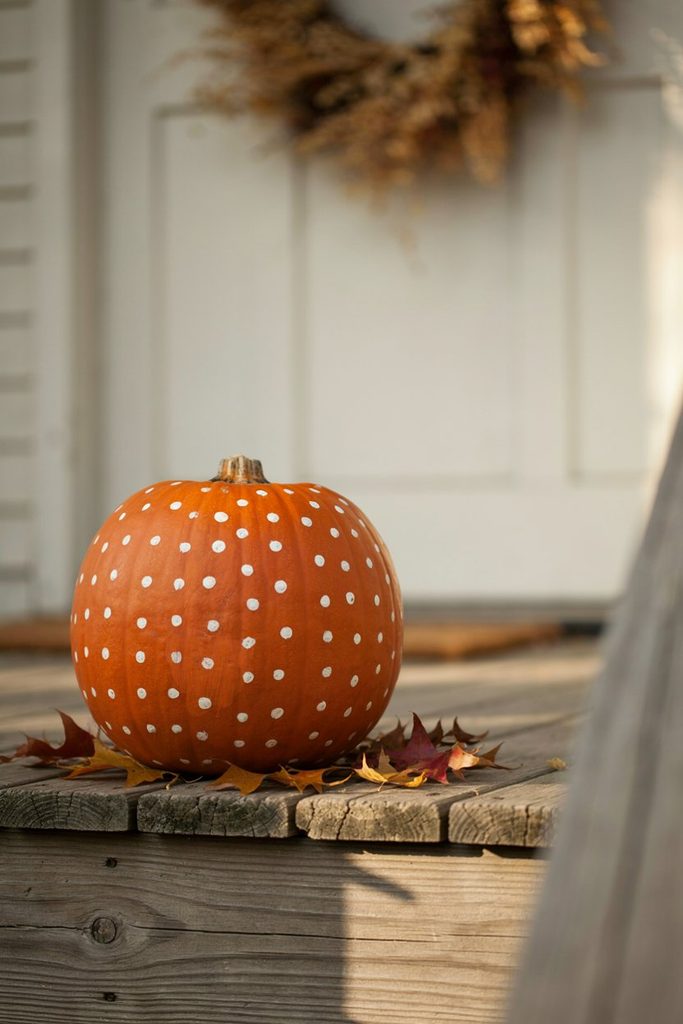
Small, evenly spaced dots in a contrasting color across the whole pumpkin. Genuinely one of the easiest designs on this list, and a great one for kids to help with using the eraser end of a pencil dipped in paint.
2. Ombre Fade
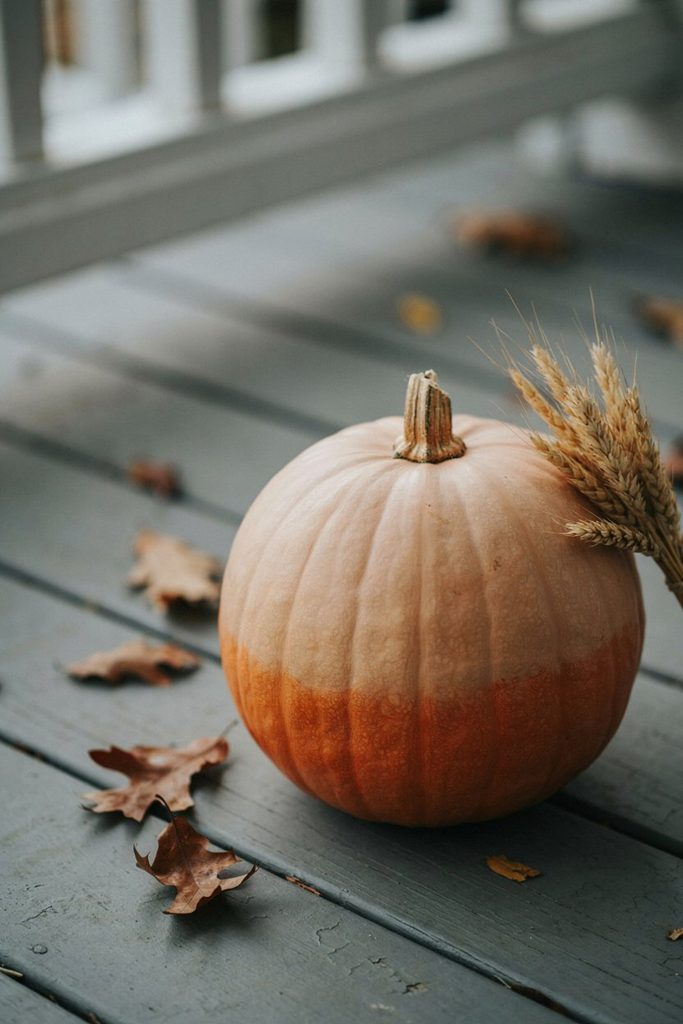
Blend two shades of the same color, light at the top near the stem, deeper at the base, using a damp sponge to soften the transition between the two.
3. Metallic Dip Look
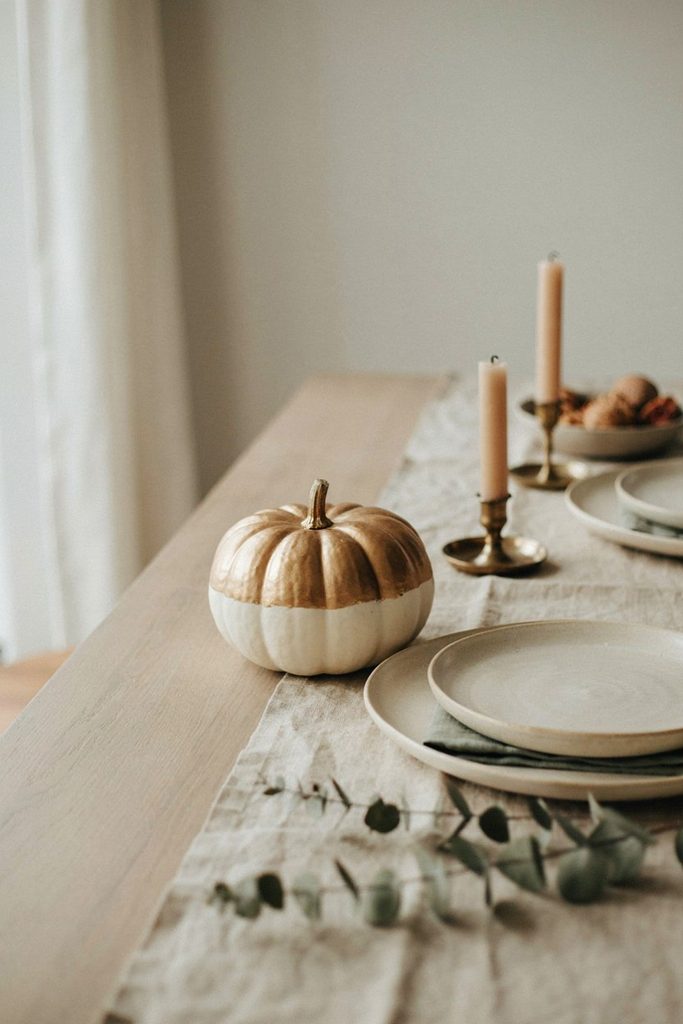
Paint the top third of the pumpkin in gold or copper metallic paint, keeping the rest in its natural color or a solid neutral, for a look that mimics a dipped candle.
4. Watercolor Wash
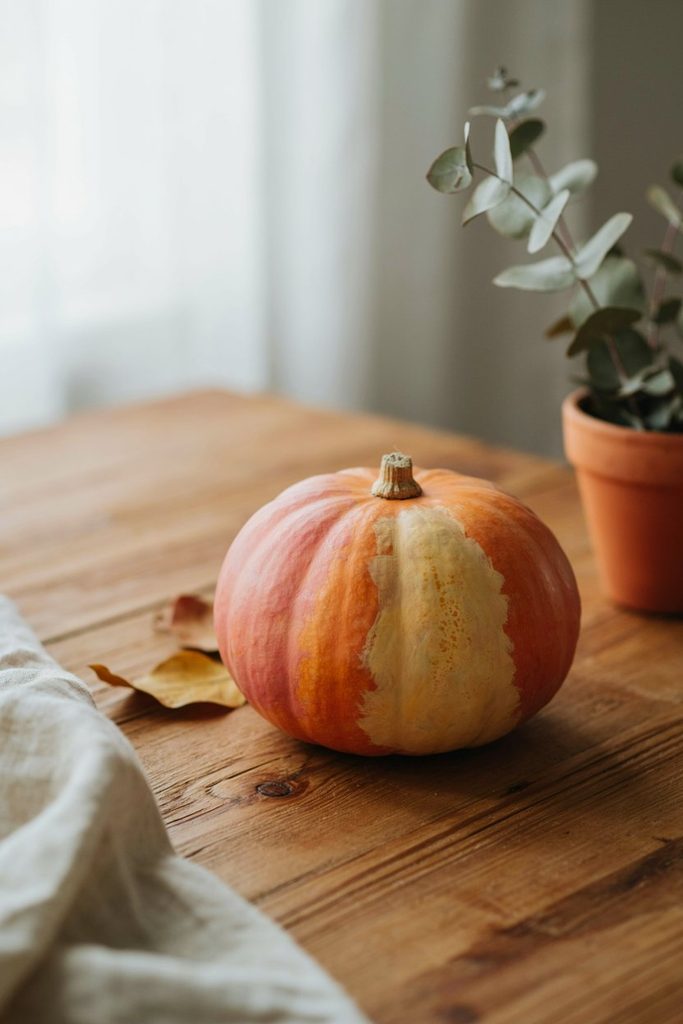
Thin your acrylic paint with a little water and apply loosely in soft, blended patches of color, letting the tones bleed into each other slightly for a watercolor effect.
5. Painted Stripes
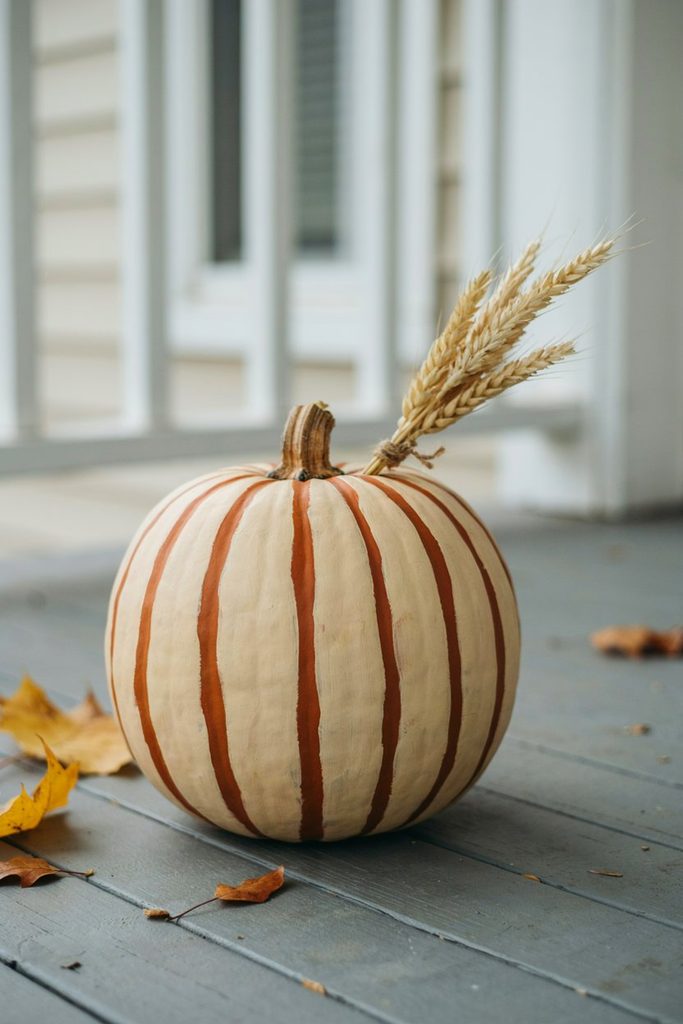
Use painter’s tape to mask off clean vertical or diagonal stripes in two alternating colors, removing the tape once the paint is dry to reveal crisp lines.
6. Speckled Finish
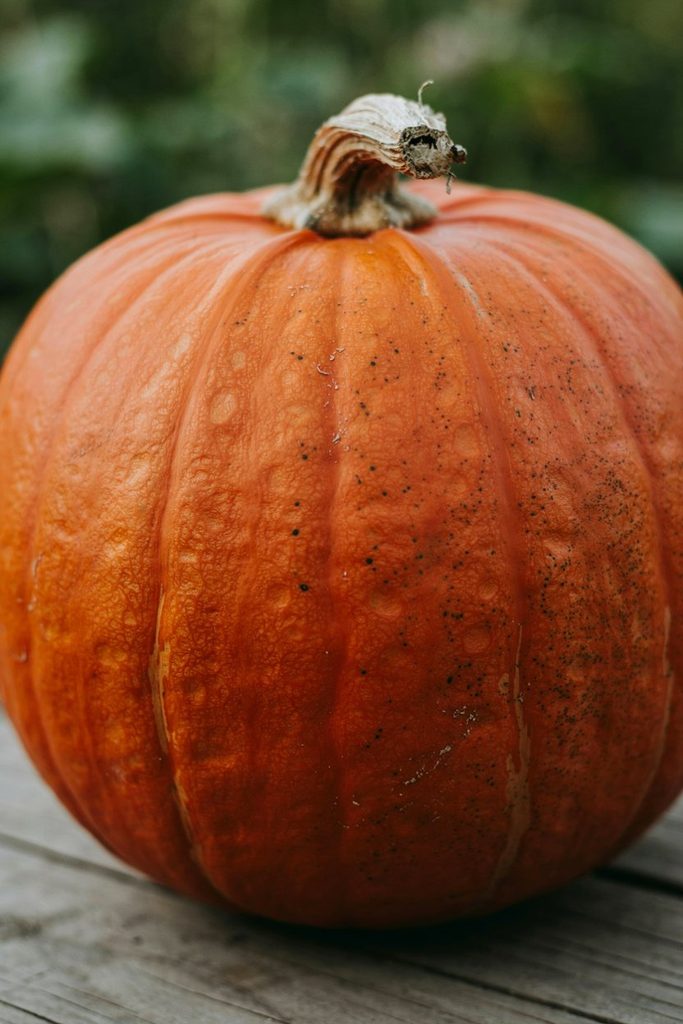
Flick a loaded paintbrush toward the pumpkin from a short distance to create a fine, even speckle across a solid base coat, a simple technique that adds a lot of visual texture.
Cozy Fall & Nature-Inspired Designs
7. Painted Wood Grain
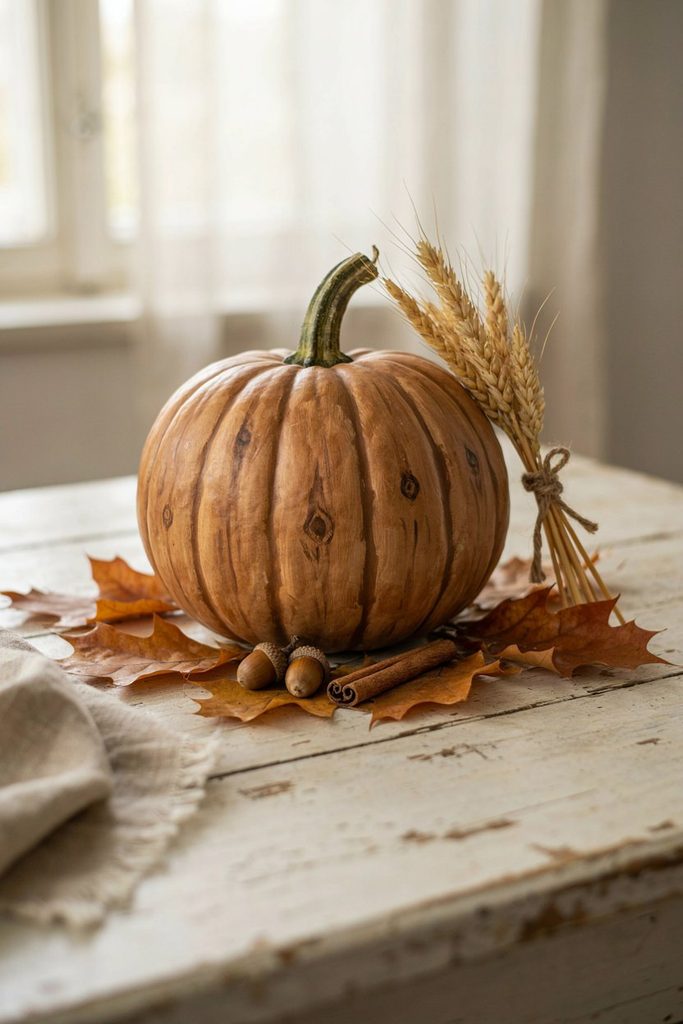
Using brown and tan tones, paint a faux wood-grain pattern across the whole pumpkin for a rustic, farmhouse-style finish.
8. Botanical Line Art
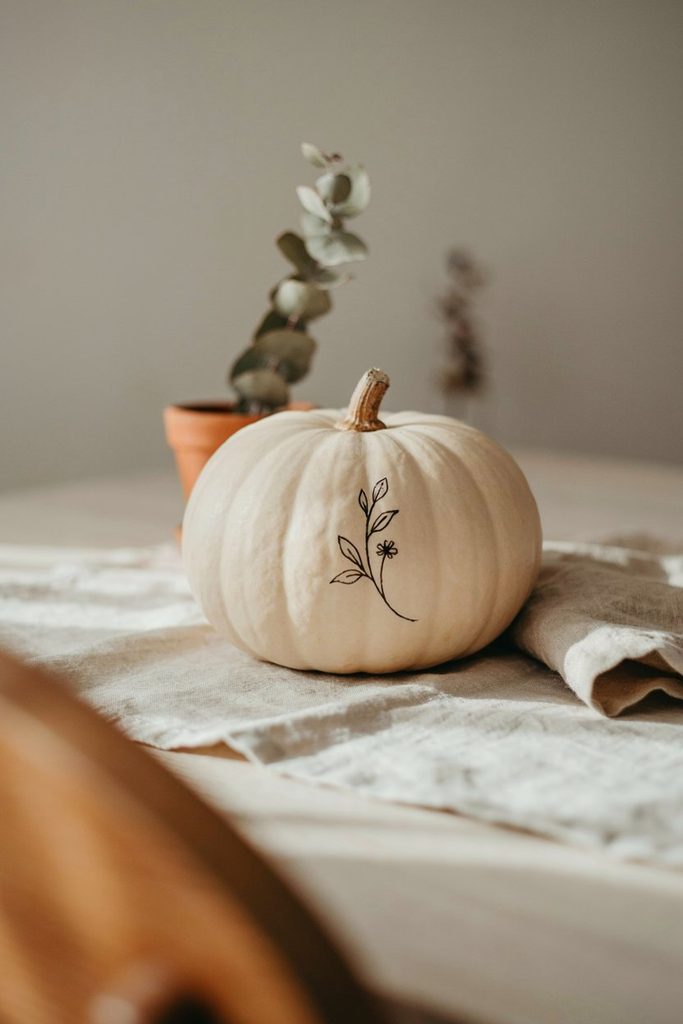
A single simple sprig of leaves or wildflowers, painted in fine black or white linework against a solid neutral base, for a minimal, elegant look.
9. Painted Plaid
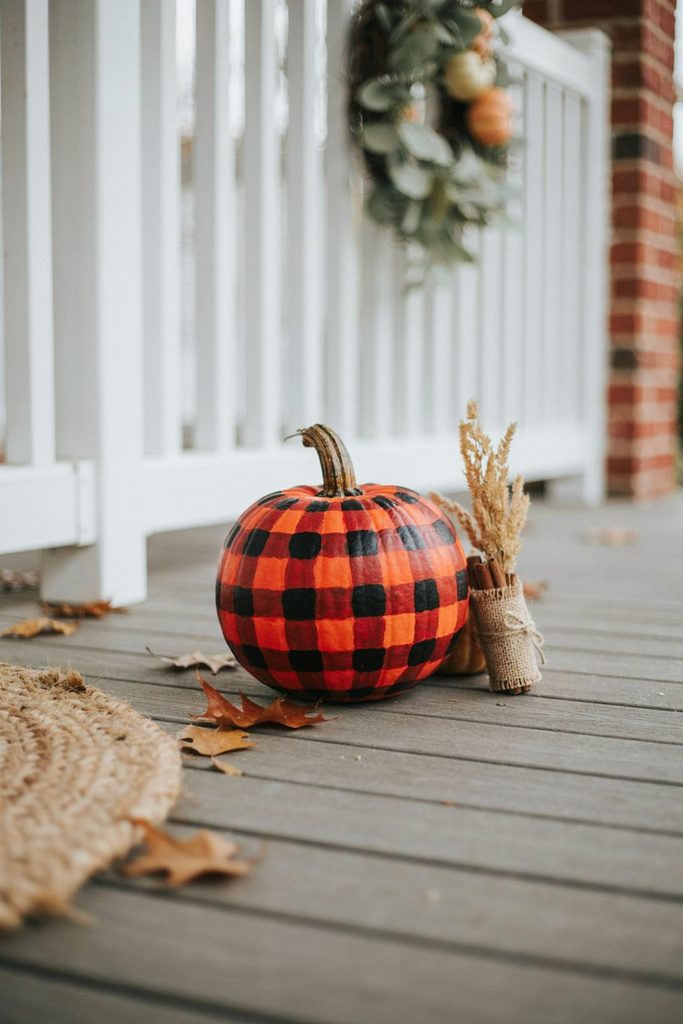
Layer thin painted lines in two or three colors to create a simple plaid or buffalo check pattern, a great option if you want something that reads as fall without leaning on orange and black.
10. Mini Terra Cotta Pot Look
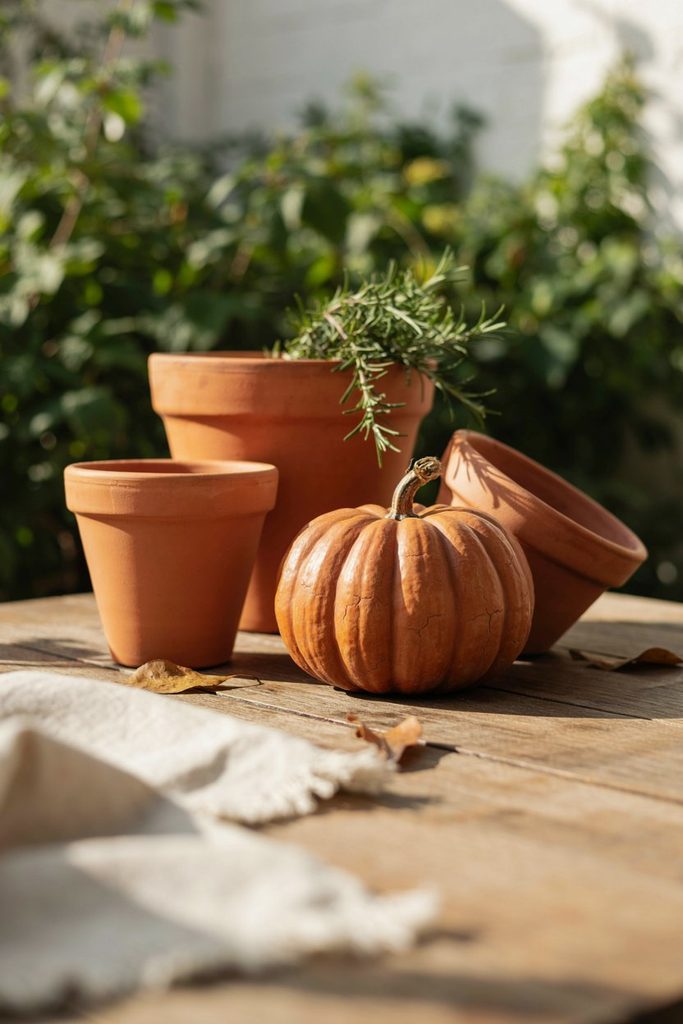
Paint the pumpkin in a warm terra cotta tone and add a few faux crack lines in a darker shade near the base for a design that mimics a rustic clay planter.
11. Painted Acorn or Leaf Cluster
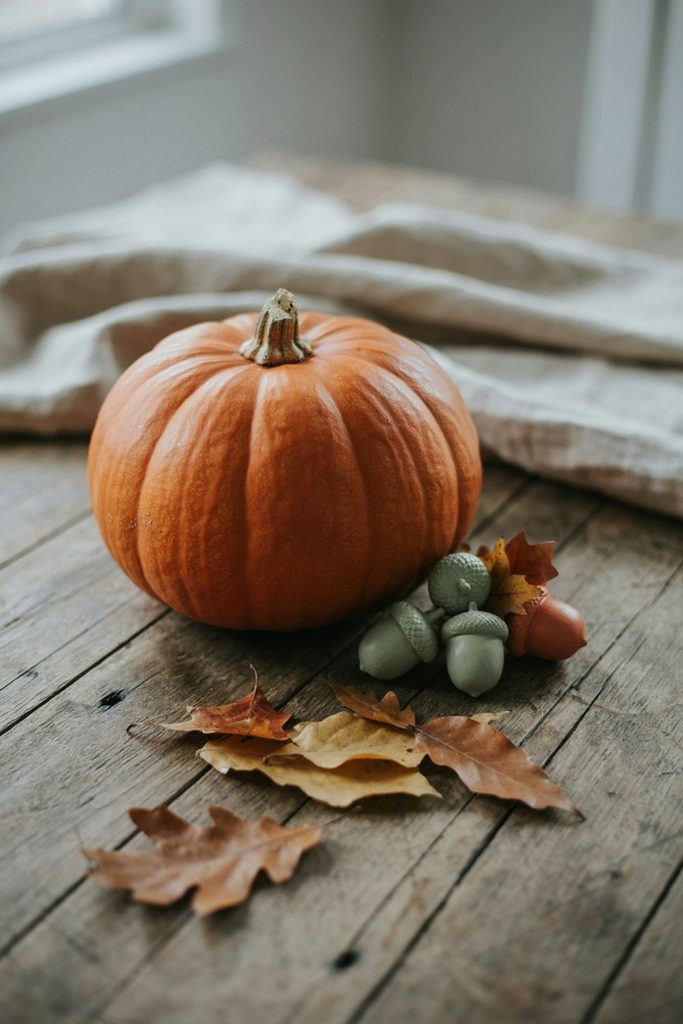
A cluster of simple acorns or leaves painted across one side of the pumpkin, left mostly to their natural color elsewhere, works well as a smaller accent design for a grouped display.
Playful & Whimsical Designs
12. Cartoon Face
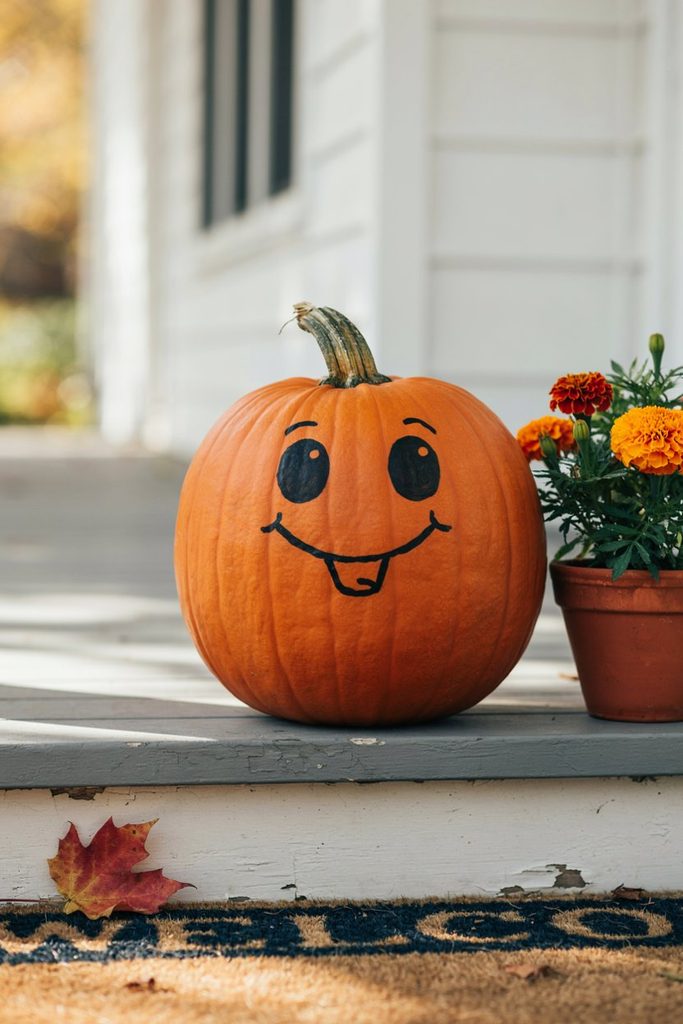
Simple, oversized cartoon eyes and a small smiling mouth, painted in white and black, turn any pumpkin into an instantly cheerful character with almost no drawing skill required.
13. Painted “Sweater” Pumpkin
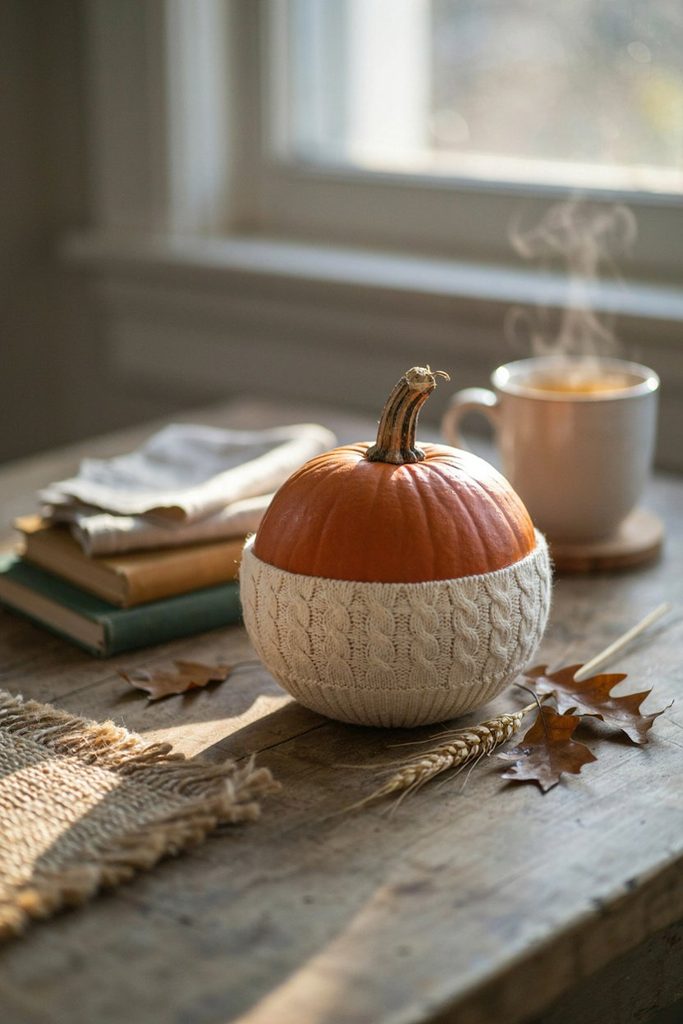
Paint a chunky cable-knit sweater pattern around the base of the pumpkin, leaving the top natural, to mimic a pumpkin wearing its own cozy sweater.
14. Googly Eye Monster
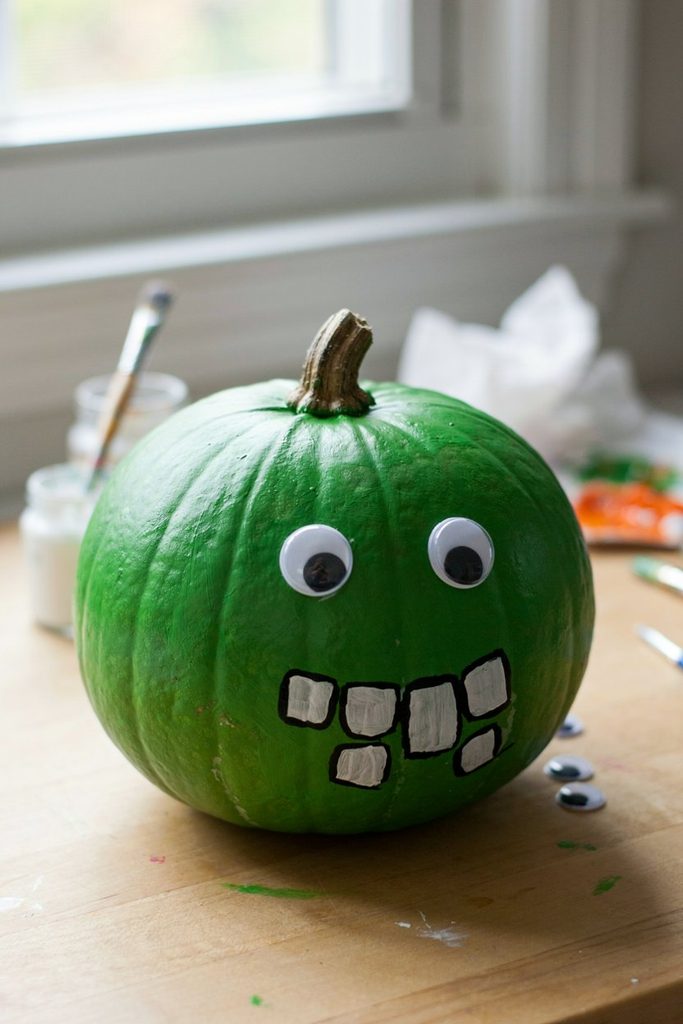
A solid bright base color topped with oversized craft-store googly eyes glued on, plus a few simple painted teeth or spikes, for a genuinely fun, low-effort kid’s project.
15. Constellation Pumpkin
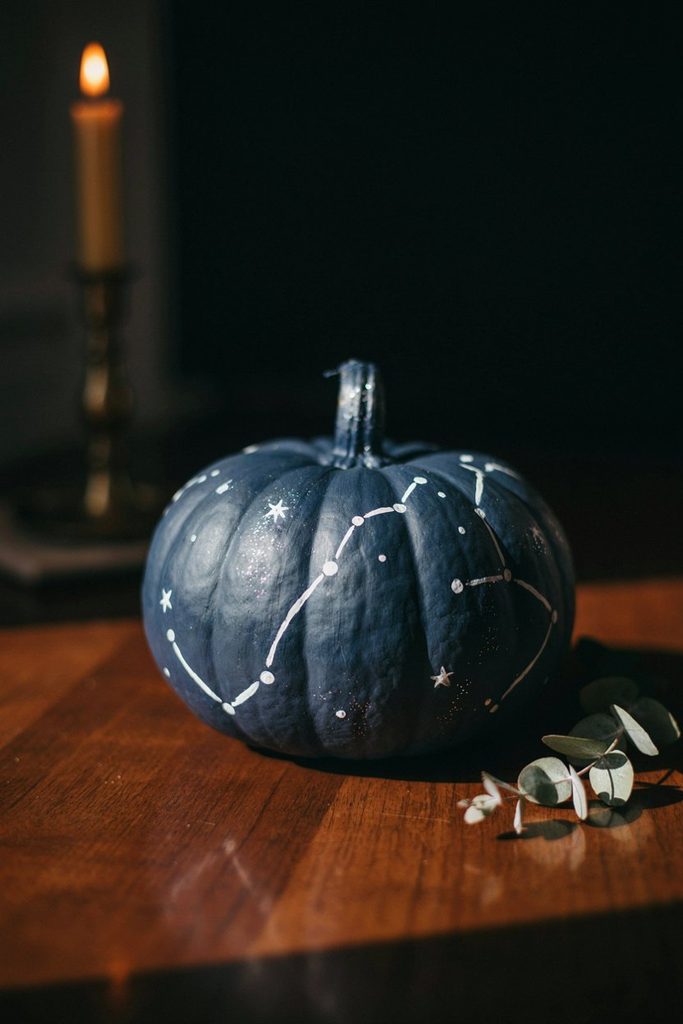
Paint the pumpkin a deep navy or black, then add small white dots connected with thin painted lines to form a few simple constellations, finished with a light dusting of fine glitter while the paint is still tacky.
16. Painted Bow or Ribbon
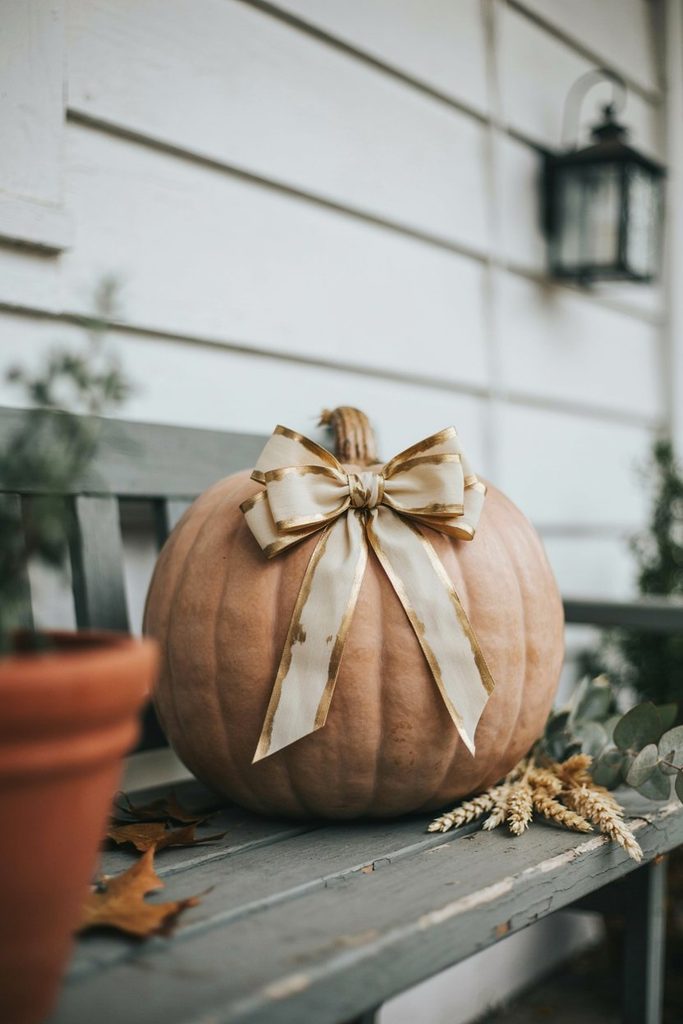
A single oversized painted bow, centered on the front of the pumpkin as though it were wrapped like a gift, in a color that matches your porch’s overall palette.
Tips for a Design That Actually Turns Out Well
Sketch first, paint second. A light pencil outline on the pumpkin’s surface before you pick up a brush saves you from committing to a design that doesn’t quite fit the pumpkin’s actual shape.
Let each color fully dry before adding the next. Wet paint layered over wet paint muddies together instead of staying clean and distinct, especially on designs with fine detail like faces or linework.
Work with the pumpkin’s natural shape, not against it. Ridges and curves can either help or fight a design depending on the pattern, a symmetrical face works best centered on the flattest section, while a wrapping pattern like stripes or plaid actually looks more dynamic following the pumpkin’s natural curve.
Seal real pumpkins if you want them to last. A light coat of clear sealant slows the natural decay process and keeps paint from cracking as the pumpkin’s surface eventually starts to shrink.
Faux pumpkins are worth it if you’re doing this more than once. A painted faux pumpkin can be lightly sanded and repainted year after year, which makes the higher upfront cost worth it fast if pumpkin painting becomes a regular fall tradition.
Mistakes I’ve Made So You Don’t Have To
Skipping the pencil sketch on a symmetrical face design. My first cartoon face ended up with noticeably uneven eyes, one higher than the other, that I only really noticed once it had already dried.
Using standard craft paint on a pumpkin that sat outside for six weeks. The colors faded significantly faster than the ones I later did with outdoor-rated paint, especially on the side that got the most direct afternoon sun.
Painting a second color before the first had fully dried on a stripe design. The two colors bled together right at the tape line instead of staying crisp, and I had to redo that whole section.
Rushing the blend on an ombre fade by using too much paint on the sponge at once. It created a hard, blotchy edge instead of a smooth gradient, and I had to go back over the whole transition zone to soften it.
Troubleshooting
My paint is cracking or flaking off. This usually means it was applied too thickly in one layer. Thin, even coats, even if it takes two or three passes to get full coverage, hold up far better than one heavy coat.
Colors are bleeding into each other where they meet. Check that each layer was fully dry before the next one went on, and consider using painter’s tape for any design with a hard color line, like stripes or plaid, rather than relying on a steady hand alone.
My design looks uneven or lopsided. This is almost always a missing-sketch problem. Go back to the pencil-first approach, and don’t be afraid to erase and reposition your sketch a few times before you’re happy with the placement.
The paint won’t stick well to a faux pumpkin’s surface. Some faux pumpkins have a slightly slick, waxy finish. A light sanding with fine-grit sandpaper before painting gives the paint something to grip onto.
A real pumpkin is showing early signs of rot before Halloween even arrives. Painting doesn’t slow decay much on its own. Keep painted pumpkins out of direct sun and off damp ground, and know that a very warm fall will shorten how long any real pumpkin lasts, painted or not.
Storage and Care
For faux pumpkins you plan to reuse, store them somewhere dry and out of direct sunlight once the season ends, a bin in a closet or garage works well.
If you want to repaint one next year, a light sanding first helps the new paint adhere over the old design.
For real painted pumpkins, there’s no real storage option, plan to compost or dispose of them once the season winds down or the pumpkin itself starts to break down.
Frequently Asked Questions
Do I need special paint for pumpkins? Regular acrylic craft paint works fine on both real and faux pumpkins. For a real pumpkin, a light sealant coat afterward helps the paint hold up better against the pumpkin’s naturally moist surface.
How do I keep a real painted pumpkin from rotting quickly? Painting doesn’t accelerate rot, but it doesn’t prevent it either. A pumpkin that hasn’t been carved or cut into already lasts significantly longer than a carved one, and a sealant coat adds a bit more protection on top of that.
Can kids help with pumpkin painting? Absolutely, especially with the simpler designs on this list, dots, stripes, a cartoon face. I’d handle any fine detail work, like faces on the more whimsical designs, myself if a younger kid is involved.
What if I mess up a section? Acrylic paint is genuinely forgiving. Let the mistake dry, then paint over it with your base color and start that section again, it dries fast enough that a redo rarely sets you back more than a few minutes.
How long does a painted design actually take? The simpler designs, dots, stripes, an ombre fade, are realistically 20 to 30 minute projects. The more detailed options, like the constellation or botanical line art, are closer to an hour once you factor in drying time between layers.
Final Thoughts
There’s something genuinely satisfying about a whole porch full of painted pumpkins that all look a little different, no two ever turn out exactly the same, even when you’re following the same idea twice. Pick two or three of these that sound like you, and treat the rest as inspiration for next year.