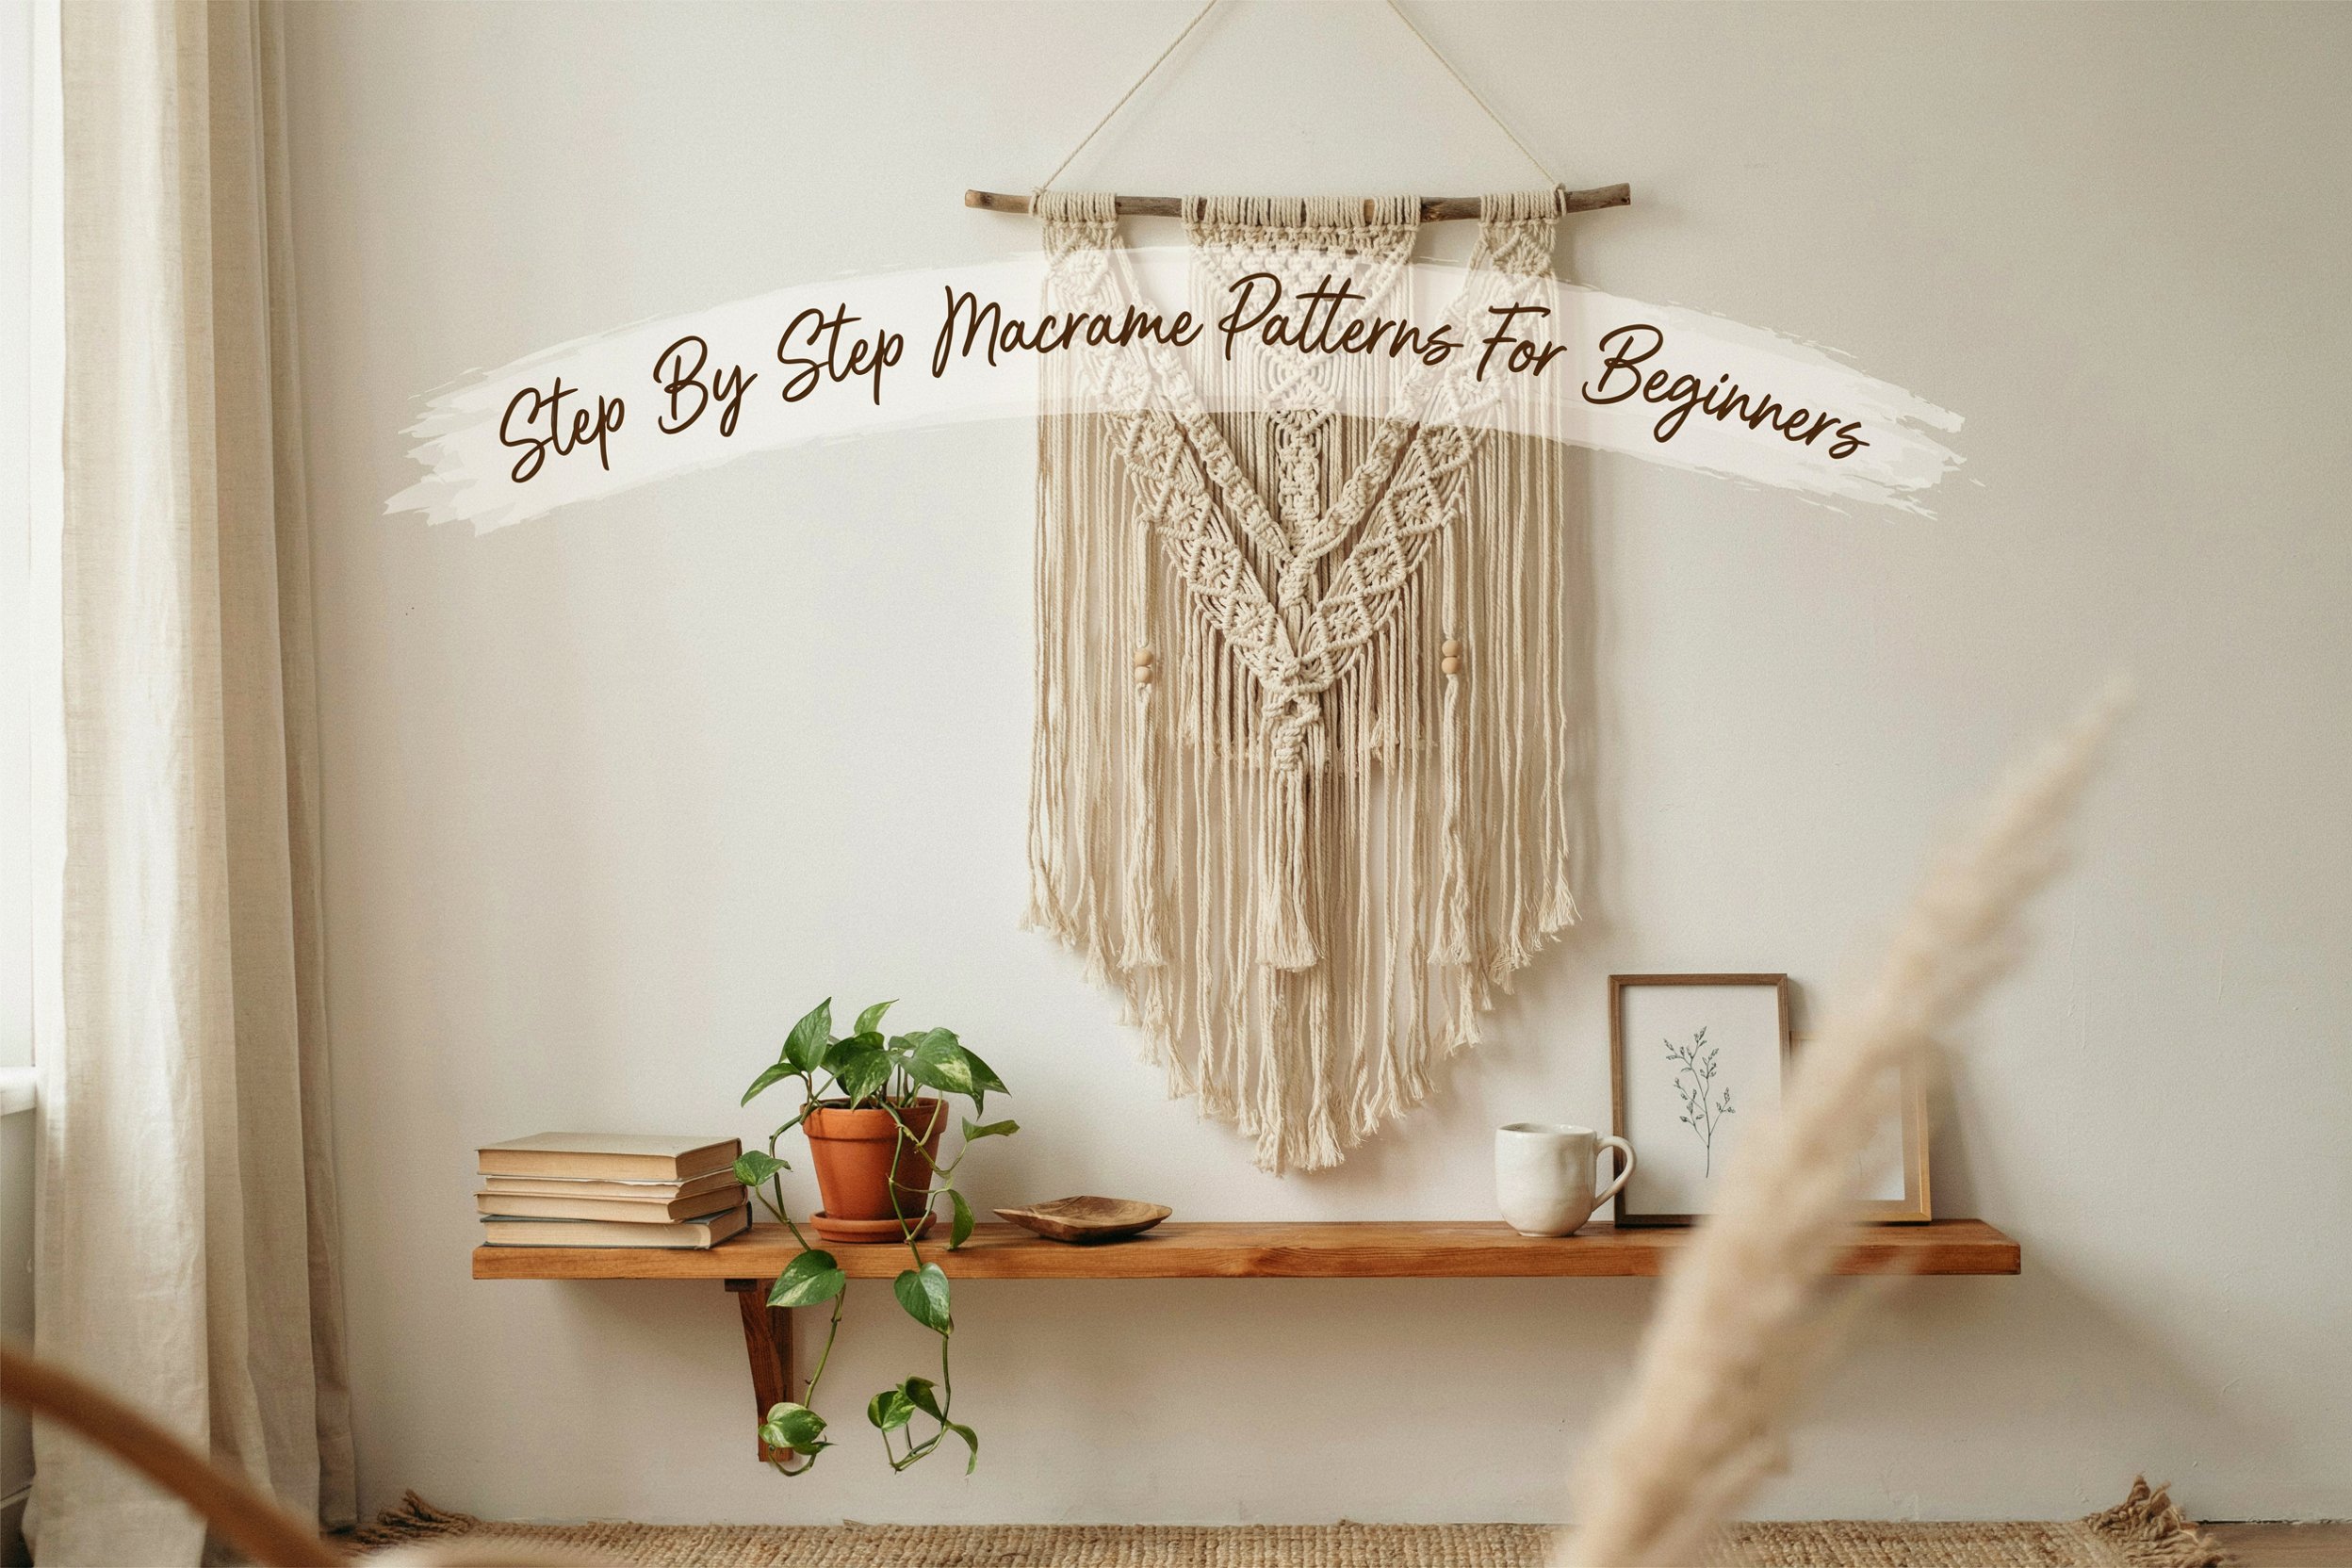
Step By Step Macrame Patterns Tutorials For Beginners
I still remember the first time I tried macrame.
I thought it would be simple. Just some knots, some rope, maybe a cute wall hanging at the end.
What actually happened was a tangled mess of cord that looked nothing like the Pinterest photos I was trying to copy.
If you’ve been there too, you are not alone.
Macrame looks complicated from the outside, but once you understand a few basic patterns, it becomes one of the most relaxing and satisfying crafts you can learn.
The key is not starting with advanced designs. It is starting with the right foundation and building slowly.
That is exactly what this guide is for.
I am going to walk you through beginner-friendly macrame patterns step by step in a way that actually makes sense, even if you have never touched cord before.
These are the same basic knots I wish I learned first instead of jumping straight into complex designs.
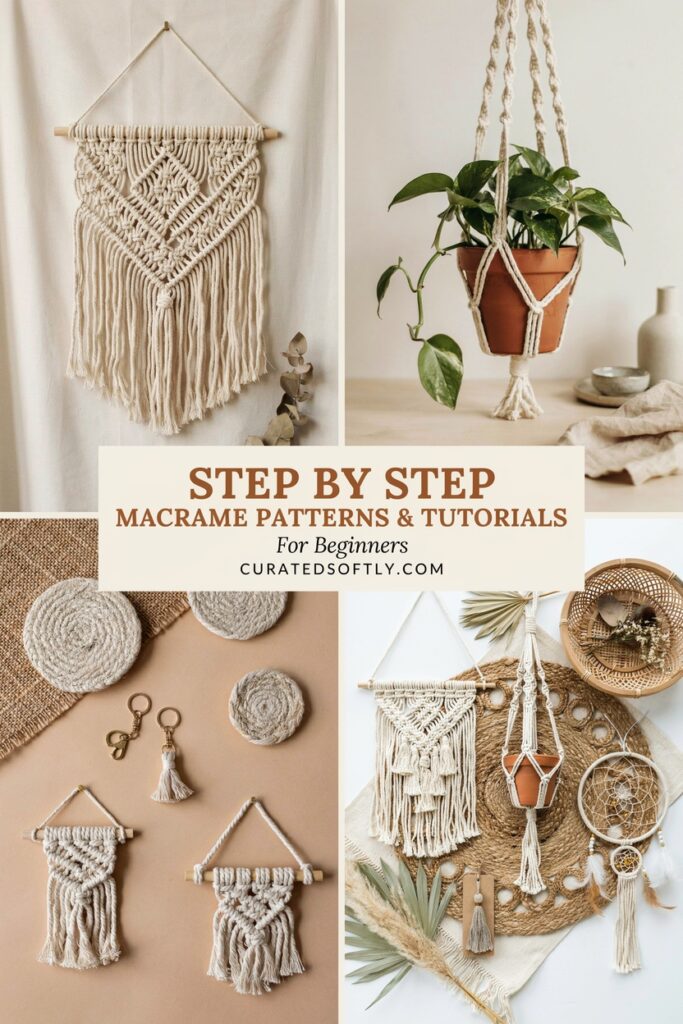
And once you get them right, you can use them to create wall hangings, plant holders, bags, and so much more.
Before You Start: What I Wish Someone Told Me
When I started macrame, I made it harder than it needed to be.
I thought I needed perfect tension, advanced patterns, and expensive supplies.
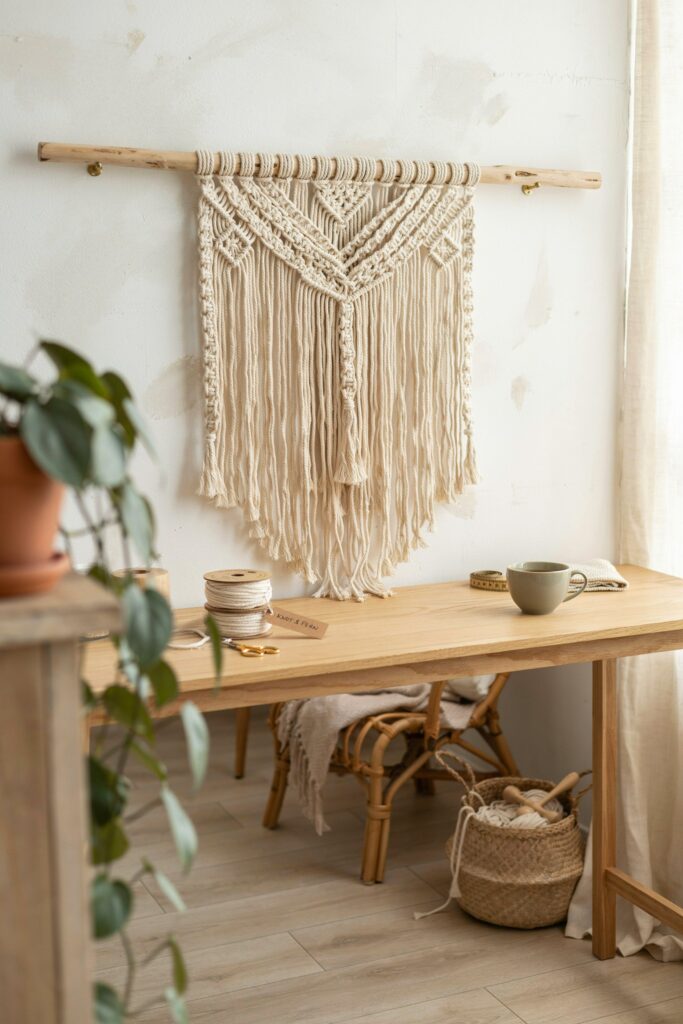
The truth is, you only need a few things:
- Macrame cord (medium thickness works best for beginners)
- A wooden dowel or stick
- Scissors
- Something to hold your project in place while you work
That is it.
The real difference between something that looks messy and something that looks clean is not skill. It is consistency.
Keeping your knots even, not rushing, and not overcomplicating your first projects will make everything turn out better.
One more thing I learned quickly.
Macrame is not about speed. It is about rhythm.
Once you stop rushing and let yourself get into that rhythm, everything becomes easier.
Amazon Shopping Essentials You Need for your Macrame craft
- Macrame Cord (3mm or 4mm Cotton Rope)
- Wooden or Metal Bag Handles
- Sharp Fabric Scissors
- Measuring Tape
- Sewing Clips or Binder Clips
- Macrame Board
- T-Pins
- Fabric Glue (Optional)
- Wooden Beads (Optional)
These beginner-friendly macrame supplies make it easy to create beautiful, sturdy tote bags with clean knots and a professional finish.
1. The Lark’s Head Knot (Your Starting Point)
This is the first knot you need to learn, and honestly, you will use it in almost every macrame project.
Why It Matters
It is how you attach cord to your dowel or base. Without this, nothing else holds together properly.
Step by Step
- Fold your cord in half
- Place the loop over your dowel or stick
- Pull the loose ends through the loop
- Tighten gently so it sits securely
That is it.
Once you repeat it a few times, it becomes automatic.
What I Noticed When I Learned It
My first few attempts were uneven, and that is completely normal. The trick is not to pull too tightly or too loosely.
Once you get a consistent tension, your whole project starts to look cleaner immediately.
2. Square Knot (The Most Important Macrame Pattern)
If you only learn one knot in macrame, make it this one.
This is the knot that creates structure in wall hangings, plant holders, and almost every beginner project.
Why It Matters
It gives your design shape and stability. Without it, everything just hangs loosely.
Step by Step
- Take four cords
- Use the two outer cords as working cords
- Cross the left cord over the middle cords
- Bring the right cord over the left cord
- Pull through the loop and tighten
- Repeat in reverse to complete the square knot
It sounds complicated written out, but once you do it slowly, it clicks fast.
Beginner Tip That Helped Me
Do not pull too tightly at first.
I used to over-tighten every knot, and it made my designs twist awkwardly. Light, even tension keeps everything straight.
3. Half Hitch Knot (For Clean Lines and Shapes)
This is the knot that starts making your designs look more intentional.
Why It Matters
It allows you to create diagonal lines, curves, and patterns inside your work.
Step by Step
- Choose one cord as your base cord
- Wrap another cord around it
- Pull it through and tighten
- Repeat in the same direction to form a line
What It Feels Like When It Clicks
This is the point where macrame stops feeling like random knots and starts feeling like design.
You begin to see shapes forming instead of just cords.
4. Alternating Square Knot Pattern (Your First Real Design)
This is where everything you learned starts coming together.
Why It Matters
This pattern creates texture and structure that looks like real macrame wall art, not just practice knots.
Step by Step
- Start with a row of square knots
- In the next row, shift the knots so they sit between the ones above
- Repeat this pattern downward
- Keep spacing consistent
What Changed for Me Here
This was the first time I made something that actually looked like a “finished piece.”
It was still simple, but it looked intentional. That is a big turning point for beginners.
5. Spiral Knot (The Easy Decorative Twist)
This is one of the easiest ways to make your macrame look more advanced without doing extra work.
Why It Matters
It naturally creates a spiral shape that looks decorative and polished.
Step by Step
- Start a regular square knot
- Repeat the same direction repeatedly instead of alternating
- The cord will naturally twist into a spiral
Why Beginners Love This
It feels like cheating in the best way.
You are doing less work, but the result looks more complex.
What You Should Focus on Before Moving Forward
If you are just starting, do not rush into complex designs.
These first knots are everything.
If you can keep your tension consistent and your spacing even, you will already be ahead of most beginners.
When I started, I kept jumping ahead too fast, and my projects always looked messy because I had not mastered the basics.
Once I slowed down and focused on these foundations, everything changed.
6. Beginner Macrame Wall Hanging Pattern (First Real Project)
Now that you understand the basic knots, this is where everything starts to come together.
This is usually the first project where people step back and think, okay, this actually looks like something.
Why It Works
Wall hangings are the most popular beginner macrame project because they do not require structure like bags or plant holders. You can focus on pattern and rhythm instead of function.
Step by Step
- Attach multiple cords to a dowel using the Lark’s Head Knot
- Create a full row of square knots across the top
- Add alternating square knot rows underneath
- Leave some sections open for a layered look
- Use half hitch knots to create subtle diagonal shapes if you want variation
- Trim the bottom into a clean or V shaped finish
What I Learned Making This
The biggest mistake I made was trying to make everything symmetrical.
Once I relaxed and allowed slight variation, the piece actually looked more natural and professional.
Macrame is not about perfection. It is about flow.
7. Simple Macrame Plant Hanger (Beginner Favorite)
If there is one project people always want to learn, it is this one.
And for good reason. It is practical, aesthetic, and surprisingly easy once you understand the structure.
Why It Works
Plant hangers sell well and look good in almost any space. They also give you a clear end goal, which makes learning knots feel more rewarding.
Step by Step
- Cut multiple equal-length cords
- Attach all cords to a ring using Lark’s Head Knot
- Divide cords into groups of two or four
- Tie square knots a few inches down
- Leave space, then tie another row of knots
- Gather all cords together and secure with a tight knot at the bottom
- Trim excess cord evenly
Beginner Tip That Helps
Do not worry if the spacing is not perfect at first.
The plant itself often hides small imperfections, and over time your spacing naturally improves as your tension becomes more consistent.
8. Macrame Leaf Pattern (Soft Decorative Detail)
This is where your work starts to look more artistic without getting harder.
Why It Works
Leaf patterns are very popular in modern boho decor and are often used as accent pieces in wall hangings.
Step by Step
- Take two cords as your working base
- Use half hitch knots to create a diagonal line downward
- Repeat on the opposite side to form a leaf shape
- Fill in the center with tighter spacing for definition
- Repeat in clusters if needed
What Changes When You Learn This
This is usually the point where beginners realize macrame is not just knots.
It is pattern building.
Once you understand this, you can start designing your own layouts instead of following tutorials.
9. Double Half Hitch Wave Pattern (Advanced Beginner Look)
This is one of those patterns that looks complicated but is actually repetitive once you start.
Why It Works
It creates soft wave shapes that make your macrame look dynamic and modern.
Step by Step
- Choose a base cord
- Use half hitch knots along it
- Slightly angle your base cord as you move down
- Continue the same motion to create a wave
- Repeat in layers for texture
Why It Looks So Good
The movement is what makes it stand out.
Even simple pieces look expensive when this pattern is used correctly.
10. Fringe Finish Technique (The Detail That Changes Everything)
This is not a knot, but it is one of the most important finishing steps.
Why It Matters
A clean finish is what separates beginner work from something that looks polished.
Step by Step
- Comb out the bottom cords
- Trim evenly into a straight line or V shape
- Brush the fibers until they are soft and full
- Lightly steam or dampen if needed to set shape
What I Noticed
When I started paying attention to finishing, my projects immediately looked more professional.
Even simple designs looked intentional.
11. Mini Macrame Wall Accent (Quick Practice Project)
This is a great project when you want something small but satisfying.
Why It Works
It is quick, beginner-friendly, and helps you practice knot consistency without committing to a large piece.
Step by Step
- Attach 6 to 10 cords to a small stick
- Create one row of square knots
- Add a second offset row underneath
- Finish with trimmed fringe
- Keep design minimal
Why It Helps
This is where you build confidence.
You stop thinking about mistakes and start focusing on rhythm.
12. Macrame Keychain Pattern (Perfect Starter Project)
If wall hangings feel overwhelming, this is the easiest entry point.
Why It Works
Small projects help you practice knots without pressure.
Step by Step
- Attach 4 to 6 cords to a keyring
- Tie a few square knots
- Add a simple twist or spiral knot section
- Secure tightly at the end
- Trim evenly
Why People Love It
These are great for gifts, practice, or even small handmade products.
13. Putting It All Together (Your First Real Skill Shift)
Once you complete a few of these patterns, something important happens.
You stop copying and start understanding.
You begin to see how knots connect, how spacing changes design, and how small adjustments create completely different results.
That is the real goal of this guide.
Not just learning knots, but learning control.
Because once you have control, you can build anything from scratch.
Expert Macrame Tips That Will Instantly Upgrade Your Work
When I first started macrame, I thought the difference between beginner and advanced work was just about learning more knots and complex patterns.
But after making a few pieces myself, I realized that is not what actually makes something look good.
The real difference comes down to small details like consistent tension, even spacing, clean finishing, and how carefully you handle mistakes while working.
These are not advanced skills. They are simple habits, but they completely change how polished your final piece looks.
I learned this the hard way when my projects kept turning out slightly uneven, even though I was following tutorials correctly.
Once I started focusing on these small refinements instead of rushing, everything began to look cleaner and more intentional.
Final Thought
When I started macrame, I thought the goal was to follow perfect tutorials.
But what actually matters is repetition.
The more you practice these basic patterns, the more natural it becomes. And eventually, you stop thinking about knots entirely and start thinking in design.
That is when macrame becomes not just a craft, but a creative skill you can actually use.