I have always loved the charm of Anthropologie home decor. Everything feels artistic, a little imperfect, and thoughtfully made, like it has a story behind it.
The problem is that those small decorative pieces I love most are often the ones with the biggest price tags.
That is exactly what inspired this DIY.
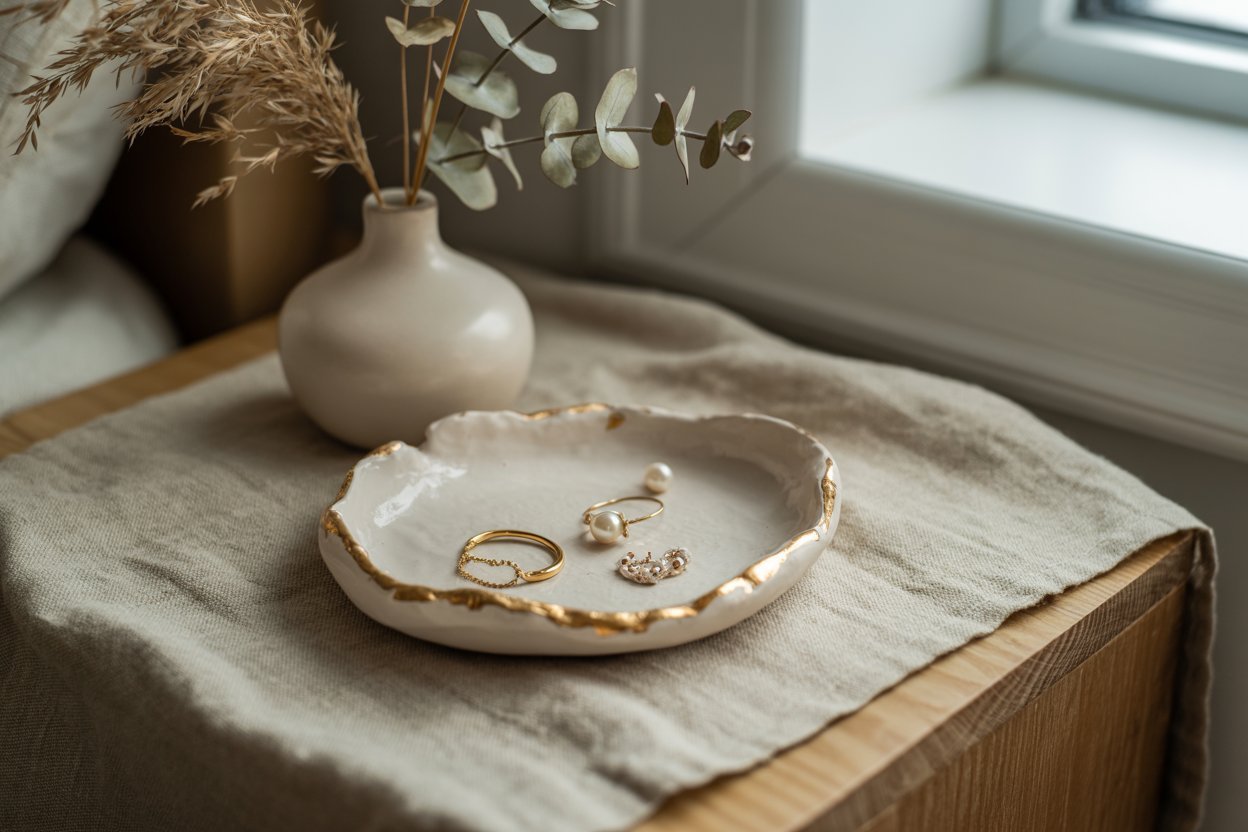
I wanted a trinket dish that felt organic, sculptural, and softly imperfect, something that could sit on my nightstand or entry table and quietly elevate the space. Air-dry clay turned out to be the perfect medium.

It is accessible, forgiving, and allows you to create something that looks high-end without needing special tools or experience.
This Anthropologie-inspired air-dry clay trinket dish is one of those projects that feels relaxing from start to finish. You shape it by hand, embrace the natural curves, and let the imperfections become part of the design.
No two dishes ever turn out the same, which is what makes them feel so special.
In this tutorial, I will walk you through exactly how I make my trinket dishes step by step.
I will share the materials I use, how I shape and texture the clay, how I get that soft handmade look, and how I style them once they are finished.
If you love slow DIY projects, neutral home decor, and Anthropologie-inspired pieces that feel collected rather than mass-produced, this is a project you are going to love.
Why You Will Love This DIY
You will love this DIY because it is slow, calming, and surprisingly satisfying. It is not about perfection.
It is about enjoying the process and creating something that feels thoughtful and handm,Made.
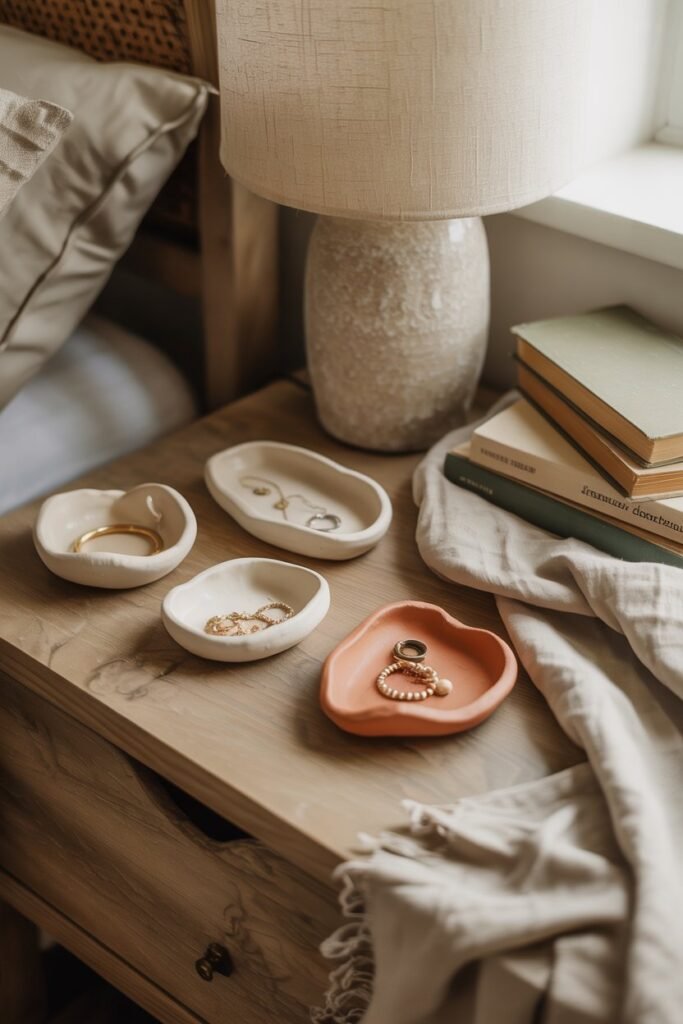
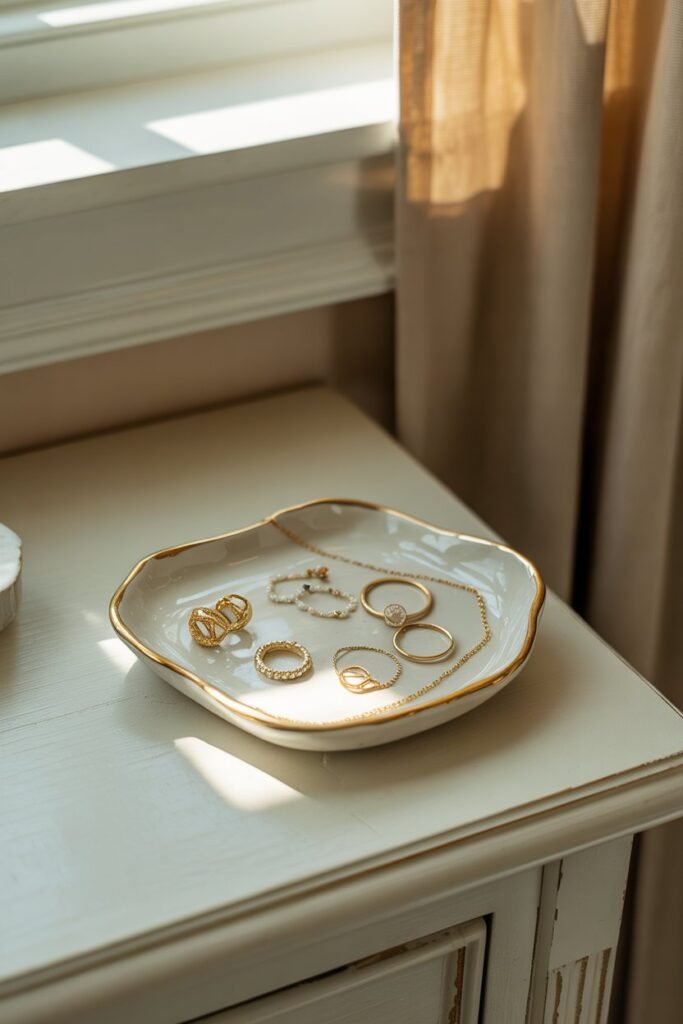
This Anthropologie-inspired trinket dish has soft curves and natural imperfections that give it that collected, boutique look. Every piece turns out slightly different, which makes each one feel special and personal.
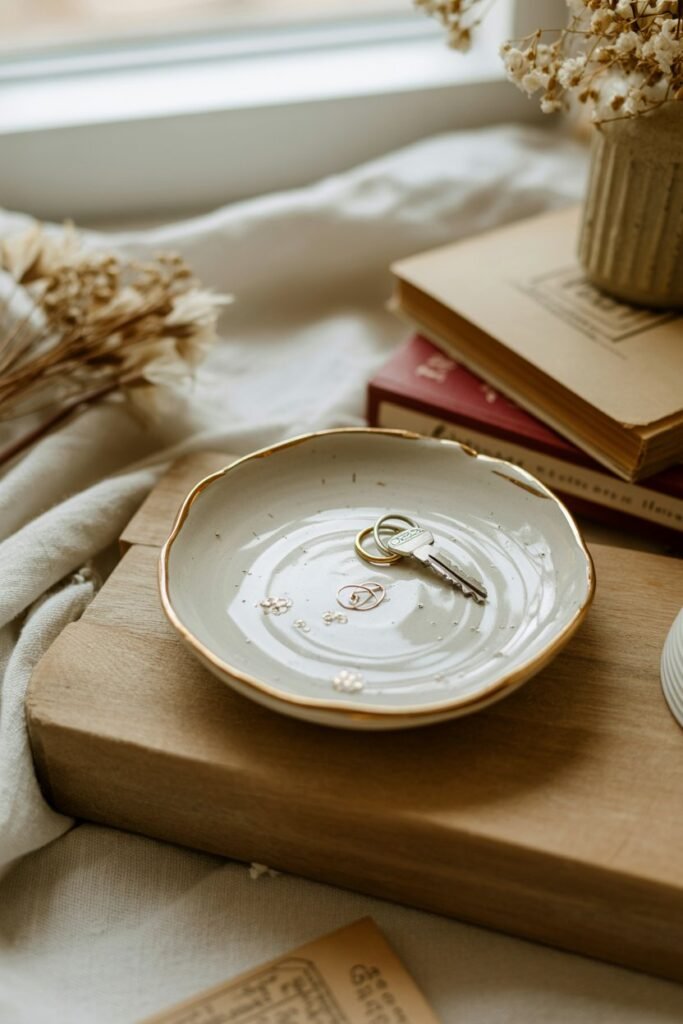
I also love how useful it is. These dishes are perfect for rings, jewelry, keys, or small everyday items, and they look beautiful on a nightstand, bathroom counter, or entry table.
Best of all, air-dry clay makes this project beginner-friendly. No special tools, no kiln, and no pressure. Just a simple DIY that adds charm and intention to your space.
Materials You Will Need
Here is everything I use to make this Anthropologie inspired air dry clay trinket dish.
The list is short, simple, and beginner friendly.
- Air dry clay
- Rolling pin or clean glass
- Small bowl or cup (for shaping the dish)
- Parchment paper or baking paper
- Small bowl of water
- Soft cloth or sponge (for smoothing)
Optional but helpful if you want a more refined finish
- Craft knife or clay tool
- Fine grit sandpaper
- Acrylic paint or glaze (if you plan to decorate)
How I Make This Anthropologie Inspired Air-Dry Clay Trinket Dish Step by Step
This is one of those projects that feels both creative and luxurious, but it is incredibly approachable.
I love taking my time, shaping the clay, and adding small decorative touches that make each dish unique.
Step 1: Roll out the clay

I start by rolling a small piece of air-dry clay on parchment paper until it is evenly flat.
I aim for about a quarter-inch thickness, which gives the dish enough strength while still keeping it lightweight. If any cracks appear, I smooth them gently with my fingers.
Step 2: Shape the dish
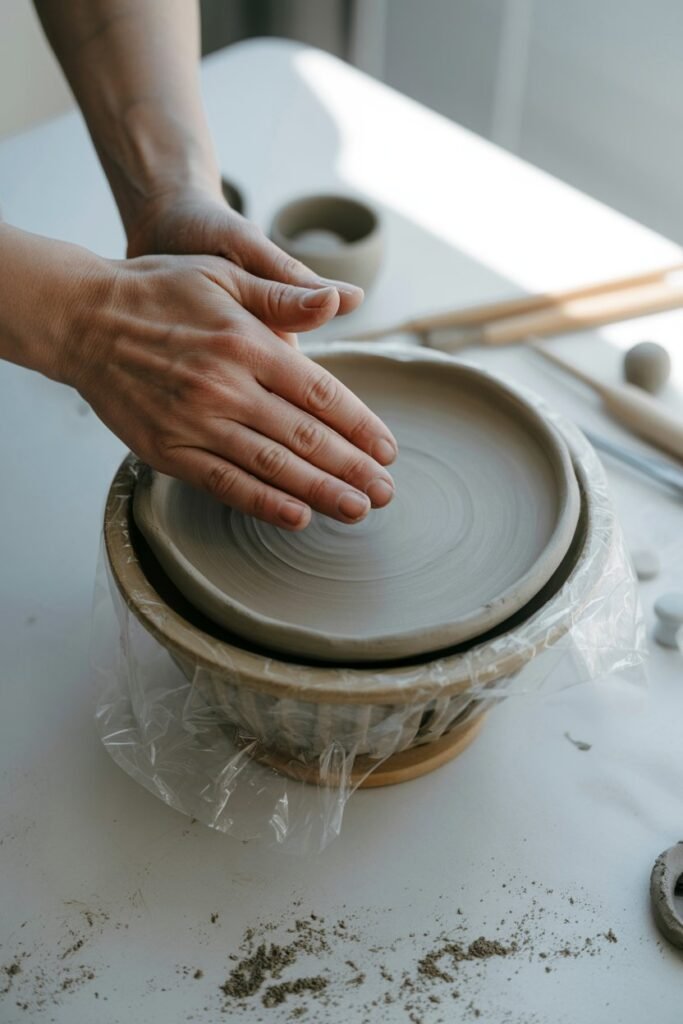
Next, I place a small bowl upside down and cover it with cling wrap. I carefully lay the clay circle over the bowl, pressing and smoothing the edges.
This creates a natural dish shape. Using a knife, I create gentle curved lines up and down the clay, they do not need to be perfect; these imperfections are what make each dish unique.
I finish by smoothing the edges with my fingers and refining the rounded parts for a polished look.
Step 3: Let the clay dry
I leave the dish to dry for 24 to 48 hours until it is completely hard. I carefully remove it from the bowl by pulling at the cling wrap and lightly twisting the clay.
The clay should feel firm and free of any dark or soft spots before moving to the next step.
Step 4: Smooth the edges
Once dry, I use fine-grit sandpaper to smooth any rough edges.
This step ensures the dish feels refined and comfortable to hold, while keeping the handmade charm intact.
Step 5: Add decorative napkin layers
I select a pretty craft napkin and separate the printed top layer from the white backing.

Then I cut the napkin into a circle slightly larger than the dish.
I brush a thin layer of Mod Podge onto the inside of the dish and carefully lay the napkin on top. I smooth out any wrinkles gently with my fingers.
Once it is dry, I lightly sand the edges to remove any overlapping napkin. I seal the napkin with another thin layer of Mod Podge and let it dry completely.
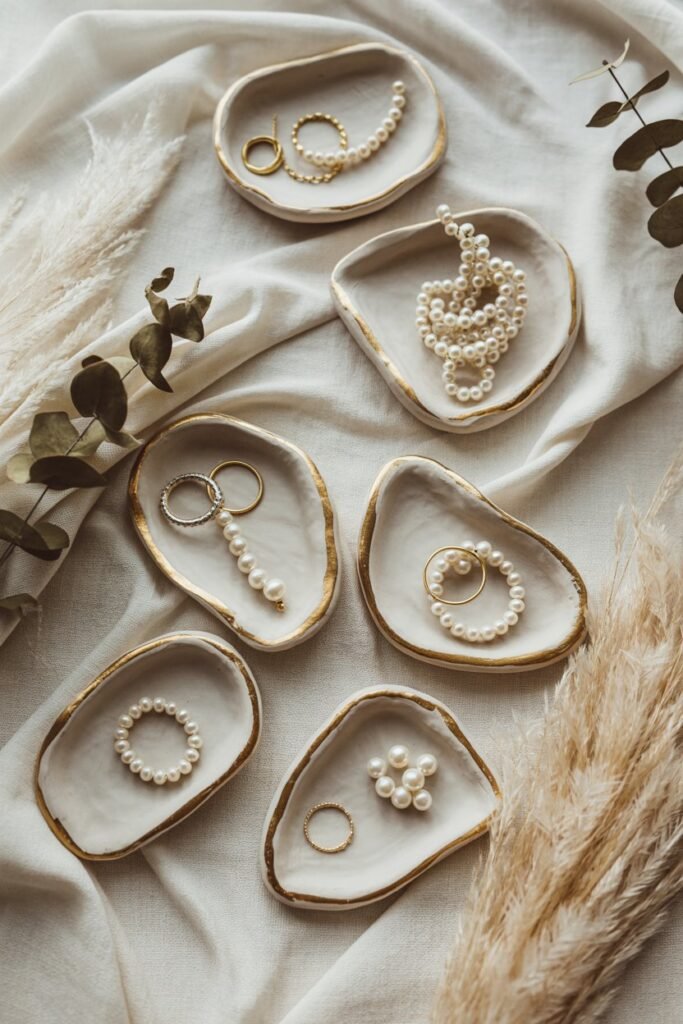
Step 6: Add a gold rim

Finally, I use Rub ‘n Buff or a similar metallic wax to accent the rim and outer edges of the dish.
I apply it lightly with a soft cloth or brush, creating a subtle shimmer that instantly elevates the piece. Once dry, I buff it gently for a polished look.
Step 7: Admire and use
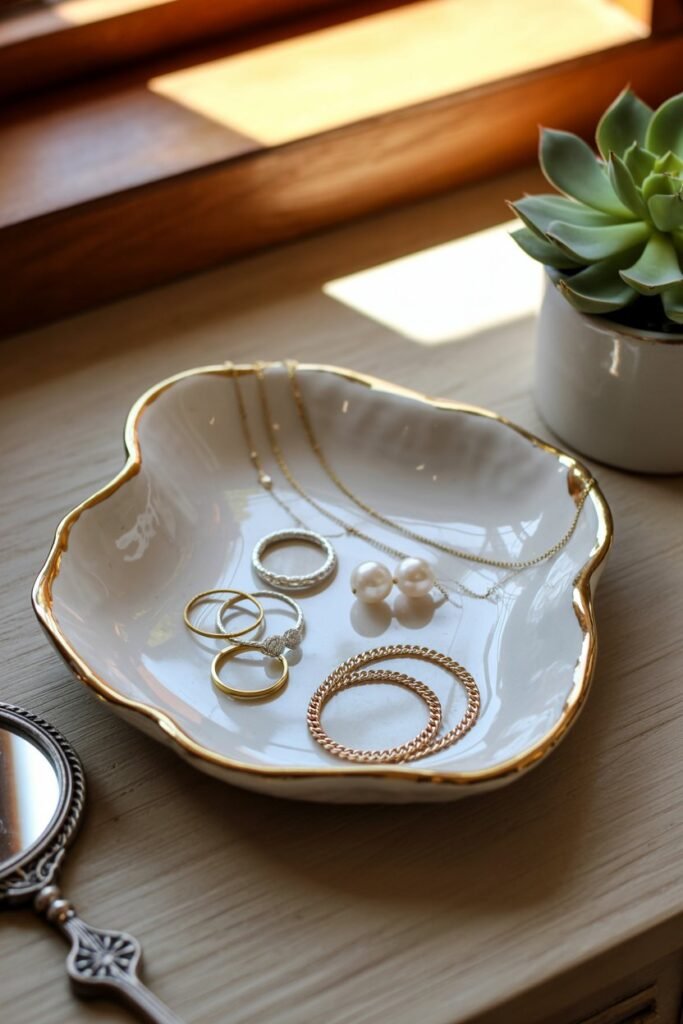
The finished dish feels like a miniature work of art. Each curve, pattern, and gold highlight is unique.
I love using mine for jewelry, small trinkets, or simply as a decorative accent on a dresser or desk.
Expert Tips
Working with air-dry clay is simple, but a few key techniques make your trinket dishes look professional.
Always knead the clay thoroughly before shaping it, warming it in your hands makes it soft, pliable, and less prone to cracks.
When smoothing the edges or shaping the dish, use a damp finger instead of tools, which keeps the surface seamless and prevents tearing.
For decoupage, carefully separate the printed napkin layer from its backing before applying. Apply thin, even layers of Mod Podge and gently smooth out wrinkles for a polished finish.
When using Rub ‘n Buff or metallic paints, start with a subtle layer and build gradually for a delicate, elegant rim. Patience is key; each step benefits from a slow, intentional approach.
Common Mistakes to Avoid
Even simple projects can run into pitfalls. One common mistake is rushing the drying process.
Air-dry clay dishes need at least 24 to 48 hours depending on thickness, and moving them too early can cause warping or cracks.
Another is uneven clay thickness areas that are too thin dry faster, creating weak spots.
Be careful when smoothing edges or the surface; skipping this can leave rough spots that look unfinished after drying.
For the napkin layer, applying too much glue or pressing too hard can tear the delicate print, while skipping sanding of edges post-drying can result in a less polished final look.
Variations & Creativity
The best part of DIY trinket dishes is how customizable they are. Instead of traditional circles, try hearts, stars, or organic abstract shapes for a unique touch.
Add texture with stamps, leaves, or forks pressed lightly into the clay before drying to give your dish an artisanal feel.
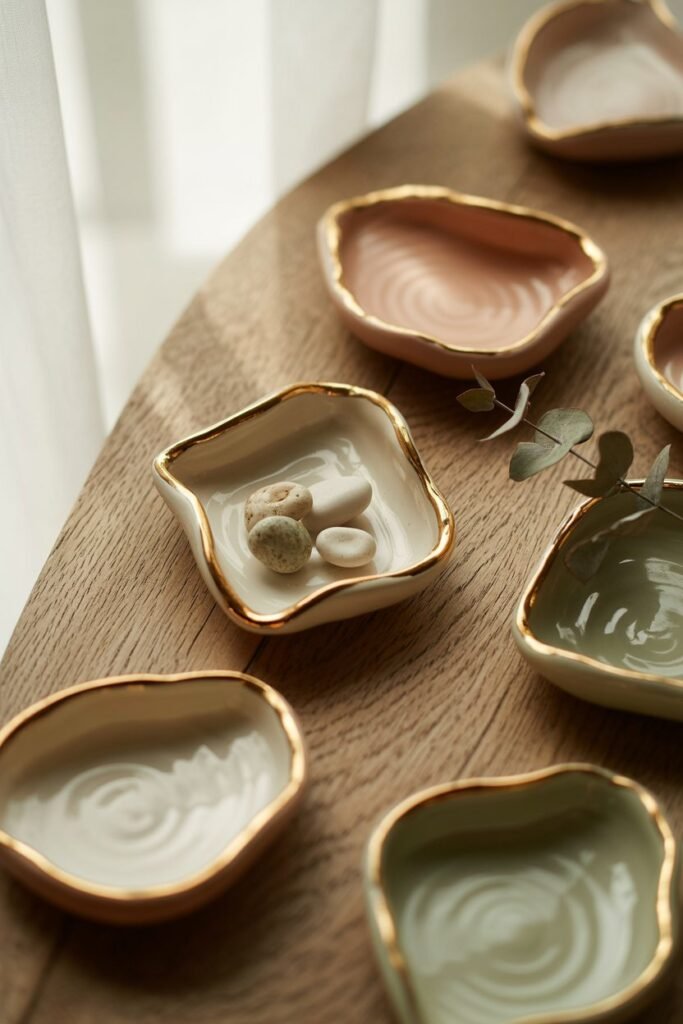
Color is another creative element. You can mix mica powder into the clay for subtle pastel or metallic shades, or paint the dish once dry for a polished finish.
Combine different napkin prints or make sets of small dishes for tiered arrangements or gift sets.
Each variation ensures that your dish feels personal, stylish, and completely one-of-a-kind.
Final Thoughts
Making your own air-dry clay trinket dishes is more than just a craft — it’s a chance to slow down, create something beautiful, and add a personal touch to your home. From shaping the clay to adding delicate decorations, every step is intentional and rewarding.
These dishes are functional, charming, and completely customizable. Whether you stick with classic shapes or experiment with textures, colors, and patterns, each piece becomes a small work of art that reflects your style.
The process is beginner-friendly, budget-conscious, and surprisingly calming. By taking your time and enjoying the creative journey, you’ll end up with pieces that look polished, handmade, and uniquely yours.
Beyond their practical use for jewelry or small trinkets, these dishes bring a sense of creativity and intentionality into your everyday life. Each one is a reminder that handmade details make a house feel like a home.