I still remember the first time I tried a shower melt. It was one of those stressful mornings where I felt completely drained, and I wanted a quick way to feel awake without drinking three cups of coffee.
I had heard about shower melts and decided to try making my own.
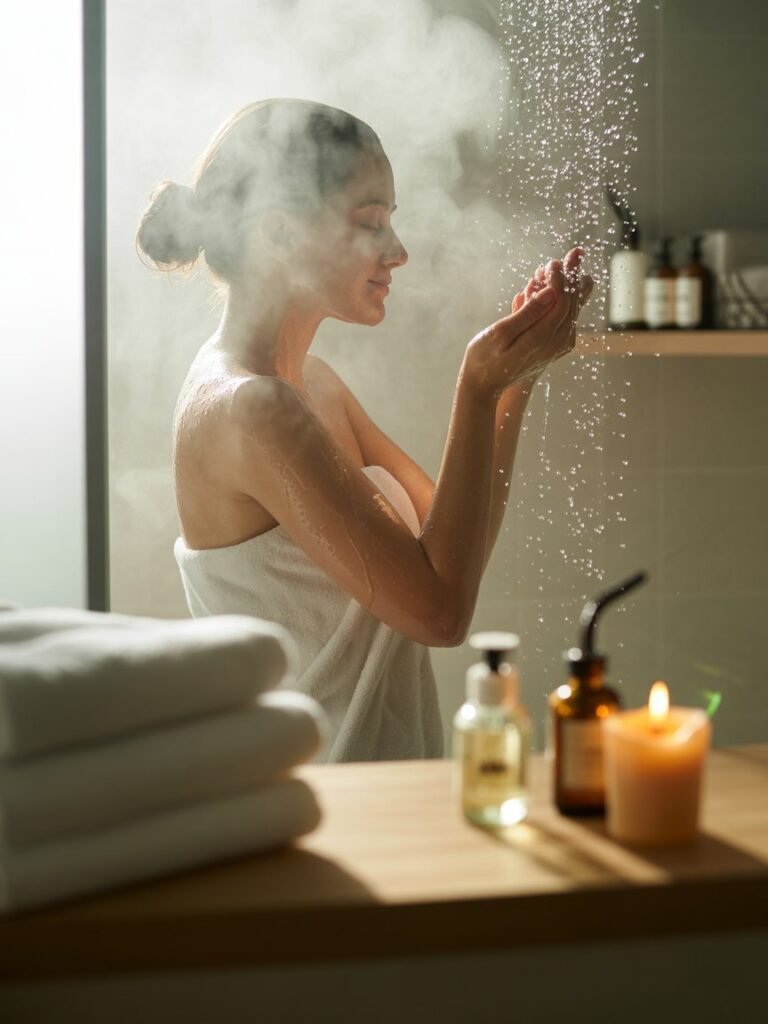
The first time I used one, I was blown away. As soon as the warm water hit the shower melt, the steam carried the scent all around me.
It was like stepping into a mini spa. My energy shifted, my mood lifted, and I felt calm yet invigorated at the same time.
Since then, making shower melts has become one of my favorite DIY self-care rituals. I love experimenting with different essential oils, scents, and combinations to suit my mood or the time of day.
If you’ve ever wanted a simple, natural way to turn your shower into an aromatherapy experience, I want to show you exactly how I make my own shower melts.
You’ll get four easy recipes to try, plus tips for storing and using them so you can enjoy spa-like showers at home.
What Are Shower Melts and Why You’ll Love Them
Shower melts are small, solid discs made from a base like baking soda, citric acid, or coconut oil, infused with essential oils.
When they come in contact with warm shower steam, they release fragrance into the air, creating an instant aromatherapy experience.
I love them because they are:
- Easy to make at home with simple ingredients
- Affordable compared to spa products
- Customizable for your favorite scents or mood
- Portable, so you can travel with them or gift them
Shower melts are different from bath bombs. They are meant for the shower, so you can enjoy aromatherapy daily, even if you don’t have a bathtub.
How Shower Melts Can Benefit You
When I first started using shower melts, I noticed subtle but meaningful effects. Certain essential oils woke me up in the morning, while others helped me unwind after a long day.
Here are a few benefits I’ve experienced:
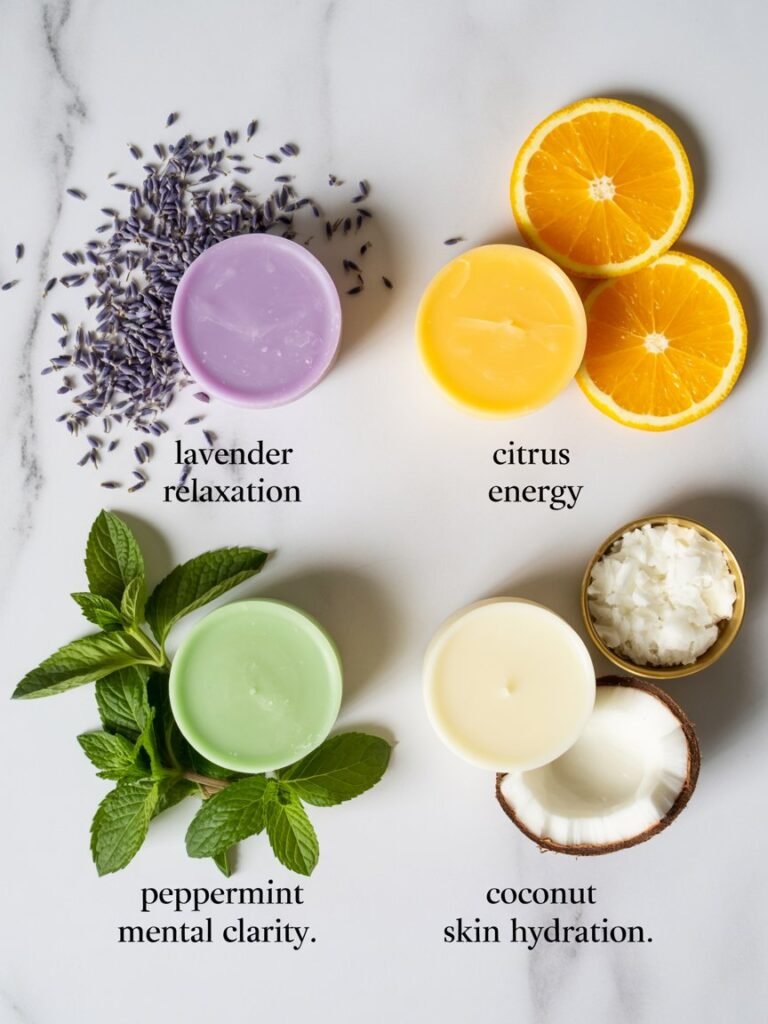
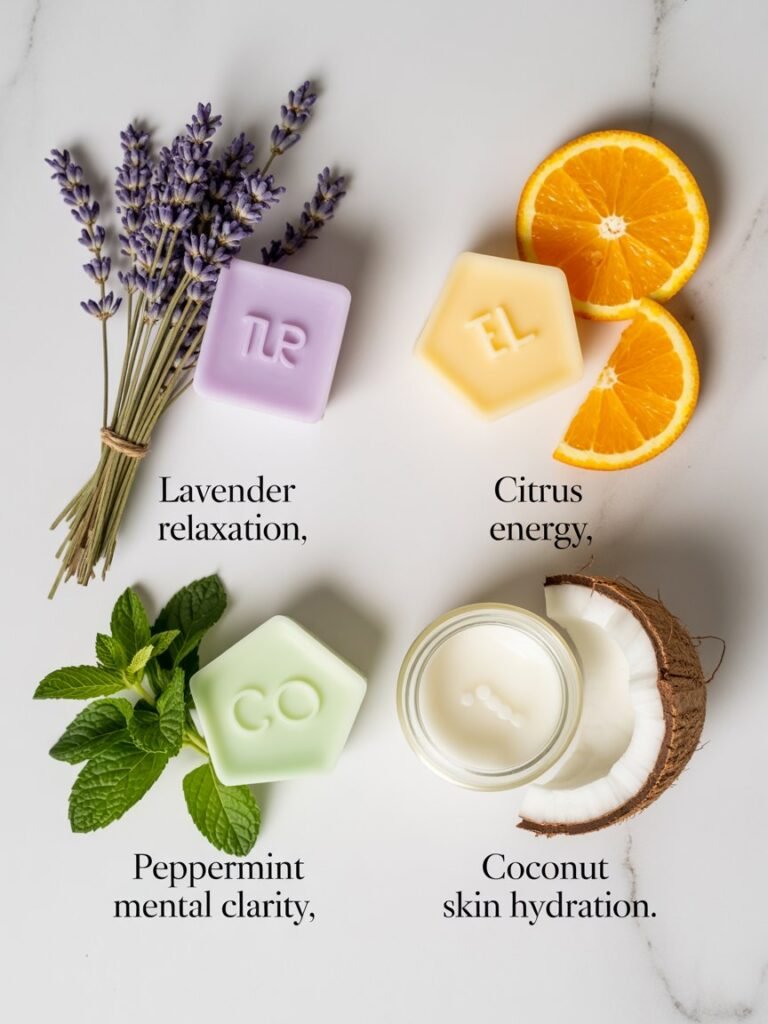
- Mood enhancement: Citrus oils like orange and lemon make me feel energized and happy.
- Stress relief: Lavender, chamomile, and ylang-ylang melts help me relax before bed.
- Mental clarity: Peppermint or eucalyptus clears my sinuses and makes me feel alert.
- Skin hydration: Some shower melts include moisturizing oils that leave my skin soft.
Once I realized how versatile they were, I started creating a few different recipes tailored to specific needs, which I’ll share below.
Ingredients You’ll Need
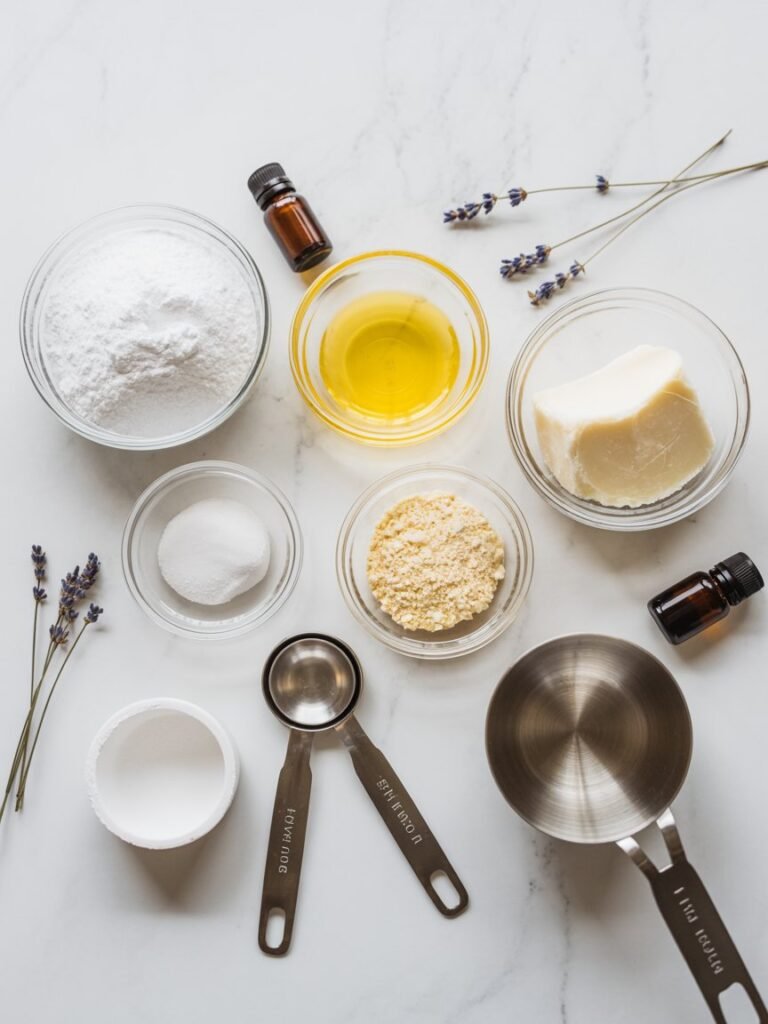
Here’s the basic list I always keep on hand when making shower melts:
- Baking soda – gives fizz and helps disperse oils
- Citric acid – reacts with water to create effervescence
- Cornstarch – helps bind the melt and slows the fizz
- Coconut oil – moisturizes the skin and binds ingredients
- Essential oils – your choice for aromatherapy benefits
- Optional: dried herbs or flower petals for decoration
The great thing is you can mix and match scents depending on your mood, season, or intended effect.
Step-By-Step Guide to Making Shower Melts
I love making shower melts because it feels like a small ritual that sets the tone for my day—or helps me unwind at night.
I’ll walk you through exactly how I do it, sharing the little tricks I’ve learned along the way so you don’t end up with a crumbly mess or weak scent.
1. Mix the Dry Ingredients
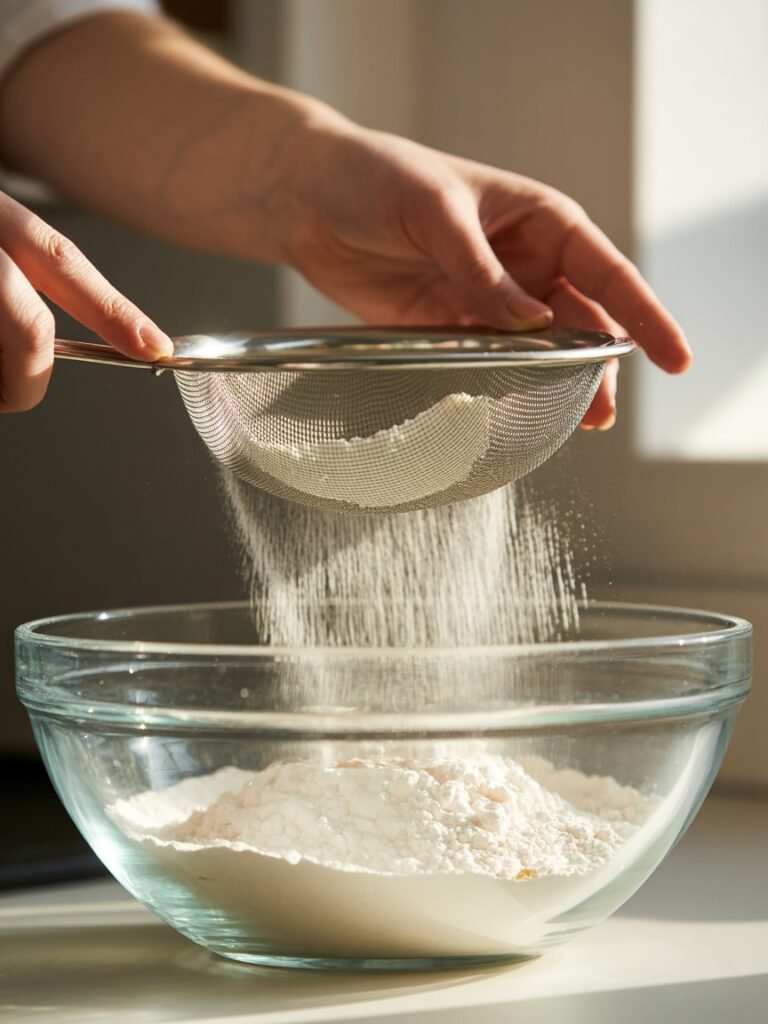
I start with a base of baking soda, citric acid, and cornstarch. These three ingredients create the perfect texture and fizz when the melt hits the warm shower steam.
Here’s what I usually do:
- 1 cup baking soda
- 1/4 cup citric acid
- 1/4 cup cornstarch
I like to sift them first if I’m using citric acid crystals; it keeps everything smooth. Then I stir them together thoroughly.
I always take a moment here to really mix, because uneven dry ingredients can make your melts crumble later. You’ll know it’s ready when it looks like fine sand, evenly blended.
Tip from experience: Stir slowly but thoroughly—trust me, taking the time here saves you from frustration later.
2. Add Wet Ingredients
Next comes the fun part: adding moisture and fragrance. I melt about 2 tablespoons of coconut oil gently in a small pan or microwave. Then I add my essential oils.

I usually go for 15–20 drops total, but I adjust depending on how strong I want the scent. For example, if I’m making an energizing citrus melt for the morning, I add a few extra drops of orange essential oil—it makes a big difference when the steam hits.
I pour the melted coconut oil and oils slowly into the dry mixture, stirring continuously. I like to mix with my hands at this stage, because it helps me feel the texture and ensures everything binds evenly.
Personal note: I always take a deep breath here and enjoy the scent—it’s part of the self-care ritual!
3. Combine Thoroughly
Now comes the part that separates a good melt from a crumbling one. You want the mixture to feel like damp sand.
- Press a small handful together. If it holds shape, it’s ready.
- If it falls apart, add a tiny bit more coconut oil—just a drop at a time. Too much oil makes melts greasy and slow to harden.
I like to press it gently but firmly into the mold while feeling the texture. This tactile step helps me connect with the process and ensures the melt will hold together once dried.
4. Shape the Melts
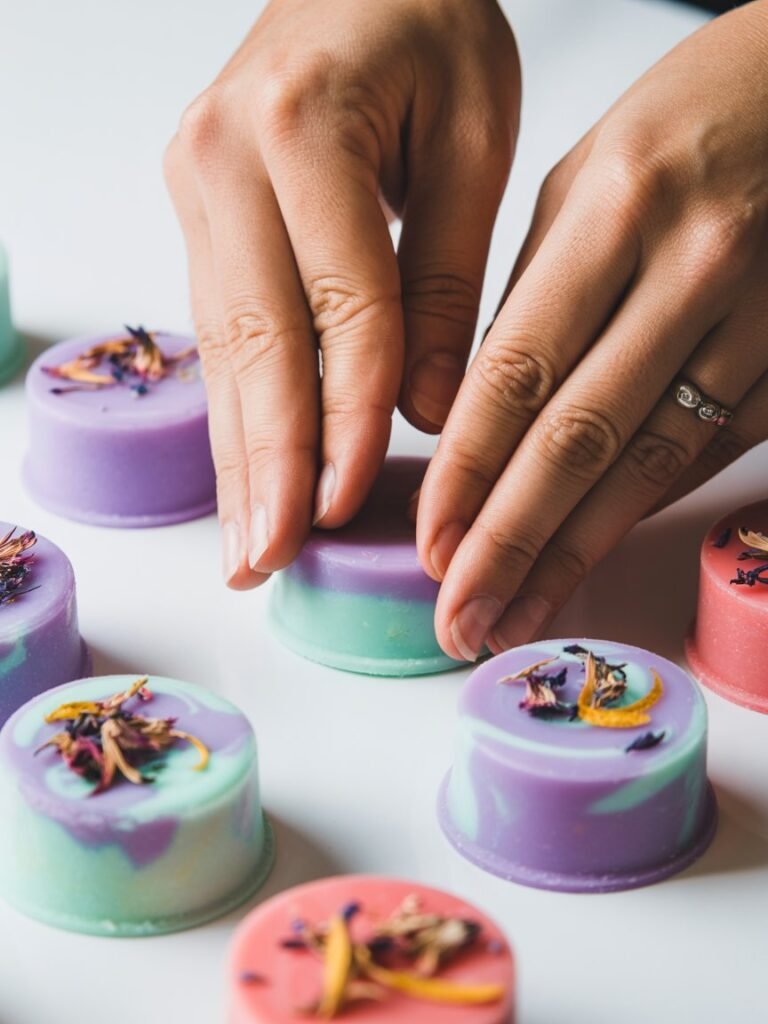
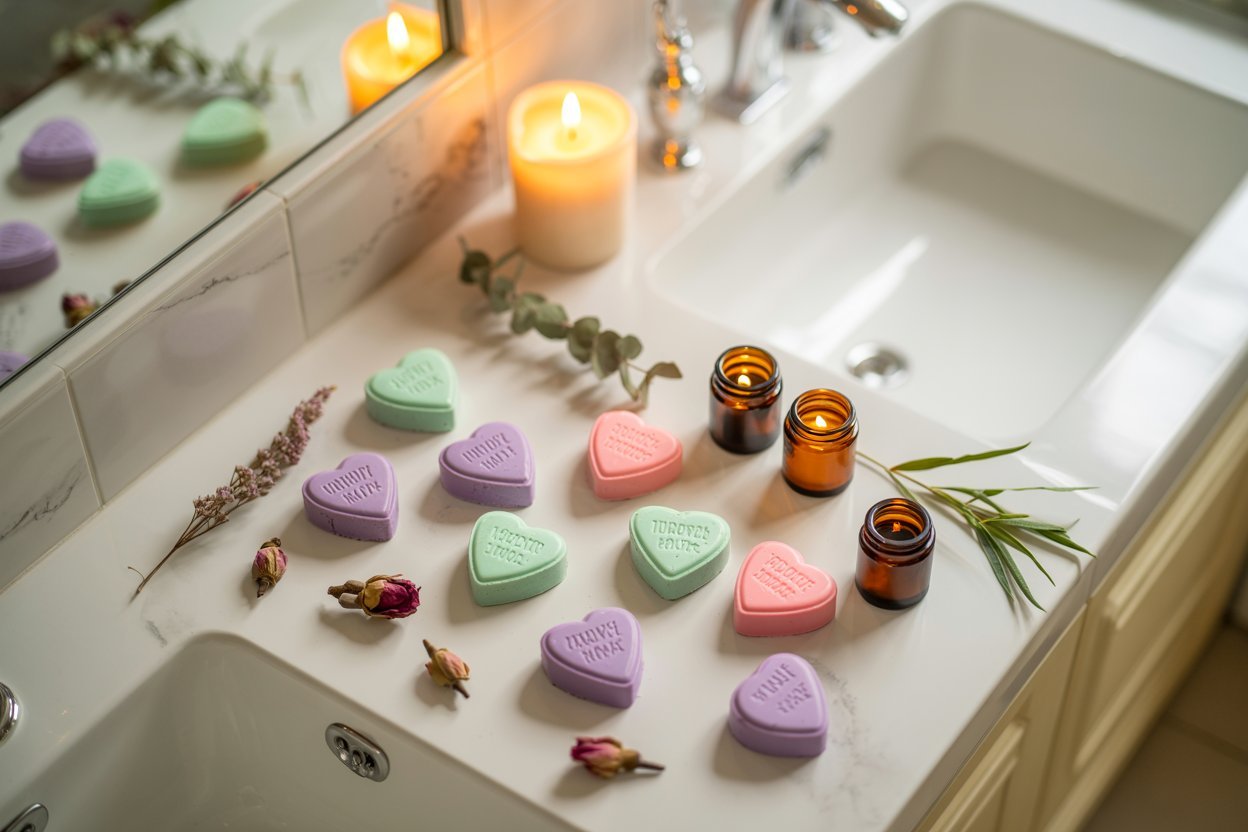
You can use silicone molds, ice cube trays, or even cookie cutters for fun shapes. I like hearts, stars, or classic round discs.
- Press the mixture firmly into the molds. Don’t just scoop it in—compact it so it stays intact after drying.
- You can also sprinkle in a few dried herbs or flower petals for a pretty, natural decoration. I usually add lavender buds to calming melts and orange peel to energizing ones.
Tip: If you want a smoother finish, use a flat spatula or the back of a spoon to level the top of each mold.
5. Let Them Set
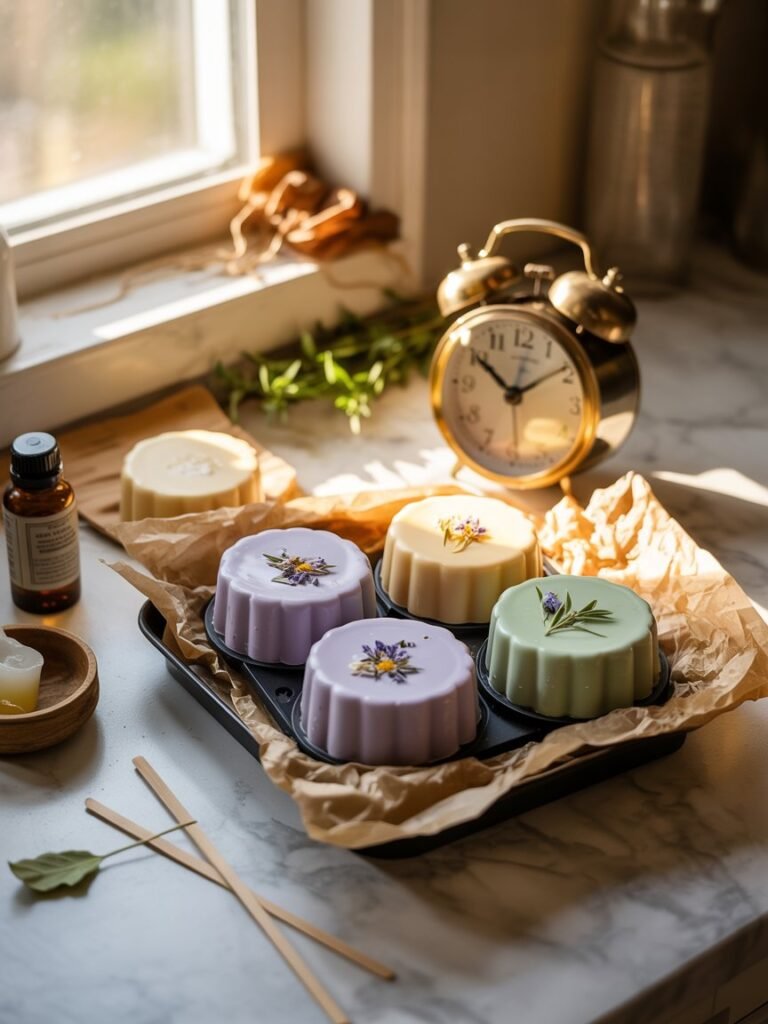
Patience is key here. I usually let my melts sit 24 hours at room temperature. This allows them to harden completely and ensures they hold their shape.
- If you’re in a hurry, you can place them in the fridge for 2–3 hours, but I’ve found room temperature gives a better texture.
- Avoid touching them too soon—they can crumble if handled before fully set.
Personal note: I love leaving them on my kitchen counter while they harden. The smell of essential oils fills the air and adds a little early aromatherapy boost before I even use them!
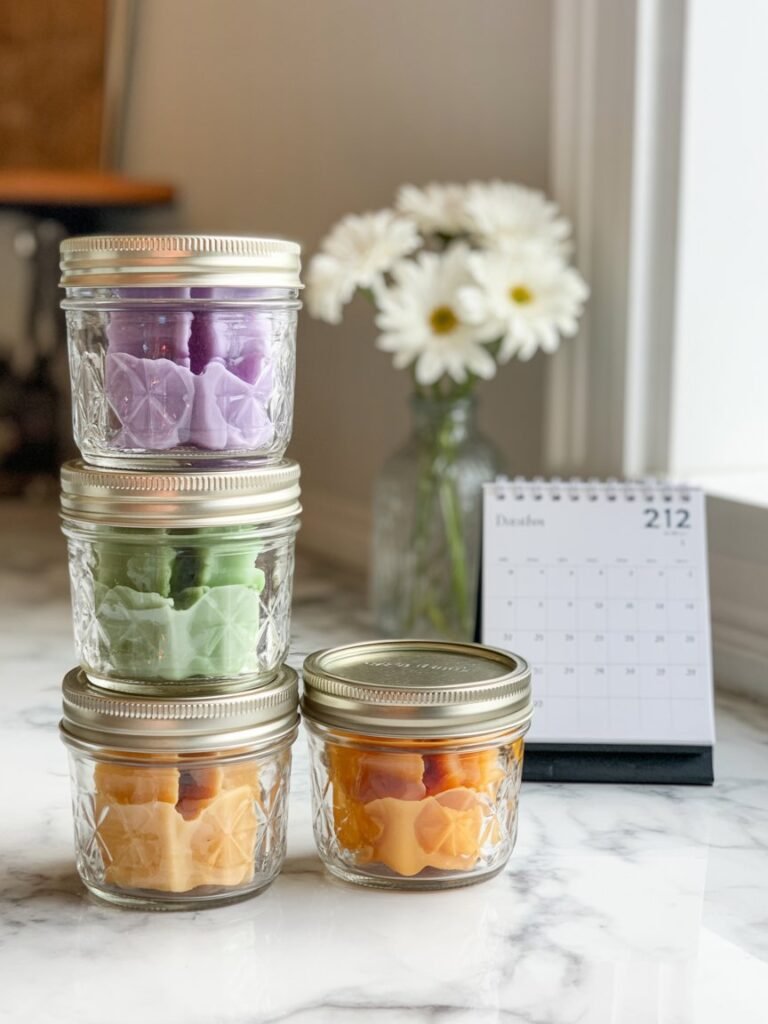
6. Storage
Once hardened, storage is crucial to keep your shower melts effective:
- Use an airtight container to prevent humidity from softening them.
- Layer parchment paper between melts if you’re stacking them, so they don’t stick together.
- Store in a cool, dry place—heat or moisture will make them dissolve prematurely.
I often make batches ahead of time, so I always have a melt ready when I need a quick mood boost.
7. Using Your Shower Melts
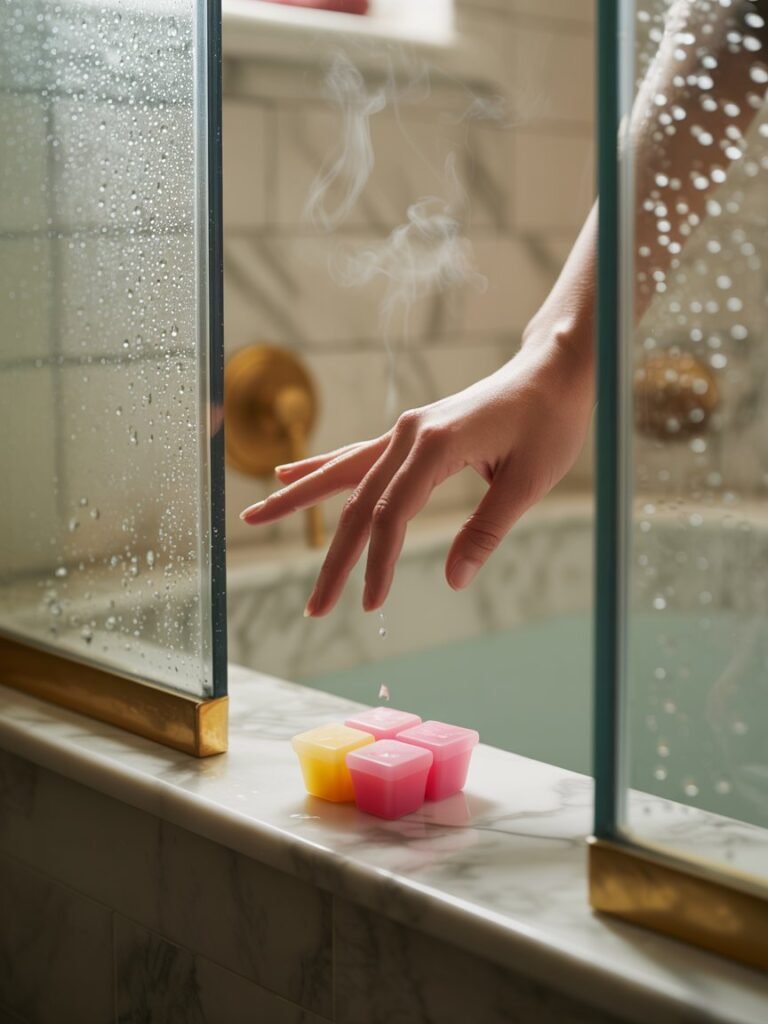
Here’s my personal routine for using shower melts:
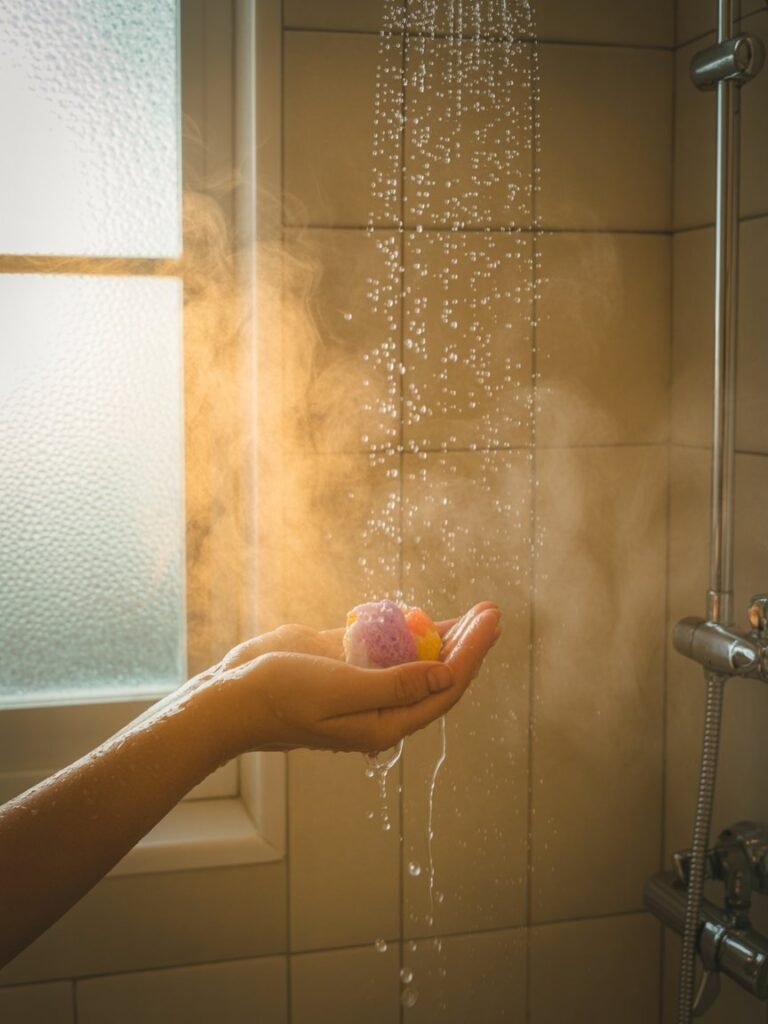
- Turn on your shower and let it run for a minute so the steam builds.
- Place one melt on the shower floor or on a corner ledge away from direct water flow. You don’t want it to dissolve too quickly.
- Let the steam hit it and inhale deeply. I usually take a few moments just to breathe in the scent—it really sets the tone for the shower experience.
- Enjoy the aromatherapy benefits while showering normally.
Pro tip: Start with one melt per shower. Too many can be overpowering, especially if the essential oils are strong.
Advanced Tips for Perfect Shower Melts
Over time, I’ve learned a few tricks that really make shower melts stand out. One of the biggest secrets is layering your essential oils. I like to combine top, middle, and base notes.
For example, orange as a top note gives a bright burst that hits first, lavender in the middle carries a calming aroma, and cedarwood as a base lingers longer.
This creates a richer, more complex fragrance that lasts throughout your shower.
I also make sure to use high-quality oils. Pure essential oils provide a vibrant scent and deliver noticeable aromatherapy benefits.
Cheaper blends often smell weak and fade quickly, which is disappointing when you’ve spent time crafting your melts.
Over the years, I’ve built a little collection of oils for different moods. Peppermint and eucalyptus for mornings when I need a wake-up boost, lavender and chamomile for relaxing evenings, and citrus blends when I want to feel energized.
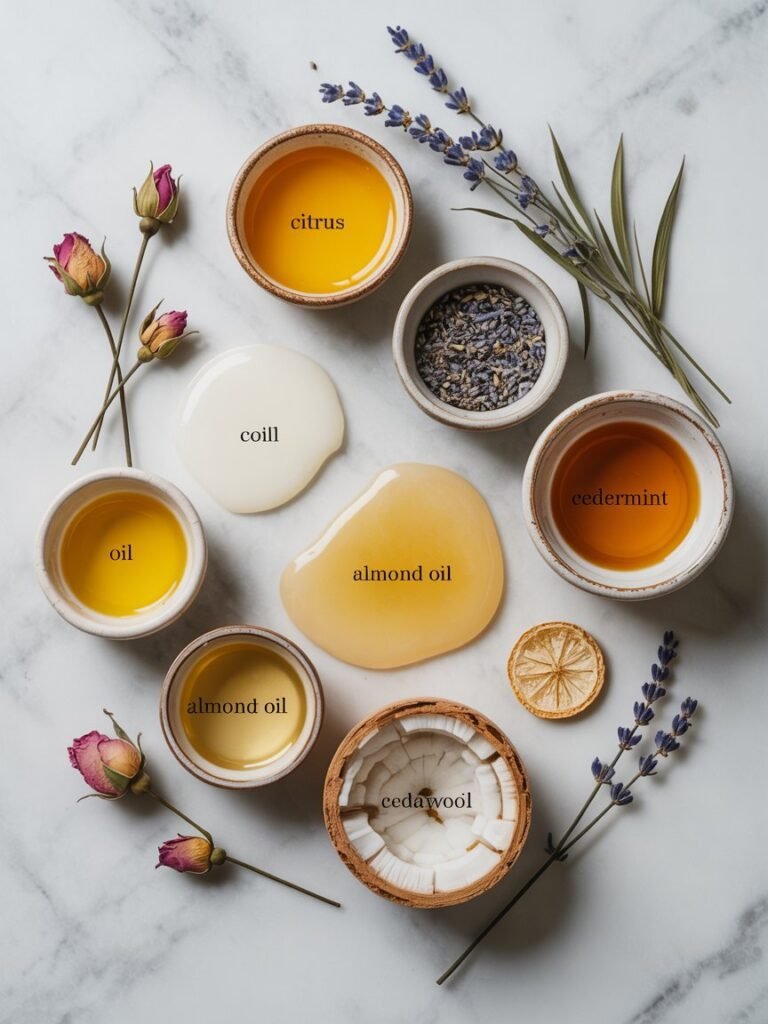
Experimenting with carrier oils has made a huge difference too. Coconut oil is my go-to, but I’ve started using almond and jojoba oils in some melts.
They give a slightly different texture and add extra moisturizing benefits for my skin. I especially like using jojoba in calming blends because it melts gently in the shower and leaves my skin soft without feeling greasy.
Adding natural touches like dried lavender, rose petals, or citrus zest elevates both the look and the experience.
I often sprinkle petals or zest on top of the melts before they set. It makes the shower feel more luxurious, and it’s a little detail that always draws compliments when I gift them.
I even make themed melts for holidays or special occasions, which makes the process fun and creative.
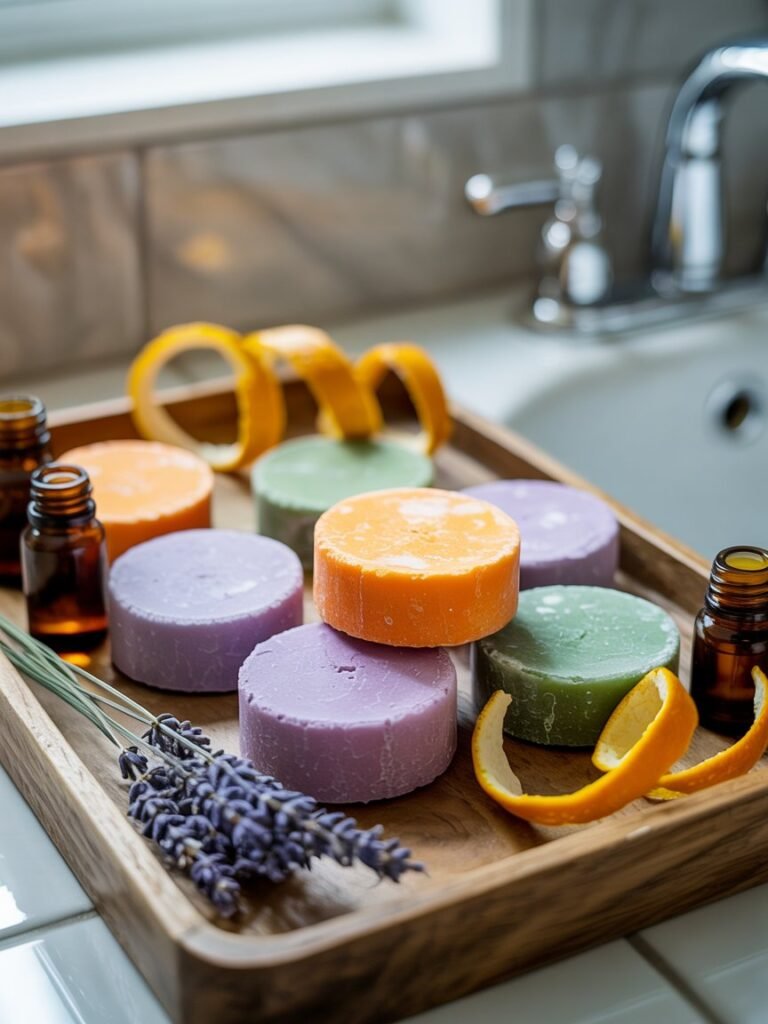
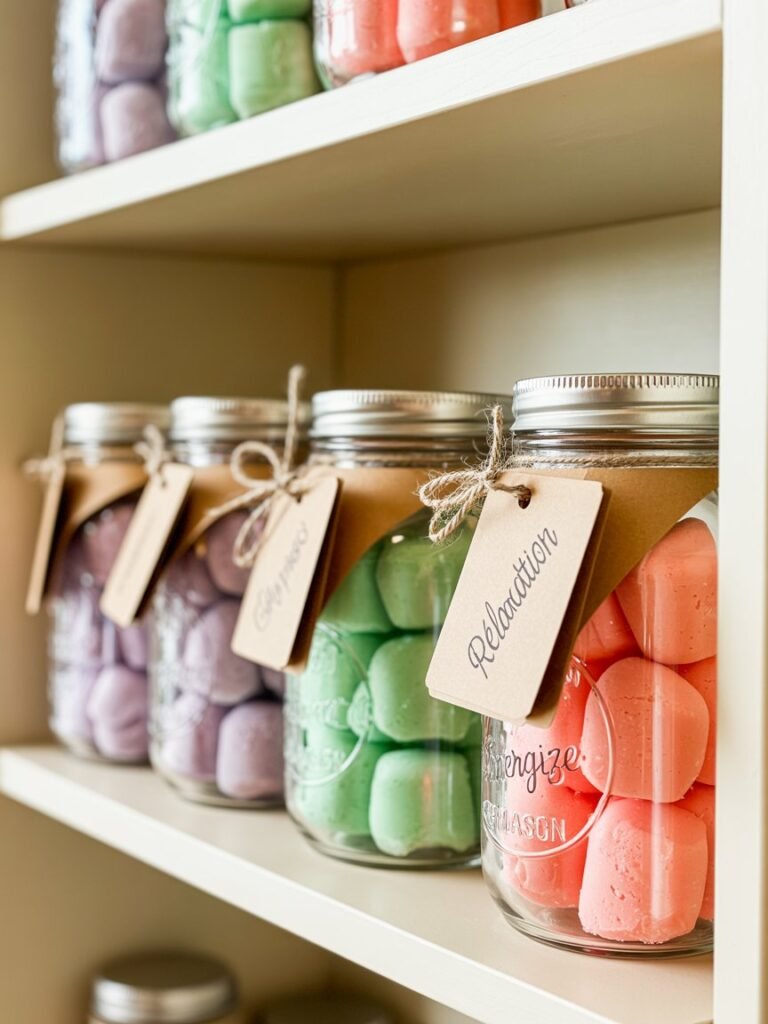
Gifting Your Shower Melts
I love giving shower melts as gifts because they are simple yet luxurious and thoughtful.
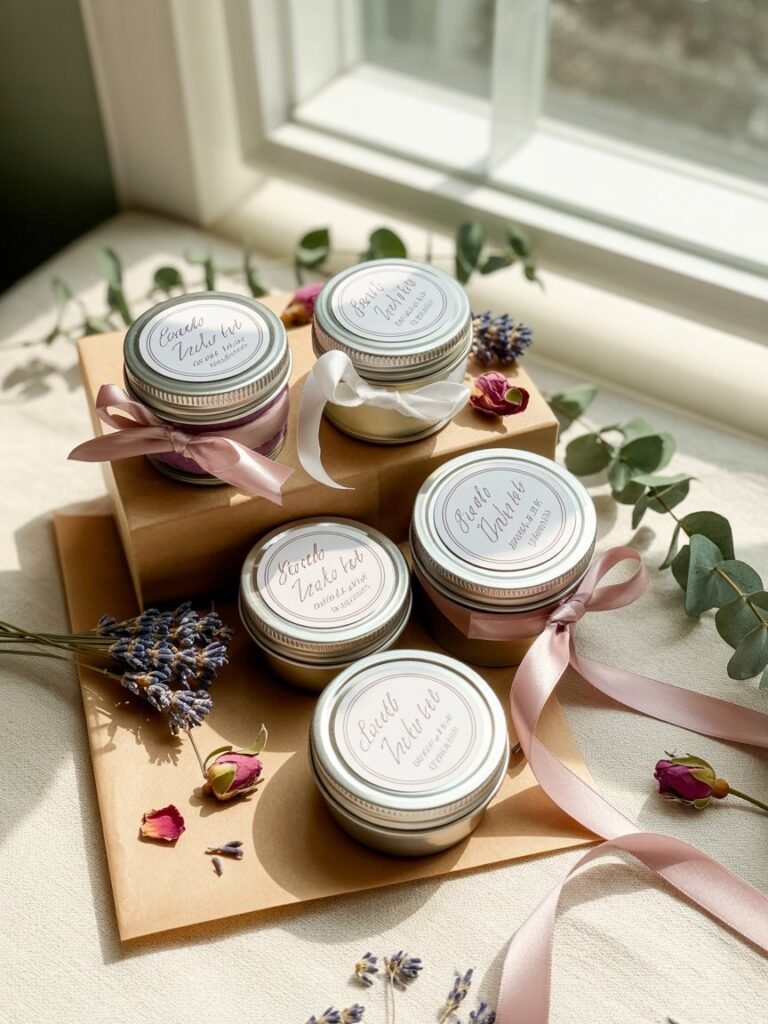
I usually place them in glass jars or small tins to keep them dry and visually appealing. Handwritten labels make a big difference.
I include the scent, ingredients, and a short note about what the melt does. It feels personal and special. Sometimes I tie a ribbon or add a small wrapping touch for presentation, especially if I’m gifting a set.
Giving these melts to friends and family always feels rewarding. People comment on how thoughtful they are, and it sparks conversations about self-care and aromatherapy.
It’s such a small effort for a meaningful gift that people genuinely appreciate.
Common Problems and How to Fix Them
Even after making melts for a while, I still run into little problems. If your melts crumble, it usually means the mixture wasn’t pressed firmly enough or it needs just a bit more coconut oil.
Weak scent can be fixed by adding a few extra drops of essential oil or choosing a stronger oil like peppermint.
Premature dissolving often happens if the melts are exposed to moisture, so storing them in an airtight container in a cool, dry place is essential.
If the melts feel sticky after setting, it might be because the coconut oil was too warm when mixed or the room was humid.
I find letting them sit a little longer at room temperature solves this issue.
The key is to experiment and adjust as you go. Each batch teaches you something new about scent strength, texture, and storage.
How Long Shower Melts Last
When stored properly, shower melts can last two to three months or longer. I usually make small batches to ensure freshness and experiment with different scents.
Over time, you’ll learn which fragrances you use most and can adjust your batches accordingly.
The beauty of these DIY melts is that they are low-maintenance, cost-effective, and flexible. You can make them ahead of time, gift them, or simply rotate scents depending on your mood.
Final Thoughts
DIY aromatherapy shower melts are more than just a craft; they are a way to bring self-care into your daily routine.
I love how they turn a simple shower into a spa-like experience.
They are easy to make, customizable, and perfect for gifting. Each melt gives you a moment to pause, breathe in the fragrance, and enjoy a little luxury at home.
Once you try making your first batch, you’ll notice how satisfying it feels to create something that uplifts your mood, refreshes your senses, and pampers your skin.
Take your time experimenting with different scents, textures, and molds. Enjoy the process as much as the results.
This little ritual can transform even the busiest mornings or most stressful evenings into a calm, restorative moment just for you.