12 Easy Sewing Projects for Absolute Beginners (Step-by-Step Guide)
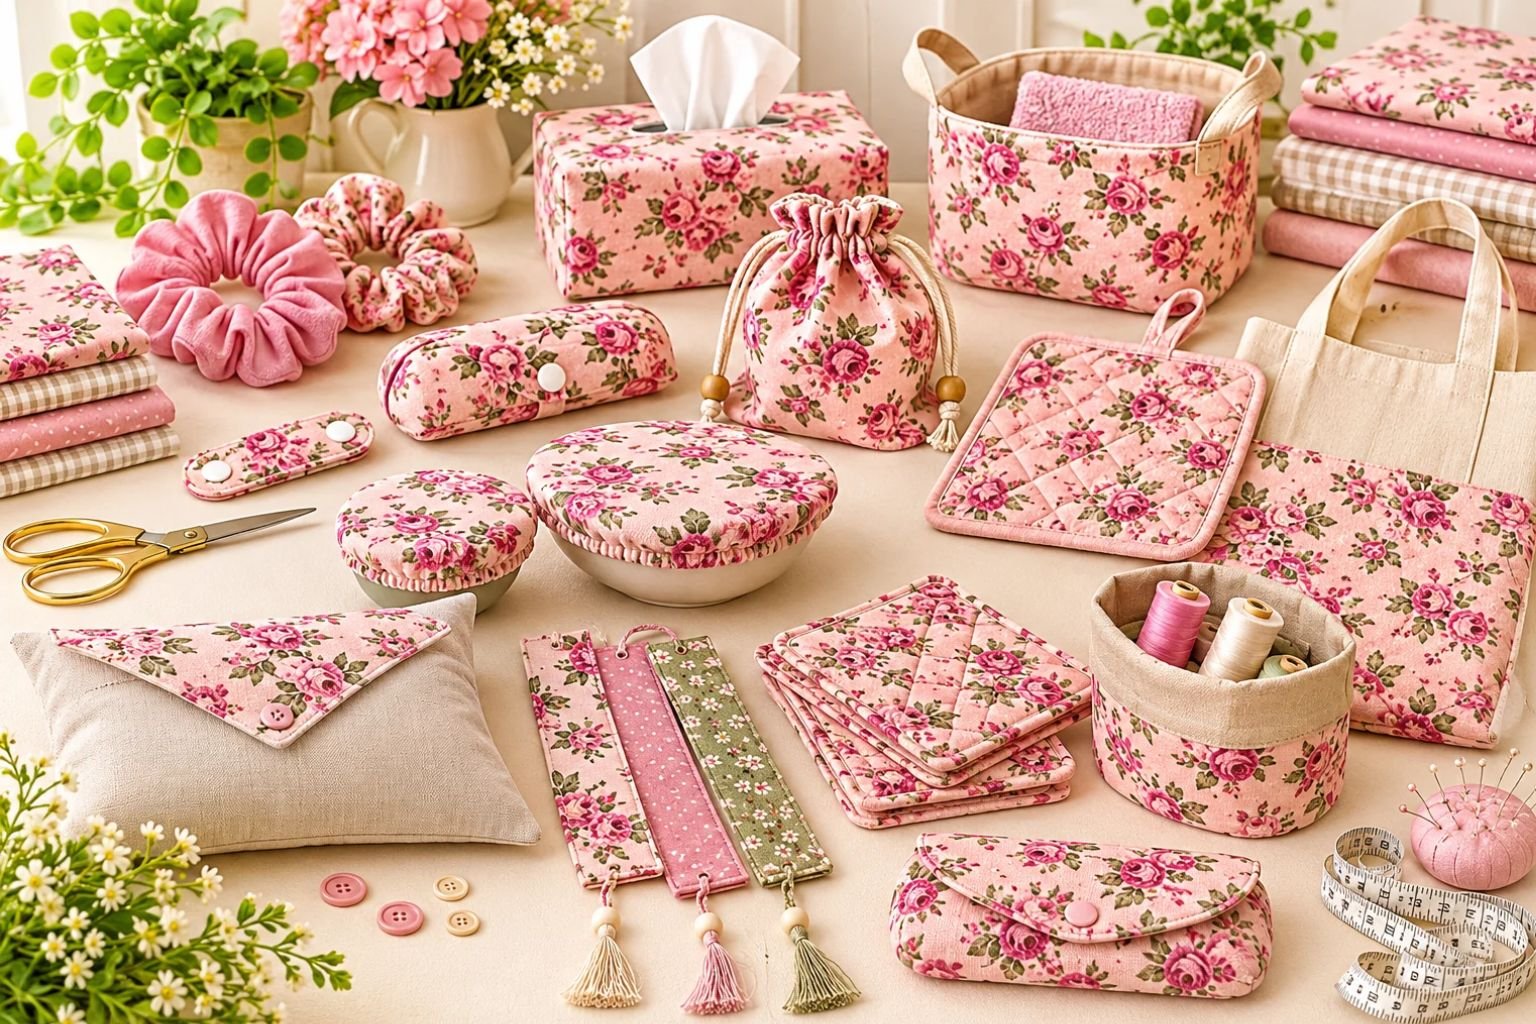
Learning to sew can feel a little intimidating when you are just getting started. You might see beautiful handmade bags, fabric organizers, cushion covers, and other sewing projects online and wonder how people manage to make everything look so neat.
I used to think sewing required expensive equipment and years of experience before you could make anything worth keeping.
But the truth is that you can start with a few basic supplies, some affordable fabric, and simple projects that help you build your confidence.
The secret is to start small.
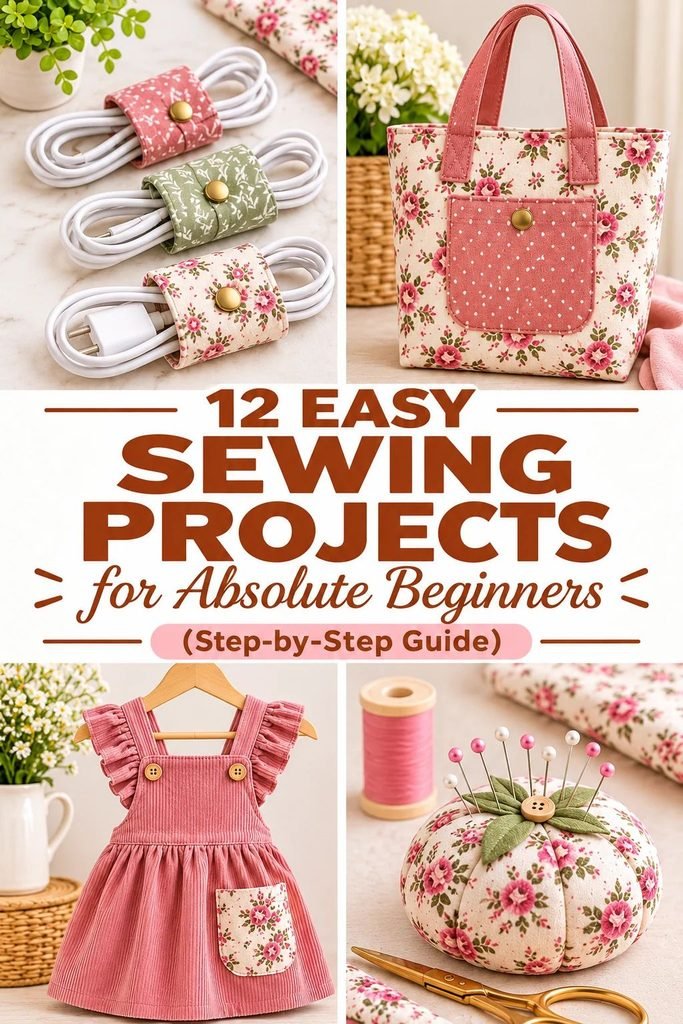
Instead of jumping straight into a complicated dress or a lined handbag, try making something useful that only requires a few straight seams.
You will learn how to cut fabric, sew a seam, finish an edge, and use your sewing machine without feeling overwhelmed.
In this guide, I’m sharing 12 easy sewing projects for absolute beginners. These are practical little things you can make for your home, use to organize your everyday essentials, or even give as handmade gifts.
Each project includes the materials you need and simple step-by-step instructions to help you get started. You do not have to make all 12 at once. Pick the one that catches your eye, gather your supplies, and enjoy learning as you go.
Basic Sewing Supplies You’ll Need
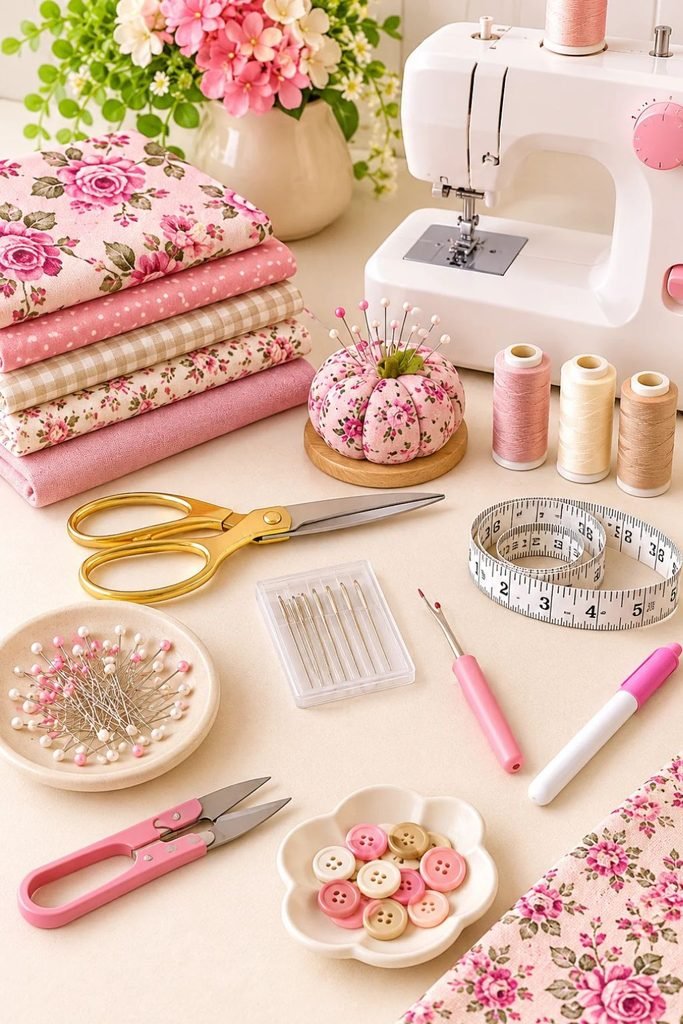
Before starting your first project, it helps to have a small collection of basic sewing supplies. You do not need a professional sewing studio or every tool available.
Here are the essentials I recommend:
- Sewing machine: A basic beginner-friendly sewing machine is enough for most of these projects. You can also hand-sew some smaller items.
- Fabric scissors: Use a dedicated pair of fabric scissors to get clean, accurate cuts.
- Cotton fabric: Quilting cotton is a great option because it is easy to handle and available in lots of colors and prints.
- Sewing thread: Choose good-quality thread that coordinates with your fabric.
- Measuring tape or ruler: Useful for measuring and cutting accurate fabric pieces.
- Fabric marking pen or tailor’s chalk: Helps you mark cutting lines and seam allowances.
- Pins or sewing clips: These keep fabric layers from shifting while you sew.
- Seam ripper: Mistakes happen, especially when you are learning. A seam ripper makes it easier to remove unwanted stitches.
- Iron and ironing board: Pressing your fabric between steps helps your projects look much neater.
- Hand-sewing needles: Useful for closing small openings and adding finishing details.
You can gradually add other tools as you become more comfortable. For your first few projects, these supplies are more than enough.
12 Easy Sewing Projects for Absolute Beginners
1. Simple Fabric Scrunchies
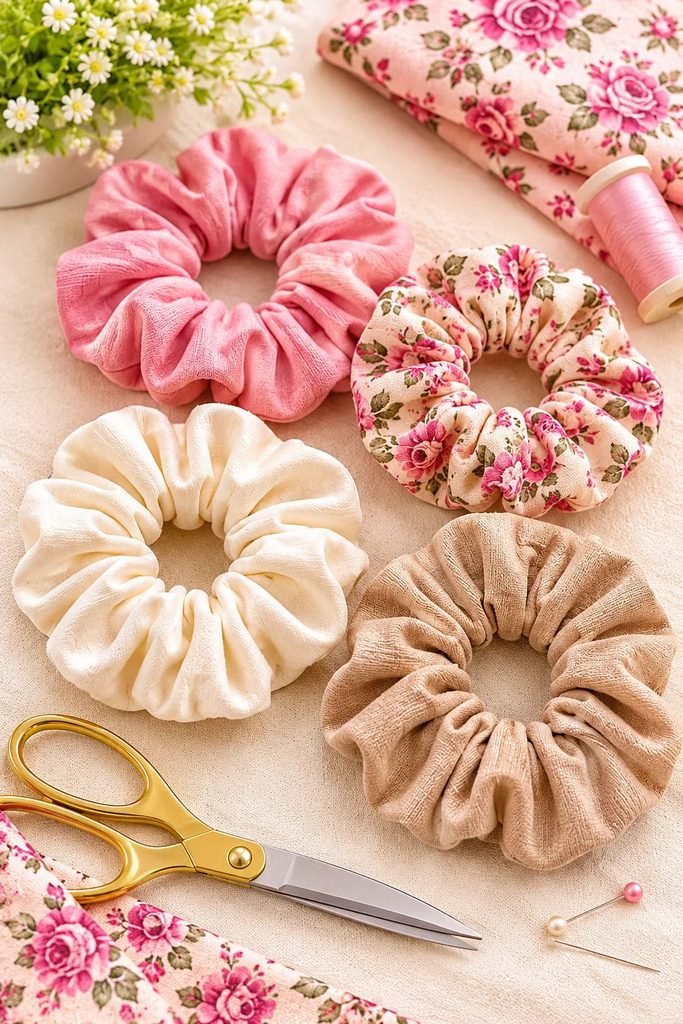
Difficulty: Very easy
Best for: Using fabric scraps
Fabric scrunchies are one of my favorite projects to recommend to anyone learning how to sew. They are small, useful, and a great way to practice sewing straight seams without working with a large piece of fabric.
You can make them in floral cotton, satin, gingham, linen-look fabric, or any print you love. They also make lovely little gifts, especially when you create a matching set.
Materials you’ll need:
- Cotton or lightweight fabric
- Elastic
- Matching thread
- Sewing machine
- Fabric scissors
- Safety pin or bodkin
How to make a fabric scrunchie:
- Cut a fabric rectangle measuring approximately 4 x 18 inches. You can adjust the width for a fuller or slimmer scrunchie.
- Fold the fabric lengthwise with the right sides facing each other.
- Sew along the long raw edge to create a fabric tube.
- Turn the tube right side out.
- Cut a piece of elastic to a comfortable length for your hair or wrist.
- Attach a safety pin to one end of the elastic and guide it through the fabric tube.
- Secure the elastic ends together with a few strong stitches.
- Fold one open fabric end inside the other and stitch the opening closed neatly.
Your scrunchie is ready!
Beginner tip: Start with cotton fabric rather than slippery satin. It is much easier to control under the sewing machine.
2. DIY Fabric Cord Keeper
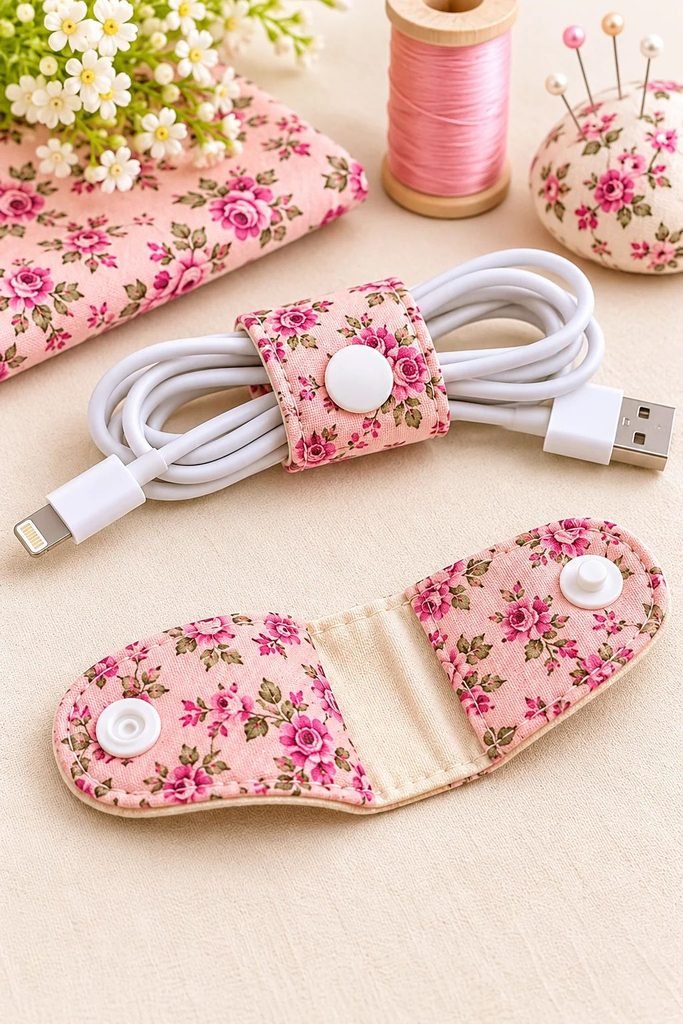
Difficulty: Easy
Best for: Organizing chargers and cables
If your charging cables and earphones always seem to end up tangled in a drawer or handbag, this little project is worth trying.
A fabric cord keeper is a small wrap that fastens around a folded cable to keep it neatly organized. It uses very little fabric, making it perfect for leftover cotton scraps.
I particularly like this project because you can make several in different prints and keep them in your desk drawer, handbag, or travel bag.
Materials you’ll need:
- Two pieces of cotton fabric
- Lightweight fusible interfacing
- Snap fasteners
- Matching thread
- Sewing machine
- Fabric scissors
- Snap pliers, if using plastic snaps
How to make a fabric cord keeper:
- Cut two fabric rectangles measuring approximately 2.5 x 5 inches.
- Cut a smaller piece of lightweight interfacing and fuse it to the wrong side of one fabric piece.
- Place the two fabric pieces right sides together and align the edges.
- Sew around the edges, leaving a small opening for turning.
- Trim the corners carefully without cutting through your stitching.
- Turn the fabric right side out and gently shape the rounded ends.
- Press flat, folding the raw edges of the opening inward.
- Topstitch around the outside edge to close the opening.
- Attach snap fasteners to opposite ends, following the fastener manufacturer’s instructions.
- Wrap it around a folded cable and fasten it to check the fit.
Beginner tip: Use lightweight interfacing rather than thick interfacing. It gives the cord keeper structure without making the rounded ends difficult to sew.
3. Reusable Fabric Bowl Covers
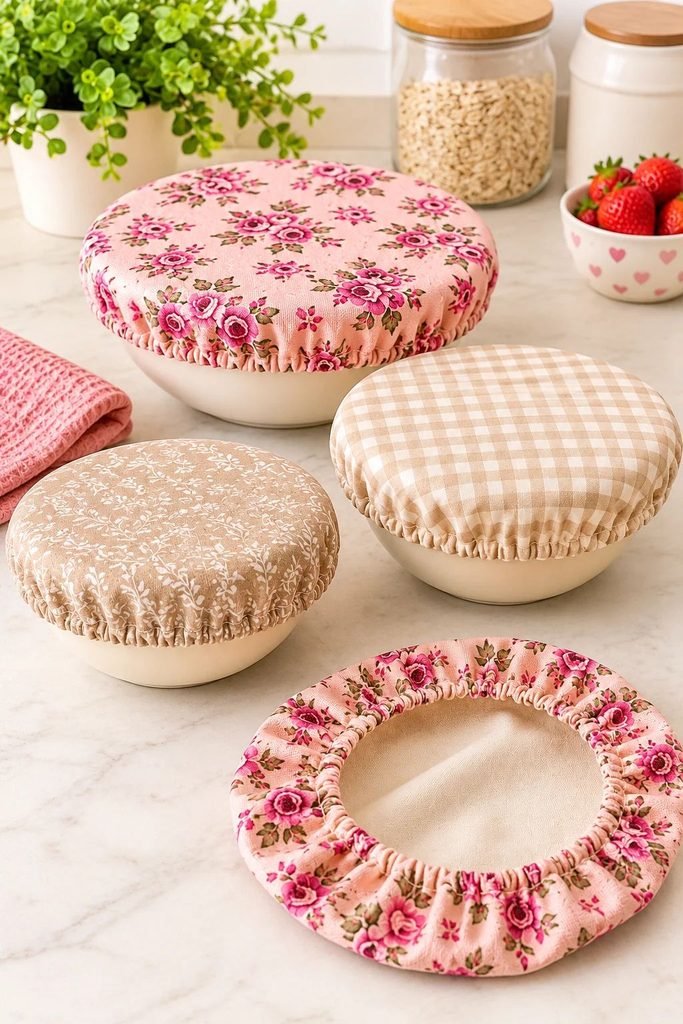
Difficulty: Easy
Best for: Practical kitchen sewing
Reusable fabric bowl covers are a lovely way to use pretty cotton fabric while making something practical for your kitchen.
They are designed to sit over the outside of bowls and help cover food during serving or short-term storage. You can make several sizes to fit different bowls.
For food-related use, choose clean, washable fabric and follow suitable food-storage practices. These covers are not a substitute for airtight food-storage containers.
Materials you’ll need:
- Cotton fabric
- Elastic
- Matching thread
- Measuring tape
- Fabric scissors
- Sewing machine
- Safety pin
How to make reusable fabric bowl covers:
- Place your bowl upside down on the wrong side of your fabric.
- Measure around the bowl and add enough extra fabric to create an overhang.
- Draw a circle using your measurements and cut out the fabric.
- Fold a narrow hem around the entire edge and press it.
- Sew around the hem, leaving a small opening for the elastic.
- Measure your elastic so it fits comfortably around the bowl without being too tight.
- Attach a safety pin to the elastic and thread it through the casing.
- Overlap and securely stitch the elastic ends together.
- Close the opening in the casing.
- Stretch the cover gently over your bowl to check the fit.
Beginner tip: Make your first cover for a small, round bowl. It is easier to work with than a very large circle.
4. Simple Fabric Bookmarks
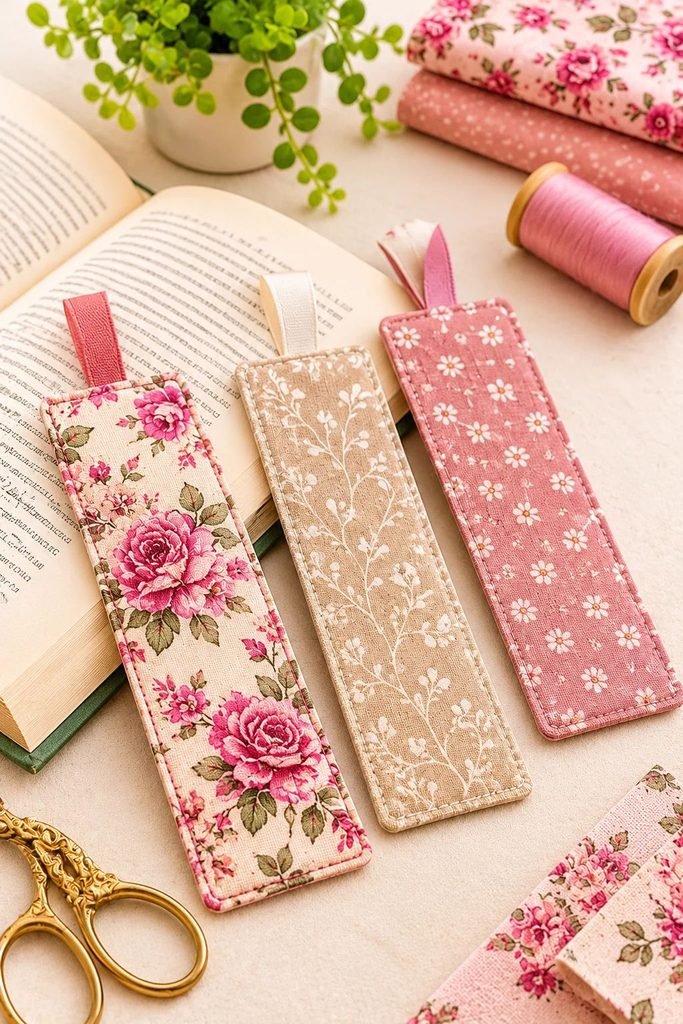
Difficulty: Very easy
Best for: Handmade gifts
If you are looking for a quick project that does not require much fabric, try making fabric bookmarks.
They are useful, inexpensive to make, and easy to customize. You can use tiny floral prints, pretty cotton scraps, or coordinating fabrics from other projects.
Materials you’ll need:
- Two small pieces of cotton fabric
- Lightweight interfacing or thin batting
- Matching thread
- Sewing machine
- Fabric scissors
- Iron
How to make a fabric bookmark:
- Cut two fabric rectangles measuring approximately 2.5 x 7 inches.
- Cut a matching piece of lightweight interfacing.
- Fuse the interfacing to the wrong side of one fabric piece, following the instructions.
- Place the two fabric pieces right sides together.
- Sew around the edges, leaving a small opening at one end.
- Trim the corners and turn the bookmark right side out.
- Push out the corners gently and press flat.
- Fold the raw edges of the opening inward.
- Topstitch around the entire bookmark to close the opening.
You can add a small fabric loop or ribbon at one end if you like.
Beginner tip: Keep the bookmark relatively thin so it does not make your book difficult to close.
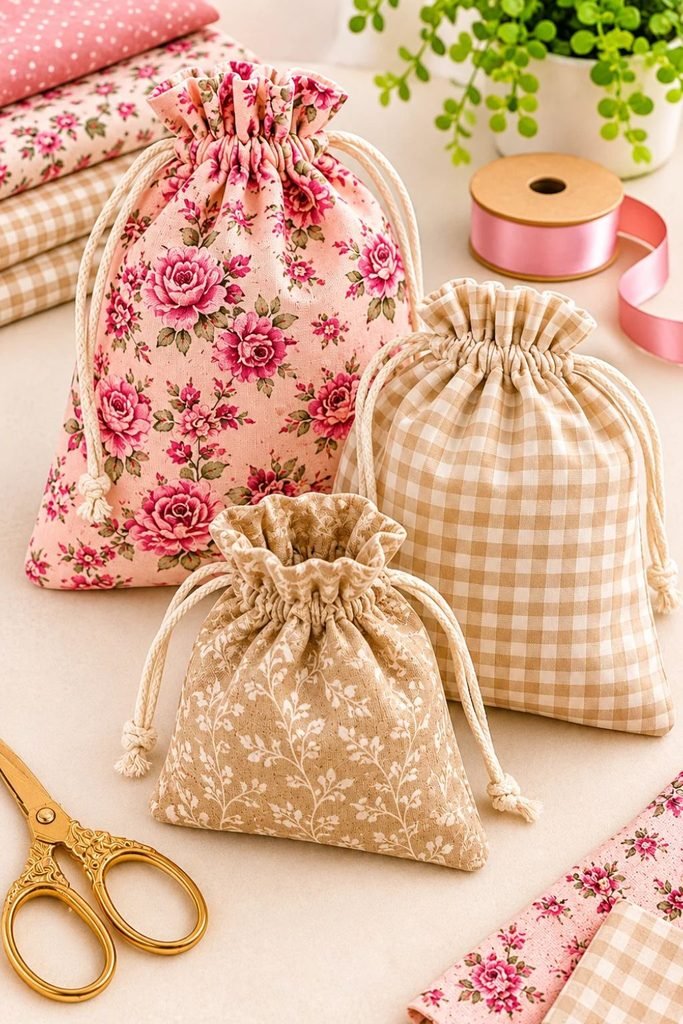
5. Easy Drawstring Gift Bags
Difficulty: Easy
Best for: Gift wrapping and storage
Drawstring bags are one of those sewing projects you will find yourself making again and again.
They are useful for wrapping small gifts, storing accessories, organizing travel essentials, or keeping little items together in your handbag.
You can make them in almost any size, and the basic construction is simple enough for beginners.
Materials you’ll need:
- Cotton fabric
- Ribbon or cotton cord
- Matching thread
- Safety pin
- Sewing machine
- Fabric scissors
How to make a drawstring gift bag:
- Cut two equal rectangles of fabric. For a small gift bag, you could start with pieces measuring approximately 8 x 10 inches.
- Place the fabric pieces right sides together.
- Sew down both sides and across the bottom, leaving the top open. Stop before the top edge to leave room for the drawstring casing.
- Finish the raw edges if needed.
- Fold the top edge inward to create a casing wide enough for your ribbon or cord.
- Sew around the folded edge, leaving an opening for threading.
- Turn the bag right side out.
- Attach a safety pin to the ribbon and thread it through the casing.
- Tie or finish the ribbon ends.
Beginner tip: Choose a medium-weight cotton fabric that holds its shape. Very slippery fabric can make your first drawstring bag more difficult.
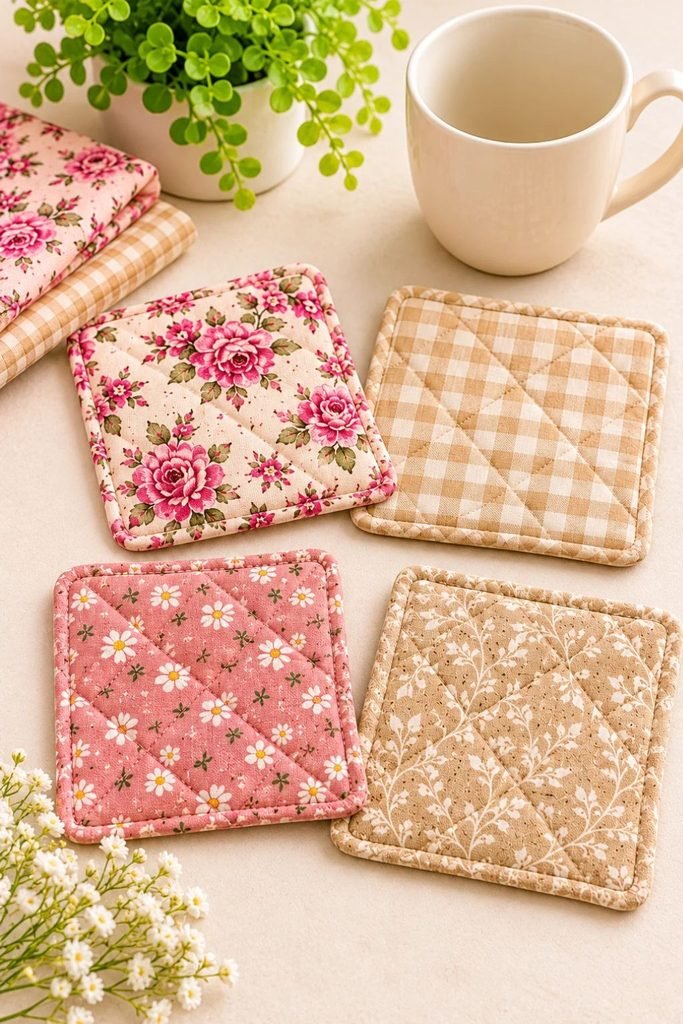
6. Simple Fabric Coasters
Difficulty: Very easy
Best for: Home decor
Fabric coasters are another great way to use up leftover fabric. They are small, simple, and let you practice sewing straight lines and turning fabric corners.
You can make a set of four using matching prints or mix different fabrics for a more playful look.
Materials you’ll need:
- Two cotton fabric squares per coaster
- Thin cotton batting or suitable heat-resistant batting
- Matching thread
- Sewing machine
- Fabric scissors
- Ruler
How to make fabric coasters:
- Cut two fabric squares measuring approximately 5 x 5 inches.
- Cut one matching square of thin batting.
- Place the two fabric squares right sides together, with the batting underneath.
- Sew around the edges, leaving a small opening.
- Trim the corners carefully.
- Turn the coaster right side out and shape the corners.
- Press flat, folding the opening inward.
- Topstitch around the outside edge to close the opening.
- Add a few lines of stitching through the coaster if you want a quilted look.
Beginner tip: Keep your first coaster square and simple. Once you are comfortable with straight seams, you can experiment with diagonal quilting or patchwork.
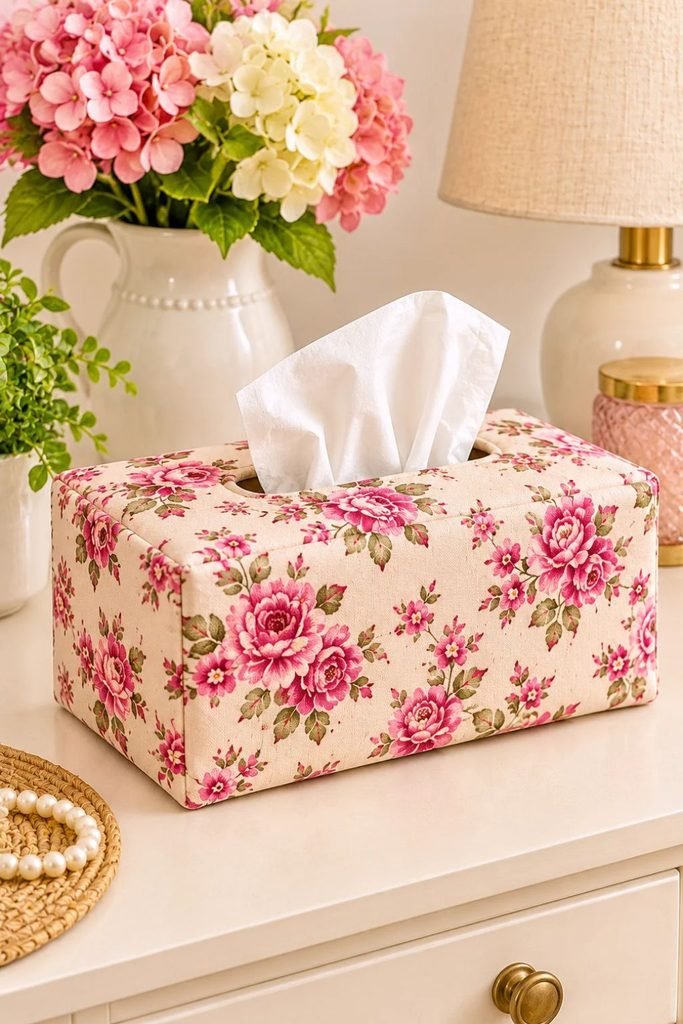
7. Easy Fabric Tissue Box Cover
Difficulty: Easy
Best for: Home decor
A fabric tissue box cover is a practical little home decor project that can make an ordinary tissue box look much prettier.
You can make one for your bedroom, living room, office, or guest bathroom. Choose fabric that complements the colors in your space.
Materials you’ll need:
- Cotton fabric
- Matching thread
- Sewing machine
- Fabric scissors
- Ruler
- Fabric marking pen
How to make a fabric tissue box cover:
- Measure the length, width, and height of your tissue box.
- Cut fabric panels to cover the top and four sides, adding seam allowances.
- Cut an opening in the center of the top panel for the tissues to come through.
- Finish the edges of the tissue opening with a narrow hem or neat folded edge.
- Sew the side panels together, right sides facing.
- Attach the top panel to the assembled sides, matching the edges carefully.
- Finish the bottom edge with a folded hem.
- Turn the cover right side out and place it over your tissue box.
Beginner tip: Measure your tissue box carefully before cutting. Boxes come in different sizes, so a little extra room is better than a cover that is too tight.
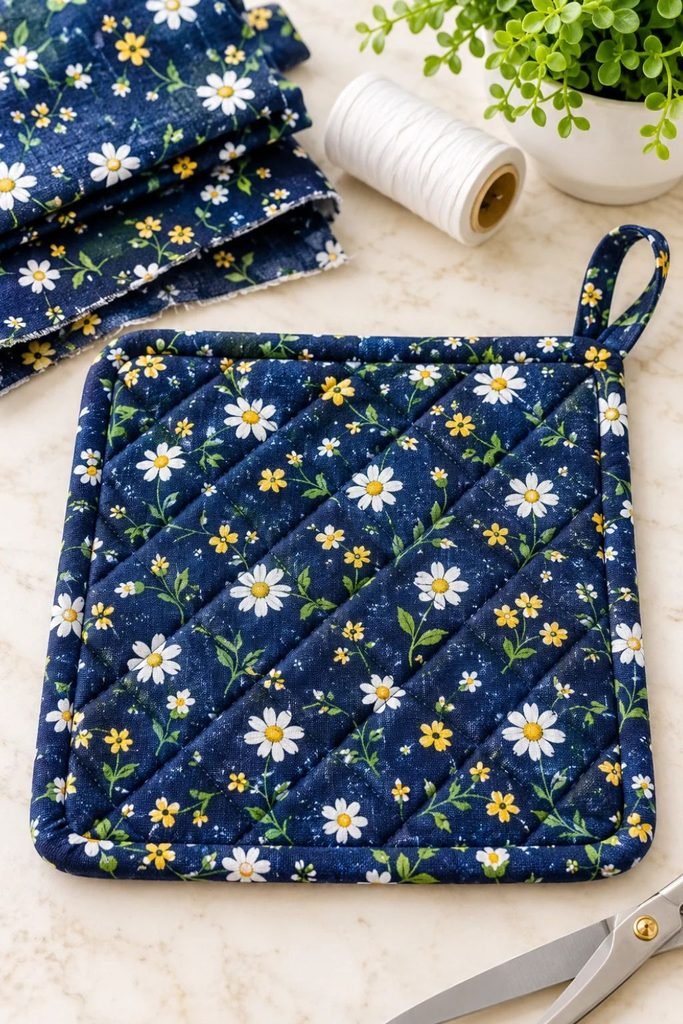
8. DIY Fabric Potholder
Difficulty: Easy to moderate
Best for: Kitchen sewing
If you enjoy making useful things for your home, a fabric potholder is a lovely sewing project to try once you are comfortable with basic seams.
You can make simple square potholders or experiment with more interesting shapes and designs. For this project, I recommend starting with a basic square version.
Materials you’ll need:
- Two pieces of 100% cotton fabric
- Suitable heat-resistant batting
- Cotton thread
- Sewing machine
- Fabric scissors
- Ruler
- Cotton binding or fabric for finishing
How to make a simple fabric potholder:
- Cut two matching cotton fabric squares.
- Cut suitable heat-resistant batting to fit between the fabric layers.
- Layer the pieces with the batting in the middle and the fabric facing outward.
- Pin or clip the layers together.
- Quilt through the layers with simple straight lines to help keep the batting in place.
- Finish the outer edges with suitable cotton binding.
- Press carefully and inspect the stitching.
Important safety note: Use materials specifically designed for heat protection and follow their manufacturer’s instructions. Ordinary cotton fabric and unsuitable batting should not be assumed to provide adequate heat protection. Test your finished item carefully before handling hot cookware.
Beginner tip: Practice your straight-line stitching on a fabric scrap before quilting the potholder.
9. Simple Envelope Pillow Cover
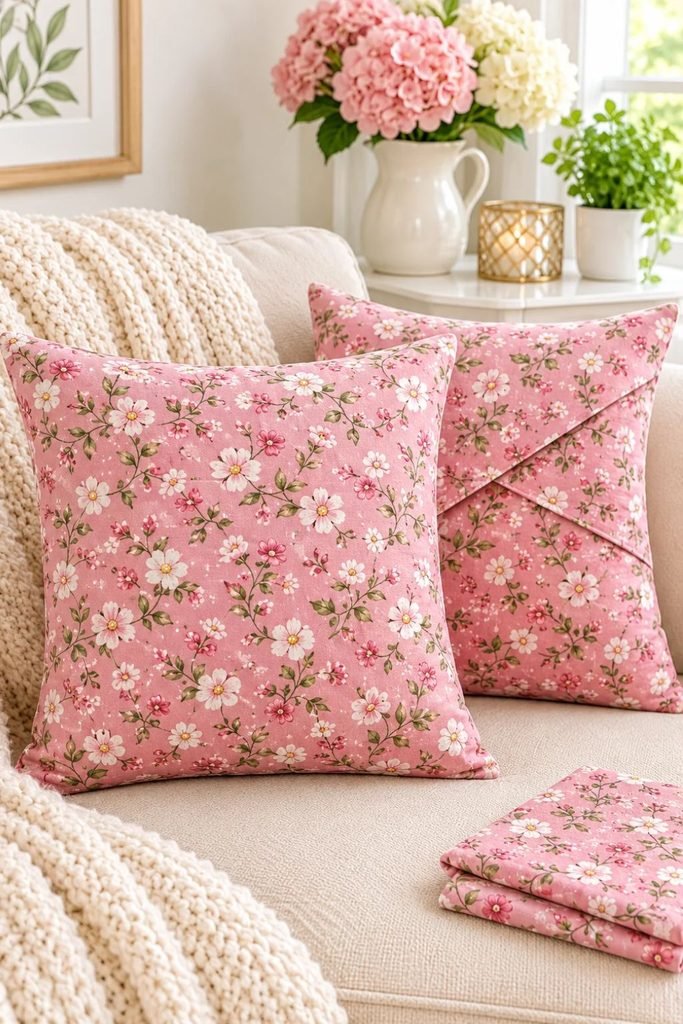
Difficulty: Easy
Best for: Updating home decor
An envelope pillow cover is a wonderful beginner project because you do not need to install a zipper.
The back of the cover uses two overlapping fabric panels, allowing you to remove the cover when you want to wash it or change your decor.
Materials you’ll need:
- Cotton or home decor fabric
- Pillow insert
- Matching thread
- Sewing machine
- Fabric scissors
- Measuring tape
- Iron
How to make an envelope pillow cover:
- Measure your pillow insert.
- Cut one front fabric square to match the insert size, allowing for a suitable seam allowance.
- Cut two back panels. Together, they should overlap enough to cover the opening.
- Fold one edge of each back panel inward twice and stitch to create neat hems.
- Place the front fabric right side up.
- Position the two back panels on top with their right sides facing the front, overlapping their finished edges.
- Pin around the edges.
- Sew around the entire square.
- Trim the corners and turn the cover right side out.
- Insert your pillow through the envelope opening.
Beginner tip: Use cotton canvas or a medium-weight home decor fabric if you want a cover that holds its shape.
10. Easy Fabric Basket
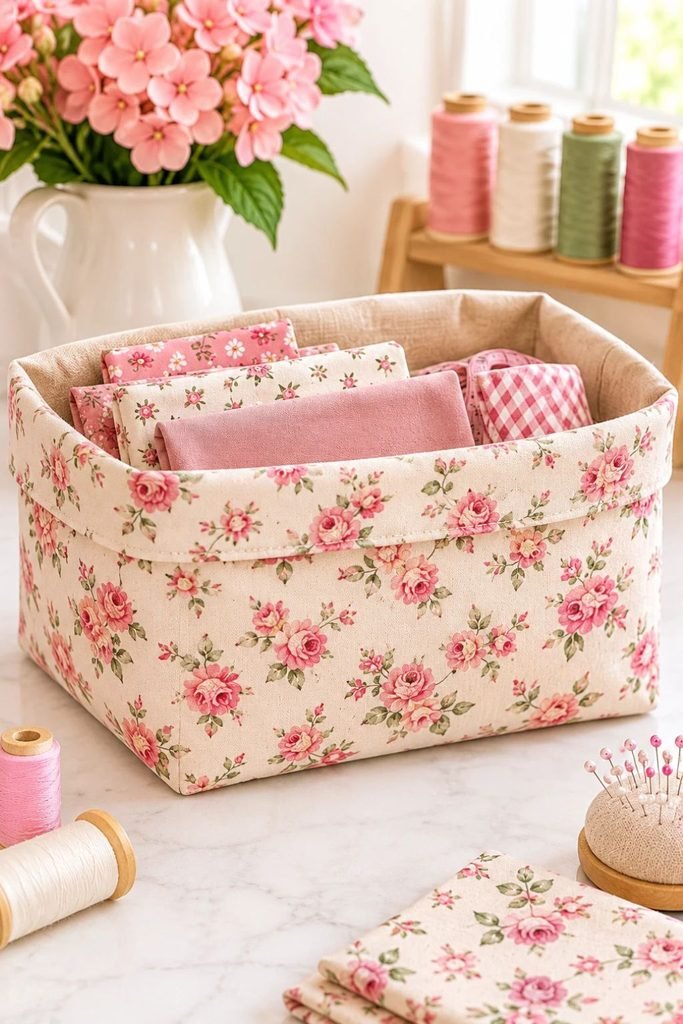
Difficulty: Easy to moderate
Best for: Home organization
Fabric baskets are useful for organizing small items around your home. You can keep one on your desk for sewing supplies, use another for skincare products, or make a few for your bathroom.
They look especially pretty when you use coordinating fabrics for the outside and lining.
Materials you’ll need:
- Two coordinating cotton fabrics
- Lightweight or medium-weight interfacing
- Matching thread
- Sewing machine
- Fabric scissors
- Ruler
How to make a simple fabric basket:
- Cut two equal fabric rectangles for the outer basket and two for the lining.
- Cut suitable interfacing and fuse it to the wrong side of the outer fabric, following the instructions.
- Place the two outer fabric pieces right sides together and sew the side seams and bottom seam.
- Flatten each bottom corner into a triangle and sew across it to create a boxed base.
- Repeat the construction with the lining fabric, leaving a small opening in one seam or the bottom for turning.
- Place the outer basket inside the lining with right sides together.
- Sew around the top edge.
- Turn the basket right side out through the opening.
- Close the turning opening neatly.
- Push the lining inside and press the top edge.
Beginner tip: Start with a small basket. Larger baskets need more structure and can be trickier to keep upright.
11. Simple Fabric Glasses Case

Difficulty: Easy
Best for: Everyday accessories
A fabric glasses case is a practical sewing project that makes a lovely handmade gift.
You can use pretty cotton fabric on the outside and a soft lining on the inside. A little suitable batting or interfacing helps give the case structure.
For this beginner version, we will make a simple slip-in case without a zipper.
Materials you’ll need:
- Outer cotton fabric
- Soft lining fabric
- Lightweight batting or interfacing
- Matching thread
- Sewing machine
- Fabric scissors
- Measuring tape
How to make a fabric glasses case:
- Measure your glasses while folded and add enough space for the case to fit comfortably.
- Cut two outer fabric pieces and two lining pieces in the same shape.
- Cut matching batting or interfacing for the outer fabric.
- Layer and sew the outer fabric pieces together, leaving the top open.
- Repeat with the lining pieces, leaving a small opening in the bottom seam for turning.
- Place the outer case inside the lining with right sides together.
- Sew around the top opening.
- Turn the case right side out through the opening in the lining.
- Close the lining opening neatly.
- Push the lining inside and press the top edge.
Beginner tip: Measure your glasses before cutting. A case that looks pretty but is too narrow is not very useful!
12. Simple Reusable Shopping Bag
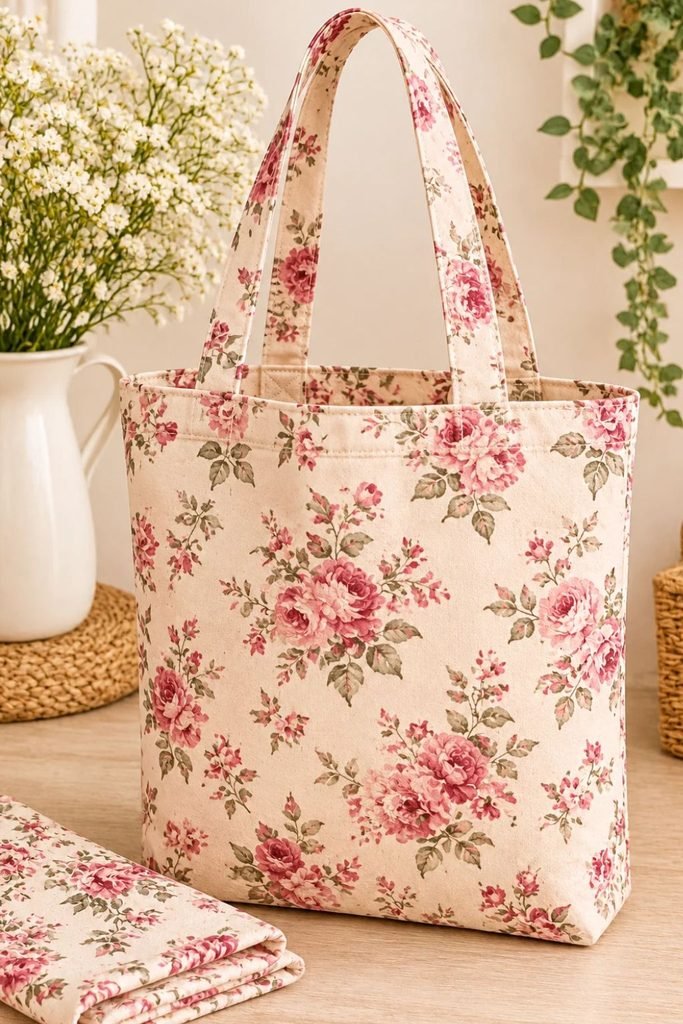
Difficulty: Easy to moderate
Best for: Everyday use
A reusable fabric shopping bag is a project you can actually use every week. It is also a good way to practice sewing longer straight seams and attaching fabric handles.
For your first bag, choose a medium-weight cotton fabric that is not too slippery or stretchy.
Materials you’ll need:
- Medium-weight cotton fabric
- Matching thread
- Sewing machine
- Fabric scissors
- Measuring tape
- Pins or sewing clips
- Iron
How to make a simple reusable shopping bag:
- Cut two matching fabric rectangles for the front and back of the bag.
- Cut two long fabric strips for the handles.
- Fold each handle strip lengthwise with the wrong sides facing outward and press.
- Open the strip, fold the raw edges toward the center crease, then fold it in half again.
- Stitch along both long edges of each handle.
- Place the two main bag pieces right sides together.
- Sew along the two sides and bottom, reinforcing the beginning and end of the seams.
- Finish the raw edges with a zigzag stitch or suitable seam finish.
- Turn the bag right side out and press.
- Fold the top edge inward twice to create a neat hem.
- Position the handles evenly on the inside of the bag, making sure they are not twisted.
- Stitch the handles securely to the bag, reinforcing the attachment points.
Beginner tip: Reinforce the handle attachment points with extra stitching. These areas carry the weight of whatever you put inside.
Tips for Sewing as an Absolute Beginner
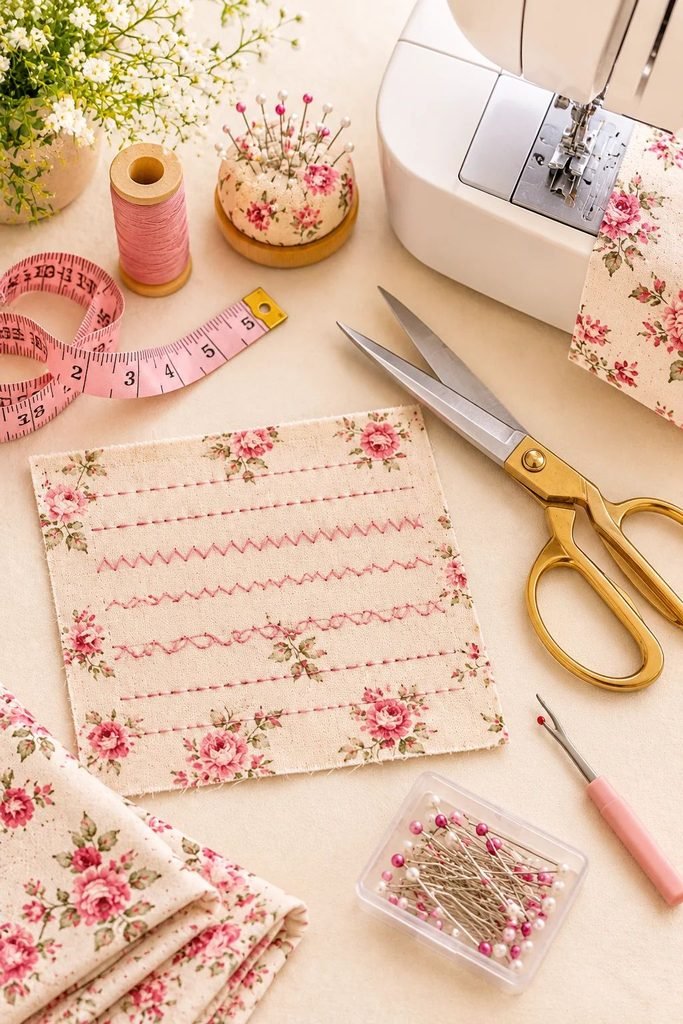
Your first few sewing projects may not look exactly like the examples you see online, and that is completely normal.
Sewing is a skill you build through practice. The more time you spend working with fabric and your machine, the more comfortable you will become.
Here are a few things that can make learning easier.
Start With Easy Fabrics
Cotton quilting fabric is one of the easiest materials to learn with. It is stable, easy to cut, and does not stretch too much while you sew.
Avoid slippery satin, stretchy jersey, and very thick fabrics when you are just starting.
Practice on Fabric Scraps
Before sewing your actual project, practice on a few scraps of fabric.
Try sewing straight lines, turning corners, and keeping your seam allowance consistent. This helps you understand how your sewing machine handles the fabric.
Learn How to Backstitch
Backstitching means sewing a few stitches backward at the beginning and end of a seam. It helps stop the stitches from unraveling.
It is a small technique, but it makes your finished projects more durable.
Press Your Fabric as You Sew
One thing that makes homemade sewing projects look more professional is pressing.
Press your seams after sewing, flatten folded edges before stitching, and gently shape your finished pieces with an iron when the fabric allows it.
Do Not Rush
It is tempting to sew quickly, especially when you are excited to finish something. But slowing down makes it easier to control your fabric and avoid uneven stitching.
Take your time around corners, curves, and thicker layers.
Keep Your First Projects Simple
You do not need to start with a complicated bag or a fitted garment.
Choose projects with simple shapes, straight seams, and minimal finishing. As your confidence grows, you can move on to zippers, pockets, linings, and more detailed patterns.
Common Sewing Mistakes Beginners Should Avoid
Even simple sewing projects can be frustrating when you are learning. These are a few common mistakes to watch for.
- Not measuring carefully: Measure twice before cutting. Once fabric is cut too small, it can be difficult to fix.
- Skipping fabric pressing: Wrinkled fabric can shift while you sew, making your seams uneven.
- Using the wrong needle: A needle that is unsuitable for your fabric can cause skipped stitches or damage.
- Pulling the fabric through the machine: Let the machine feed the fabric naturally. Pulling can distort the seam or affect the stitches.
- Forgetting to backstitch: Without securing the ends, seams can begin to unravel.
- Choosing difficult fabric too early: Slippery or stretchy fabrics can make beginner projects unnecessarily frustrating.
- Ignoring seam allowances: Follow the measurements in your project instructions so the finished item comes out the correct size.
Can You Turn Beginner Sewing Projects Into Handmade Products?
Yes! Some of these projects can also become small handmade products once you are comfortable making them consistently.
Fabric scrunchies, drawstring bags, cord keepers, fabric baskets, and reusable shopping bags are all practical items that can be made in different colors and patterns.
If you are interested in turning a creative hobby into something that earns money, you may enjoy my guide to 17 small handmade products that make money. It explores other small products you can create and sell without needing a large workshop.
You can also think about making coordinated gift sets. For example, a small drawstring bag, a matching scrunchie, and a fabric cord keeper could become a pretty handmade gift bundle. My guide to 15 small gift basket ideas that look expensive but aren’t has more inspiration for putting together attractive, affordable gifts.
The important thing is to start with a design you can make neatly and repeat reliably. Keep track of your material costs and the time each item takes before setting a selling price.
Which Sewing Project Should a Beginner Try First?
If you are unsure where to start, choose a project based on how much sewing experience you have and what you would enjoy making.
| Your goal | Project to try |
|---|---|
| Use fabric scraps | Fabric scrunchies |
| Make something very small | Fabric bookmarks |
| Organize everyday items | Fabric cord keeper |
| Make a kitchen accessory | Fabric bowl covers |
| Create a handmade gift | Drawstring gift bags |
| Decorate your home | Fabric coasters |
| Practice sewing straight seams | Envelope pillow cover |
| Make something practical | Reusable shopping bag |
My recommendation is to start with a scrunchie, bookmark, or cord keeper. They are small projects that let you practice the basics without using too much fabric.
Once you are comfortable with those, try a drawstring bag or fabric basket.
Frequently Asked Questions
Can I learn to sew as a complete beginner?
Absolutely. You do not need previous sewing experience to start. Begin with simple projects that involve straight seams and basic fabric handling. You will gradually learn how to use your sewing machine, measure fabric, and finish your work neatly.
What is the easiest thing to sew for a beginner?
Fabric scrunchies, simple bookmarks, and small fabric cord keepers are excellent beginner projects. They require only a small amount of fabric and introduce you to basic sewing techniques.
Can I learn to sew without a sewing machine?
Yes. You can hand-sew many small projects, including bookmarks, simple bags, and fabric accessories. A sewing machine makes larger projects quicker, but it is not essential for learning basic stitches.
What fabric is easiest for beginners?
Quilting cotton is a great starting point. It is generally easy to cut, measure, pin, and sew. Medium-weight cotton is also suitable for many simple home and accessory projects.
How much fabric do I need to start sewing?
You do not need a large amount. Many beginner projects use small fabric pieces, and you can often make them from leftover scraps. For larger projects, check the measurements before buying fabric.
What should I learn first when sewing?
Start by learning how to thread your machine, wind and insert a bobbin, sew a straight line, backstitch, and maintain a consistent seam allowance. These basic skills will help with almost every project in this guide.
Are easy sewing projects good to sell?
Some beginner sewing projects can become small handmade products, especially scrunchies, drawstring bags, fabric organizers, and gift accessories. Focus on neat construction, useful designs, and consistent sizing. Remember to calculate your material, packaging, and labor costs before deciding on a selling price.
How long does it take to complete a beginner sewing project?
It depends on the project and your experience. Small accessories may take less time, while lined bags and baskets can require more measuring and construction. Do not rush just to finish quickly. Learning the techniques is more important than speed.
Final Thoughts
Learning to sew does not have to be complicated. You can start with a few basic supplies and make simple, useful things while gradually building your skills.
I would recommend choosing one project from this list that you genuinely want to make. Maybe it is a pretty scrunchie, a little fabric cord keeper for your charging cables, or a set of handmade coasters for your home.
Once you finish your first project, you will have a better understanding of how fabric behaves, how your sewing machine works, and which techniques you want to practice next.
And do not worry if your first attempt is not perfect. Uneven stitches and slightly crooked edges are part of learning. Keep practicing, enjoy experimenting with different fabrics, and before long, you will be making projects you are proud to use or give as gifts.
Happy sewing!