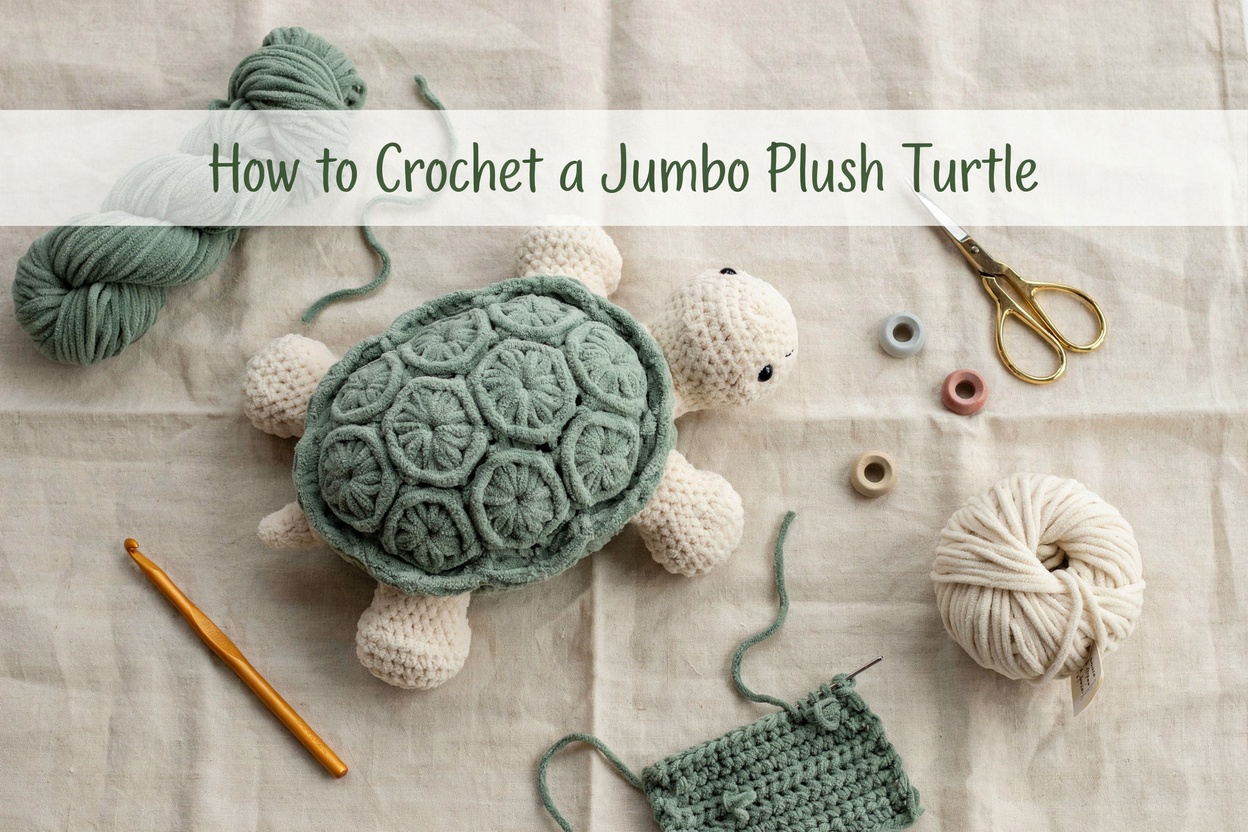
Few crochet projects are as satisfying as making a giant plush turtle. With its oversized shell, chunky flippers, and incredibly soft texture, it’s the kind of handmade project that immediately becomes someone’s favorite cuddle buddy.
When I first started making plush amigurumi, I assumed something this large would be difficult. It actually isn’t.
The turtle is built from simple shapes worked mostly in continuous rounds, and the bulky chenille yarn makes it grow surprisingly quickly.
Even if you’ve only made a few amigurumi before, this is a project that’s completely achievable.
Unlike smaller crochet toys that use fine cotton yarn and tiny stitches, this jumbo turtle is forgiving. The thick yarn hides small imperfections beautifully, making it an excellent confidence-building project for beginners who want to try plush crochet.
By the end, you’ll have an adorable oversized turtle that’s perfect as a nursery decoration, a handmade gift, or simply something cozy to keep on your sofa.
Why This Crochet Turtle Is Perfect for Beginners
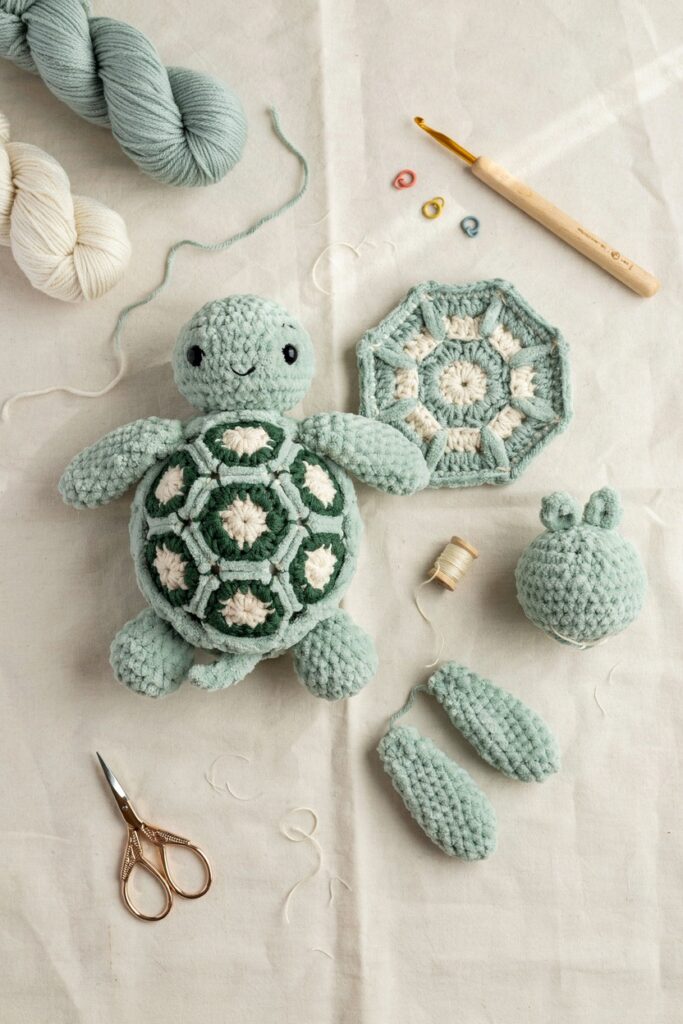
This turtle looks impressive, but the construction is surprisingly straightforward.
The body is made from simple crochet circles joined together to create the shell, while the head, legs, and tail are worked separately before being sewn into place.
Because every section uses basic amigurumi techniques, you can focus on creating neat stitches instead of learning complicated shaping.
Another reason this project is so popular is how quickly it works up. Blanket yarn covers far more area than traditional yarn, meaning you’ll finish much faster than you’d expect.
Once you understand the basic construction, it’s easy to experiment with different shell colors, larger sizes, or even create matching turtle families.
What Makes This Pattern Different
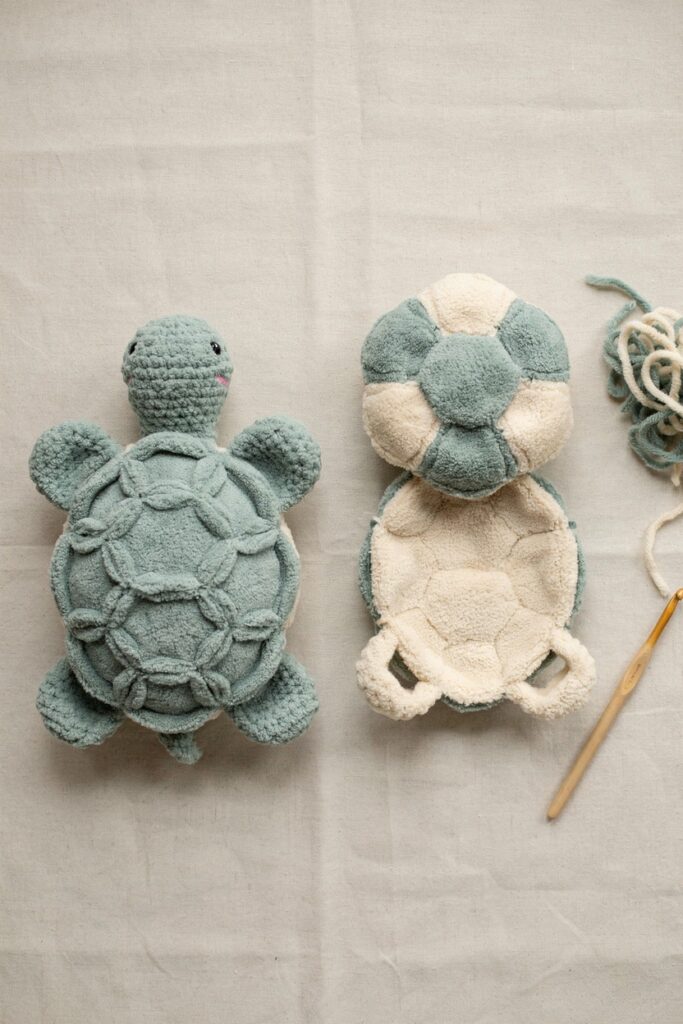
Unlike many traditional amigurumi turtles that use lightweight cotton yarn, this version is designed around plush chenille yarn.
The thick fibers create an incredibly soft toy while also making individual stitches less noticeable, giving the finished turtle a smooth, cuddly appearance.
The shell is also made as two large circular pieces stitched together around the edge rather than being crocheted as one continuous piece. This creates a thicker, more structured shell that helps the turtle keep its shape after stuffing.
Large rounded flippers attached evenly around the shell give the turtle its signature oversized, squishy look that has become so popular on Pinterest and social media.
Materials You’ll Need
- Super bulky chenille or blanket yarn in two colors (shell and body)
- 6–8 mm crochet hook (or the size recommended for your yarn)
- Polyester fiberfill
- 18–20 mm safety eyes
- Yarn needle
- Stitch markers
- Sharp scissors
- Measuring tape
Substitutions I’ve Actually Tried
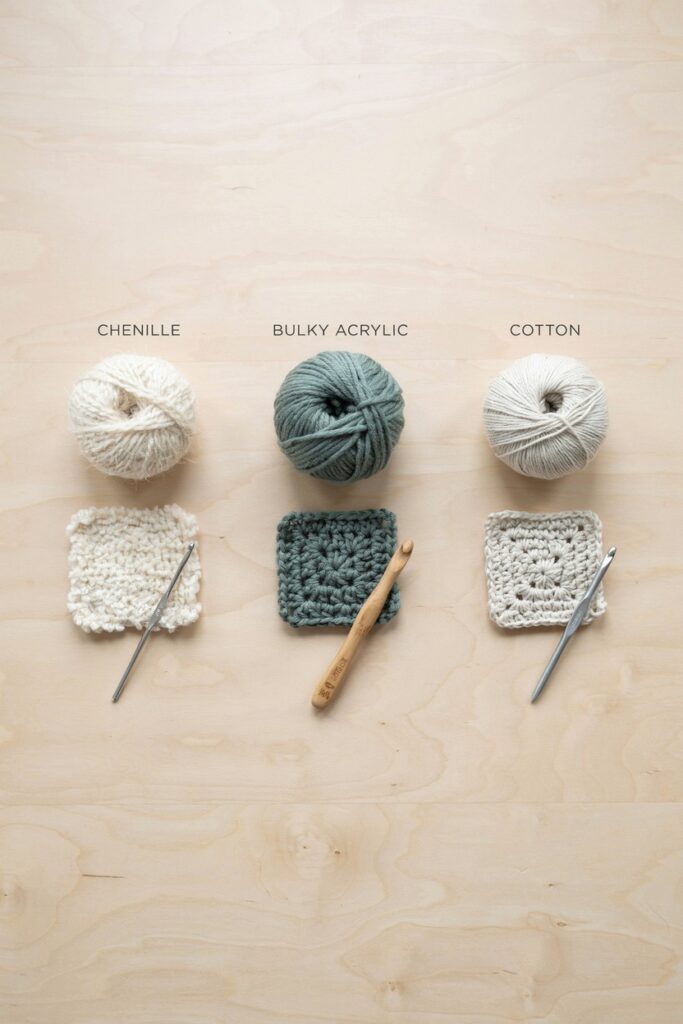
Don’t have blanket yarn?
You can use two strands of worsted-weight yarn held together, although the turtle will be slightly smaller and the texture won’t be quite as plush.
Want a smaller turtle?
Use bulky yarn instead of super bulky. The construction stays exactly the same but finishes several inches smaller.
Making one for a baby?
Replace the safety eyes with embroidered eyes using black yarn. This removes the choking hazard while still giving the turtle plenty of personality.
Don’t like sewing pieces together?
Some patterns allow the flippers to be crocheted directly onto the shell, but sewing them on afterward gives you much better control over the final shape.
Tools You’ll Need
- Crochet hook
- Stitch markers
- Yarn needle
- Scissors
- Row counter (optional)
- Stuffing tool or chopstick for filling small areas
Before You Begin
Before making your first stitch, spend a few minutes gathering all your supplies and winding your yarn if needed.
Chenille yarn can shed if pulled apart repeatedly, so try to avoid undoing stitches too often.
Using stitch markers at the beginning of every round also makes it much easier to keep track of your place, especially since plush yarn can make stitches harder to see.
It’s also worth stuffing each section gradually as you crochet instead of waiting until the very end. Doing this helps maintain an even shape and prevents lumps in the finished turtle.
Finished Size
The finished turtle measures approximately:
- 14–18 inches wide (depending on yarn and hook size)
- 5–7 inches tall
- Perfect for cuddling, nursery décor, or gifting
Skill Level
Easy Beginner to Intermediate
You should already be comfortable with:
- Magic ring
- Single crochet
- Increasing
- Decreasing
- Working in continuous rounds
- Sewing amigurumi pieces together
Crochet Pattern
How to Crochet a Jumbo Plush Turtle
Abbreviations
- MR = Magic Ring
- sc = Single Crochet
- inc = Increase (2 sc in one stitch)
- dec = Invisible Decrease
- sl st = Slip Stitch
- ch = Chain
- FO = Fasten Off
Head
Using body-colored yarn.
Round 1: 6 sc in MR (6)
Round 2: Inc around (12)
Round 3: (1 sc, inc) × 6 (18)
Round 4: (2 sc, inc) × 6 (24)
Round 5: (3 sc, inc) × 6 (30)
Rounds 6–11: Sc around (30)
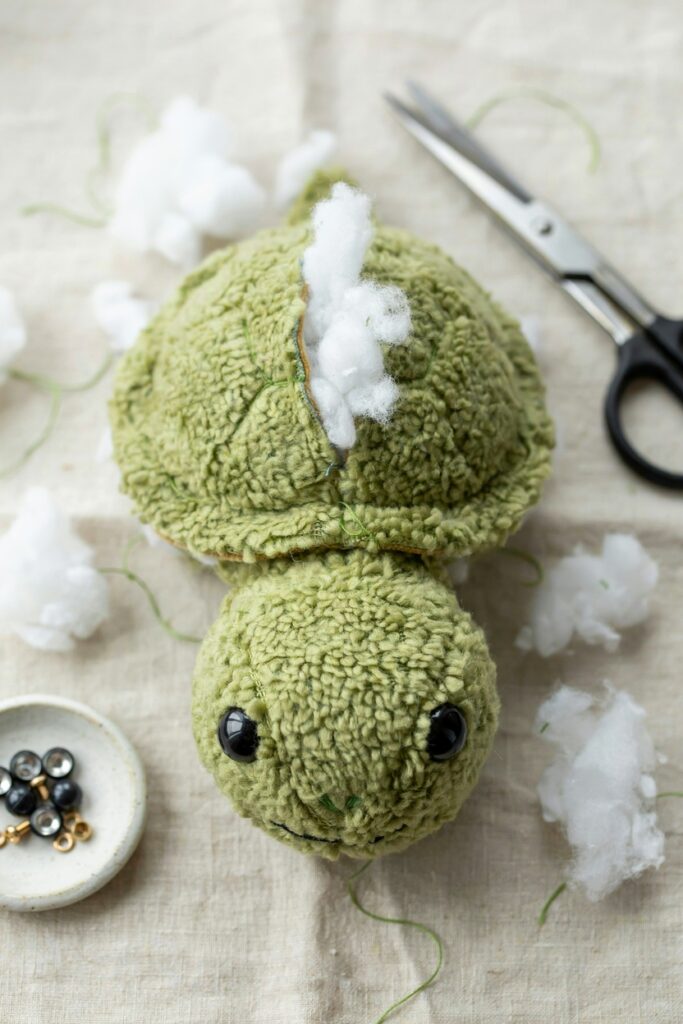
Insert safety eyes between Rounds 8 and 9, about 8 stitches apart.
Begin stuffing.
Round 12: (3 sc, dec) × 6 (24)
Round 13: (2 sc, dec) × 6 (18)
Add more stuffing.
Round 14: (1 sc, dec) × 6 (12)
Round 15: Dec around (6)
FO leaving a long tail for sewing.
Top Shell
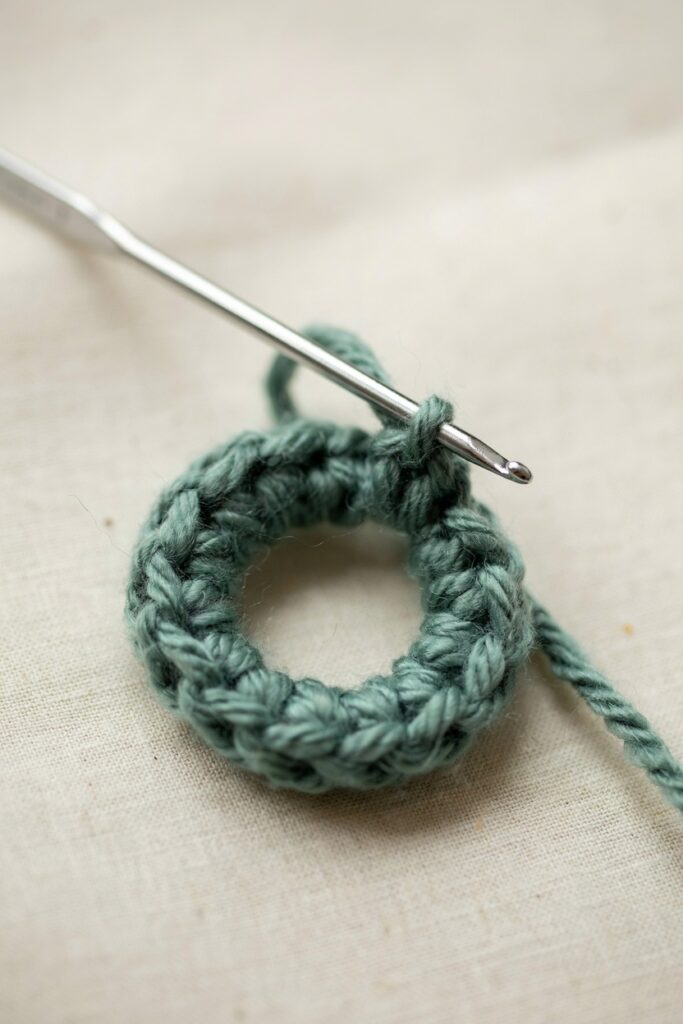
Using shell-colored yarn.
Round 1: 6 sc in MR (6)
Round 2: Inc around (12)
Round 3: (1 sc, inc) × 6 (18)
Round 4: (2 sc, inc) × 6 (24)
Round 5: (3 sc, inc) × 6 (30)
Round 6: (4 sc, inc) × 6 (36)
Round 7: (5 sc, inc) × 6 (42)
Round 8: (6 sc, inc) × 6 (48)
Round 9: (7 sc, inc) × 6 (54)
Round 10: (8 sc, inc) × 6 (60)
Round 11: (9 sc, inc) × 6 (66)
Round 12: (10 sc, inc) × 6 (72)
Rounds 13–14: Sc around (72)
FO.
Bottom Shell
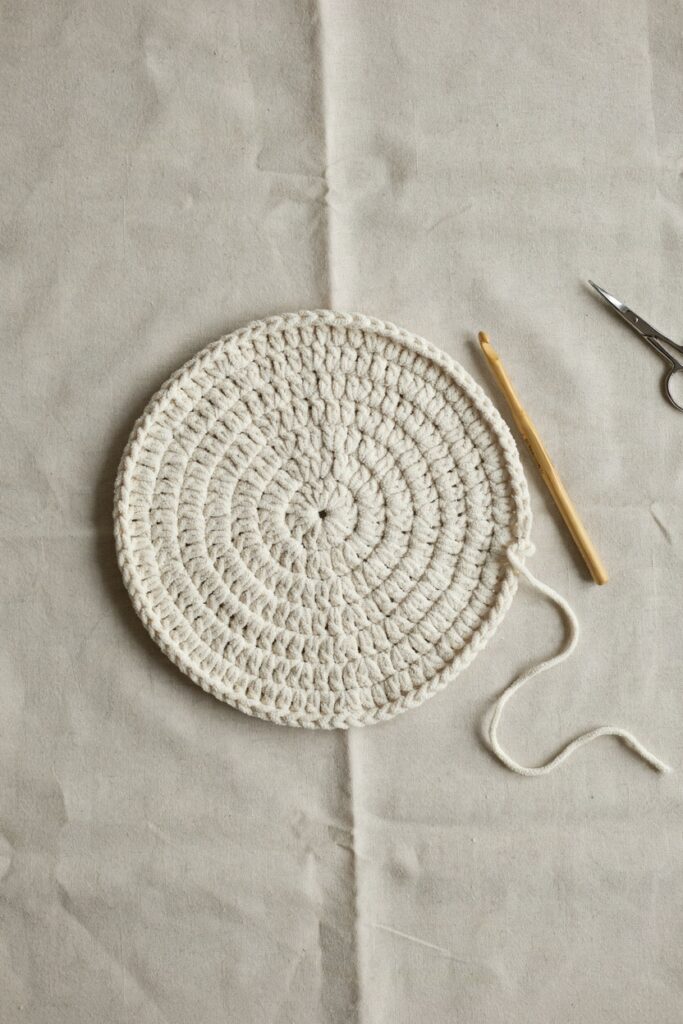
Using body-colored yarn.
Work exactly the same as the Top Shell.
Do not fasten off if you prefer joining directly.
Front Flippers (Make 2)
Using body-colored yarn.
Round 1: 6 sc in MR (6)
Round 2: Inc around (12)
Round 3: (1 sc, inc) × 6 (18)
Rounds 4–6: Sc around (18)
Flatten slightly.
Lightly stuff the base only.
Fold flat and crochet through both sides with 9 sc to close.
FO leaving a sewing tail.
Back Flippers (Make 2)
Using body-colored yarn.
Round 1: 6 sc in MR (6)
Round 2: Inc around (12)
Rounds 3–5: Sc around (12)
Lightly stuff.
Flatten and close with 6 sc.
FO leaving a sewing tail.
Tail
Using body-colored yarn.
Round 1: 4 sc in MR (4)
Round 2: Sc around (4)
Round 3: (1 sc, inc) × 2 (6)
Round 4: Sc around (6)
Do not stuff.
FO leaving a sewing tail.
Assembly
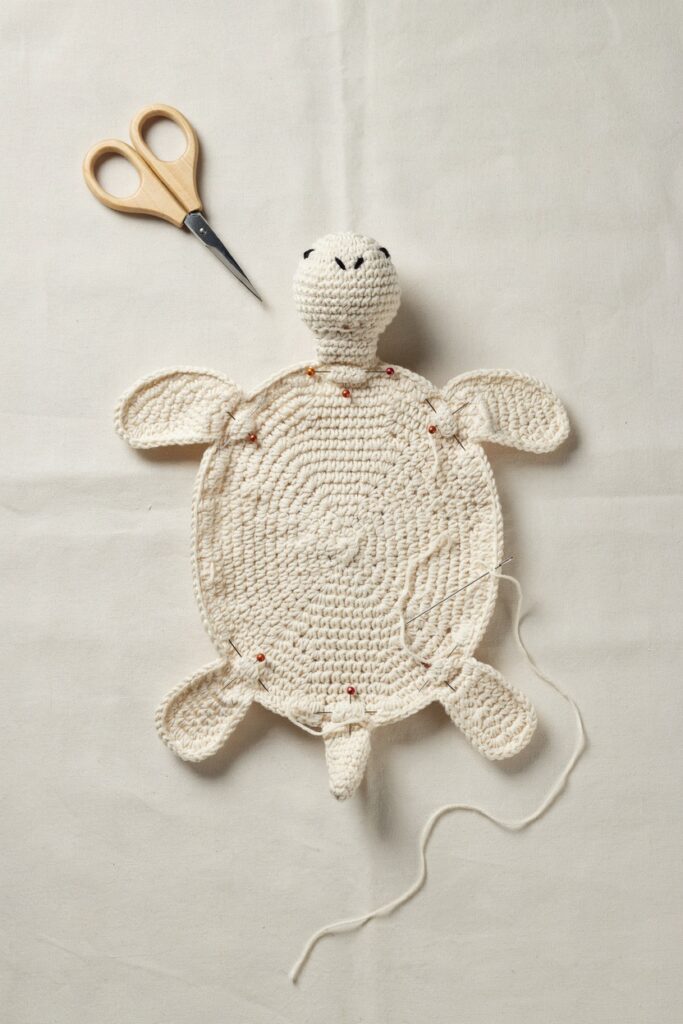
Place the head between the two front flippers.
Position the front flippers evenly on each side of the shell.
Attach the back flippers near the rear.
Center the tail between the back flippers.
Sew each piece securely onto the Bottom Shell before joining both shell pieces together.
Place the Top Shell over the assembled pieces.
Whip stitch around the edge.
Leave approximately a 4-inch opening.
Stuff the turtle firmly with polyester fiberfill.
Continue adding stuffing until the shell feels full but still squeezable.
Sew the remaining opening closed.
Stuffing Tips
- Stuff the head firmly to prevent it from drooping.
- Keep the flippers only lightly stuffed so they remain floppy.
- Fill the shell evenly in small handfuls.
- Massage the stuffing occasionally to remove lumps.
- Add extra stuffing around the neck before closing.
Finishing
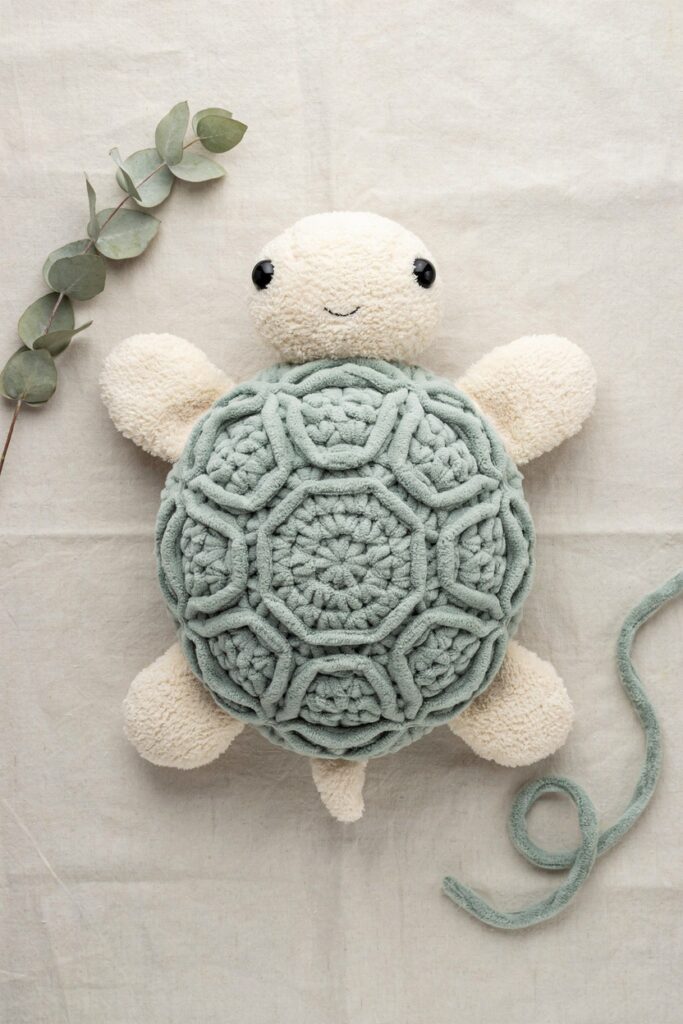
Weave in all yarn ends securely.
Brush the chenille yarn gently with your hands to fluff the fibers.
Check that all sewn pieces are secure.
If making the turtle for a young child, embroider the eyes instead of using safety eyes.
Your jumbo plush crochet turtle is now complete and ready for cuddling, gifting, or displaying.
Tips From Making More Plush Turtles Than I Can Count
- Use stitch markers every round. Plush yarn makes stitches much harder to see than cotton yarn, so it’s surprisingly easy to lose your place.
- Stuff gradually instead of all at once. Adding small amounts of fiberfill throughout the project creates a much smoother, rounder finish.
- Keep your tension consistent. Loose stitches can expose the stuffing, while stitches that are too tight make chenille yarn difficult to work with.
- Sew everything on before closing the shell. It’s much easier to secure the head and flippers while you can still reach inside the turtle.
- Buy extra yarn. Plush chenille yarn can vary slightly between dye lots, so it’s worth having an extra skein if you’re making a jumbo version.
Mistakes I’ve Made So You Don’t Have To
Using Too Little Stuffing
The first turtle I ever made looked floppy instead of cuddly because I was afraid of overstuffing it.
The shell should feel firm but still soft enough to squeeze comfortably.
Crocheting Too Tightly
Blanket yarn doesn’t have much stretch.
Using a hook that’s too small makes inserting it into each stitch frustrating and can even cause the yarn to snap.
If your hands start hurting after only a few rounds, try increasing your hook size.
Sewing the Flippers Unevenly
One front flipper sat much higher than the other on one of my early turtles.
Before sewing anything permanently, pin every piece in place first and step back to check the overall proportions.
Closing the Shell Before Checking the Shape
Once you’ve sewn the shell closed, adjusting the stuffing becomes much harder.
Always massage the filling around the shell before sewing the final opening shut.
Troubleshooting
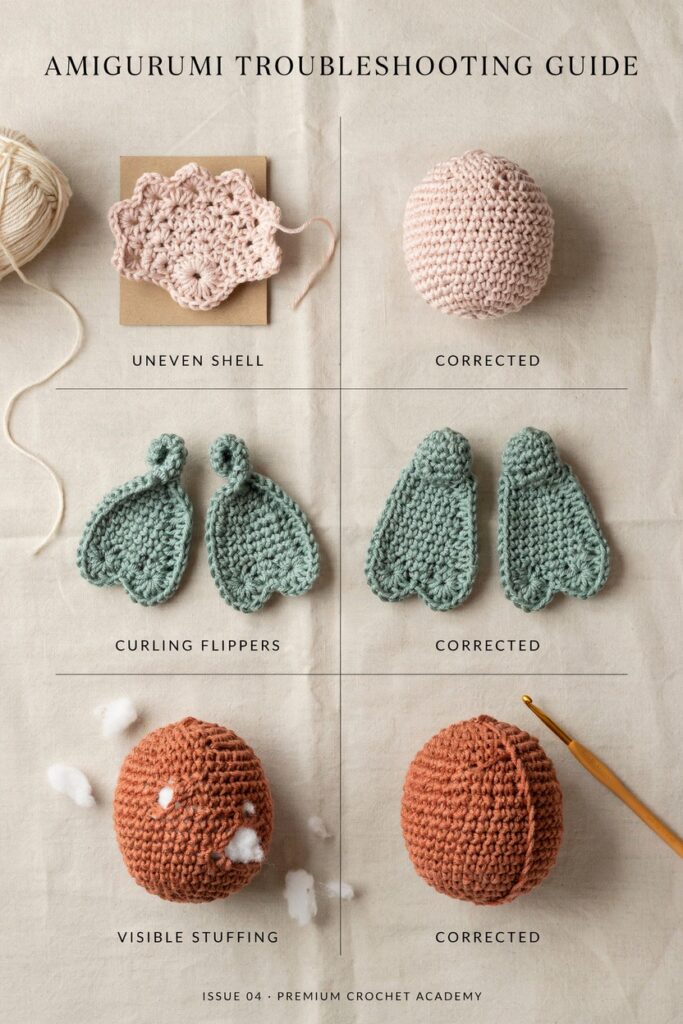
My Turtle Looks Flat
This usually means the shell doesn’t have enough stuffing.
Open a few stitches, add more fiberfill, spread it evenly, and sew the opening closed again.
The Head Keeps Falling Forward
The head either needs more stuffing or stronger stitching where it joins the shell.
Adding a few extra stitches around the neck usually solves the problem.
My Shell Curves Instead of Staying Round
Your crochet tension is probably too tight, or you aren’t increasing evenly throughout each round.
Lay the shell flat every few rounds to check that it remains level.
I Can See the Stuffing
Your stitches are too loose.
Try using a slightly smaller hook while maintaining comfortable tension.
My Flippers Curl
This is normal if they’re overstuffed.
Use just a small amount of stuffing near the base and leave the tips soft so they drape naturally.
Fun Ways to Customize Your Turtle
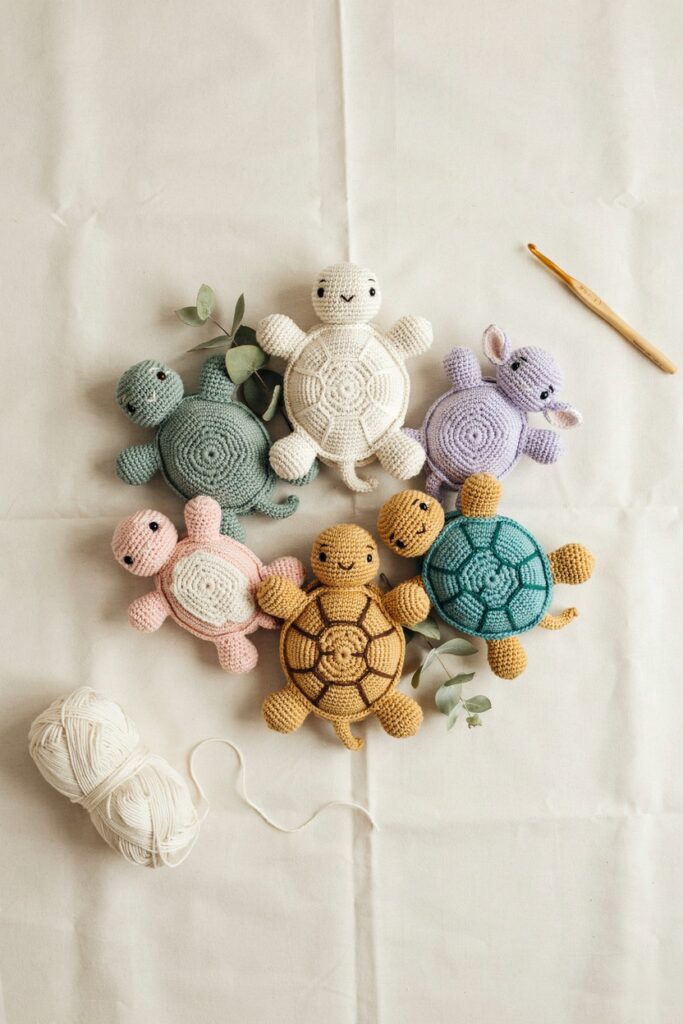
Ocean-Inspired Colors
Instead of traditional green, experiment with:
- Sage green
- Seafoam
- Aqua blue
- Turquoise
- Coral pink
- Lavender
- Cream
- Sand beige
Soft pastel colors are especially popular for nurseries and baby gifts.
Textured Shell
Replace standard single crochet rounds with bobble stitches or puff stitches to create a more realistic shell texture.
Add a Bow
Crochet a tiny bow and sew it behind the turtle’s head for an adorable finishing touch.
This simple addition makes the turtle especially popular at craft fairs.
Make a Turtle Family
Once you’ve mastered the pattern, crochet several different sizes using different yarn weights.
A family of matching turtles makes a beautiful nursery display or thoughtful handmade gift set.
Care Instructions
Because this turtle is made with plush chenille yarn, gentle care helps keep it looking its best.
Spot clean with a damp cloth whenever possible.
For deeper cleaning, hand wash gently in cool water using a mild detergent, then press out excess water with a towel.
Lay the turtle flat to air dry completely before using or displaying it again.
Avoid putting plush chenille yarn in a hot dryer, as excessive heat can damage the fibers and change the toy’s shape.
Frequently Asked Questions
Is this a good beginner amigurumi project?
Yes. If you’re comfortable making a magic ring, single crochet, increases, and decreases, you’ll be able to complete this turtle successfully.
Approximately how long does it take to make?
Most crocheters finish a jumbo turtle in one weekend, although beginners may spread the project over several evenings.
Which yarn works best?
Super bulky chenille or blanket yarn creates the soft, chunky appearance shown in the photos and works up much faster than cotton yarn.
Can I make a smaller version?
Absolutely.
Simply use bulky or worsted-weight yarn with the appropriate hook size while following the same construction process.
Is this safe for babies?
It can be, provided you replace plastic safety eyes with embroidered eyes and ensure every piece is securely sewn in place.
Final Thoughts
This jumbo crochet turtle is one of those projects that’s almost impossible not to smile at once it’s finished.
Even though it looks impressive, it’s built from simple shapes that come together into an adorable plush toy that’s perfect for beginners looking to build their confidence.
Whether you’re making one for a child, decorating a nursery, selling at craft fairs, or simply adding another handmade friend to your collection, this turtle is a project you’ll probably find yourself making again and again.
Once you’ve finished your first one, don’t be surprised if you start experimenting with different colors, shell textures, and sizes. Before long, you’ll have an entire family of cuddly turtles ready to bring a little piece of the ocean into your home.