Air Dry Clay Candle Holder Tutorial
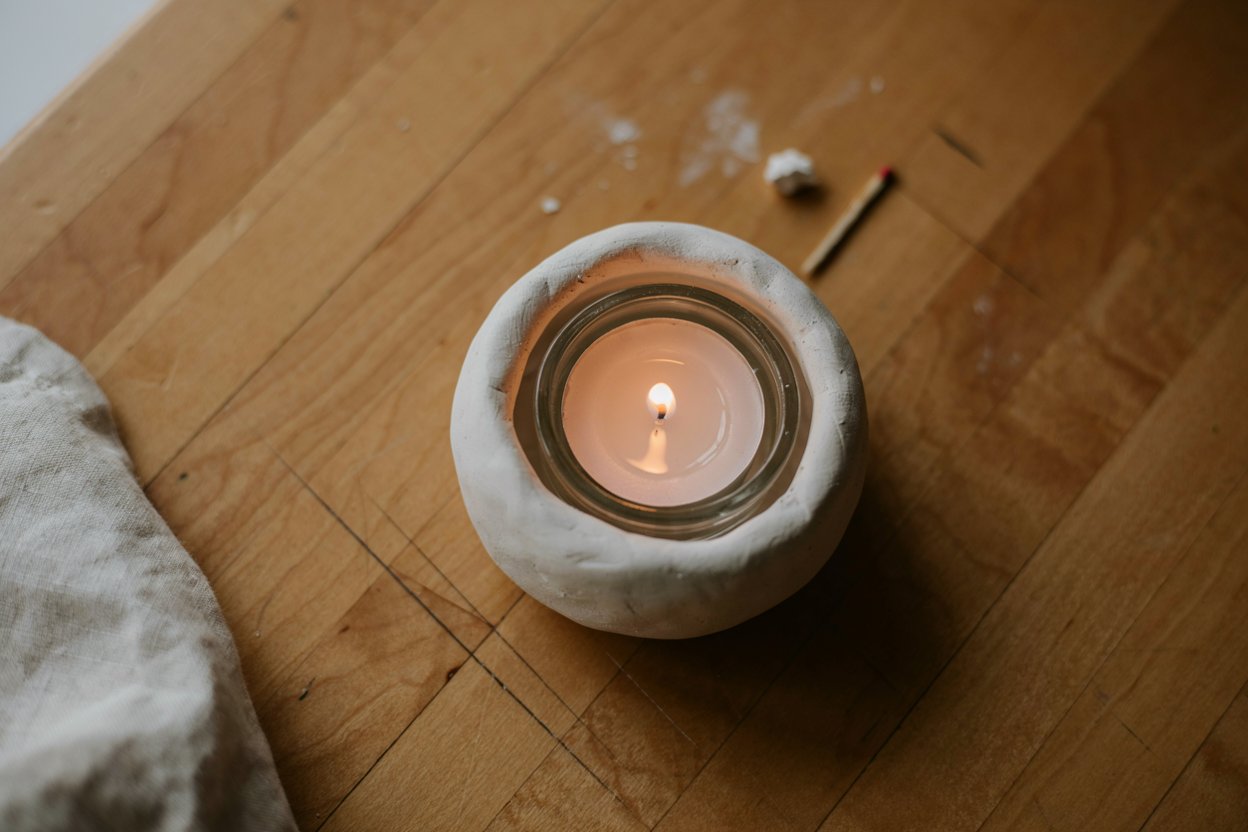
A candle holder felt like a natural project once I’d gotten comfortable with basic shaping, since it uses a lot of the same draping technique from flatter pieces, just built around a taller form instead.
If you’re brand new to air dry clay entirely, my air dry clay ornaments guide is a good place to start before tackling something with height like this.
It also gave me an excuse to play with texture and a faux-ceramic finish, which is where this project ended up looking a lot more polished than I expected going in.
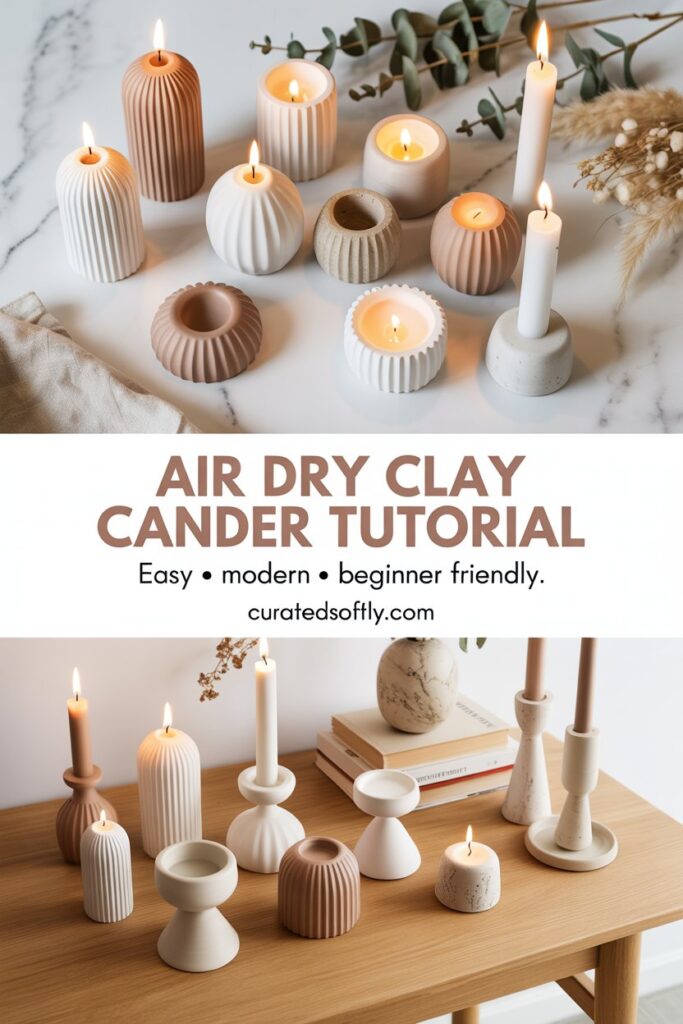
This version uses a simple cylindrical mold to shape the base, with an option to add texture, carved details, or a two-tone painted finish depending on how elaborate you want to get.
It’s a slightly more involved project than a flat trinket dish, mostly because you’re working with height and need to think about stability, but nothing here requires special tools beyond what you’d already have from earlier clay projects.
An important safety note before you start: air dry clay is not heat-resistant or fireproof the way kiln-fired ceramic is. Don’t let an open flame touch the clay directly, and don’t use these with a candle that burns low enough for the flame to reach the clay itself.
The safest way to use a finished piece like this is with a votive candle in its own glass holder set inside, or with a flameless LED candle. Never leave a burning candle in any holder unattended, and keep it away from anything flammable nearby.
Why This Project Works So Well
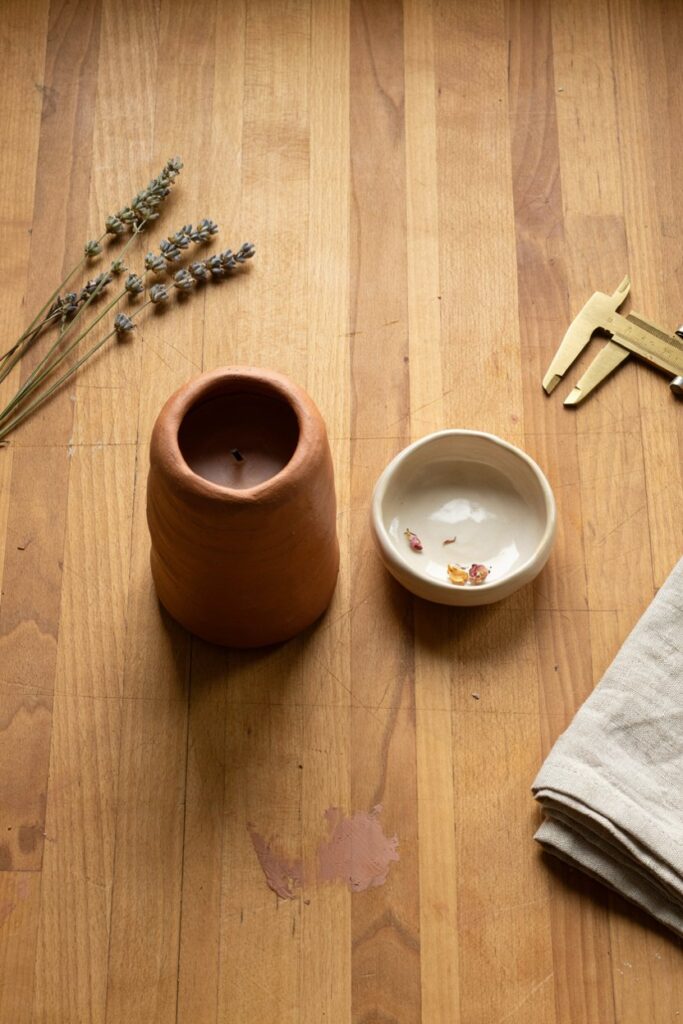
The cylindrical shape builds real confidence with height. Most beginner air dry clay projects, like the trinket dish or ornaments, are flat or shallow. Working with a taller mold teaches you how to manage a piece that needs to hold its own weight and shape as it dries, which opens up a lot more project ideas afterward.
It looks far more expensive than it actually costs. With the right finish, a plain block of clay convincingly resembles a piece of pottery you’d pay considerably more for in a home goods store.
It’s a genuinely useful, everyday object. Like the trinket dish, this isn’t purely decorative once finished, it earns a permanent spot on a shelf or table.
What Makes the Shaping Technique Different
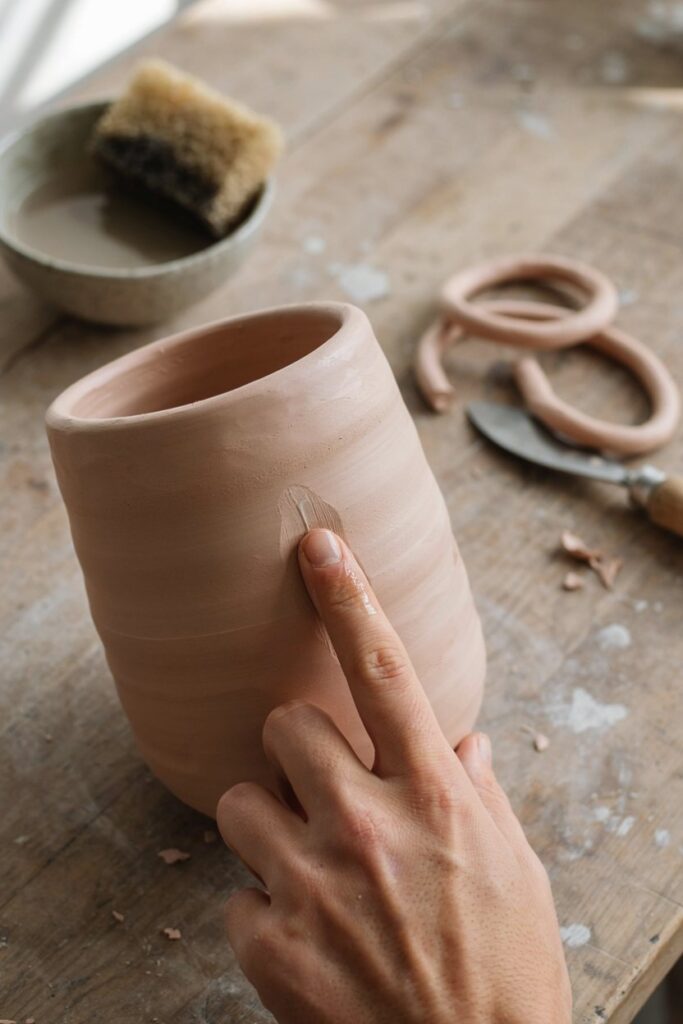
Wrapping clay around a cylindrical mold introduces a specific challenge that flat projects don’t have: the seam.
Where the two edges of your rolled-out clay meet around the mold needs to be blended carefully, or it’ll show as a visible line or, worse, become a weak point that cracks as the piece dries and shrinks.
Height also changes how the piece dries. A tall, standing form dries at different rates on the outside versus the base, and if you remove it from its mold too early, the walls can slump or lose their round shape before the clay is firm enough to support itself.
This is the same core lesson from the trinket dish project, just with slightly higher stakes given the taller, more vertical structure.
Materials You’ll Need
- Air dry clay. White clay works well if you’re going for a faux-ceramic look with paint; a natural terracotta clay can also look great left unpainted or lightly washed with color. If you’d rather make your own clay from scratch, my recipe for how to make air dry clay at home works well for a project this size.
- A cylindrical mold. A drinking glass, a small jar, or a section of cardboard tube wrapped in plastic wrap all work well, depending on the size you want.
- Plastic wrap. To line your mold and prevent sticking.
- A rolling pin.
- A clay tool or butter knife. For trimming and blending the seam.
- A small cup of water. For smoothing the seam as you work.
- Fine-grit sandpaper.
- Acrylic paint (optional).
- Paintbrushes (optional).
- Clear sealant spray or Mod Podge.
Substitutions and Alternatives I’ve Actually Tested
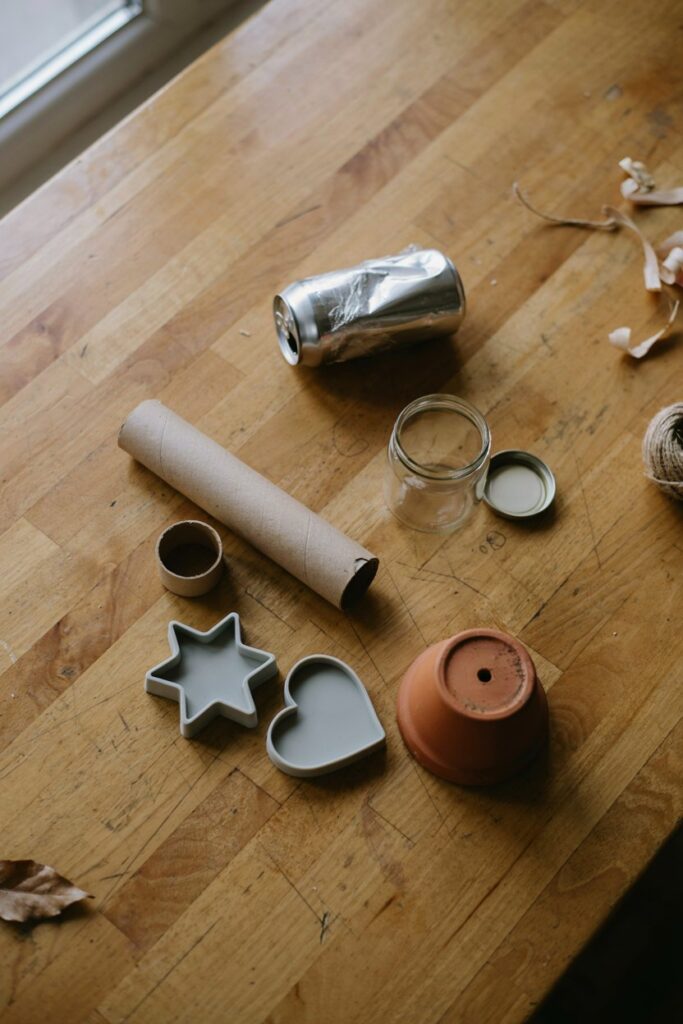
No cylindrical object to use as a mold? An empty can wrapped in plastic wrap works well, and gives you a nice consistent diameter.
Want a faux-ceramic finish? A few thin coats of white paint followed by a light gray or beige wash rubbed into any texture or grooves, then wiped back, can convincingly mimic the look of glazed pottery.
Want texture on the outside? Press a textured fabric or a carved wooden roller into the clay before wrapping it around the mold, so the texture is already set before shaping.
No sealant spray? A few thin coats of Mod Podge work as a substitute, with slightly more sheen.
Tools You’ll Need
- Rolling pin
- Cylindrical mold
- Plastic wrap
- Clay tool or butter knife
- Small cup of water
- Fine-grit sandpaper
- Paintbrushes, if painting
How to Make an Air Dry Clay Candle Holder
Step 1: Prepare Your Mold
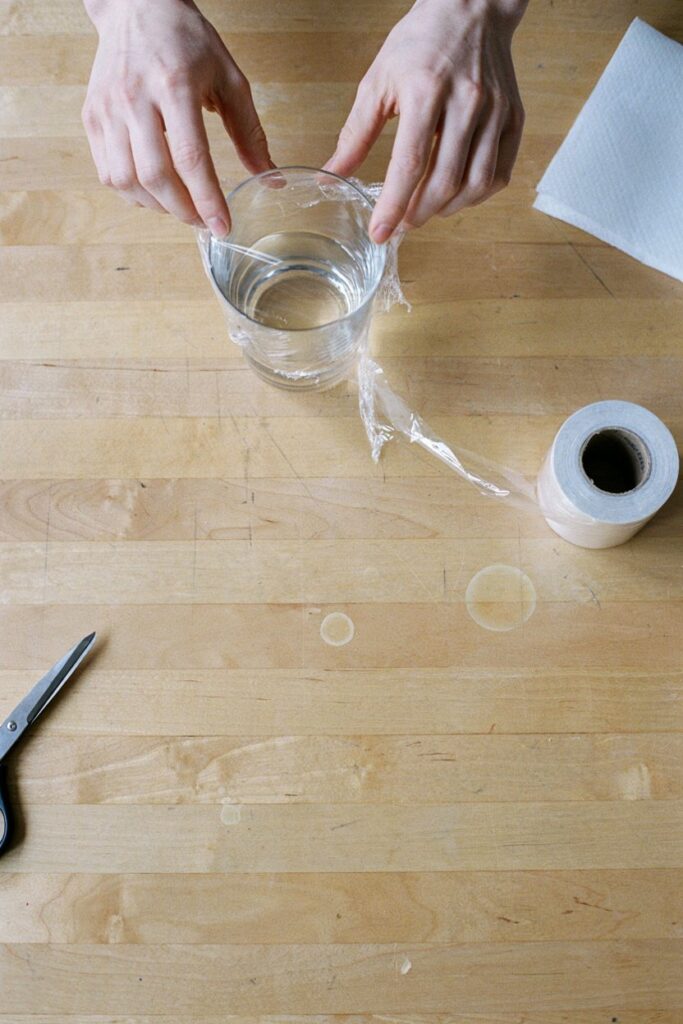
Wrap your chosen cylindrical object in plastic wrap, smoothing it as best you can to minimize deep wrinkles that could transfer onto the clay.
Step 2: Knead and Roll the Clay
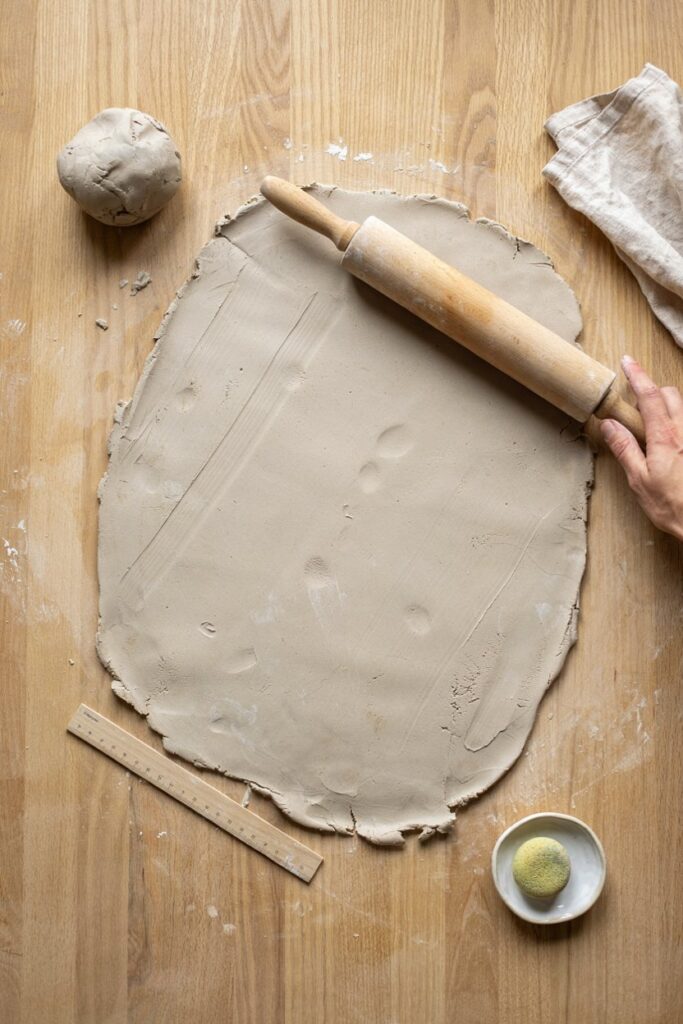
Knead your clay until soft and pliable, then roll it out to about ¼ inch thick, in a rectangle roughly as tall as your mold and long enough to wrap all the way around it with a small amount of overlap.
Step 3: Wrap the Clay Around the Mold
Gently wrap the rolled clay around your plastic-wrapped mold, pressing it against the surface evenly as you go. Let the two edges overlap slightly where they meet.
Step 4: Blend the Seam
Where the clay overlaps, trim away the excess with your clay tool so the edges meet cleanly rather than overlapping thickly, then use a small amount of water on your fingertip to gently smooth and blend the seam until it’s no longer visible.
This step matters more than almost any other for how polished the finished piece looks.
Step 5: Smooth and Shape the Base
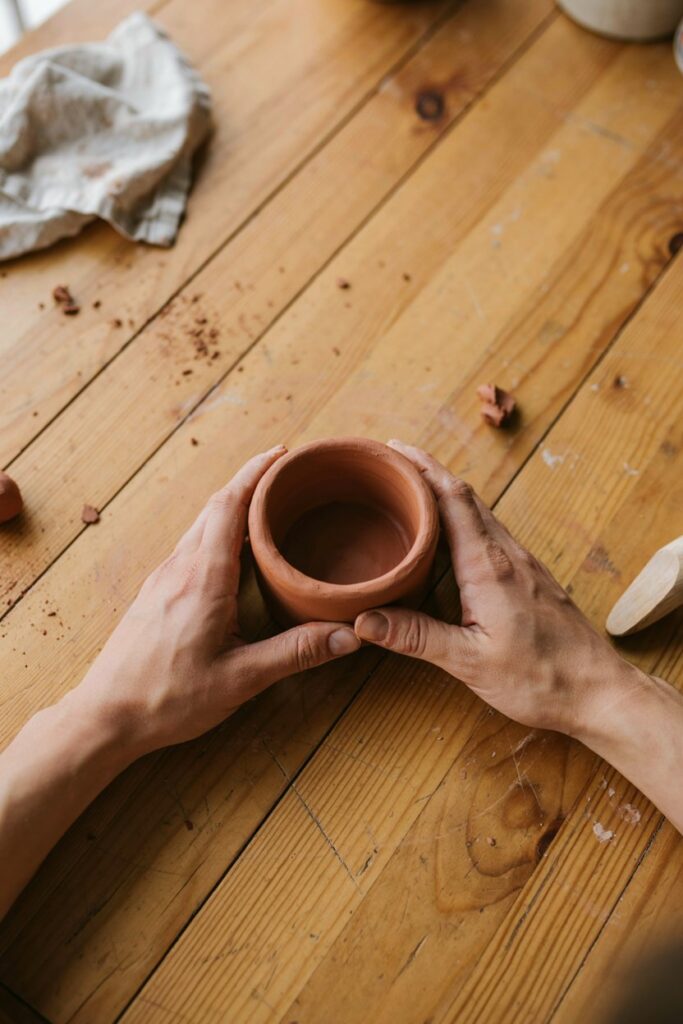
Press the bottom edge gently against your work surface to create a flat, stable base, and smooth the top rim with damp fingers for a clean edge, or leave it slightly organic and uneven if you prefer that look.
Step 6: Add Texture or Details (Optional)
If you’re adding texture, do it now while the clay is still soft and wrapped around the mold, pressing gently so you don’t distort the round shape underneath.
Step 7: Let It Dry on the Mold
Leave the piece on its mold for at least 24 hours before attempting to remove it, since this is what allows it to hold its round shape as it firms up. Keep it away from direct sunlight or heating vents.
Step 8: Remove from the Mold and Continue Drying
Once the clay feels firm and holds its shape confidently on its own, gently slide it off the mold and continue drying on a flat surface for another 24 to 48 hours, until it’s fully dry and hard all the way through.
Step 9: Sand
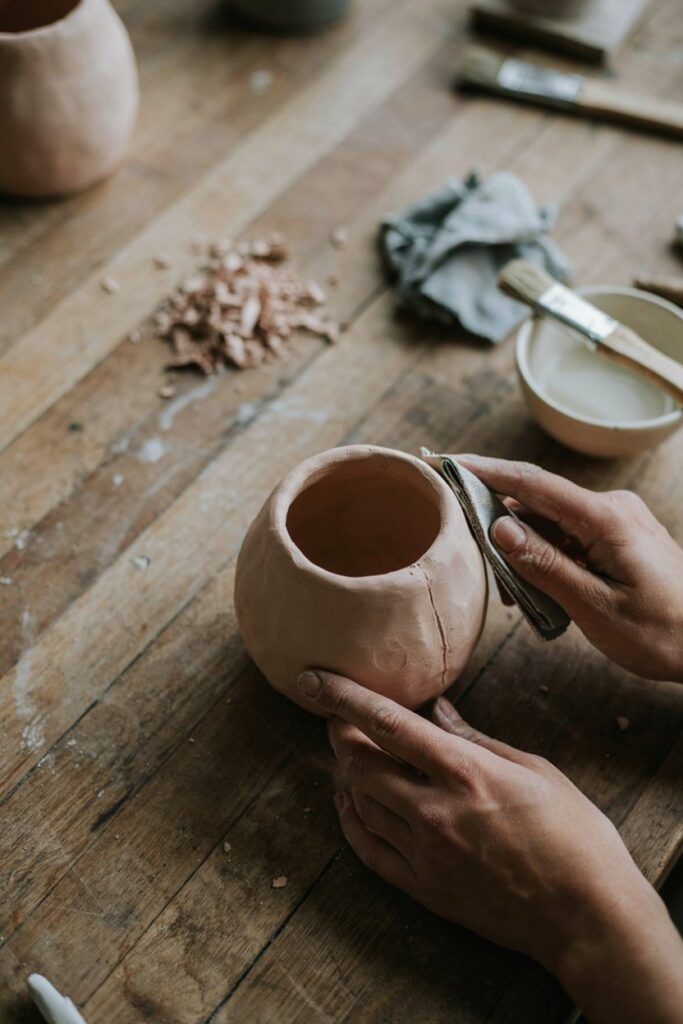
Once completely dry, sand any rough edges, seam lines, or fingerprints with fine-grit sandpaper.
Step 10: Paint (Optional)
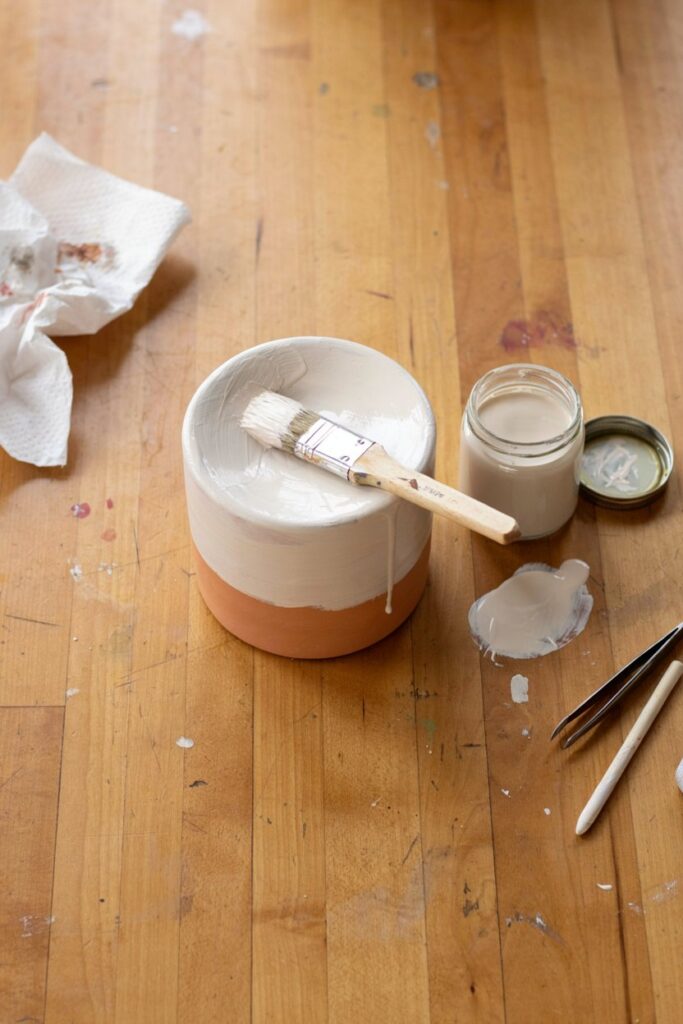
Apply thin, even coats of acrylic paint if you’re going for a colored or faux-ceramic finish, letting each coat dry fully before adding the next.
My step-by-step post on how to paint air dry clay covers technique in more depth if you want an especially smooth, even finish.
Step 11: Seal
Apply a clear sealant spray or a few thin coats of Mod Podge to both the inside and outside of the piece, letting each coat dry before adding the next.
For a full breakdown of sealant types and how to apply them well, see my post on how to seal air dry clay.
Tips From Making a Few of These Now
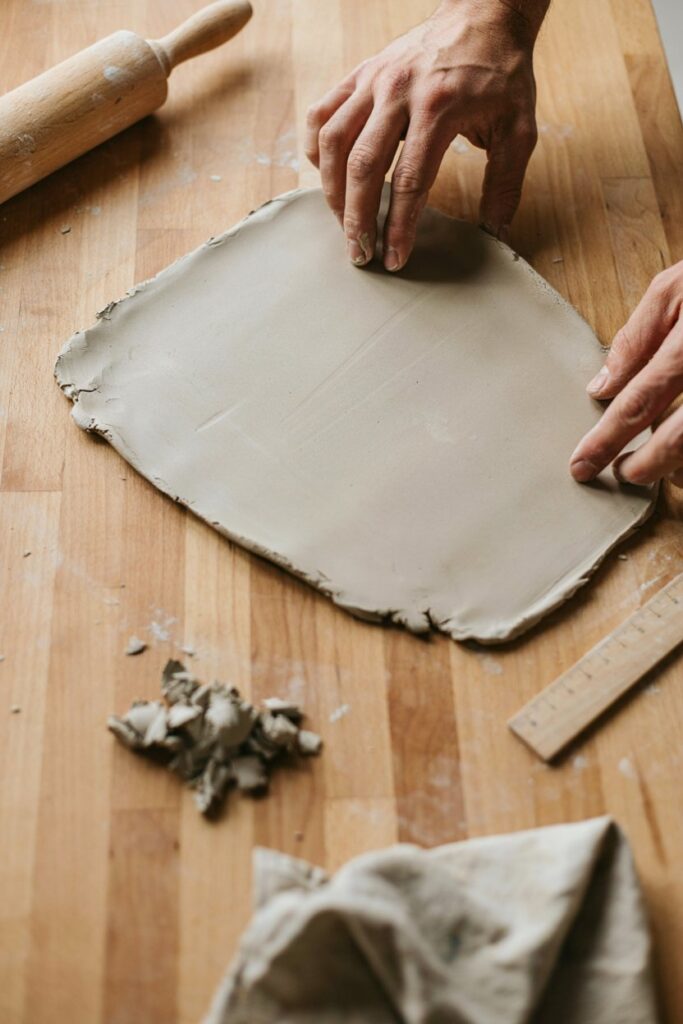
- Don’t rush the seam-blending step. This is the single detail that determines whether the finished piece looks handmade in a charming way or handmade in a sloppy way.
- Leave it on the mold longer than feels necessary. Removing it too early is the most common cause of a slumped or warped shape.
- Keep wall thickness even all the way around. Thin spots dry faster and are more prone to cracking.
- Sand before sealing, not after. Sealant locks in whatever texture is there at the time, rough spots included.
- Never place a bare flame candle directly inside without a glass votive insert. This is a safety issue, not just a design preference. See the safety note at the top of this post.
Mistakes I’ve Made So You Don’t Have To
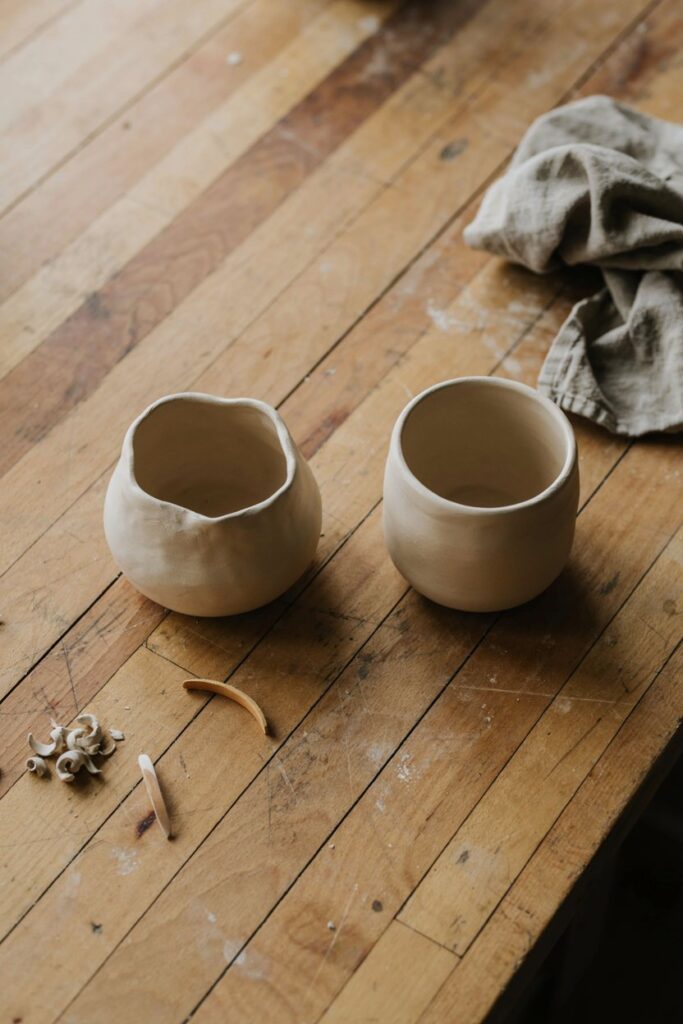
Rushing the seam blend on my first attempt. The line was clearly visible once dry, and no amount of sanding fully hid it.
Removing the piece from its mold after only a few hours. The walls slumped slightly out of round before the clay had firmed up enough to hold its shape unsupported.
Making the walls thinner at the top than at the base. The top rim cracked slightly while the thicker base was still perfectly intact.
Testing a real candle in one before double-checking the flame wouldn’t reach the clay. It scorched a small section before I caught it and swapped in a proper glass votive insert.
Troubleshooting
My seam is still visible after drying. This usually means it wasn’t smoothed enough with water while the clay was still soft.
Unfortunately, once fully dry, a visible seam is difficult to fully correct beyond careful sanding or covering it with an intentional decorative texture.
My candle holder warped or lost its round shape. This is almost always caused by removing the piece from its mold too early.
Leave it on the mold for at least 24 hours, longer if your space is humid or cool, and check my guide on avoiding cracks in air dry clay for more on drying conditions generally.
My piece cracked near the base. This usually points to uneven wall thickness, with a thinner spot drying and shrinking faster than the surrounding clay. Keep thickness as consistent as possible when rolling.
I already have a crack in a finished piece. Don’t panic, plenty of small cracks are fixable after the fact. I walk through repair options in my post on how to fix cracked air dry clay.
My faux-ceramic finish doesn’t look convincing. Getting that look usually comes down to the specific paint and technique used. I cover this in much more detail in my post on how to make air dry clay look like ceramic.
Variations and Design Ideas
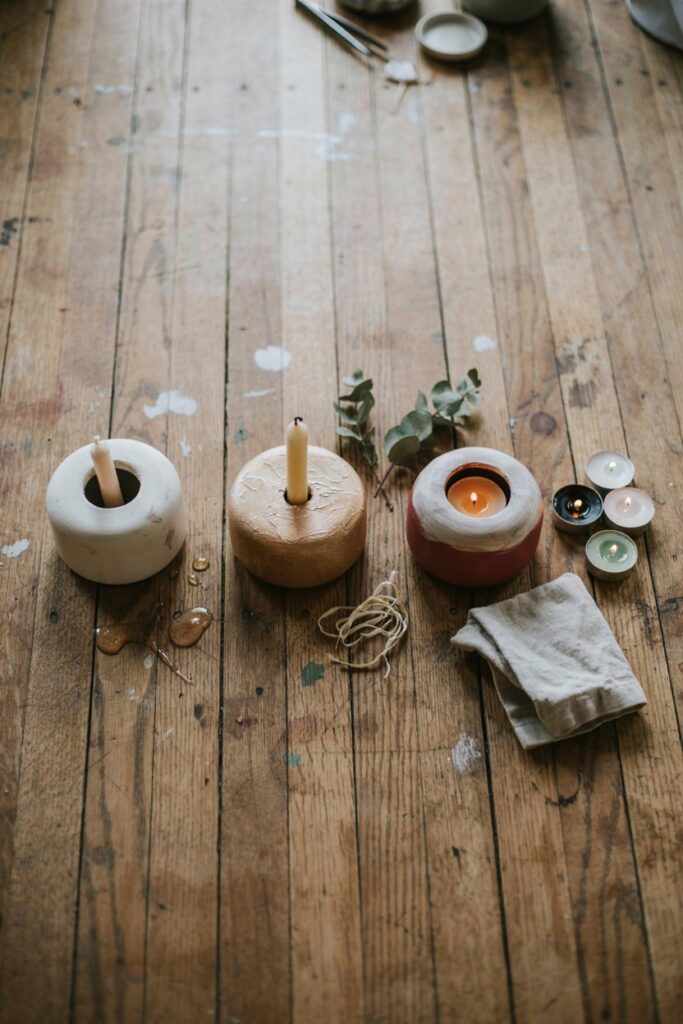
Faux-Ceramic Finish. White base coat with a light gray or beige wash rubbed into texture and wiped back for a glazed pottery look.
Textured Wrap. Press lace or a carved pattern into the clay before wrapping it around the mold.
Two-Tone Dipped Look. Paint just the bottom half in a solid color, leaving the top natural or a contrasting shade.
Mini Tealight Cluster. Make several smaller versions at different heights to group together as a centerpiece, always using votive glass inserts or flameless candles inside each one.
Storage and Care
Keep finished candle holders away from prolonged moisture, and never submerge them in water.
Wipe clean with a barely damp cloth if needed. As covered above, always use with a glass votive insert or a flameless candle rather than letting an open flame touch the clay directly.
Frequently Asked Questions
Is air dry clay safe to use for candle holders? Only with precautions. Air dry clay is not heat-resistant like kiln-fired ceramic, so it should never have an open flame touching it directly.
Use a glass votive insert to hold the actual candle, or use a flameless LED candle instead.
Can I make this without a specific mold? Yes, any cylindrical household object wrapped in plastic wrap works, a drinking glass, a jar, or a can are all common options.
How do I get rid of the seam line completely? Smoothing thoroughly with a wet fingertip while the clay is still soft is the best method. Once dry, a visible seam is much harder to fully correct, though careful sanding or an intentional texture can help minimize it.
Can I make this waterproof for use as a small vase instead? Not reliably. Air dry clay isn’t truly waterproof even when sealed, so it’s better suited to holding a glass insert with water inside rather than direct contact with water.
How long does this project take from start to finish? Active hands-on time is around 30 to 40 minutes, but total drying time typically spans 2 to 3 days between mold-supported and unsupported drying.
Final Thoughts
This project pushed my clay skills a little further than the flatter pieces I’d made before, mostly because of the seam and the height, but it’s become one of my favorite finished pieces precisely because of that extra challenge.
If you want more ideas after this one, my roundup of air dry clay projects that start simple and look stunning has a lot more directions to take this material.
If you make one, I’d love to see how you finished yours, and whether you went for the faux-ceramic look or kept it natural.