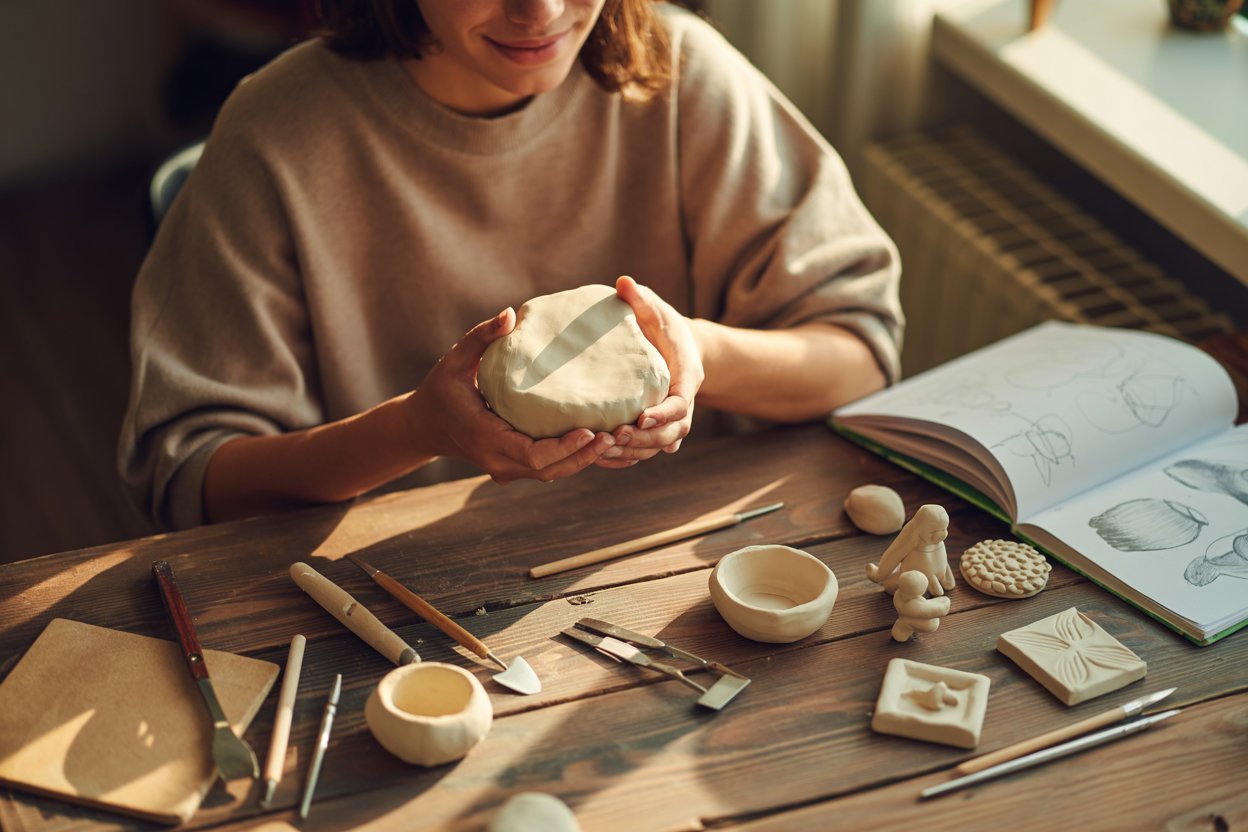
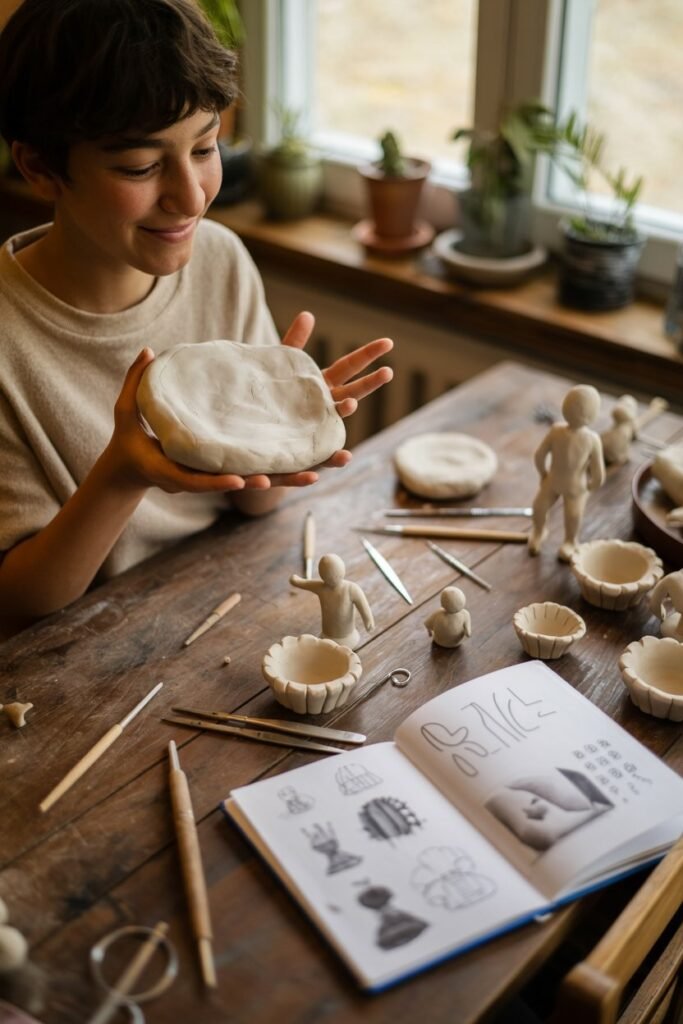
I still remember the first time I opened a pack of air dry clay. I had no idea what I was doing. I watched videos, saved ideas, and told myself I would finally make something one weekend.
When I actually sat down with the clay in my hands, it felt exciting and intimidating at the same time.
If you are anything like me when I started, you are probably curious, a little unsure, but eager to create something beautiful. That is exactly why I wrote this guide.
I learned these tips one mistake at a time, from bowls that cracked overnight to fingerprints that refused to smooth out. I want your first experience to feel easier, more fun, and more fulfilling than mine was.
Air dry clay is one of the most beginner friendly crafting materials. You do not need a kiln, expensive tools, or special training. You only need curiosity, a bit of patience, and the willingness to try.
With the right guidance, you will be surprised at how quickly you begin making pieces that feel personal and meaningful.
This post goes deeper than basic beginner advice. I am walking you through everything I wish someone had told me when I first started.
Whether you are creating for fun, for décor, or for a future small business, these tips will help you build confidence and develop your own creative style.
Let’s begin your air dry clay journey together.
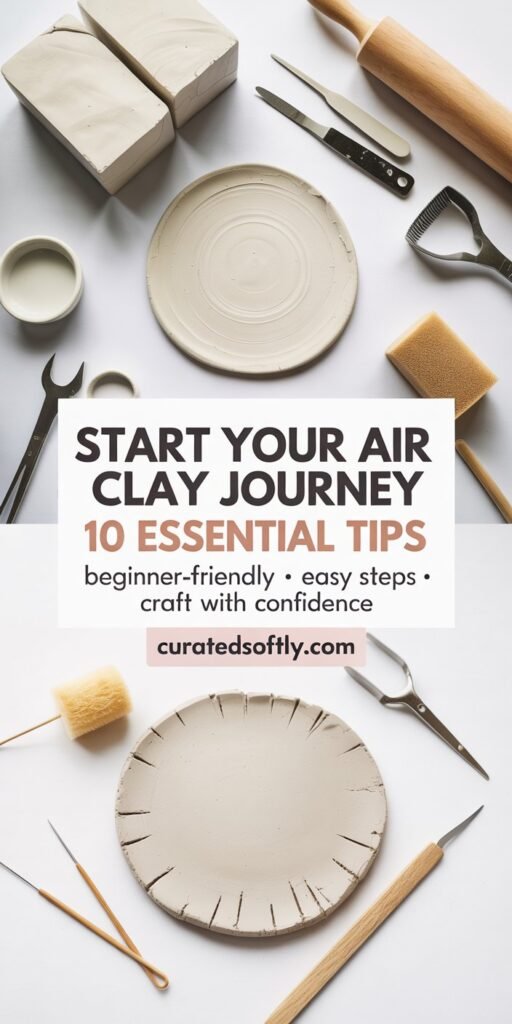
Supplies You’ll Need to Start Your Air Dry Clay Journey
Getting started with air dry clay is easier than you might think, and having the right tools makes the process smooth and enjoyable.
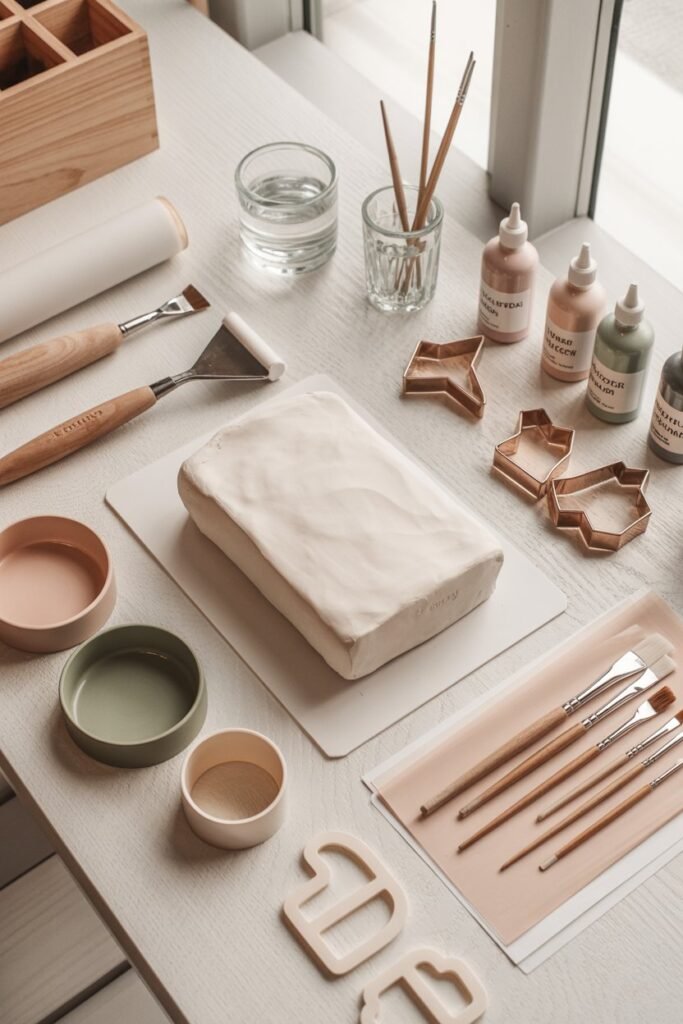
Here’s what I always keep on hand, all avalaible on Amazon
- Air dry clay – Choose a soft, smooth clay that’s easy to shape and doesn’t crack when drying.
- Rolling pin or acrylic roller – For flattening and smoothing your clay evenly.
- Clay modeling tools
- Cutters or templates – Heart shapes, circles, or geometric forms make creating consistent designs much easier.
- Sandpaper – Fine-grit sandpaper helps smooth edges after the clay has dried.
- Paints and brushes – Acrylic or water-based paints to decorate your finished pieces.
- Sealant or varnish – A matte or glossy finish will protect your creations and make them feel polished.
Having these supplies ready will make your first air dry clay projects feel intentional, organized, and stress-free.
1. Choose Clay That Matches Your Project
When I first began, I bought the cheapest clay I could find because I thought all clay was the same. It wasn’t. My pieces cracked, dried unevenly, and sometimes felt chalky.
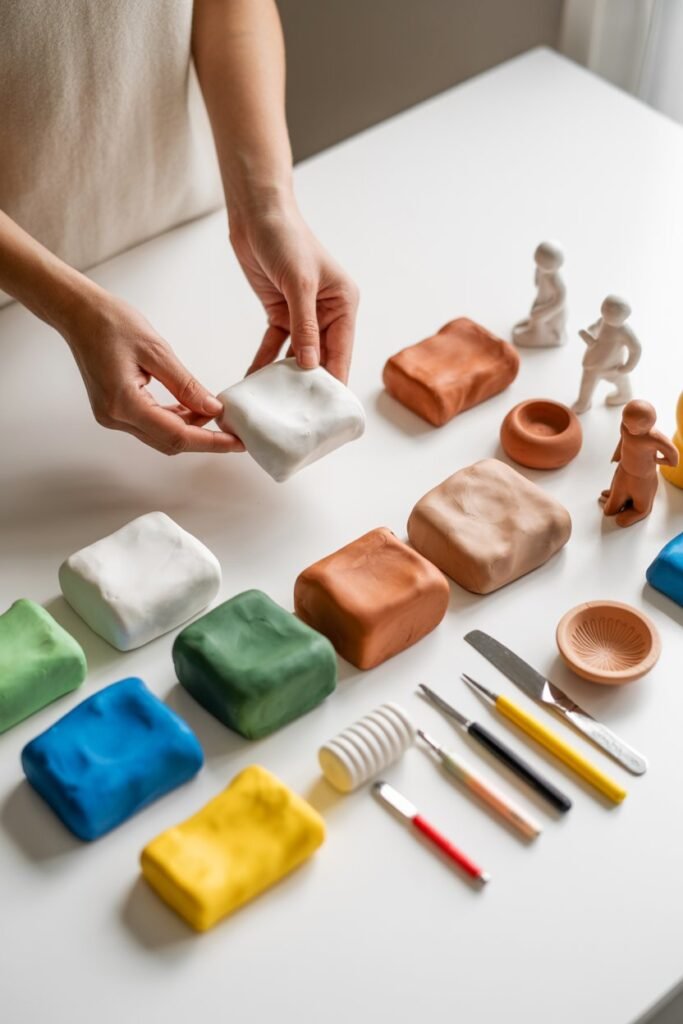
That taught me that the clay you choose affects everything.
Here’s what I learned through trial and error:
- Soft clays feel light and smooth. They’re perfect for small crafts, jewelry, or anything with fine details. They let you shape and re-shape without too much resistance.
- Firm clays hold their structure better. If you want to make bowls, trays, vases, or textured decor, this is what keeps the edges crisp and the walls strong.
- Premium white clays are amazing for clean, polished pieces. They dry smoother and sand beautifully.
- Cheaper craft clays are great for rustic textures and experiments. If you’re practicing or testing an idea, you don’t have to worry about wasting pricey material.
Choosing the right clay is like choosing the right paintbrush. It shapes your whole experience.
2. Set Up a Workspace That Supports You
When I first worked with clay, crumbs stuck to the table, dust stuck to the clay, and it felt like a battle instead of a relaxing craft. Now I prep my space every time.
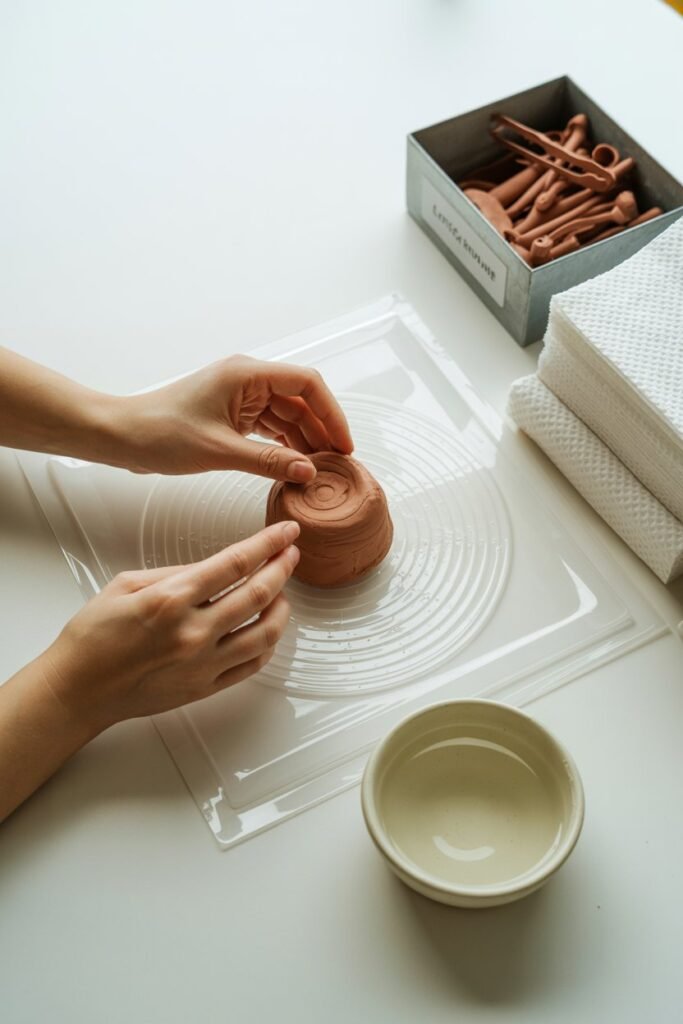
Here’s what creates a beginner-friendly workspace:
- A smooth, non-porous surface like a plastic mat, tray, or tile helps clay glide easily without sticking.
- A small bowl of water nearby lets you smooth surfaces quickly instead of getting up every few minutes.
- Paper towels help wipe tools and fingers so dust doesn’t transfer to your clay.
- A scrap container keeps leftover clay from drying out and makes cleanup simple.
When your space is set up well, you focus less on mess and more on creativity.
3. Warm the Clay Before You Shape Anything
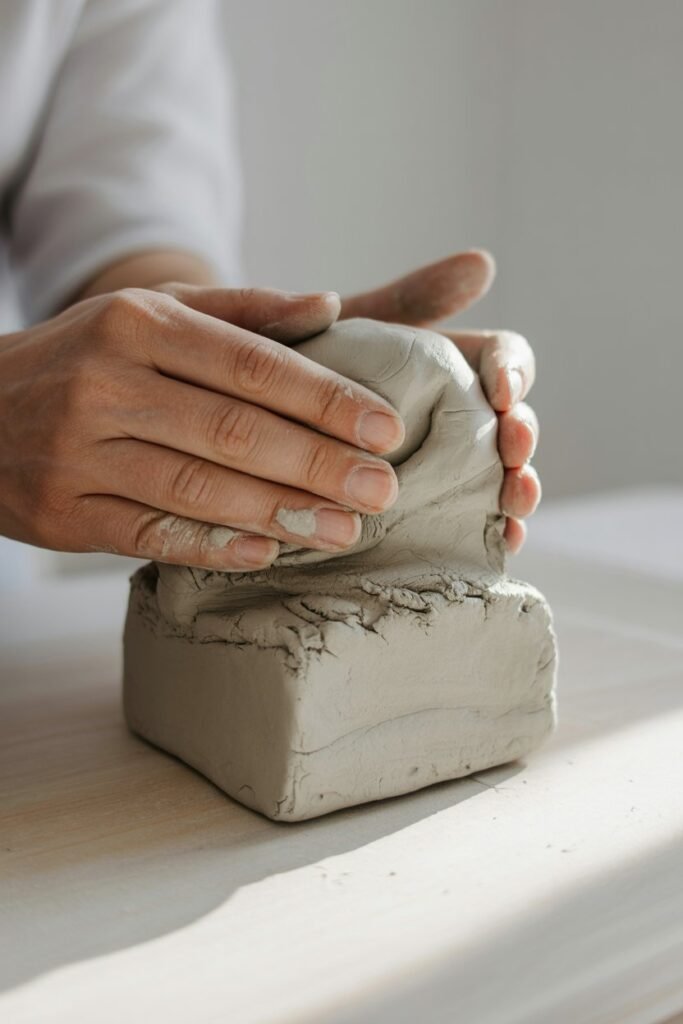
This step changed everything for me.
Cold clay cracks. Soft, warm clay listens to your hands.
Before you begin shaping, spend a minute kneading the clay slowly. You will feel it transform: it goes from stiff and resistant to flexible and smooth. It becomes easier to roll, press, and mold. And most importantly, it reduces cracks while drying.
Think of this step as preparing the clay to work with you, not against you.
4. Keep Unused Clay Covered
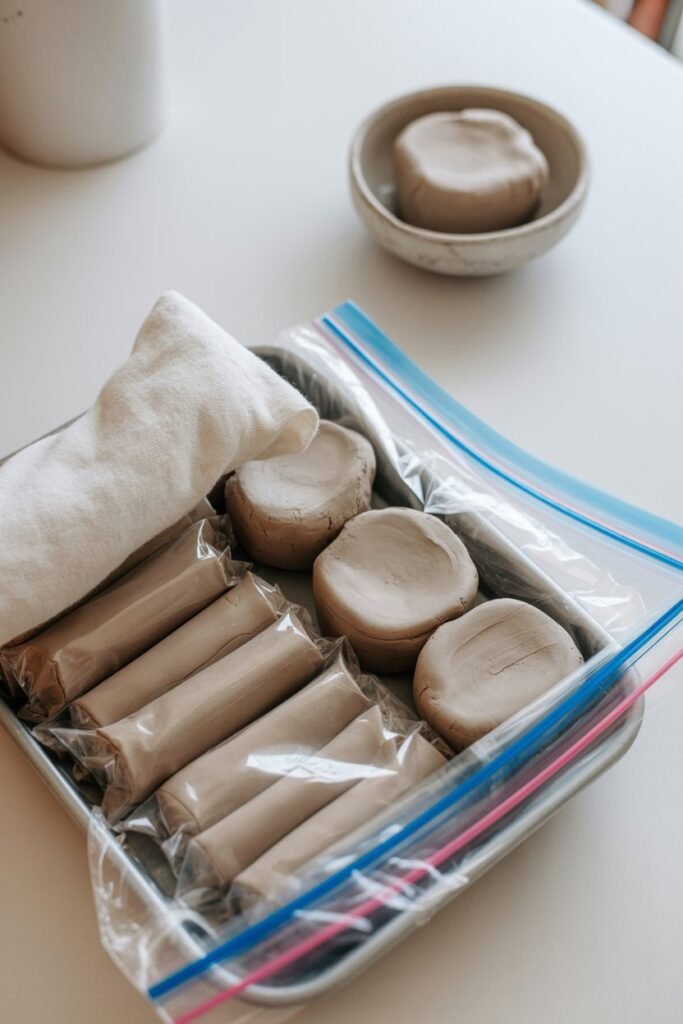
One of the first painful lessons I learned was losing half a block of clay because I left it uncovered for ten minutes. It dried into a crumbly brick.
Air dry clay reacts quickly to air, so keeping it moist is essential.
Here’s what works best:
- Put unused pieces in a zip bag and squeeze out excess air.
- Or wrap the clay in plastic wrap between steps.
- A damp cloth over your bowl keeps everything fresh during longer sessions.
This habit saves money, reduces waste, and keeps your creativity flowing without interruption.
5. Use Simple Tools You Already Have
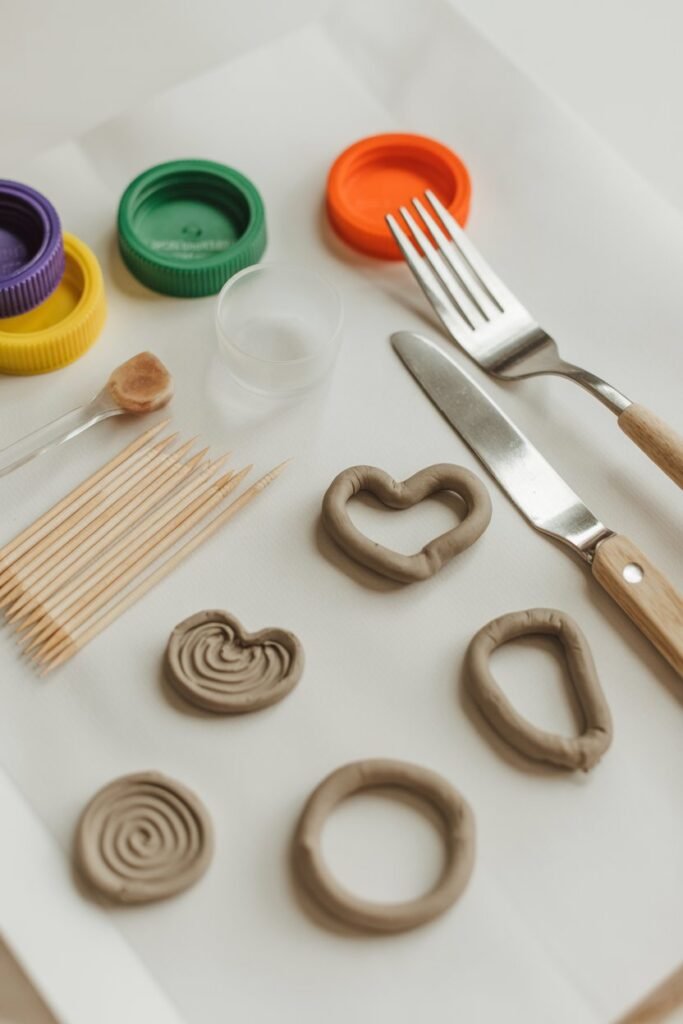
I used to think I needed a full sculpting kit to make something beautiful. But my first successful project was made with a toothpick, a butter knife, and the bottom of a cup.
You can do so much with everyday items:
- A straw makes perfect circle cutouts.
- A paintbrush handle creates soft texture lines.
- A toothpick draws details or pokes air holes.
- A bottle cap creates clean, consistent shapes.
- A fork adds rustic lines or patterns.
Start with what you have. As you grow, you will naturally learn what tools you enjoy using most.
6. Smooth Your Clay With Just a Touch of Water
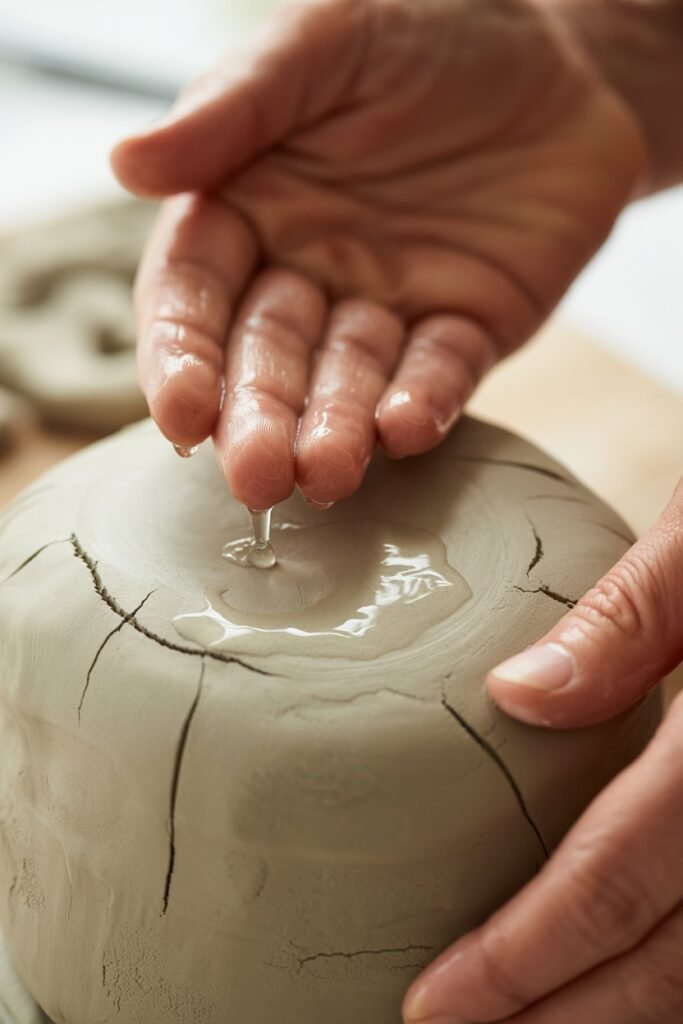
I used to fuss over every fingerprint and tiny crack, and it made me feel like my pieces weren’t turning out right. Then I learned the simplest trick: water.
A drop of water smooths away:
- Fingerprints
- Crumbs
- Cracks
- Rough edges
Gently rub your fingertip in a circular motion and watch the clay blend. But use the water sparingly. Too much turns the surface mushy or streaky.
It’s like magic but also a reminder to keep things slow and gentle.
7. Let Your Project Dry Fully Before Sanding or Painting
Patience is hard, but it’s essential. I used to rush this step because I was excited to finish. Almost every time, the piece cracked.

Here is what I learned:
- Thin items dry faster than thick ones.
- Larger items need at least 24 to 48 hours.
- Turning your piece halfway through can help it dry evenly.
- If the clay feels cool to the touch, it is still drying inside.
When the piece is fully dry, sanding becomes smoother and painting looks more even.
Think of drying time as part of the creative process, not the end of it.
8. Seal Your Finished Piece to Protect It
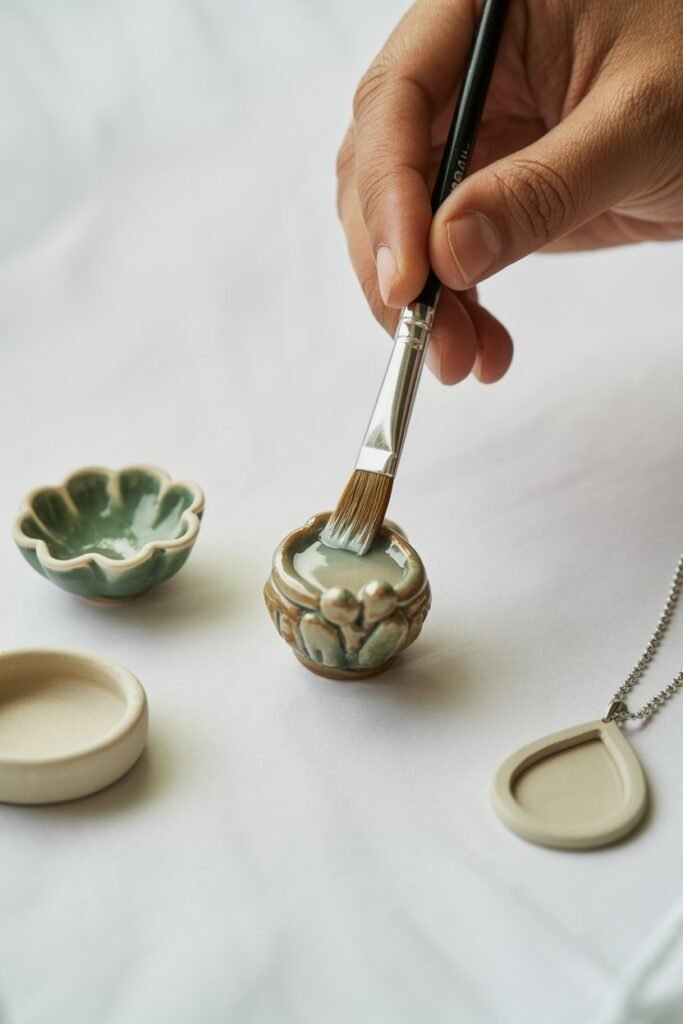
The first piece I ever made became blotchy after I placed it near water because I didn’t seal it. Sealing gives your clay a finished look and protects it from moisture and everyday wear.
Great sealing options include:
- Acrylic varnish
- Clear craft sealers
- Mod Podge
You can choose between glossy, matte, or satin finishes depending on your style.
Sealing gives your hard work the long life it deserves.
Check Out – How to Seal Air Dry Clay (Step-by-Step Guide for Beginners)
9. Start Small and Build Your Skills Naturally
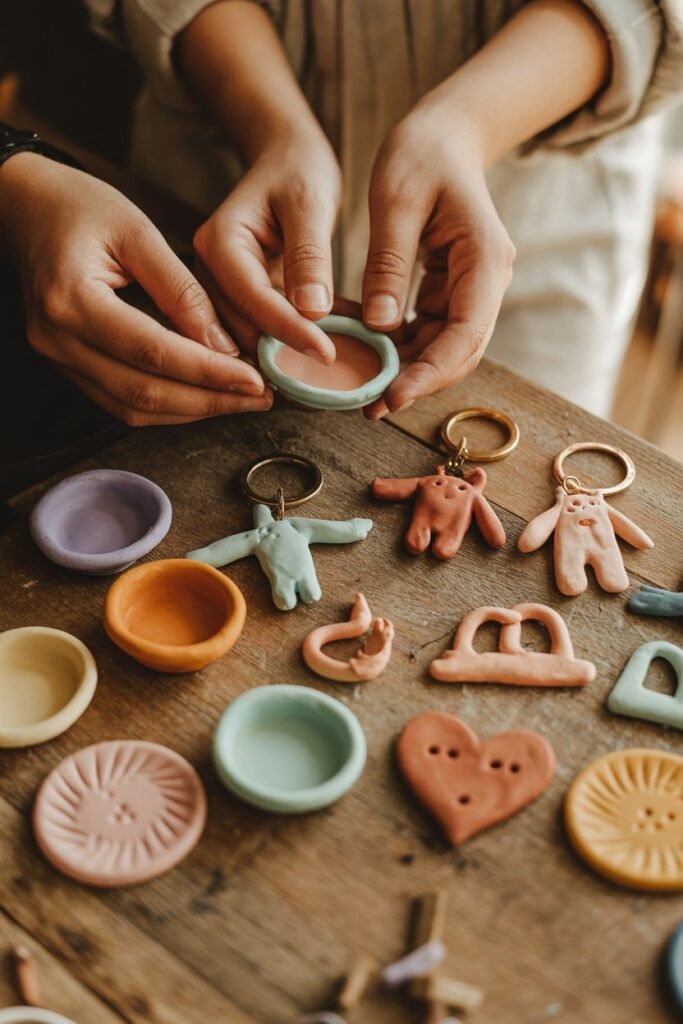
When I started, I jumped straight into making a vase. It collapsed.
Then I switched to simple projects, and everything changed.
Small projects help you learn how clay behaves without feeling overwhelmed. You get wins early, which boosts confidence.
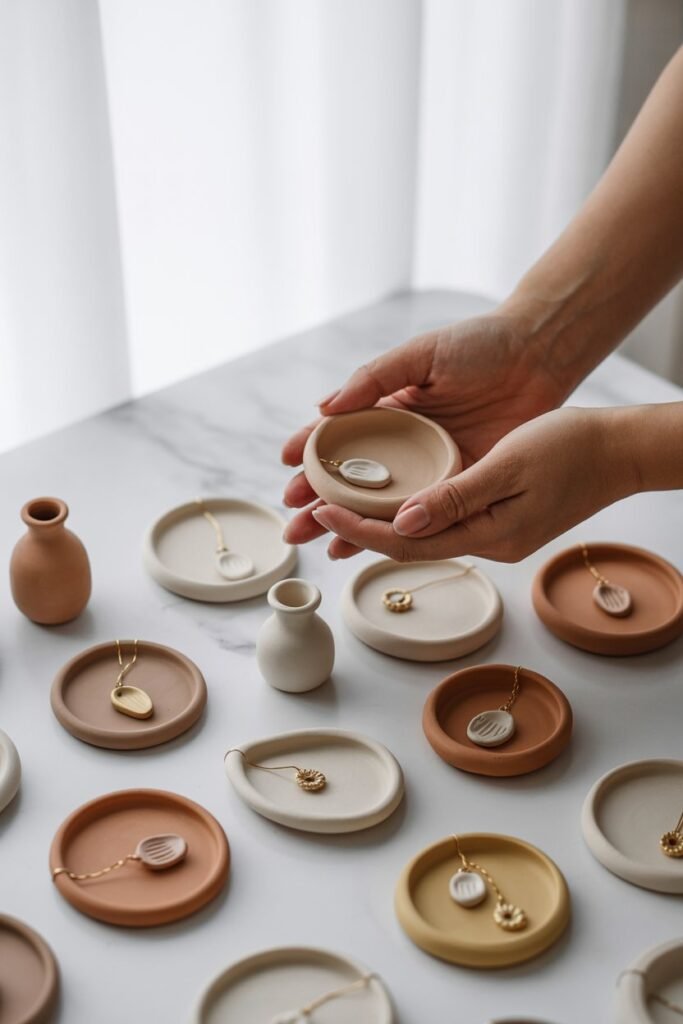
Begin with things like:
- Mini trinket dishes
- Simple keychains
- Basic shapes like hearts or circles
- Small pendants
- Minimalist wall pieces
Each small project teaches you something new, and those lessons stack up fast.
10. Give Yourself Permission to Experiment
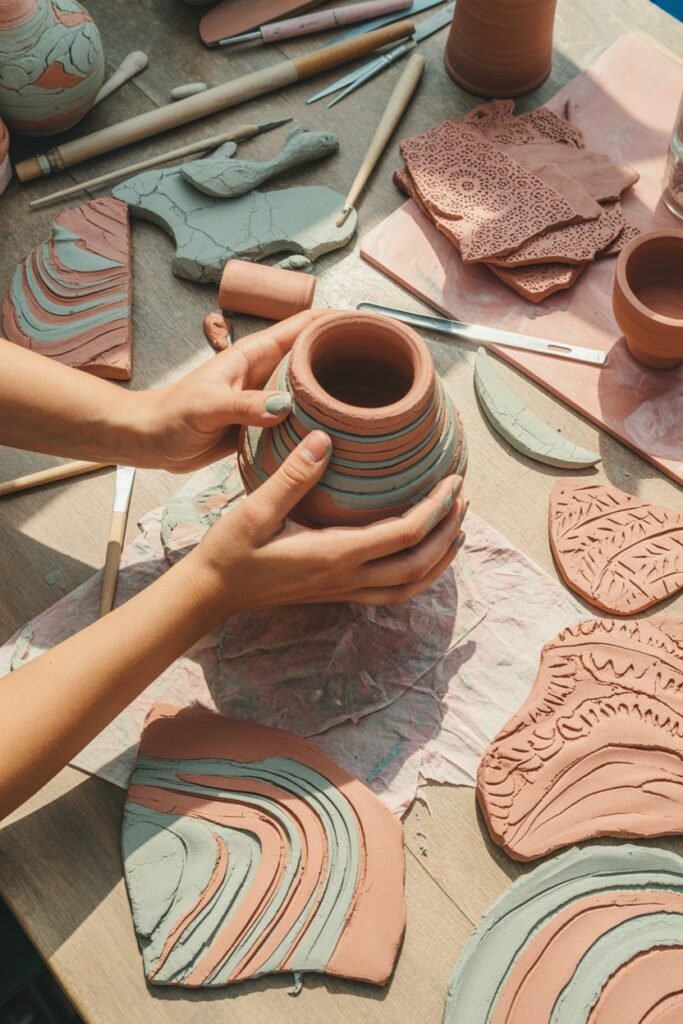
Creativity grows when you stop trying to be perfect. Some of my favorite pieces came from mistakes I thought I ruined at first. When I let myself play more, my style started forming naturally.
Experiment with:
- Pressing textures from lace, leaves, or fabric
- Mixing colors
- Layering small shapes
- Trying marbling
- Cutting unusual silhouettes
Air dry clay is forgiving. If something looks wrong, reshape it. Try again. The fun is in the process.
A Little Story On My Journey
As I look back on my own air dry clay journey, I am always surprised by how much a simple block of clay taught me.
I learned patience, I learned to slow down, and I learned that creativity doesn’t have to be perfect to be meaningful.
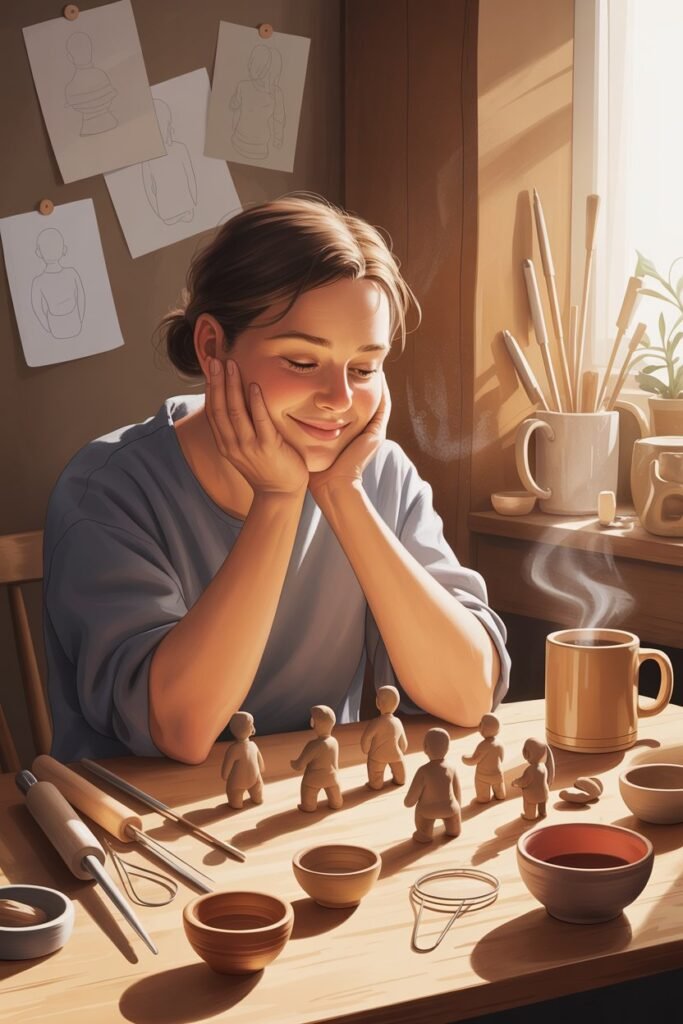
Every fingerprint, every tiny flaw, every moment of starting over helped me discover what I enjoy making and how I enjoy creating.
I want you to experience that same sense of discovery. When you sit down with your clay, give yourself permission to explore without pressure.
Let your first pieces be learning pieces. Let the process be just as important as the final result. You don’t need to have everything figured out right away. You just need to begin.
Conclusion
Starting your air dry clay journey is one of those creative steps that feels both exciting and a little uncertain, but that’s what makes it so rewarding.
With the right tips, a bit of patience, and a willingness to experiment, you’ll discover how enjoyable and calming this craft can be.
Every project teaches you something new, and each piece you make becomes part of your growth as a creator.
You don’t need perfect skills or fancy tools to begin. You just need curiosity and the confidence to try. As you explore new shapes, textures, and ideas, you’ll find your own rhythm and style.
Whether you’re crafting for fun, for your home, or for future gifts, air dry clay gives you endless ways to express yourself.
Now that you understand the basics, you’re ready to start creating pieces that feel personal, meaningful, and truly yours. Take your time, enjoy the process, and let your creativity unfold one project at a time.