As a mom, I know how hard it can be to find time for yourself, let alone start a new hobby.
I still remember the first time I opened a block of air dry clay while my kids were napping. I had no idea what I was doing, but I was determined to create something small and meaningful. I watched a few videos, scribbled down ideas, and whispered to myself,
“I can do this.”
When I finally sat down with the clay in my hands, it was exciting… and a little intimidating. If you’re anything like me, you probably feel the same mix of curiosity, nervousness, and excitement.
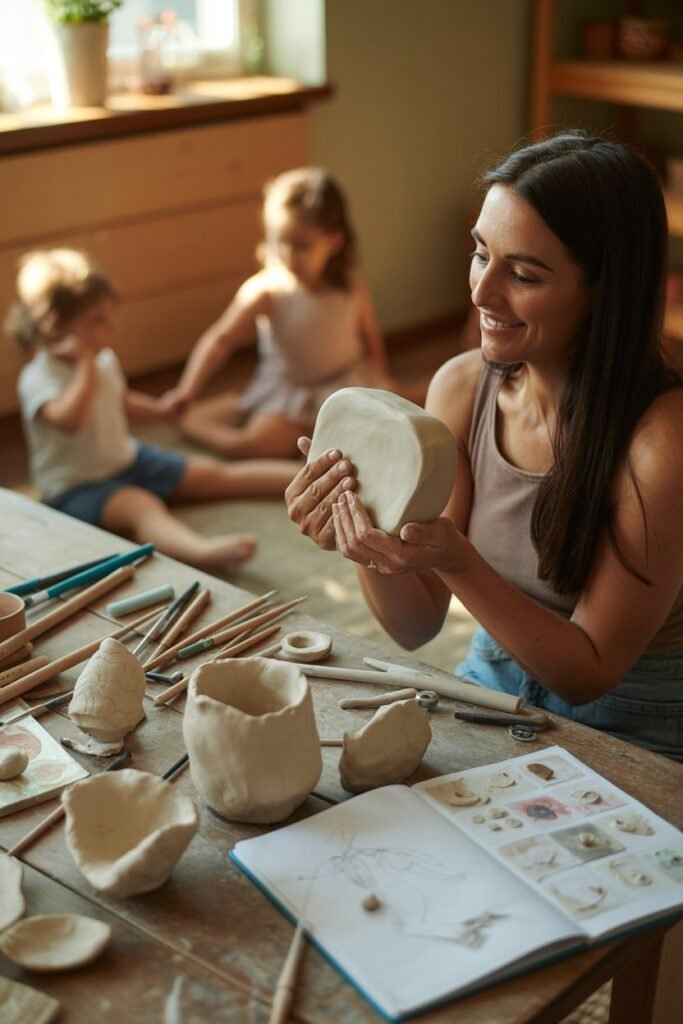
That’s why I want to share everything I’ve learned—from mistakes I made to little tricks that made crafting so much easier.
Air dry clay is perfect for moms and beginners: you don’t need a kiln, expensive tools, or special training. All you need is curiosity, a little patience, and the willingness to try.
With these tips, I promise your first projects will be easier, more fun, and more fulfilling than mine were.
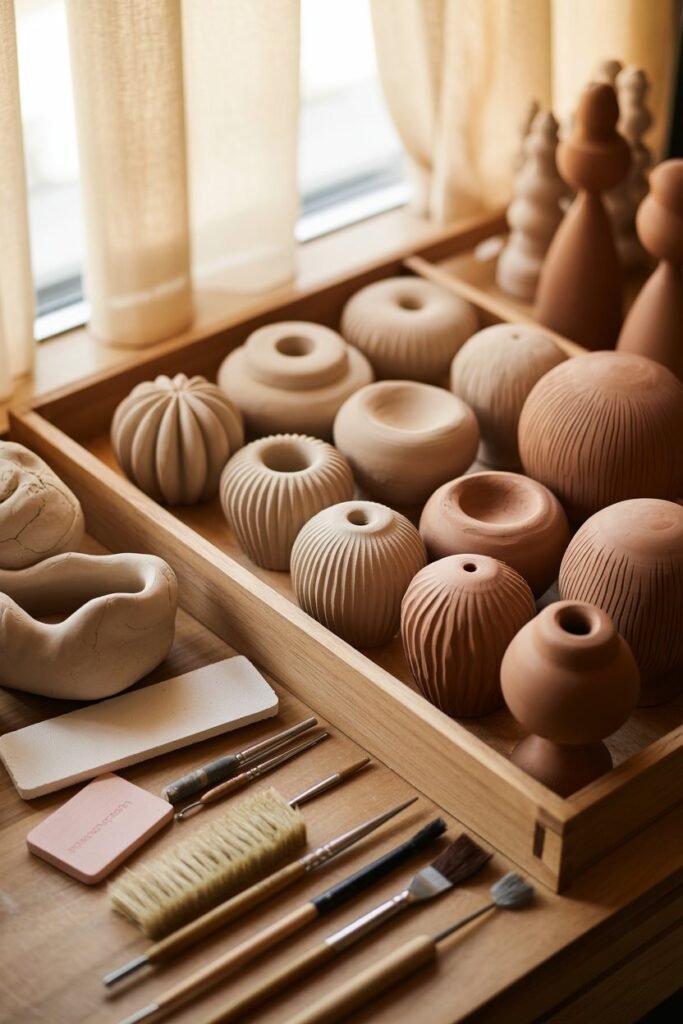
1. Choose Clay That Works for Your Project
The first mistake I made as a beginner was thinking “clay is clay.” I bought the cheapest pack at the store and tried to make a small bowl.
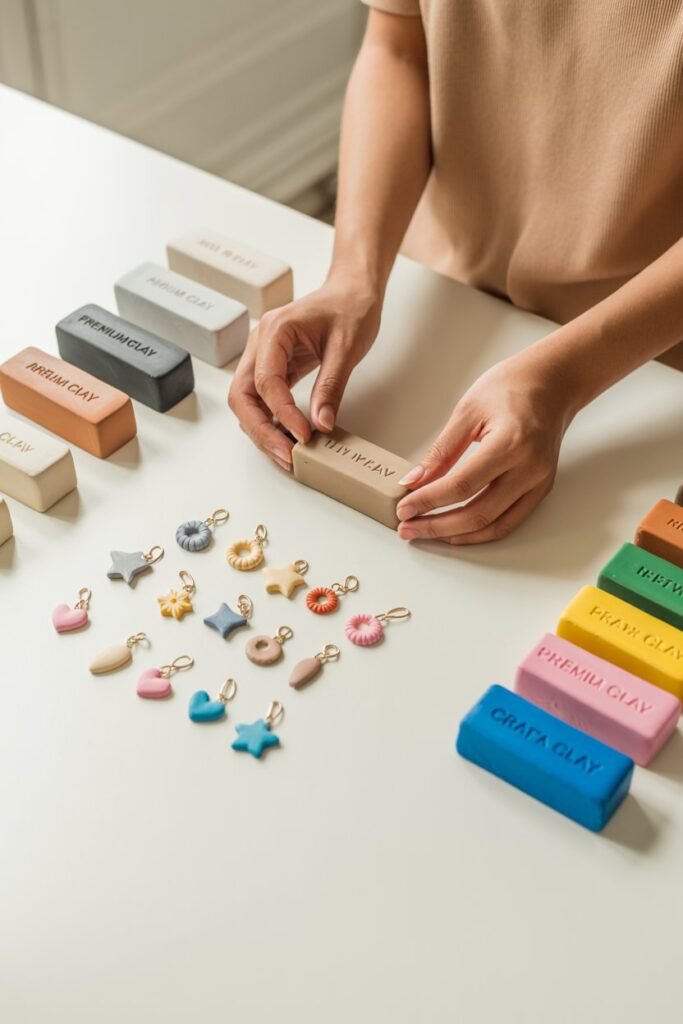
It cracked overnight, leaving me frustrated. I quickly realized that the type of clay you use affects everything—from how it feels in your hands to how it dries and holds shape.
Here’s a breakdown:
- Soft clays – These are perfect for small charms, jewelry, and intricate designs. They are forgiving and easy to reshape without cracking. I loved using soft clay when I made tiny pendants for my kids’ backpacks—they were small, cute, and easy to handle.
- Firm clays – Best for bowls, trays, and decorative pieces that need structure. My first vase attempt used firm clay, and it held its shape beautifully after drying.
- Premium white clay – Dries smooth and sands easily. Ideal if you want a professional-looking finish or plan to paint your pieces later.
- Craft clay – Great for experimenting, rustic textures, or simple practice pieces. I always keep a block of craft clay for practice before committing to more expensive clay.
Think of choosing clay like picking the right ingredients for a recipe. Picking the right one makes your project easier, smoother, and more enjoyable.
2. Prepare Your Workspace
A messy workspace used to make me feel stressed. Clay crumbs were everywhere, and it was hard to focus. I quickly learned that a tidy setup makes crafting easier and more relaxing.
Here is how I set mine up:
- A smooth, non-porous surface like a mat, tray, or tile to prevent sticking.
- A small bowl of water to smooth the clay quickly.
- Paper towels for wiping hands and tools.
- A container for leftover clay scraps.
When your space is ready, you can focus on creativity instead of cleaning up while crafting.
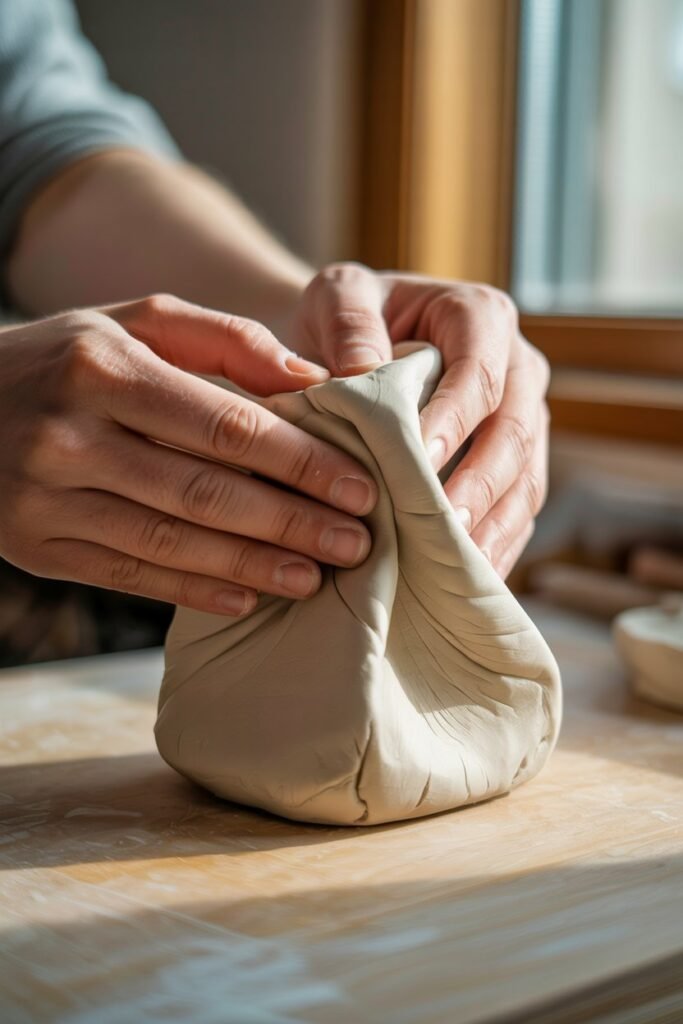
3. Warm the Clay Before You Shape
Cold clay cracks easily. I learned this after trying to roll a stiff block into a dish. Kneading it for a minute or two softens it and makes it easier to shape.
I like to think of it as warming up before a workout. Your clay will work with you, not against you, and your shapes will come out smoother.
4. Keep Your Clay Moist
Air dry clay dries fast. I once left a piece uncovered for just ten minutes, and it turned into a crumbly mess. I learned that keeping clay covered is essential.
Here is what works for me:
- Store unused pieces in a zip bag and squeeze out extra air.
- Wrap clay in plastic wrap between crafting sessions.
- Cover a bowl with a damp cloth if you are working on multiple pieces.
This simple habit saves money and keeps your projects going without interruption.
5. Use Simple Tools

You do not need fancy sculpting kits. My first successful project used only a toothpick, a straw, a butter knife, and a bottle cap.
Here are some tools you can try:
- Toothpicks for details or holes.
- Straws for making circles.
- Butter knives for cutting and shaping.
- Bottle caps for consistent circular designs.
- Forks for adding rustic textures.
Start with what you have. As you practice, you will discover which tools you like best.
6. Smooth Clay With a Little Water
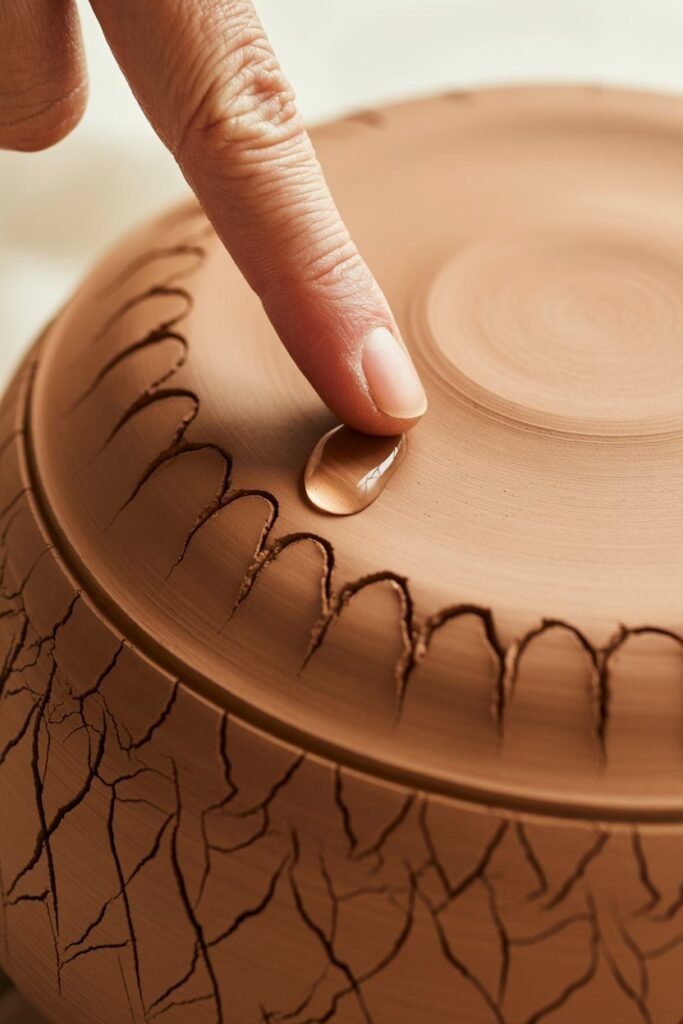
Fingerprints and small cracks can make your pieces look unfinished. I used to get frustrated until I discovered a tiny trick: a drop of water.
Gently rub it with your fingertip in circles to smooth the surface. Be careful not to add too much water. This little step makes your pieces look polished and professional even as a beginner.
7. Be Patient While Drying
Rushing air dry clay is a common mistake. Thick pieces need at least 24 to 48 hours to dry. I learned this when my first tray of small bowls warped overnight.
Here is what helps:
- Turn pieces halfway through drying to make them even.
- Check if clay feels cool to touch before sanding or painting.
- Thin pieces dry faster, but thicker ones need more time.
Patience is part of the creative process. Letting your pieces dry properly gives better results and stronger finished projects.
8. Seal Your Creations
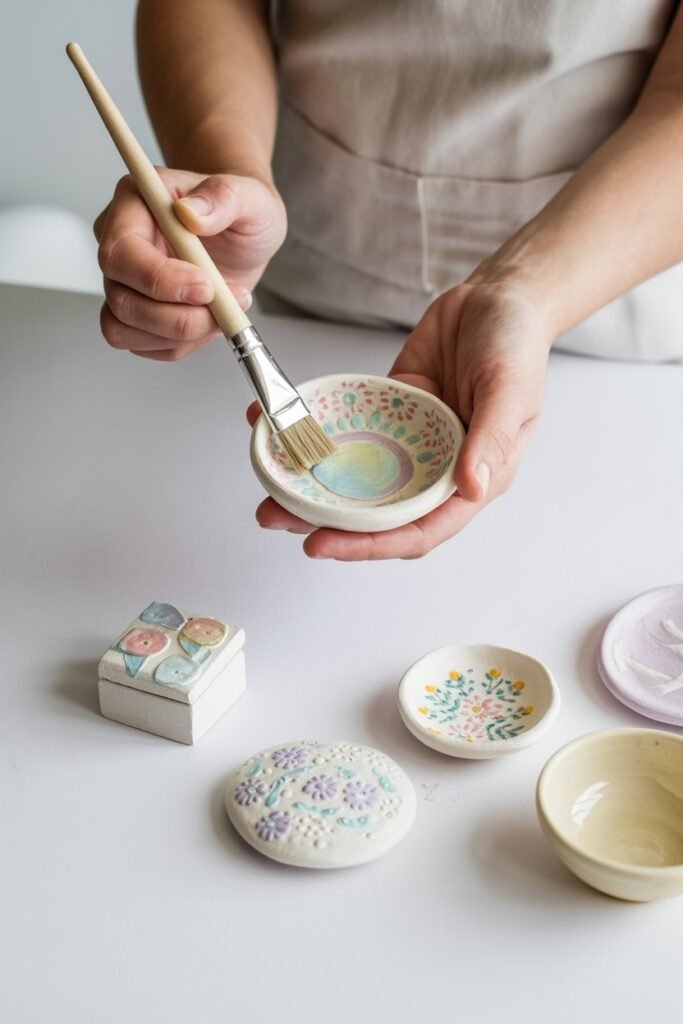
Air dry clay is not waterproof. I learned the hard way when my first small dish got wet and became blotchy. Sealing protects your pieces and gives them a finished look.
Some options I use:
- Acrylic varnish
- Mod Podge
- Clear craft sealers
You can pick glossy, matte, or satin finishes. Sealing helps your work last longer, even when little hands touch it or if it is for decoration.
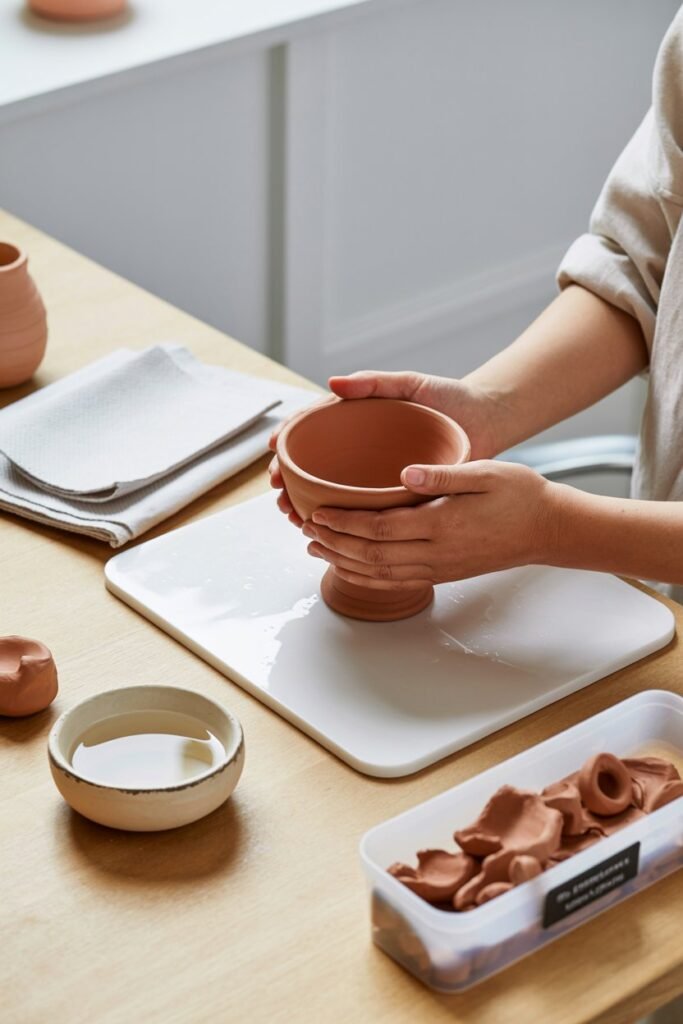
9. Start Small and Build Confidence

One important lesson I learned is to start small. I tried to make a vase on my first day and it collapsed. But small charms and dishes were manageable and gave me confidence.
Ideas to start with:
- Mini trinket dishes
- Simple keychains
- Hearts, stars, or circles
- Small pendants
- Tiny planters
Small projects teach you how clay behaves and give you small wins that keep you motivated.
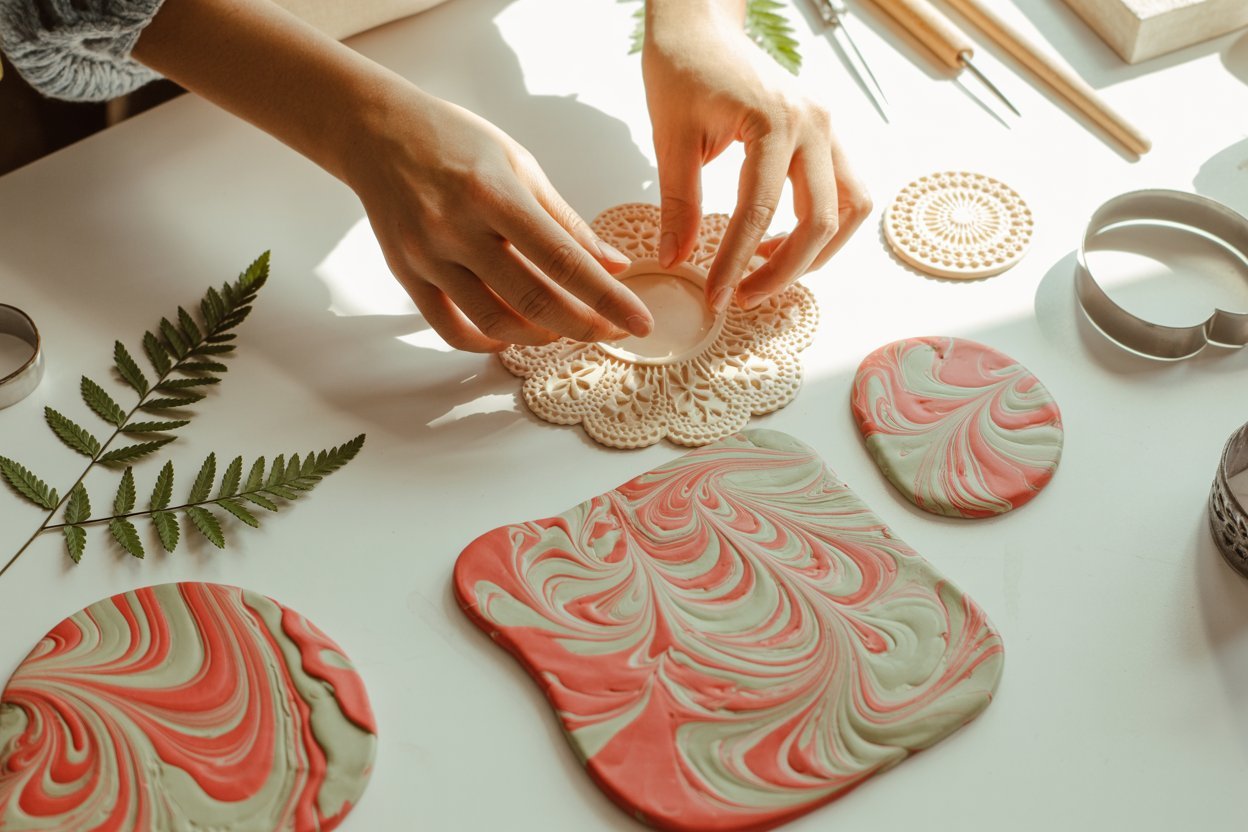
10. Experiment and Have Fun

Creativity grows when you let yourself play. Some of my favorite pieces came from mistakes I thought ruined them. Air dry clay is forgiving. You can reshape, layer, and try new techniques.
Try:
- Marbling different colors
- Pressing lace, leaves, or fabric for texture
- Layering shapes
- Cutting unusual silhouettes
Do not worry about perfection. The joy is in experimenting and discovering your style.
A Mom’s Reflection
Looking back, crafting with clay taught me more than making pretty things. I learned patience, focus, and how to enjoy creativity even in small moments.
Every fingerprint, every tiny flaw, and every small victory shaped my understanding of clay and my personal style.
I want you to feel that same joy. Let your first projects be learning pieces. Let the process matter as much as the finished result. You do not need everything figured out—you just need to begin.
Conclusion
Air dry clay is simple, fun, and incredibly rewarding. With these tips and tricks, you can craft confidently, avoid mistakes, and create pieces that feel personal and meaningful.
You do not need fancy tools or experience. You only need curiosity, patience, and the willingness to explore.
Every project teaches you something new, and each piece becomes part of your creative journey.
Grab your clay, set up your workspace, and let your creativity unfold one piece at a time. You deserve this time for yourself, and I cannot wait for you to see what you create.