

As a mom, I know firsthand how hard it can be to carve out a moment for yourself.
Between school runs, snacks, chores, and everything in between, creative time often feels like something you have to squeeze into the leftover edges of your day.
I still remember the first time I decided to try glazing an air dry clay dish while my kids were taking their afternoon nap.
I had my tiny bowl shaped from the night before, one slightly frayed paintbrush, and a bottle of clear sealer I was not even sure I bought correctly.
I whispered to myself, “I am going to try this” and hoped for the best.
That little moment was the start of my glazing journey, and to be honest, I made plenty of mistakes.
But each mistake taught me something, and every finished project made me feel a little more confident.
If you are just starting with air dry clay and you want your pieces to look shiny, smooth, and polished, glazing is the perfect next step.
You do not need a kiln, expensive products, or professional experience. You just need guidance, patience, and the confidence to try.
In this post, I will walk you through everything I wish someone had told me. I will show you how to glaze air dry clay correctly, what products to use, what to avoid, and how to make the whole process beginner friendly and enjoyable.
This guide is long, detailed, and written with you in mind. Let us get into it.
Amazon Shopping List: How to Glaze Air Dry Clay
Essentials

WOODOVER Premium Air Dry Clay White, 10 lb
High-quality white air dry clay with a smooth texture that’s easy to shape, sculpt, and paint. Ideal for beginners, hobbyists, classrooms, and creating durable DIY crafts without a kiln.
Get it on Amazon- Mod Podge Gloss Sealer – Most popular all-purpose glaze for air dry clay
- DecoArt Triple Thick Gloss Glaze – High-shine, glass-like finish in fewer coats
- Clear Acrylic Sealer Spray – Quick spray option for smooth sealing
Application Tools
- Soft Foam Paint Brushes Set – Helps apply glaze smoothly without streaks
- Detail Paint Brush Set for Crafts – Good for small or detailed clay pieces
- Disposable Paint Palette Tray – Keeps sealing products easy to manage
Optional (Better Finish)
- Fine Sandpaper Assortment – Smooths clay before glazing for a cleaner finish
- UV Resin Top Coat for Crafts – Ultra glossy, durable finish for decorative pieces
Understanding What Glazing Really Means With Air Dry Clay
When people hear the word glaze, they often think of ceramic glaze that gets fired in a kiln.
Air dry clay works differently. You are not actually melting a glaze onto the surface.
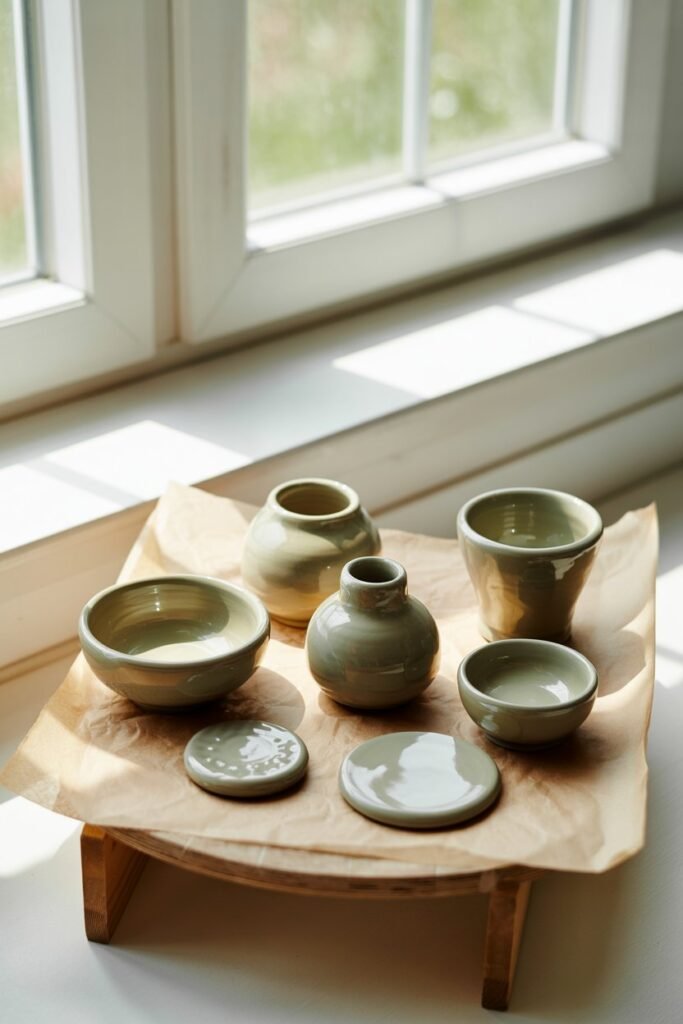
What you are doing is giving the piece a sealed, finished look that protects it and makes it feel more polished.
Think of glazing air dry clay like sealing a drawing with a protective topcoat. You are not changing the clay at its core. You are simply adding a shield that brings everything together.
Why Glazing Matters

27 Pcs Air Dry Clay Kit with Clay Glaze
Complete air dry clay kit featuring 27 essential tools, clay glaze, brushes, and accessories. Perfect for beginners and experienced crafters looking to sculpt, paint, and seal beautiful clay creations.
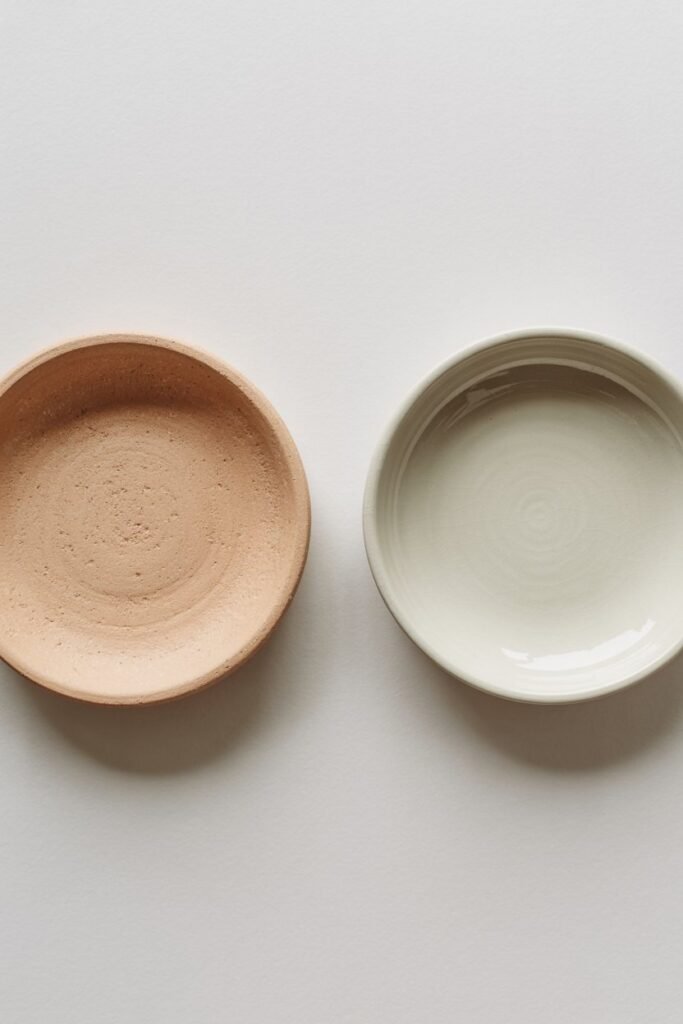
Get it on AmazonBefore I started glazing my pieces, they looked dry, uneven, and honestly a bit fragile. When I finally tried sealing them properly, everything changed.
The colors popped. The surface felt smooth. My kids stopped accidentally leaving fingerprints on the clay bowls I made for them because the surface was finally protected.
Glazing gives your clay piece three big benefits while still keeping it beginner friendly:
- It strengthens the surface so it lasts longer.
- It enhances paint, details, and texture.
- It gives the piece a professional, finished look without needing a kiln.
Once you feel that smooth finish for the first time, you will understand exactly why glazing is so satisfying.
More Helpful Posts
How to Fix Cracked Air Dry Clay
12 Air-Dry Clay Projects That Start Simple and Look Stunning
How to Make Air Dry Clay at Home
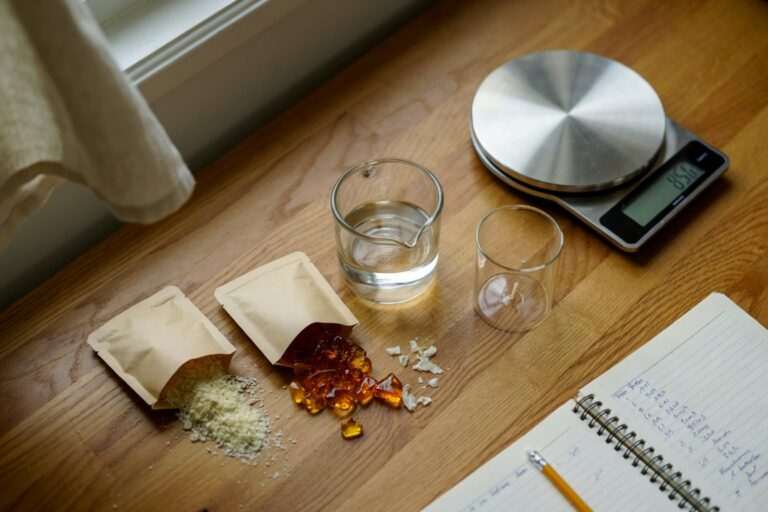
Preparing Your Piece Before You Glaze
This is something I learned the hard way. The glaze will only ever look as good as the surface underneath.
If your clay has cracks, dusty spots, or uneven paint, the glaze will highlight all of it.
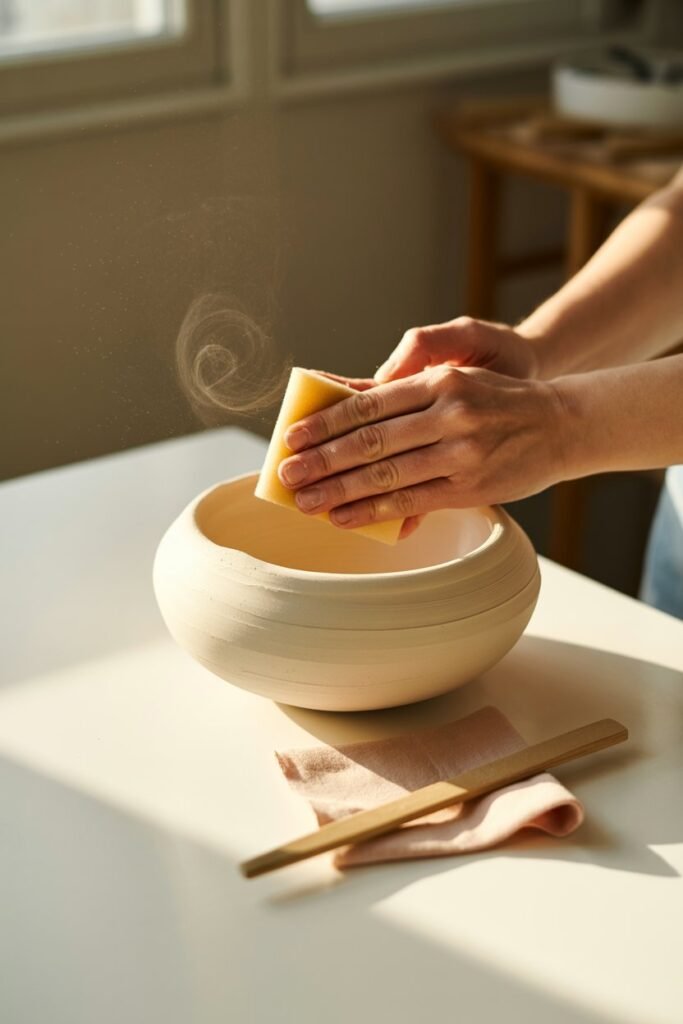
Now, when I sit down to glaze, I do a quick prep session that makes a huge difference. I make sure the piece is 100 percent dry. Not almost dry. Not dry on the outside.
Fully dry all the way through. If you glaze too early, the clay can soften or bubble, and trust me, that can ruin hours of hard work.
I lightly sand any rough edges, wipe away dust with a soft cloth, and check that the paint has completely dried. This little moment of patience saves so much frustration later.
Choosing the Right Type of Glaze for Air Dry Clay
This is where many beginners get confused, because air dry clay has different options compared to ceramic glazing.
Over time, I tested several types, and each one gives a different finish.
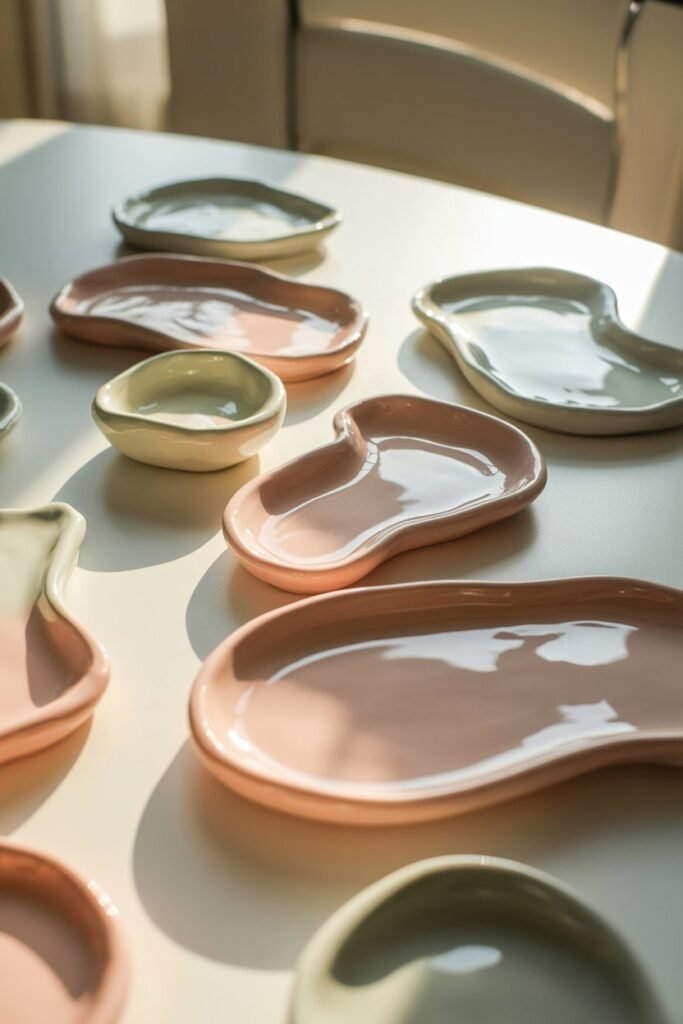
Some glazes are thick and glossy, almost like glass. Others are silky and matte.
When I am making something for my kids, like a keychain or a small dish for their earrings, I usually go for a durable, glossy seal.
When I am making decor, like a vase or figurine, I often pick a soft matte finish that feels more natural.
What matters most is choosing a glaze that is designed for acrylic paint or craft materials, not a kiln glaze. Once you understand what look you want, the choice becomes easier and way less overwhelming.
How to Apply Glaze Smoothly
This is the part everyone worries about, but once you do it a few times, it becomes relaxing. I treat glazing like the final calm step after all the shaping, drying, and painting.

I start with a clean brush, usually one with soft bristles so it does not leave streaks.
I apply the glaze in thin layers instead of one heavy coat. Thin layers dry evenly and give you more control. After the first layer dries, I check the surface under good light. If I want it shinier, I add another thin layer. If I want it matte and soft, I keep it at one or two.
When I first started, I rushed this step. Now, I let myself slow down a little, and the results are always better.
Letting Your Piece Cure Properly
This is a step that beginners often skip, but it is so important. Even though the glaze feels dry to the touch after a few hours, it needs time to fully cure.
I usually let my pieces sit overnight, sometimes longer if they are thicker or have several layers.
I still remember the time I glazed a little jewelry dish and handed it to my daughter too soon. She loved it, but her fingerprints stayed on the glaze because it had not cured yet.
I learned from that moment to always let the glaze rest and harden completely.
Curing is the secret to a long-lasting finish that does not scratch or peel.
Final Thoughts
Glazing air dry clay can feel intimidating at first, but once you understand the process, it becomes one of the most rewarding parts of the craft.
Every time I glaze a piece now, I get that same little spark of excitement, like watching a project come to life right in front of me.
And if you are just beginning your clay journey, I want you to know that you do not need to get everything perfect.
You will learn by doing, and your confidence will grow piece by piece. I still make mistakes, even now. The beauty of air dry clay is that you can always try again.
You and I are learning together, one project at a time, and that is what makes this craft so meaningful.
If you want, I can write your SEO title, meta description, slug, Pinterest description, or even create a media kit blurb for this post.
A Mom’s Reflection
Every time I glaze a piece of air dry clay, I feel a little spark of accomplishment.
I love the quiet, the focus, and the feeling that I made something with my hands. It reminds me that I can create beautiful things even on busy days.
If you are just starting your glazing journey, trust yourself. You do not have to be perfect. You only have to begin.
Your pieces will get better with every attempt, and soon you will start developing a style that feels like your own.
You deserve time to create. You deserve a hobby that makes you feel alive and inspired. And glazing air dry clay is a wonderful place to start.
Conclusion
Glazing air dry clay is one of the most rewarding steps in the crafting process. It turns simple shapes into polished pieces you can proudly display, gift, or keep forever.
Now that you understand how to choose your glaze, prepare your workspace, apply thin coats, seal your project, and let it cure properly, you have everything you need to start creating beautiful, professional looking pieces right from home.
Take your time, experiment, trust the process, and enjoy the quiet moments where you get to focus on yourself. I cannot wait for you to see how your projects turn out.


Thank you for the post, I just started with air dry clay and this post on glazing will definitely help.
Now on to a successful gift making project.