Homemade Aloe Cucumber After-Sun Soap Recipe in Under an Hour
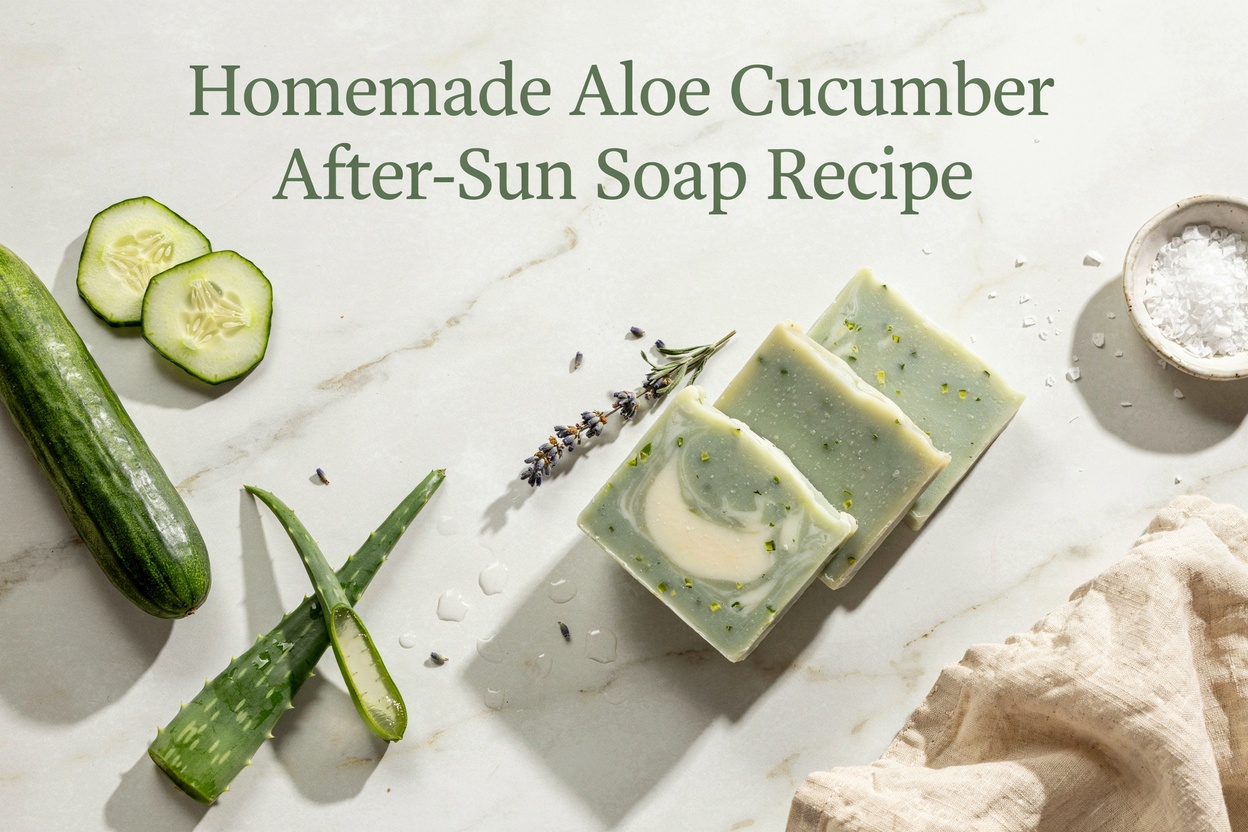
I did not realize how much my skin needed after-sun care until I ignored it.
One day at the beach turned into dry, tight, irritated skin that no regular body wash could fix. Everything felt either too harsh or just not soothing enough.
That is when I started making my own after-sun soap.
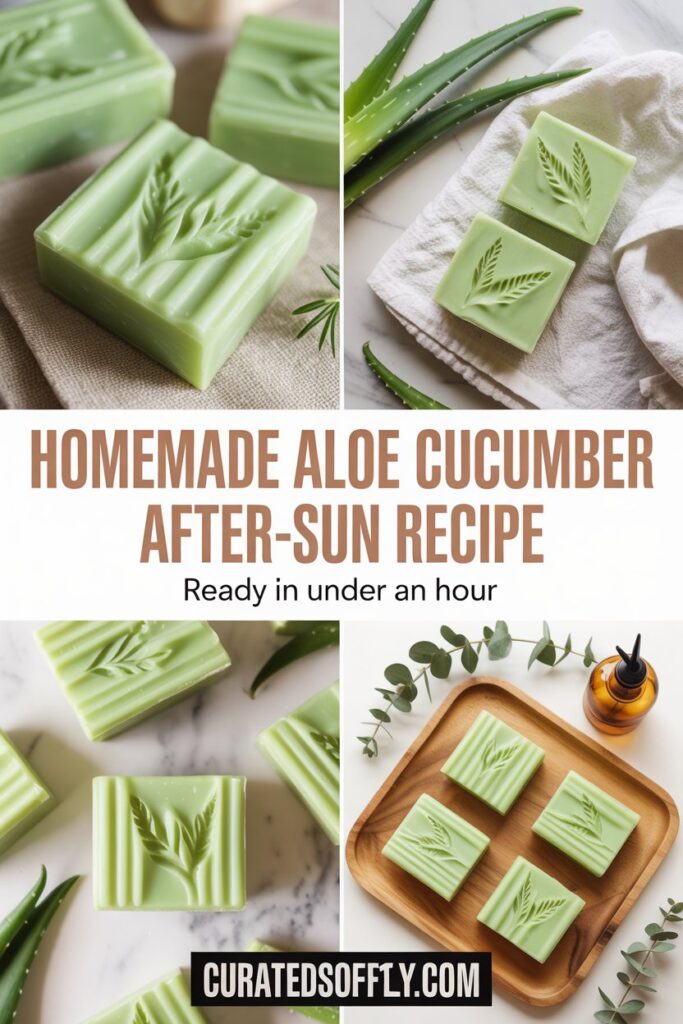
And honestly, this simple aloe cucumber version became one of the few things that actually made my skin feel calm again almost immediately.
If your skin ever feels overheated, dry, or sensitive after being in the sun, this is the kind of gentle, cooling care that makes a real difference.
The best part is you can make it in under an hour, and you only need a few simple ingredients.
Why Aloe and Cucumber Work So Well After Sun Exposure
Before making anything, I always like to understand why it works.
Because once you understand that, you can adjust and improve your results instead of just following steps.
Aloe Vera: The Soothing Base
Aloe is one of the most effective natural ingredients for sun-exposed skin.
When I use it in soap, I notice:
- A cooling effect almost instantly
- Reduced tightness and dryness
- Skin feels calmer, not irritated
It works because it hydrates without feeling heavy and helps your skin recover instead of just coating it.
Cucumber: The Cooling Boost
Cucumber adds something aloe alone does not.
It gives that fresh, cooling feeling that makes your skin feel refreshed, not just moisturized.
Whenever I include cucumber, the soap feels lighter and more soothing, especially after a long day outside.
Why This Combination Works Better Than Regular Soap
Most regular soaps focus on cleansing.
This one focuses on recovery.
Instead of stripping your skin, it helps restore moisture while gently cleaning, which is exactly what your skin needs after sun exposure.
What You Will Need (Simple Ingredients)
One thing I learned early is that simple recipes almost always work better.
You do not need complicated ingredients to make something effective.
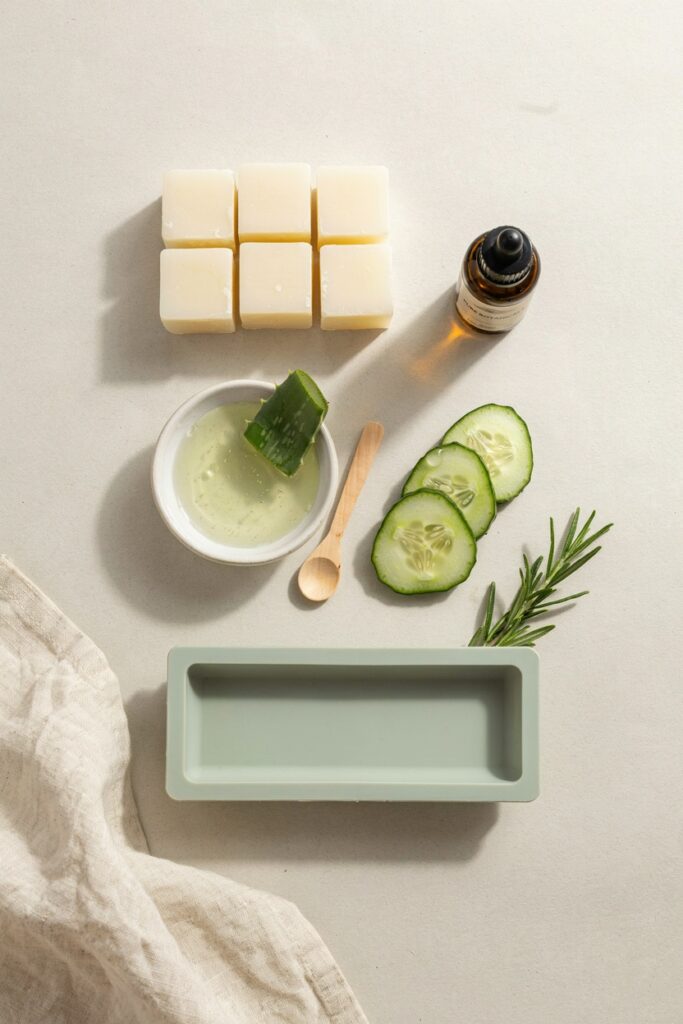
Ingredients
- Melt and pour soap base (shea butter or glycerin works best)
- Fresh aloe vera gel (or store-bought, pure aloe)
- Cucumber (blended or juiced)
- Optional: a few drops of essential oil like lavender or peppermint
Tools
- Microwave-safe bowl or double boiler
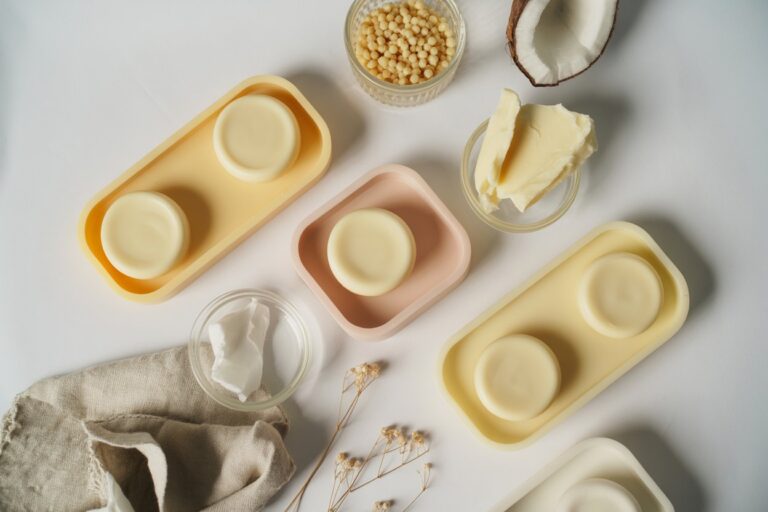
- Soap mold
- Spoon or spatula
- Knife for cutting soap base
Before You Start: Small Mistakes That Make a Big Difference
The first time I made soap, I rushed through it.
It still worked, but the texture and finish were not as smooth as they could have been.
These small things made a big difference for me:
- Do not overheat your soap base or it can become cloudy
- Strain cucumber juice if you want a smoother finish
- Mix gently to avoid air bubbles
- Pour slowly for a cleaner look
Once I started paying attention to these details, my soap looked and felt much more polished.
Step By Step: How I Make This After-Sun Soap
This is the exact method I use now, and it consistently turns out smooth, soothing, and easy to use.
Step 1: Prepare Your Ingredients
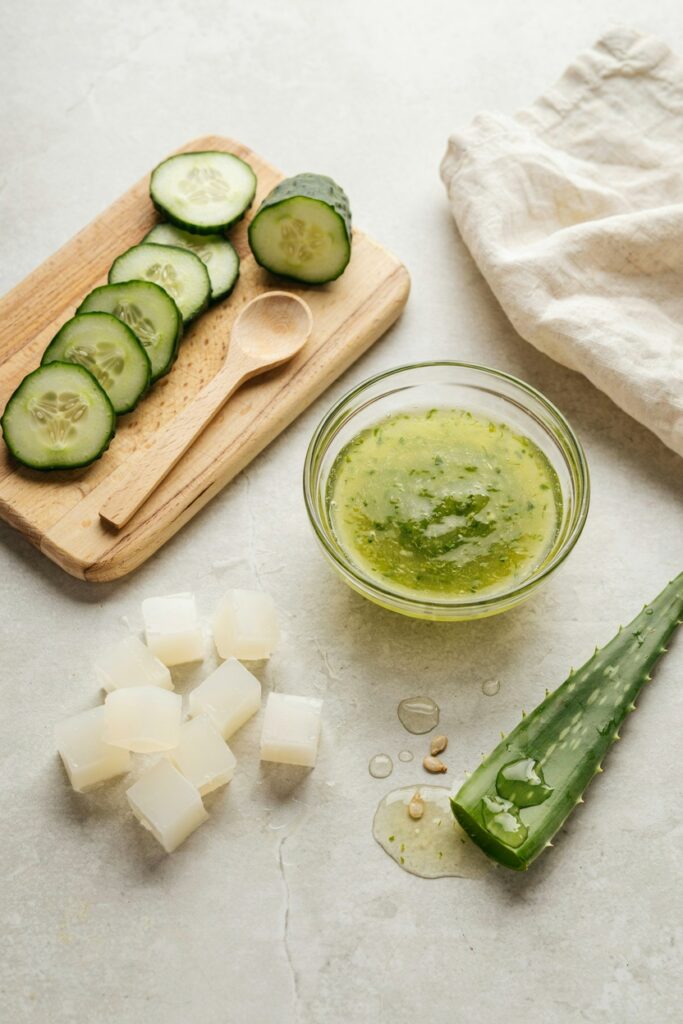
Start by cutting your soap base into small cubes so it melts evenly.
Then blend your cucumber and strain it if you want a smoother texture.
If you are using fresh aloe, make sure it is clean and gel-like without chunks.
Step 2: Melt the Soap Base
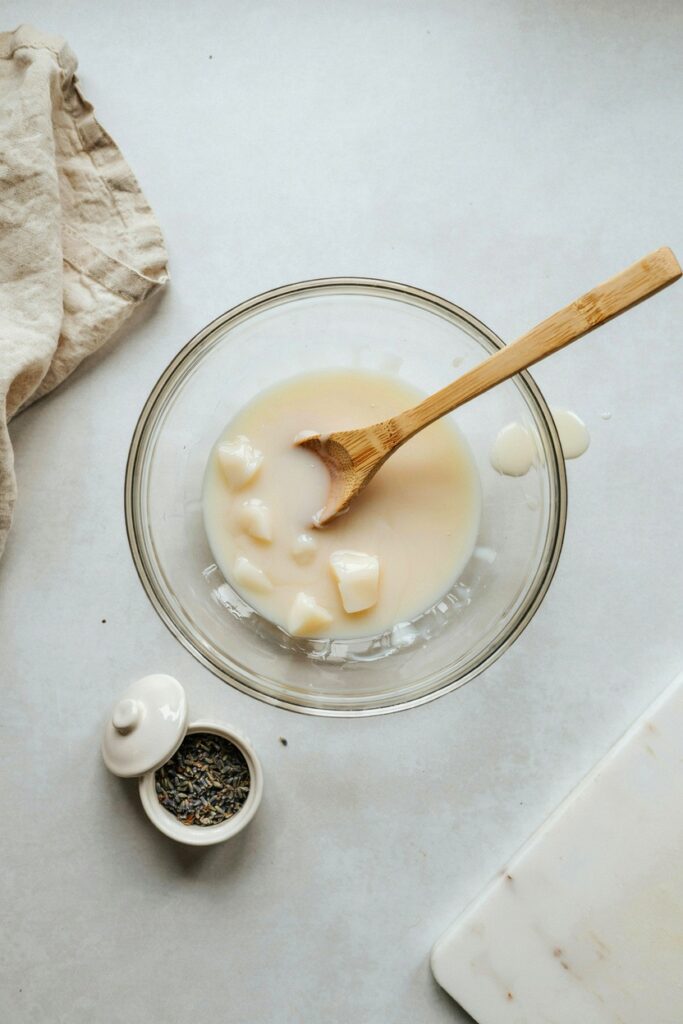
Place the soap cubes in a microwave-safe bowl.
Heat in short intervals, about 20 to 30 seconds at a time, stirring in between.
I learned quickly that overheating is one of the easiest ways to ruin the texture, so go slowly here.
Step 3: Add Aloe and Cucumber
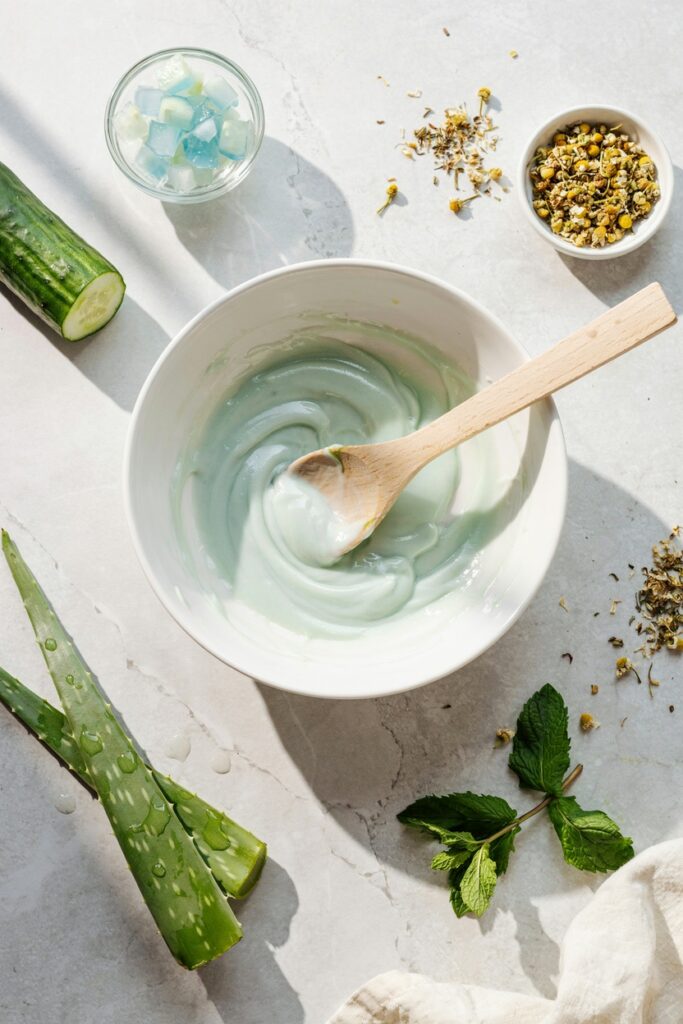
Once the soap base is fully melted, let it cool slightly before adding your aloe and cucumber.
This step matters more than it seems.
If the base is too hot, it can reduce the effectiveness of the aloe and affect the final texture.
Stir gently until everything is evenly combined.
Step 4: Add Optional Ingredients
If you are using essential oils, add just a few drops at this stage.
I usually keep it minimal because the goal is soothing, not overpowering fragrance.
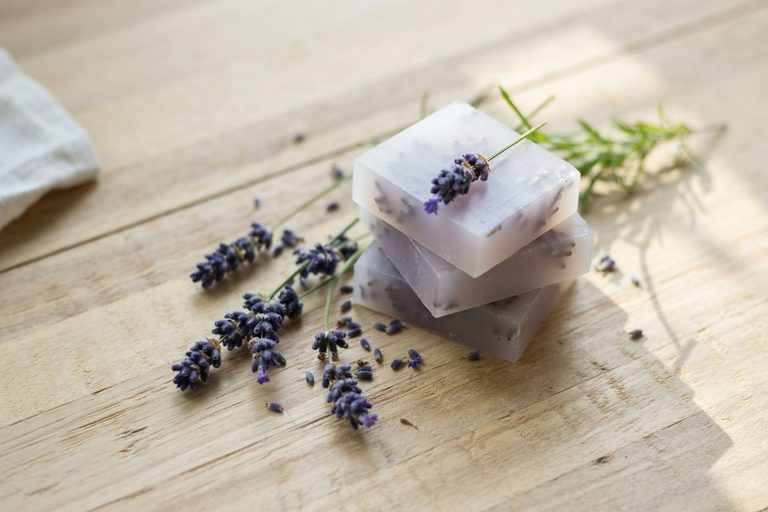
Lavender works well if you want something calming.
Peppermint adds a slightly more refreshing feel.
Step 5: Pour Into Molds
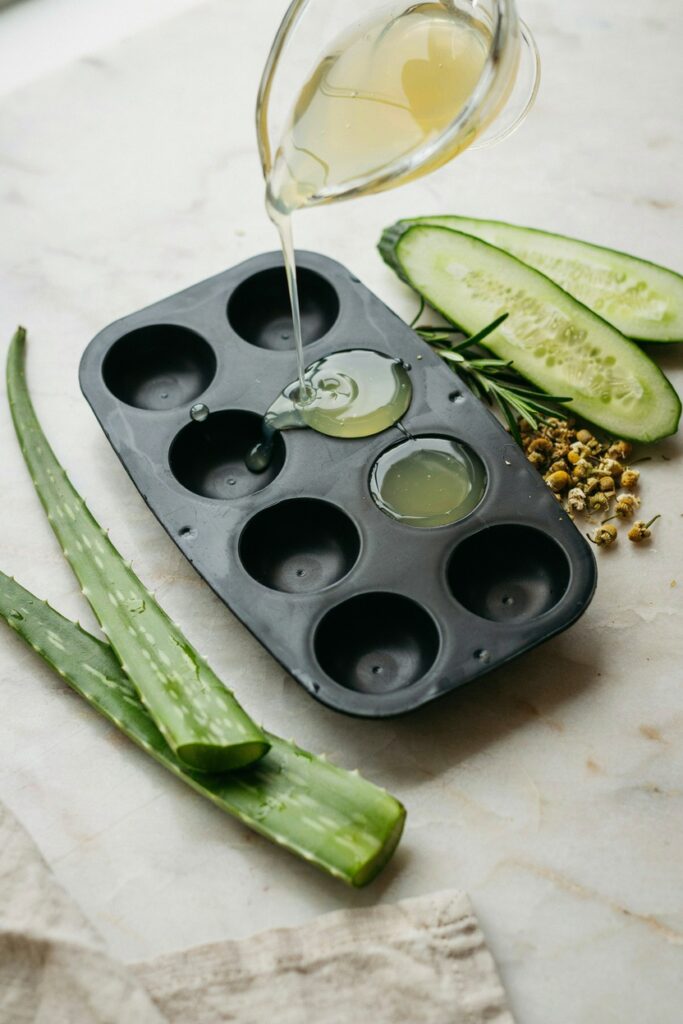
Carefully pour the mixture into your soap molds.
Try to pour slowly to avoid bubbles and keep the surface smooth.
At this point, it already starts to look like a finished product, which is always the most satisfying part for me.
What to Expect Before It Sets
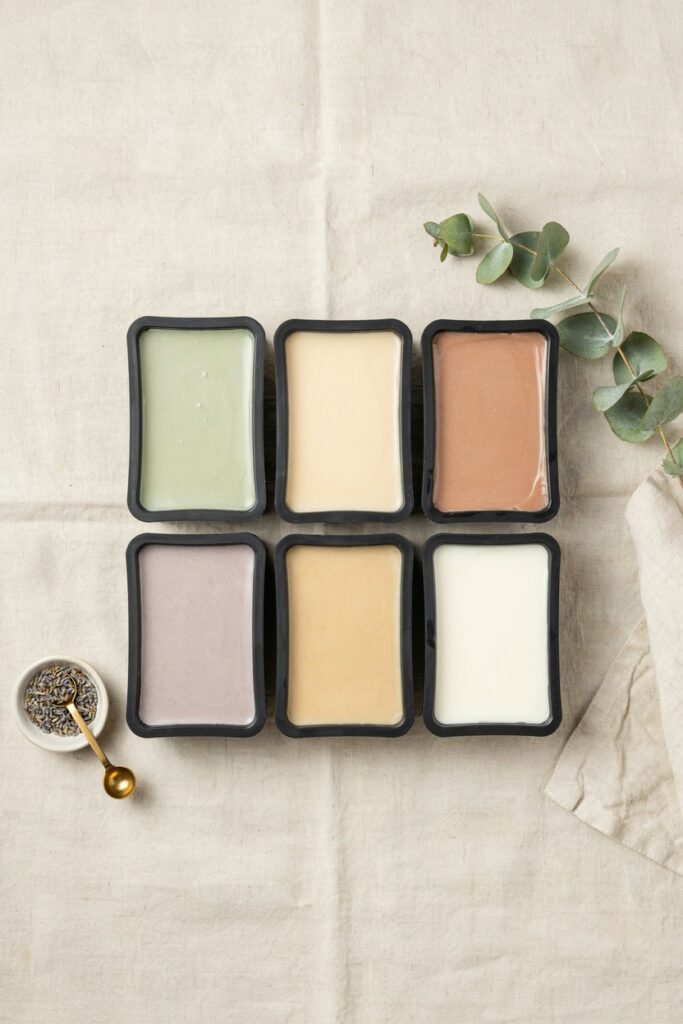
This is where patience comes in.
It usually takes about 30 to 60 minutes to fully set depending on the size of your molds and room temperature.
While it sets, you might notice:
- A slight color tint from the cucumber
- A smooth, glossy surface forming
- A light, fresh scent
Once it is fully firm, it is ready to use.
Before You Move On
At this point, you have a simple, effective after-sun soap that actually supports your skin instead of drying it out.
But there are a few things that make an even bigger difference once you start using and storing it properly.
In the next section, I will show you:
- How to store your soap so it lasts longer
- How to use it for the best after-sun results
- Easy variations you can try for different skin needs
This is where you take a simple recipe and turn it into something you will actually keep using.
How to Store Your After-Sun Soap So It Lasts Longer
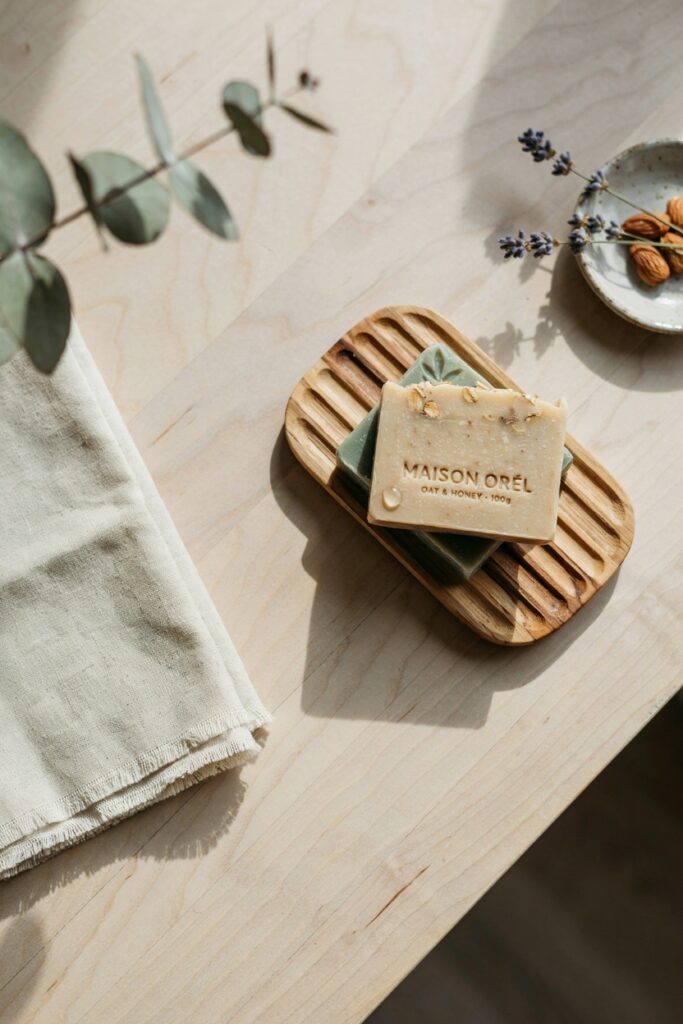
The first time I made this soap, I left it sitting in the shower without thinking much about it.
It softened way too quickly and did not last nearly as long as it should have.
That is when I realized storage makes a bigger difference than most people expect.
What I Do Now
I always keep my soap in a dry, well-drained soap dish.
This helps it dry properly between uses instead of staying soft and wearing down faster.
If you live in a humid environment, this matters even more.
Extra Tip That Helped Me
If I make multiple bars, I store the extras in a cool, dry place instead of leaving them all in the bathroom.
This keeps them firm and extends their shelf life significantly.
How to Use It for the Best After-Sun Results
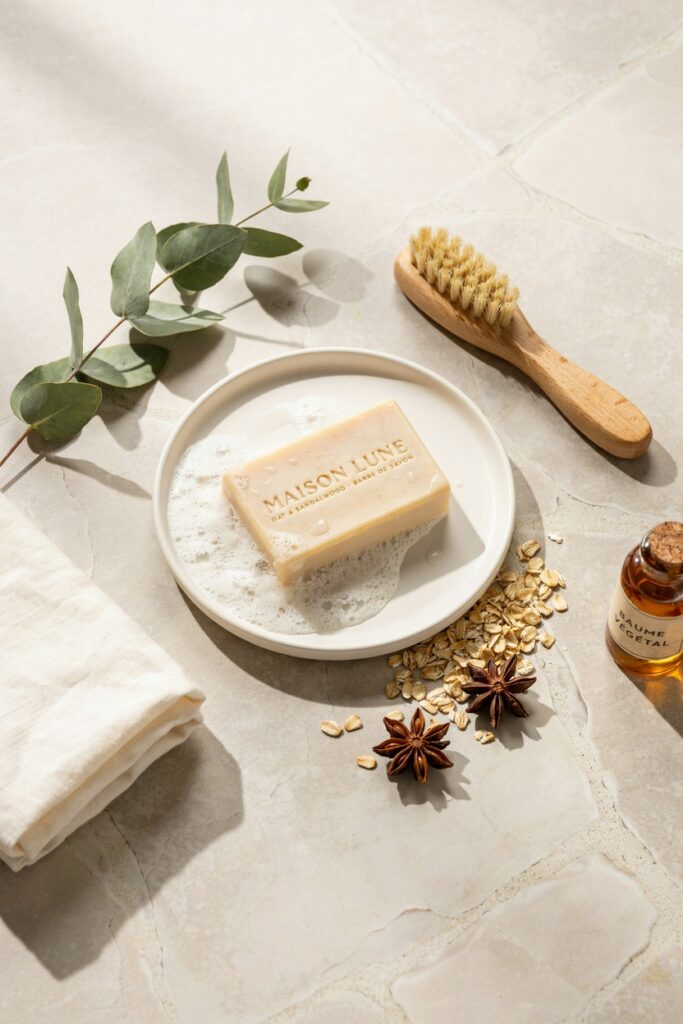
Using this soap is simple, but how you use it can change how effective it feels.
When I Use It
I use it right after being in the sun, especially when my skin feels warm or slightly irritated.
That is when the soothing effect is most noticeable.
How I Use It
I do not scrub aggressively.
Instead, I gently lather it in my hands and apply it softly to my skin.
The goal is to calm your skin, not exfoliate it.
What I Notice Immediately
- My skin feels cooler
- The tight, dry feeling reduces
- It feels clean without that stripped sensation
That balance is what makes this soap different from regular body washes.
Easy Variations You Can Try
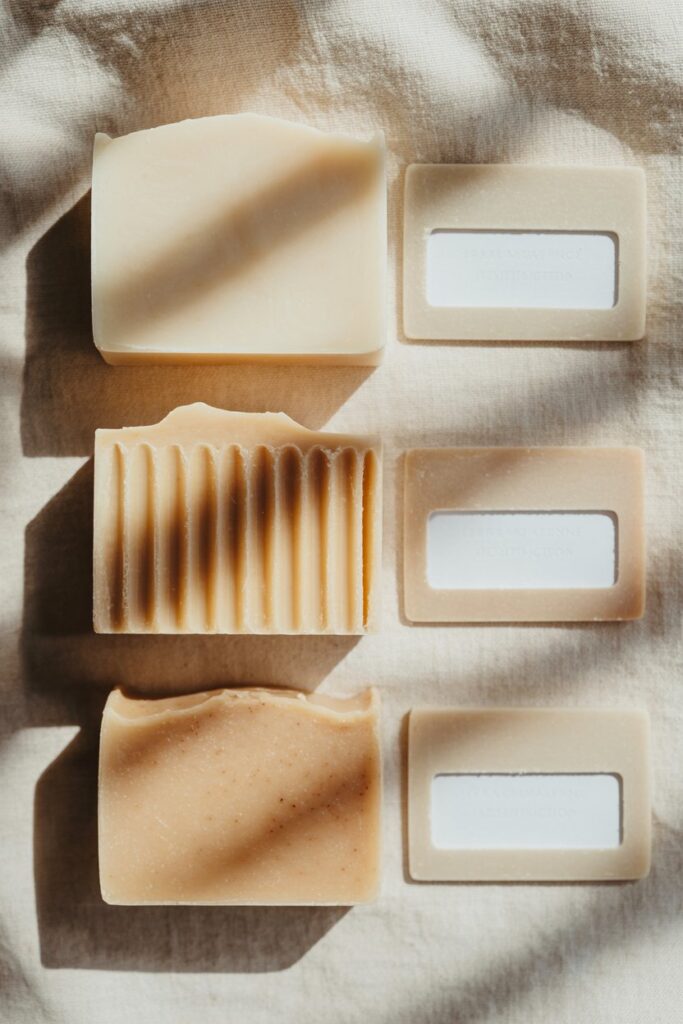
Once I got comfortable with the basic recipe, I started experimenting a little.
You do not need to change much to get a slightly different result.
For Extra Moisture
Add a small amount of coconut oil or shea butter.
This makes the soap feel more nourishing, especially if your skin tends to get very dry after sun exposure.
For a Stronger Cooling Effect
Add a drop or two of peppermint essential oil.
It creates a more refreshing, cooling sensation on the skin, especially in hot weather.
Just keep it minimal so it does not become overpowering.
For Sensitive Skin
Skip essential oils completely and keep the formula as simple as possible.
Aloe and cucumber on their own are already very soothing.
Common Mistakes to Avoid
I made most of these when I started, and fixing them made a big difference.
Adding Ingredients When the Base Is Too Hot
This can affect both texture and effectiveness.
Let the base cool slightly before mixing anything in.
Using Too Much Cucumber Juice
It might seem like more is better, but too much liquid can make the soap too soft.
Keep the balance right so it still sets properly.
Rushing the Setting Process
I used to try removing the soap too early.
Letting it fully set makes it firmer, smoother, and easier to use.
What Makes This Recipe Worth Keeping
I have tried a lot of DIY skincare over time, and not everything becomes something I repeat.
This one did.
Because it is simple, quick, and actually useful.
It is not just about making something at home. It is about having something you will reach for again because it works.
And once you make it once, it becomes even easier the next time.
Final Thoughts
If your skin ever feels dry, tight, or irritated after being in the sun, having something gentle and soothing ready makes a real difference.
This recipe is one of the easiest ways I have found to take care of that without overcomplicating things.
Start simple.
Try it once.
And adjust it based on what your skin responds to best.
That is how you turn a basic recipe into something that actually fits your routine.