Easy Crochet Baby Hat Pattern (Free Beginner Tutorial)
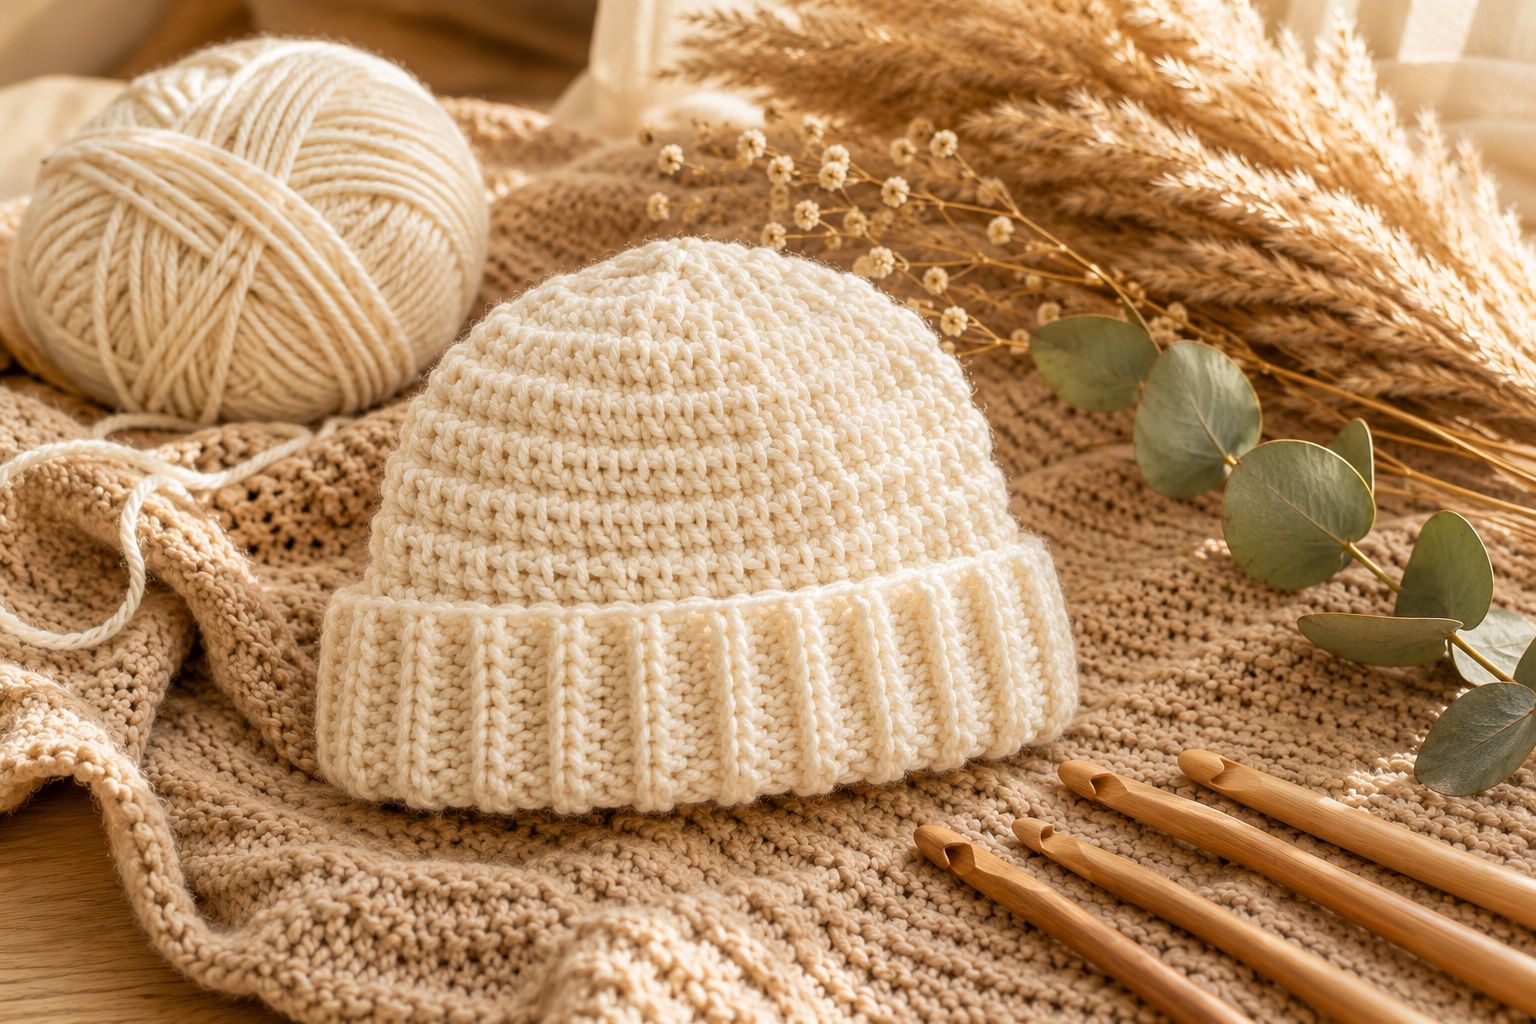
There’s something so special about crocheting for a new baby.
Out of all the projects I’ve made over the years, baby hats are still some of my favorites. They’re quick to finish, don’t require much yarn, and always make thoughtful handmade gifts that parents truly appreciate.
I still remember crocheting my very first baby hat.
I was nervous it wouldn’t fit, and I probably measured it a dozen times before weaving in the last end. But once I placed it on a tiny newborn, I completely understood why so many crocheters love making them.
That simple little hat became a keepsake.
Since then, I’ve made baby hats for family members, friends, baby showers, and even charity donations. They’re one of those projects I never get tired of because every single one feels personal.
If you’re looking for an easy crochet baby hat that works up quickly and helps you build confidence, you’re in the right place.
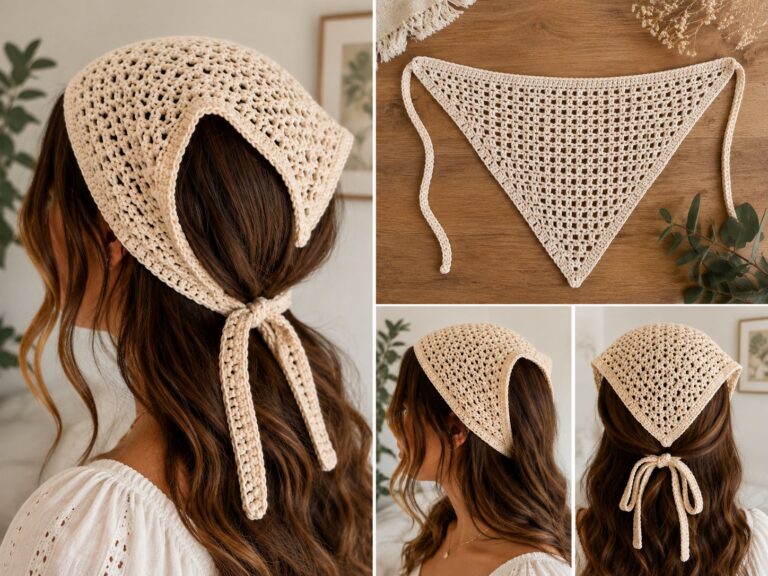
This pattern uses basic crochet stitches, comes together surprisingly fast, and only requires a small amount of yarn, making it perfect for beginners and experienced crocheters alike. my free crochet bandana pattern is another fast one worth adding to your queue
Whether you’re making a cozy hat for your own little one, creating a thoughtful baby shower gift, or adding handmade items to your craft market inventory, this simple pattern is one you’ll find yourself coming back to again and again.
Why I Love This Crochet Baby Hat Pattern
One of the biggest reasons I return to this pattern is its simplicity.
There are no complicated stitch combinations or tricky construction techniques to worry about. The hat is worked from the top down in one continuous piece, so you won’t have to seam separate sections together when you’re finished.
I also love how easy it is to customize.
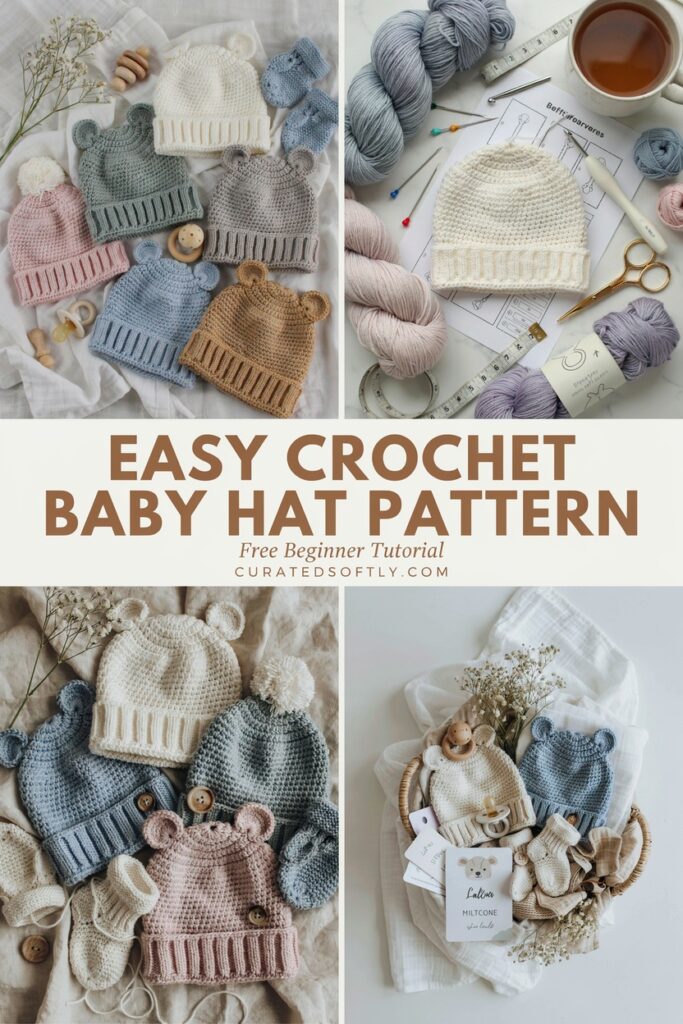
Once you’ve mastered the basic construction, you can change the colors, add stripes, crochet a folded brim, sew on a pom-pom, or even attach adorable bear ears like the example shown above.
It’s amazing how a few small details can completely change the finished look.
Another reason this pattern has become one of my favorites is how little yarn it uses.
Most baby hats can be completed using a single skein of worsted-weight yarn, making this an excellent stash-busting project if you have leftover yarn from previous crochet projects.
Why This Pattern Works So Well
After making more baby hats than I can count, I’ve found that simple construction almost always gives the best results.
This pattern starts with a small crochet circle at the crown. By increasing evenly during the first few rounds, the circle stays flat while gradually growing to the correct size.
Once the crown reaches the desired circumference, you simply stop increasing and continue crocheting evenly. This naturally forms the sides of the hat without any complicated shaping.
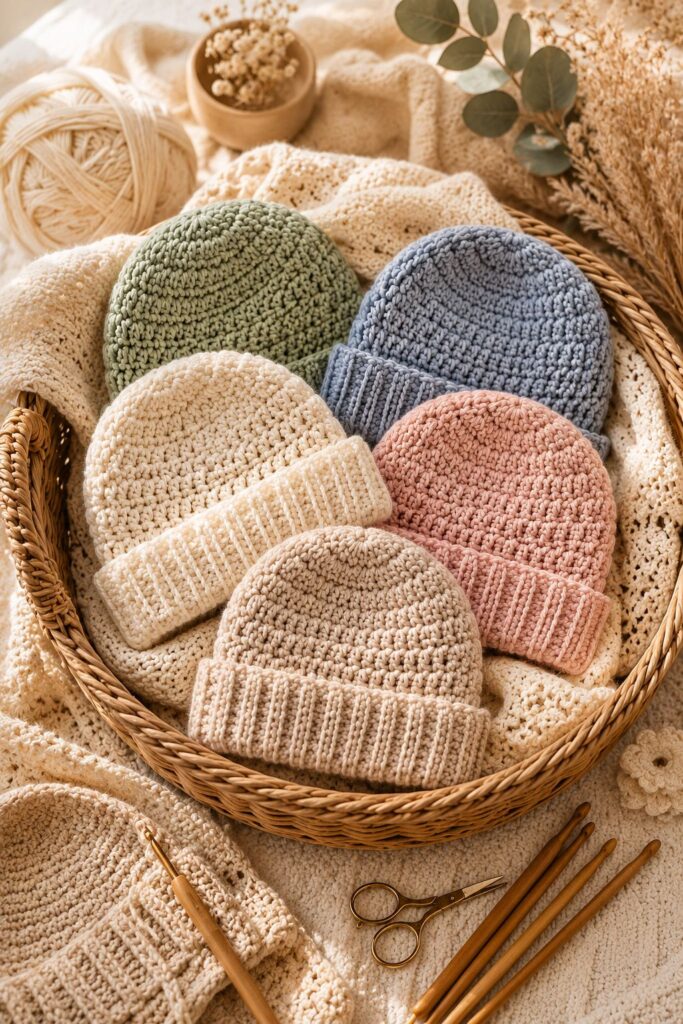
The final few rounds are worked through the back loop only to create a subtle ribbed texture around the brim. It’s a small detail, but it gives the finished hat a cleaner, more polished appearance while adding a little extra stretch.
It’s one of those projects that’s easy enough for beginners but polished enough that people often assume it was bought from a boutique.
Also Check out my – Step By Step Macrame Patterns Tutorials For Beginners
Skill Level
Beginner
If you already know how to:
- Make a magic ring
- Work single crochet stitches
- Crochet in continuous rounds
- Increase stitches evenly
then you’ll have no trouble completing this project.
If this is your very first crochet hat, don’t worry.
Take your time, count your stitches after every round, and use a stitch marker to keep track of where each round begins. Those two simple habits will save you a lot of frustration and help your hat turn out beautifully.
Materials You’ll Need
Gather everything before you begin so you can enjoy the process without stopping halfway through to look for supplies.
You’ll need:
- Category 4 (worsted weight) yarn (approximately 70 to 120 yards, depending on size)
- 4 mm (G) crochet hook, or the size needed to match gauge
- Stitch marker
- Yarn needle
- Sharp scissors
- Measuring tape
Optional
- Faux leather tag
- Small pom-pom
- Crochet bear ears or flower embellishment
Choosing the Best Yarn
One thing I learned after making several baby hats is that the yarn you choose can completely change the finished result.
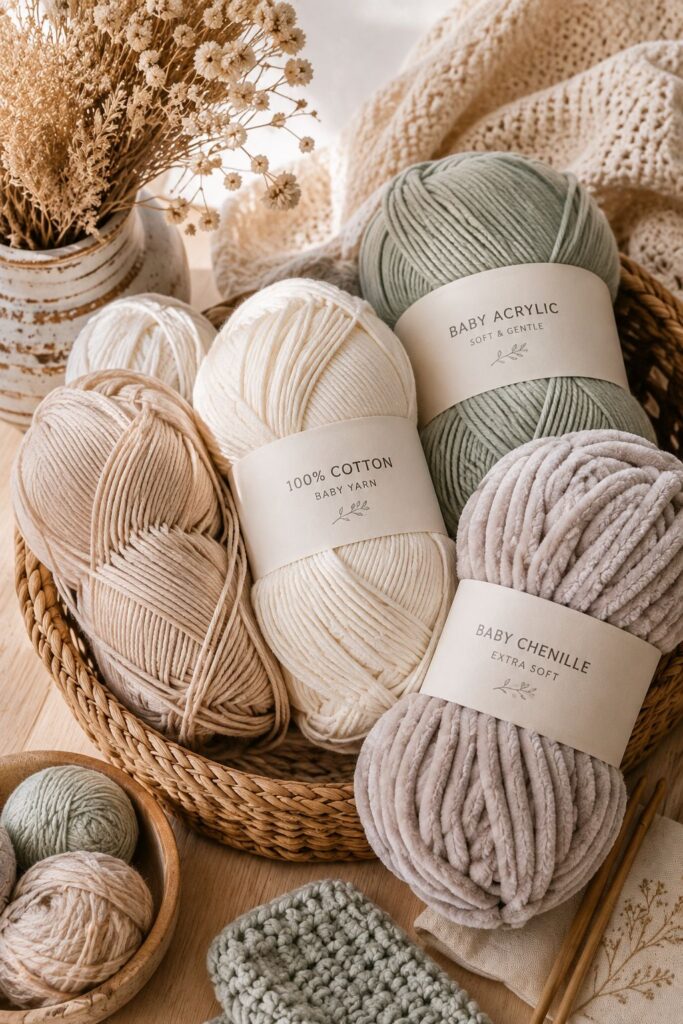
For everyday baby hats, I usually reach for a soft acrylic or acrylic blend because it’s lightweight, machine washable, and easy to care for. Parents appreciate anything they can toss in the washing machine without worrying about delicate fibers.
Cotton yarn is another great option if you’re making a lightweight hat for warmer weather. It offers excellent stitch definition and breathability, making it comfortable during spring and summer.
If you’re creating a cozy winter hat or trying to achieve the plush look shown in the inspiration photo, a soft chenille or velvet yarn gives the hat a beautifully fluffy texture. Just remember that changing the yarn weight may affect the finished size, so always check your gauge before getting started.
Crochet Abbreviations
Before we jump into the pattern, let’s quickly go over the abbreviations used throughout the tutorial. If you’ve followed other beginner crochet patterns, most of these will already be familiar.
- MR – Magic Ring
- ch – Chain
- sc – Single Crochet
- inc – Increase (2 single crochet stitches worked into the same stitch)
- BLO – Back Loop Only
- st(s) – Stitch(es)
- rnd – Round
- [ ] – Repeat the instructions inside the brackets
- ( ) – Total stitch count at the end of the round
Understanding Gauge
I know gauge isn’t the most exciting part of a crochet project, and I’ll admit I’ve skipped it more times than I should have. Unfortunately, every time I did, I ended up with a hat that was either far too big or much smaller than I expected.
Taking just a few minutes to crochet a small swatch before you begin can save you from having to unravel your entire project later.
For this pattern, aim for approximately 16 single crochet stitches and 18 rounds over 4 inches (10 cm) using worsted-weight yarn and a 4 mm crochet hook.
If your stitches are larger than the gauge, try using a smaller hook. If they’re tighter, switch to a larger hook until your gauge matches.
Remember, everyone’s crochet tension is different, so don’t worry if you need a different hook size than what’s listed.
Finished Sizes
This pattern is easy to adjust for different ages once you understand the basic construction.
| Size | Head Circumference | Final Crown Stitch Count | Hat Height |
|---|---|---|---|
| Newborn | 13–14 inches | 36 stitches | 5 inches |
| 0–3 Months | 14–15 inches | 42 stitches | 5½ inches |
| 3–6 Months | 16–17 inches | 48 stitches | 6 inches |
| 6–12 Months | 17–18 inches | 54 stitches | 6½ inches |
The instructions below are written for the 0–3 month size.
If you’d like to make a different size, simply continue increasing the crown until you reach the stitch count shown in the table, then continue with the body rounds.
Crochet Baby Hat Pattern
Now for my favorite part.
One of the things I love about this pattern is watching it transform from a tiny circle into a complete baby hat in just a short amount of time.
Take your time, keep a stitch marker at the beginning of every round, and count your stitches before moving on. Those few extra seconds can save you a lot of frustration later.
Crown
Round 1
Create a magic ring.
Work 6 single crochet into the ring.
Pull the ring closed tightly.
(6 stitches)
Round 2
Work 2 single crochet into every stitch around.
(12 stitches)
Round 3
1 SC, INC around.
(18 stitches)
Round 4
2 SC, INC around.
(24 stitches)
Round 5
3 SC, INC around.
(30 stitches)
Round 6
4 SC, INC around.
(36 stitches)
For the newborn size, this is where you’ll stop increasing and move straight to the body of the hat.
Round 7
5 SC, INC around.
(42 stitches)
For the 0–3 month size, your crown is now complete.
Lay your work flat on a table. It should form a smooth circle without curling upward or becoming wavy around the edges.
If it curls, your stitches may be a little too tight.
If it starts to ripple, your tension may be too loose or you’ve accidentally added extra increases.
Catching these small issues now is much easier than discovering them several rounds later.
Adjusting for Larger Sizes
If you’re making a larger baby hat, continue increasing in the same pattern.
For 3–6 months:
Round 8: 6 SC, INC around.
(48 stitches)
For 6–12 months:
Round 9: 7 SC, INC around.
(54 stitches)
Once you’ve reached the stitch count for your chosen size, stop increasing and begin working even rounds.
Body of the Hat
Now you’ll start to see the hat really come together.
Instead of increasing, simply crochet one single crochet into every stitch around.
Continue working evenly until your hat measures approximately:
- 5 inches for Newborn
- 5½ inches for 0–3 Months
- 6 inches for 3–6 Months
- 6½ inches for 6–12 Months
I like measuring from the very center of the crown straight down to the bottom edge every few rounds.
It only takes a moment, but it helps prevent accidentally making the hat too short or longer than intended.
As you continue crocheting, you’ll notice the sides naturally curve downward to create the classic beanie shape.
No special shaping is needed.
That’s one of the reasons this pattern is so enjoyable for beginners.
Ribbed Brim
Once you’ve reached the correct height, it’s time to finish the hat with a simple ribbed brim.
Work the final 2 to 3 rounds using single crochet in the back loop only (BLO).
This creates subtle ridges that make the brim look more polished while adding just enough stretch for a comfortable fit.
After completing the final round, fasten off and leave a tail about 6 inches long.
Use your yarn needle to weave the tail neatly through several stitches before trimming any excess yarn.
Your basic baby hat is now complete.
Assembly and Finishing
One of my favorite parts of any crochet project is finishing it off and seeing the final result come together.
Once you’ve completed the last round, take a few minutes to inspect your hat before weaving in the ends. It’s much easier to fix a missed stitch now than after everything has been secured.
Step 1: Weave in the Ends
Thread the starting and ending yarn tails onto a yarn needle.
Weave each tail back and forth through several stitches on the inside of the hat. This helps lock the yarn in place so it won’t work loose over time.
Trim any excess yarn close to the fabric without cutting into your stitches.
Step 2: Shape the Hat
Lay the hat flat and gently shape it with your hands.
If the brim looks uneven, lightly stretch it into shape. You don’t need to block every baby hat, but a quick steam block can help even out your stitches if your tension varied throughout the project.
Avoid pressing directly on acrylic yarn with a hot iron, as it can damage the fibers.
Step 3: Add Optional Embellishments
This basic hat is adorable on its own, but it’s also a wonderful base for adding your own creative touches.
You could sew on:
- A faux fur pom-pom
- A handmade leather tag
- A small crocheted flower
- Tiny bear ears
- A simple bow
Whatever embellishment you choose, make sure it’s attached securely, especially if the hat is intended for a baby.
Optional Baby Bear Ears
If you’d like to recreate the adorable teddy bear look, these simple ears are the perfect finishing touch.
Make Two
Round 1
Create a magic ring and work 6 SC into the ring.
Pull tight.
(6 stitches)
Round 2
Work 2 SC in each stitch around.
(12 stitches)
Round 3
SC in each stitch around.
(12 stitches)
Fasten off, leaving a long tail for sewing.
Flatten the ears gently between your fingers.
Position them evenly on top of the hat, about 3 to 4 inches apart depending on the size of the hat, then sew them securely using the yarn tail.
I like pinning the ears in place before sewing because it’s much easier to adjust the spacing until they look balanced.
Baby Safety Tips
Whenever I crochet something for a baby, safety always comes before appearance.
If you’re adding decorative pieces like ears, bows, flowers, or pom-poms, make sure they’re stitched on securely with several passes of yarn.
Avoid using buttons, beads, safety eyes, or other small embellishments that could become a choking hazard.
If you’re giving the hat as a gift, let parents know to supervise babies whenever they’re wearing handmade accessories.
A few extra minutes spent securing everything properly can make a big difference.
Common Mistakes to Avoid
I’ve made just about every mistake possible while crocheting baby hats, and thankfully most of them are easy to avoid once you know what to look for.
Skipping the Gauge Swatch
I know it’s tempting to jump straight into the pattern, but skipping your gauge is one of the quickest ways to end up with a hat that doesn’t fit.
Taking a few minutes to check your gauge can save hours of frustration later.
Forgetting to Count Stitches
The increase rounds build the entire shape of the hat.
Missing or adding even one stitch can leave the crown uneven, so I always count my stitches before moving on to the next round.
Crocheting Too Tightly
Many beginners naturally crochet tightly, especially when working with cotton yarn.
Relaxing your grip slightly will create a softer hat with much better stretch.
Making the Hat Too Short
It’s much easier to fold a slightly longer brim than it is to add extra rounds after finishing.
When you’re unsure, add one more round and measure again before fastening off.
Expert Tips
After making more baby hats than I can count, these are the little tricks that have helped me the most.
Always keep a stitch marker at the beginning of every round, even if you think you’ll remember where you started. It’s one of the simplest ways to prevent mistakes when working in a continuous spiral.
If you’re making several hats for gifts or craft fairs, crochet them assembly-line style. Finish all the crowns first, then work the body rounds, and finally weave in all the ends together. I find this much faster than completing one hat from start to finish before beginning the next.
Finally, don’t be afraid to experiment with colors. The same simple pattern can look completely different depending on the yarn you choose, and sometimes the most unexpected color combinations become my favorites.
Final Thoughts
This crochet baby hat has become one of those projects I come back to again and again.
It’s simple enough to make in an afternoon, practical enough to be worn every day, and thoughtful enough to become a meaningful handmade gift.
I love that once you understand the basic construction, you can easily adapt it with different colors, textures, and embellishments to create something that’s uniquely yours.
Whether you’re crocheting your very first baby hat or adding another handmade gift to your collection, I hope this pattern gives you the confidence to pick up your hook and enjoy the process.
Happy crocheting!