Air Dry Clay Incense Holder Tutorial: An Easy DIY Clay Incense Dish
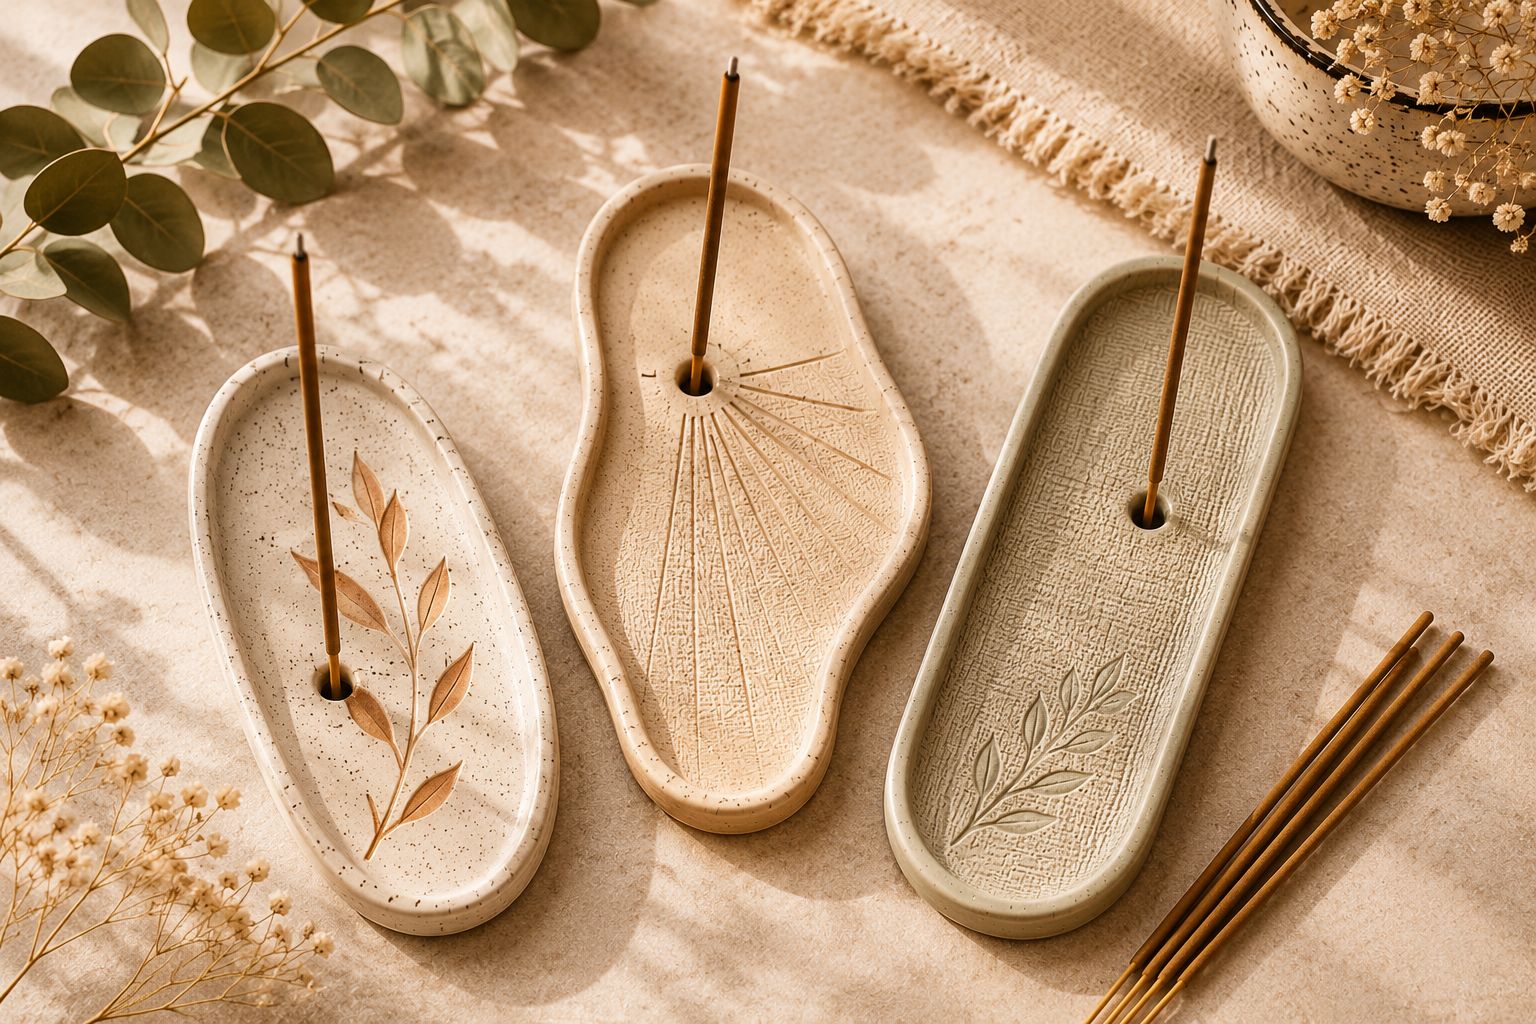
I had a little piece of air-dry clay left over after another project and almost put it back in the cupboard because it wasn’t really enough to make anything substantial. Then I realized I could turn it into the small incense dish I had been meaning to make for my bedside table.
The first one I made was much simpler than the version I ended up keeping. I shaped a small oval, poked a hole in it, and called it done. It worked as a basic shape, but the edges were too thin and the whole thing looked more like a scrap of clay than an intentional piece of decor.
For the next version, I made the clay a little thicker, added a shallow raised rim, and paid much more attention to where I placed the incense hole. That small change made a surprising difference.

The finished holder is a simple oval dish with gently raised edges and a small opening near one end for an incense stick. It catches the ash underneath while still looking like a little piece of handmade decor when it’s sitting on a shelf.
This is also one of those clay projects where you don’t need perfect pottery skills. In fact, I think a slightly uneven handmade edge makes it look better.
One important note before we start: ordinary air-dry clay is not automatically heatproof or fireproof.
This tutorial creates a decorative incense holder, but you should not assume that air-dry clay, paint, or sealer can safely withstand direct flame, glowing embers, or high temperatures.
If you’re not sure your piece is properly finished, my guide on how to seal air-dry clay walks through what sealing actually protects against (and what it doesn’t).
If you burn incense, follow the incense manufacturer’s safety instructions and use a suitable heat-resistant, nonflammable surface beneath and around the burning incense. Never leave burning incense unattended.
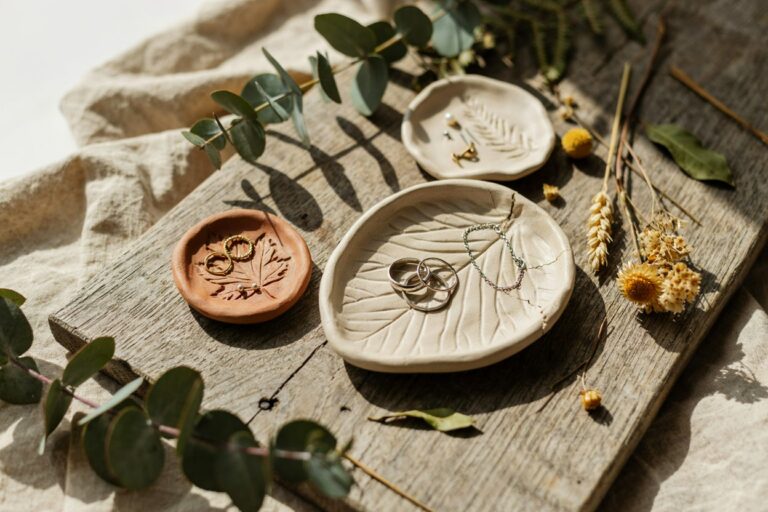
If you’d like more air-dry clay tutorials like this one, check out my DIY clay diffuser stones, leaf imprint jewelry dish, or Anthropologie-inspired trinket dish — all beginner-friendly, small-batch projects like this one.
Why You’ll Like This Air Dry Clay Incense Holder
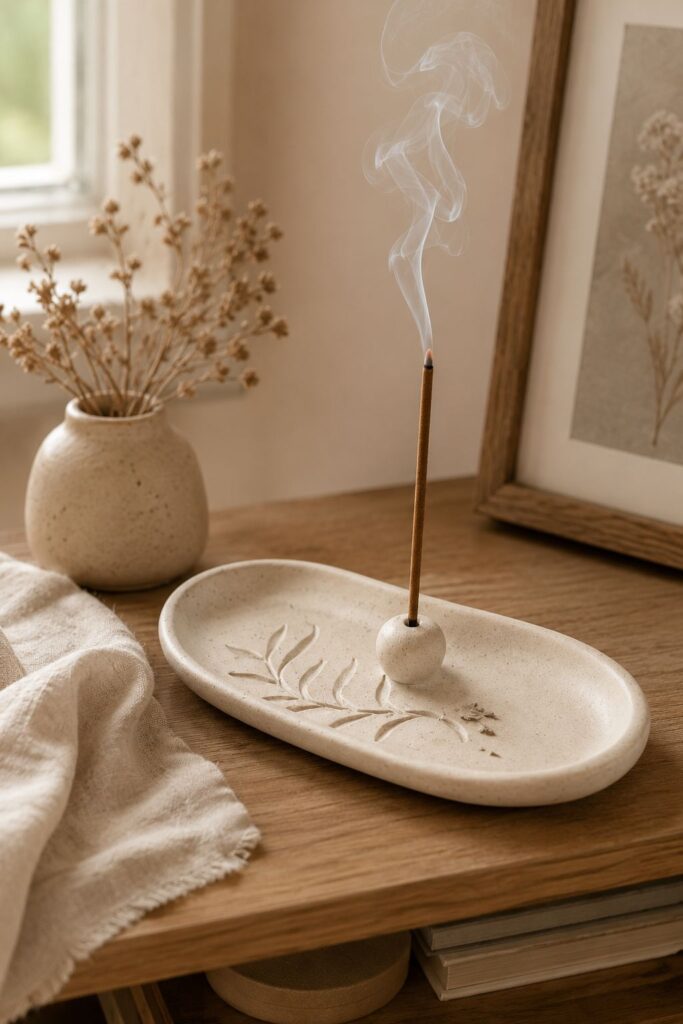
This is a particularly good project if you’re new to air-dry clay because the shape is uncomplicated.
You aren’t building several complicated pieces or trying to make perfectly symmetrical pottery.
The main project is simply:
- Roll the clay
- Cut an oval
- Shape the edges
- Make one small hole
- Let it dry
- Sand and decorate
The entire holder can be made from a relatively small amount of clay, so it’s also a good way to use leftover clay from another project.
I like the finished size because it’s big enough to look intentional on a shelf but small enough that it doesn’t take over a bedside table or bathroom counter.
What You’ll Be Making
The finished holder is approximately:
- 6 inches long
- 3 inches wide
- ¼ inch thick
- Approximately ½ inch raised around the outer edge
- One small incense opening positioned near one short end
The exact measurements don’t have to be perfect. Air-dry clay projects are forgiving, and you can make yours slightly smaller or larger.
The important thing is keeping the clay reasonably even in thickness and making sure the finished piece sits flat and stable.
Materials You’ll Need
For one incense holder:
- Approximately 100 to 120 g air-dry clay
- Rolling pin or smooth glass bottle
- Ruler
- Pencil
- Craft knife or clay-cutting tool
- Toothpick, skewer, or small clay tool
- Small bowl or cup for smoothing
- Fine-grit sandpaper, approximately 220 to 320 grit
- Small paintbrush
- Acrylic paint, optional
- Water-based acrylic sealer suitable for your clay, optional
- Parchment paper or another suitable work surface
You don’t need specialist pottery equipment.
A clean glass bottle works surprisingly well as a rolling pin if you don’t have one.
Choosing Your Air Dry Clay
A smooth, lightweight air-dry clay is easiest for this particular project.
I would avoid extremely crumbly clay for your first attempt because the raised edge needs to remain attached to the base while you’re shaping it.
Whatever clay you choose, check the manufacturer’s drying and finishing instructions.
Different brands can behave differently, particularly when it comes to thickness, drying time, sanding, and sealing.
How to Make an Air Dry Clay Incense Holder
Step 1: Condition the Clay
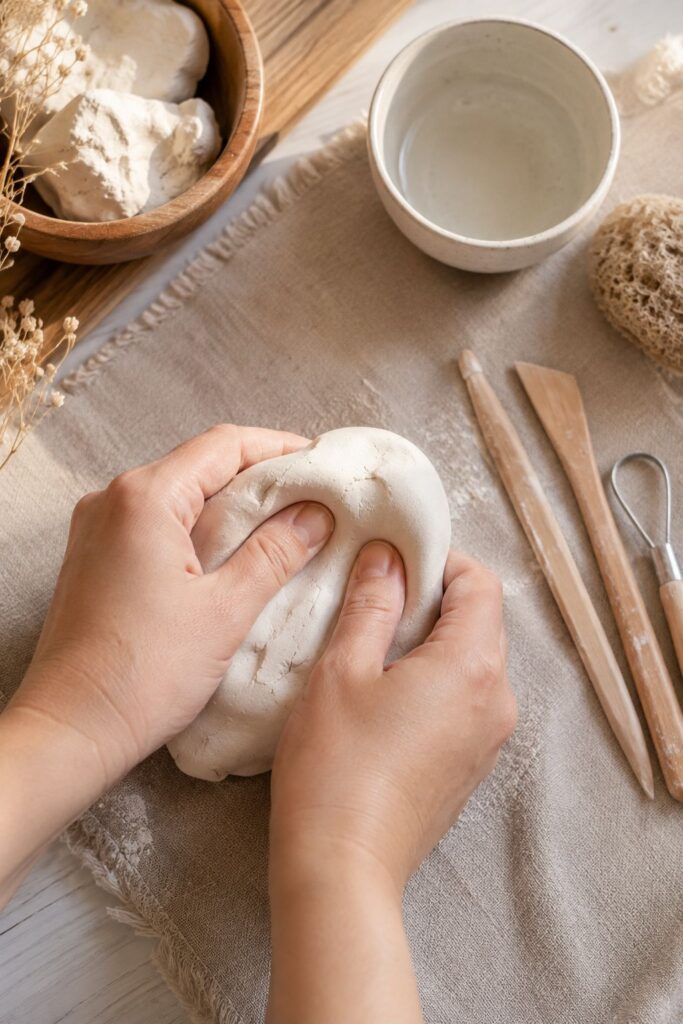
Take approximately 100 to 120 grams of air-dry clay and knead it between your hands for a few minutes.
You’re looking for a piece that feels smooth and workable without obvious dry crumbs.
If you notice small cracks appearing while you’re kneading, continue working the clay gently before adding any water.
If your particular clay allows water to be used for conditioning, use only a tiny amount at a time. Too much water can make the clay sticky and can complicate the drying process.
Once the clay feels reasonably smooth, shape it into a ball.
Step 2: Roll the Clay Flat
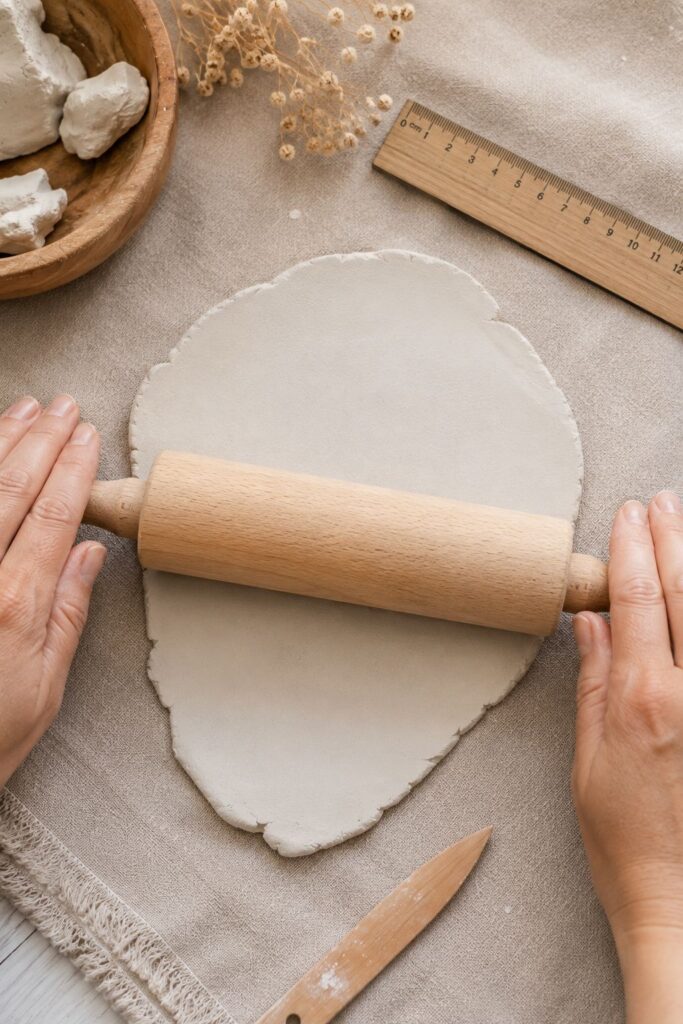
Place the clay on your work surface.
Roll it out evenly until it is approximately ¼ inch thick.
Try not to make the center significantly thinner than the edges.
I find it easiest to roll from the middle outward, rotating the clay occasionally so it doesn’t stick to the surface.
If your clay is sticking, lift it carefully and reposition it rather than adding a lot of water.
Why the Thickness Matters
A very thin holder can become fragile after drying.
A much thicker holder will take considerably longer to dry and can be more prone to uneven drying.
Approximately ¼ inch is a useful starting point for this small dish.
Step 3: Cut the Oval Shape
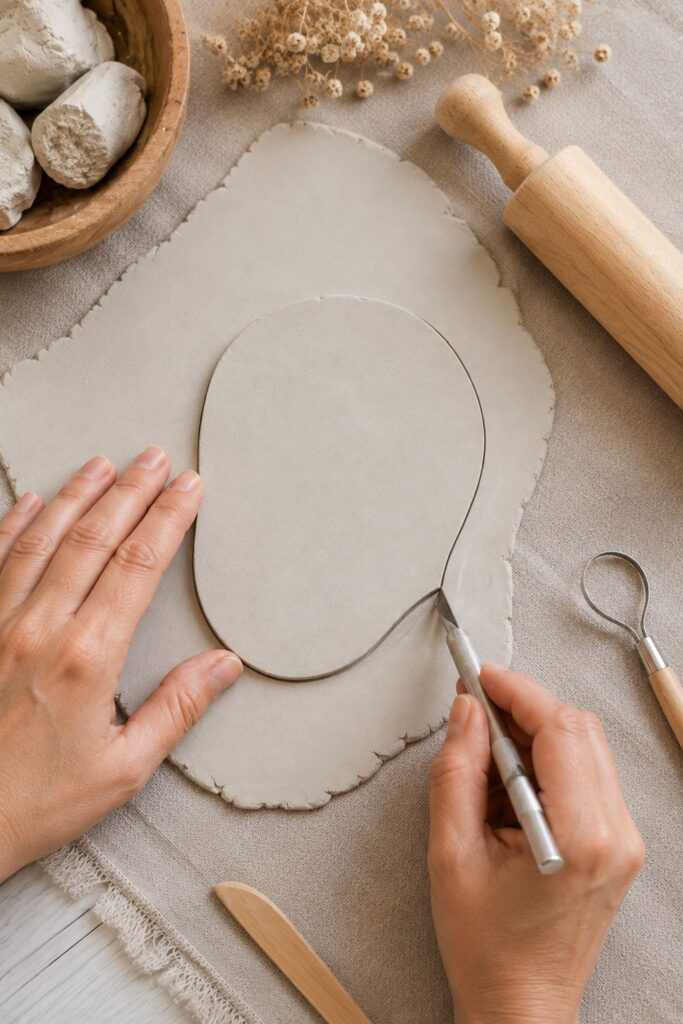
Use a ruler and pencil to lightly mark an oval approximately:
6 inches long × 3 inches wide.
You can draw the oval freehand if you don’t mind a slightly organic shape.
Cut around your outline using a craft knife or clay-cutting tool.
Don’t worry if the shape isn’t perfectly symmetrical.
In fact, I prefer a slightly handmade oval rather than something that looks machine-cut.
Step 4: Smooth the Outer Edge
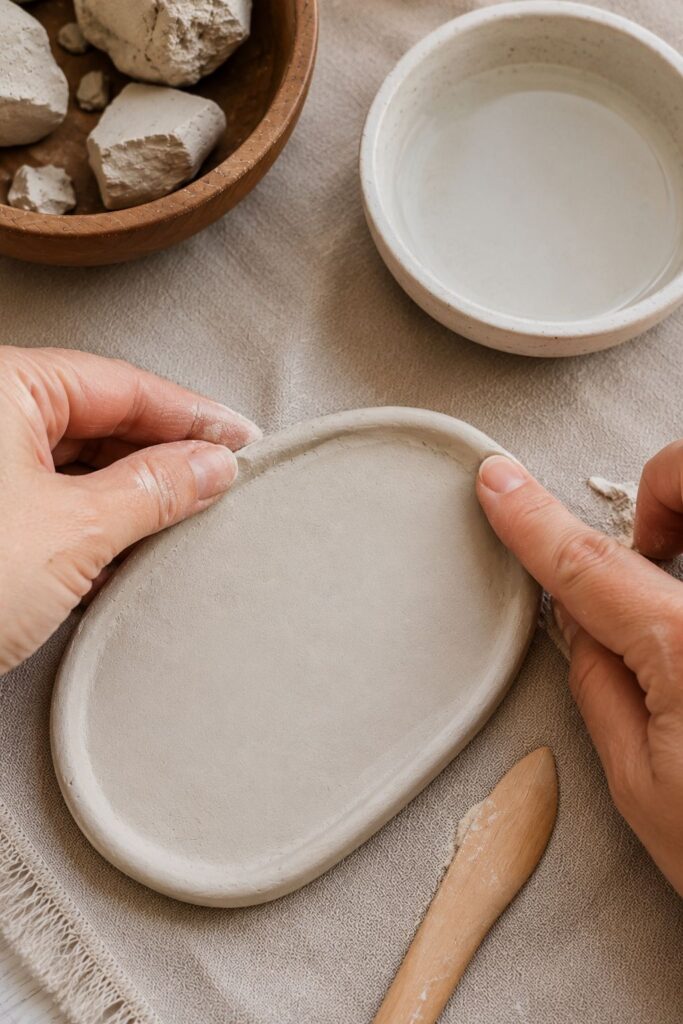
Run your fingertip gently around the entire cut edge.
If the clay feels dry, lightly dampen your fingertip rather than applying water directly to the clay.
Smooth away any obvious roughness.
You don’t need to make the edge perfectly polished at this stage because you can sand it once the clay is completely dry.
Step 5: Create the Raised Rim
Now we’re going to turn the flat oval into a shallow dish.
Using your fingers, gently press down the center of the clay while leaving approximately ½ inch around the outside edge slightly raised.
Don’t press deeply.
You only want a shallow depression in the center.
Work slowly around the oval, gently encouraging the outer edge upward.
The finished piece should look like a very shallow tray rather than a bowl.
Keep the Bottom Flat
After shaping the rim, turn your attention to the underside.
Place the holder back on your work surface and gently press down any areas that have become rounded underneath.
You want the bottom to sit flat rather than rocking from side to side.
Step 6: Smooth the Inner Surface
Run a fingertip gently over the center of the dish to remove obvious fingerprints, bumps, or deep marks.
Don’t overwork it.
A completely flawless surface isn’t necessary for a handmade clay project.
If you want a very smooth finished piece, you can do most of the refinement after the clay has dried using fine-grit sandpaper.
Step 7: Make the Incense Hole
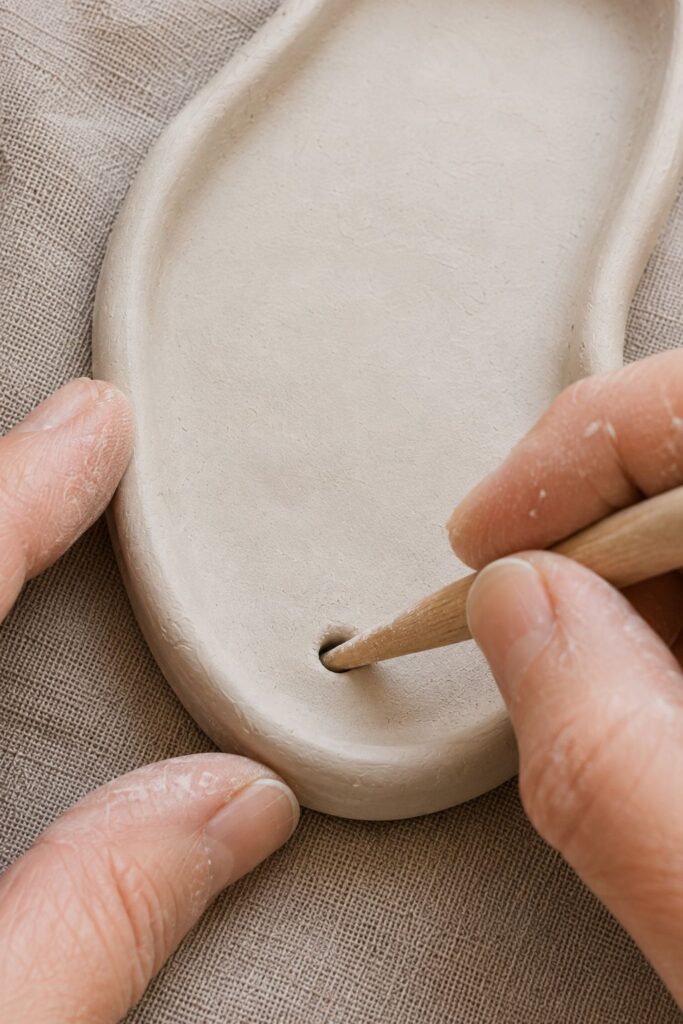
This is the part where I recommend starting smaller than you think you need.
Use a toothpick, skewer, or small clay tool to make a hole approximately ½ inch in from one short end of the oval.
Push the tool vertically through the clay.
Don’t wiggle it around aggressively because that can stretch and distort the surrounding clay.
Once you’ve made the hole, gently smooth around the opening with your fingertip.
Check the Hole Before Drying
If you have the incense stick you’ll eventually use, you can carefully check that the opening is appropriately sized.
Don’t force the incense stick into the clay.
The hole should hold the stick securely without requiring you to push hard enough to damage the clay.
If necessary, enlarge the opening very gradually.
Step 8: Check the Shape
Before leaving the clay to dry, look at the holder from several angles.
Check that:
- The base sits flat
- The rim is reasonably even
- The center is shallow rather than deeply curved
- The incense hole isn’t too close to the edge
- There are no obvious cracks
- The clay is still approximately the same thickness throughout the base
This takes less than a minute and can save you from discovering a problem after the clay has dried.
Step 9: Let the Clay Dry Completely
Place the finished holder on a flat surface and allow it to dry according to your clay manufacturer’s instructions.
Keep it away from intense direct heat.
Don’t put it directly beside a radiator, heater, or other strong heat source simply to make the process faster.
Air-dry clay generally does better when moisture leaves the piece gradually.
The exact drying time depends on the clay brand, room conditions, humidity, and the thickness of your holder.
Don’t move on to sanding or painting simply because the outside feels dry.
The inside needs to be thoroughly dry too.
Step 10: Sand the Dry Clay
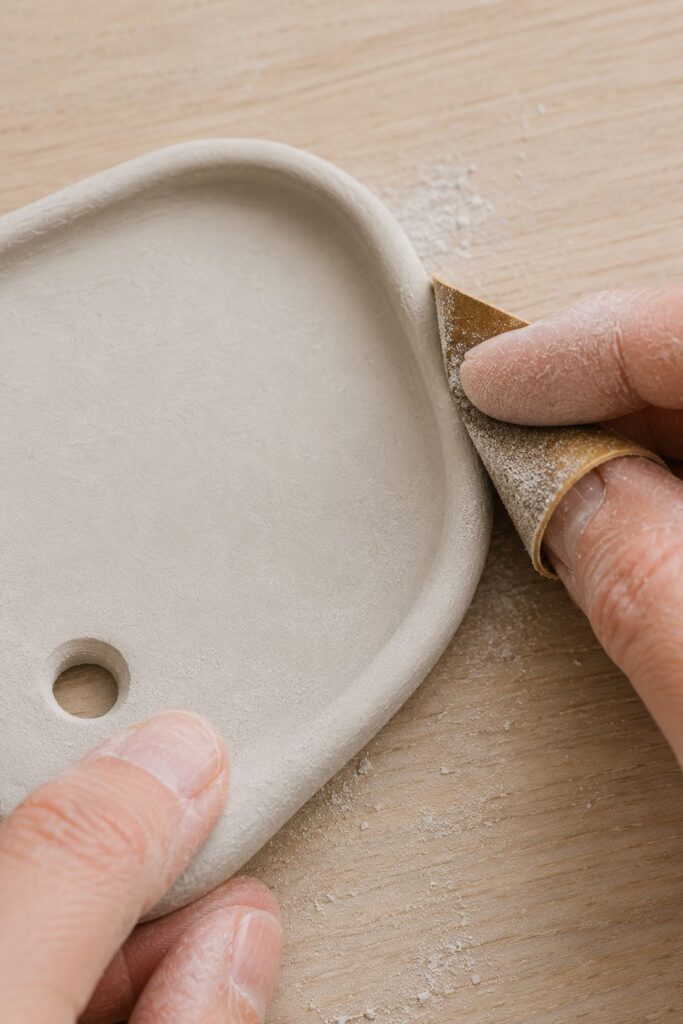
Once the holder is completely dry, use fine-grit sandpaper to smooth any rough areas.
I usually concentrate on:
- The outer edge
- The underside
- The inside rim
- The area around the incense hole
- Any visible bumps or rough spots
Start gently.
You can always remove more material, but you can’t easily put it back.
Wipe the dust away with a soft, dry cloth when you’re finished.
Step 11: Paint Your Incense Holder
You can leave the clay completely natural, or paint it with acrylic paint.
For a minimalist look, I really like:
- Warm cream
- Beige
- Soft white
- Sage green
- Terracotta
- Pale gray
Apply a thin coat and let it dry completely before deciding whether you need another.
A thick coat can obscure the handmade texture and may take longer to dry.
Step 12: Add a Simple Decorative Detail
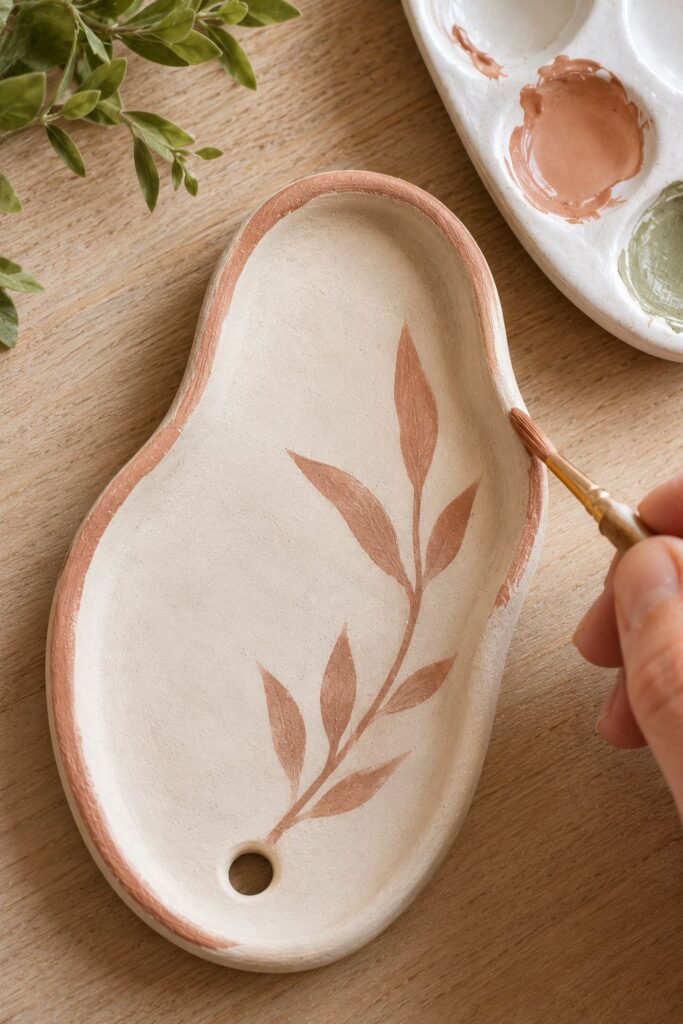
This step is completely optional.
You could add:
- A tiny painted leaf
- A thin border
- Small dots
- A simple arch pattern
- A single contrasting stripe
- A hand-painted crescent moon
- Small abstract lines
I would keep the decoration fairly restrained.
The shape itself is simple, so one small detail can be enough.
Step 13: Seal It If Desired
If your clay manufacturer recommends sealing the finished project, you can apply a suitable water-based acrylic sealer after the paint has completely dried.
Use thin coats and follow the product’s instructions.
Allow the sealer to dry fully before handling the piece.
Important Safety Reminder
Sealer does not make ordinary air-dry clay fireproof or heatproof.
Don’t treat this holder as suitable for direct flame, glowing charcoal, or other high-temperature applications simply because you’ve painted or sealed it.
For burning incense, follow the manufacturer’s safety instructions and use a suitable nonflammable, heat-resistant setup.
How to Get a Smooth Air Dry Clay Finish
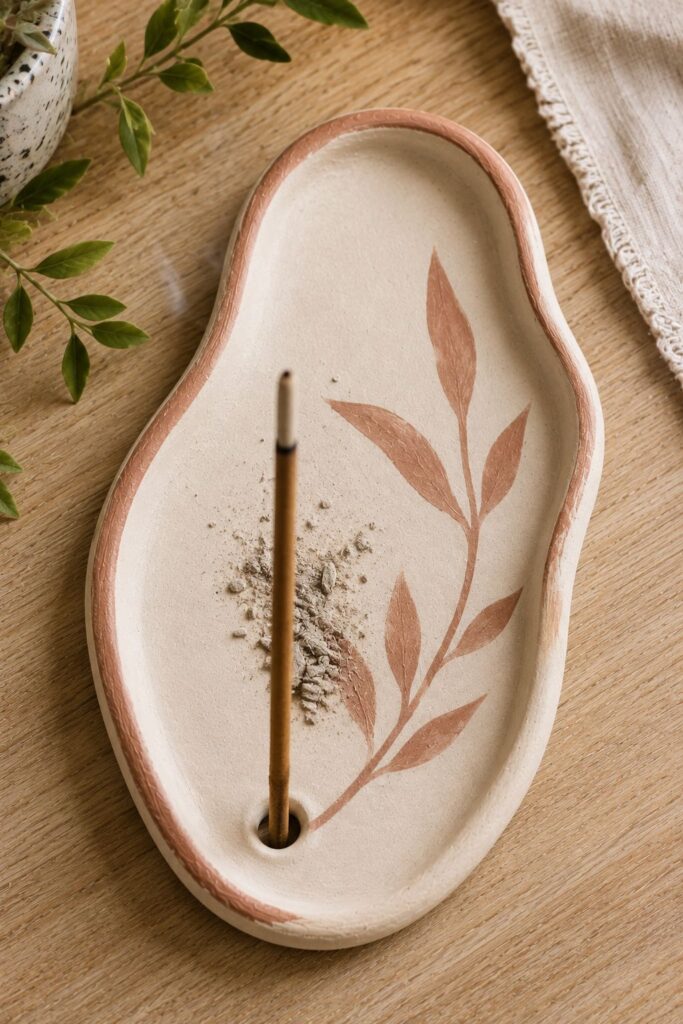
The biggest difference between a rough-looking clay project and a polished-looking one usually happens before the paint ever goes on.
Take your time smoothing the clay while it’s workable.
Don’t try to remove every tiny imperfection.
Instead, focus on the things that will be most noticeable once the piece is finished:
- Uneven edges
- Deep fingerprints
- Cracks
- Rough corners
- A wobbly underside
- An uneven incense hole
Then use fine sandpaper after drying to clean up anything you missed.
Should You Make the Edges Perfectly Even?
No.
This is one of the projects where slightly uneven edges actually make the piece look more handmade.
What you don’t want is an edge that’s so uneven that the holder looks accidentally cut or has sharp points.
Think organic but intentional.
Common Mistakes I’ve Made
Making the Clay Too Thin
My first instinct with small clay projects was always to use less clay.
But an extremely thin base can feel fragile once dry.
Keeping the main base around ¼ inch thick gives the holder enough substance without making it unnecessarily bulky.
Making the Hole Too Close to the Edge
If the opening is right beside the edge, the surrounding clay becomes weaker.
Keep the hole approximately ½ inch from the short end and leave enough clay around it.
Making the Hole Too Large
It’s much easier to enlarge a small opening than to repair a large one.
Start small and increase the size gradually.
Forgetting to Check the Bottom
A holder that looks beautiful from above can still be annoying if it rocks every time you touch it.
Always put it back on your work surface before drying and make sure the bottom is stable.
Using Too Much Water
A little moisture can help smooth the surface.
Too much can make the clay soft, sticky, or difficult to shape cleanly.
Use your fingertips sparingly.
Rushing the Drying Process
It’s tempting to put the piece somewhere warm when you’re eager to paint it.
I wouldn’t.
Let it dry according to the clay manufacturer’s instructions and give thicker sections enough time to dry completely.
Troubleshooting
My Clay Holder Cracked While Drying
Small cracks can happen when clay dries unevenly or when the piece is too wet or unevenly thick.
For a small surface crack, allow the clay to dry as directed, then fill the area with a small amount of compatible clay or repair material recommended by the manufacturer.
Smooth the repair and allow it to dry again.
If the crack goes through a major structural section, remaking the piece may be safer and easier.
My Holder Is Warping
Check whether the clay was rolled evenly.
Uneven thickness can cause different parts of the piece to dry at different rates.
Also make sure the holder is drying on a flat surface.
The Incense Hole Cracked
The hole may be too close to the edge or too large for the thickness of the clay.
Start with a smaller opening next time and leave more clay surrounding it.
My Holder Rocks on the Table
The underside isn’t completely flat.
Once the clay is dry, lightly sand the underside until it sits evenly.
Don’t remove large amounts of clay from one area because that can weaken the base.
The Paint Looks Patchy
Air-dry clay can absorb paint unevenly.
Allow the first coat to dry completely, then apply a second thin coat rather than trying to cover everything with one thick layer.
The Finished Piece Feels Fragile
Check whether the clay was rolled too thin.
For the next version, keep the base around ¼ inch thick and avoid making the edges excessively thin.
Easy Ways to Customize This Incense Holder
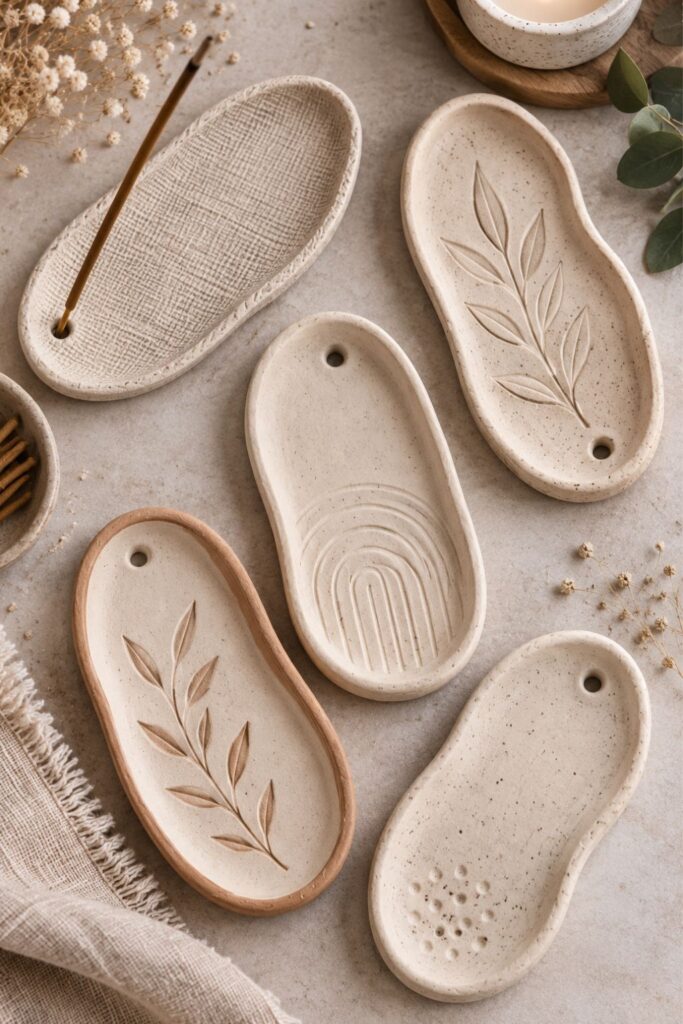
Sage Green and Cream
Paint the dish sage green and add a thin cream line around the raised edge.
Natural Terracotta
Skip the paint and simply smooth and lightly sand the finished clay.
This is probably the easiest option if you like earthy, minimalist decor.
Speckled Finish
Paint the base cream, then add tiny scattered dots using a contrasting neutral color.
Keep the dots small so the finished piece doesn’t look too busy.
Minimal Leaf Detail
Paint one small leaf near the incense hole.
This works especially well with cream, beige, sage, or terracotta.
Two-Tone Edge
Paint the main dish one color and the raised rim another.
You can use masking tape on the completely dry, painted surface if you want a cleaner line, provided the tape and paint are compatible.
Make It Smaller
If you want a tiny holder for a small shelf, reduce the oval to approximately:
4½ inches long × 2½ inches wide.
Keep the base around ¼ inch thick.
The smaller version can use the same construction method, but be especially careful not to place the incense hole too close to the edge.
Make It Larger
For a larger ash-catching tray, increase the length to approximately 7 or 8 inches while keeping the base thickness consistent.
You can also make the center slightly wider.
Just remember that a larger or thicker piece may require additional drying time.
Can You Use Other Shapes?
Definitely.
Once you understand the construction, you can replace the oval with:
- A rounded rectangle
- A leaf
- A crescent
- A long pebble shape
- A flower
- A cloud
- An abstract organic shape
The basic principle remains the same: create a stable shallow tray, make the incense opening secure, and make sure the finished piece is appropriate for the intended use.
How I Would Make a Set
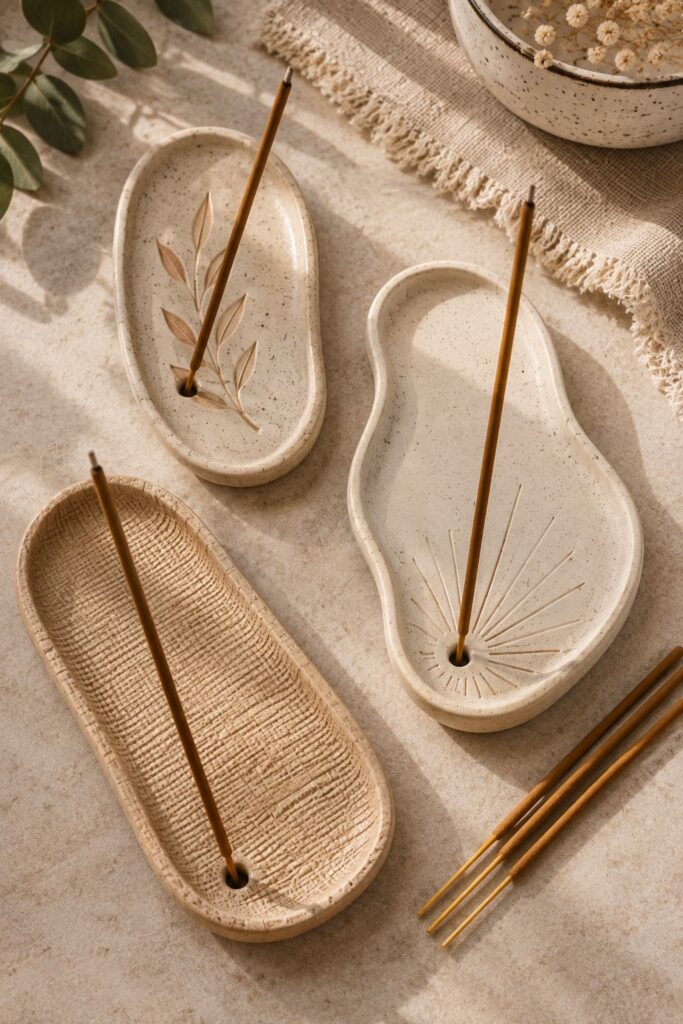
If you’re making these as gifts or for several rooms, I wouldn’t make every one identical.
I’d make three simple variations using the same basic construction:
Bedroom: Soft cream with a tiny sage leaf.
Bathroom: Warm beige with a simple white border.
Living room: Natural terracotta with no paint.
Keeping the shape consistent makes the set look intentional even when the finishes are different.
Important Incense Safety
Because this project uses air-dry clay, I want to emphasize this separately.
Do not assume an ordinary air-dry clay holder is fireproof or heatproof.
Air-dry clay products vary, and paints and sealers can also have their own limitations.
If you’re going to burn incense:
- Follow the incense manufacturer’s instructions.
- Keep burning incense away from curtains, paper, fabric, plants, and other flammable materials.
- Make sure the incense is stable and cannot easily fall over.
- Keep the setup away from children and pets.
- Never leave burning incense unattended.
- Make sure ash falls onto a suitable nonflammable surface.
- Extinguish the incense completely when you’re finished.
- Don’t use this tutorial as a substitute for a purpose-made heat-resistant incense burner.
If you want a holder specifically intended to withstand direct heat, choose a material and product that is explicitly rated for that purpose.
Frequently Asked Questions
Can I use this incense holder for different incense shapes?
Yes. The holder can be adapted for both traditional incense sticks and thinner varieties. The important thing is that the opening is sized to hold the incense securely without making it difficult to remove.
Can I make several incense holders from one batch of clay?
Usually, yes. The amount you can make depends on the size and thickness of each holder. Making several smaller holders is a good way to use leftover clay rather than letting it dry out.
Can I personalize the shape of the incense holder?
Absolutely. You can make a rounded dish, an elongated tray, a small arch, an abstract shape, or a simple geometric design. Just make sure the finished piece has enough surface area to catch the falling ash.
Can I make an incense holder as a gift?
Yes. A handmade incense holder makes a thoughtful small gift, especially when paired with a few incense sticks and simple wrapping. You can also customize the shape or color to suit the recipient.
Can I make matching incense holders for different rooms?
Definitely. Keeping the same basic shape while changing the colors, textures, or small decorative details is an easy way to create a coordinated set for different spaces.
Can I make a larger incense tray?
Yes. A longer tray gives you more room for ash to collect and can also become a decorative piece when it isn’t being used. If you make the tray significantly larger, make sure the clay remains evenly supported while it dries.
Is this a good project for leftover air dry clay?
Yes. It’s actually a useful project for smaller leftover pieces because an incense holder doesn’t require a large amount of clay. You can also combine compatible scraps and knead them together before shaping.
Can I make the holder without adding any decoration?
Of course. A completely plain clay holder can look beautiful, especially with a simple neutral finish. The shape itself can be the main decorative element.
More Air-Dry Clay Projects to Try
- DIY Air Dry Clay Fridge Magnets
- Leaf Imprint Jewelry Dish
- 10 Air Dry Clay Gift Ideas That Actually Feel Thoughtful
Final Thoughts
This ended up being one of my favorite little air-dry clay projects because it doesn’t ask much from you.
You don’t need to build a complicated shape or spend an afternoon trying to get every edge perfectly symmetrical. The basic oval is enough to create something that feels finished once you add the shallow rim and tiny opening.
I especially like the natural clay version, but a soft coat of sage, cream, terracotta, or beige paint can completely change the look.
And if you’re new to air-dry clay, this is a nice project to practice on because there are plenty of opportunities to learn without wasting a huge amount of material.
Just take your time with the thickness, keep the base flat, start the incense opening small, and let the clay dry completely before sanding or painting.
Most importantly, remember that ordinary air-dry clay is not automatically heatproof or fireproof. Treat the finished piece as handmade decor and follow appropriate incense safety practices rather than assuming the clay can safely withstand direct heat.
Once you get comfortable with this basic shape, you can easily start experimenting with leaves, scalloped edges, stamped textures, contrasting borders, and other small details to make the next one completely your own.