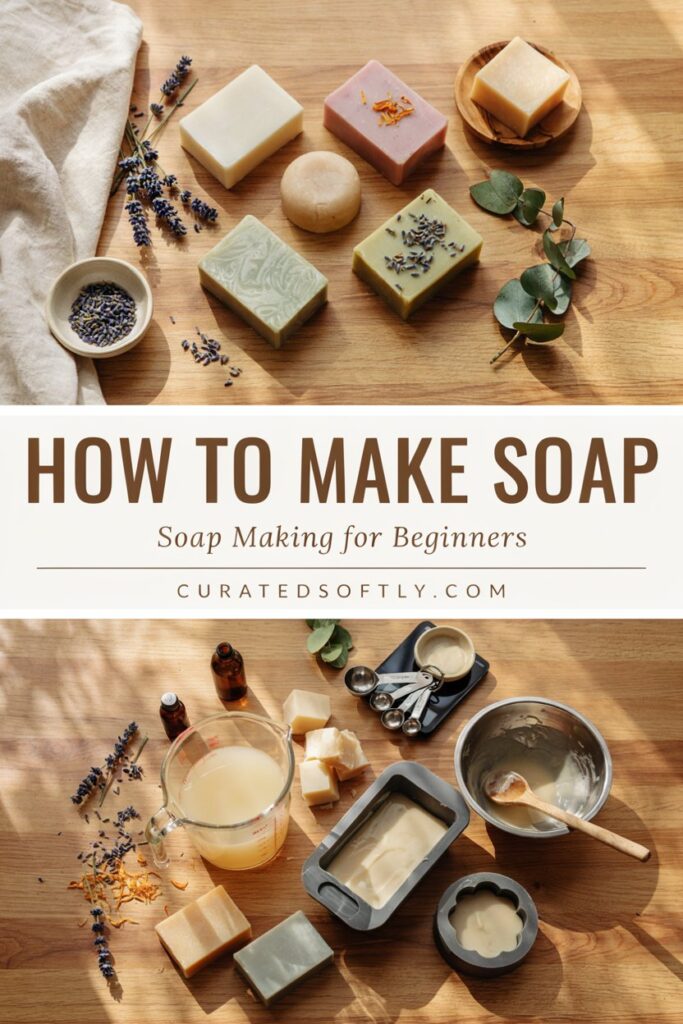
How to Make Soap ~ Soap Making for Beginners
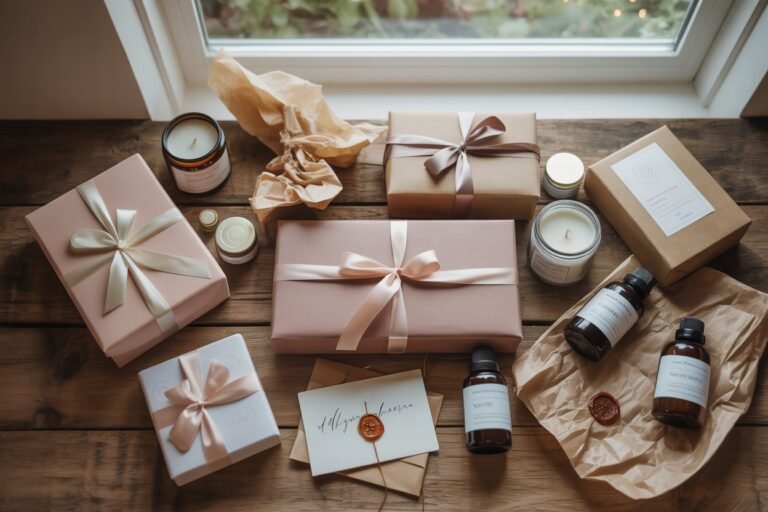
A friend gifted me a bar of handmade soap a few years back, wrapped in plain paper with just her initials stamped on the bottom, and I remember being genuinely surprised by how different it felt from anything I’d bought at a store, softer lather, a scent that actually lasted through the shower instead of disappearing after the first thirty seconds.
I asked her how she made it, half expecting a complicated answer, and what she described sounded a lot more approachable than I’d assumed.
It reminded me a bit of when I first started making my own DIY bath salts, another one of those small, natural swaps that sounded more intimidating going in than it actually turned out to be.
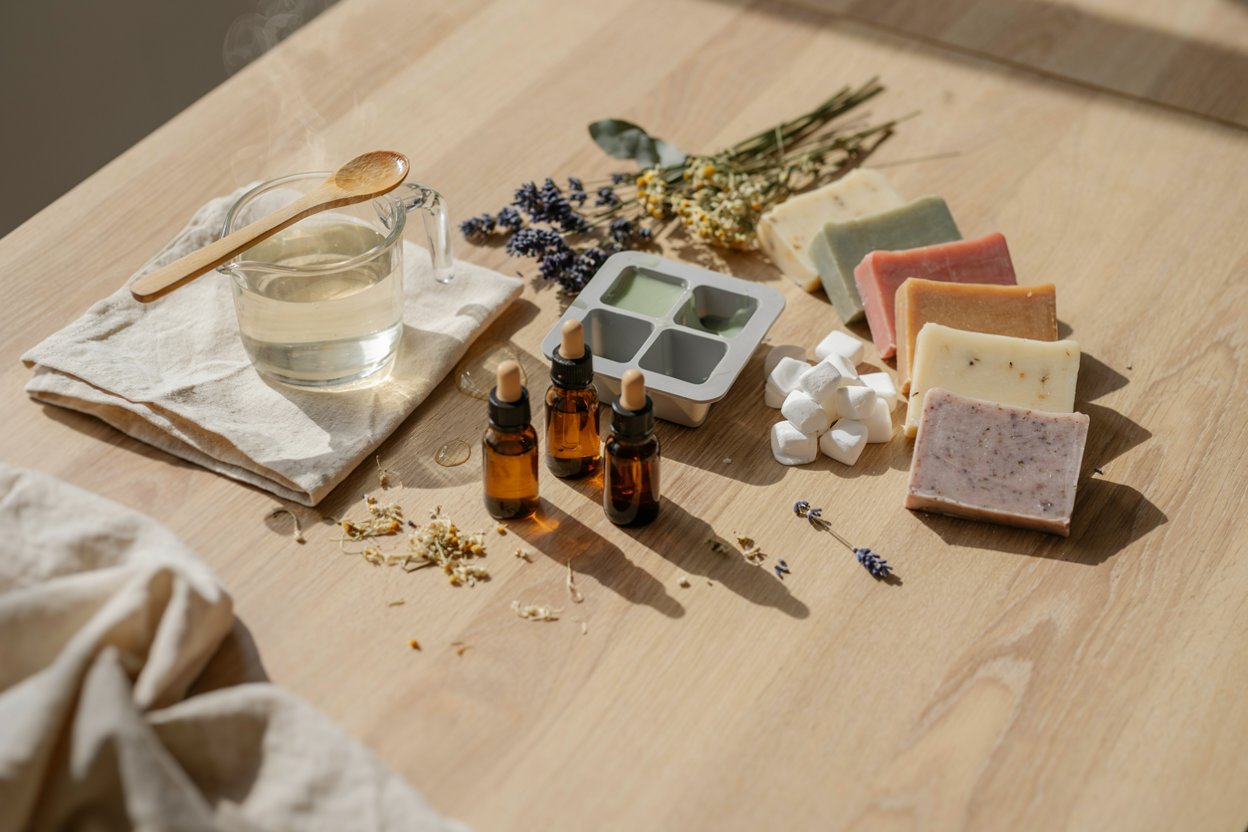
I want to be upfront about something before we get into this: there are two very different starting points for making soap at home, and this post is specifically about the beginner-friendly one. Melt-and-pour soap making uses a pre-made soap base that you melt down, scent, color, and pour into molds, no handling of raw lye required.
Cold-process soap making, the kind that builds a bar entirely from scratch, does involve working directly with sodium hydroxide (lye), which is genuinely caustic and requires real safety precautions, proper protective gear, and a level of comfort with chemical safety that I don’t think belongs in a first-timer’s post.
If you get comfortable with melt-and-pour and want to go further, cold process is a natural next step, just not this one.
A quick safety note even for the melt-and-pour version: the soap base gets genuinely hot when melted, hot enough to cause a burn, so treat it the way you’d treat hot wax or hot sugar syrup.
Keep kids away from the melting and pouring steps, and if you’re adding essential oils, keep them within a safe fragrance load for the amount of base you’re using rather than adding them freely.
Why Melt-and-Pour Is the Right Starting Point
It skips the most hazardous part of soap making entirely. Lye is what actually turns oils into soap in cold-process making, through a chemical reaction called saponification, but a melt-and-pour base has already gone through that process before it ever reaches you, so you’re just reshaping and scenting an already-finished soap.
It’s genuinely fast. A batch of cold-process soap needs weeks to fully cure before it’s ready to use. A melt-and-pour batch is often usable within a few hours of setting, which makes it a much more satisfying first project if you want to actually use or gift something soon.
It’s forgiving if something goes wrong. If a batch doesn’t turn out the way you wanted, you can typically re-melt and re-pour a melt-and-pour base, something that isn’t really an option once cold-process soap has gone through saponification. Once you’ve got the basics down, Moisturizing Oatmeal Honey Soap is a great next project to try.
Melt-and-Pour vs. Cold Process, at a Glance
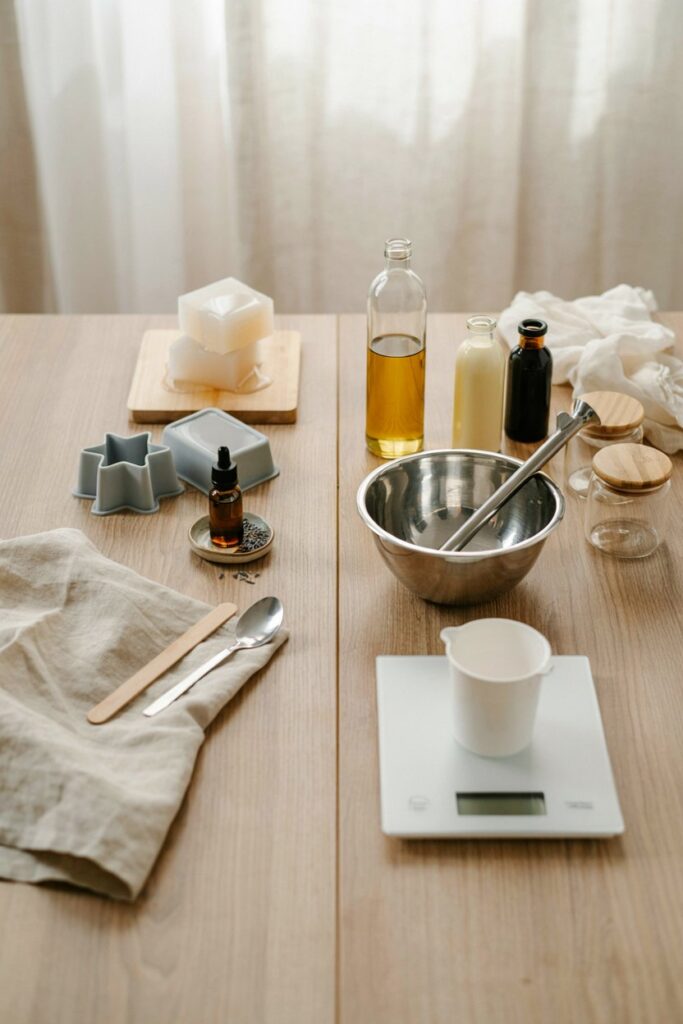
I get asked this a lot, so here’s the short version. Melt-and-pour is faster, safer for a first attempt, and more forgiving of mistakes, but you have less control over the base recipe itself since you’re working with a pre-made block.
Cold process gives you full control over the oils, hardness, and lather of the final bar, but it requires handling lye safely, proper protective equipment, and a multi-week cure time before the soap is ready.
If you’re new to this, melt-and-pour is where I’d genuinely recommend starting, and it’s a perfectly legitimate way to make soap long-term, not just a beginner stepping stone.
Ingredients
- Melt-and-pour soap base. Look for a glycerin, shea butter, or goat milk base depending on the finish you want. Clear glycerin bases show suspended add-ins nicely, while goat milk bases give a more opaque, creamy-looking bar.
- Essential oil or skin-safe fragrance oil. For actual essential oils, lavender and tea tree have both worked well for me in this base. Make sure whatever you use is labeled skin-safe or soap-safe specifically, candle fragrance oils aren’t tested or rated for skin contact and can behave unpredictably in a soap base. If you’d rather skip essential oils entirely, my post on DIY bath salts with or without essential oils covers that same “with or without” decision for a different bath product.
- Skin-safe soap colorant, optional. Cosmetic mica powder or liquid soap dye both work in a melt-and-pour base.
- A silicone soap mold. Silicone releases the finished bar far more easily than a rigid plastic or metal mold.
- Rubbing alcohol in a small spray bottle, for removing surface bubbles after pouring.
- A microwave-safe or double-boiler-safe container, for melting the base.
Substitutions I’ve Actually Tested
No silicone mold? A lined loaf pan or muffin tin works, though releasing the finished soap takes more patience and occasionally a bit of gentle prying at the edges.
No mica powder or liquid soap dye? A very small amount of natural clay, like French green clay, can tint a bar a soft, muted color, though it behaves differently than a dedicated soap dye and is worth testing on a small batch first.
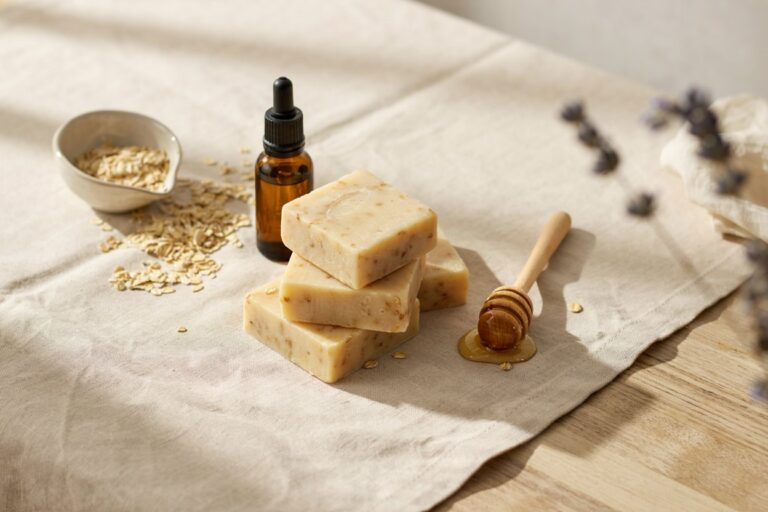
Want to add texture or exfoliation? Finely ground oats or dried, crushed flower petals folded into the melted base before pouring both work well, though I’d keep the amount light so it doesn’t scratch on use.
How to Make Melt-and-Pour Soap
Step 1: Cut and Melt the Soap Base
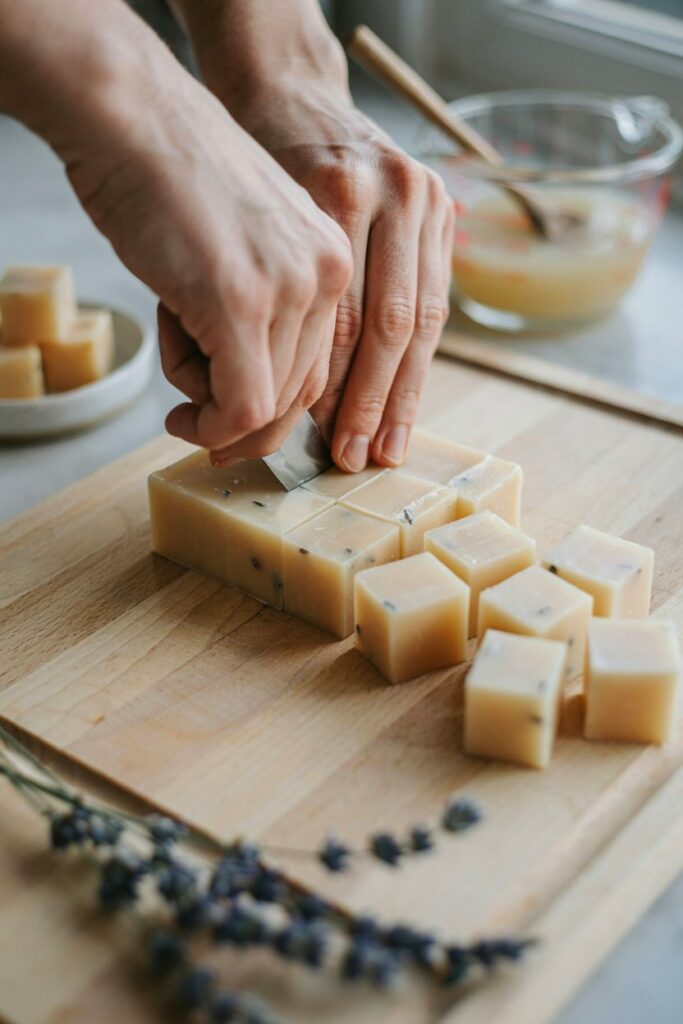
Cut your soap base into roughly one-inch cubes, which melt more evenly and quickly than a single large chunk.
Melt in a microwave-safe container in 20-second bursts, stirring between each one, or in a heat-safe container set over a double boiler.
I always use short bursts rather than one long one, since overheating the base can affect how the finished bar sets.
Step 2: Let the Base Cool Slightly
Let the fully melted base sit for a minute or two before adding anything else.
Adding essential oil or fragrance to base that’s too hot can cause some of the scent to evaporate off before it ever sets into the bar, which I learned after a batch that barely smelled like anything once it cooled.
Step 3: Add Essential Oil or Fragrance
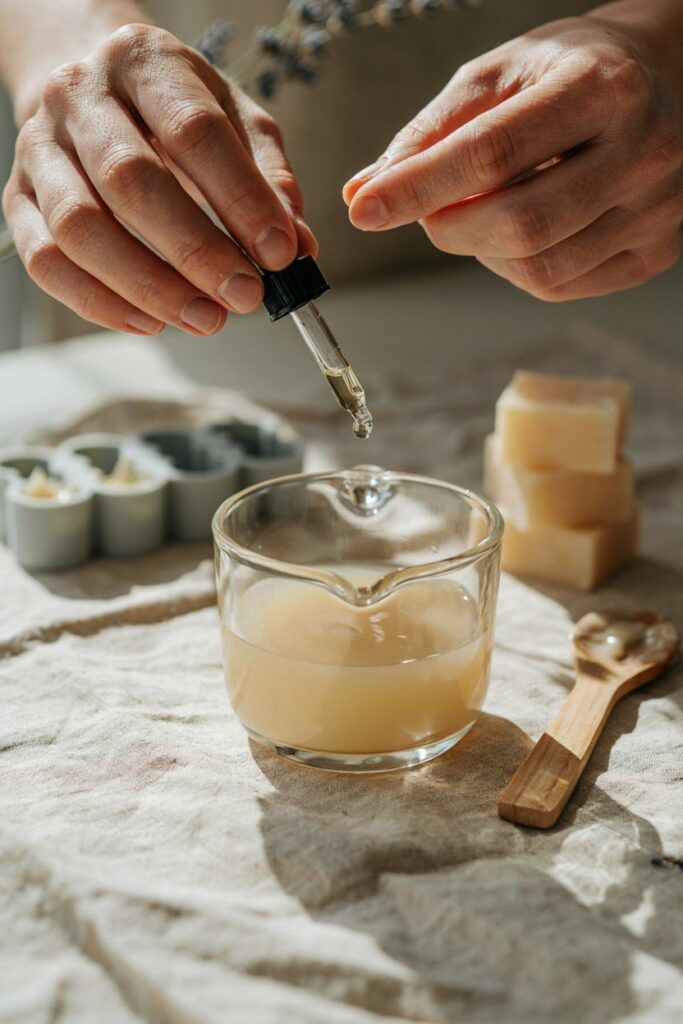
Stir in your essential oil or fragrance oil, aiming for roughly 0.3 ounces per pound of soap base as a general starting point, which is the commonly recommended usage rate for melt-and-pour, and lower than what cold-process soap typically uses.
Some individual oils have their own lower safe limits, so it’s worth checking the specific oil you’re using if you’re not sure. Stir gently but thoroughly for about 30 seconds so the scent distributes evenly rather than settling toward the bottom of the container.
Step 4: Add Color, If Using
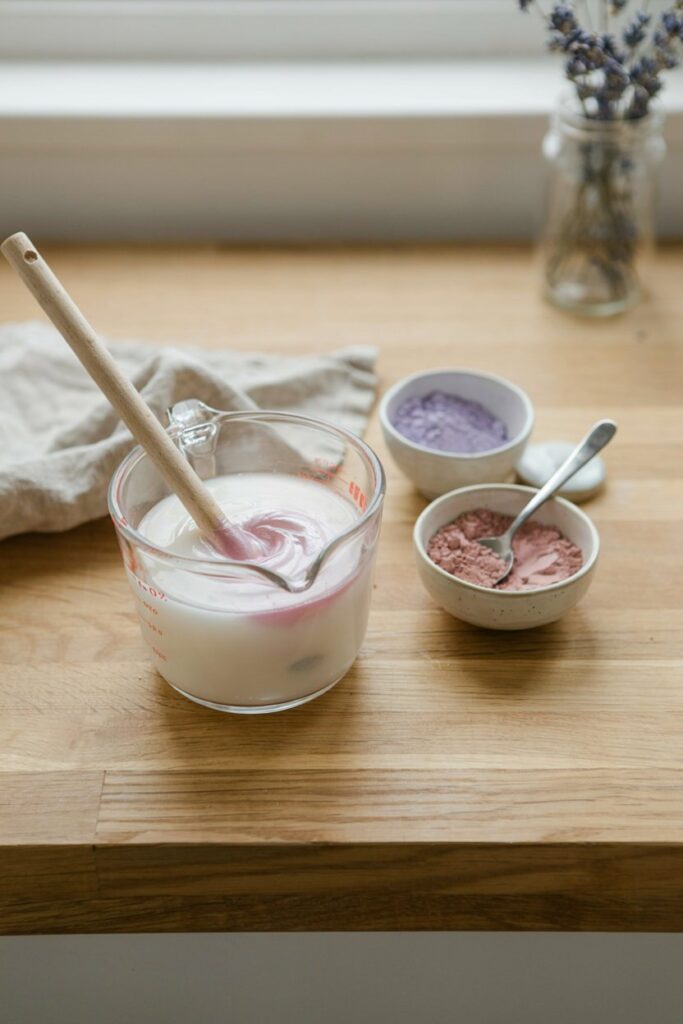
Stir in a small amount of mica powder or liquid soap dye, starting with less than you think you need.
I add color gradually and check it against the side of the container, since it’s much easier to add more than to correct a batch that’s gone too dark.
Step 5: Pour Into the Mold
Pour the mixture slowly into your mold, holding the container close to the mold’s surface rather than pouring from a height, which helps minimize new bubbles forming as it goes in.
Step 6: Remove Surface Bubbles
Spray the top of the poured soap lightly with rubbing alcohol, which pops any surface bubbles almost instantly and leaves a smoother, more finished-looking top once the bar sets.
Step 7: Let It Set and Unmold
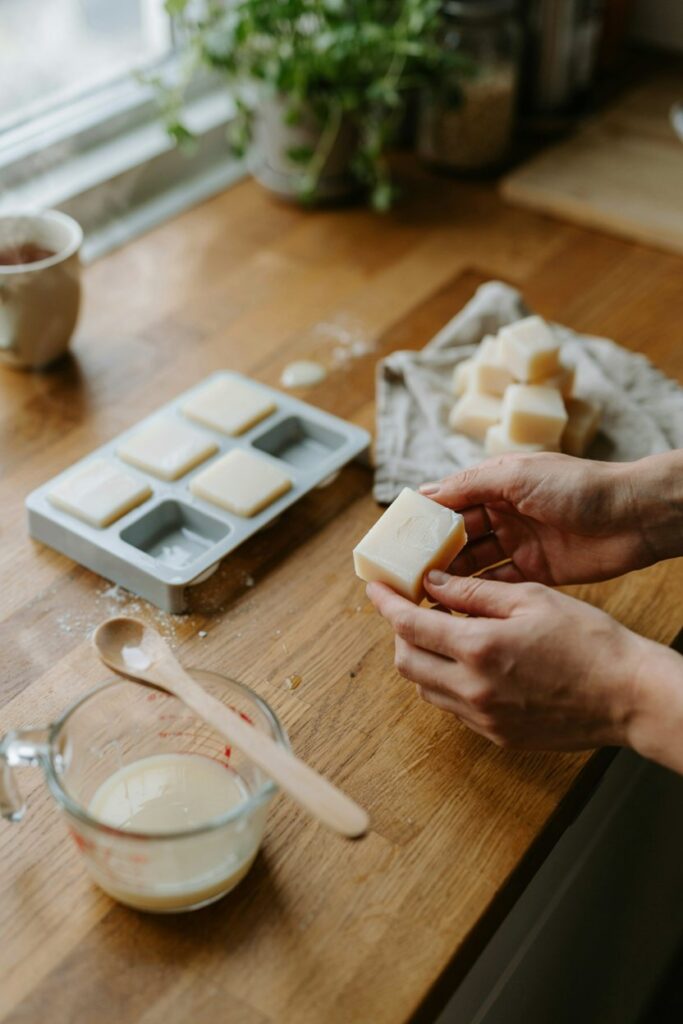
Let the soap sit undisturbed until fully firm, usually a couple of hours at room temperature, longer if your kitchen runs warm. Once firm, gently flex a silicone mold to release the bar rather than pulling or prying it out.
Tips From Making More Batches of This Than I Planned To
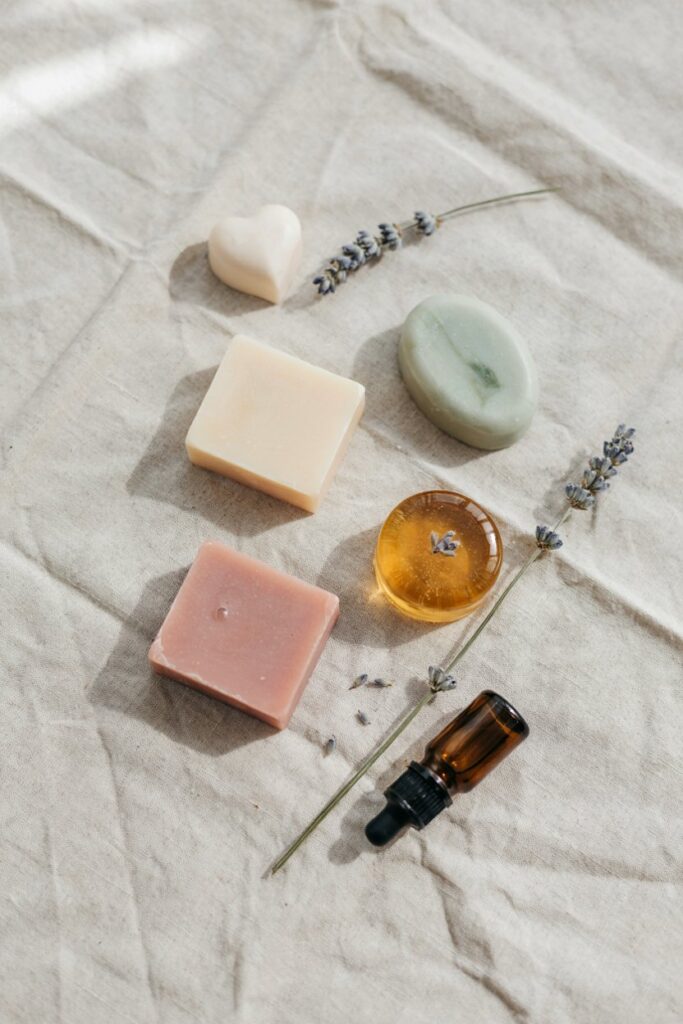
- Cut the base into small, even cubes. Uneven chunks melt at different rates and increase the chance of scorching the smaller pieces while waiting on a larger one.
- Add fragrance and color after the base has cooled slightly, not immediately off the heat.
- Spray with rubbing alcohol between every pour, not just when you notice bubbles. It’s a quick step that consistently improves the finished look.
- Let bars sit out uncovered for a day or two after unmolding before wrapping them, which helps any remaining surface moisture fully evaporate.
- Start with less fragrance and color than you think you want. Both are much easier to add more of than to fix once a batch is poured.
Mistakes I’ve Made So You Don’t Have To
Melting the base in one long microwave session instead of short bursts. It scorched slightly at the edges, and that section never fully re-melted evenly no matter how much I stirred.
Adding essential oil while the base was still very hot. Most of the scent seemed to cook off, and the finished bars were barely fragrant compared to batches where I let the base cool first.
Skipping the rubbing alcohol spray on an early batch. The top of the finished bar had a rough, bubbly texture that looked noticeably less finished than the batches I sprayed.
Wrapping bars in plastic wrap too soon after unmolding. Trapped moisture left a slightly tacky, sweating surface on a couple of bars within a day of wrapping them.
Troubleshooting
My soap has a bubbly, rough surface. This is almost always a missed step with the rubbing alcohol spray. Spray the surface immediately after pouring, next time, to pop bubbles before the base sets.
The scent is barely noticeable in the finished bar. Check whether you added fragrance while the base was too hot, and consider a slightly higher fragrance amount next time, staying within a safe usage rate for your specific oil.
My soap won’t release from the mold. Make sure the bar is fully firm all the way through, not just on the surface, before attempting to unmold. A silicone mold, gently flexed rather than pried, releases far more easily than a rigid one.
The finished bar feels tacky or sweats after a few days. This is usually a humidity or moisture issue from wrapping too soon. Let bars air out fully, uncovered, for a day or two before wrapping.
Variations and Uses
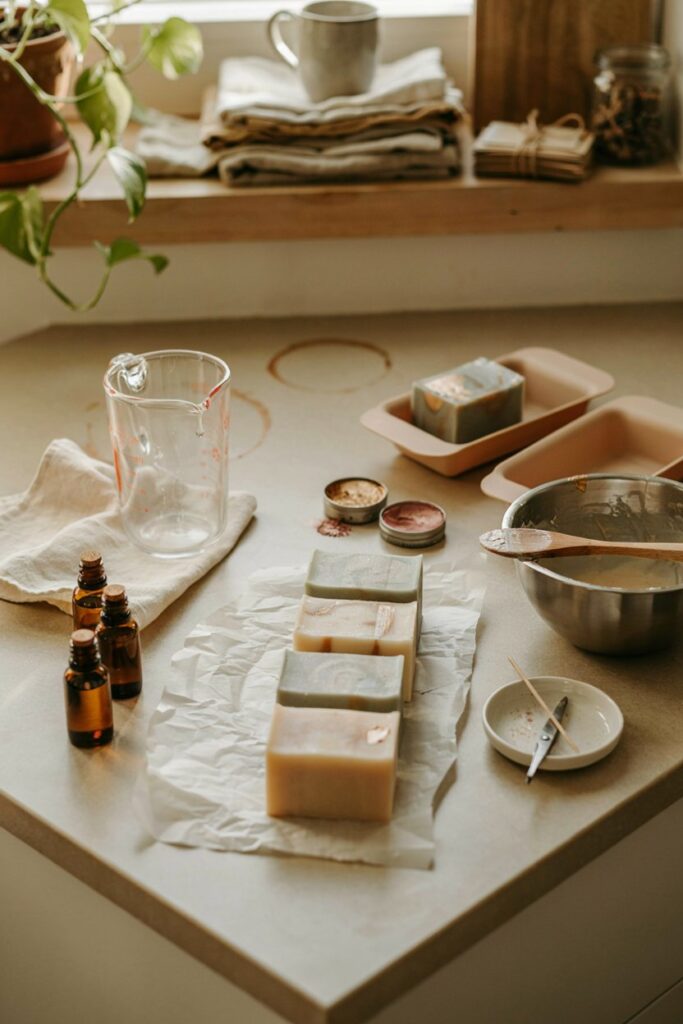
Layered Soap. Pour one color, let it firm up slightly, then pour a second color on top for a clean, layered look. I spray each layer with rubbing alcohol before pouring the next, which helps the layers actually bond instead of separating.
Embed Soap. Set a small pre-made soap shape into the mold before pouring a second, contrasting color of base around it, so the shape appears suspended inside the finished bar.
Exfoliating Bar. Fold finely ground oats or dried flower petals into the melted base just before pouring for texture and light exfoliation.
Gift Set. A few coordinating bars, wrapped simply and labeled with the scent used, make a low-cost, genuinely well-received gift. These pair naturally with my homemade aloe cucumber after-sun soap if you want a small self-care set with more than one soap variety, or with a jar of DIY bath salts for a fuller bath-focused gift.
Storage
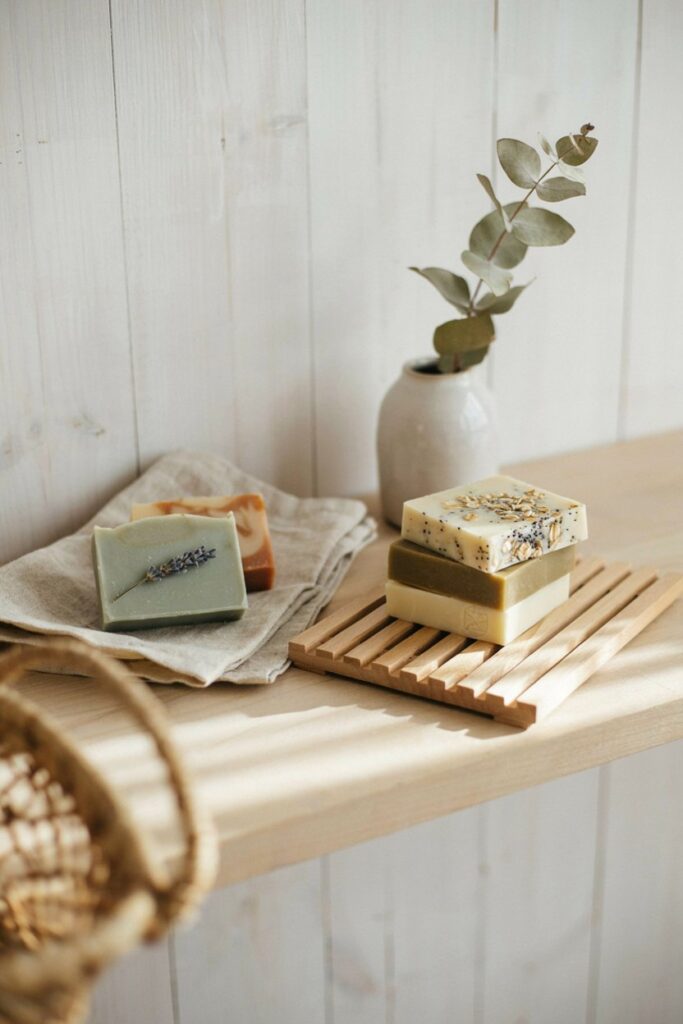
Store finished bars somewhere cool and dry, out of direct sunlight, which can cause some colors to fade over time.
Wrapped bars have kept well for me for several months, and unwrapped bars stored in an open dish tend to last a long time too, though the scent gradually softens the longer a bar sits before use.
Frequently Asked Questions
Is melt-and-pour soap actually “real” soap? Yes. The base has already gone through the full chemical process that turns oils into soap before you ever receive it, you’re simply remelting, scenting, and reshaping an already-finished product.
Do I need any special safety equipment for melt-and-pour soap? Basic kitchen caution is enough, treat the melted base like any other hot liquid. You don’t need the gloves, goggles, and ventilation that cold-process lye work requires, since you’re never handling raw lye in this method.
Can kids help with this? Kids can help with adding color, choosing scents, and pouring once the base has cooled to a safe temperature, but the actual melting step is best handled by an adult given how hot the base gets.
How long does melt-and-pour soap last before it’s usable? Often just a few hours to fully firm up at room temperature, which is a big part of why this method is such a satisfying starting point compared to cold-process soap’s multi-week cure time.
Should I eventually try cold-process soap making? If you enjoy this and want more control over the base recipe itself, cold process is a reasonable next step, but it comes with real safety requirements around lye handling that are worth researching thoroughly and taking seriously before attempting.
Final Thoughts
That first gifted bar of soap made this feel a lot more intimidating in my head than it actually turned out to be once I tried it myself.
Melt-and-pour is genuinely a low-stakes, low-risk way to get started, and there’s something satisfying about handing someone a bar you made yourself, plain paper wrapping and all, the same way it was handed to me.