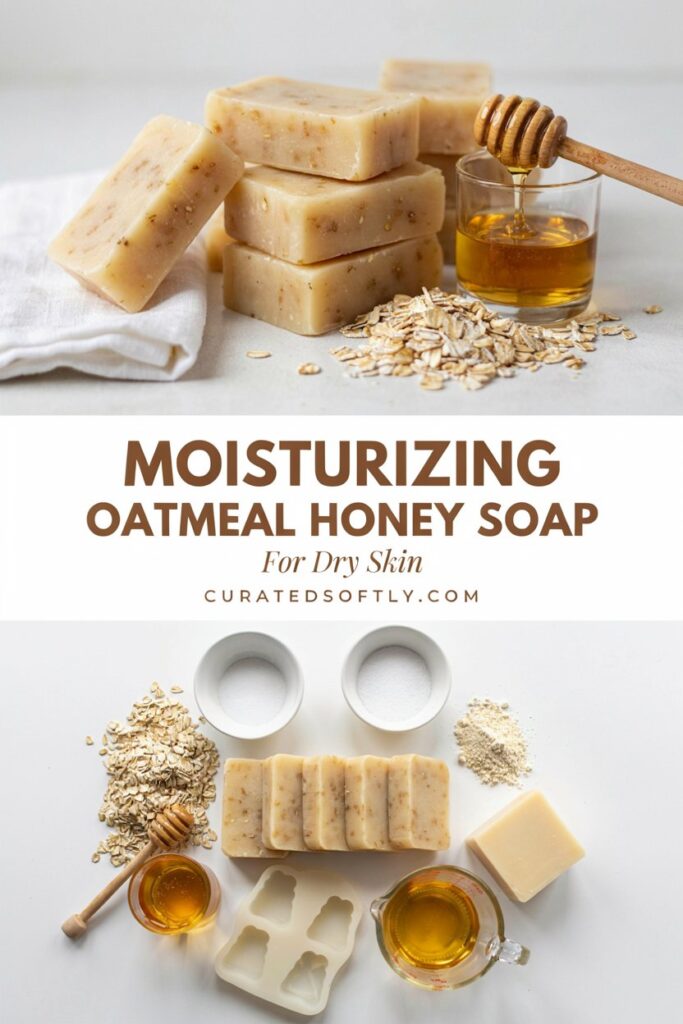
Moisturizing Oatmeal Honey Soap for Dry Skin
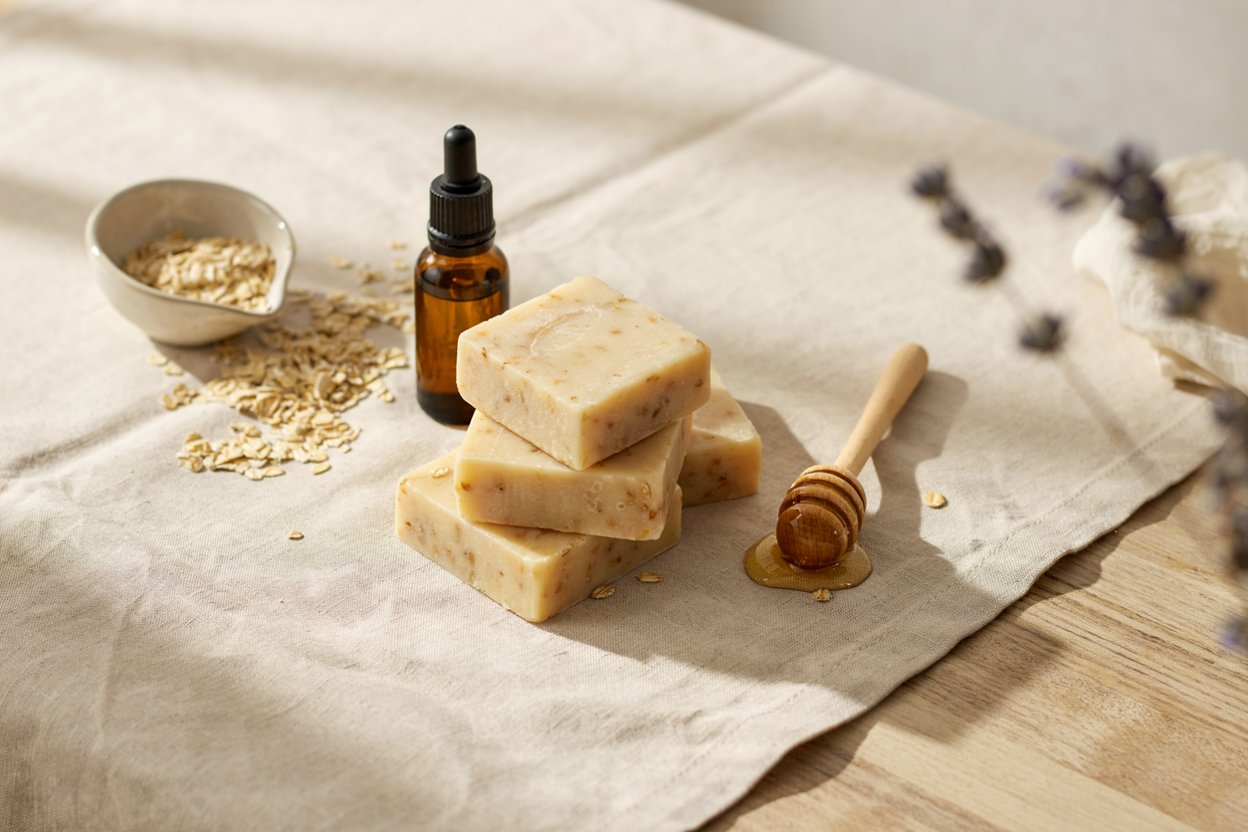
This is the bar I turn to every winter once my hands start feeling tight and dry from constant handwashing and cold air. Oatmeal and honey are both genuinely well-suited to a moisturizing bar, oatmeal for its gentle, soothing texture, and honey for its humectant properties, meaning it helps draw and hold moisture against the skin rather than stripping it away the way a harsher soap can.
This recipe builds on the beginner cold process method I covered in my intro soap making guide, so if you’ve never made cold process soap before, start there first for the full safety rundown before jumping into this specific recipe.
A safety note that applies here just as much as any other soap recipe: this recipe uses lye (sodium hydroxide), which is caustic and requires proper safety equipment, goggles, gloves, long sleeves, and good ventilation, every single time.
Always add lye to water, never the reverse, and keep the process away from children and pets entirely.
Why This Recipe Is Built the Way It Is
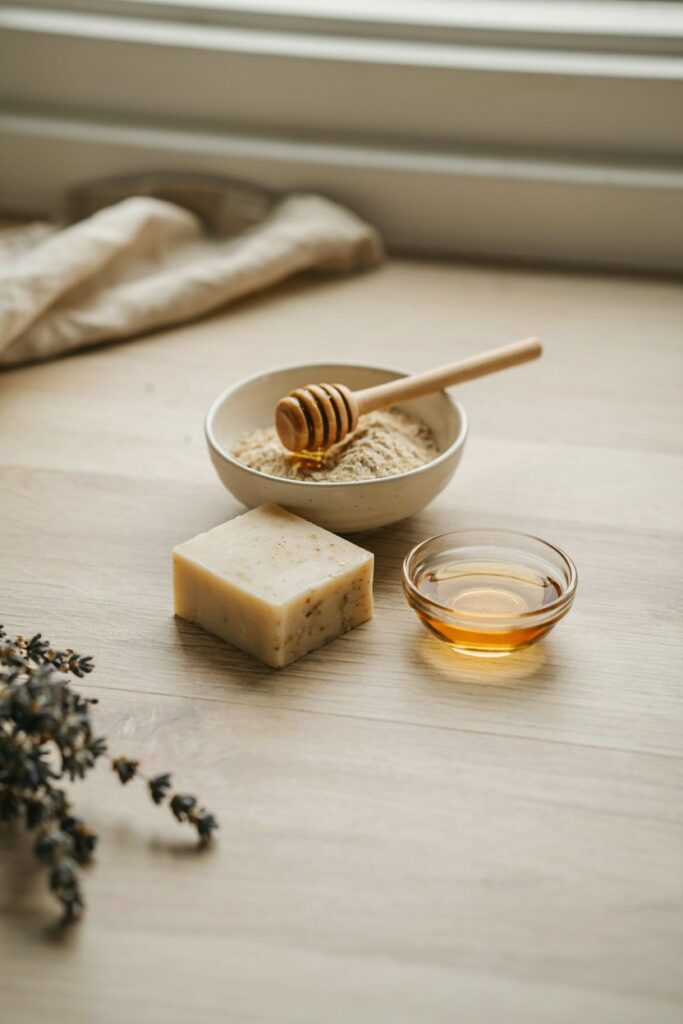
The oil blend is chosen for moisture, not just lather. Olive oil and shea butter both contribute a conditioning, moisturizing quality to the bar, while coconut oil and castor oil are included in smaller amounts specifically to still give you a workable lather, since an overly gentle recipe can end up feeling like it isn’t cleaning at all.
A 5% superfat leaves extra conditioning oil unreacted on purpose. Superfatting means calculating slightly less lye than needed to fully saponify every bit of oil, leaving a small percentage of oil unreacted in the final bar for added moisture. This is a standard, deliberate technique for a dry-skin-focused bar rather than a mistake in the math.
Honey and oatmeal are added at trace, not earlier. Honey can accelerate the saponification reaction and generate extra heat, so adding it at the right stage, not too early, matters for how manageable the batter stays while you work.
Recipe (2 lb Batch, Verified Measurements)
This recipe is calculated for a 5% superfat using standard published SAP values for each oil, and a 38% water-to-oil-weight ratio, which lands at a 2.77:1 water-to-lye ratio, safely within the standard 2:1 to 3:1 range.
Oils
- Olive oil, 12.8 oz (40%)
- Coconut oil, 8 oz (25%)
- Shea butter, 6.4 oz (20%)
- Castor oil, 4.8 oz (15%)
Lye Solution
- Sodium hydroxide (lye), 4.38 oz
- Distilled water, 12.16 oz
Additions at Trace
- Raw honey, 1 tablespoon, warmed slightly to make it easier to mix in
- Ground oats, 2 tablespoons (colloidal oatmeal or finely ground rolled oats both work)
A note on scaling: if you want a different batch size, don’t just scale the ounces by eye, run the oil percentages above through a lye calculator at your desired total oil weight, since the lye and water amounts need to scale precisely with the oils, not approximately.
How to Make This Soap
Step 1: Prepare Your Safety Gear and Workspace
Put on your goggles, gloves, and long sleeves. Work in a well-ventilated space, away from children and pets.
Step 2: Mix the Lye Solution
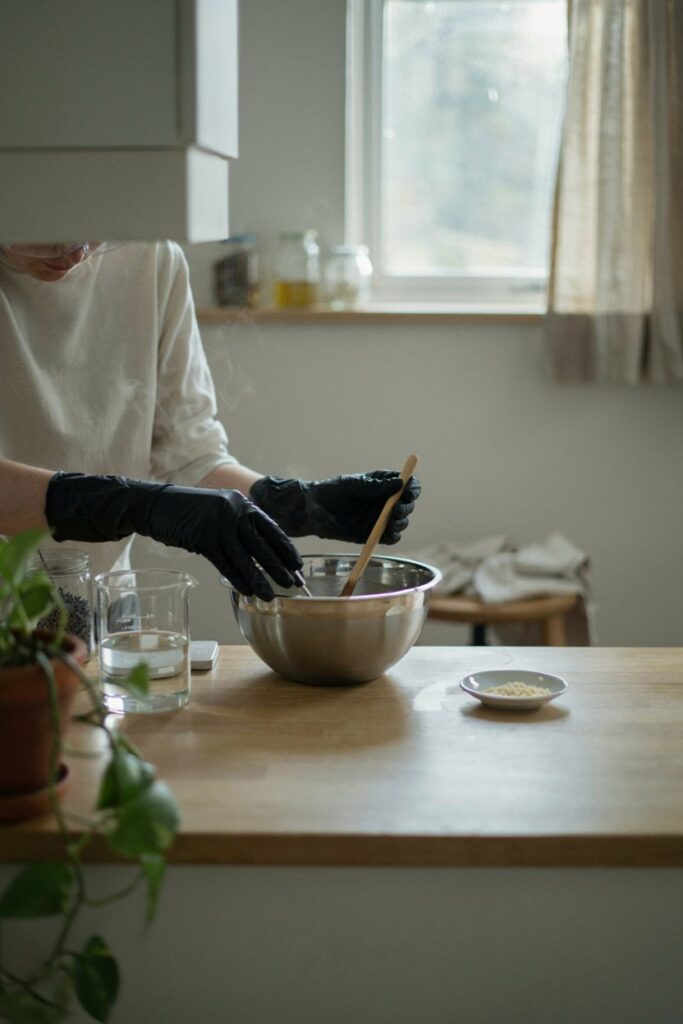
Weigh your 12.16 oz of distilled water into a heat-resistant container. Slowly add the 4.38 oz of lye to the water, stirring gently, never the reverse. Set aside to cool, working near ventilation while the initial fumes clear.
Step 3: Melt and Combine the Oils
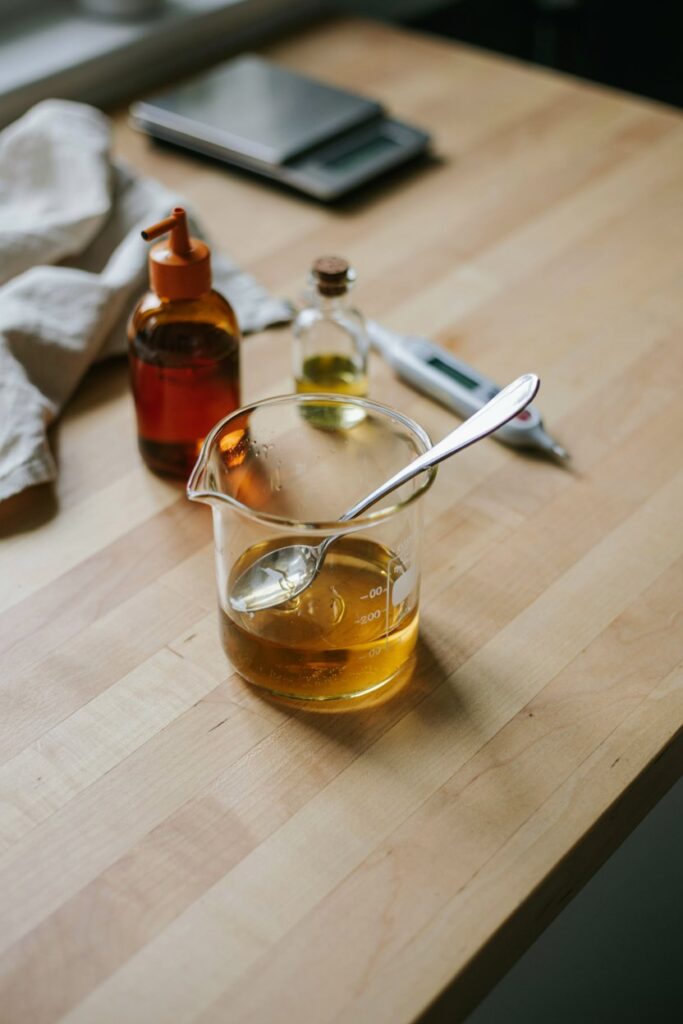
Weigh and melt the coconut oil and shea butter together, then add the olive oil and castor oil, combining into one oil mixture.
Bring to a temperature similar to your cooling lye solution, generally in the 90 to 100°F range for a recipe with this much shea butter, which can start to harden if the mixture cools too much before combining.
Step 4: Warm the Honey Slightly
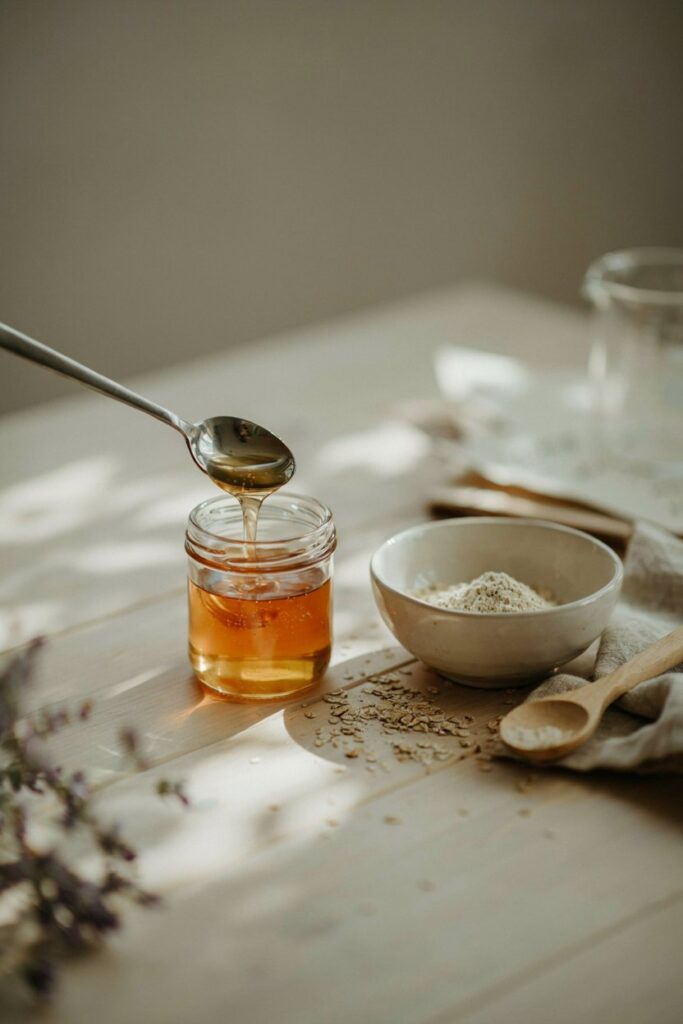
While your oils and lye solution are coming to temperature, gently warm the tablespoon of honey, either briefly in a microwave-safe dish for a few seconds or by setting the container in warm water, just enough to loosen it for easier mixing later. Don’t let it get hot.
Step 5: Combine Lye Solution and Oils
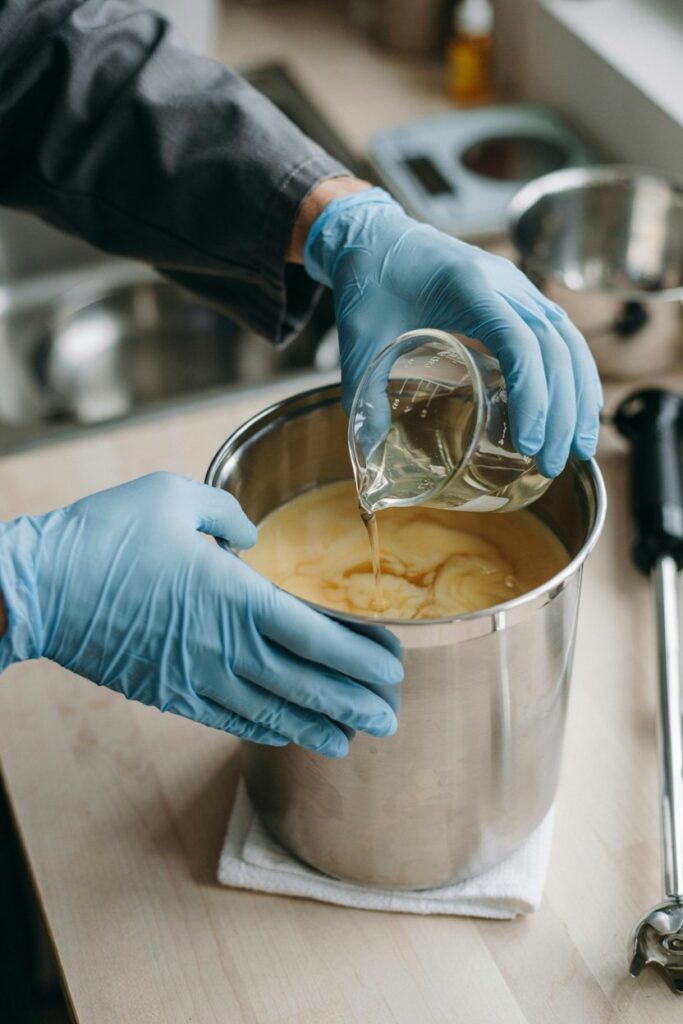
Once both mixtures are at a similar temperature, slowly pour the lye solution into the oils. Use a stick blender in short pulses, alternating with manual stirring, until you reach a light trace, a thin pudding-like consistency.
Step 6: Add the Honey and Oats
Once you’ve reached light trace, add the warmed honey and ground oats, mixing thoroughly but efficiently, since honey can accelerate thickening from this point on.
Step 7: Pour the Soap Into the Mold
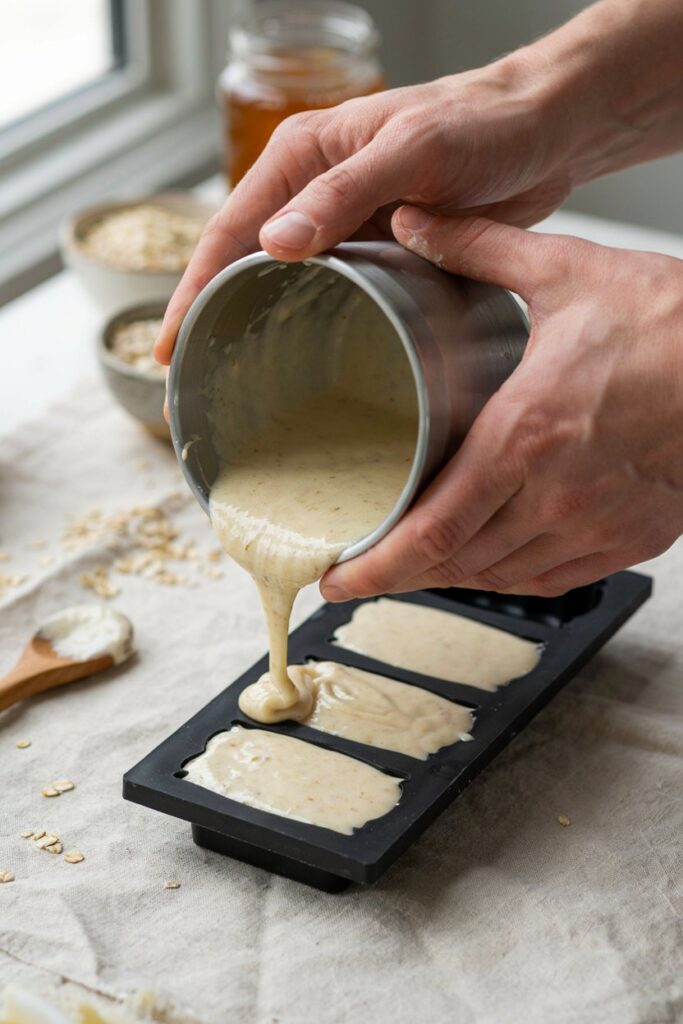
Once the soap batter has reached a light, even trace, slowly pour it into your prepared mold. Work steadily rather than pouring from too high above the mold, which can introduce unnecessary air bubbles.
Gently tap the mold against your work surface a few times to encourage trapped air bubbles to rise to the surface. Don’t bang it hard, especially if you’re using a silicone mold.
Smooth the top with a spatula if needed, then leave the mold somewhere safe where it won’t be disturbed.
Step 8: Cover Lightly and Let the Soap Set
Cover the mold loosely and leave it undisturbed for about 24 to 48 hours.
Because honey contains natural sugars, it can make the soap heat up more during saponification. This means you don’t necessarily want to wrap the mold heavily in towels or deliberately keep it very warm.
Check the mold during the first few hours. If it becomes unusually hot, develops a deep crack across the top, or looks like it is overheating, move it to a cooler location and allow it to continue setting.
The color may also become darker as the soap heats up. This can be completely normal with honey soap and doesn’t necessarily mean the batch has gone wrong.
Step 9: Unmold and Cut the Soap
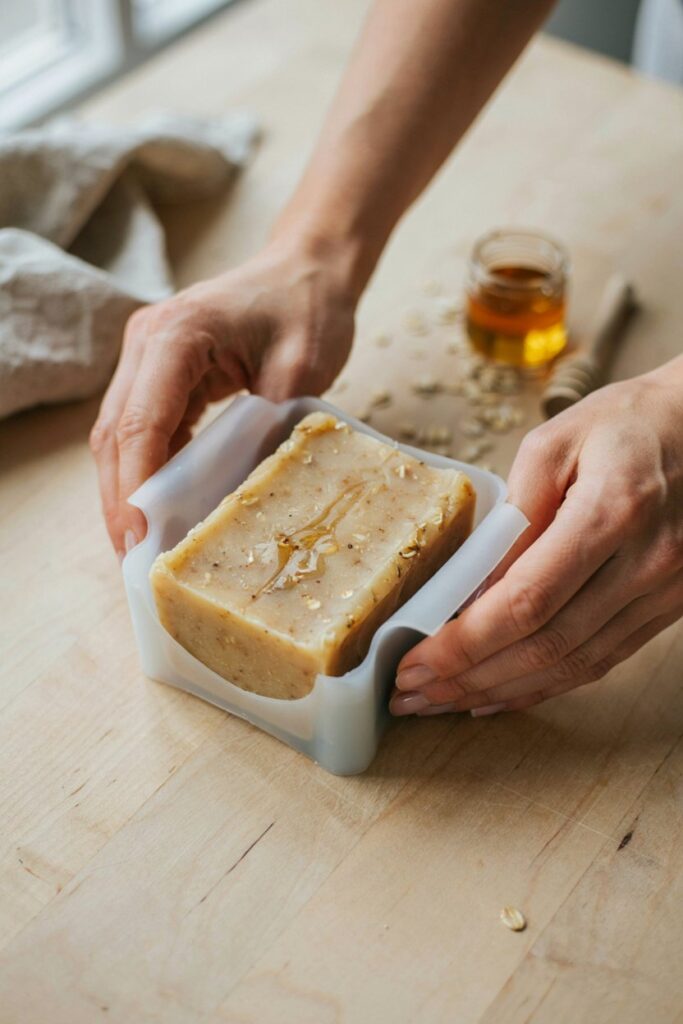
Once the soap feels firm enough to handle, gently remove it from the mold.
If you’re using a silicone mold, carefully flex the sides away from the soap rather than pulling directly on the bar. If it feels soft or wants to stick, give it more time instead of forcing it out.
Cut the loaf into even bars using a sharp soap cutter or straight knife. Try to make the cuts as consistent as possible so the bars cure at a similar rate.
Don’t worry if the freshly cut soap feels softer than you expected. Cold-process soap is still going through the curing process at this stage.
Step 10: Cure the Soap for 4 to 6 Weeks
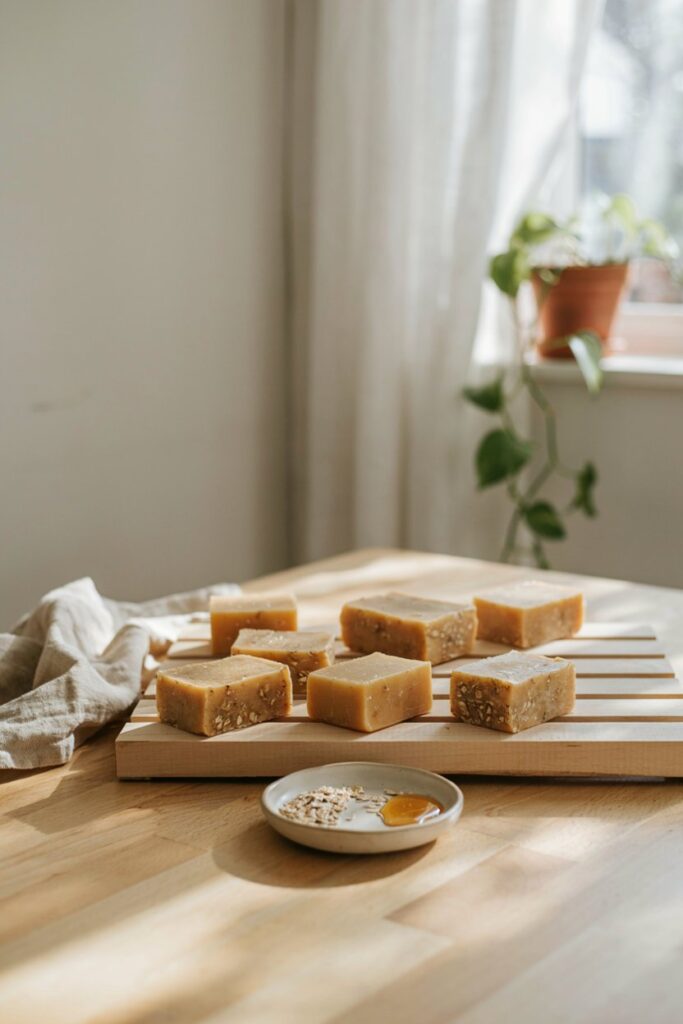
Place the freshly cut bars on a curing rack or another clean, well-ventilated surface with space between each bar.
Allow them to cure for 4 to 6 weeks before using them.
Turn the bars occasionally so air can circulate around different sides. During this time, the soap continues to harden and excess water evaporates, resulting in a firmer, longer-lasting bar.
I know it can be tempting to try one early, especially when you’ve just made your first batch, but giving it the full curing time makes a noticeable difference. Once the bars have finished curing, they’re ready to use or wrap up as a handmade gift.
Tips From Making This Specific Recipe
- Warm the honey, but don’t overheat it. Hot honey can accelerate the reaction more than you want, making the batter harder to work with in the pour and swirl stage.
- Watch for extra heat during the insulation stage. Honey soaps are more prone to overheating and cracking than a plain oil recipe, so don’t over-insulate this particular batch the way you might with a simpler bar.
- Use finely ground oats if you want a smoother bar, or coarser oats if you want more visible texture and gentle exfoliation.
- Don’t substitute a different sweetener for the honey. Maple syrup or other sugars behave differently in the reaction and aren’t a reliable one-to-one swap.
- Double check your scale’s accuracy before starting, especially for the lye measurement, since this recipe’s numbers depend on precise weights, not approximations.
Mistakes I’ve Made So You Don’t Have To
Adding the honey too early, before reaching trace. The batter thickened faster than I could work with, and I ended up with a lumpy, hard-to-pour texture.
Over-insulating a honey batch out of habit from other recipes. It overheated more than expected and cracked slightly across the top.
Using coarse oats when I wanted a smoother bar. Not a real mistake, just not what I was going for that batch, worth deciding on purpose rather than grabbing whatever oats are in the pantry.
Troubleshooting
My batter thickened too fast after adding the honey. This is a known tendency with honey soap. Work quickly once it’s added, and consider adding it at an even lighter trace next time to give yourself more working time.
My soap overheated and cracked on top. Honey-based soaps run hotter during saponification than plain oil recipes. Skip heavy insulation, or even refrigerate the mold briefly if you notice it heating up fast and starting to crack.
My finished bar feels greasy rather than cleansing. This is expected to some degree with a 5% superfat and a moisture-focused oil blend, but if it feels excessively oily, double check your lye measurement against the recipe exactly, a shorted lye amount will leave more unreacted oil than intended.
The oat texture feels too rough on skin. Use finely ground or colloidal oatmeal instead of coarser rolled oats for a gentler feel.
Variations
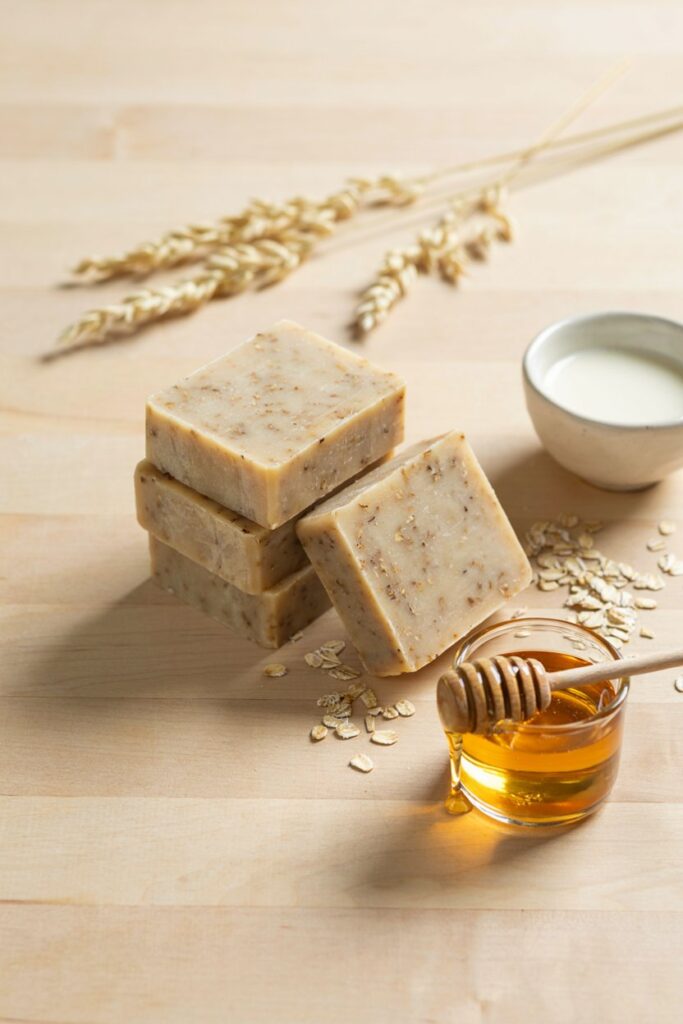
Oatmeal, Honey, and Milk Bar. Replace a portion of the water with goat milk or coconut milk (frozen into cubes first to prevent scorching when combined with lye) for an even more moisturizing bar.
Extra Gentle Baby-Safe Version. Omit added fragrance entirely and reduce the castor oil slightly in favor of more olive oil for an especially mild, low-lather bar. Always patch test any homemade soap before regular use on a baby or young child.
Spiced Oatmeal Honey Bar. Add a small amount of ground cinnamon at trace for a warm, cozy scent alongside the oatmeal texture, though start with a very small amount and patch test, since cinnamon can be irritating to some skin types in soap.
Storage
Store cured bars in a cool, dry place with airflow around them rather than sealed tightly, which helps preserve the bar and prevents trapped moisture from softening it prematurely.
Frequently Asked Questions
Is this recipe suitable for someone who’s never made cold process soap before? It’s a reasonable second or third recipe once you’re comfortable with the basic process, since the honey addition requires a bit more timing awareness than a plain oil recipe. My beginner soap making guide is the better starting point if this is your very first batch.
Can I use a honey substitute? Not reliably as a direct swap, since other sweeteners behave differently in the saponification reaction. If you want to skip honey, look for a recipe specifically designed without it rather than substituting.
Why does this recipe call for exact ounce measurements instead of cups? Soap making requires weight-based measurements, not volume, since the lye calculation depends on precise oil and lye weights to balance correctly. Using cups instead of a scale can throw off the whole recipe.
Is a 5% superfat safe? Yes, superfatting between 3 and 8% is a common, standard practice for a moisturizing bar, leaving a small amount of unreacted oil for conditioning rather than being under-saponified in an unsafe way.
How do I know if my lye measurement was correct? Trust your kitchen scale and the calculation rather than judging by appearance during the process. If you’re ever unsure, run your recipe through an online lye calculator to double check your numbers against this post’s figures before starting.
Final Thoughts
This has become my go-to bar for the driest months of the year, and the honey and oatmeal combination genuinely feels different on skin compared to a plain oil bar.
Just remember that this one moves a little differently in the pot than a basic recipe, work a bit faster once the honey goes in, and keep an eye on it during the insulation stage.
If you make a batch, I’d love to hear how your oat texture and lather turned out.