How to Dry Air Dry Clay Faster Without Cracking
outer surface of a piece dries and shrinks faster than the interior, and that mismatch in shrinkage rate creates tension right at the boundary between the dry outer layer and the still-damp core. Enough tension, and the piece cracks to relieve it.
Once you understand that’s the actual mechanism, most of the advice about speeding up drying safely starts to make a lot more sense, and so does the advice about which shortcuts genuinely aren’t worth the risk.
I’ve scattered drying tips across a handful of other posts on this site, but I’ve never actually sat down and explained the real mechanics behind why clay cracks, or gone deep on which speed-up methods are genuinely safe versus which ones just look like they’re working until you unwrap a ruined piece.
That’s what this post is for.
If you’re newer to clay generally, my beginner tips guide covers the basics of handling and clay selection that this post builds on top of.
Why Air Dry Clay Actually Cracks
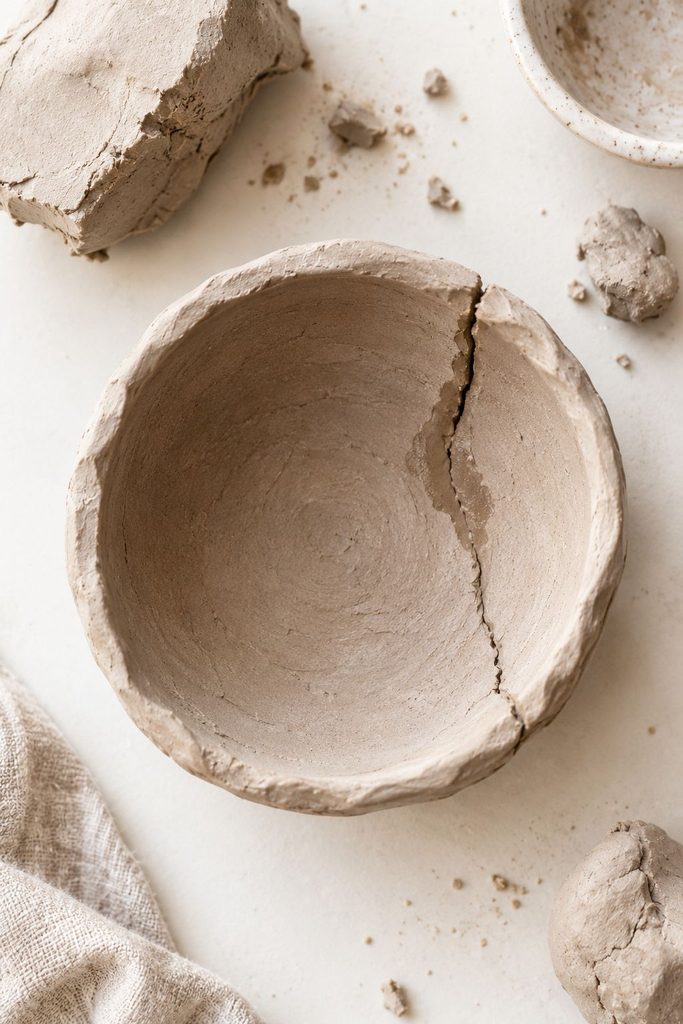
Air dry clay is mostly water suspended in a binder, and drying is really just that water evaporating out, layer by layer, from the outside in. The surface, exposed directly to air, loses moisture first and begins shrinking almost immediately.
The interior, insulated by the layers around it, stays damp and unshrunk for much longer.
That gap between a shrunk exterior and a still-full-sized interior is where the stress lives. In a thin, evenly-built piece, that gap is small enough that the clay can flex and accommodate it without cracking.
In a thick piece, an unevenly built piece, or anything dried too aggressively, the gap grows large enough that something has to give, and what gives is a crack, usually right where the wall thickness changes or where two separately built pieces were joined.
This is also why so much drying advice centers on evenness rather than pure speed. A piece that dries evenly, even if it takes longer, is far less likely to crack than one that dries unevenly but faster.
Building for Even Drying From the Start
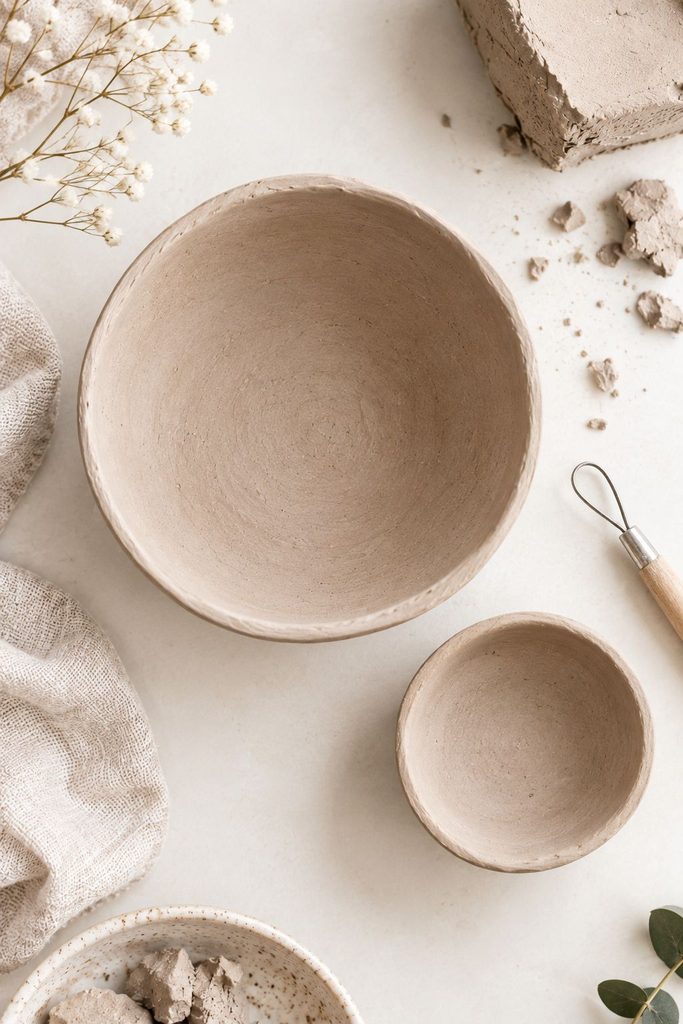
The single biggest factor in whether a piece cracks isn’t actually how you dry it, it’s how you built it in the first place.
Keep wall thickness consistent throughout a single piece. A dish with a thick base and thin rim will dry at two different rates within the same object, and that internal mismatch is a common crack source even without any external drying mistakes.
Smooth and blend every seam where two pieces of clay meet. An unblended seam, a handle attached to a mug, a coil pressed onto a base, is structurally weaker and dries at a slightly different rate than the surrounding clay, making it a predictable crack point.
Avoid trapped air pockets. Air bubbles inside a solid piece expand slightly as the surrounding clay shrinks around them, adding another source of internal stress on top of the moisture-related kind.
Don’t overwork the clay with excess water during shaping. Water added during smoothing needs to evaporate too, and a piece that was worked wetter than necessary has more total moisture to lose, which extends drying time and increases the total shrinkage the piece has to accommodate.
Safe Ways to Actually Speed Up Drying
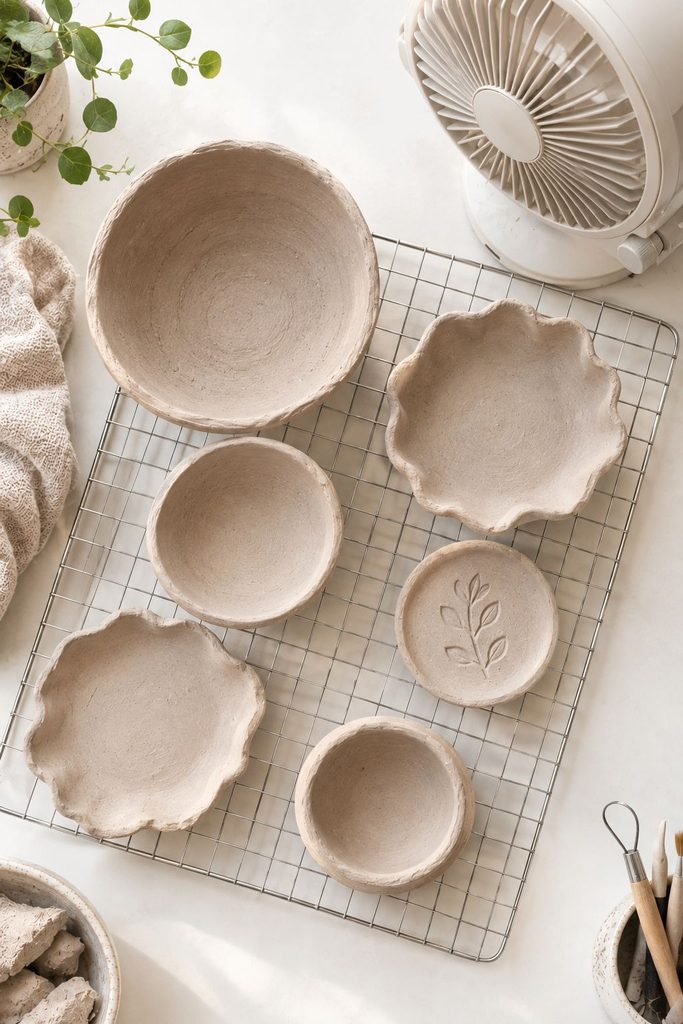
Increase air circulation, not heat. A small fan set to low, pointed near but not directly at the piece, moves air across the surface and speeds evaporation without introducing the uneven, aggressive drying that heat causes. This is genuinely one of the most effective and safest speed-up methods available.
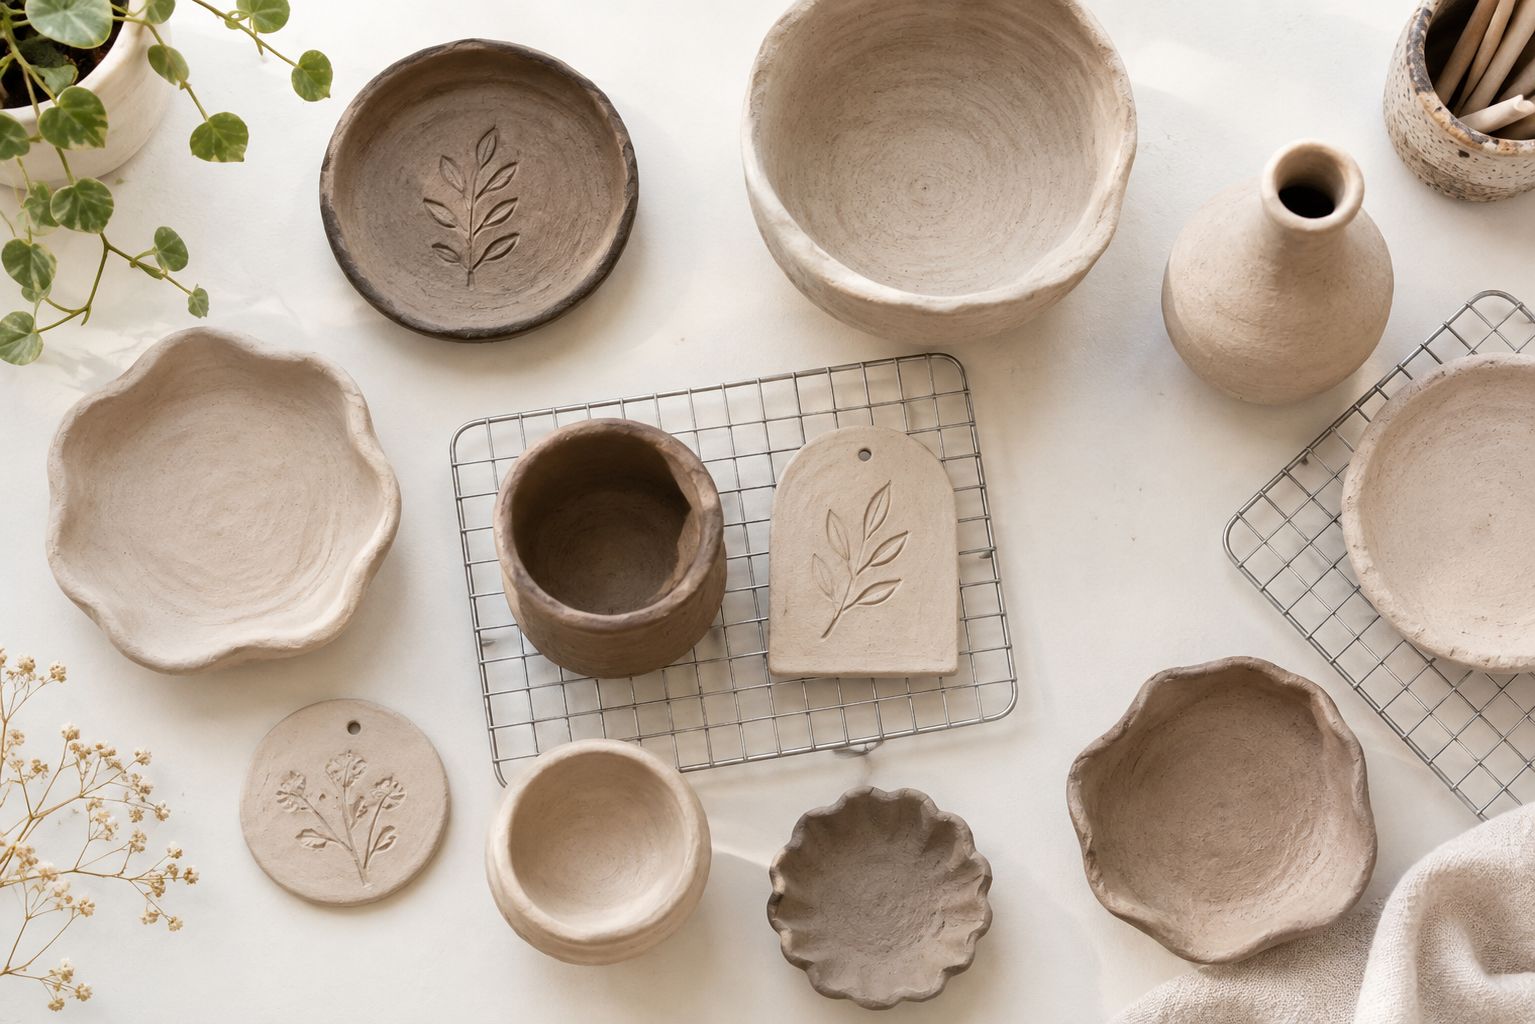
Elevate the piece on a wire rack or mesh surface. Drying flat on a solid surface blocks airflow to the bottom of the piece entirely, which means the top dries significantly faster than the bottom, a textbook setup for uneven-drying cracks. A rack lets air reach both sides evenly.
Flip or rotate the piece partway through drying. For anything sitting on a surface, turning it over once the top has firmed up enough to handle gives the previously-blocked underside a chance to catch up, evening out the overall drying rate.
Keep the room at a moderate, consistent temperature with low humidity. You don’t need to actively heat the space, just avoid a damp, humid room, which slows evaporation dramatically and can extend drying time by days. A dehumidifier in the room, rather than direct heat on the piece, is a genuinely effective way to speed things up safely.
Reduce piece thickness where the design allows it. Hollowing out a solid form, or simply building thinner walls from the start, reduces the total amount of moisture that needs to escape, which is a more fundamental fix than anything you can do during the drying phase itself.
Methods That Look Like They’d Work, But Genuinely Aren’t Worth the Risk
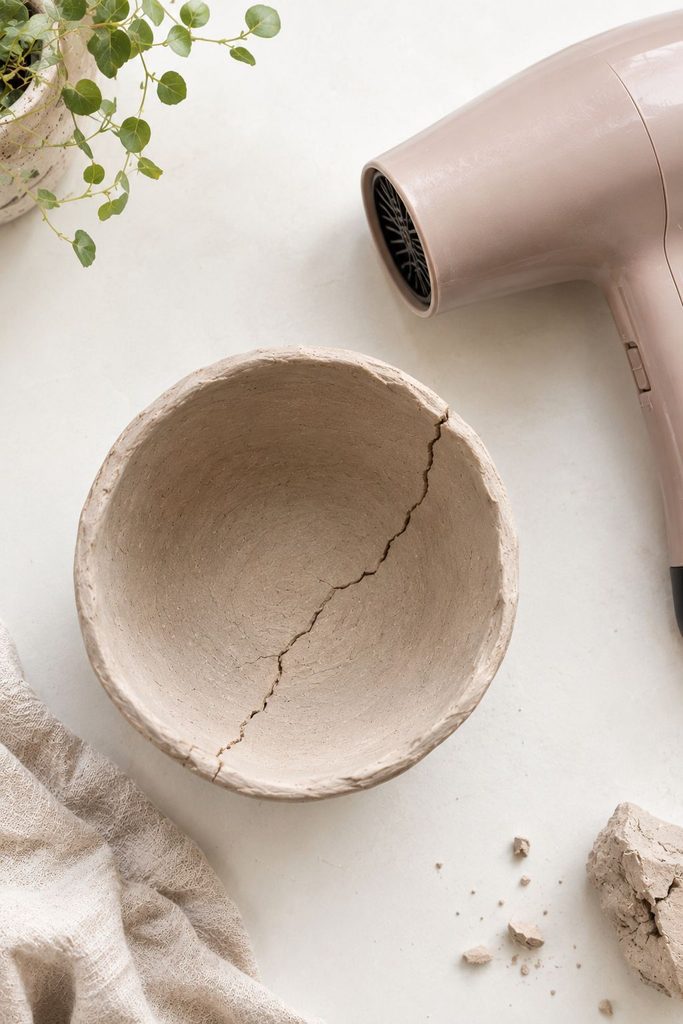
A hairdryer or direct heat gun. This dries the exposed surface extremely fast while doing nothing for the interior, creating the exact uneven-shrinkage scenario that causes cracking, just compressed into minutes instead of hours.
I’d avoid this one specifically, it’s one of the most common shortcuts people try and one of the most reliable ways to ruin a piece.
A conventional oven, even on low heat. Most air dry clay isn’t formulated to be baked the way polymer clay is.
Oven heat dries far too aggressively and unevenly for a piece of any real size, and some clay formulations can scorch, discolor, or release an unpleasant smell when heated this way.
Direct sunlight. A sunny windowsill feels like a reasonable, gentle way to speed things along, but direct sun heats the exposed surface unevenly, faster on the sun-facing side than the rest of the piece, and that lopsided heating is its own crack risk on top of the general fast-drying problem.
A microwave. Air dry clay’s water content heats unpredictably in a microwave, and there’s a real risk of the piece drying so unevenly, or heating so unpredictably, that it cracks badly or the surface bubbles and distorts.
This isn’t a speed-up method worth attempting regardless of piece size.
How to Tell If a Piece Is Actually, Fully Dry
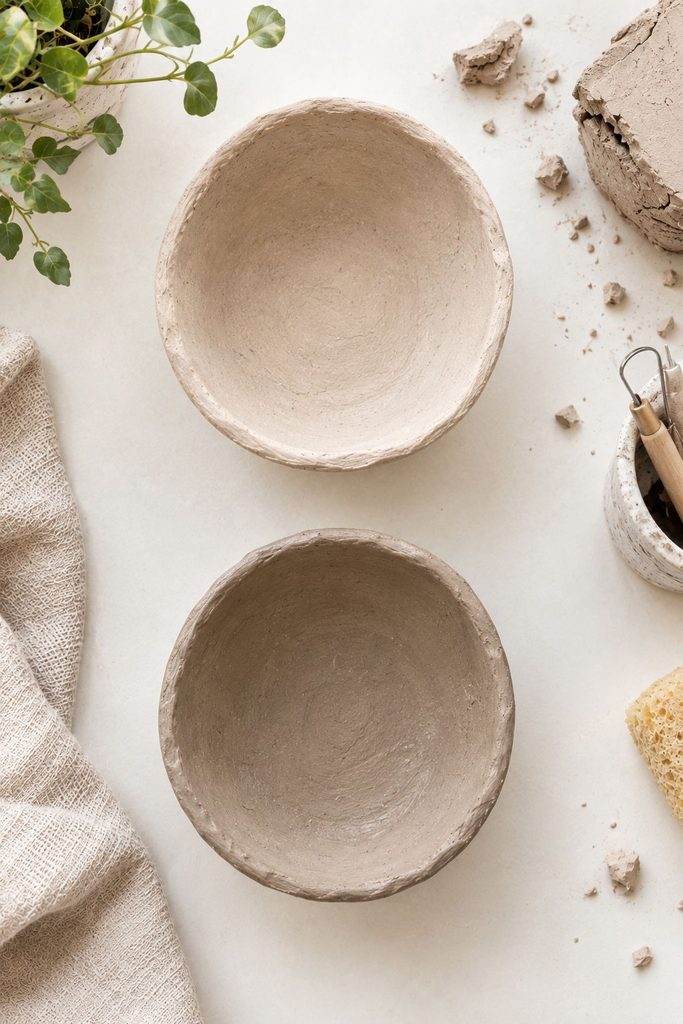
A piece that looks dry on the surface can still be damp inside, especially anything with real thickness or volume, and moving forward with sanding, painting, or sealing too early is one of the most common reasons a “finished” piece develops problems later.
Check temperature, not just appearance. Fully dry clay feels room temperature to the touch. A piece that still feels slightly cool, especially in its thickest section, still has moisture evaporating from the interior.
Tap test for a change in sound. Dry clay tends to sound slightly higher-pitched and more solid when tapped gently compared to the duller sound of a still-damp piece, though this takes a little practice to calibrate by ear.
Weigh a reference piece, if you’re making multiples. If you’re building several pieces from the same batch of clay, weighing one periodically and watching for the weight to stop decreasing is a genuinely reliable, low-tech way to confirm it’s done losing moisture.
When in doubt, wait longer. The cost of waiting an extra day is minimal. The cost of sealing or painting a piece that wasn’t actually fully dry, trapped moisture, bubbling, softening under the finish, is a ruined piece.
Mistakes I’ve Made So You Don’t Have To
Reaching for a hairdryer on a piece I was impatient to finish, back before I understood why that was a bad idea. It cracked straight down the middle within about ten minutes, and I lost the whole piece.
Building a bowl with a noticeably thicker base than walls, thinking the extra thickness would make it sturdier. It cracked right at the transition point between the thick base and thinner sides, exactly where the two different drying rates met.
Trusting a piece was dry because the outside felt firm, and moving on to sanding too early. The interior was still slightly soft, and sanding tore up the surface instead of smoothing it, on top of the piece developing a delayed crack a day later as it kept shrinking.
Drying a piece flat on a solid table instead of a rack, more than once, before I understood how much that was slowing and unevening the process. The bottoms of those pieces consistently took far longer to dry than the tops, and a couple of them cracked right along that uneven boundary.
Troubleshooting Cracks That Already Happened
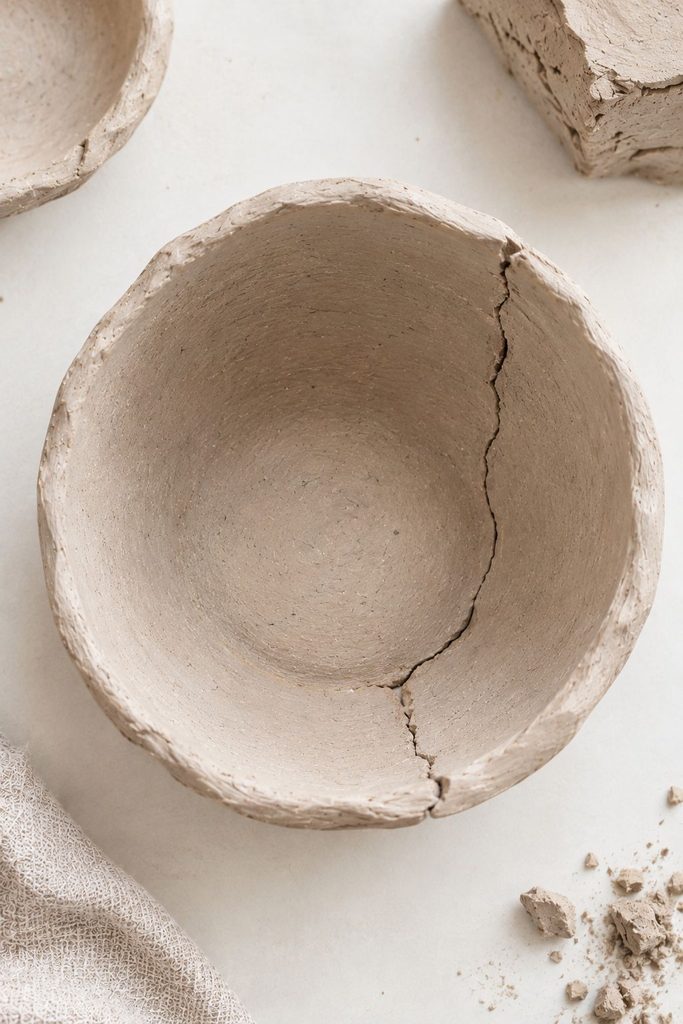
A crack appeared right at a seam. This points to an unblended joint between two separately built pieces. For next time, spend more time smoothing that connection while the clay is still workable, rather than trusting it’ll hold together as-is.
Cracks radiate out from the center of a flat piece. This usually means the piece dried too fast relative to its thickness, often from direct sun, a heat source nearby, or simply being built thicker than the drying conditions could accommodate evenly.
A crack showed up only after the piece seemed fully dry. This can happen with pieces that were rushed through the “is it dry” check. The interior was likely still releasing moisture even though the surface felt done, and continued shrinkage after you’d already moved on to finishing caused a delayed crack.
Small hairline cracks all over a textured surface. Fine detail work, seed textures, stamped patterns, thin decorative elements, is more prone to this than a smooth surface, since thin detailed areas dry faster than the bulkier clay around them. Building those details slightly thicker than feels necessary helps even out the rate.
If you do end up with a crack despite everything, my guide to fixing cracked air dry clay covers the actual repair process in full.
Related Posts
- Start Your Air Dry Clay Journey: 10 Essential Tips
- How to Fix Cracked Air Dry Clay
- How to Seal Air Dry Clay
- How to Make Air Dry Clay Waterproof
Frequently Asked Questions
How long does air dry clay actually take to dry? This varies significantly by thickness, anywhere from about 24 hours for something genuinely thin and flat, to a full week or more for a thick, sculptural piece like a vase. There’s no single universal number, thickness matters more than any other single factor.
Is it ever safe to speed up drying with any kind of heat? Gentle, indirect airflow from a fan is the safest speed-up method available. Any direct heat source, a hairdryer, an oven, a heat gun, introduces the uneven drying that actually causes cracking, so I’d avoid heat-based shortcuts entirely.
Can I tell if a piece will crack before it’s fully dry? Not with certainty, but visible early warning signs, like a piece that feels significantly cooler and heavier on one side than another, suggest uneven moisture distribution that’s worth addressing, more airflow to the slower-drying side, before it becomes a full crack.
Does the type of clay affect how prone it is to cracking? Yes, somewhat. Premium, finer-textured clays tend to be a bit more forgiving than very cheap craft clays, though building technique and drying conditions still matter more than the specific brand in most cases.
Should I cover a piece while it’s drying to slow the process down intentionally? In some cases, yes, if you’re worried about drying too fast in a warm or sunny room, loosely covering a piece with a plastic bag, not sealed airtight, just draped over, slows evaporation and can actually reduce cracking risk in an environment that would otherwise dry it too aggressively.
Final Thoughts
Every crack I’ve ever dealt with traced back to one of two things, a piece I built unevenly, or a piece I rushed through drying because I was impatient to move on to painting.
Once I started treating even, controlled drying as part of the actual craft rather than just the boring waiting period between building and finishing, my crack rate dropped dramatically, more than any single product or tool ever changed.
If you take one thing from this post, let it be that patience genuinely is the technique here, not a lack of one.