
DIY Air Dry Clay Fridge Magnets

My kitchen counter was covered in cornstarch dust for a solid week the first time I tried this project, because I didn’t yet know that air dry clay hates humidity and will crack on you out of spite if you rush the drying time.
A few batches later, and after ruining exactly one very cute little strawberry, I finally figured out the actual process that gets clean, unbroken magnets every time.
This is one of those projects that looks like it belongs in a cute gift shop display, but it’s genuinely doable on a random Tuesday evening with stuff you either already have or can grab cheap.

No kiln, no oven-baking, no special tools beyond what’s probably already in a junk drawer somewhere.
A quick safety note before you start: small magnets are a real choking and ingestion hazard for young kids and pets, and swallowing more than one can cause serious internal injury.
If kids are helping with this project, keep the magnets themselves out of their hands until the very last step, and store finished magnets somewhere little hands and paws can’t reach.
If cracking has been an issue for you before, my guide to avoiding cracks in air dry clay covers this in more depth.
Why This Method Works
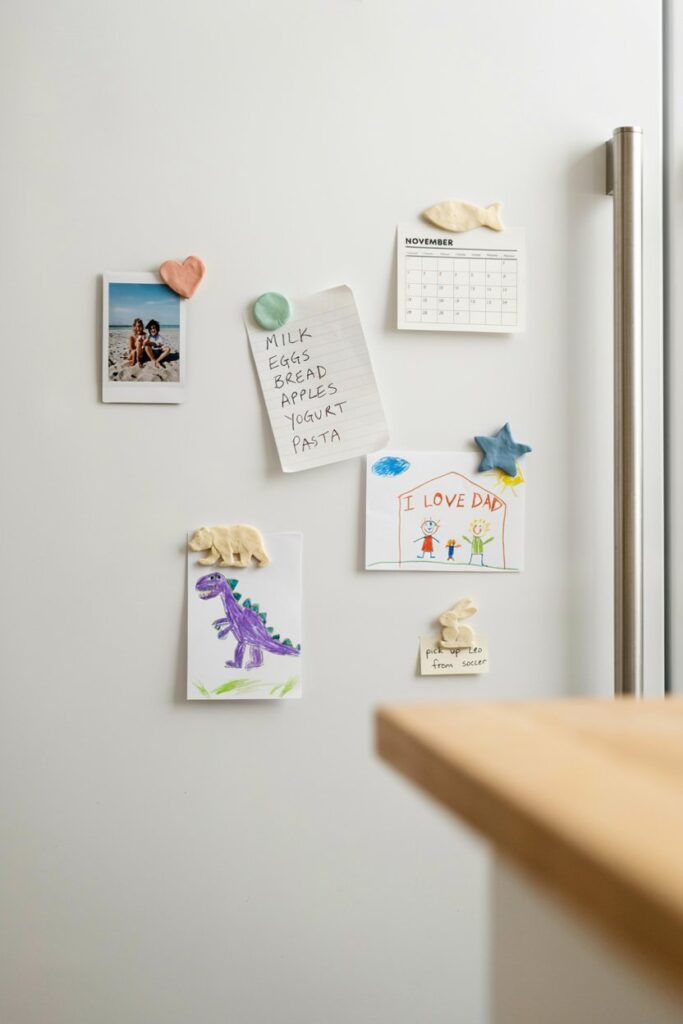
Air dry clay skips the equipment barrier entirely. No oven, no kiln, no polymer clay conditioning machine. Just clay, air, and time.
The drying technique prevents the most common failure point. Most cracked or warped magnets come down to drying too fast, and this method specifically slows that down.
It scales from one magnet to twenty just as easily. Once you’ve got the process down, batching a full set for gifts takes barely more effort than making just one.
Curious what else you can make with basic tools and no kiln? Take a look at 10 Air Dry Clay Gift Ideas That Actually Feel Thoughtful.
What Makes the Technique Different
Most tutorials tell you to just “let it air dry” and leave it there, which is exactly how you end up with a magnet that cracks down the middle or curls up at the edges like a stale cracker.
Air dry clay dries from the outside in, so if the outer layer hardens before the inside has released its moisture, that trapped moisture has nowhere to go and the piece cracks under the pressure.
The fix is slowing the surface drying down to roughly match the internal drying rate, which means flipping your pieces regularly and keeping them somewhere with steady airflow but not direct heat or sun.
It’s a small adjustment, but it’s the single biggest difference between a magnet that survives and one that doesn’t.
Materials
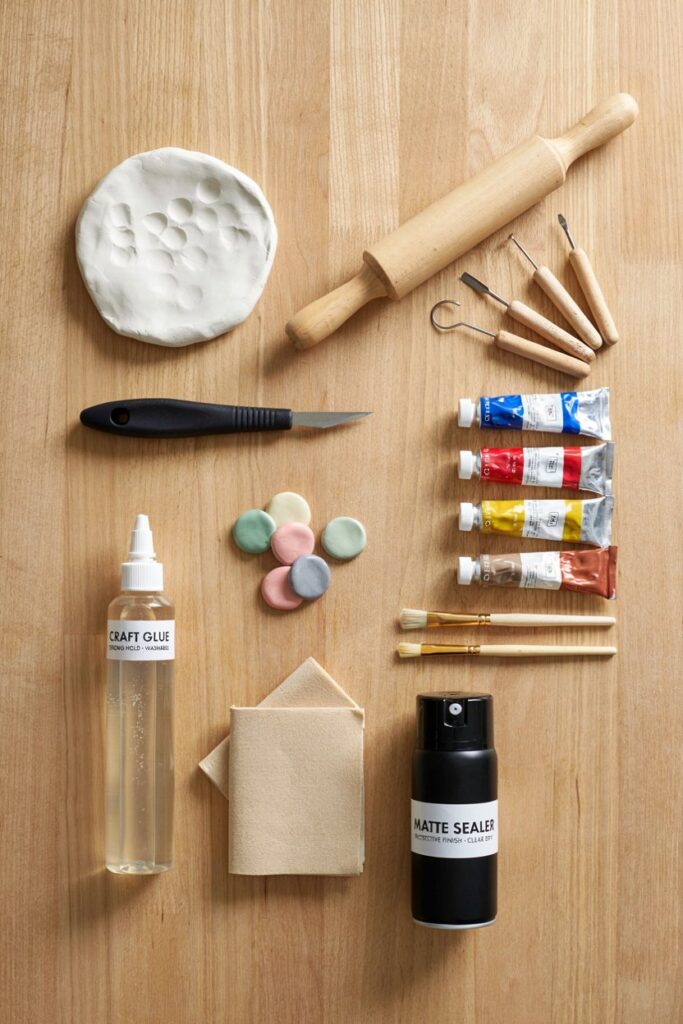
- White air dry clay — holds detail well and dries lighter than terracotta-colored clay, which makes painting truer to color afterward.
- Small magnets (1/2 inch or smaller) — strong enough to hold on a fridge, small enough to stay proportional to the finished piece.
- Strong craft glue or E6000 — regular school glue won’t hold a magnet long-term, it needs something rated for bonding to a non-porous surface like a magnet’s metal backing.
- Acrylic paint — dries fast, layers well, and holds up better than watercolor on a porous dried-clay surface.
- Clear sealant spray or brush-on sealant — protects the paint and adds a bit of durability against the repeated handling a fridge magnet gets.
Want To Level Up Your Air-Dry Clay?
If you’ve been wanting to make more beautiful air-dry clay pieces but aren’t sure what to create next, I made this guide for you.
Air Dry Clay For Beginners – Beginner To Expert Fast gives you 30 fun projects with easy-to-follow instructions and step-by-step photos, so you can create with more confidence.
Instant digital download • $9.99 • Create at your own pace
Substitutions I’ve Actually Tested
I’ve tried polymer clay instead of air dry clay, and while it holds detail slightly better, it requires oven baking, which adds a step and a safety consideration this method is specifically designed to avoid.
I’ve also swapped E6000 for a hot glue gun in a pinch, and it does hold initially, but it lets go within a few weeks of regular fridge door use, so I don’t recommend it for anything you’re planning to gift or keep long-term.
For paint, I’ve used gouache when I ran out of acrylic, and it works in a pinch but stays more matte and is more prone to smudging without a sealant coat immediately after.
Drying too fast is one of the most common beginner mistakes — my air dry clay beginner tips post rounds up the others worth knowing.
Tools You’ll Need
- A rolling pin or a smooth glass jar, for flattening clay to an even thickness
- Small sculpting tools, or in a pinch a butter knife and a toothpick
- A flat, non-stick surface for shaping and drying, like a silicone mat or parchment paper
- Small paintbrushes for detail work
- A well-ventilated space for the sealant step
Still deciding between clay types for a project? How to Make Coffee Clay at Home is a fun alternative if you want to try something besides white clay.
Step 1: Condition the clay
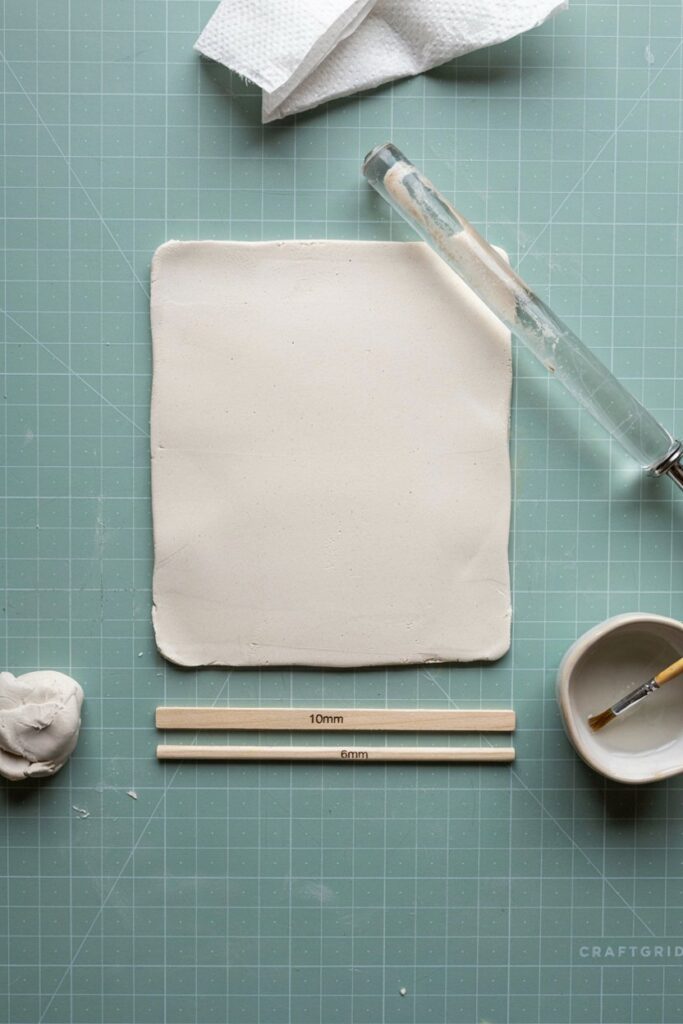
Knead a golf-ball-sized piece of clay in your hands for about a minute before shaping, until it’s soft and pliable with no dry, cracked edges.
Cold clay straight from the package is much more prone to cracking later.
Step 2: Roll and shape your design
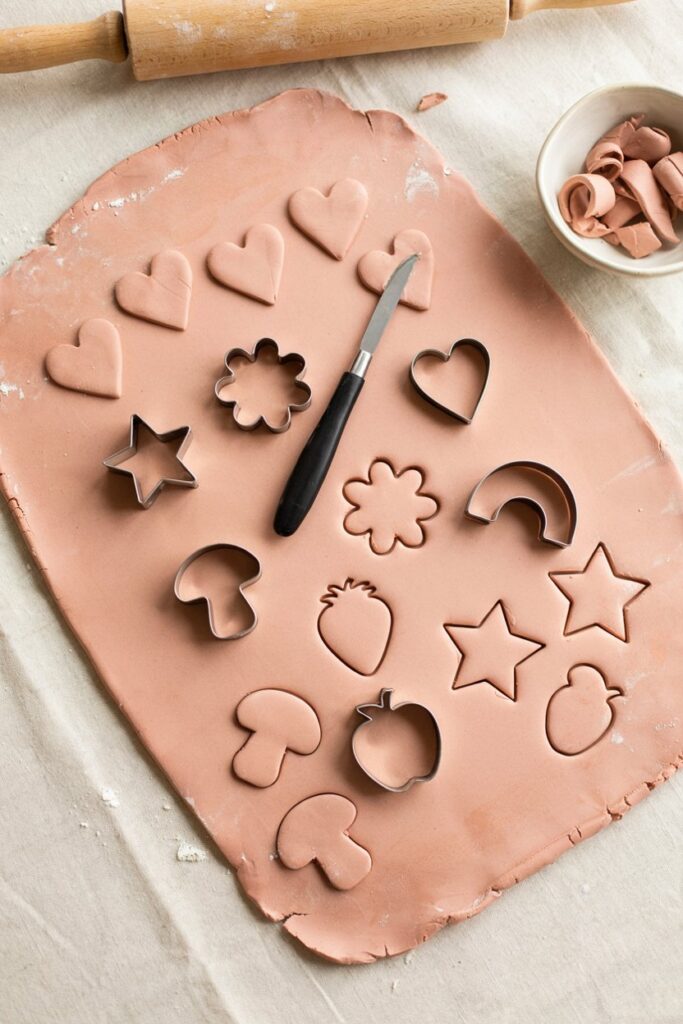
Roll the clay to a roughly quarter-inch thickness using a rolling pin or jar, then shape it into your design, whether that’s a simple fruit shape, a mini plant, or a small geometric piece.
Keep pieces on the smaller side, since bulkier clay takes longer to dry and is more prone to cracking.
Step 3: Smooth the edges and add detail
Use a small sculpting tool or toothpick to smooth rough edges and add any texture or detail, like the seeds on a strawberry or the lines on a leaf.
Do this while the clay is still fresh, since it gets harder to manipulate cleanly after even a few hours of air exposure.
Step 4: Begin the slow-dry process
Place your shaped pieces on a flat, non-stick surface somewhere with steady airflow, away from direct sun or heat, and flip them every six to eight hours for the first day or two.
This is the step that prevents the outer-hardens-first cracking problem.
Step 5: Let pieces fully dry

Depending on thickness, full drying typically takes two to three days.
Don’t rush this by using a hair dryer or oven on a low setting, since fast-forcing the drying reintroduces the exact cracking risk the slow-dry step was avoiding.
Step 6: Paint your design

Once fully dry, hold, tap, and check for that solid, no-give feeling before painting.
Apply acrylic paint in thin layers, letting each layer dry before adding the next, rather than one thick coat that can crack the paint as it dries.
Step 7: Seal the piece
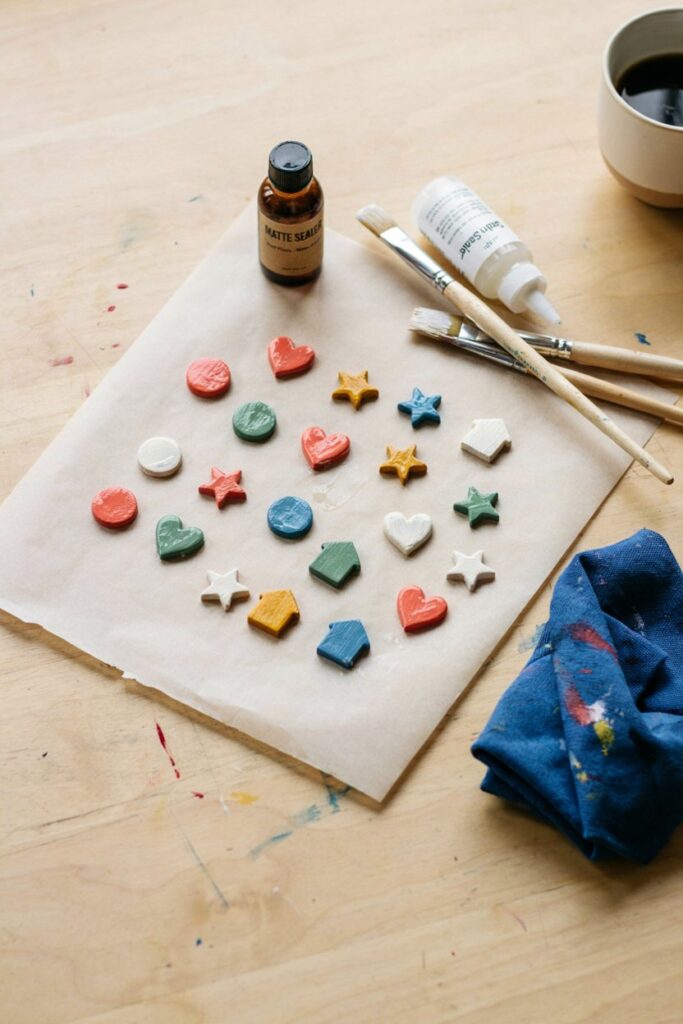
Apply a clear sealant spray or brush-on coat once the paint is fully dry, in a well-ventilated space.
This protects the color and adds durability against the handling a fridge magnet gets.
Want to know exactly what sealant protects against (and what it doesn’t)? Check out How to Seal Air Dry Clay.
Step 8: Attach the magnet
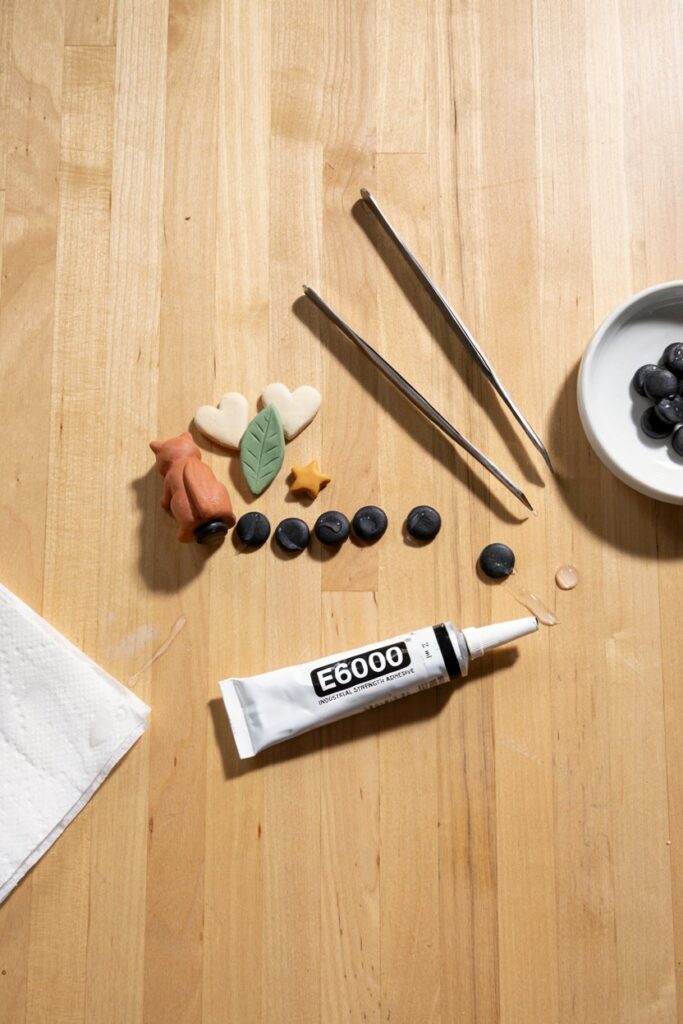
Once the sealant is fully cured, apply a small amount of strong craft glue to the back of the piece and press the magnet into place, holding it steady for about thirty seconds before letting it cure fully, undisturbed, for at least a few hours.
Tips From Making More of These Than I Can Count
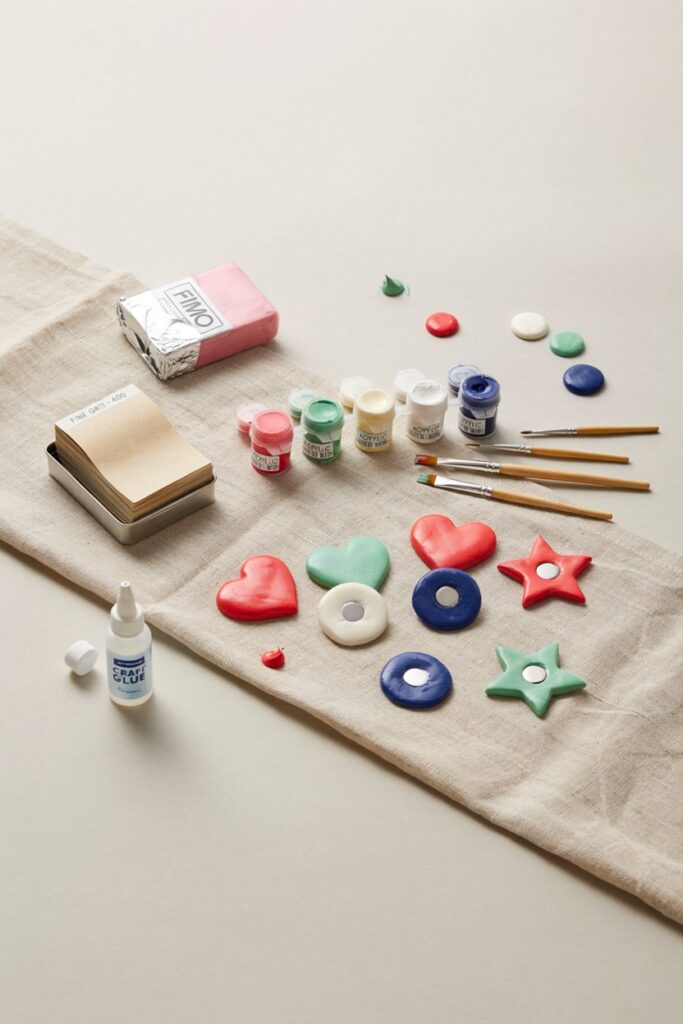
Keep your pieces small and relatively flat, since chunkier three-dimensional shapes take significantly longer to dry evenly and crack more often.
Work on a few pieces at once rather than one at a time, since air dry clay starts to firm up on the surface while you work, and batching keeps you from wasting clay on pieces you didn’t get to in time.
Store your unused clay tightly wrapped in plastic wrap inside a sealed bag or container between sessions, since even brief air exposure starts drying it out.
Mistakes I’ve Made So You Don’t Have To
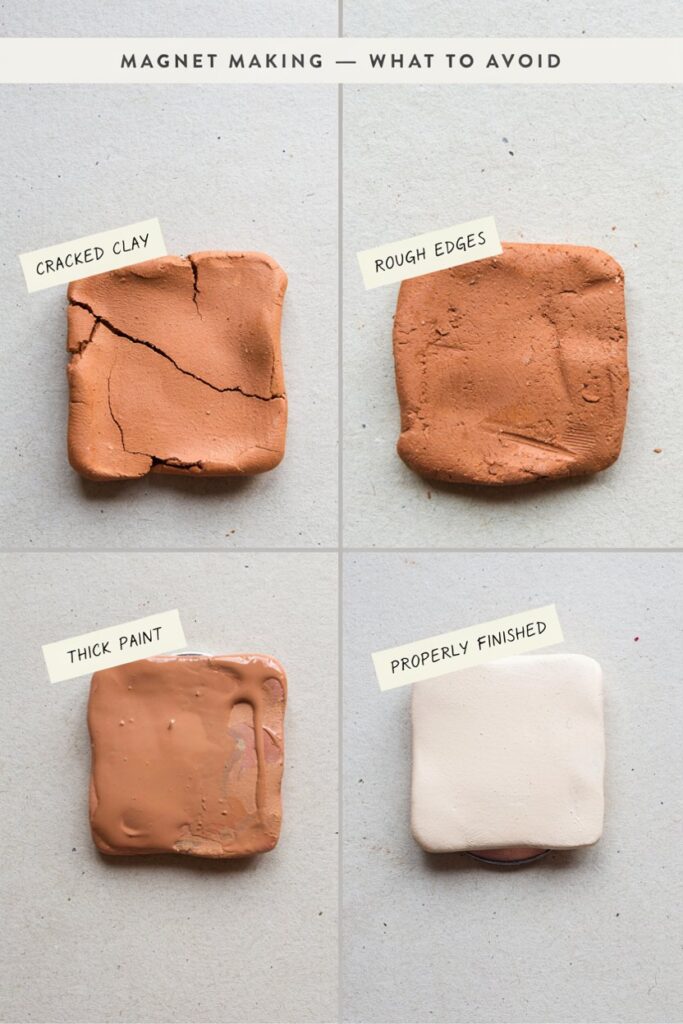
I once left a batch of magnets drying on a sunny windowsill overnight, thinking faster was better, and woke up to three cracked pieces and one that had visibly warped.
I’ve also used a glue that wasn’t rated for bonding to metal, assuming any strong glue would do, and had a magnet pop off a finished piece less than a week later.
And I learned the hard way that painting before the clay was fully dry, not just dry to the touch on the surface, leads to paint that lifts and cracks as the interior continues drying underneath it.
Troubleshooting
Piece cracked during drying. This is almost always a too-fast drying issue. Check whether it was drying somewhere with direct sun, heat, or a draft, and move future batches somewhere with more neutral, steady airflow.
Paint looks patchy or uneven. This usually means the clay wasn’t fully dry before painting, since a still-damp surface absorbs paint unevenly. Wait an extra day past when the piece feels dry to the touch before starting to paint.
Magnet fell off after a few weeks of use. Check what glue was used. Craft glue rated specifically for bonding to metal and non-porous surfaces, like E6000, holds significantly longer than general-purpose craft glue or hot glue.
Piece feels fragile or snaps easily even after fully drying. This points to clay that was rolled too thin for the design’s complexity. Thicker, simpler shapes hold up better than intricate, thin details in air dry clay specifically.
Craft Variations
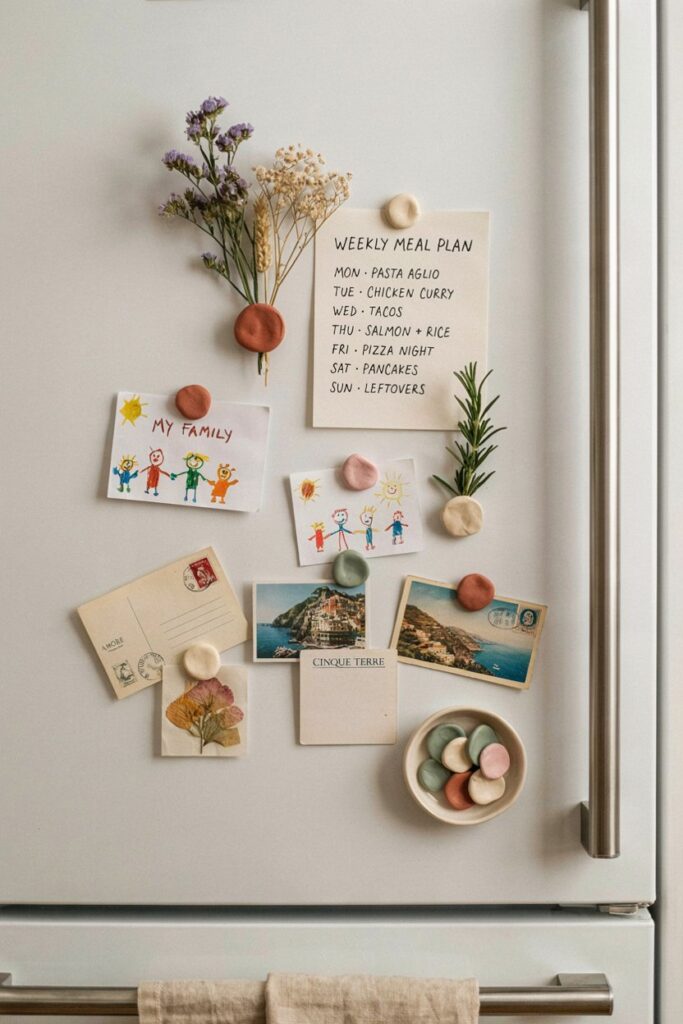
Mini succulents and plants: Use green-tinted clay or paint after drying, and layer small rolled pieces to build up a dimensional plant shape rather than a flat design.
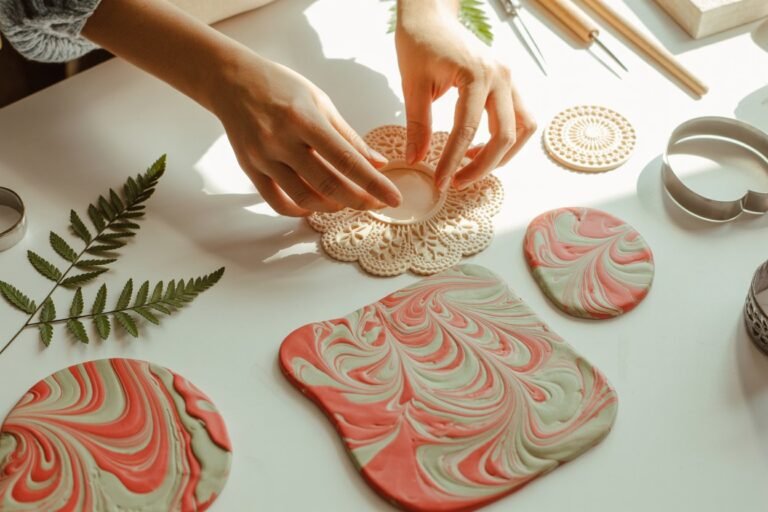
Geometric shapes: Skip freehand sculpting and use small cookie cutters instead, which gives you clean, consistent edges and speeds up the whole process significantly.
Personalized initials or names: Roll thin clay “ropes” and shape them into letters, which dry faster than bulkier shapes due to their thinner profile.
What Else Helps
A small silicone baking mat makes shaping and drying easier than working directly on parchment paper, since it grips slightly and keeps pieces from sliding around mid-shaping.
A set of clay texture stamps, while not strictly necessary, adds detail options beyond what a toothpick or butter knife can realistically achieve.
Storage and Care
Store finished magnets somewhere dry, since air dry clay remains slightly porous even after sealing and can be affected by prolonged humidity exposure over months or years.
Wipe them gently with a barely damp cloth if they get dusty rather than submerging them in water, since soaking can degrade the clay even with a sealant coat.
Keep any unused clay tightly wrapped between uses, it dries out fast once the package is opened.
Prepping Before You Start
If you’re planning a whole batch as gifts, prep your color palette and rough shapes for all pieces before you start the actual sculpting, so you’re not stopping mid-project to decide what to make next while clay you’ve already conditioned starts to dry out on the table.
Frequently Asked Questions
How long does air dry clay actually take to fully dry? Most pieces at a quarter-inch thickness take two to three days with proper airflow. Thicker pieces can take up to a week, and rushing this with heat is the fastest way to crack them.
Can I use polymer clay instead for a sturdier magnet? Yes, polymer clay is more durable once cured, but it requires oven baking, which adds a step and a heat safety consideration this air dry method is specifically built to avoid.
Do I need to seal the magnets, or is paint enough on its own? Sealant is worth the extra step. Unsealed painted clay is more prone to chipping and fading with the regular handling a fridge magnet gets.
Are these magnets safe to make with kids? The clay shaping and painting steps are fine for kids to help with. The magnets themselves are a genuine choking hazard for young children, so I’d handle the magnet-attaching step separately and keep finished magnets out of reach of anyone who might still put small objects in their mouth.
Why did my clay crack even though I let it dry for days? This is almost always a too-fast surface drying issue, usually from direct sun, heat, or a draft, rather than not enough total time. Check where the pieces were drying, not just how long.
Can I fix a crack after the piece has already dried? Small hairline cracks can sometimes be filled with a bit of fresh clay worked into the gap, but deeper cracks usually mean starting over, since the structural integrity is already compromised.
How strong do the magnets need to be to actually hold on a fridge? Small 1/2-inch magnets are generally strong enough for lightweight clay pieces. For anything larger or heavier, size up the magnet or use two smaller magnets per piece for extra hold.
Final Thoughts
The slow-dry step is the one people skip most often, and it’s the one that actually determines whether this project turns out looking like a little handmade gift or a cracked disappointment on your counter.
Give it the extra day it wants, and the rest of the process is genuinely low-effort for how charming the final result is.




3 Comments