Simple Crochet Scarf Pattern for Beginners: Easy Free Pattern With Tassels
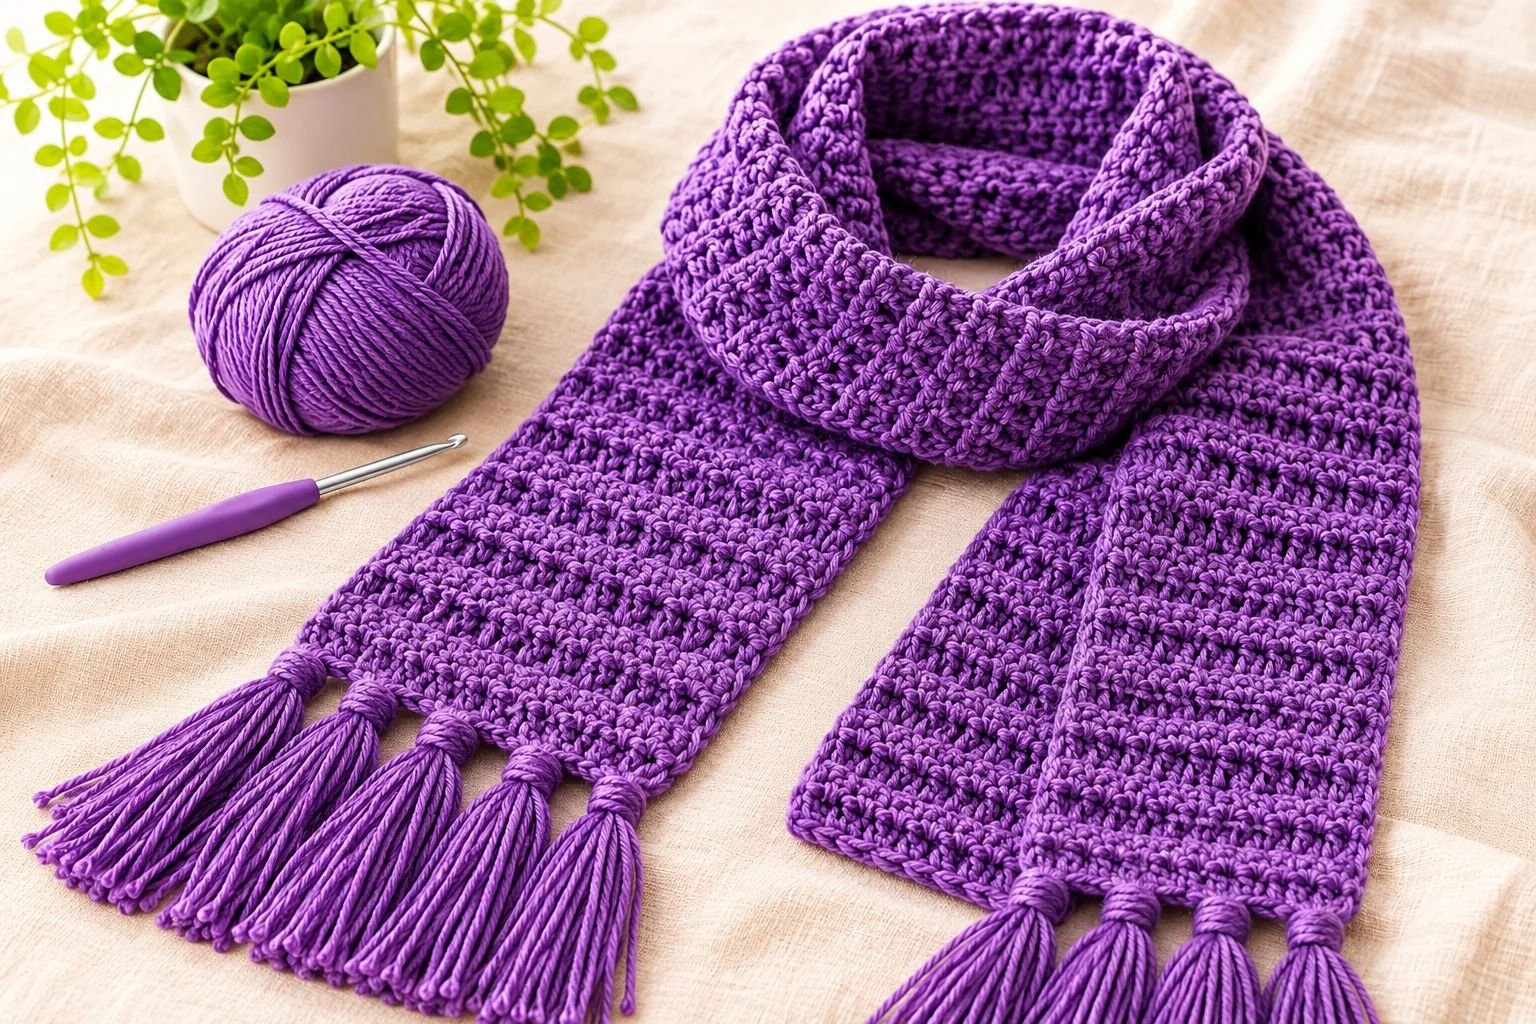
If you’ve been wanting to crochet something beautiful but aren’t sure which project to start with, this simple crochet scarf pattern is a lovely place to begin. You don’t need complicated stitches, fancy techniques, or years of crochet experience to make a scarf you’ll actually want to wear.
I love projects like this because they show how much you can create with just a few basic stitches. This scarf uses single crochet and double crochet stitches worked in a simple alternating pattern.
The combination creates a lovely textured fabric that looks more detailed than the technique really is.
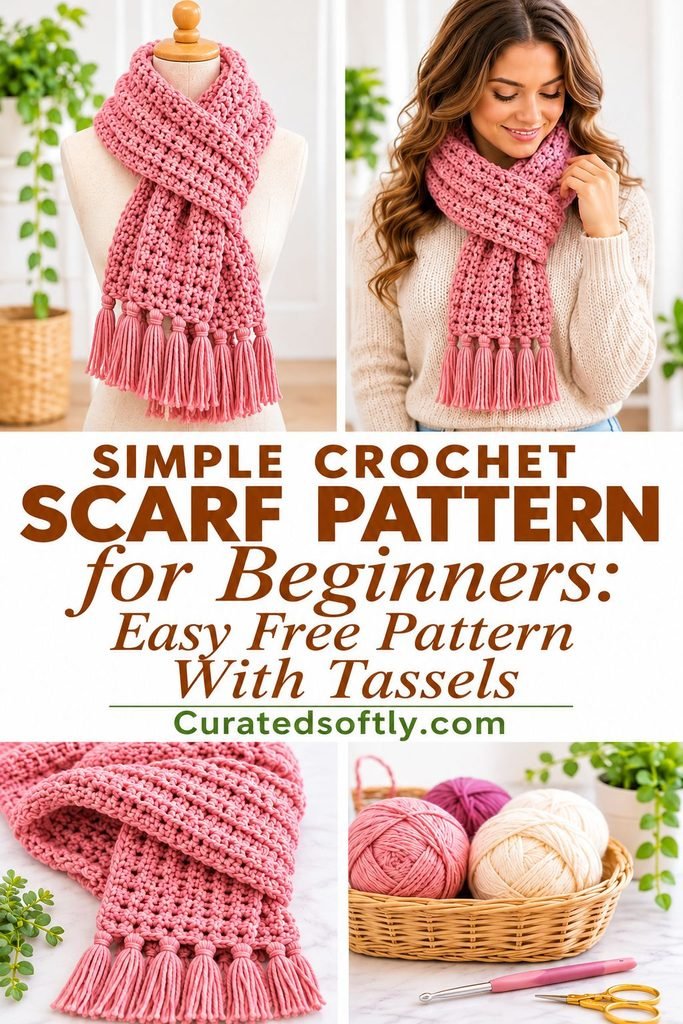
The finished scarf is long, cozy, and finished with playful tassels at both ends. I especially love the purple version because the rich color makes the stitch texture stand out beautifully, but you can use practically any yarn color you like.
If you enjoy making handmade accessories, you might also like my Free Crochet Bandana Pattern, another wearable crochet project you can make yourself.
Whether you’re learning to crochet for the first time, looking for an easy weekend project, or making a handmade gift, this beginner crochet scarf is a satisfying project to work on.
In this tutorial, I’ll walk you through the materials, stitches, row-by-row instructions, and how to add the tassels. I’ll also share a few tips for adjusting the scarf to your preferred width and length.
Why You’ll Love This Easy Crochet Scarf Pattern
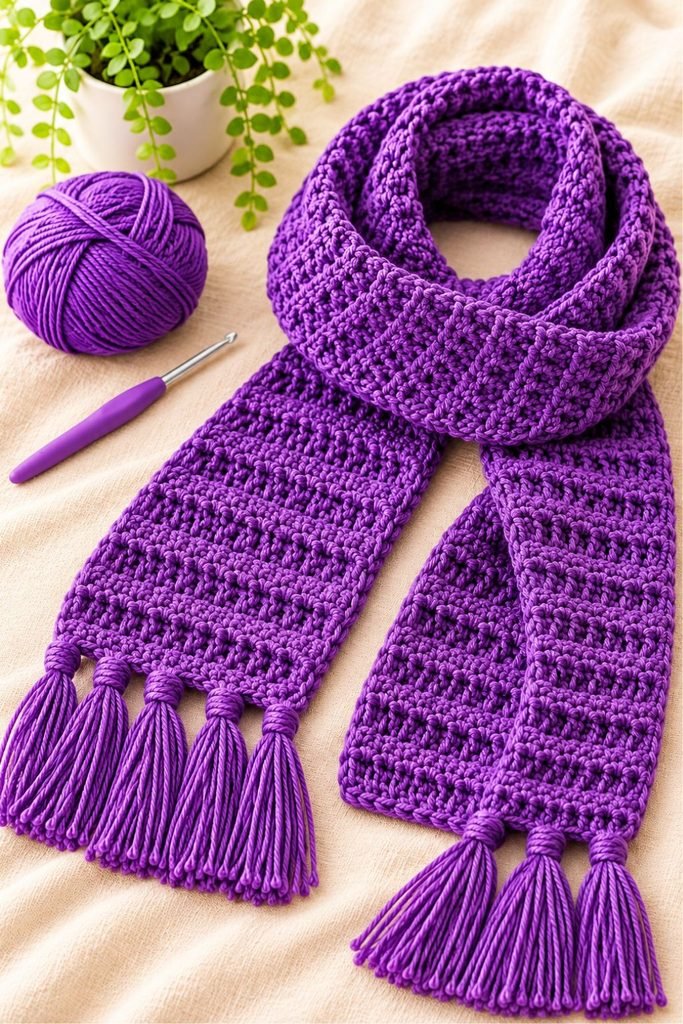
There are plenty of reasons to add this simple scarf to your crochet project list.
- Beginner-friendly stitches: You only need to know how to make chains, single crochet, and double crochet.
- A beautiful textured finish: Alternating the two stitches creates a lovely pattern without complicated stitch combinations.
- Easy to customize: You can make the scarf wider, shorter, or longer depending on your preference.
- Great for handmade gifts: A finished scarf makes a thoughtful gift for birthdays, Christmas, and other special occasions.
- No complicated shaping: You work back and forth in rows, making this a straightforward project to follow.
- Fun tassel details: The fringe gives the finished scarf a classic, stylish look.
If you’re still building your crochet skills, this is a nice project for practicing consistent stitches and learning how to keep your edges neat.
Finished Crochet Scarf Size
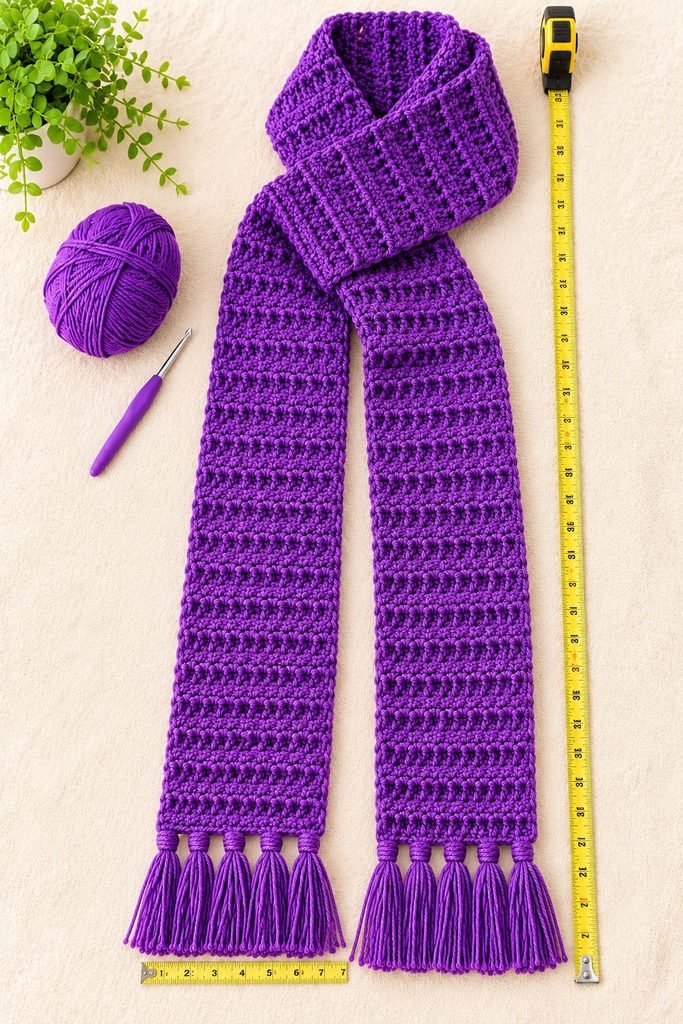
Following the pattern as written, your finished scarf should measure approximately:
- Width: 7 inches
- Length: 6 feet, excluding any additional length from the tassels
- Tassel length: Approximately 3.75 inches
These measurements are approximate. Your finished size can vary depending on your yarn, hook, and personal crochet tension.
Materials You’ll Need
You only need a few basic crochet supplies to make this scarf.
- Worsted-weight yarn (Category 4): Approximately 400 yards or 365 meters. Acrylic yarn is a practical choice because it’s easy to find and comes in lots of colors.
- 6.5 mm crochet hook: Also called a K/10.5 hook. You may need a different size to achieve the correct gauge.
- Yarn needle: For weaving in the loose ends.
- Scissors: For cutting the yarn and trimming your tassels.
- Measuring tape: To check the width and length as you work.
- Piece of cardboard: Optional, but helpful for cutting tassel strands evenly. Choose a piece approximately 4 inches wide.
You can use your favorite worsted-weight yarn, but try to choose something soft enough to feel comfortable around your neck. A yarn with good stitch definition will also help show off the texture.
What Yarn Is Best for a Beginner Crochet Scarf?
Worsted-weight acrylic yarn is a good option for this project. It is generally affordable, widely available, and easy to work with.
You can also use a soft acrylic blend or another yarn that recommends a similar hook size. Just remember that changing yarn thickness may affect the final scarf measurements and the amount of yarn you need.
For a classic everyday scarf, neutral shades like cream, grey, beige, and black are easy to wear. If you prefer something more colorful, try lavender, plum, dusty pink, or deep purple.
Crochet Abbreviations Used
This pattern uses US crochet terminology.
| Abbreviation | Meaning |
|---|---|
| ch | Chain |
| st | Stitch |
| sts | Stitches |
| sl st | Slip stitch |
| sc | Single crochet |
| dc | Double crochet |
| RS | Right side |
| WS | Wrong side |
Important: If you’re following a crochet pattern written in UK terminology, remember that US and UK stitch names differ. This tutorial uses US terms throughout.
Stitches You’ll Need to Know
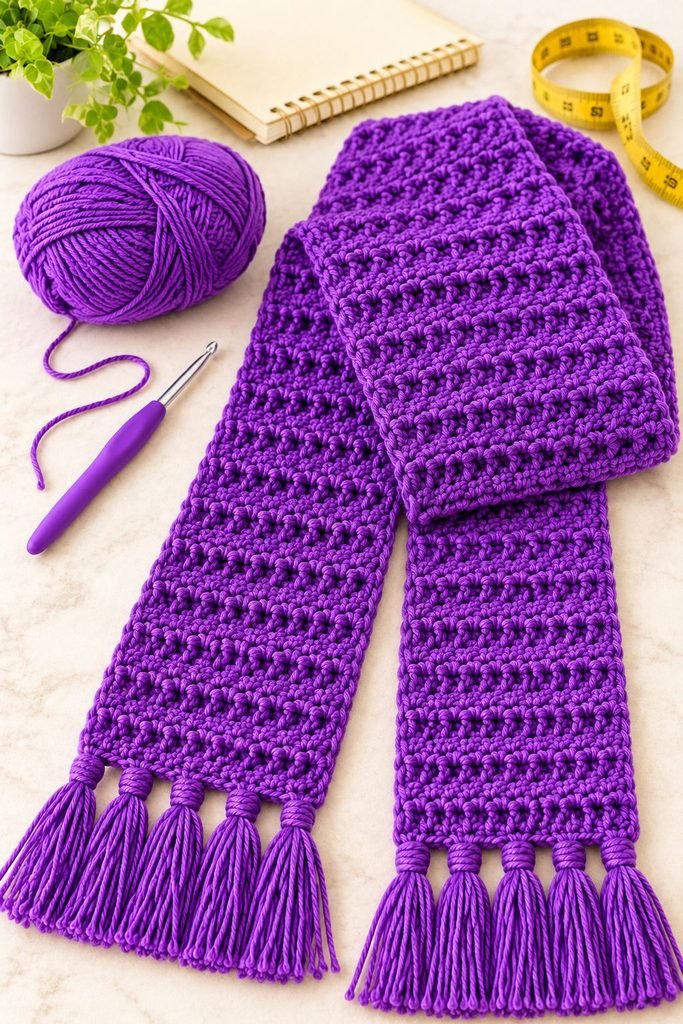
Before starting, let’s quickly go over the two main stitches used in this scarf.
Single Crochet (sc)
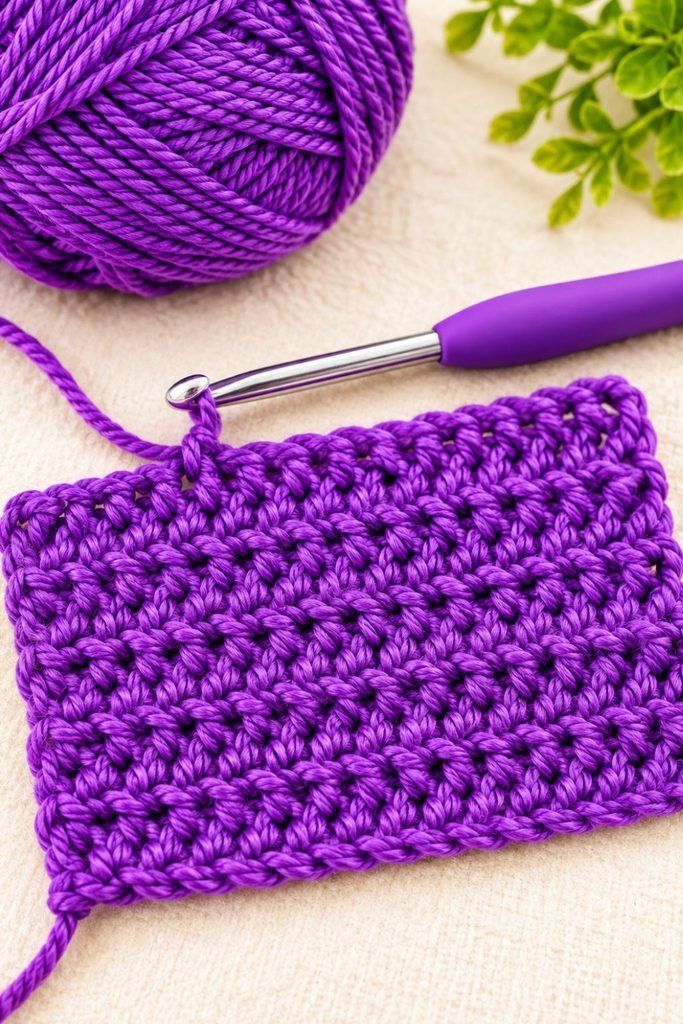
Single crochet is one of the most useful basic crochet stitches. It creates a relatively short, compact stitch.
To make a single crochet:
- Insert your hook into the next stitch.
- Yarn over and pull up a loop. You should have two loops on your hook.
- Yarn over again and pull through both loops.
That’s one single crochet stitch.
Double Crochet (dc)
Double crochet creates a taller stitch and adds a little more height and texture to your work.
To make a double crochet:
- Yarn over before inserting your hook into the next stitch.
- Insert your hook into the stitch.
- Yarn over and pull up a loop. You should have three loops on your hook.
- Yarn over and pull through the first two loops.
- Yarn over again and pull through the remaining two loops.
That’s one double crochet stitch.
If these stitches are still new to you, practice a few rows on a small swatch before starting the scarf. It will help you become comfortable with the alternating pattern.
Gauge
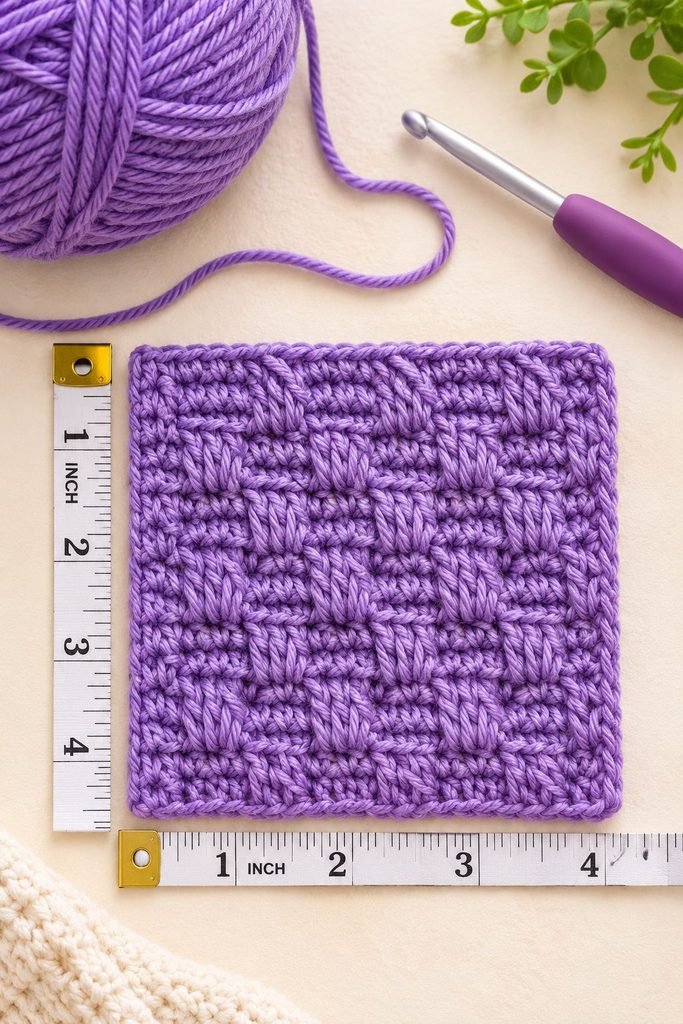
For the original pattern, the recommended gauge is:
4 inches × 4 inches = 13 stitches and 10 rows, following the stitch pattern.
Gauge is simply a way of checking how tightly or loosely you’re crocheting. It matters because two people using the same yarn and hook can end up with different scarf measurements.
If your swatch is much smaller than the recommended gauge, try a larger hook. If it’s much bigger, try a smaller hook.
You don’t need to worry about getting the gauge absolutely perfect for a scarf, but checking it will help you get closer to the intended width.
Simple Crochet Scarf Pattern Instructions
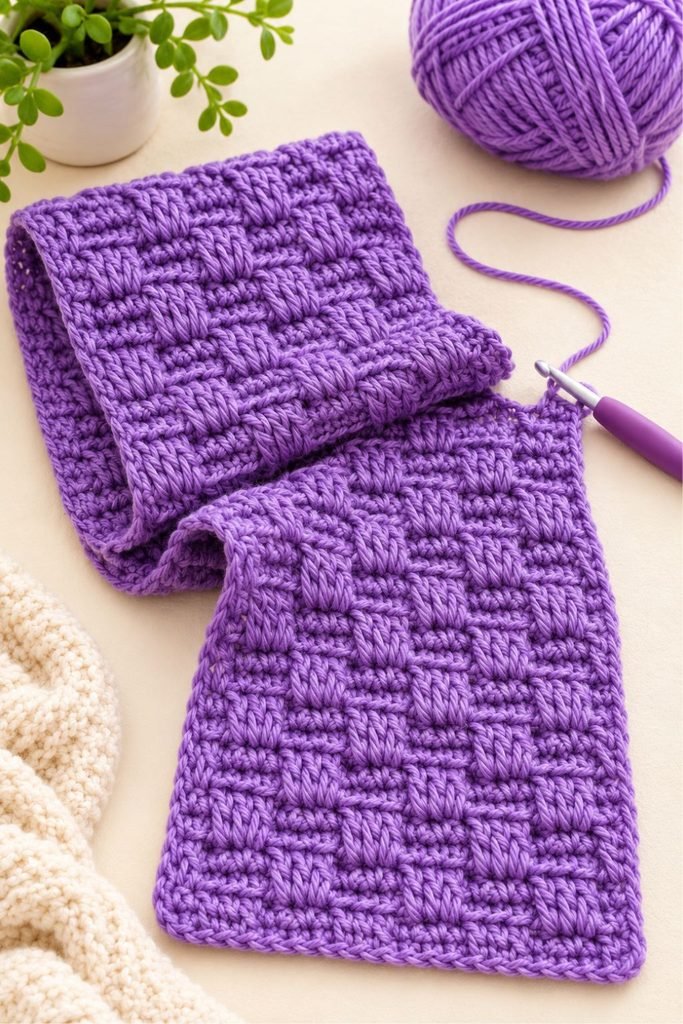
Now let’s get started!
The scarf is worked flat in rows. You’ll begin with a foundation chain and alternate single crochet and double crochet stitches across each row.
The pattern is repetitive, which makes it easy to remember once you’ve completed the first few rows.
Before You Begin
If you tend to crochet tightly, you may find it easier to use a hook one size larger for the starting chain only. This helps you work into the back ridge loops of the foundation chain without struggling.
You can switch back to the recommended 6.5 mm hook for the rest of the scarf.
Step 1: Make the Foundation Chain
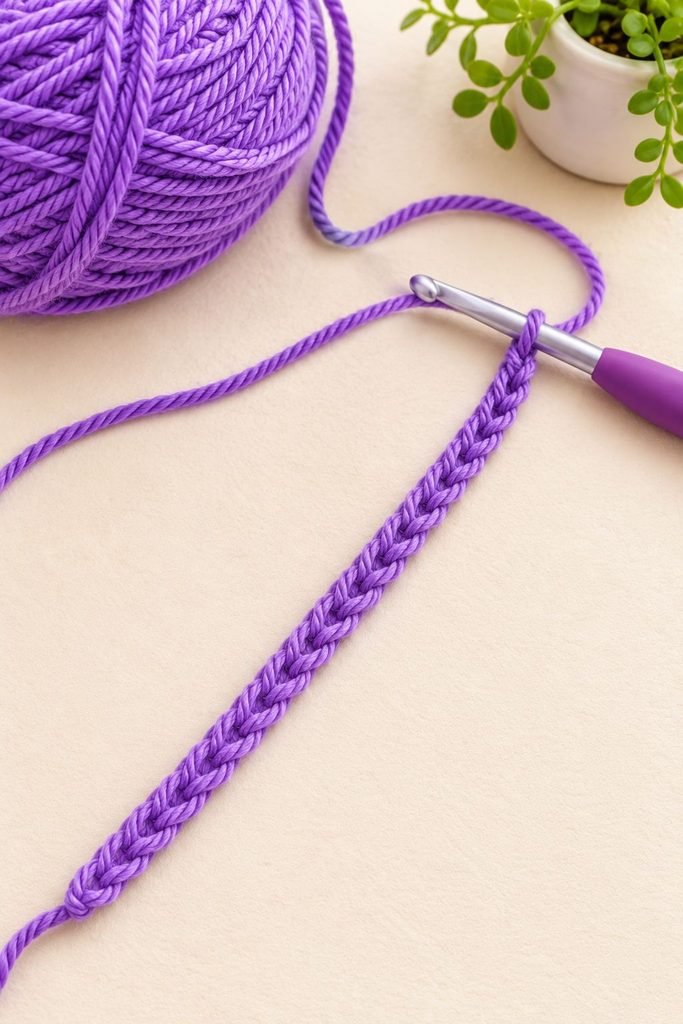
Start by making a slip knot and placing it on your crochet hook.
Chain 21.
This foundation chain gives you 20 stitches to work into because you’ll skip the first chain when beginning Row 1.
For Row 1, you’ll work into the back ridge loops of the chain rather than the usual front loops. This creates a neat foundation edge.
Step 2: Work Row 1
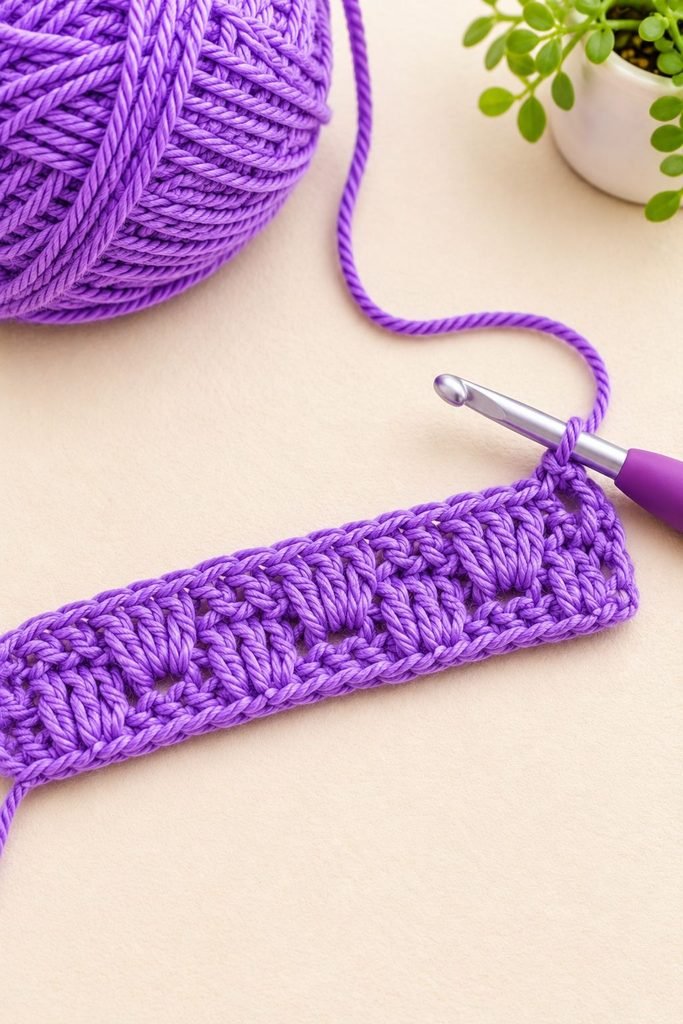
Row 1 (RS):
- In the second chain from your hook, work 1 single crochet.
- In the next chain, work 1 double crochet.
- In the next chain, work 1 single crochet.
- In the next chain, work 1 double crochet.
- Continue alternating single crochet and double crochet across the row.
You should have 20 stitches when you reach the end.
Chain 1 and turn your work.
Step 3: Work Row 2
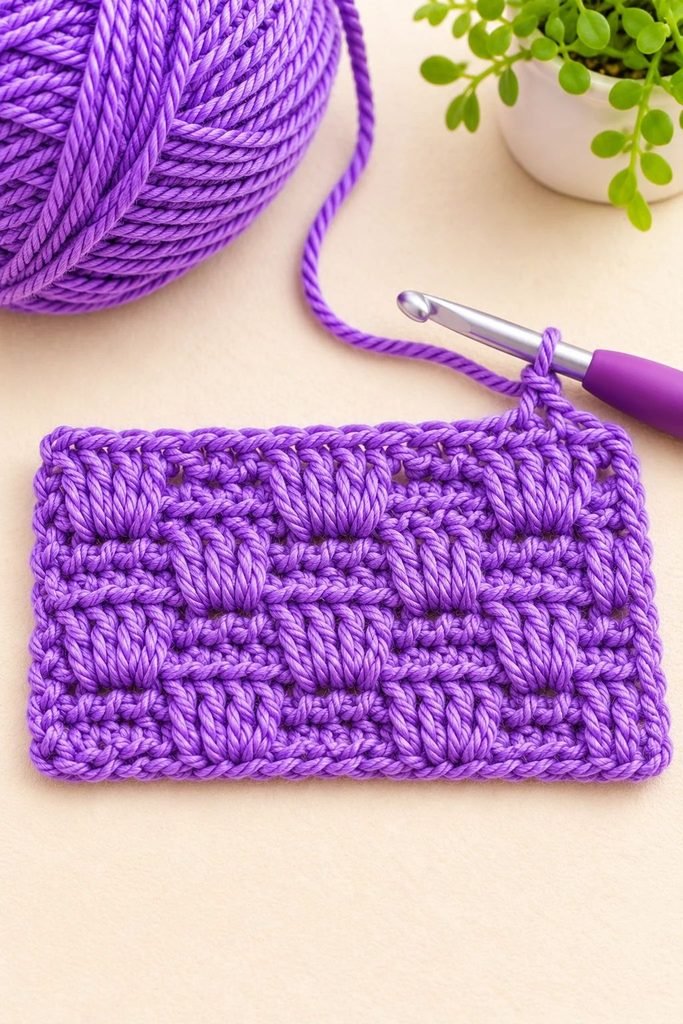
Row 2 (WS):
This row follows the same alternating stitch pattern.
- Work 1 single crochet into the first stitch.
- Work 1 double crochet into the next stitch.
- Work 1 single crochet into the next stitch.
- Work 1 double crochet into the next stitch.
- Continue alternating across the entire row.
You should still have 20 stitches.
Chain 1 and turn your work.
After completing Row 2, your scarf should measure approximately 7 inches wide.
Step 4: Repeat the Pattern
From Row 3 onward, repeat Row 2.
Continue working:
- 1 single crochet in the first stitch.
- 1 double crochet in the next stitch.
- Alternate these stitches across the row.
- Chain 1 and turn at the end.
Keep repeating until your scarf measures approximately 6 feet long, or until you reach your preferred length.
The original pattern uses approximately 168 rows to reach this length, but your row count may differ depending on your tension and yarn.
I recommend finishing after an even-numbered row so the scarf ends neatly in the same way as the pattern.
Step 5: Fasten Off and Weave in the Ends
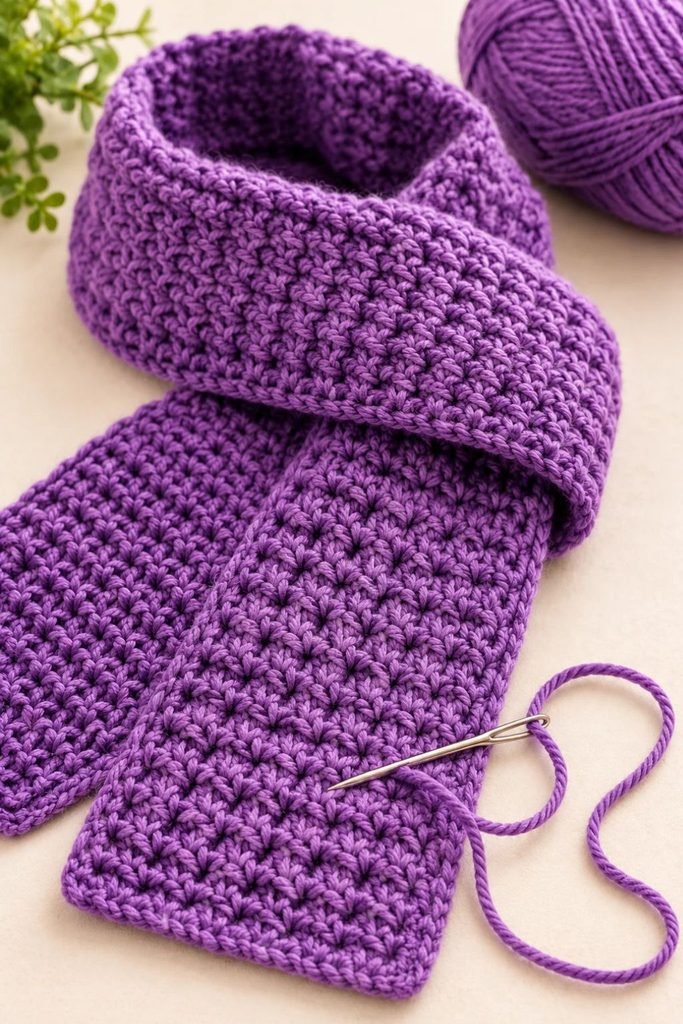
Once your scarf reaches your desired length, fasten off your yarn.
Cut the yarn, leaving a tail long enough to weave in securely.
Thread the tail onto your yarn needle and weave it through several stitches on the wrong side of the scarf. This helps prevent the end from coming loose.
Repeat with any other loose ends.
At this point, you should have a long rectangular scarf with a lovely alternating stitch texture.
How to Add Tassels to Your Crochet Scarf
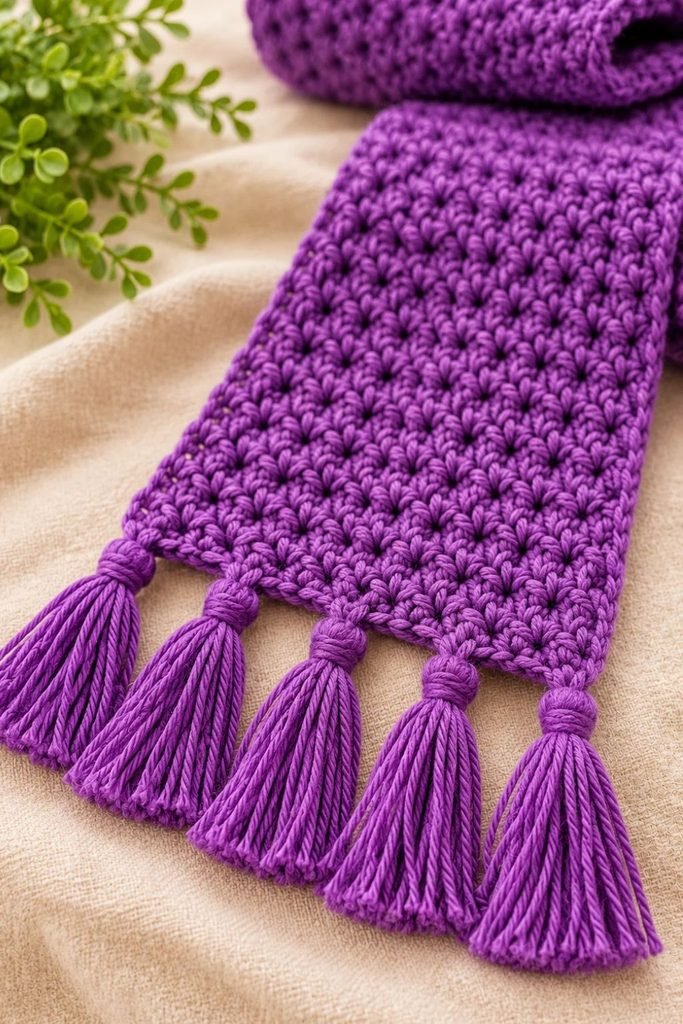
The tassels are what give this simple scarf its finished look. They’re easy to make, and you don’t need any special tools.
For the original pattern, you’ll need:
- 60 strands of yarn.
- Each strand should be approximately 8 inches long.
- Each tassel uses three strands folded in half.
- Aim for approximately 10 tassels along each short end.
The finished tassels should measure about 3.75 inches long after trimming.
Step 1: Cut Your Yarn Strands
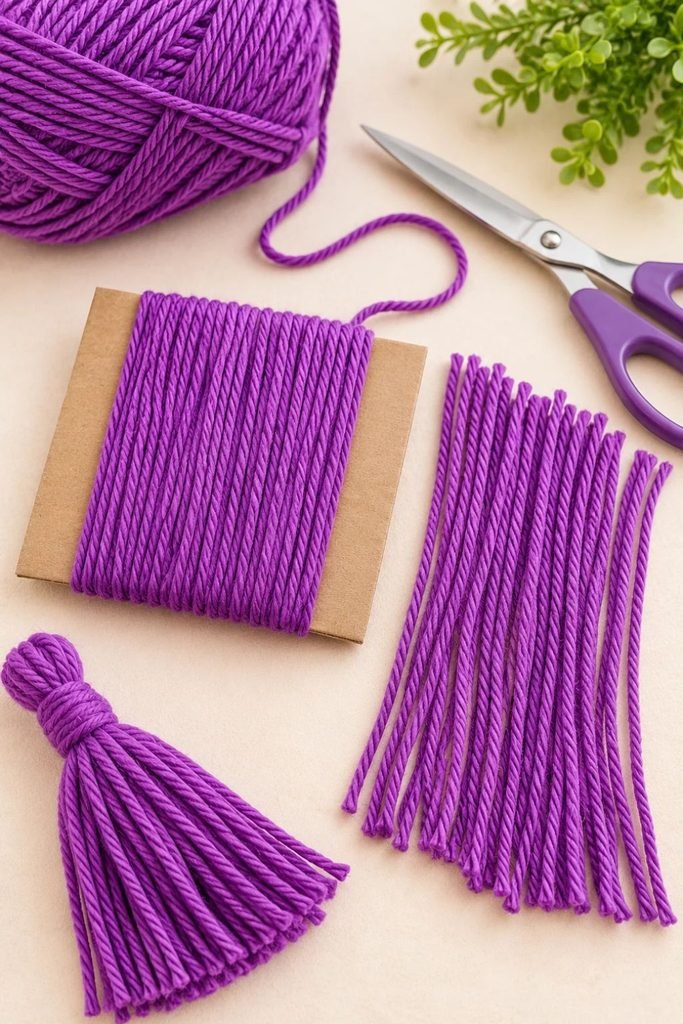
To make the strands the same length, use a piece of cardboard or another object approximately 4 inches wide.
Wrap your yarn around the cardboard 20 times.
Carefully remove the wrapped yarn and cut through one side to create individual strands.
Repeat until you have 60 strands, each approximately 8 inches long.
You can also cut the strands individually using a measuring tape, but the cardboard method makes the process quicker.
Step 2: Position the Scarf
Lay your scarf flat with the right side facing you.
You’ll add tassels to both short ends:
- At the foundation-chain end, attach them through the chain spaces.
- At the opposite end, attach them through the tops of the stitches.
For an even finish, place the first tassel in the first chain or stitch, skip two spaces, and continue placing tassels across the edge.
Aim for approximately 10 tassels on each end.
Step 3: Attach Each Tassel
Each tassel uses three strands of yarn.
- Take three strands and line up their ends.
- Fold the strands in half so you have a loop at one end.
- Insert your crochet hook through the selected chain space or stitch.
- Pull the folded loop through the space.
- Bring the loose ends through the loop.
- Pull gently to tighten the knot.
You now have one tassel attached to your scarf.
Repeat the process across the edge, spacing the tassels evenly.
Step 4: Repeat on the Other End
Turn your scarf around and repeat the same process on the opposite short end.
Try to keep the spacing consistent so both ends look balanced.
Step 5: Trim the Tassels
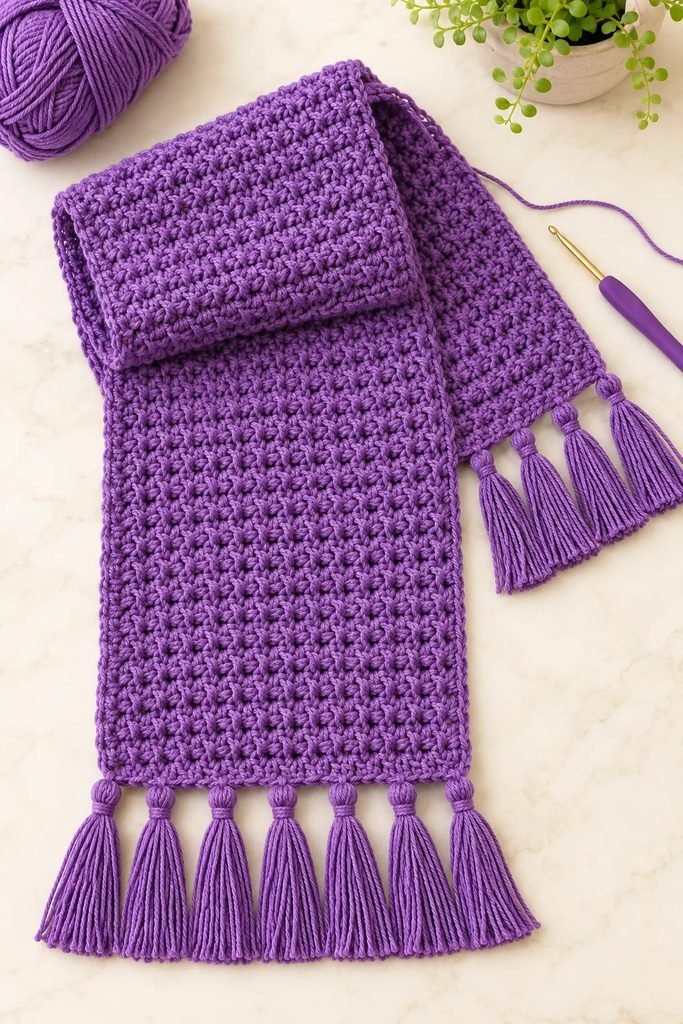
Once all your tassels are attached, lay the scarf flat.
Use your scissors to trim the ends so they’re all approximately the same length.
For this pattern, a tassel length of around 3.75 inches creates a lovely finish.
Take your time with this step. Neatly trimmed tassels make the finished scarf look much more polished.
Tips for Getting the Best Results
A few small adjustments can make crocheting this scarf easier, especially if you’re still learning.
1. Keep your starting chain relaxed. A very tight foundation chain can make the first row difficult to work into. If needed, use a larger hook for the chain.
2. Count your stitches regularly. You should have 20 stitches in every row when following the pattern as written. Counting helps prevent accidentally increasing or decreasing the width.
3. Use a stitch marker if necessary. Place one in the first or last stitch to help you identify the row edges.
4. Keep your tension consistent. Try not to pull the yarn too tightly when making your stitches. Consistent tension helps the scarf keep an even shape.
5. Check your width after the first few rows. The scarf should measure approximately 7 inches wide after Row 2. If yours is noticeably different, check your hook size and tension.
6. Make your tassels evenly. Use the same number of yarn strands for every tassel and trim them together where possible.
7. Weave in your ends securely. Take a little extra time to hide loose yarn tails so your finished scarf stays neat.
How to Customize Your Crochet Scarf
One of the best things about this pattern is how easy it is to adjust.
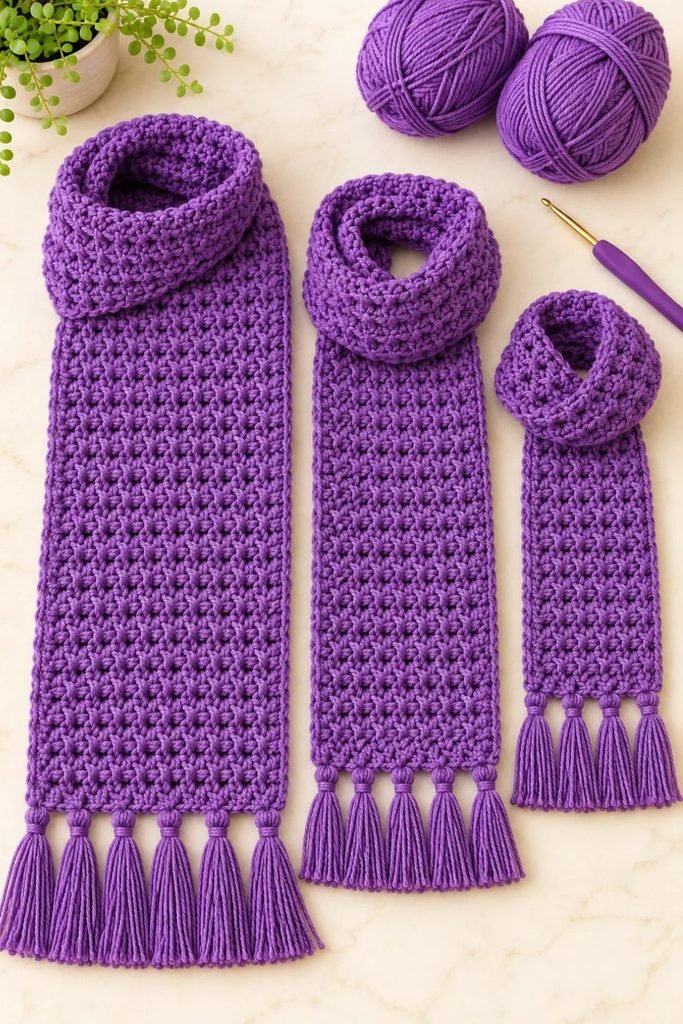
How to Make the Scarf Wider
If you prefer a wider scarf, increase your starting chain in multiples of 2, plus 1.
For example, you could use:
- 21 chains for the original width.
- 25 chains for a slightly wider scarf.
- 29 chains for an even wider scarf.
The important thing is to keep the starting chain an odd number so the alternating stitches work correctly.
Remember that a wider scarf will require more yarn.
How to Make the Scarf Longer or Shorter
The length is completely adjustable.
Simply repeat the rows until the scarf reaches your preferred measurement.
For a shorter scarf, stop earlier. For a longer, more generously wrapped scarf, continue crocheting additional rows.
If you’re making the scarf as a gift, consider the recipient’s height and how they prefer to wear scarves.
How to Change the Tassel Length
The original tassels are approximately 3.75 inches long.
For shorter tassels, cut your yarn strands shorter before attaching them. For longer fringe, use longer strands and trim them to your desired length.
Just remember that the finished tassel will be approximately half the length of the folded yarn strands before trimming.
Common Mistakes to Avoid
Even though this is a simple crochet pattern, a few things can affect the finished scarf.
Making the foundation chain too tight: This can make the first row difficult and cause the bottom edge to pull inward. Keep your chain relaxed.
Forgetting to alternate the stitches: The texture comes from alternating single crochet and double crochet. Repeating the same stitch across the row will change the appearance.
Losing or adding stitches: Check your stitch count at the end of each row. You should have 20 stitches throughout the original pattern.
Using yarn that is too thick or too thin: A different yarn weight can change the finished dimensions and texture. Choose worsted-weight yarn for the closest result.
Attaching uneven tassels: Take time to space your tassels evenly and trim them to a consistent length.
Leaving loose ends unsecured: Weave in all yarn tails properly so they don’t unravel with regular use.
How to Care for Your Crochet Scarf
The best way to care for your finished scarf depends on the yarn you choose.
If you use acrylic yarn, check the care instructions on the yarn label before washing. Many acrylic yarns can be machine washed on a gentle cycle, but some blends may require hand washing.
Here are a few general tips:
- Use a gentle detergent suitable for your yarn.
- Avoid high heat when drying.
- Lay the scarf flat to dry if the yarn label recommends it.
- Avoid pulling or stretching the tassels.
- Store the scarf folded or loosely rolled to help it keep its shape.
Taking care of your handmade pieces will help them stay looking lovely for longer.
Frequently Asked Questions
Is this crochet scarf pattern suitable for beginners?
Yes. The pattern uses basic chain, single crochet, and double crochet stitches. You work back and forth in simple rows without complicated shaping, making it a good project for someone learning crochet.
How much yarn do I need for a crochet scarf?
For this pattern, you’ll need approximately 400 yards or 365 meters of worsted-weight yarn. You may need additional yarn if you make the scarf wider or longer or add larger tassels.
What crochet hook size should I use?
The recommended hook size is 6.5 mm (K/10.5). However, you may need to adjust your hook size depending on your yarn and crochet tension.
How long does it take to crochet this scarf?
The time depends on your crochet speed and experience. Since the pattern uses only two basic stitches and repeats the same row, it’s a manageable project to work on over several evenings or a weekend.
Can I make this scarf without tassels?
Absolutely. The tassels are optional decorative details. You can leave the ends plain for a simpler, more minimal finish.
Can I use a different yarn color?
Yes! You can choose any color you like. Purple, cream, grey, black, dusty pink, and burgundy are all lovely choices. You can also use multiple colors if you’d like to create stripes.
How do I make the scarf wider?
Increase the starting chain in multiples of 2 plus 1. Remember that adding more chains will increase the amount of yarn needed.
How do I keep my scarf edges straight?
Count your stitches at the end of every row and pay attention to the first and last stitch. Using a stitch marker at the row edges can also help you avoid missing stitches.
More Crochet Projects to Try
Once you’ve finished this scarf, you can continue building your handmade accessory collection with another simple wearable project.
Try my Free Crochet Bandana Pattern: Easy Crochet Bandana Tutorial. It’s another lovely crochet project to make for yourself or as a handmade gift, and you can experiment with different yarn colors to create accessories that complement your scarf.
Final Thoughts
I love how a simple crochet project can turn a basic ball of yarn into something useful and beautiful. This beginner-friendly scarf is a great example of that. With just single crochet and double crochet stitches, you can create a lovely textured accessory that looks stylish and feels special because you made it yourself.
Take your time with the first few rows, keep an eye on your stitch count, and don’t worry if your tension isn’t perfect straight away. Crochet gets easier with practice, and every project helps you build confidence.
Once you finish the scarf and add those final tassels, you’ll have a cozy handmade accessory to wear, give as a gift, or make again in another color.