
How to Make Halloween Flower Pots (Easy Tutorial)
Every October I end up with the same little pile of terracotta pots on my table, the ones I picked up from the craft store for a dollar or two each, and every year I tell myself I’ll do something more ambitious with them than I actually have time for.
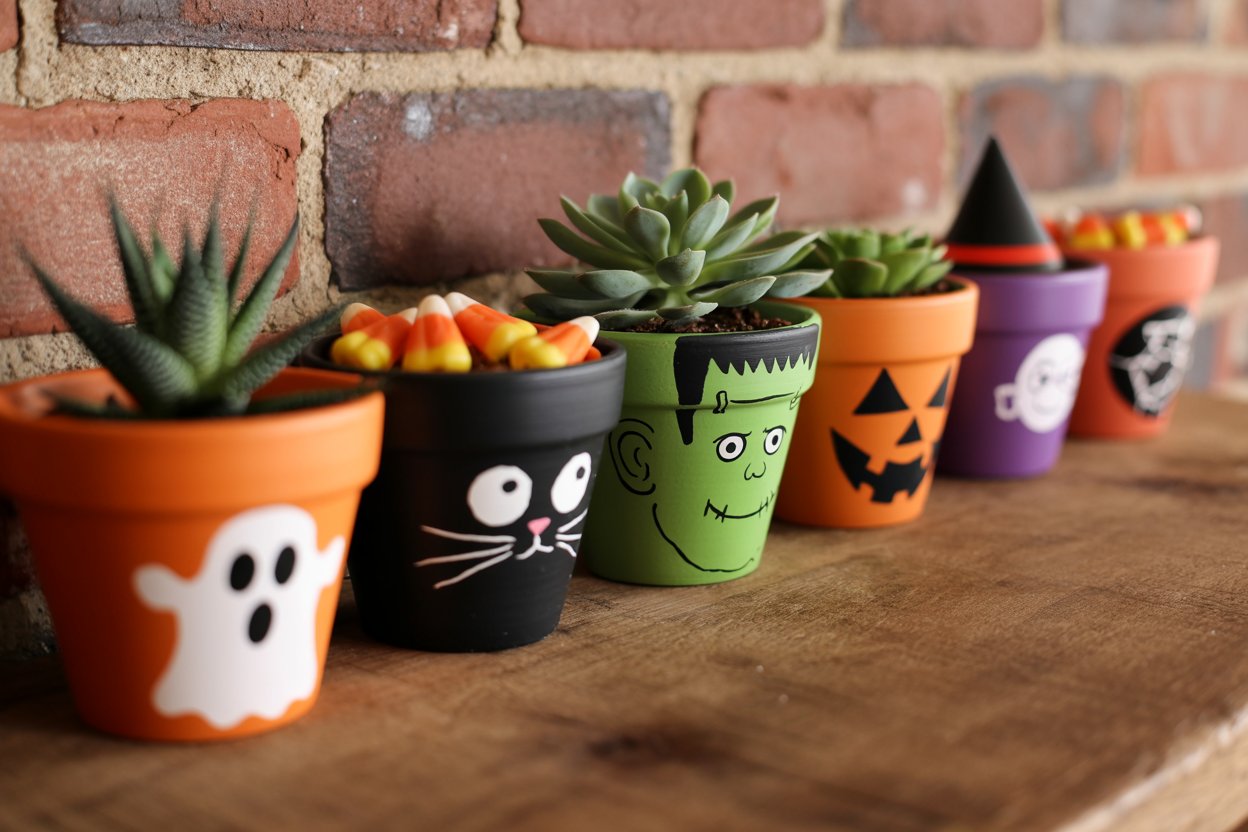
This year I finally kept it simple: a ghost, a black cat, a Frankenstein, a jack-o’-lantern, and a witch, five faces, one afternoon, and almost no skill required beyond a steady paintbrush and a paint pen for the details.
They ended up lining my porch steps filled with candy corn and mini succulents, and they were gone from my table faster than almost anything else I’ve made this season.
What I didn’t expect was how much my kids wanted in on it too, once they saw the first pot’s face take shape, I couldn’t get them to leave the table.
That’s really the best part of this project, it scales from a five-minute solo craft session to a full afternoon activity depending on who’s around and how many designs you want to tackle.
If you’ve painted air dry clay before, the technique here will feel familiar, it’s the exact same layering approach I use in my step-by-step guide to painting air dry clay, just applied to a plain terracotta pot instead of a handmade piece.
That’s actually what makes this such a good beginner project, the shape is already done for you, all you’re adding is color and a face.
Why You’ll Love This
No clay shaping required. You’re painting a pot you can grab at any craft store, so there’s no sculpting, drying, or cracking to worry about.
Ready in an afternoon. Between base coats and detail work, most people can finish a full set of five in a couple of hours, including drying time between coats.
Endlessly customizable. Five classic faces are covered here, but once you’ve got the basic technique down, you can turn this into literally any character you want.
A genuinely great gift or porch decoration. Filled with candy, a small plant, or even just left empty as decor, these read as far more polished than the effort they actually take.
Budget-friendly by nature. A few dollars per pot and paint you likely already have on hand makes this one of the cheapest Halloween decor projects you can do.
What Makes This Project Work
The reason this comes together so cleanly is that you’re really only solving two design problems, color and expression, and terracotta gives you a forgiving surface for both.
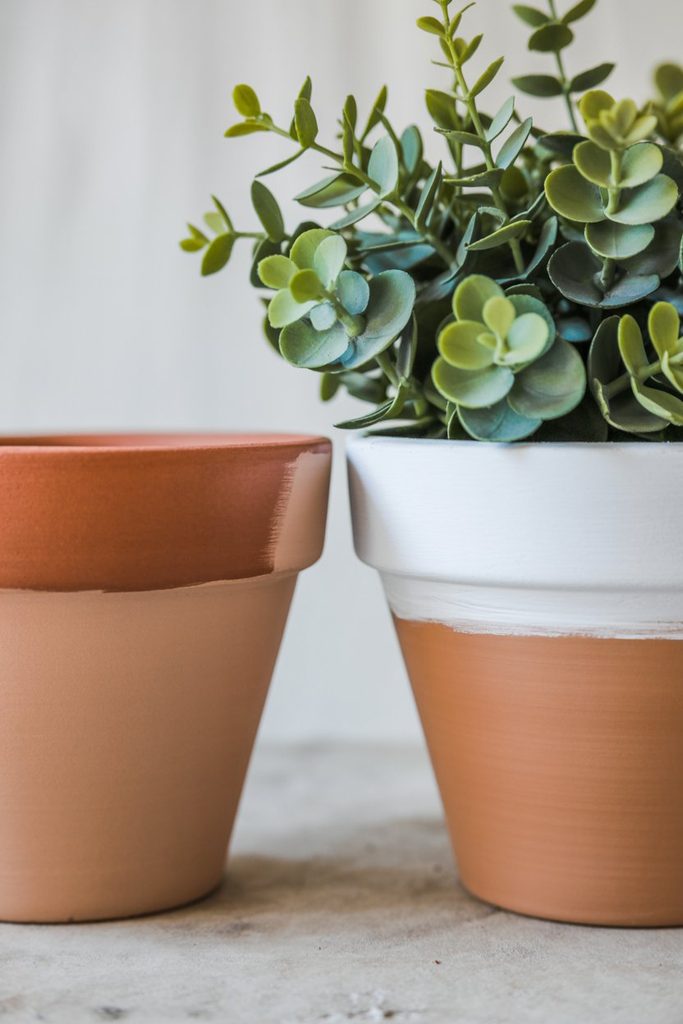
Its slightly porous texture grips acrylic paint well, so you don’t get the streaking or beading you sometimes see painting a slicker surface like glass or glazed ceramic.
And because a face is really just a handful of simple shapes, two eyes, a mouth, maybe a few extra lines, you don’t need fine art skills to make something instantly readable as a character from a few feet away. The charm comes from simplicity and boldness, not precision.
Supplies You’ll Need
- Small to medium terracotta pots (one per design)
- Acrylic craft paint in black, white, orange, green, and purple
- A paint pen or fine detail brush for faces
- A wide flat brush for base coats
- Painter’s tape, optional, for clean color lines
- A matte or glossy sealant spray
- Candy, small succulents, or artificial greenery for filling
If You Need to Substitute
No paint pens on hand? A small detail brush and a steady hand work just as well, it just takes a little more patience to get clean lines.
Don’t have terracotta pots? Plastic or ceramic pots work too, just make sure to prime them first, since acrylic paint doesn’t always adhere as well to a slick plastic surface without it.
Want a matte finish instead of glossy? Swap in a matte spray sealant at the end, both protect the paint, it’s purely a look preference.
A Note About Paint and Pots
Not every terracotta pot behaves the same way once paint hits it. New, unglazed pots straight from the craft store tend to be the most porous, which actually works in your favor, the paint soaks in slightly and grips well without much prep.
Older or previously used pots can have mineral deposits or residue on the surface from soil and water that keep new paint from adhering evenly, so give those a more thorough scrub and a full dry-out before you start.
As for the paint itself, standard craft acrylics are genuinely all you need here, you don’t need anything specialty.
The one place I’d spend a little more is on your paint pens, since a cheap one that skips or bleeds will fight you through every single face you paint, and that’s the part of this project where precision actually shows.
How to Make It
Step 1: Clean and Prep the Pots
Wipe down each terracotta pot with a damp cloth to remove any dust or clay residue, then let them dry completely before you start painting. Terracotta is porous, so painting over a dusty surface can leave your base coat looking patchy.
Step 2: Apply the Base Coat
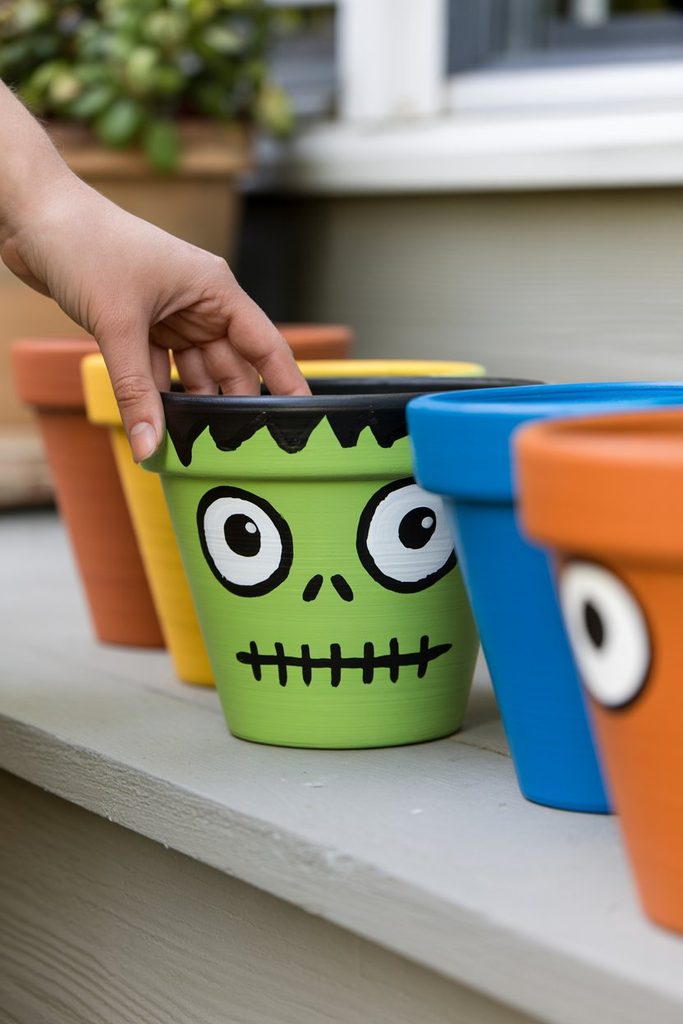
Using your wide flat brush, paint each pot in its base color, black for the cat, white for the ghost, green for Frankenstein, orange for the pumpkin, and purple for the witch.
Apply two thin coats rather than one thick one, letting the first coat dry fully before adding the second, this gives you a much more even, opaque finish.
Step 3: Add Any Secondary Details
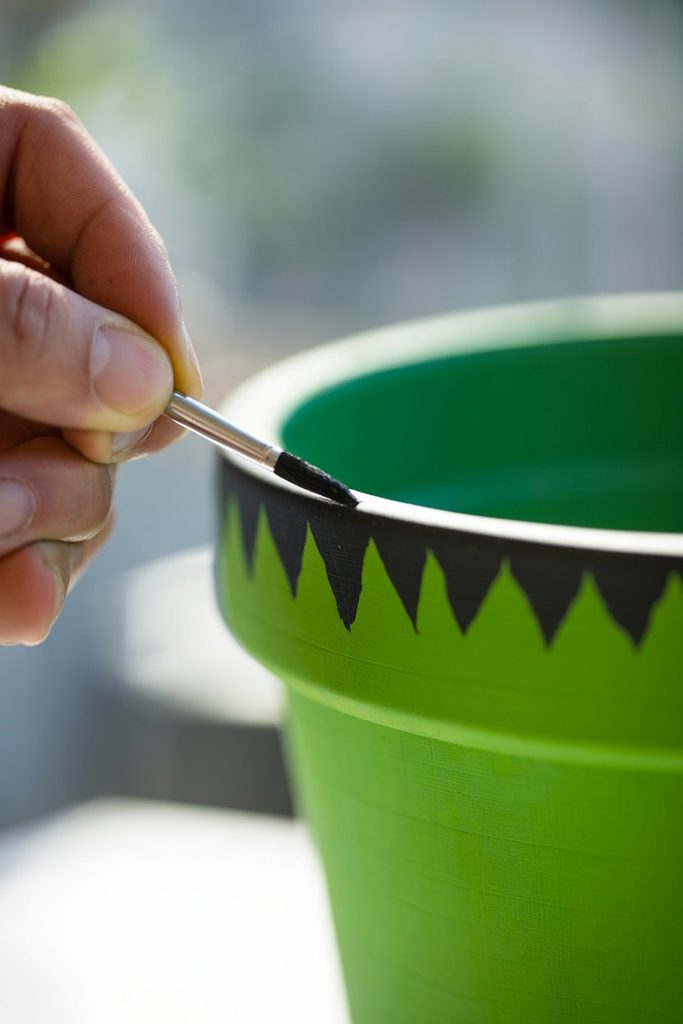
For the Frankenstein pot, paint a jagged black “hairline” around the rim once the green base coat is dry.
For the pumpkin, you can leave it solid orange or add subtle vertical shading lines with a slightly darker orange. Let all of this dry completely before moving on to the faces.
Step 4: Paint the Faces
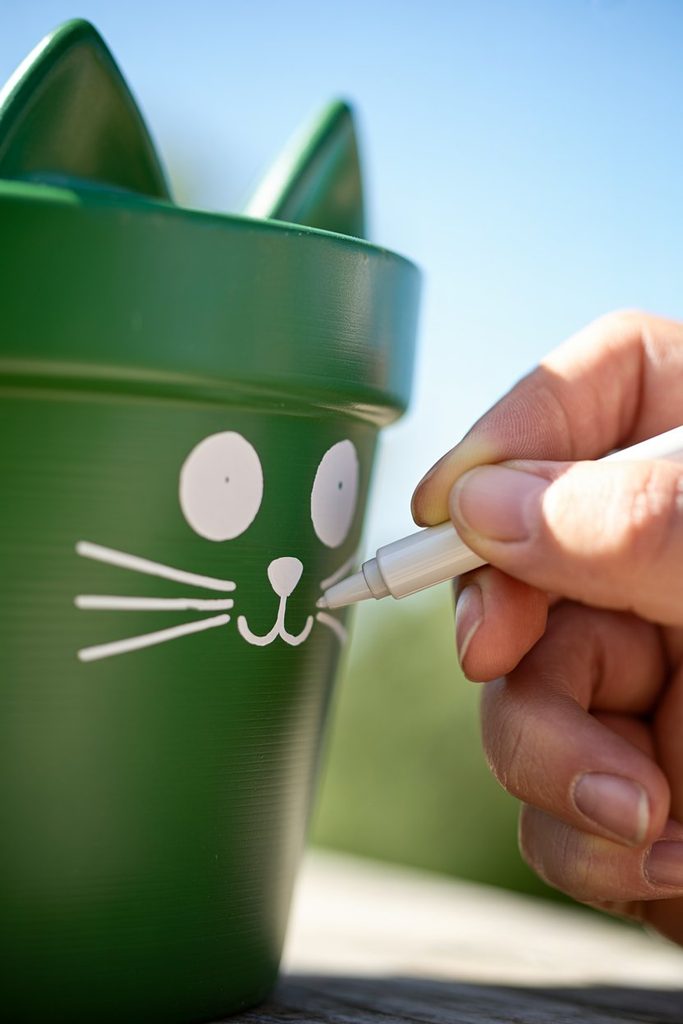
This is where the character really comes through, and it’s simpler than it looks.
Using your paint pen or detail brush, add the eyes, mouth, and any extra details, whiskers for the cat, stitches for Frankenstein, a jagged smile for the pumpkin, a simple oval mouth and eyes for the ghost.
Keep the shapes simple and slightly exaggerated, that’s what gives them their charm, you’re not going for realism here.
Step 5: Seal the Paint
Once every coat of paint is fully dry, take the pots outside or somewhere well-ventilated and apply a light, even coat of sealant spray, holding the can about 12 inches away and moving in a steady sweeping motion.
Let it dry completely, then add a second coat if the finish still looks dull or uneven anywhere.
Step 6: Fill and Display
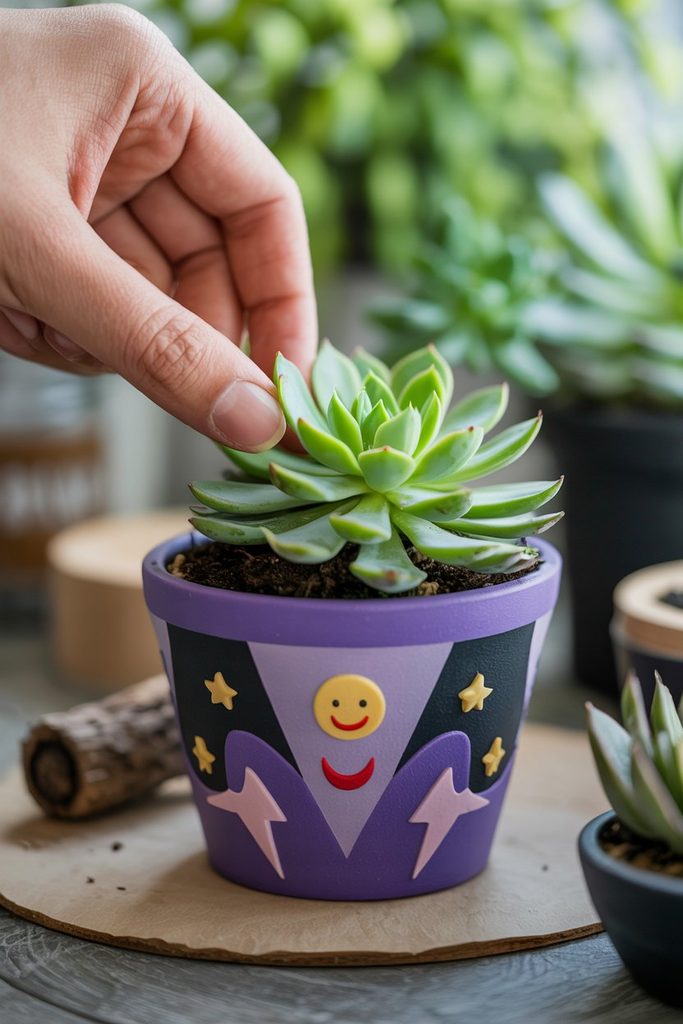
Once fully dry and sealed, fill each pot with candy, a small potted succulent, or a bit of artificial greenery, and arrange them wherever you want a little Halloween charm, a porch step, an entry table, or a mantle.
How to Tell When It’s Ready
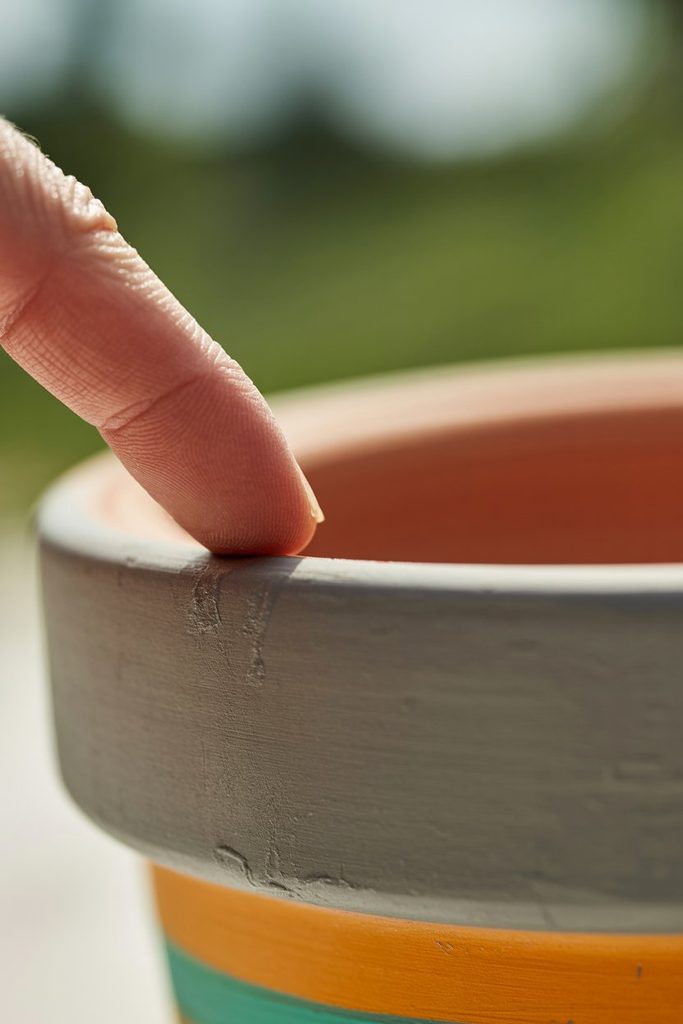
A base coat is dry enough to move on when it no longer feels cool or tacky to a light touch, usually 20 to 30 minutes depending on humidity and how thick you painted it.
Don’t judge dryness by look alone, acrylic can appear dry on the surface while still soft underneath, especially on a thicker second coat.
Before sealing, run your fingertip very lightly along an edge of each pot, if you feel any drag or softness at all, give it another 15 minutes.
Once sealed, let the pots sit undisturbed for at least an hour, longer if possible, before handling them or adding fillers, sealant that hasn’t fully cured can smudge or leave fingerprints.
Troubleshooting
My base coat looks streaky even after two coats. You’re likely applying the paint too thin, or your brush is too dry. Load the brush a little more generously on the second coat and use smooth, even strokes in one direction rather than scrubbing back and forth.
My paint pen keeps skipping. This usually means the pot’s surface still has a bit of texture or dust the pen can’t glide over smoothly, or the pen itself needs to be primed.
Shake it well and test on a scrap surface first, and lightly sand any noticeably rough spots on the pot before you start the face.
The paint chipped after sealing. This almost always means a layer underneath wasn’t fully dry before you sealed it. Sealant traps moisture rather than curing it, so if you’re rushing between steps, slow down on the drying time rather than the sealing step.
My colors bled into each other at the edges. Use painter’s tape for any hard color transitions, like the black hairline on the Frankenstein pot, and remove it while the paint is still slightly tacky rather than fully dry to get the cleanest line.
Prep-Ahead Checklist
- Pots wiped clean and fully dry
- Paint colors and pens gathered and tested on scrap
- A well-ventilated space set aside for sealing
- Fillers (candy, succulents, or greenery) ready to go once pots are cured
Displaying and Styling Ideas
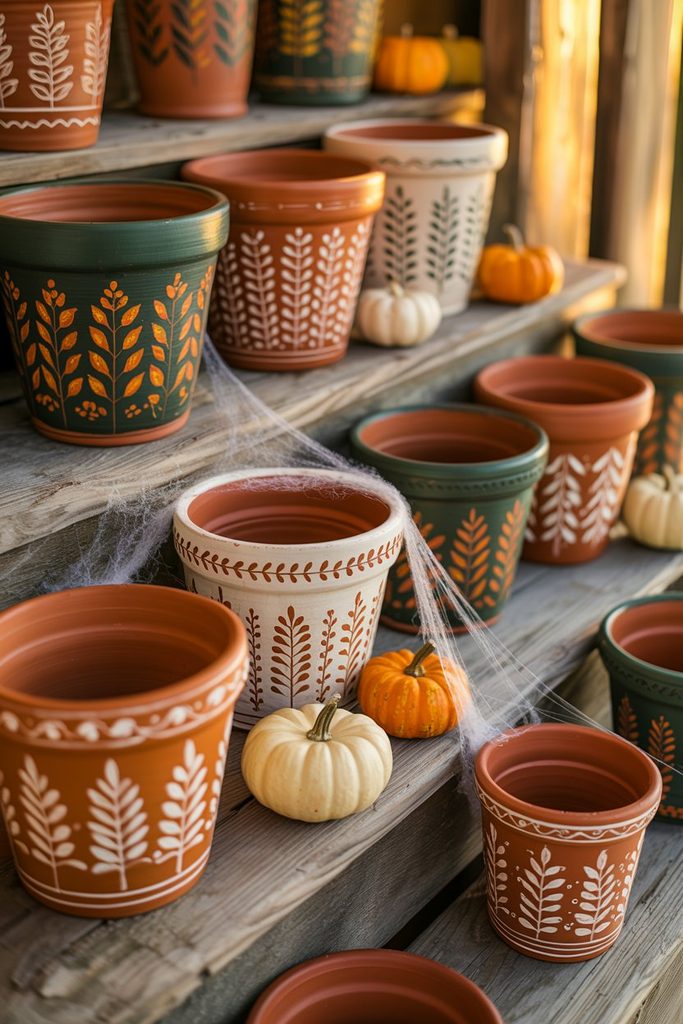
These read best in a grouped set rather than scattered individually, line them up along a porch step in a row, cluster them on either side of a front door, or use them as a centerpiece down the middle of a table.
Mixing heights helps too, if you have pots in a couple of different sizes, alternate them so the row has a little visual rhythm instead of sitting perfectly flat.
For an entryway or mantle, tucking in a few strands of artificial spiderweb or a couple of small pumpkins between the pots fills out the display without adding much extra work.
Making This Kid-Friendly
This is a genuinely great project to do with kids, with a couple of small adjustments.
Let them handle the base coats and the simpler designs, like the pumpkin, and take over the fine detail work yourself for anything using a paint pen, since that part asks for more control than younger hands usually have.
Skip the spray sealant with kids in the room entirely, do that step yourself afterward in a ventilated space once their part is finished.
Mistakes I’ve Made So You Don’t Have To
Skipping the sealant because I was excited to fill the pots right away. Within a week, the paint on the ones sitting outside had started to chip at the rim from handling.
Painting the face details before the base coat was fully dry. The black paint dragged into the still-tacky background color and left a smudged, muddy line instead of a crisp one.
Loading the brush too heavily on the base coat to save time. It pooled at the bottom edge of the pot and left visible drip marks once it dried.
Sealing a pot that still had a slightly soft second coat underneath. It looked fine at first, then developed faint cracking in the paint a few days later once it fully cured.
Frequently Asked Questions
Do I need to seal these if they’re staying indoors? It’s still a good idea, sealant protects the paint from scuffing and fading even indoors, and it gives the finish a slightly more polished look.
Can I use real plants instead of candy? Yes, small succulents or air plants work great and give the pots a longer life past the Halloween season, just make sure the sealant is fully cured before adding soil or moisture.
How long does the paint job actually take? Including drying time between coats, plan on a couple of hours spread across an afternoon for a full set. The active painting time itself is much shorter.
Will these hold up if left outside? With a good sealant coat and minimal direct rain exposure, they’ll generally hold up fine for the season, though I’d bring them in if heavy weather is expected.
How do I store these after Halloween if I want to reuse the pots next year? Empty and gently wipe them down, then store somewhere dry and padded, like wrapped in newspaper in a box, so the paint doesn’t chip against other pots in storage.
More Painting Ideas
Once you’ve got the five classic faces down, the same base technique opens up a lot more options if you want to keep going.
Mummy pot. Paint the base a plain cream or off-white, then use white or light gray to add overlapping horizontal “bandage” strips, leaving small gaps for two simple black eyes to peek through.
Spiderweb pot. Paint the base black, then use white or silver paint pen to draw a simple radiating web pattern across one side, add a small black dot spider in a corner for extra detail.
Vampire pot. A deep purple or black base with a stylized white widow’s peak painted near the rim, two small red dots for eyes, and a couple of tiny painted fangs along the bottom edge.
Skeleton pot. Paint the base black, then use white paint or a paint pen to add a simple ribcage and a small skull shape, keep the linework loose and slightly uneven for a hand-drawn look.
Candy corn pot. Paint the pot in three horizontal bands, yellow at the bottom, orange in the middle, and white at the top, no face needed, just clean, even lines.
Ombre pot. Skip the character theme entirely and blend two Halloween colors, orange into black or purple into black, for a moodier, more decor-forward look that still fits the season.
Final Thought
None of these designs need to be perfect to look good, that’s really the heart of this whole project.
A slightly wobbly line on a ghost’s mouth or a cat whisker that curves a little unevenly only adds to the handmade charm, it’s not something you need to fix or repaint.
Start with one or two faces if the full set feels like a lot, you can always add more pots to the row as the season goes on, and by next October you’ll likely have a whole shelf of these ready to bring back out with almost no extra work.
If You Want More DIY Crafts to Try
- How to Paint Air Dry Clay: A Step-by-Step Guide
- Best Paint for Air Dry Clay
- DIY Air Dry Clay Mini Pots Tutorial
- 12 Best Valentine’s Day Crafts to Sell That Everyone Will Love
Tried making your own Halloween flower pots? Let me know in the comments which face was your favorite to paint!



One Comment