How to Make a DIY Fabric Book Sleeve: An Easy Sewing Tutorial for Beginners
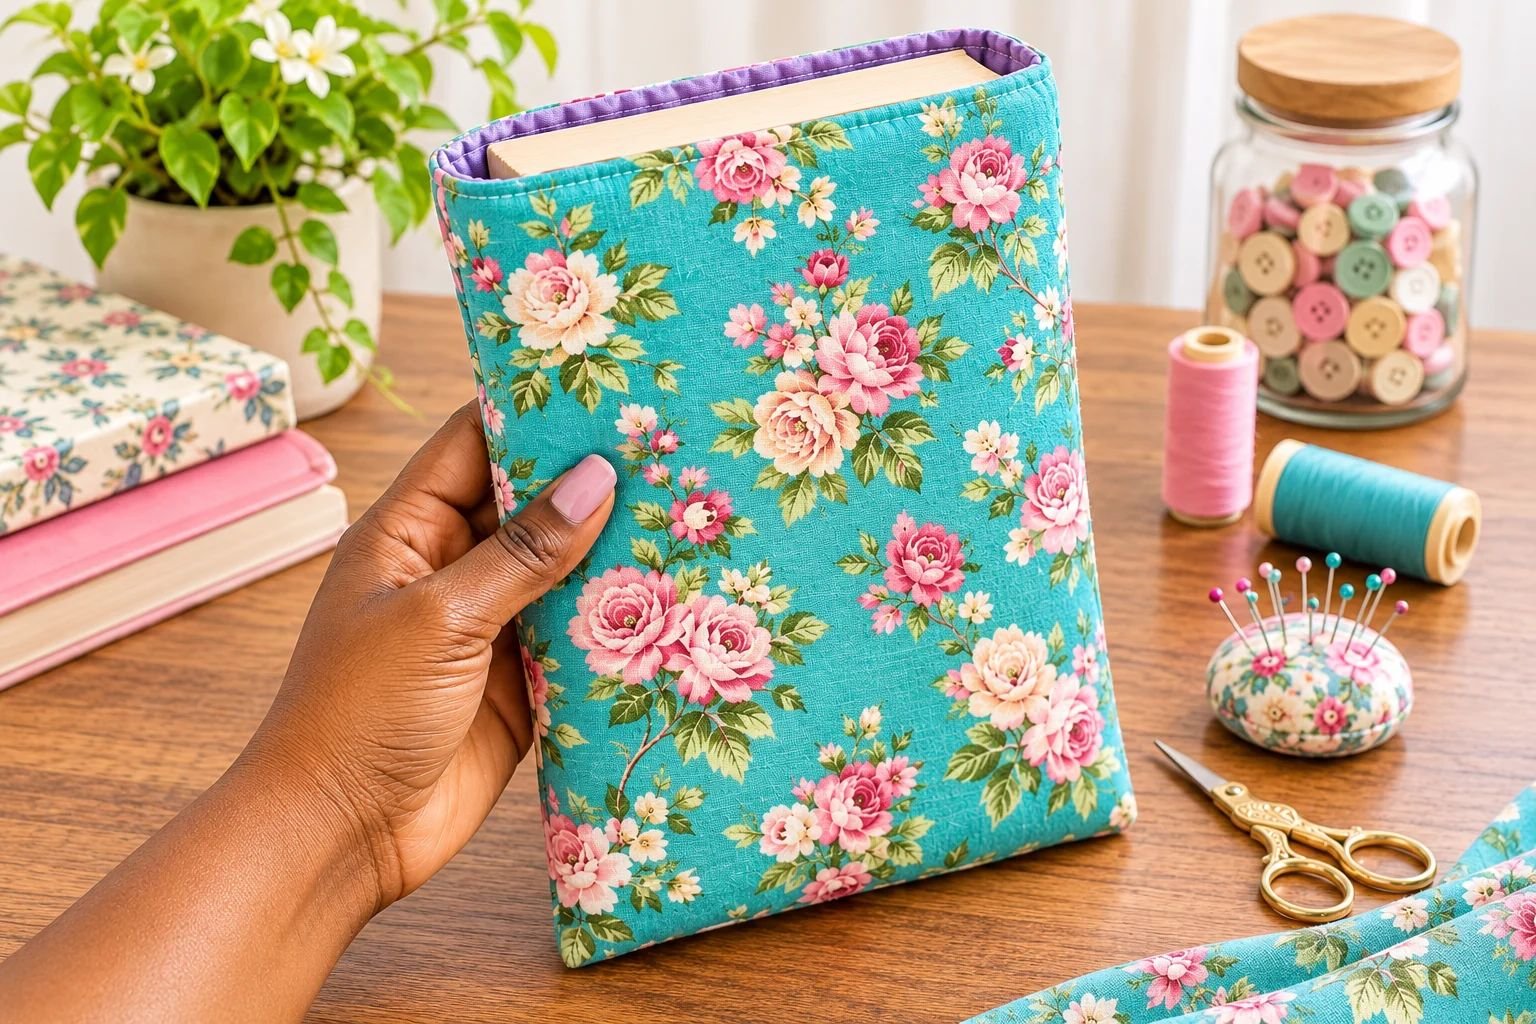
If you love reading and collecting pretty books, making your own fabric book sleeve is such a lovely little sewing project. It is practical, beginner-friendly, and gives you the opportunity to turn beautiful fabric into something you can use every day.
I especially love floral book sleeves because they make an ordinary book feel like a little accessory.
Imagine a pretty turquoise fabric covered in pink roses, a soft purple lining, and a lightly padded finish that helps protect your favourite book when you slip it into your handbag or backpack.
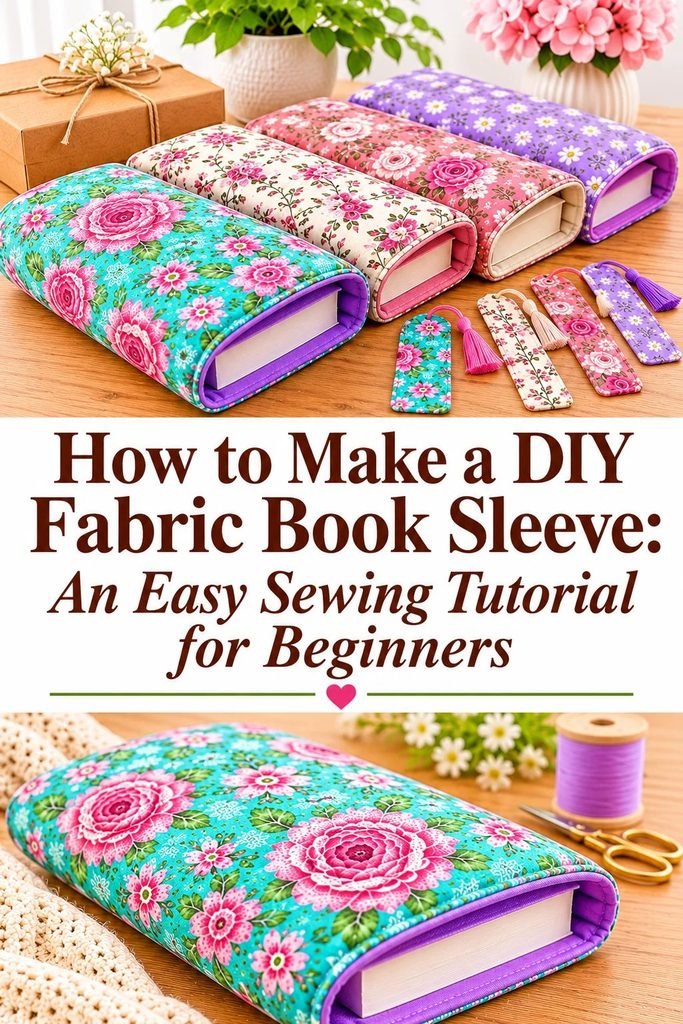
The best part is that you don’t need complicated sewing techniques or expensive supplies to make one.
With a sewing machine, a few pieces of fabric, and some basic sewing skills, you can create a reusable book sleeve that looks beautiful and feels sturdy.
In this tutorial, I’ll show you how to make a padded fabric book sleeve from start to finish. We’ll cover how to measure your book, choose suitable fabrics, cut the pieces, sew the outer sleeve and lining, and put everything together neatly.
You can use the same method to make sleeves for novels, journals, planners, notebooks, and even e-readers.
If you’re building your sewing skills, you might also enjoy my tutorial for 12 easy sewing projects for absolute beginners, which includes more simple projects to practise with.
Why Make Your Own Fabric Book Sleeve?
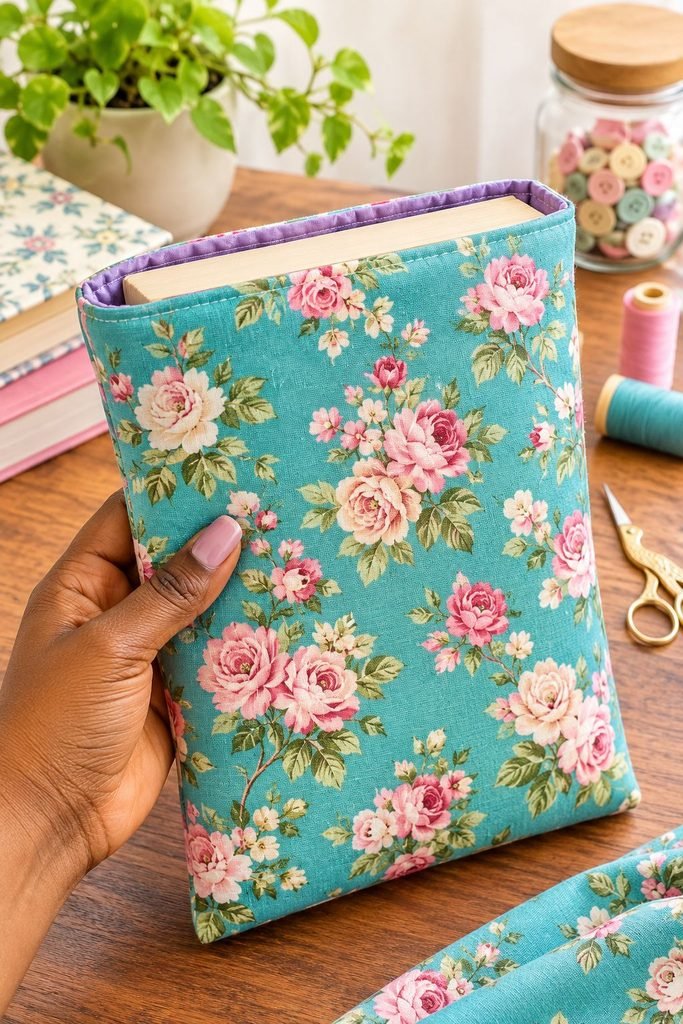
A fabric book sleeve is more than just a pretty cover. It is a useful way to protect books from everyday wear and tear, especially if you regularly carry them around.
Here are a few reasons I love this project:
- Protects your books: The padded layers help reduce scratches, scuffs, and minor bumps when your book is inside a bag.
- Completely customisable: You can choose your favourite floral prints, neutral fabrics, colourful patterns, or seasonal designs.
- Beginner-friendly: The construction mainly involves sewing straight lines, making it a manageable project if you’re learning to sew.
- Reusable: Unlike disposable packaging, a fabric book sleeve can be used again and again.
- Lovely handmade gift: It makes a thoughtful present for readers, students, teachers, and anyone who enjoys journaling.
You can even make several in different sizes once you understand the basic construction. If you enjoy practical fabric projects, my DIY fabric cord keeper tutorial is another small sewing project worth trying.
Materials You’ll Need to Make a Fabric Book Sleeve
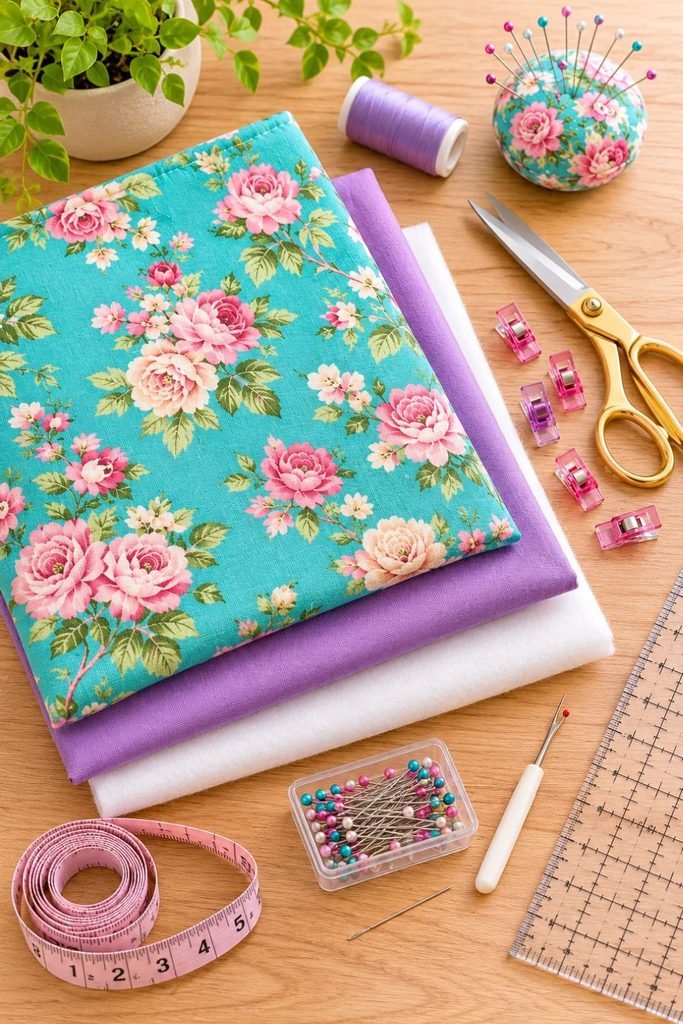
Before starting, gather your materials. You don’t need a large amount of fabric, which makes this a good project for using some of the pretty cotton prints you may already have in your sewing collection.
Supplies
- Outer fabric: Approximately ½ yard of cotton fabric in your preferred print.
- Lining fabric: Approximately ½ yard of cotton fabric for the inside.
- Batting or fusible fleece: Lightweight cotton batting or fusible fleece to give the sleeve a padded finish.
- Sewing machine: A basic domestic sewing machine is suitable.
- Matching thread: Choose a colour that blends with your outer fabric.
- Fabric scissors or rotary cutter: For cutting clean, straight pieces.
- Ruler or measuring tape: For measuring your book and fabric.
- Fabric pins or sewing clips: To hold the layers together.
- Iron and ironing board: For pressing seams and keeping the fabric neat.
- Seam ripper: Useful for correcting small sewing mistakes.
I recommend using quilting cotton for both the exterior and lining. It is easy to work with, comes in beautiful prints, and is sturdy enough for an everyday book sleeve.
For the padded layer, lightweight fusible fleece is particularly convenient because it can be attached to the fabric before sewing. If you use ordinary batting instead, you can baste or quilt it to the outer fabric.
Choosing the Right Fabric for Your Book Sleeve
This is where you can have a little fun with the project.
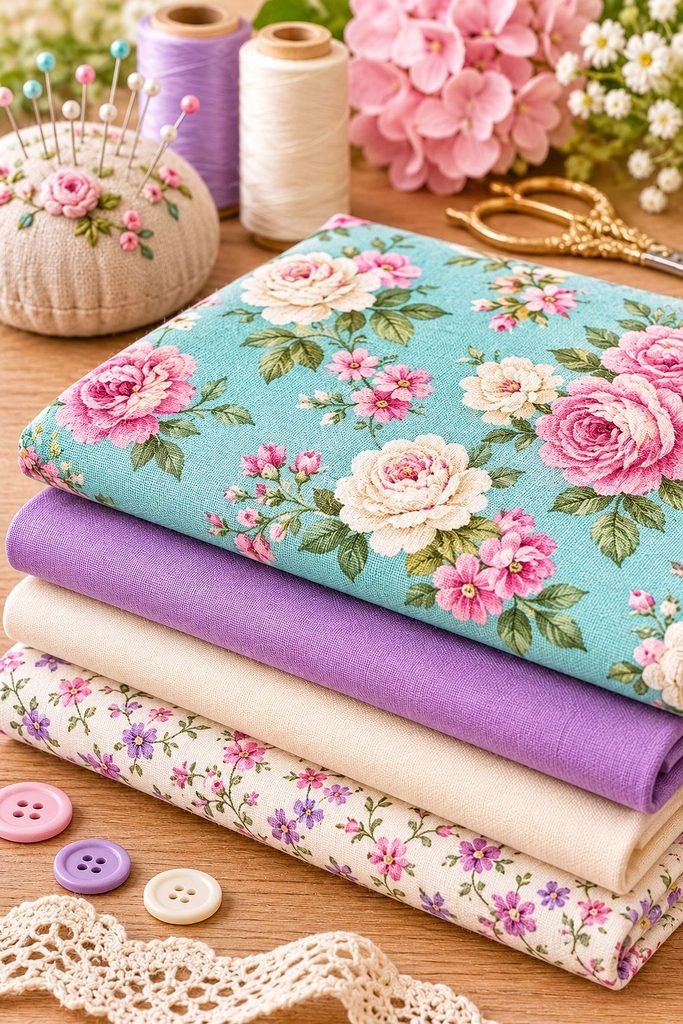
The fabric in the reference is a beautiful turquoise floral print with pink and cream flowers. It has a cheerful vintage-inspired look that works especially well for a handmade book sleeve.
Here are some fabric styles you could try:
- Floral cotton prints for a feminine, cottage-inspired look.
- Small gingham patterns for a classic handmade finish.
- Neutral beige and cream fabrics for a minimalist design.
- Pastel prints for a soft, delicate appearance.
- Botanical prints for a nature-inspired sleeve.
- Seasonal fabrics for Christmas, autumn, or spring gifts.
For the lining, you can either choose a matching print or use a contrasting colour. A dusty pink, lavender, cream, or soft purple lining looks particularly pretty with floral fabric.
One thing I would avoid is choosing fabric that is too thick or stiff. You want the sleeve to have enough padding to protect your book without becoming difficult to turn or bulky around the seams.
If you enjoy making handmade accessories for your home, you can also try my easy DIY potholder sewing tutorial, which uses fabric and heat-resistant batting for a practical finished project.
Step 1: Measure Your Book
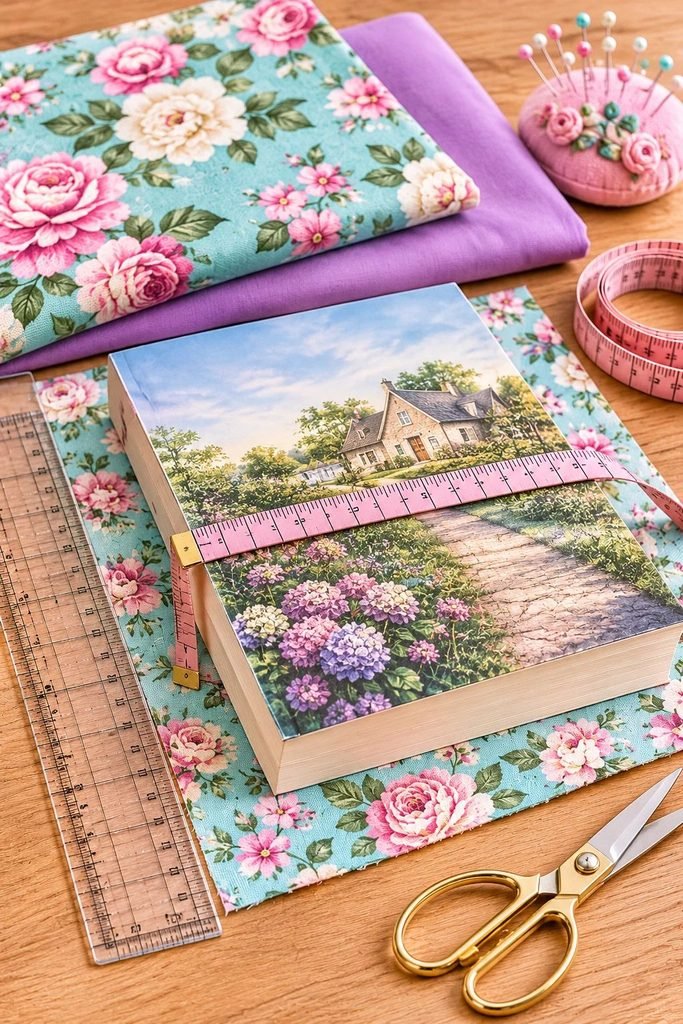
Before cutting any fabric, measure the book you want your sleeve to fit.
This is one of the most important parts of the project because books come in different sizes. A sleeve that fits a small paperback may be too tight for a large hardcover.
Measure:
- The width of your closed book.
- The height of your closed book.
- The thickness of your book at its spine.
For a standard paperback measuring approximately 6 inches wide, 9 inches tall, and 1 inch thick, you can use the following starting measurements.
Standard Book Sleeve Measurements
| Measurement | Size |
|---|---|
| Book width | 6 inches |
| Book height | 9 inches |
| Book thickness | 1 inch |
| Fabric cut width | 8 inches |
| Fabric cut height | 11 inches |
These measurements allow room for the book, seams, and a little ease. The finished sleeve will be approximately 7 inches wide and 10 inches tall, depending on your seam allowance and fabric thickness.
Important: These are starting measurements for a standard paperback, not a universal size. For a thicker hardcover or oversized book, measure your own book and adjust the fabric accordingly.
How to Calculate Your Own Measurements
If you want to make a sleeve for a different book, use this simple guide:
Fabric width = book width + book thickness + 1 inch of ease + 1 inch for seam allowances.
Fabric height = book height + 1 inch of ease + 1 inch for seam allowances.
For example, if your book is 6 inches wide, 9 inches tall, and 1 inch thick:
- Width: 6 + 1 + 1 = 8 inches.
- Height: 9 + 1 + 1 = 11 inches.
Cut your outer fabric, lining fabric, and padding to the same dimensions.
If you prefer a looser sleeve, add a little more ease. If you want a snug fit, reduce the extra room slightly, but don’t make the sleeve so tight that you have to force the book inside.
Step 2: Cut Your Fabric Pieces
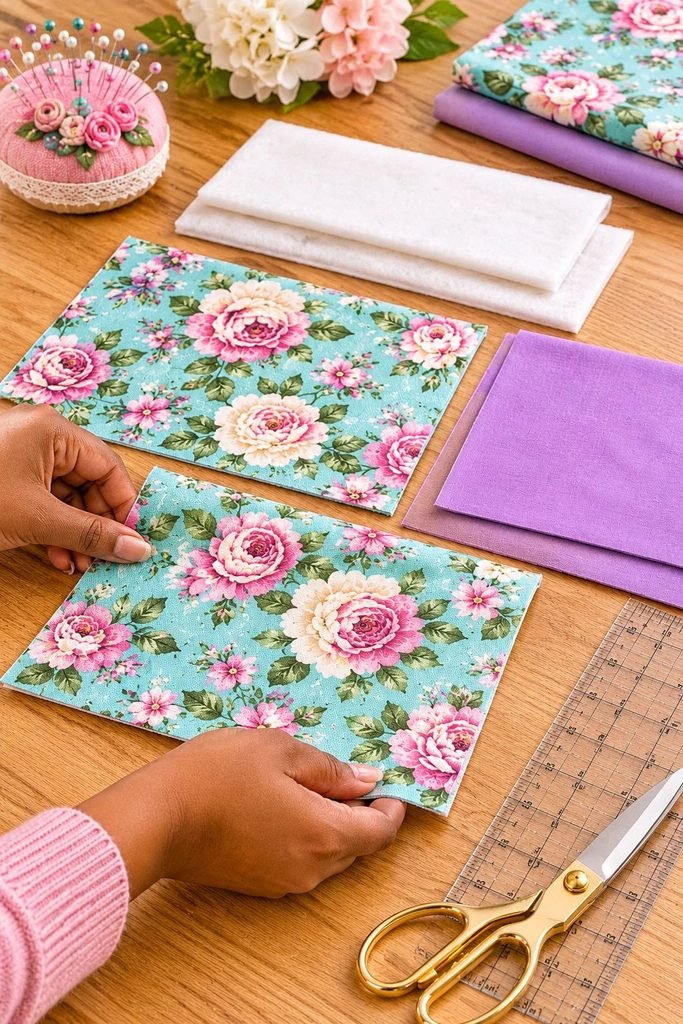
Once you have your measurements, prepare the fabric.
For the standard book sleeve, cut:
- 2 outer fabric rectangles measuring 8 x 11 inches.
- 2 lining fabric rectangles measuring 8 x 11 inches.
- 2 batting or fusible fleece rectangles measuring 8 x 11 inches.
You should have six rectangles in total.
Two outer pieces will form the outside of the sleeve, while the two lining pieces will create the inside.
The padding goes behind the outer fabric to give the finished sleeve a soft, protective feel.
Before cutting, iron your fabric so it lies flat. This makes it easier to measure accurately and helps prevent uneven pieces.
If you’re using patterned fabric, pay attention to the direction of the print. Make sure flowers, leaves, or other designs will appear upright when the finished sleeve is held vertically.
Step 3: Attach the Padding to the Outer Fabric
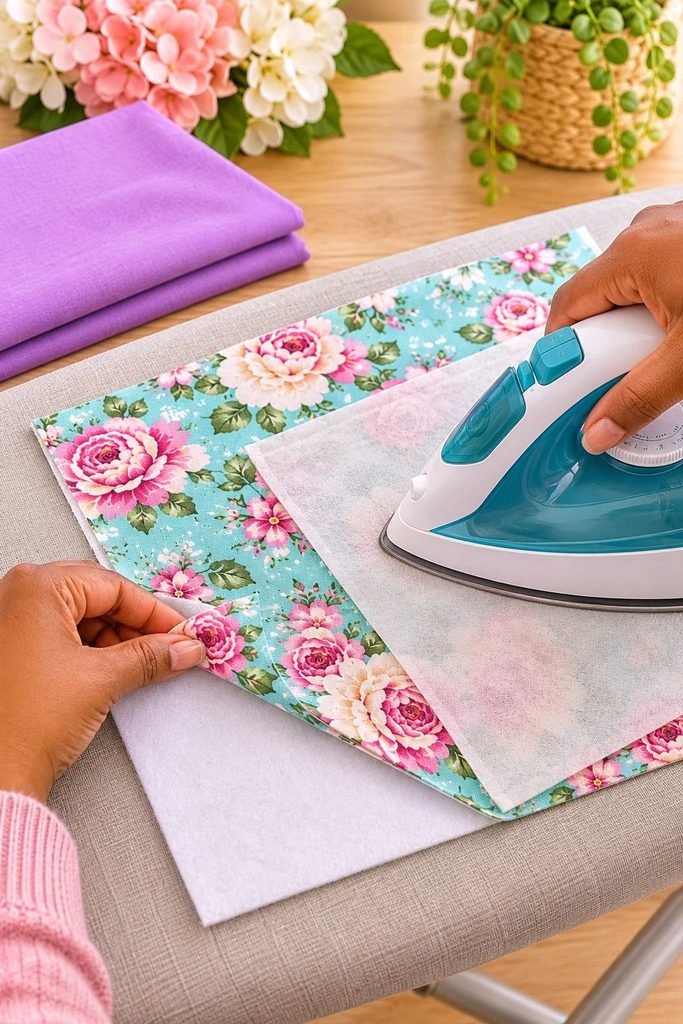
The padding is what gives your book sleeve its soft, cushioned appearance.
If you’re using fusible fleece, follow the manufacturer’s instructions to attach it to the wrong side of each outer fabric rectangle.
Place the fusible side against the wrong side of the fabric, cover with a pressing cloth if recommended, and press with an iron. Avoid sliding the iron around because this can shift the fleece.
If you’re using regular batting, place one batting rectangle behind each outer fabric piece. You can secure the layers with sewing clips, pins, or a few temporary basting stitches around the edges.
You can also sew a few simple quilting lines through the outer fabric and batting. Straight lines or a subtle diamond pattern can help hold the layers together, although this is optional.
For a simple beginner version, I would keep the quilting minimal. The floral fabric should remain the main feature of the finished sleeve.
Step 4: Sew the Outer Fabric Pieces Together
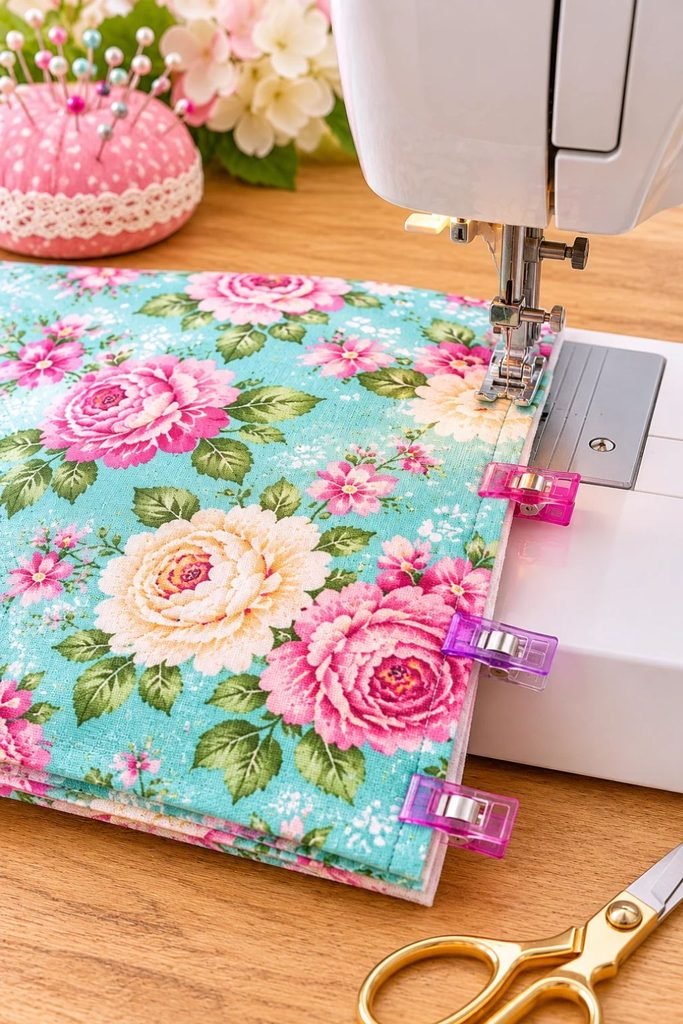
Now it’s time to create the outside of the book sleeve.
Place the two padded outer fabric pieces together with their right sides facing each other.
Make sure the edges line up neatly. Secure the sides and bottom with pins or sewing clips.
Using a ½-inch seam allowance, sew along both long sides and the bottom edge.
Leave the top edge open.
Backstitch at the beginning and end of your seams to secure them.
Once you’ve finished sewing, trim away any bulky excess batting from the seam allowance, being careful not to cut through the stitching.
Turn the outer sleeve right side out and gently push out the bottom corners.
Press lightly if your fabric and padding allow it. You should now have a soft fabric pocket with an open top.
Step 5: Sew the Lining
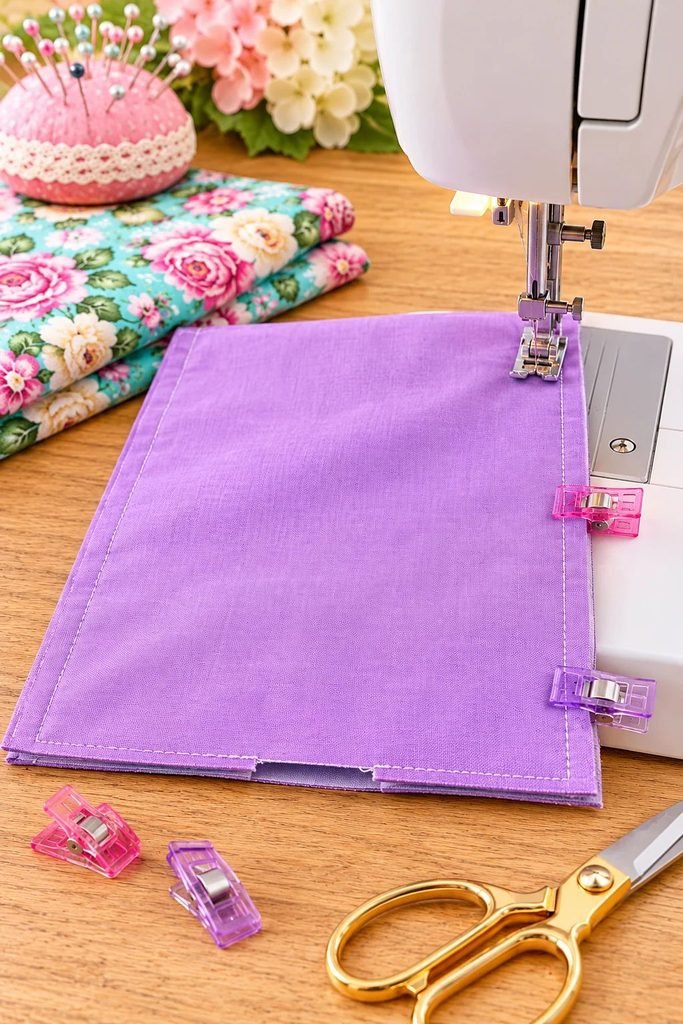
Next, create the inside of the sleeve.
Place your two lining rectangles together with their right sides facing each other.
Pin or clip the two sides and bottom edge.
Sew around the sides and bottom using a ½-inch seam allowance, just as you did with the outer fabric.
However, this time, leave a turning gap of approximately 3 inches along the bottom seam.
This small opening will allow you to turn the entire book sleeve right side out later.
Don’t sew the top edge closed.
After sewing, leave the lining inside out.
You now have two separate fabric pockets: one padded outer pocket and one unpadded lining pocket.
Step 6: Join the Outer Sleeve and Lining
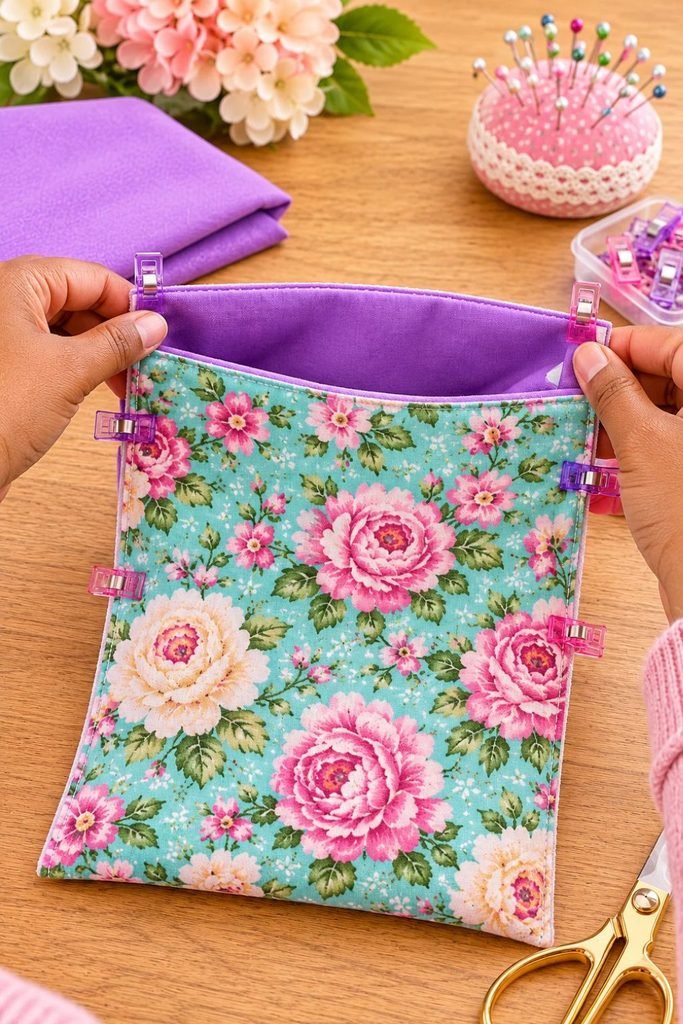
This is the step where the project starts to look like a proper book sleeve.
Keep the outer sleeve turned right side out.
Keep the lining turned inside out.
Slide the outer sleeve inside the lining. The right sides of the two fabrics should be facing each other.
The two open top edges should line up.
Match the side seams and pin or clip the entire top opening. Take your time with this part because lining up the seams helps create a neat finish.
Sew all the way around the top opening using a ½-inch seam allowance.
Try to keep the fabric layers smooth as you sew. If your machine struggles with the thicker sections where the side seams meet, use the handwheel to move slowly over those areas.
Once the top seam is complete, check that you have caught both fabric layers all the way around.
Step 7: Turn the Book Sleeve Right Side Out
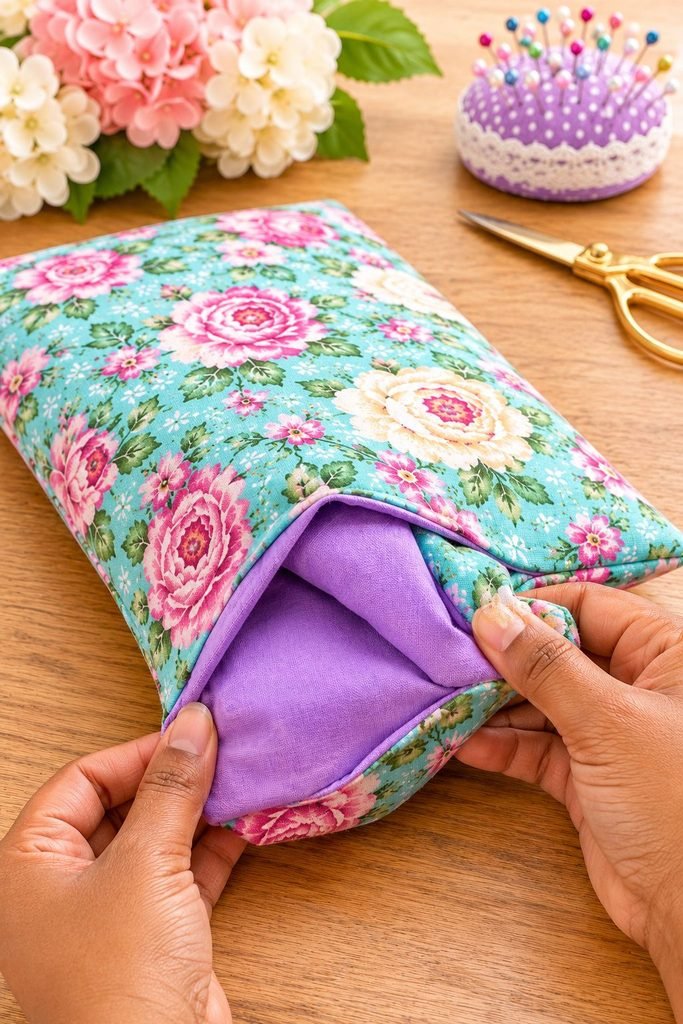
Reach through the 3-inch opening you left in the lining.
Carefully pull the outer fabric and lining through the opening until the entire sleeve is right side out.
This step may feel a little bulky because of the padding, but work slowly rather than pulling too hard on the seams.
Use your fingers or a blunt turning tool to gently shape the bottom corners.
You should now see the floral outer fabric, the contrasting lining, and the padded structure of the sleeve.
Push the lining neatly inside the outer fabric.
At this point, the top edge may need a little adjustment. Run your fingers along the opening to make sure the lining sits evenly inside and no sections are twisted.
Step 8: Close the Turning Gap
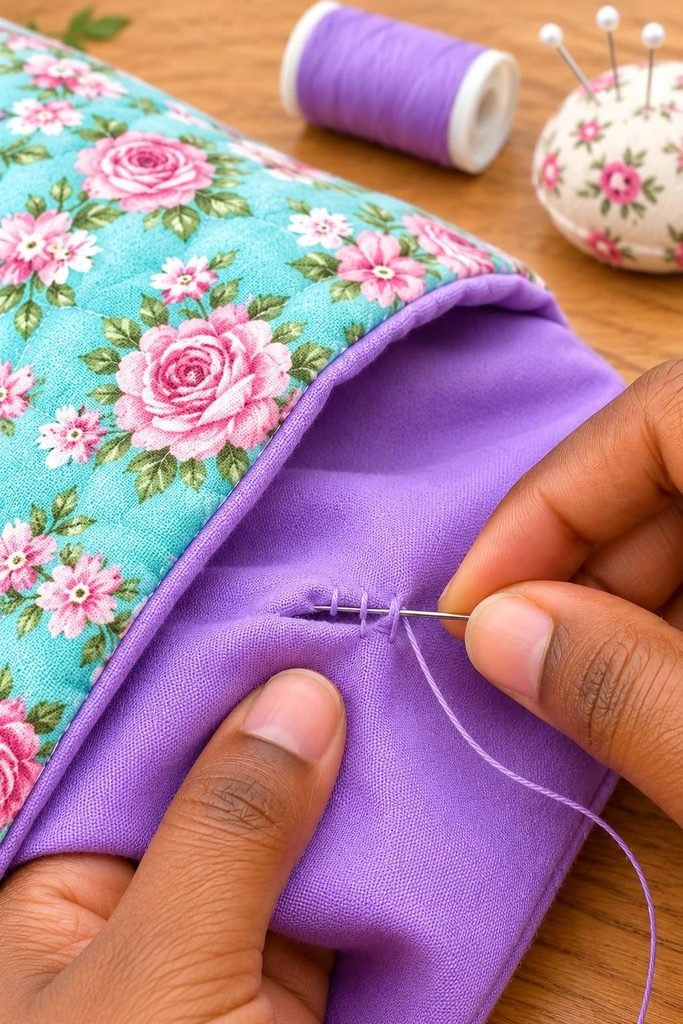
The small opening in the lining needs to be closed before finishing the sleeve.
Fold the raw edges of the opening inward by approximately ½ inch and press them flat.
You can close the opening using a neat ladder stitch by hand, or sew close to the folded edge with your sewing machine.
For a quick beginner finish, machine stitching is perfectly fine because the seam will sit inside the sleeve.
Once the opening is closed, push the lining completely inside the outer pocket.
Step 9: Finish the Top Edge
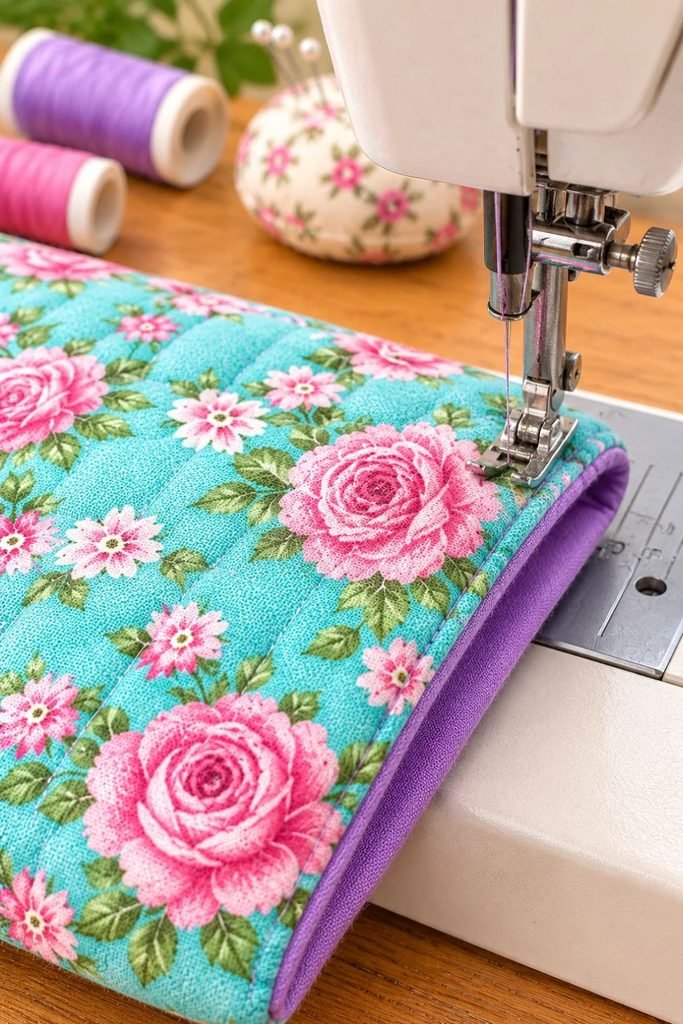
To give the book sleeve a clean, professional finish, press the top opening carefully.
Make sure the lining is tucked inside evenly and that the seam sits neatly around the opening.
Topstitch approximately ⅛ inch from the upper edge.
This final row of stitching helps keep the lining in place and gives the sleeve a more finished appearance.
If you want the contrasting lining to show slightly around the top, gently roll the lining outward by a small amount before pressing and topstitching.
This creates a pretty contrast edge similar to the purple fabric visible in the reference image.
Your DIY fabric book sleeve is now complete!
How to Make Your Book Sleeve Look More Professional
A simple book sleeve can look surprisingly polished when you pay attention to a few finishing details.
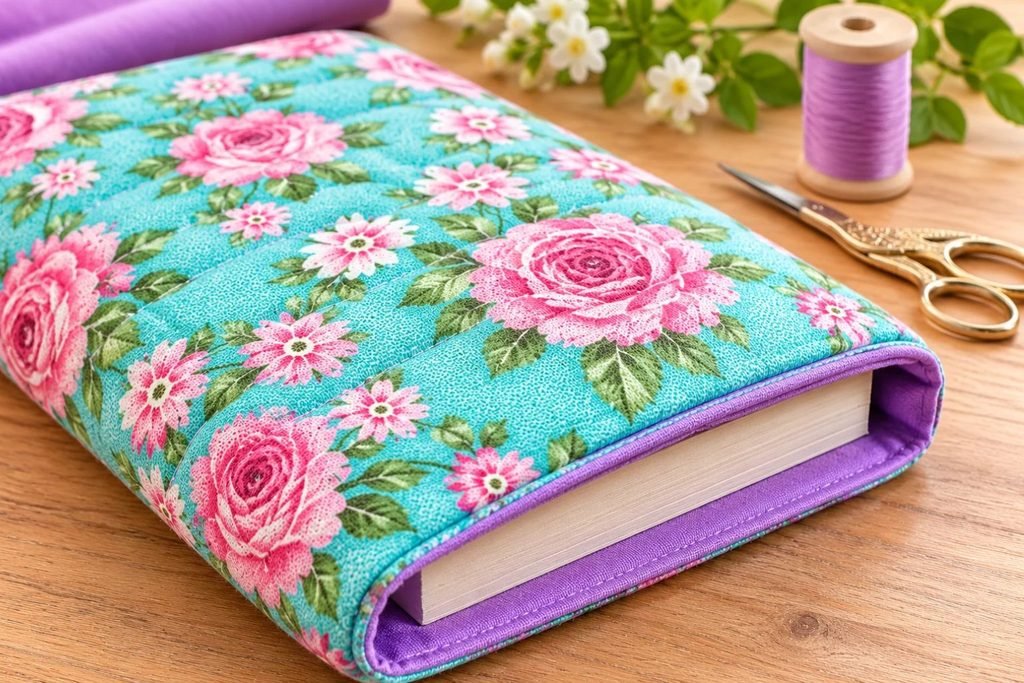
Choose Coordinating Fabrics
You don’t need the outer fabric and lining to match exactly. In fact, a contrasting lining can make the project look more interesting.
For example, pair a turquoise floral print with lavender lining, a pink floral print with cream lining, or a neutral botanical print with dusty rose lining.
Use Matching Thread
Choose thread that blends with your outer fabric. If your fabric has several colours, select a shade that matches the background or one of the smaller details in the print.
This helps your seams look neat without drawing too much attention to the stitching.
Press as You Sew
Don’t wait until the entire project is finished to use your iron.
Pressing the fabric before cutting, flattening seams as you go, and shaping the top edge at the end will make a noticeable difference.
Keep the Padding Even
Too much padding can make the sleeve bulky and difficult to sew. Lightweight fleece or batting is usually enough for a simple protective cover.
If you’re using batting, trim excess bulk from the seam allowances so the corners and top edge don’t become too thick.
Take Your Time With the Corners
The bottom corners are often the easiest place to spot rushed sewing.
After turning the sleeve right side out, gently shape both corners so they look even. Avoid forcing them with sharp objects, as this could damage the fabric.
Optional Design Ideas for Your DIY Book Sleeve
Once you’ve made the basic version, you can experiment with different details to create a sleeve that feels more personal.
1. Add a Small Fabric Pocket
A small pocket on the outside is useful for keeping bookmarks, sticky notes, or reading accessories.
To add one, cut a small rectangle of cotton fabric, finish its top edge by folding it over twice and stitching, then fold the remaining edges inward.
Position the pocket on the outer fabric before attaching the padding and sewing the sleeve together.
Stitch around the sides and bottom of the pocket, leaving the top open.
2. Add a Button and Elastic Closure
If you want to keep your book sleeve closed, you can add a small button and elastic loop.
Sew the button onto the centre of the front panel. Attach a small elastic loop to the opposite side so it can stretch around the button.
Add this detail before joining the outer sleeve and lining so the raw ends are hidden inside the construction.
Make sure the loop is long enough to close comfortably without pulling the fabric.
3. Use a Contrasting Lining
This is one of the easiest ways to personalise your project.
A floral exterior paired with a solid lavender, blush, cream, or sage lining creates a lovely handmade finish.
You can also use a different print inside if you enjoy mixing patterns.
4. Add a Decorative Label
A small fabric label sewn into the side seam can make your book sleeve look more polished, especially if you’re making several as gifts.
You can use a simple woven label or a small folded piece of coordinating cotton fabric.
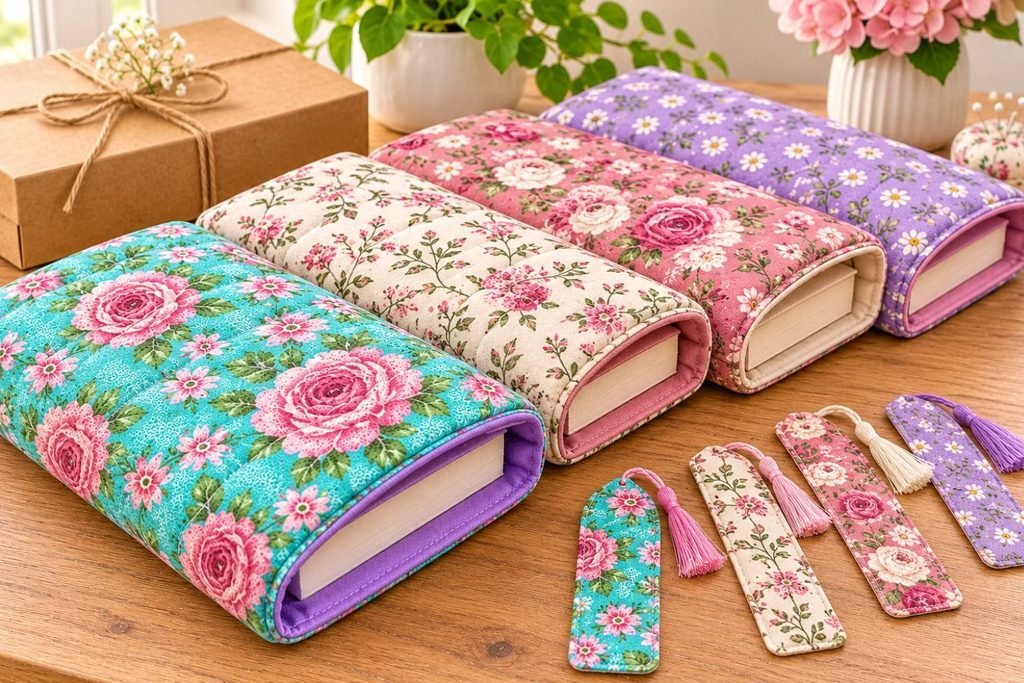
5. Make a Matching Bookmark
If you’re making the sleeve as a gift, a matching fabric bookmark is a lovely addition.
Use a narrow strip of cotton fabric, add a little interfacing for structure, fold the raw edges inward, and topstitch around the outside.
You can make it in the same floral fabric as the sleeve for a coordinated set.
If you’re interested in making more small fabric accessories, my DIY fabric cord keeper is another project that uses simple fabric pieces and straightforward sewing.
Common Mistakes to Avoid When Sewing a Book Sleeve
Even though this is a beginner-friendly project, a few small mistakes can affect the final fit and appearance.
Cutting the fabric too small: Always measure the actual book before cutting. Remember to account for the book’s thickness, ease, and seam allowances.
Using too much padding: Thick batting can make the sleeve difficult to turn and sew. Choose lightweight padding for a more manageable finish.
Forgetting the turning gap: You need an opening in the lining to turn the sleeve right side out. Remember to leave approximately 3 inches unsewn along the lining’s bottom seam.
Sewing the lining incorrectly: The lining should be inside out when you place the right-side-out outer sleeve inside it. This allows the right sides of the fabrics to face one another when you sew the top opening.
Skipping the final topstitching: Although optional, topstitching helps hold the lining in place and gives the top edge a clean finish.
Not checking the fit: Before making several sleeves, test your measurements with the book you intend to use. A sleeve should slide on easily without being excessively loose.
How to Care for Your Handmade Fabric Book Sleeve
Since your book sleeve will probably be carried around in a handbag or backpack, it may eventually need cleaning.
The easiest way to care for it is to follow the washing instructions for your fabric and batting.
- Check whether your fabric and padding are machine washable.
- Use a gentle wash cycle if machine washing is suitable.
- Avoid harsh detergents that could affect the fabric colours.
- Allow the sleeve to dry completely before storing it.
- Press gently if needed, following the fabric manufacturer’s ironing instructions.
If you’ve added a button, elastic closure, or decorative label, check those details before washing.
Can You Sell Handmade Fabric Book Sleeves?
Absolutely! Fabric book sleeves are a lovely product to consider if you’re interested in selling handmade sewing projects.
They are practical, easy to customise, and make attractive gifts for readers. You can offer different sizes for paperbacks, hardcovers, journals, planners, and e-readers.
Here are a few ways to create a small collection:
- Floral book sleeves: Use romantic floral cotton prints with contrasting linings.
- Minimalist book sleeves: Choose neutral colours, simple prints, and understated details.
- Padded hardcover sleeves: Offer slightly larger sizes with enough room for thicker books.
- Matching reading sets: Pair a book sleeve with a fabric bookmark.
- Personalised gifts: Offer different fabric choices or optional name labels.
When pricing your work, remember to include fabric, batting, thread, packaging, sewing time, and other business expenses. Don’t price your work based only on the amount of fabric used.
If you’re exploring handmade products as a small business, you may also enjoy my guide to air-dry clay business ideas and what you can actually sell. It offers more inspiration for thinking about handmade products and what customers might enjoy buying.
A handmade book sleeve can also be included in a thoughtful reading-themed gift box. For more inspiration, take a look at my 15 small gift basket ideas that look expensive but aren’t.
You can also explore my guide to how to start a gift box business if you want to turn themed handmade gift sets into a small business idea.
Frequently Asked Questions
Is a fabric book sleeve easy to sew for beginners?
Yes! This is a good beginner sewing project because most of the construction involves cutting rectangles and sewing straight seams. You should be comfortable using a sewing machine, but you don’t need advanced sewing skills.
What fabric is best for making a book sleeve?
Quilting cotton is one of the easiest fabrics to use. It comes in many prints, is relatively easy to sew, and works well with lightweight batting or fusible fleece.
Should I use batting or fusible fleece?
Both can work. Fusible fleece is convenient because it can be attached directly to the wrong side of the outer fabric. Regular batting can also provide padding, but you’ll need to secure it before sewing the sleeve together.
How much fabric do I need for one book sleeve?
For a standard paperback-sized sleeve, approximately ½ yard of outer fabric and ½ yard of lining fabric will generally be more than enough. You will also need a small amount of batting or fusible fleece.
Can I make a book sleeve without a sewing machine?
Yes, but it will take longer. You can sew the pieces by hand using small, even backstitches. A sewing machine is simply faster and makes it easier to create strong, consistent seams.
How do I make a book sleeve for a hardcover book?
Measure the hardcover book while it is closed, including its spine thickness. Use the measurement formula in this tutorial and add enough ease so the book can slide in and out comfortably.
Can I make a book sleeve for an e-reader?
Yes. Measure your e-reader and adjust the width and height of the fabric pieces. Make sure the sleeve is not too tight, especially if you use a protective case on the device.
Can I add a zipper to my fabric book sleeve?
Yes, although that requires a slightly different construction method. You would need to insert the zipper into the top opening before joining the outer fabric and lining. For your first project, I recommend making the simple open-top version before trying a zipper.
Final Thoughts
I love how a few pieces of cotton fabric can turn into something so useful and pretty. This DIY fabric book sleeve is a simple project, but the finished result feels like a thoughtful handmade accessory rather than something you quickly stitched together.
The floral exterior, contrasting lining, and soft padded finish make it especially lovely. You can follow the measurements in this tutorial for a standard paperback or adjust them to fit your favourite hardcover, journal, or planner.
If you’re new to sewing, take your time with the measuring and construction steps. Once you understand how the outer fabric and lining fit together, you’ll find it much easier to make another one.
And honestly, I think a handmade floral book sleeve paired with a matching bookmark would make such a sweet gift for anyone who loves reading!