Turning your polymer clay projects into personalized works of art is easier than you think. With image transfer techniques, you can add photos, patterns, or designs to charms, jewelry, and decorative pieces, making each creation truly one-of-a-kind.
I still remember the first time I tried transferring an image onto clay. I spent hours carefully cutting out a tiny photo, rubbing it on, and praying it would work.
When I finally baked the clay and peeled it back, the image was a little blurry—but I was hooked.
That moment taught me that even imperfect attempts can spark creativity, and with practice, you can get stunning, crisp results every time.
Since then, I’ve refined my technique and discovered a few tricks that make the process smoother, easier, and more reliable. In this step-by-step tutorial, I’ll show you exactly how to transfer images onto polymer clay.
You’ll learn the best materials to use, common mistakes to avoid, and tips for achieving professional-looking results. By the end, you’ll be ready to create customized clay projects that wow every time.
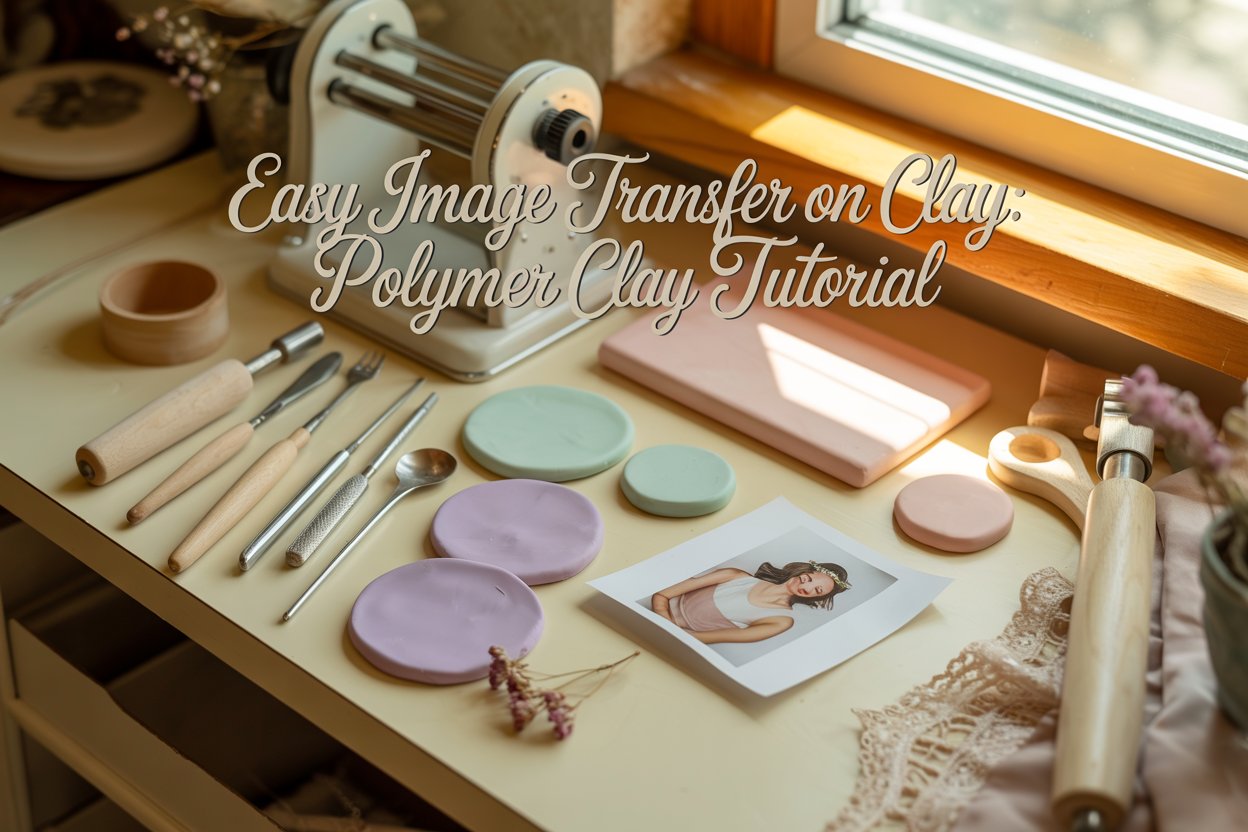
Materials You’ll Need for Image Transfer on Clay
Before you start, gather everything so your process is smooth and stress-free. Using the right materials makes all the difference between a blurry image and a crisp, professional-looking transfer.
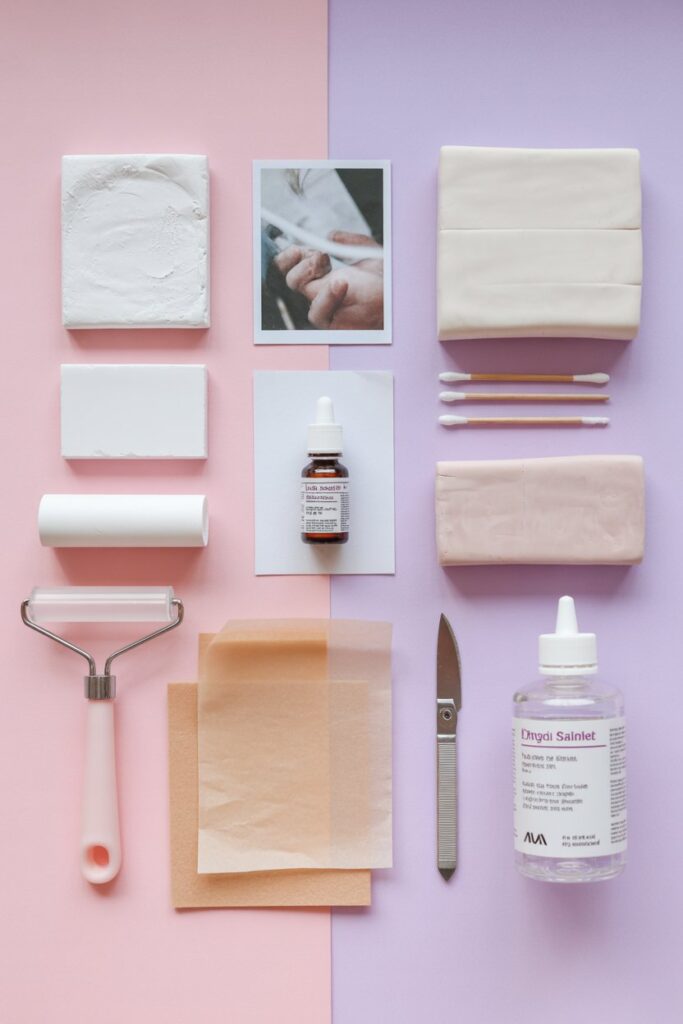
Here’s what you’ll need:
- Polymer clay – Choose any brand you like (Sculpey, Fimo, or Premo work great). Condition it by kneading until soft.
- Printed image – Use a laser printer or photocopy. Inkjet prints will smear, so avoid them.
- Rubbing alcohol – 70% isopropyl works best.
- Cotton swabs or Q-tips – For applying alcohol to the image.
- Acrylic roller or pasta machine – To flatten the clay evenly.
- Wax paper or parchment paper – To protect surfaces while rolling and transferring.
- Clay cutting tools or craft knife – Optional, for trimming clay or images.
- Sealant or glaze – For protecting the transferred image after baking.
Pro Tips:
- Flatten your clay evenly to avoid bumps in the image transfer.
- Print your image in mirror/reverse if it has text so it appears correctly after transfer.
- Test on a scrap piece of clay first to practice and avoid mistakes on your final piece.
- Keep your workspace clean and dry; water can make the transfer messy.
What Is Picture Clay?
Picture clay isn’t a special type of clay. It is polymer clay that has a printed image transferred onto it. This technique allows you to create custom designs, patterns, or tiny photos on your clay projects, making them unique and personal.
The process uses polymer clay as a base. Polymer clay is soft, easy to shape, and hardens in a home oven.
You can transfer an image, usually printed on laser paper, onto the clay using rubbing alcohol or other transfer methods.
Once the paper is removed, the image remains on the clay, ready for baking or finishing.
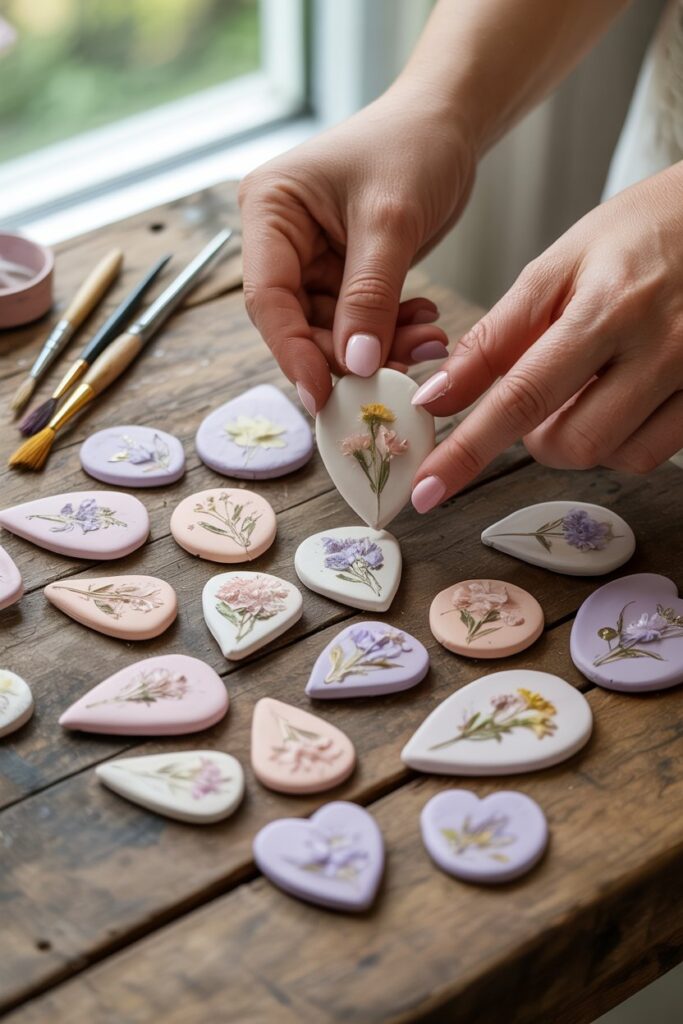
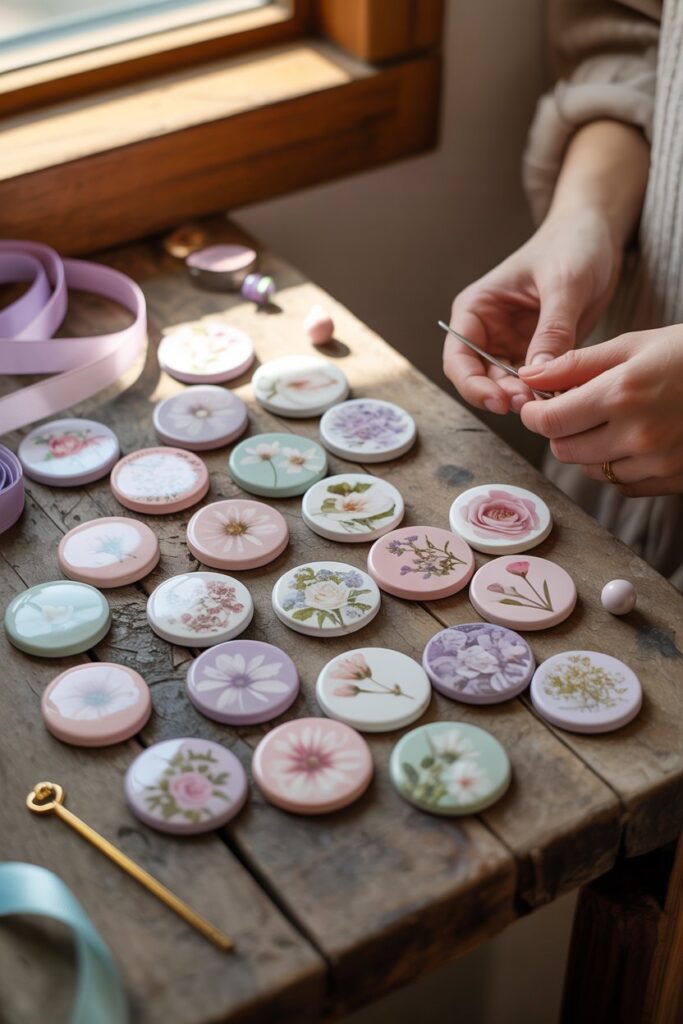
This method opens up endless possibilities. You can make custom jewelry, keychains, decorative figurines, or ornaments. Picture clay combines creativity with personalization, turning simple clay into something one-of-a-kind.
Steps to Transfer an Image onto Polymer Clay
Transferring images onto polymer clay can feel like magic once you see it work. The secret is understanding each step and taking your time. Here’s a detailed guide from start to finish.
Gather All Your Materials
Preparation is key. Before touching your clay, make sure you have everything ready. You’ll need:
- Polymer clay in your desired color. Lighter colors show image transfers best.
- Laser-printed image. Only laser prints work well; inkjet prints will smear.
- Rubbing alcohol or acetone to lift the ink from the paper.
- Cotton swabs, soft cloths, or Q-tips for rubbing the image.
- Rolling pin or brayer to flatten the clay.
- Scissors or craft knife to trim your image to fit your clay piece.
- Parchment paper or a baking sheet for baking.
- Optional: glaze or varnish to seal your finished piece.
Having all your materials at hand avoids mistakes, saves time, and ensures a smooth transfer.
Condition Your Clay
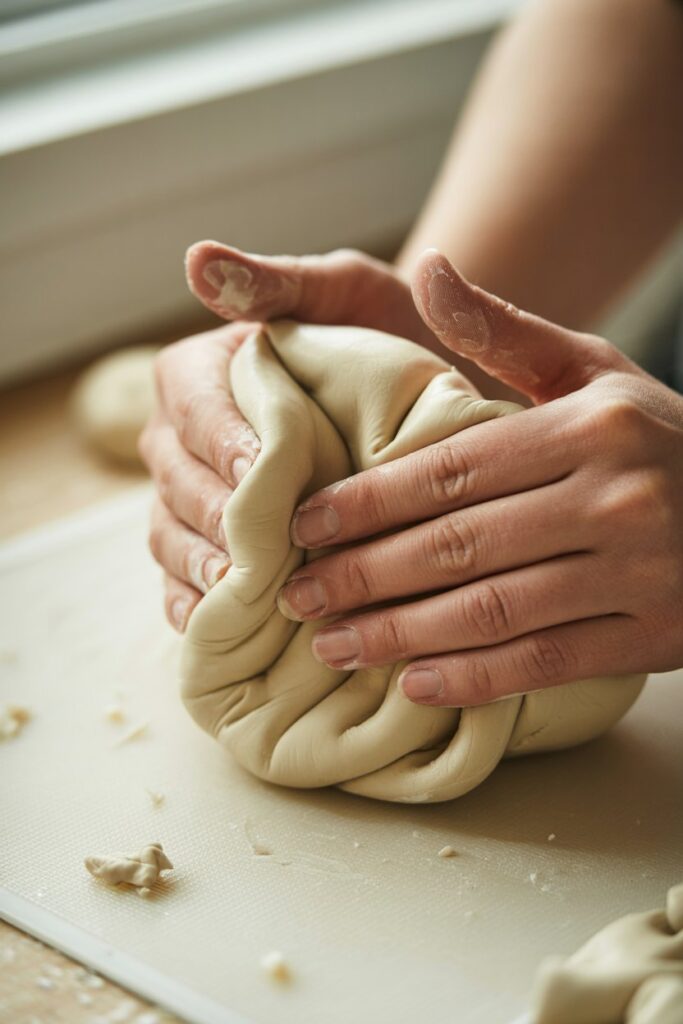
Conditioning is more than kneading; it prepares the clay to accept the image perfectly.
- Start by warming the clay in your hands, pressing and folding it repeatedly. This softens it and makes it smooth.
- Roll the clay out to a uniform thickness, usually around 1/8 inch. Uneven clay can make the transfer patchy or distorted.
- Smooth out fingerprints or cracks. Any bumps on the surface will show in the image transfer.
Conditioning is crucial because soft, pliable clay holds the ink better and ensures a crisp transfer.
Prepare Your Image
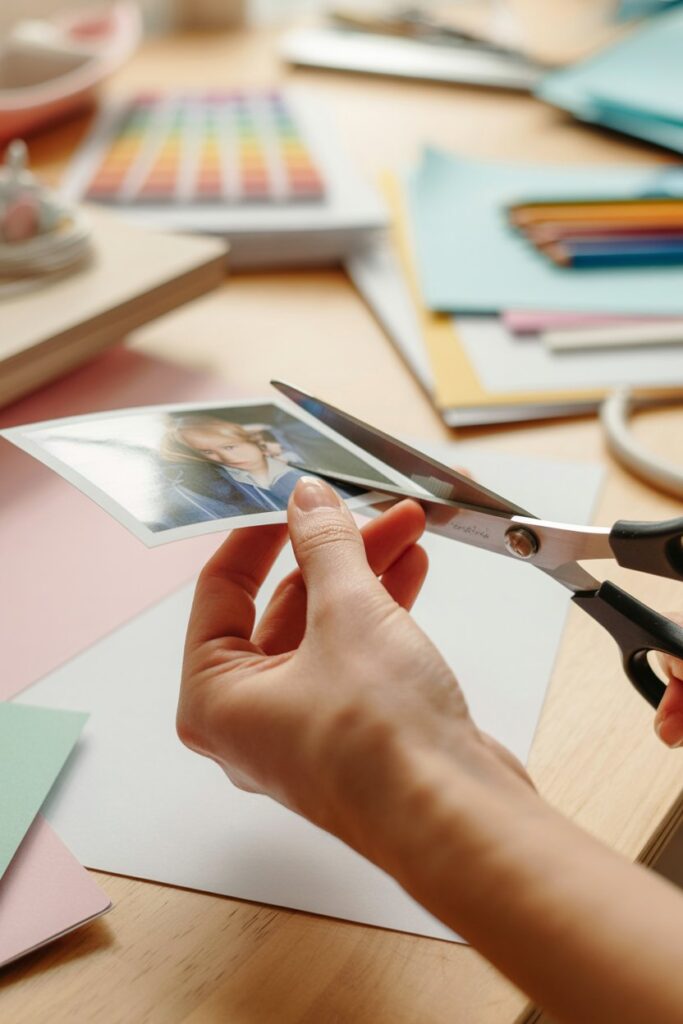
Your image needs careful preparation.
- Trim the edges so it fits neatly onto your clay piece.
- Simple, bold designs transfer more clearly than intricate, highly detailed images.
- Remember, laser-printed images work because the toner can transfer when rubbed with alcohol or acetone. Inkjet prints are water-based and will not transfer properly.
- If your clay project is small, resize your image before printing. A print too large will be hard to manage.
Preparing your image properly saves frustration and helps achieve a professional-looking transfer.
Transfer the Image
Now comes the fun part: the actual transfer.
- Place your laser-printed image face-down onto the conditioned clay. Position it exactly where you want the design.
- Dip a cotton swab or soft cloth in rubbing alcohol or acetone. Gently rub the back of the paper in small, circular motions.
- Apply even, consistent pressure. Do not press too hard, or the paper can tear. Too little pressure and the toner won’t lift.
- Make sure to rub the entire design, especially edges and corners. Missed spots can leave incomplete transfers.
- Check your progress by gently lifting a corner of the paper to see if the toner is transferring. If it’s faint, keep rubbing carefully.
This step requires patience. The smoother your clay and the steadier your rubbing, the better the result.
Remove the Paper
Once the image is transferred:
- Carefully peel the paper off. Move slowly to avoid smudging the toner.
- If tiny paper fibers remain, remove them gently with a damp cloth or your fingers.
- Don’t worry if the transfer isn’t perfect on the first try. Small imperfections can be touched up later with fine markers, paint, or colored pencils.
Removing the paper carefully ensures your image is clean, crisp, and ready for baking.
Bake the Clay
Baking sets both your clay and the transferred image.
- Preheat your oven according to the polymer clay manufacturer’s instructions. Most bake around 265°F to 275°F.
- Place your clay on parchment paper or a safe baking surface.
- Avoid overbaking. Too much heat can cause the toner to blur or the clay to darken.
- Bake for the recommended time based on thickness. For 1/8 inch clay, usually 15–20 minutes is enough.
Baking permanently fuses the toner to the clay and strengthens your piece.
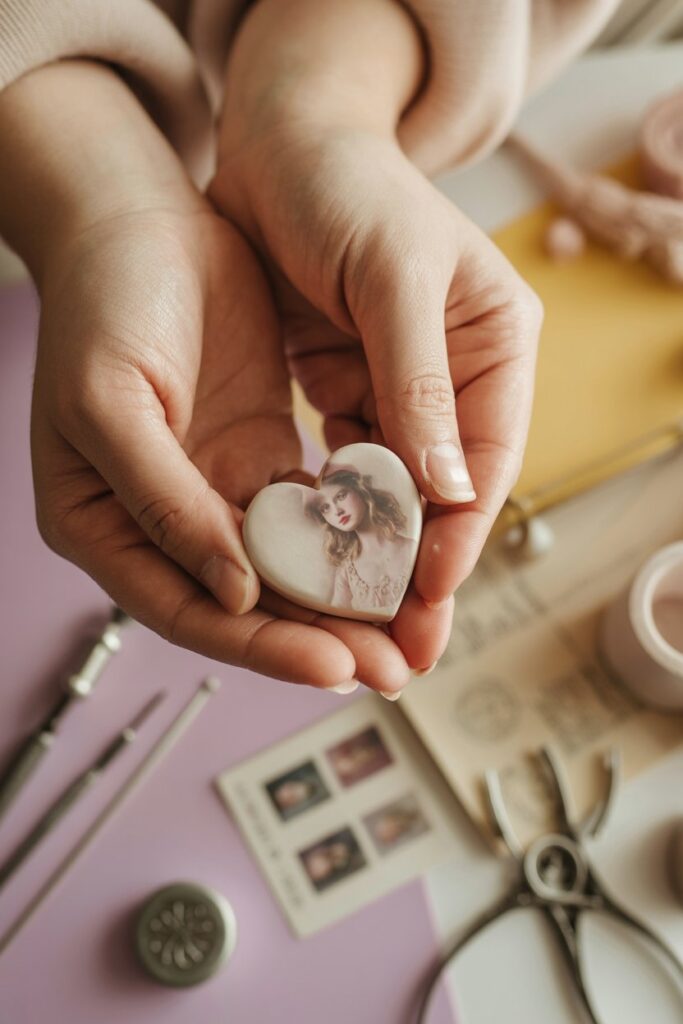
Finish Your Piece
After baking:
- Allow your clay to cool completely. Hot clay is soft and can distort the image if touched too soon.
- Optionally, apply a clay glaze or varnish to seal the image, add shine, and protect it from wear.
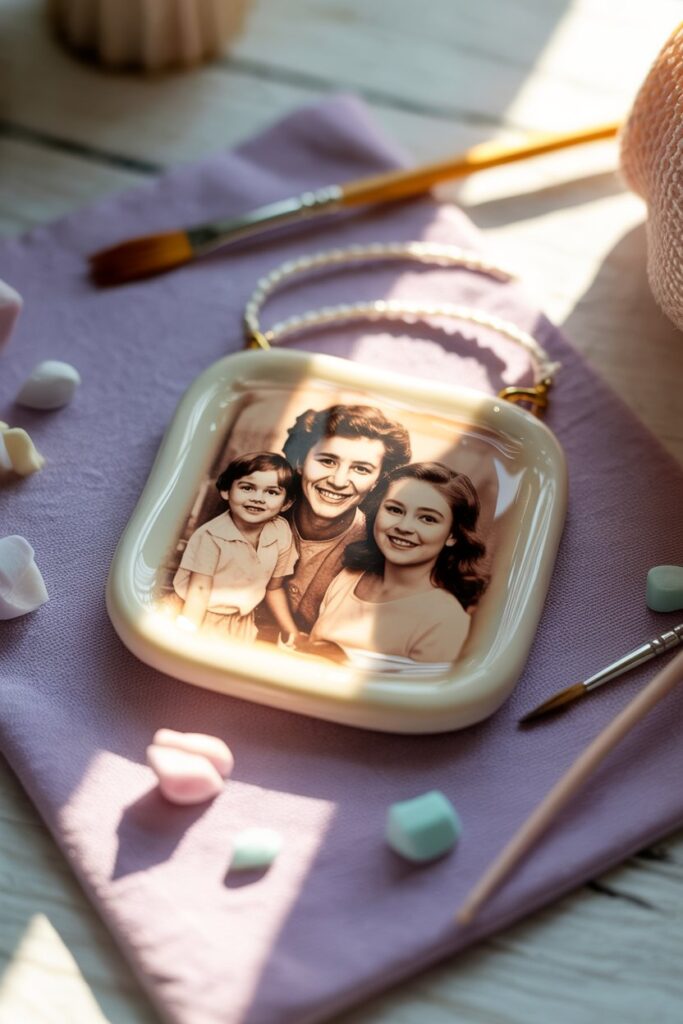
- Your piece is now ready for jewelry, ornaments, keychains, or any creative project.
A carefully finished clay piece looks professional and polished, showing off your transferred image beautifully.
Pro Tips for Perfect Image Transfers on Polymer Clay
To get the best results, use light-colored clay so your image stands out clearly. Simple, high-contrast designs transfer more cleanly than intricate ones.
Always use a laser-printed image, as inkjet prints usually won’t stick properly. Applying even pressure with a brayer or rolling pin helps the toner adhere smoothly, and testing on a small piece of scrap clay first can prevent mistakes.
After baking, you can fix minor imperfections with colored pencils, fine markers, or a thin layer of paint.
Keeping your hands and workspace clean also ensures the clay surface stays smooth for a sharp transfer.
Common Mistakes to Avoid When Transferring Images
A major mistake is using the wrong type of print—inkjet copies or photocopies rarely work.
Uneven pressure, rushing the process, or peeling the paper too early can smear or erase parts of your design.
Not conditioning your clay or leaving fingerprints and bumps can also affect the transfer.
Too thin clay may crack, while overly thick clay may bake unevenly. Finally, skipping a protective finish after baking can make your image fade or scratch easily. Testing your technique on scrap clay first is the easiest way to avoid these problems.
How to Store and Preserve Your Polymer Clay Creations
Proper storage keeps your clay pieces looking fresh and prevents damage over time. Store finished items in a cool, dry place away from direct sunlight to prevent fading or warping.
Use small containers or boxes with soft padding, like tissue paper or bubble wrap, to avoid scratches or dents, especially for delicate designs.
If your pieces are unbaked, keep them airtight in plastic bags or containers to prevent dust from sticking and to maintain pliability.
After baking, you can protect transfers by applying a thin layer of varnish or polymer clay sealer.
This not only preserves the image but also adds a subtle shine and makes your pieces easier to clean.
Avoid storing clay near heat sources, as excessive warmth can soften or deform your creations. Taking these simple steps ensures your designs stay vibrant and intact for years to come.
Final Thoughts
Mastering image transfers on polymer clay opens up a world of creative possibilities.
With a little patience and the right techniques, you can turn ordinary clay into personalized, detailed pieces that truly stand out.
Remember, practice makes perfect—each attempt teaches you something new about pressure, placement, and preserving the image.
Take your time, experiment with different images and clays, and don’t be afraid to make mistakes.
Every project, whether it turns out exactly as planned or not, helps you improve your skills and builds confidence.
With these tips and techniques, your polymer clay creations can be beautiful, lasting works of art that showcase your unique style.