There was a time when lighting a fire felt like a full workout for me.
I would gather wood, stack everything perfectly, strike a match… and nothing. The flame would flicker out, the wood would stay stubbornly cold, and I would stand there wondering why something so simple felt so difficult.
If you have ever struggled to start a fire, you know exactly what I mean.
That frustration is actually what pushed me to learn how to make DIY wax fire starters. And once I did, everything changed.
Now when I want a cozy fire, whether it is indoors, outside, or even during a power outage, I just grab one of my homemade starters, light it, and watch the flame build effortlessly.
The best part is that you can do the same.
In this guide, I am going to show you exactly how I make wax fire starters at home. I will walk you through every step slowly and clearly so you feel confident making your own. You do not need expensive tools or complicated supplies. Most of the things you need are already in your kitchen or easy to buy.
Once you make your first batch, you will wonder why you did not start sooner.
These wax fire starters are reliable, beautiful, and surprisingly relaxing to make. They also make thoughtful handmade gifts and are perfect for cozy evenings, camping trips, or emergency situations.
Let’s start with why I love making them so much.
Why These DIY Fire Starters Are So Helpful
I started making these wax fire starters because I wanted something simple that actually worked every time.
After a few chilly nights of struggling to get a fire going, I knew there had to be an easier way. Once I tried making my own, I never went back.
Here’s why I keep a batch ready at home:
- They light quickly and burn long enough to get real firewood going without constant relighting.
- They give off a cozy natural scent from real herbs and spices, not artificial fragrances.
- The wax coating helps make them water resistant, so they still work even if they get slightly damp.
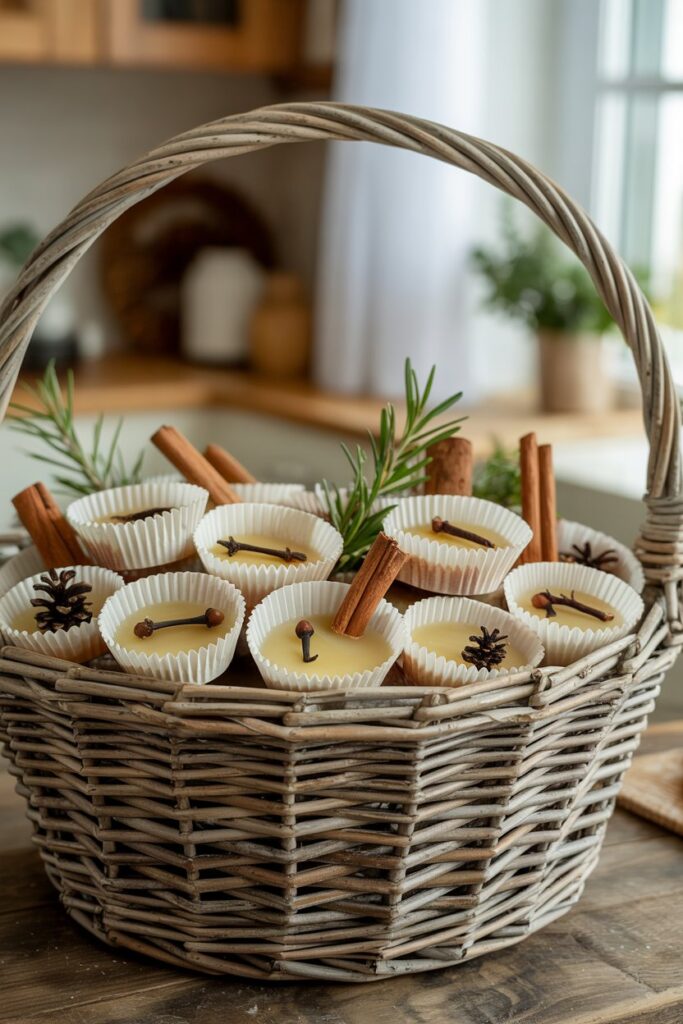
- They look beautiful and handmade, almost like little rustic decorations you can store in a basket or jar.
- You can use natural ingredients from your kitchen or even your backyard.
- They are very affordable to make once you have the basic supplies.
One particularly cold evening when the power went out, these completely saved the night for us. Instead of sitting in the dark and cold, we had a warm fire going within minutes.
The soft scent of cinnamon and herbs filled the air and made everything feel calm and comforting.
Since then, I always keep extras on hand because they make every cozy evening so much easier.
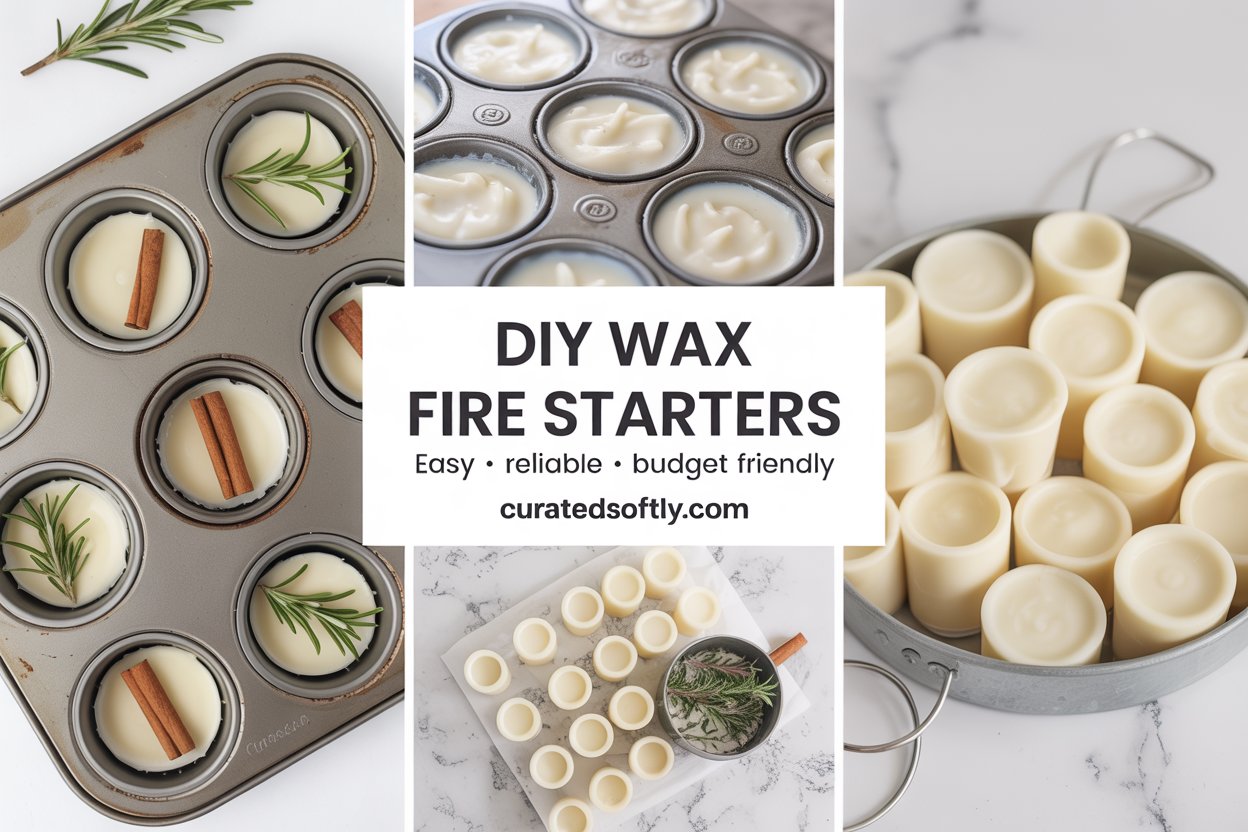
Supplies You Need to Make 12 Fire Starters
The best part about this project is how simple the ingredients and tools are. Most of them are easy to find at grocery stores, craft shops, or online.
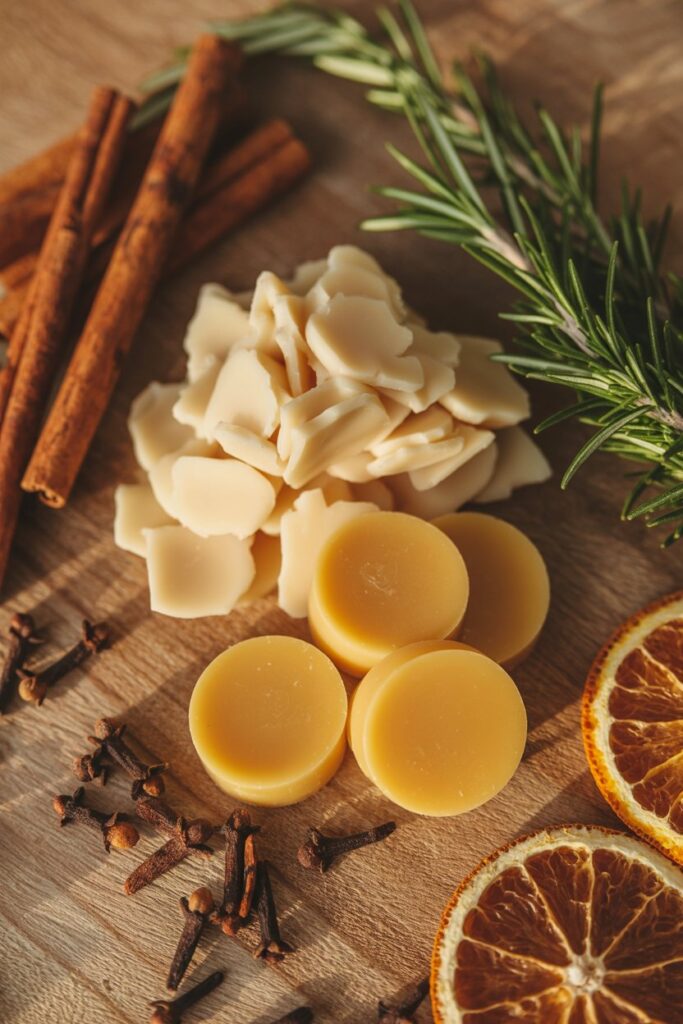
Wax
- 1 pound soy wax flakes or beeswax pieces (about 450 to 500 grams)
Soy wax burns clean and is easy to work with. Beeswax has a natural honey scent and burns a bit longer.
Base and Containers
- 12 plain cupcake liners
- 1 standard 12-cup muffin pan
These hold everything together and give each fire starter a neat, uniform shape.
Wicks
- Cotton string or wood wicks cut to about 2 to 3 inches
Pre-waxed wicks are the easiest option because they light quickly and burn steadily.
Natural Add-Ins for Scent and Style
You can mix and match based on what you have:
- Small pieces of cinnamon stick
- Fresh or dried rosemary sprigs
- Whole cloves
- Bay leaves
- Tiny pine cones
- Dried orange slices
- Star anise
These add a warm, natural fragrance and make each piece look beautiful and unique.
Optional for Extra Scent
- 15 to 25 drops of essential oil such as pine, cinnamon, orange, or cedarwood
This step is optional, but it adds an extra cozy aroma when the fire starter burns.
Tools
- An old pot and heat-safe bowl for melting wax
- Wooden stick or chopstick for stirring
- Scissors
I like to keep these tools just for crafting because wax can be hard to fully clean off.
Easy Step by Step Guide
I am going to walk you through this slowly and simply so the whole process feels easy and relaxing. I have made plenty of mistakes before, from cracked wax to decorations floating to the top, so I will share the little tips that actually make a difference.
1. Get your pan ready
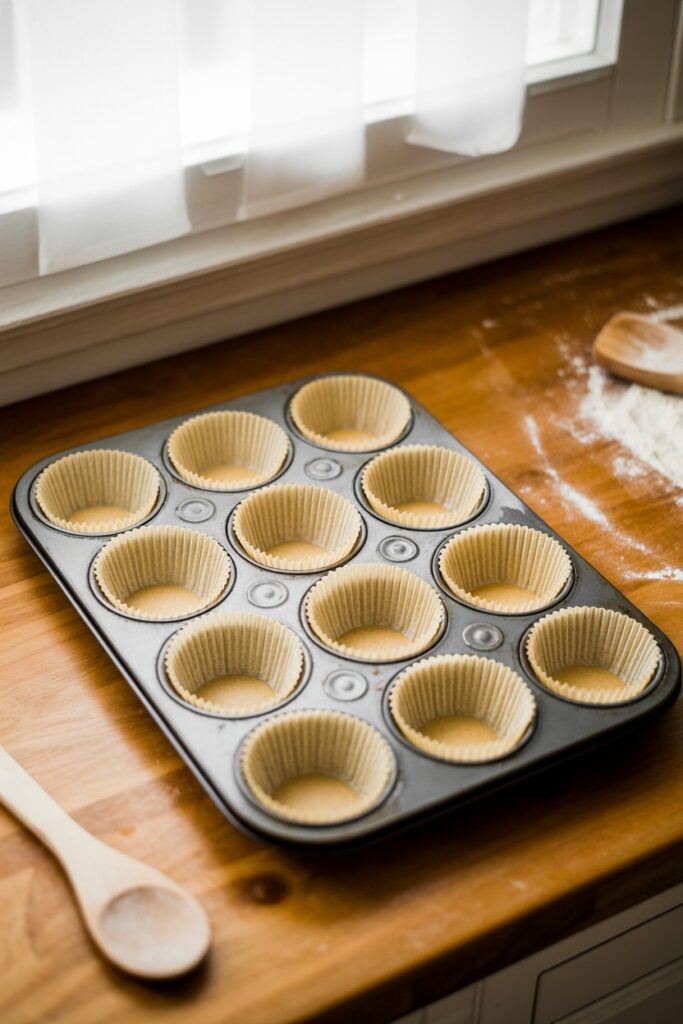
Place your muffin pan on a table or kitchen counter. I always cover the surface with newspaper or an old towel first so I do not worry about spills. Wax can drip, and it is much easier to relax when you know cleanup will be simple.
Put one cupcake liner into each section of the muffin pan and gently press them down so they sit flat. This helps create neat, round fire starters and keeps everything contained while you pour the wax.
If you do not have a muffin pan, do not worry. You can place small paper cups on a baking tray and they will work just as well.
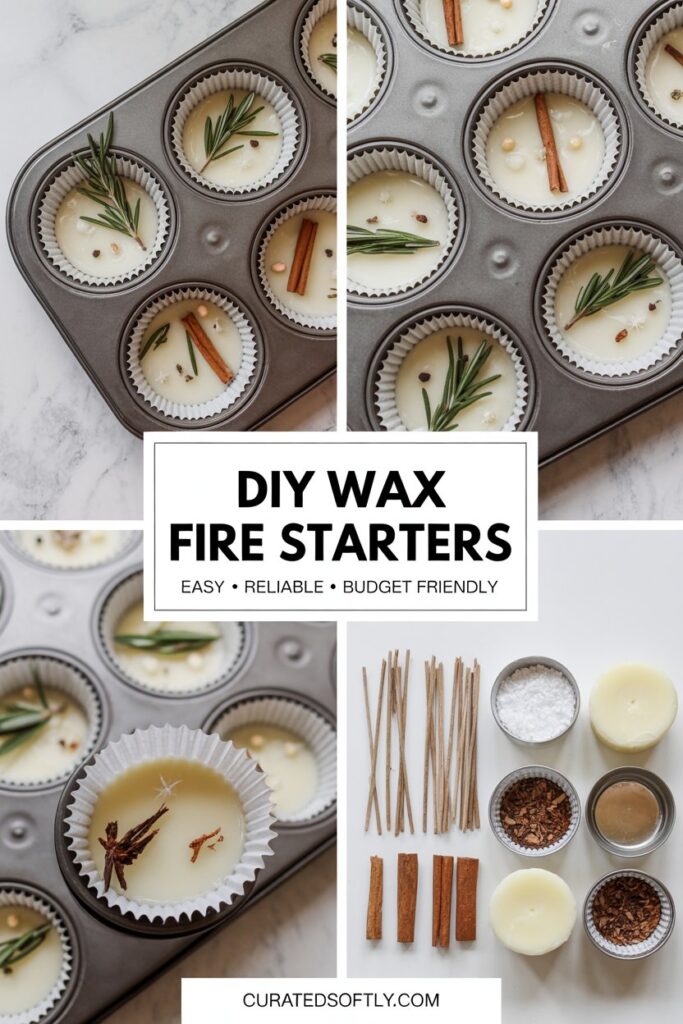
2. Add the scented decorations
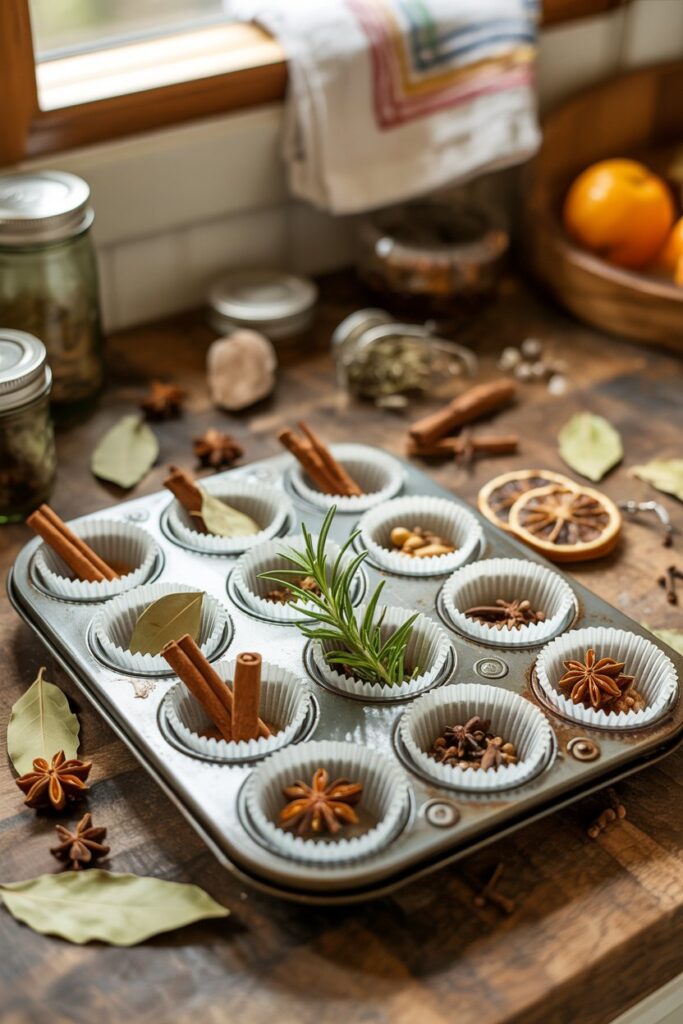
This is my favorite part because it is where everything starts to look beautiful. In each cupcake liner, add a small mix of your natural ingredients.
You can include:
- One or two small pieces of cinnamon stick for warmth and a soft crackle
- A small sprig of rosemary for a fresh outdoor scent
- Four to six whole cloves for a gentle spicy fragrance
- Optional extras like a bay leaf, tiny pine cone, dried orange slice, or star anise
Try to arrange them so a few pieces stick out slightly at the top. This makes each fire starter look rustic and decorative, and it helps release the natural scent when burning.
Be careful not to overfill the liners. Leave enough space for the wax to hold everything together. I learned this the hard way when I added too many decorations and they floated to the surface once I poured the wax.
3. Add the wick
Cut your wick to about 2 to 3 inches long and place one in the center of each liner. It should stand upright in the middle.
You can lean the wick gently against a cinnamon stick to help hold it in place. Another easy trick is to lay a chopstick across the top of the liner and tape the wick to it until the wax hardens.
The wick makes lighting your fire starter quick and easy. If you do not have wicks, you can still make these. You will just light the edge of the wax directly when you are ready to use one.
4. Melt the wax safely
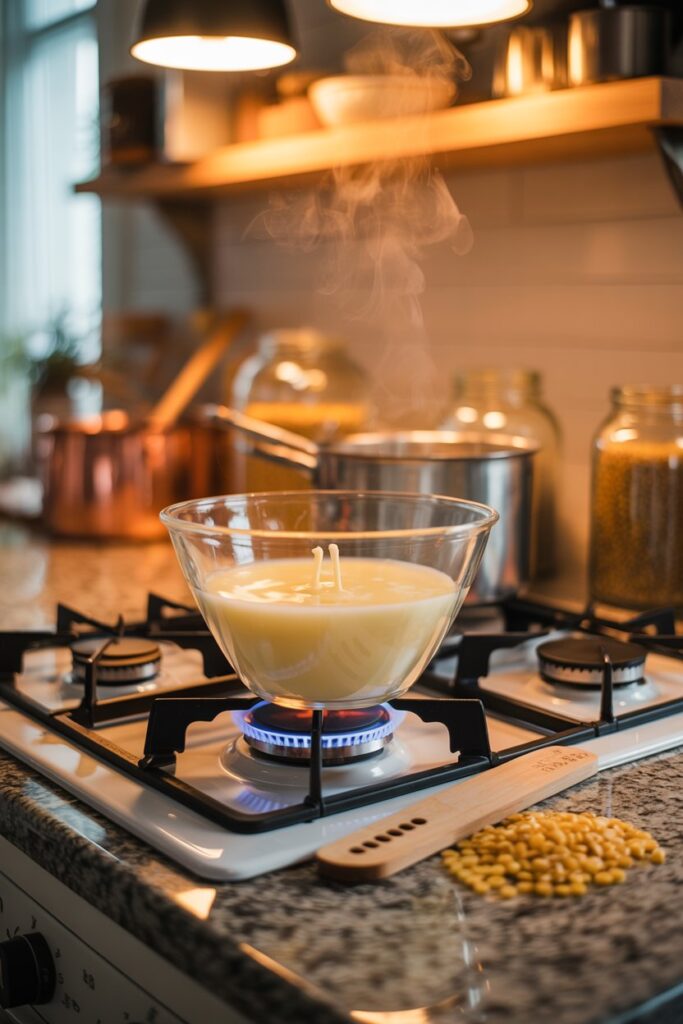
Fill a larger pot with about one to two inches of water. Place your wax into a smaller heat safe bowl or old pot, then set that inside the larger pot. This creates a simple double boiler and prevents the wax from overheating.
Turn the heat to low and allow the wax to melt slowly. Stir occasionally until it becomes completely liquid and clear. This usually takes around 10 to 15 minutes.
If you want extra fragrance, add a few drops of essential oil once the wax has fully melted and stir gently.
Always stay nearby while the wax melts. Wax can overheat if left unattended, so it is important to keep the temperature low and steady.
5. Pour the wax
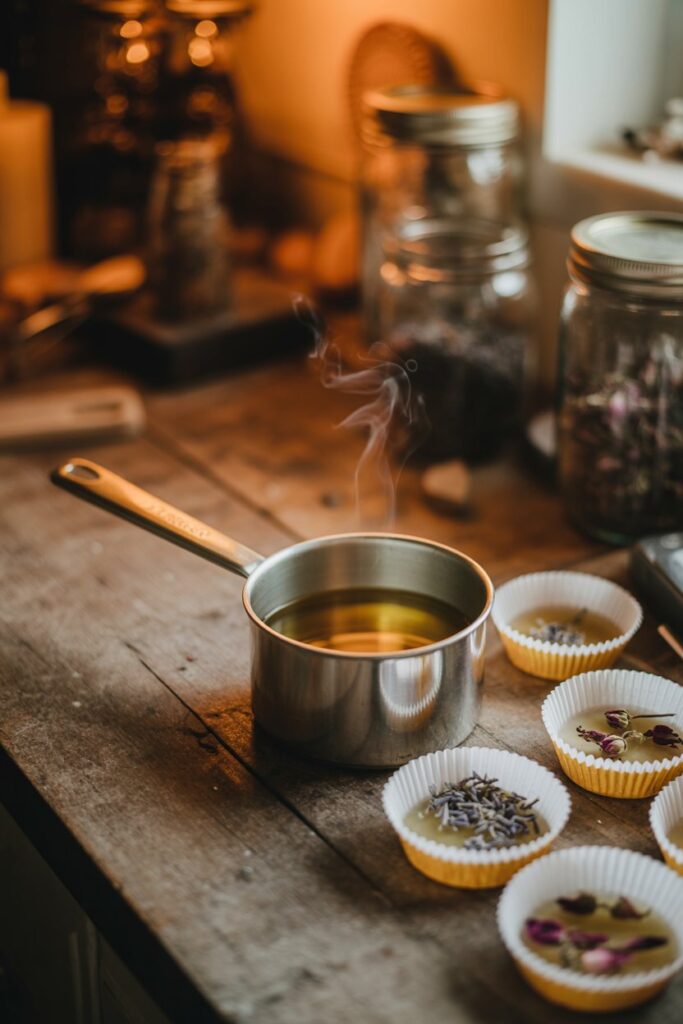
Carefully pour the melted wax into each cupcake liner. Fill until most of the herbs and decorations are covered but leave a few visible at the top for a decorative look.
If any pieces start to float, gently press them down with a wooden stick while the wax is still soft. If everything keeps floating, try pouring a thin base layer of wax first, letting it set slightly, and then pouring the remaining wax on top.
Once all liners are filled, gently tap the muffin pan on the counter to release any air bubbles.
6. Let them cool and harden
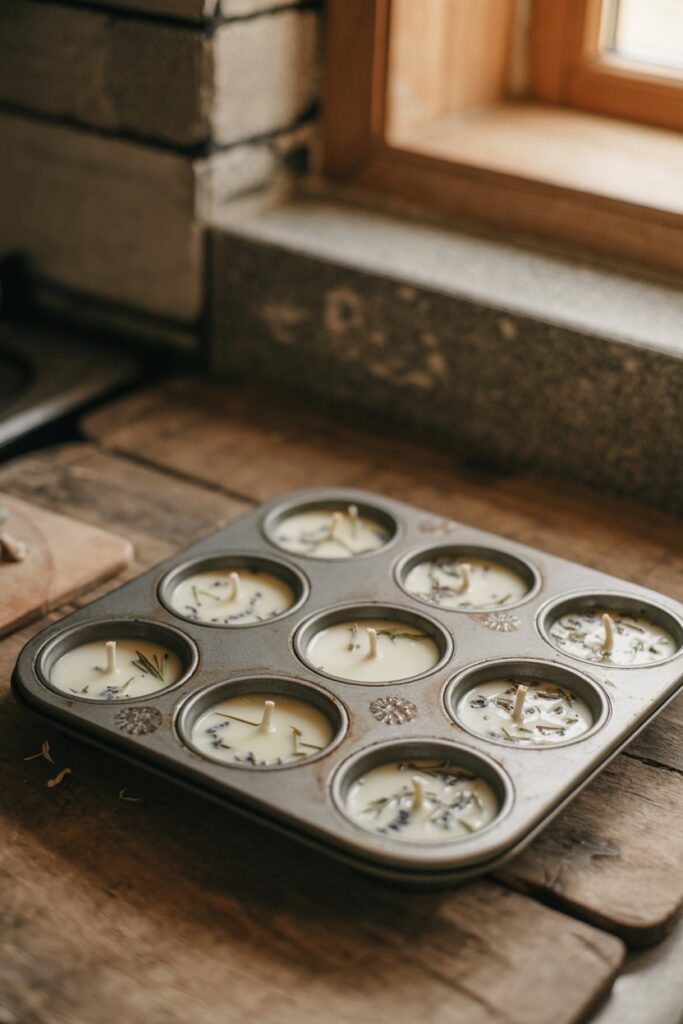
Place the pan in a cool, safe area where it will not be disturbed. Let the fire starters sit at room temperature for about one to two hours until fully solid.
You will notice the wax changing from clear to a creamy white or pale yellow as it hardens.
If you are in a hurry, you can place the pan in the fridge for about 30 to 45 minutes. Just remove them before they become too cold, as extremely cold wax can crack.
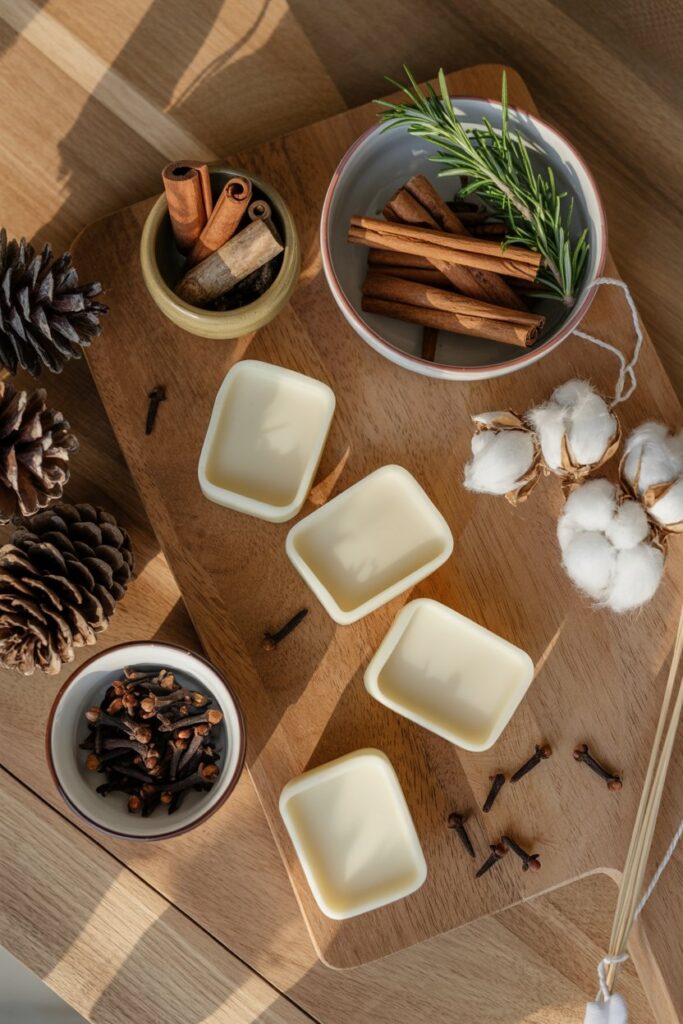
7. Remove and finish
Once fully set, gently push from the bottom of each liner to remove the fire starters. You can leave the paper liners on for a rustic look or peel them off if you prefer a cleaner finish.
Trim the wick if it looks too long, and your fire starters are ready to store or use.
Expert Tips
Use simple fillers for better burning
Add cotton pads, dryer lint, or sawdust inside each cup so they light quickly and catch fire easily. These help the flame spread and stay steady long enough to light bigger wood.
Do not overfill the cups
Too many herbs and decorations will float and stop the wax from holding everything together. Keep it simple so the fire starter burns evenly and looks neat.
Pour wax slowly
Pour a small layer first, wait a minute, then pour the rest. This keeps herbs from floating and gives your fire starters a smooth finish.
Keep the wick centered
Make sure the wick stands upright in the middle before the wax hardens. A centered wick helps it light faster and burn evenly.
Let them cool naturally
Let your fire starters cool at room temperature for the best result. Cooling too fast in the fridge can cause cracks.
Troubleshooting

If decorations float to the top
Pour a thin wax layer first, let it set slightly, then pour the rest. You can gently push herbs down while the wax is still soft.
If they are hard to light
Add more cotton, paper, or lint inside next time. Always light the wick directly and give it a few seconds to catch.
If burn time feels short
Use a little more wax or add pine cones or wood shavings inside. A good fire starter should burn around 15 to 25 minutes.
If wax cracks after cooling
This happens when wax cools too quickly. Let them cool slowly at room temperature. Cracks will not affect how they work.
If wax sticks to the pan
Place the pan in the fridge for about 10 minutes. The wax will shrink slightly and pop out easily.
How to Store Your Fire Starters
Proper storage helps them stay fresh, dry, and ready whenever you need them.
Place your finished fire starters in a jar with a tight lid, a sealed food container, or a sturdy zip bag. This keeps dust and moisture out while preserving the natural scent.
Store them in a cool, dry place such as a pantry, cupboard, or shelf. Avoid placing them near windows, heaters, stoves, or inside a hot car because heat can soften the wax.
If your home gets very warm, choose the coolest room or storage area you have. When stacking them, place a small piece of paper between layers so they do not stick together.
When stored properly, these fire starters can last a year or even longer without any issues. I like keeping a batch ready all year so I always have them on hand whenever we want a cozy fire.
Final Thoughts
Learning how to make wax fire starters was one of those simple skills that made a big difference in my everyday life.
What started as a small experiment turned into something I now rely on all the time. I love knowing that whenever I want a cozy fire, I can light one quickly without stress.
And honestly, making them feels calming. There is something satisfying about melting wax, arranging herbs, and creating something useful with your hands.
Once you try making your own, I think you will feel the same way.
Make a batch this weekend and keep them ready. You will always have an easy, reliable way to start a warm, comforting fire whenever you need one.