When I first started working with air-dry clay, I was so excited to make cute little dishes and mini vases. I imagined them sitting on my desk, perfect and polished.
But after hours of shaping and smoothing, I made one simple mistake: I forgot to seal my creations. Within days, some cracked, others absorbed moisture, and a few even started to soften. I felt frustrated, thinking all my effort was wasted.
Air-dry clay is one of the most beginner-friendly and accessible materials for creative projects. You don’t need an oven, fancy tools, or special equipment — just a little time, imagination, and a few basic supplies. But sealing your clay is a step you can’t skip.
Sealing doesn’t just protect your piece from cracks, moisture, or damage; it transforms your handmade project into something durable, polished, and professional-looking.
It’s the difference between a fragile, temporary craft and a piece you’ll be proud to display or gift.
Why Sealing Is So Important
Air dry clay remains porous even after it hardens. This means it can soak up moisture from the air or from spills, which weakens the structure. A sealer acts as a barrier, shielding the surface from humidity and water damage.
It also helps preserve the paint and colors on decorative pieces so they don’t fade or flake away.
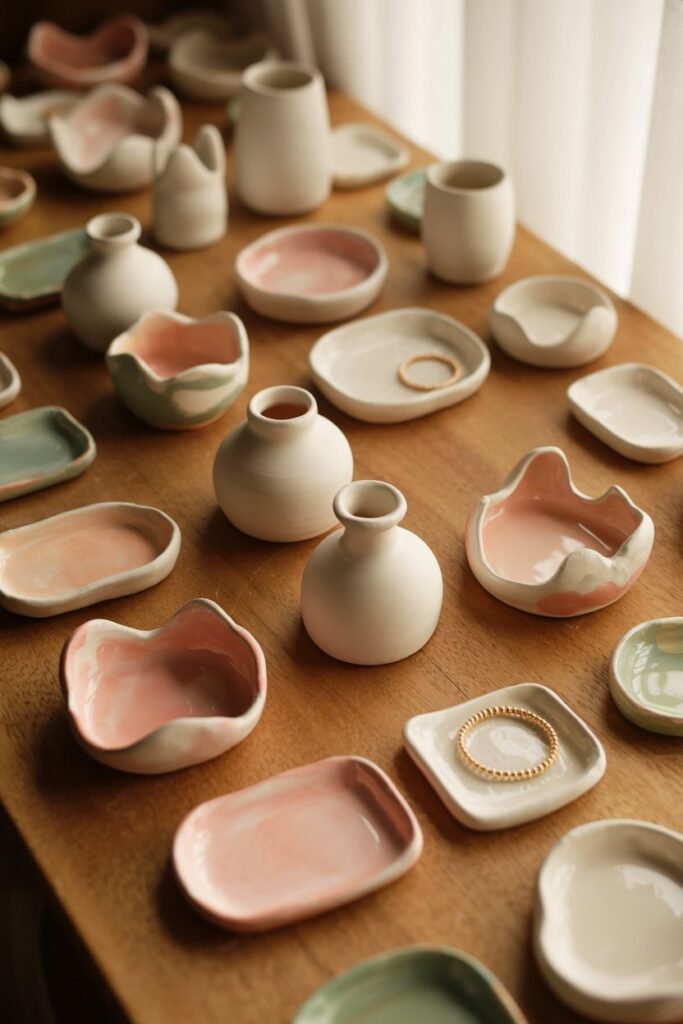
Whether you’re making small jewelry dishes, trinket trays, ornaments, or sculptural pieces, sealing ensures that your work stands the test of time. It’s the difference between a temporary craft and a keepsake you can display proudly.
Also Check out – DIY Clay Diffuser Stones and How to Make Air Dry Clay Waterproof
Get My Beginner’s Guide to Making & Selling Your Clay
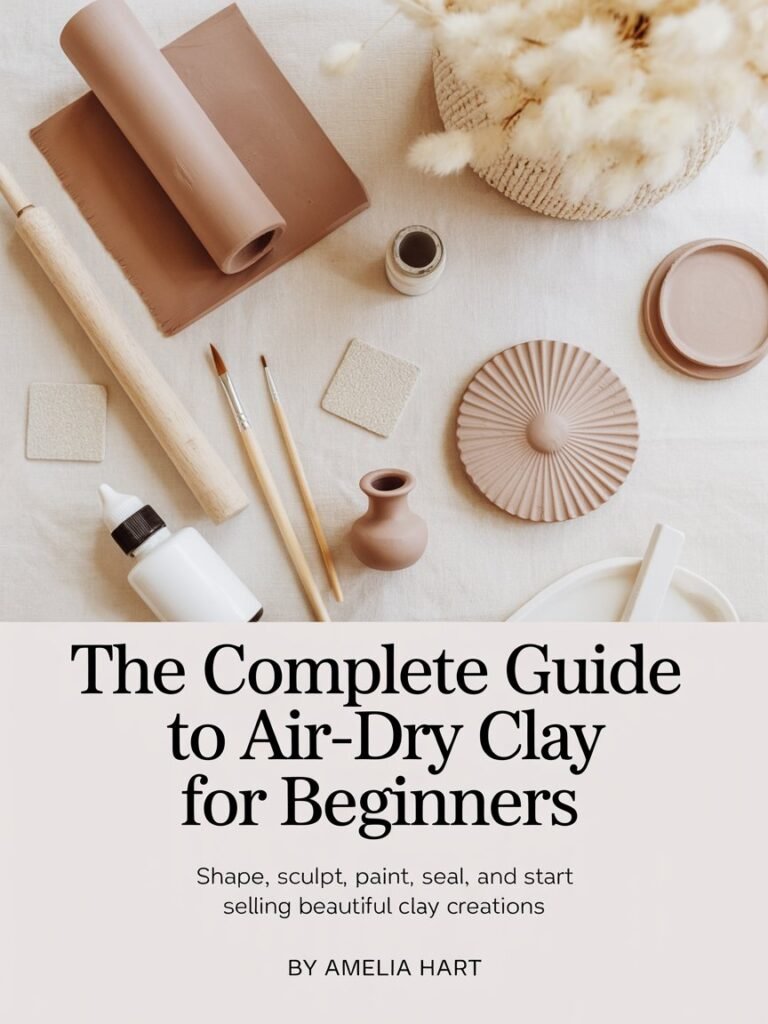
Create Beautiful Clay Pieces Even If You’re a Beginner
Create smooth, beautiful clay pieces even as a complete beginner.
With 50+ projects you can start making today, you’ll learn how to craft stunning pieces and turn them into real income.
Simple step-by-step instructions, no wasted supplies, and results you’ll be proud to show off.
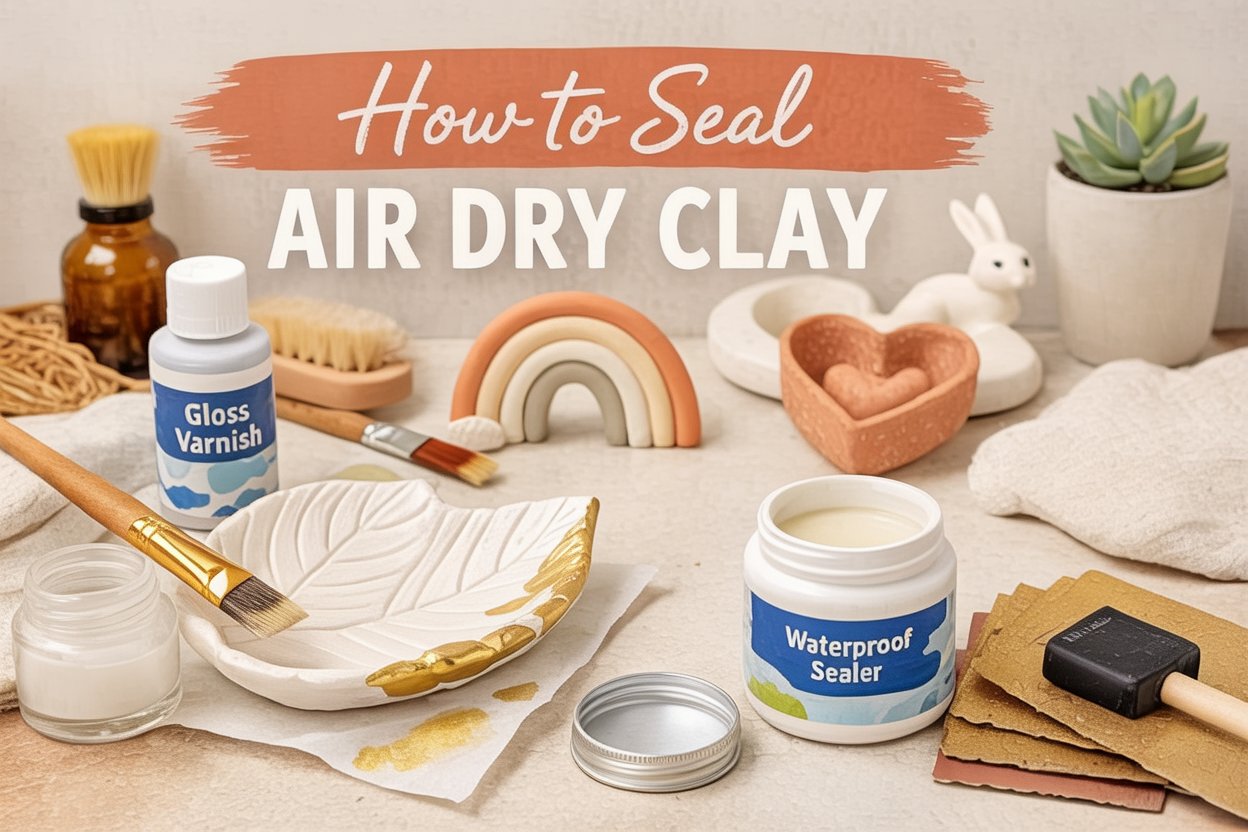
Supplies You Will Need
These are the basic materials you’ll need to prep, paint, and seal air dry clay. Everything listed is affordable and easy to find on Amazon:
- Air Dry Clay
- Fine Grit Sandpaper
- Soft Paintbrushes
- Acrylic Paints (if you plan to decorate your clay before sealing)
- Mod Podge, polycrylic, or clear acrylic spray sealer
- Disposable Gloves (helpful when using spray sealers or resin)
- Parchment Paper
Preparing the Clay for Sealing
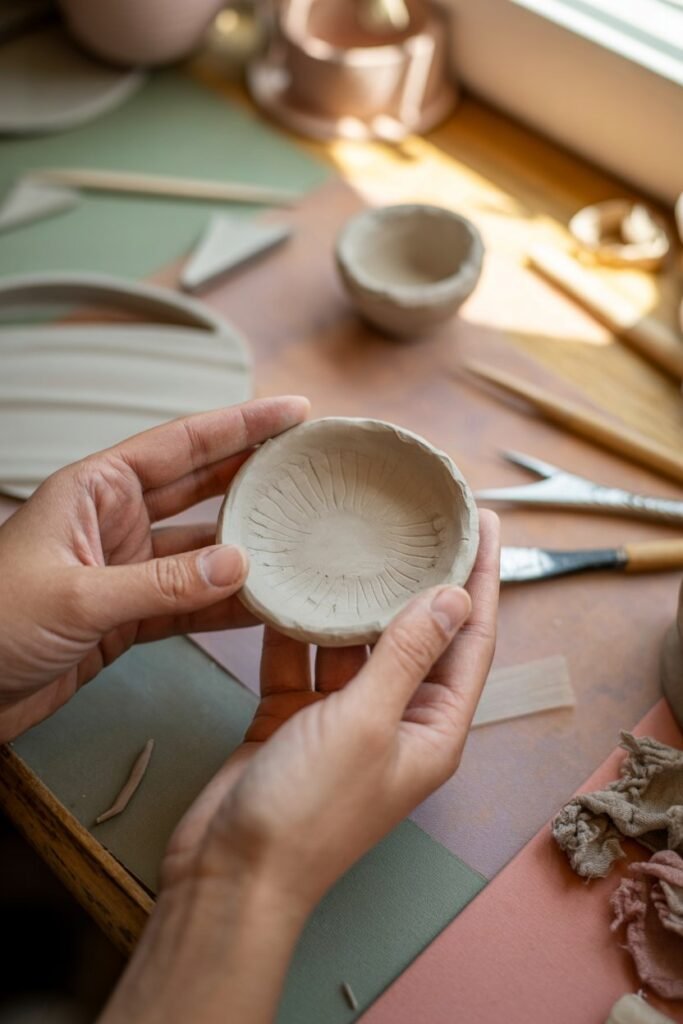
Before applying any kind of finish, it’s crucial that your clay is completely dry. Depending on the thickness of your project, drying can take anywhere from one to three days.
Rushing the process with heat or sunlight may cause cracks, so let it dry naturally in a well-ventilated space. Once it feels room temperature and firm to the touch, it’s ready to be refined.
Sanding is the next key step. A fine-grit sandpaper — around 400 to 600 grit — works best for gently smoothing edges and surfaces.
Sanding removes imperfections like fingerprints and rough patches, leaving the clay silky and ready for paint or sealant. Wipe away all the dust afterward so your sealer goes on cleanly and evenly.
Adding Color Before Sealing
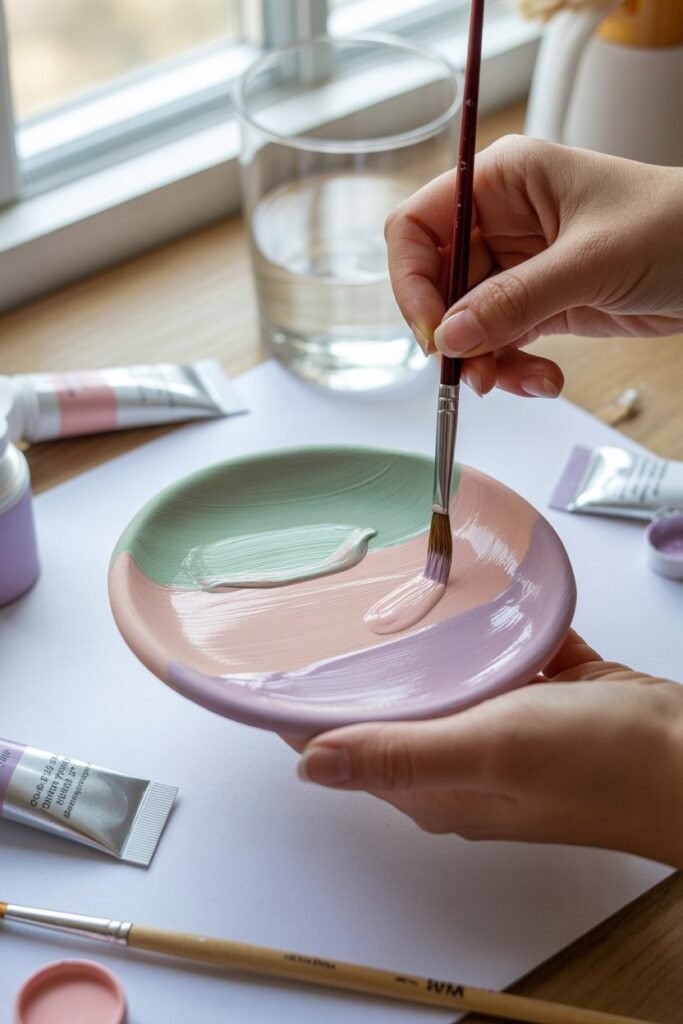
If you plan to decorate your clay, it’s best to paint before sealing. Acrylic paints are the top choice because they’re water-based, easy to layer, and dry quickly.
Thin coats produce smoother results than heavy layers, and each coat should dry fully before adding another.
This step adds personality and color to your project — and once you seal over it, that color will stay vibrant and protected.
Choosing the Right Sealer
There’s no one-size-fits-all solution when it comes to sealers, because different projects call for different finishes. Mod Podge, for instance, is one of the most accessible options for beginners.
It’s available in gloss, matte, and even outdoor formulas, allowing you to pick a finish that suits your design. Gloss versions give a shiny, glass-like look, while matte finishes create a more natural appearance.
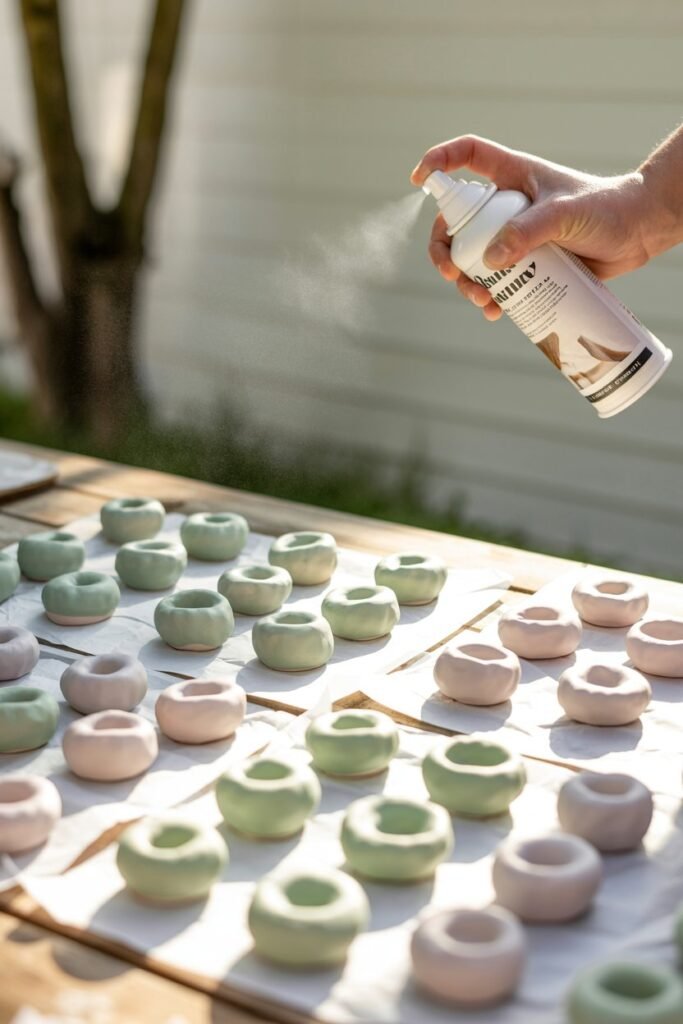
For an even smoother, brush-free surface, clear acrylic spray sealers are another excellent option.
They’re quick to apply and ideal for sealing multiple items at once. Simply spray in light, even coats in a well-ventilated area, allowing each coat to dry before adding another.
If you’re creating pieces that will be handled often, such as small dishes or decorative trays, a polycrylic protective finish adds a durable layer of protection. It provides a beautiful shine and stands up well to everyday wear.
For pieces that need to be completely waterproof, like coasters or plant pots, epoxy resin is the strongest option. It forms a hard, glossy shell that not only protects from moisture but also gives a professional, glass-like effect.
Recommended Sealers from Amazon
Here are a few reliable, beginner-friendly sealers that work well with air dry clay:
- Mod Podge Gloss or Matte
Easy to apply and perfect for most decorative pieces. - Mod Podge Outdoor
Best for items exposed to humidity or moisture. - Krylon Clear Acrylic Spray
Streak-free spray finish available in gloss, satin, or matte. - Minwax Polycrylic
A durable, water-based sealer with a clear, professional look. - ArtResin Epoxy Kit
Creates a glossy, waterproof coating for coasters and small decor.
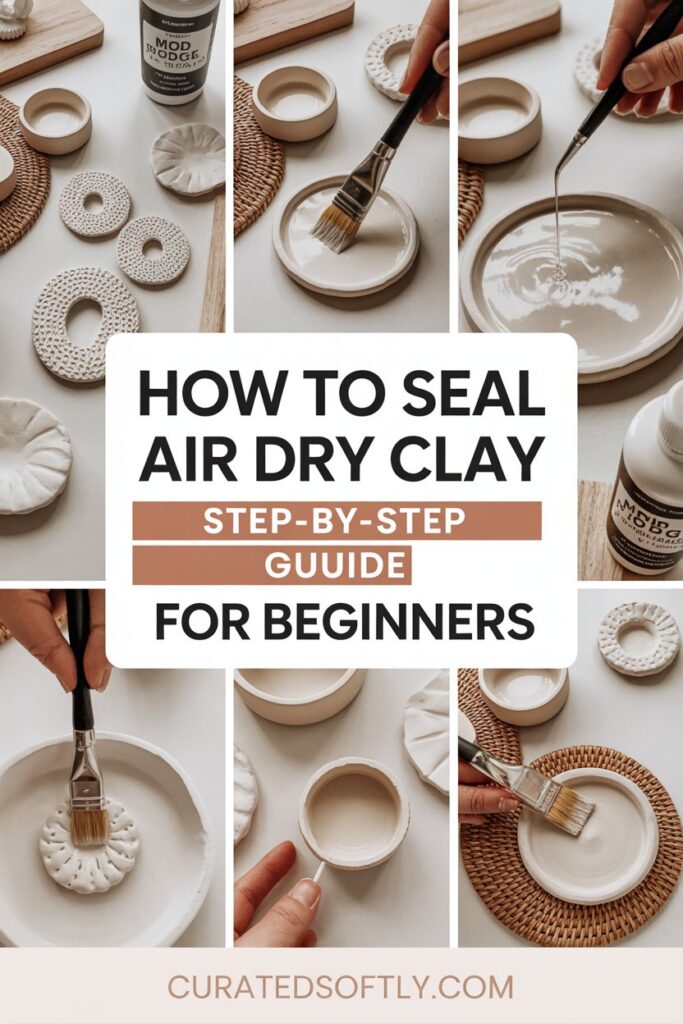
How to Apply the Sealer
The technique you use depends on the product. With brush-on sealers like Mod Podge or polycrylic, always apply thin, even layers.
Start with a soft paintbrush or foam brush and spread the sealer gently across the surface. Avoid overworking the brush — a light touch gives a cleaner finish.
Let the first coat dry completely before applying the next, usually after about 20 minutes for Mod Podge and two hours for polycrylic. Two or three coats typically offer full protection.
Spray sealers require a bit of patience and distance. Hold the can around eight to ten inches away from your piece, moving it evenly across the surface in sweeping motions. Apply light coats rather than heavy ones to prevent pooling or drips.
Allow each coat to dry before adding the next, and let the finished piece cure for at least 24 hours before handling.
If you choose to use epoxy resin, it’s best reserved for smaller, flat projects like coasters or jewelry trays. Mix the resin according to package instructions, pour it slowly over the surface, and spread it evenly with a popsicle stick or gloved finger.
The resin will self-level and harden into a flawless, glossy layer. It takes about 24 hours to fully cure, but the result is completely waterproof and stunningly smooth.
Finishing Touches
After sealing, leave your clay undisturbed while it cures. This ensures the finish sets properly and doesn’t attract dust or fingerprints.
Once fully dry, your air dry clay project should feel solid, smooth, and slightly glossy (depending on the product you used). If you notice any uneven spots, you can lightly sand them and add one final thin coat for perfection.
Taking the time to seal your air dry clay correctly makes an enormous difference. Not only does it protect your creations from the elements, but it also enhances their beauty.
Whether you prefer a matte, natural texture or a glassy high-shine finish, sealing turns a simple clay project into something that feels refined and lasting.
Each of these sealers has its strengths, so consider the type of project and finish you want before choosing. For most indoor crafts, Mod Podge or acrylic spray sealer will do the job perfectly, while polycrylic and resin offer long-term protection for more advanced projects.
Final Thoughts
Sealing air dry clay isn’t complicated — it just requires patience and the right materials. Think of it as the final step that elevates your craft from beginner to polished artisan quality.
Once you’ve mastered it, you can confidently create everything from hand-painted ornaments to decorative bowls and jewelry dishes that stand the test of time.
Keep a few essentials — air dry clay, Mod Podge, acrylic spray sealer, fine-grit sandpaper, and soft brushes — in your craft box. With these tools ready, you can bring any creative idea to life and enjoy clay pieces that look beautiful and last for years.