
If you’re a cat parent, you already know how this goes. Our feline friends love sleeping in the most unexpected places and acting like absolute royalty while doing it.
I’ve lost count of how many times I’ve found a cat curled up in a shoebox instead of the cozy bed I carefully picked out for them.
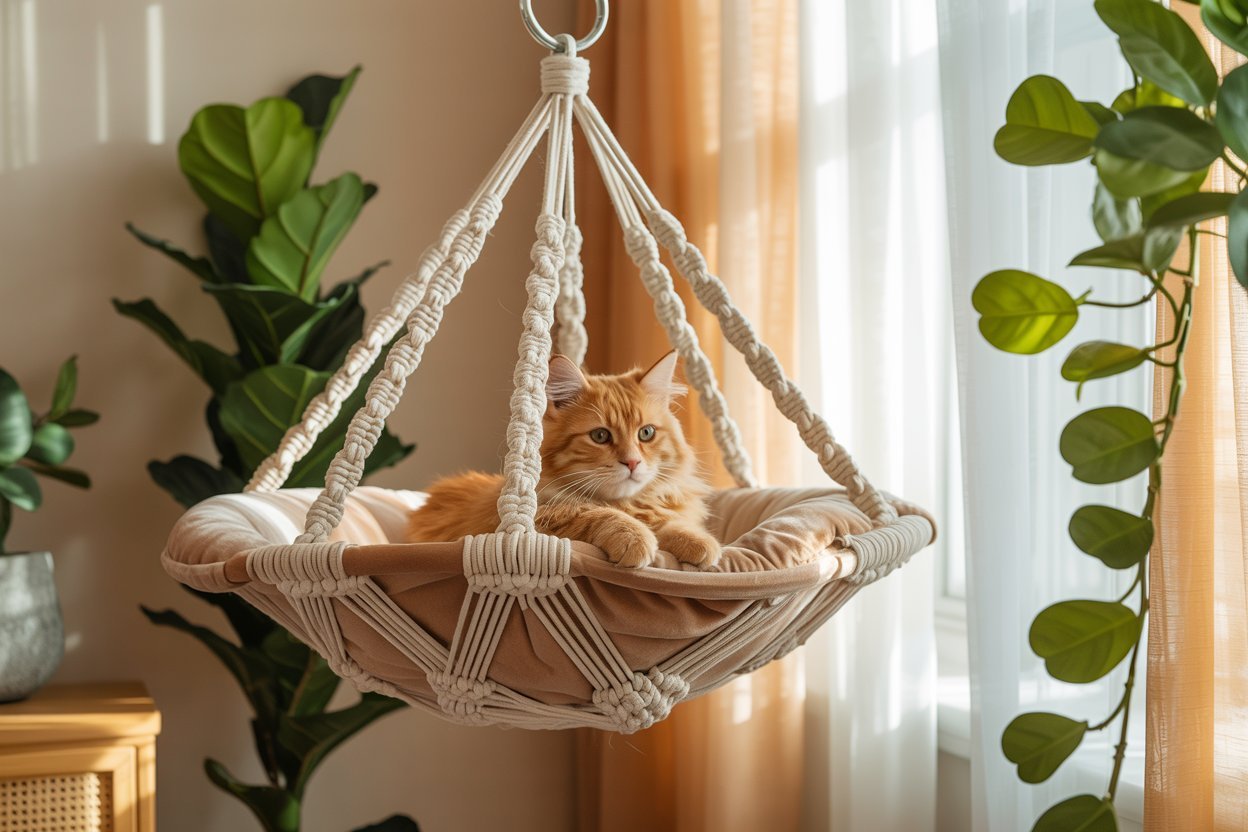
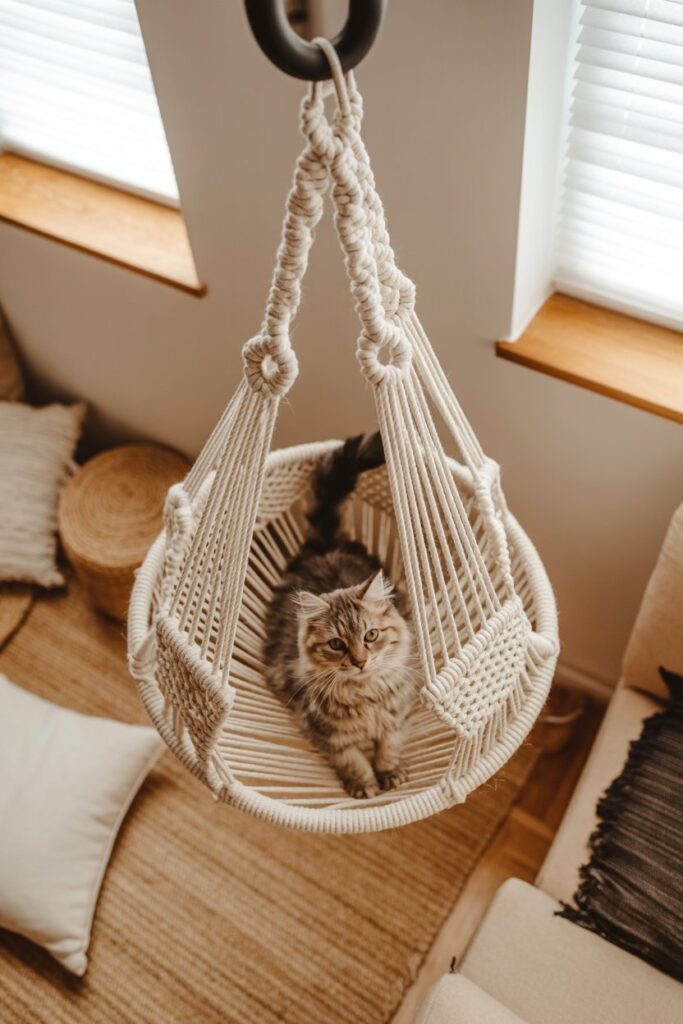
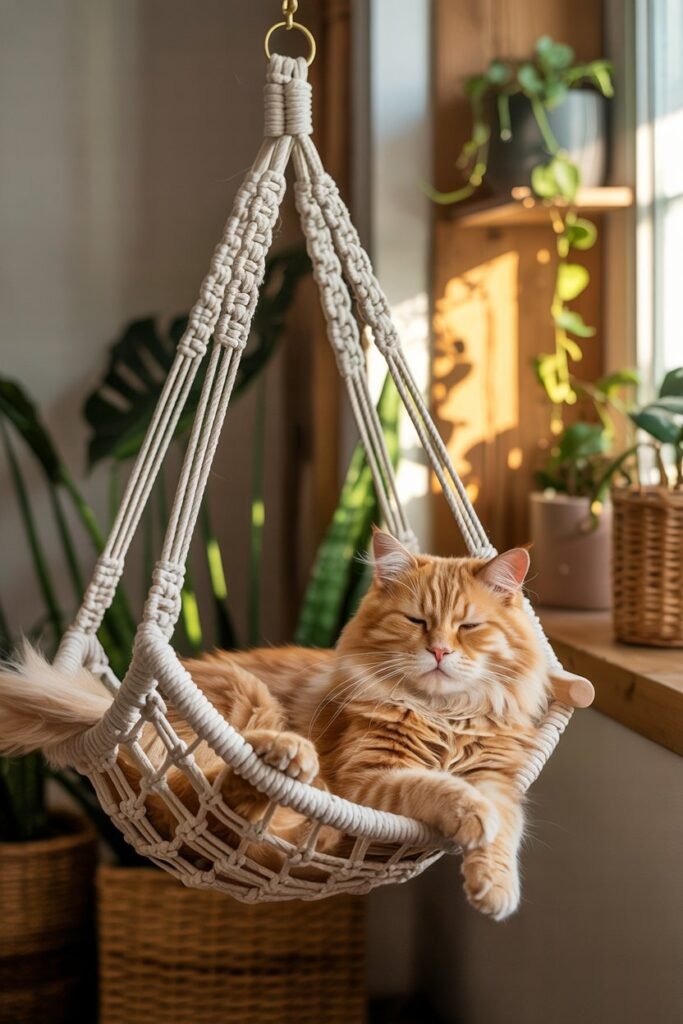
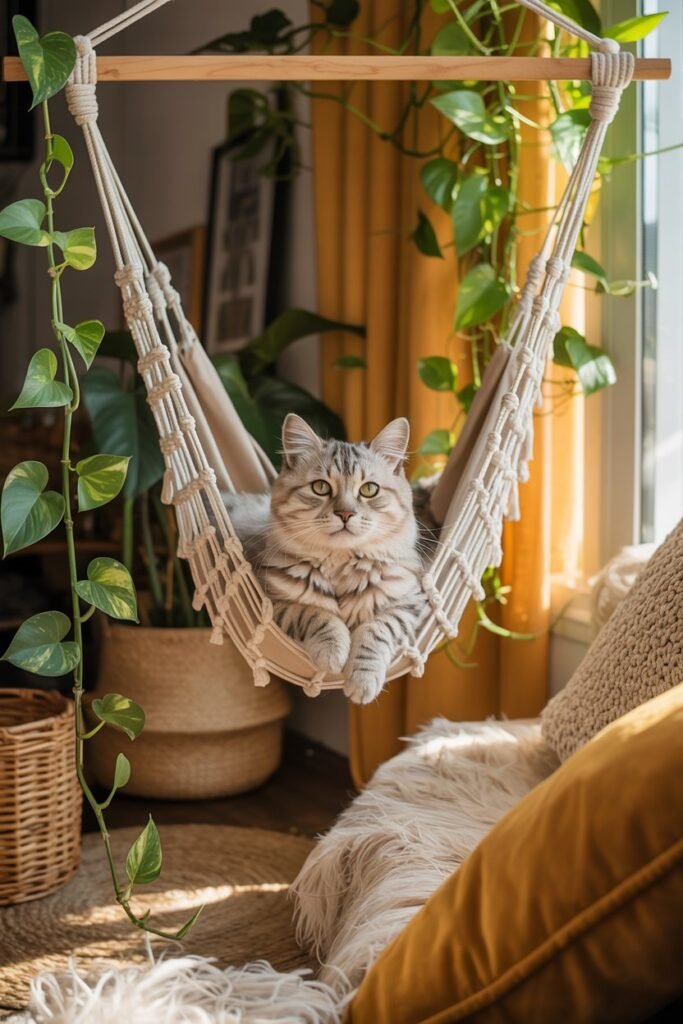
That’s exactly why I love the idea of a macrame cat hammock. It gives your cat a cozy little throne where they can nap, lounge, and quietly judge you from above.
At the same time, it saves floor space and adds a soft, boho-inspired touch to your home. It’s functional, stylish, and surprisingly simple to make.
The best part is you don’t need to spend a fortune to create one. With a few basic supplies and a free pattern, you can make a hammock your cat will actually use.
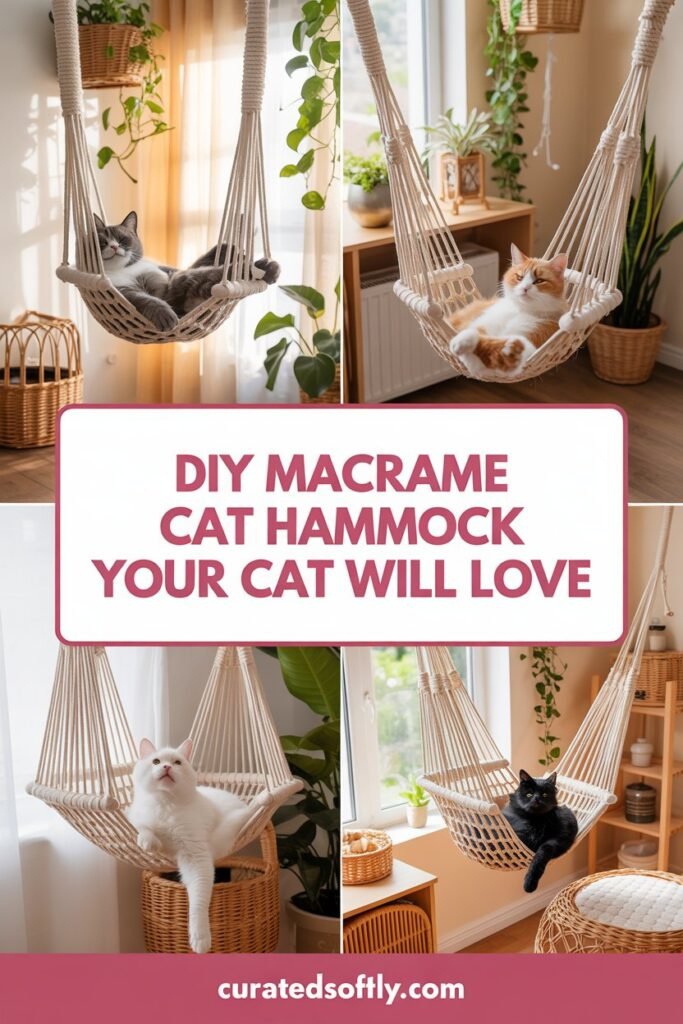
Below are six free macrame cat hammock patterns that are beginner-friendly, affordable, and undeniably adorable.
Supplies You’ll Need
Before you start, gather everything to make the process smooth and enjoyable.
I like to lay out all my materials so I can see exactly what I’m working with—it makes the knotting feel calm and organized.
- 5mm cotton macrame cord – strong, natural, and safe for pets
- Wooden dowel or sturdy metal ring – this will support the hammock from above
- Ceiling hook – make sure it can hold your cat’s weight securely
- Small pet cushion , or soft fleece – for a comfy base your kitty will love
- Measuring tape and scissors – to cut cord to equal lengths
- Optional: a comb or brush to gently fluff the knots and make the hammock look neat
Having these ready before you start makes the project flow effortlessly and ensures your hammock will be both sturdy and cozy for your cat.
How to Make Your Macrame Cat Hammock
Creating a macrame cat hammock is a fun and rewarding project, and I love how it combines practical function with a stylish boho touch for your home.
Take your time with each step, enjoy the knotting process, and imagine your cat exploring their new little throne.
Prepare the cords

Cut your macrame cords to equal lengths, giving yourself a few extra inches than you think you will need.
I usually measure twice to avoid any surprises later.
Having slightly longer cords is helpful, especially when you are forming the knots at the base or trimming the ends for a neat finish.
Count your strands carefully to ensure the hammock will be balanced and strong enough to support your cat comfortably.
Attach cords to the dowel or ring
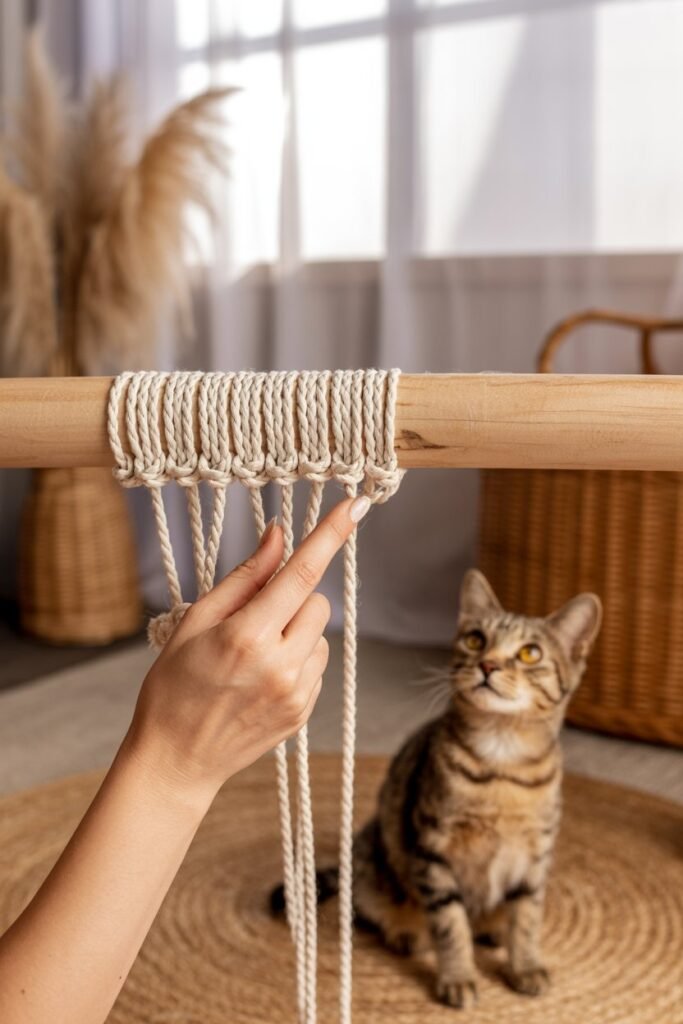
Using lark’s head knots, attach each cord evenly around your wooden dowel or metal ring.
This step sets the foundation for your hammock, so take your time to make each knot tight and secure.
Spread the cords evenly to avoid any leaning when the hammock is hung.
I like to gently tug each cord after knotting to make sure nothing slips, giving me confidence it will hold up once my cat climbs in.
Knot the sides
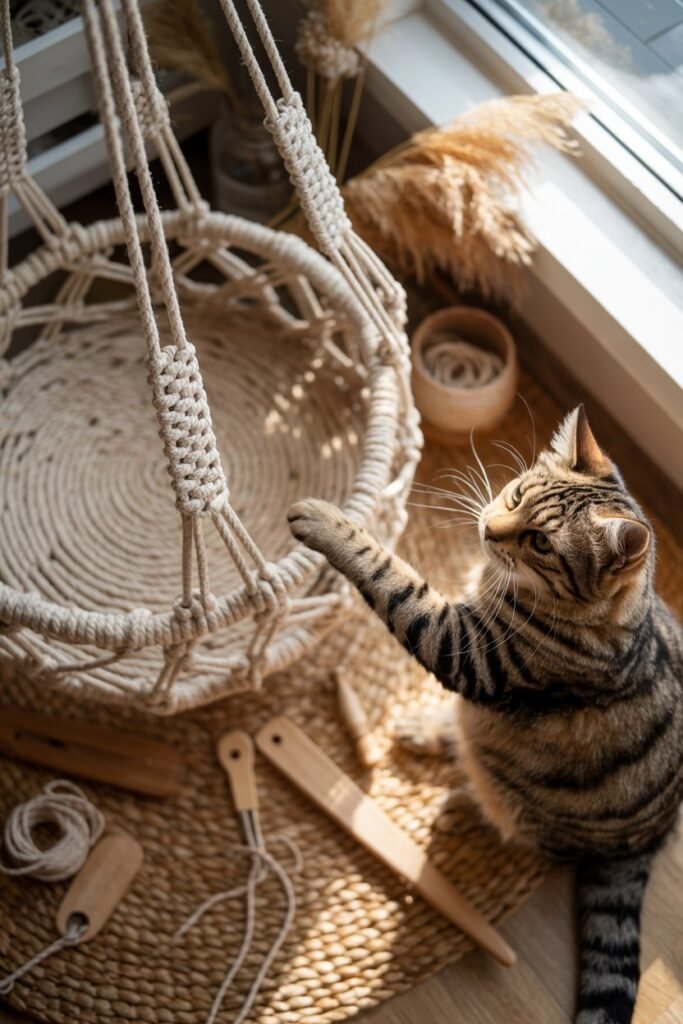
Now for the fun part, forming the basket. Work downward with simple square knots or spiral knots, keeping spacing consistent.
Pause occasionally to check the width of the hammock.
You want the sides wide enough for your cushion to fit snugly but not so loose that it sags or the cushion slips through.
I often test it with a pillow or small blanket before finishing to make sure the shape will feel comfortable for my cat.
Secure the base
Once your basket reaches the desired depth, gather all cords neatly at the bottom and tie a strong, secure knot.
You can leave a fringe for a boho look or trim the ends neatly for a polished finish.
This bottom knot is crucial for stability, so I usually double-knot it and gently pull each cord to ensure everything is tight.
Mount the hammock
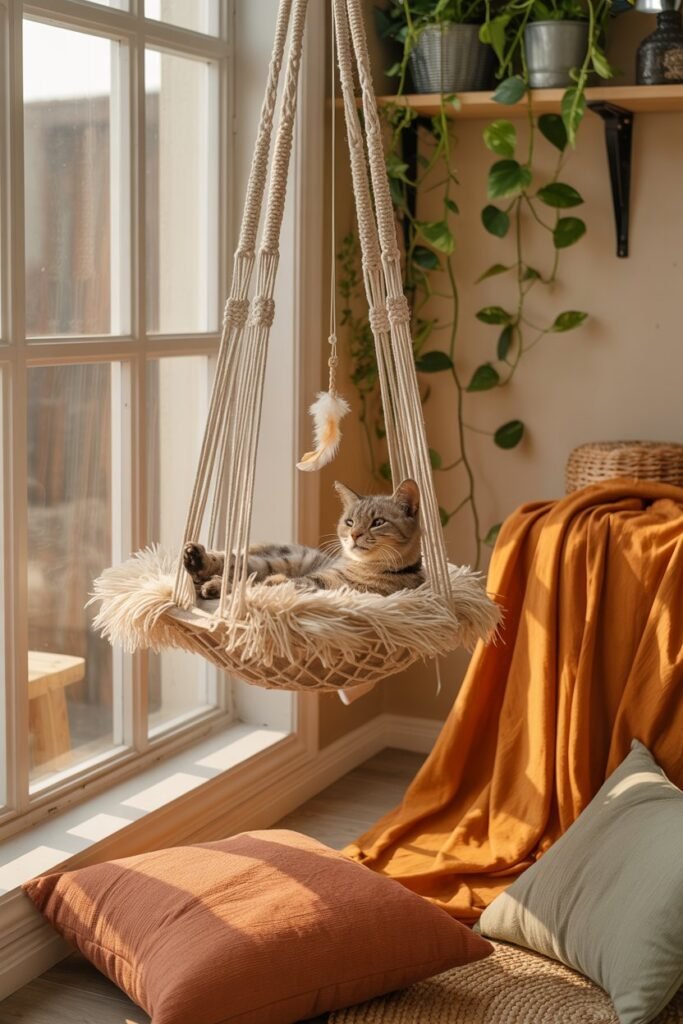
Choose a location your cat will love, near a sunny window, a favorite nap spot, or a cozy corner.
Install your ceiling hook, curtain rod bracket, or wall anchor, making sure it is secure enough to handle your cat’s weight.
Before placing your cat inside, gently press down to check for stability. Feeling confident it is safe is one of the most satisfying parts of the process.
Add the cushion
Place a small pet cushion, folded blanket, or soft fleece inside the hammock. I like to fluff the cushion so it fits snugly and feels inviting.
Step back and let your cat explore it at their own pace. Usually, curiosity wins, and they quickly make it their new favorite spot.
Tips for Success and Styling
Placement is key. I like to hang the hammock near a sunny window, quiet corner, or a spot my cat already loves.
Cats are creatures of habit, so this makes them more likely to use it right away.
Safety comes first. Make sure hooks, brackets, or ceiling mounts are heavy-duty and secure.
I always test the hammock myself to be confident it can hold my cat’s weight.
A soft cushion or folded blanket inside makes it extra cozy. Washable fabrics are a bonus for easy cleaning. A small toy or a bit of catnip can make it irresistible.
From a styling perspective, macrame adds a natural, boho vibe. I leave a slight fringe for a relaxed look or trim neatly for a modern touch.
With these little details, your hammock can be both a favorite cat spot and a stylish accent in your home.
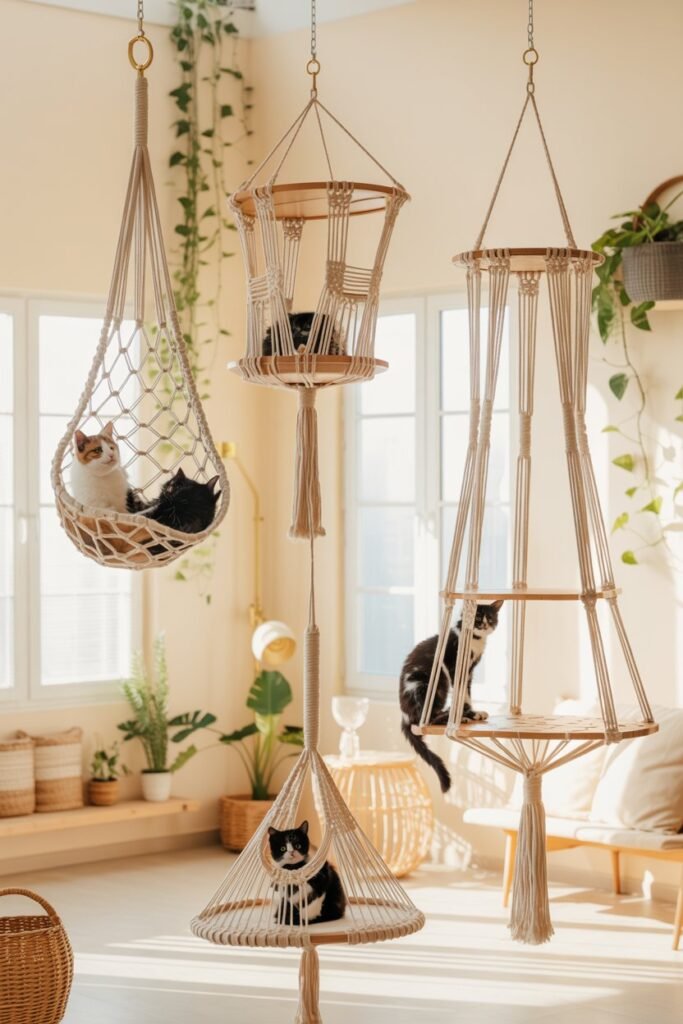
Variations to Try
Once you’ve made your first macrame cat hammock, there are so many ways to personalize it for your home and your kitty’s preferences.

You can experiment with different shapes, like a square or triangular basket, instead of the classic round or oval. Some cats prefer a snug, cocoon-like feel, while others enjoy a wider perch to stretch out.
Try different cord colors or textures. Natural cotton gives a soft, boho vibe, but bright colors or patterned cords can add a playful touch that matches your décor.
Adding a removable cushion or blanket lets you switch fabrics based on the season or your cat’s comfort. I love using soft fleece in winter and a lighter cotton in summer to keep it cozy year-round.
For adventurous cats, consider double-level hammocks or linking two small hammocks together. This gives them options and adds visual interest to your space.
With a few simple tweaks, your DIY macrame cat hammock can be completely unique, perfectly tailored to your home and your cat’s personality.
Conclusion
Making a macrame cat hammock is a rewarding project that combines DIY creativity with a cozy gift for your furry friend.
With just a few simple supplies, some patience, and a little love, you can create a stylish, elevated spot that your cat will adore.
I’ve found that when the hammock is secure, comfortable, and placed in a spot your cat loves, they use it almost immediately.
It becomes more than just a resting place—it’s a little throne that adds personality and charm to your home.
Whether you stick with the classic design or try one of the variations, this project is a fun way to bring comfort and style to both your cat and your space.
Your kitty will thank you with naps, purrs, and maybe even a little judging from above.


How can I find the directions for these cat hammocks? I have 11 rescue kitties who would love them.
Ill leave a link to it