DIY Air Dry Clay Necklace Charms
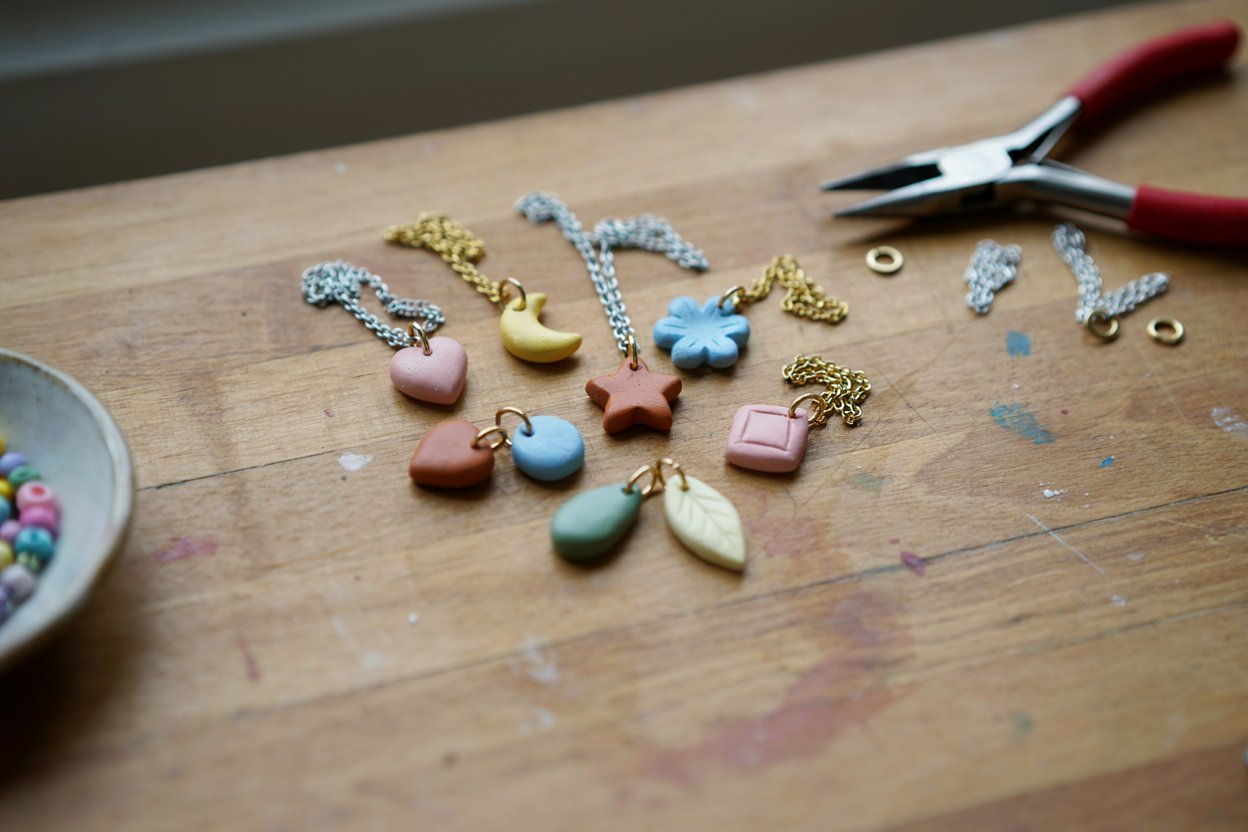
Making small charms felt like a natural next step once I’d gotten comfortable with basic shaping, since the scale keeps things forgiving while still teaching real technique.
If you’re brand new to this material entirely, it’s worth starting with my air dry clay ornaments guide first, since it covers the fundamentals this project builds on.
These have become my go-to handmade gift for the small, personal kind of jewelry that feels a lot more thoughtful than anything store-bought.

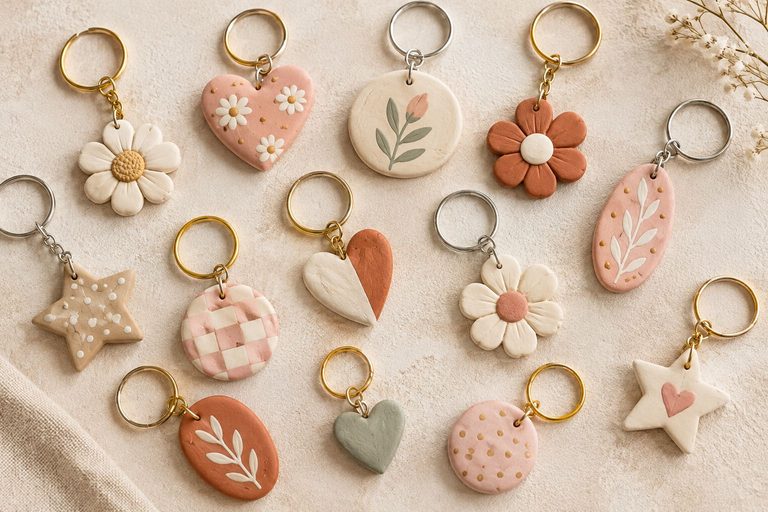
I’ve made these as simple geometric shapes, tiny initials, and small painted symbols, and they’ve all held up well once properly sealed.
The trickiest part isn’t the shaping at all, it’s making sure the hole for the jump ring is placed and sized correctly before the clay dries, since that’s the one thing you genuinely cannot fix later without real risk of cracking the piece.
A quick safety and durability note: air dry clay jewelry is more delicate than resin, glass, or metal charms, and it isn’t waterproof even once sealed.
These aren’t meant to be worn in the shower, pool, or ocean, and they should be handled gently, since a hard knock can chip or crack a piece even after it’s fully cured.
If you’re making these for a young child to wear, keep the charm size and any small attached hardware in mind, since small jewelry pieces are a choking hazard for babies and toddlers.
Why This Project Works So Well
It’s a natural next step once you know the basics. The shaping and drying process here builds directly on the fundamentals, so if you’ve made a few smaller clay pieces already, you already have most of the skills this project needs.
Each piece is genuinely one of a kind. Even shapes cut from the same cutter come out slightly different once painted, which is part of what makes these feel more special than a mass-produced charm.
It’s an inexpensive way to make meaningful gifts. A single block of clay can make a dozen or more charms, which makes this a great project for making matching pieces for a group of friends or family members.
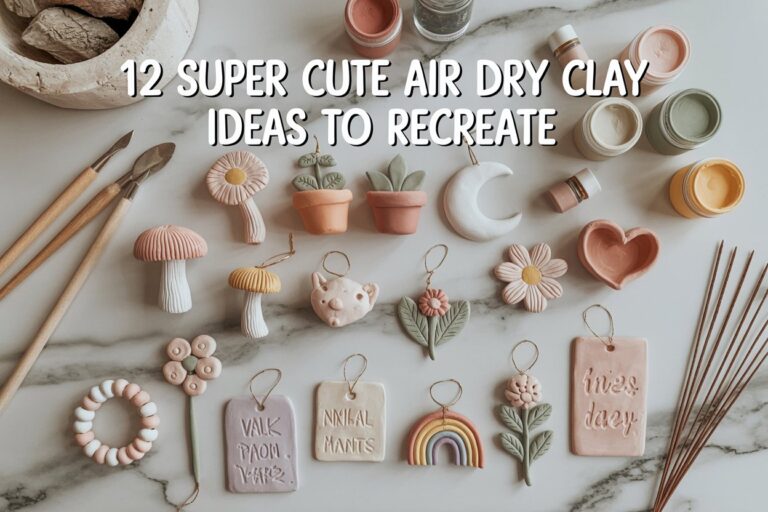
If you want to see the range of what this material can do at a similarly small scale, my roundup of 12 super cute air dry clay ideas has a lot of jumping-off points.
What Makes This Project Different From Other Small Clay Projects
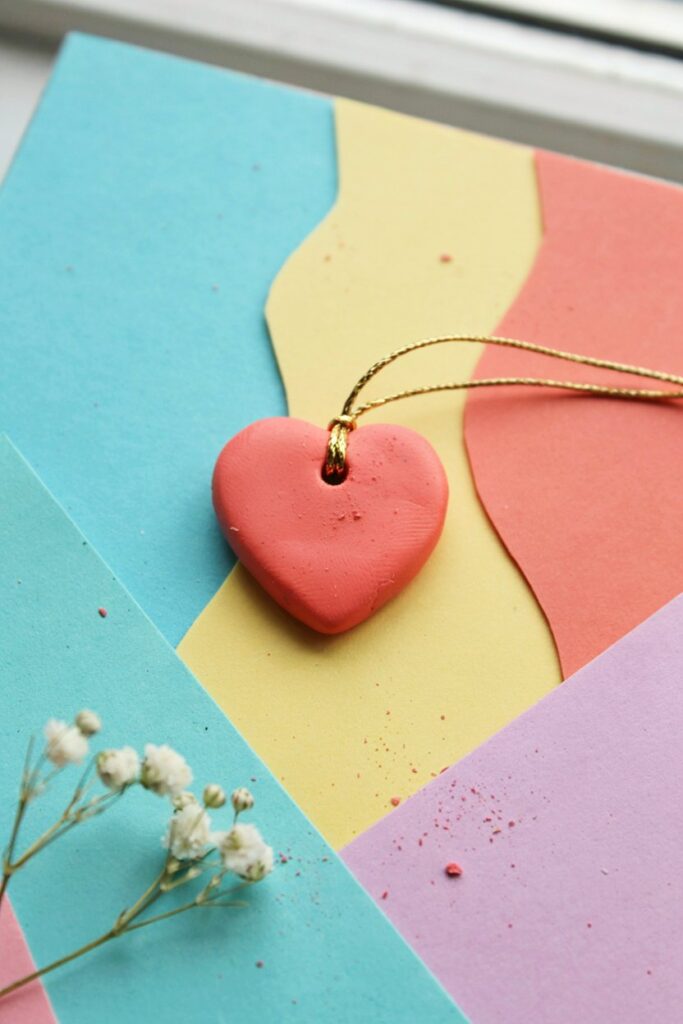
The hole placement is the single detail that separates a good necklace charm from a frustrating one.
Punch it too close to the edge, and the thin wall of clay around it is likely to crack, either during drying or the first time the charm gets bumped while being worn.
Punch it too small, and a standard jump ring won’t fit through once the clay has finished shrinking, since air dry clay does shrink somewhat as it cures.
The other real difference from a magnet or flat trinket dish is that these pieces get handled and worn regularly, not just displayed.
That means sealing thoroughly, on all sides, actually matters more here than almost any other clay project, since the surface is exposed to skin oils, occasional bumps, and far more regular contact than something sitting on a shelf.
Materials You’ll Need
- Air dry clay. White clay if you plan to paint in detail; a colored or terracotta clay if you want a more natural, unpainted look. If you’d rather make your own instead of buying it, I have a full recipe in my post on how to make air dry clay at home.
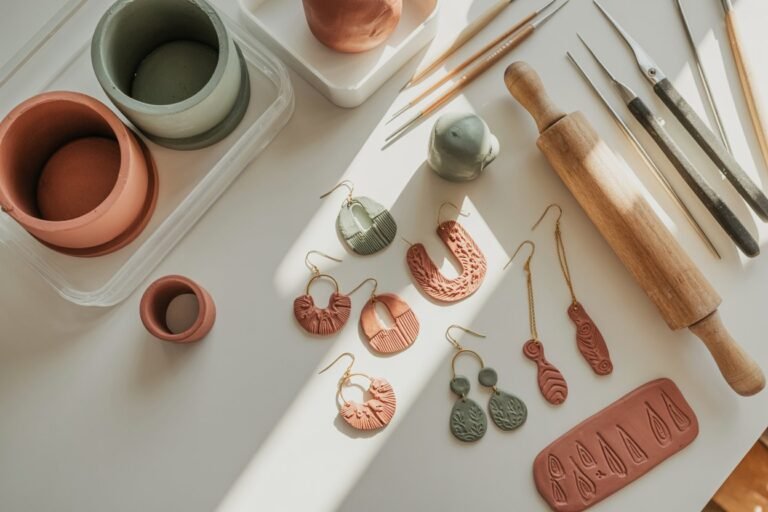
- Small cutters or a hand-shaping approach. Mini clay cutters, or simple hand-shaped pieces.
- A rolling pin.
- A straw or thin skewer. For punching the hole for the jump ring.
- Fine-grit sandpaper.
- Acrylic paint (optional).
- Fine detail paintbrushes (optional).
- Clear sealant spray or Mod Podge. A non-toxic, food-safe-rated option is worth choosing here specifically, since these will have regular skin contact.
- Jump rings. Small metal rings that connect the charm to a chain.
- Necklace chains or cords.
- Jewelry pliers. For opening and closing jump rings cleanly.
Substitutions and Alternatives I’ve Actually Tested
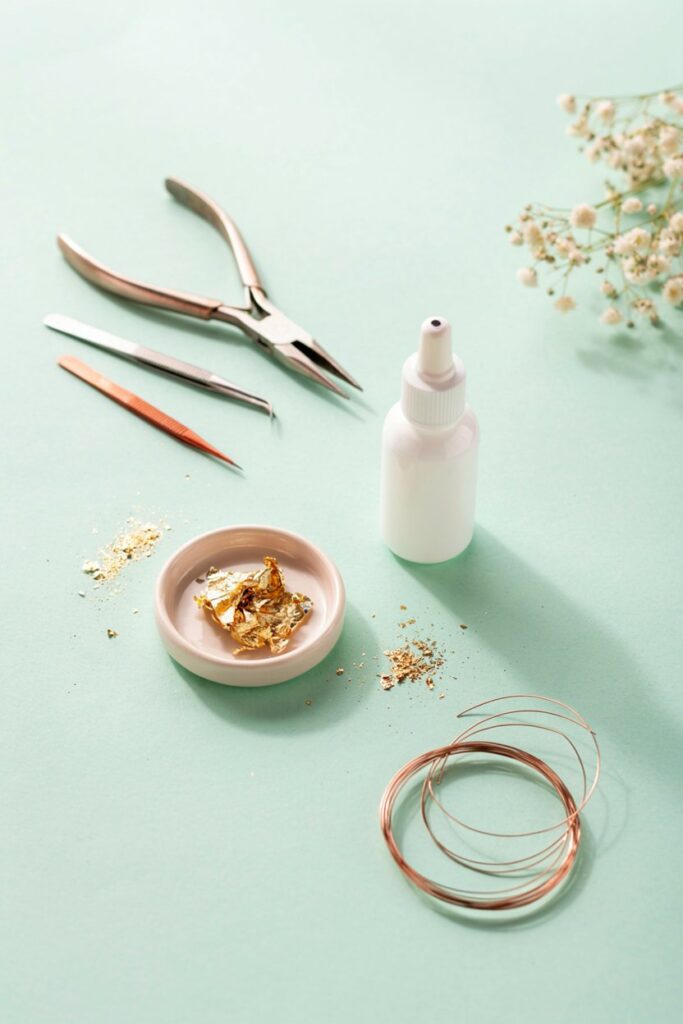
No jewelry pliers? You can carefully open a jump ring with two pairs of regular small pliers, or even sturdy tweezers in a pinch, though dedicated jewelry pliers make this noticeably easier and cleaner.
No cutters for tiny shapes? Hand-rolling small balls or freehand cutting with a toothpick works well at this scale.
Want a glossier, more polished look? A few extra thin coats of a glossy sealant instead of a matte one gives a nicer shine for jewelry specifically. My post on how to make air dry clay look like ceramic covers finishing techniques that work well here too.
Tools You’ll Need
- Rolling pin
- Small cutters or shaping tools
- Straw or thin skewer
- Fine-grit sandpaper
- Fine detail paintbrushes, if painting
- Jewelry pliers
How to Make Air Dry Clay Necklace Charms
Step 1: Knead the Clay

Knead a small piece of clay until soft, pliable, and free of cracks. As with magnets, this is a great project for using up small scraps left over from bigger projects.
Step 2: Roll to an Even Thickness
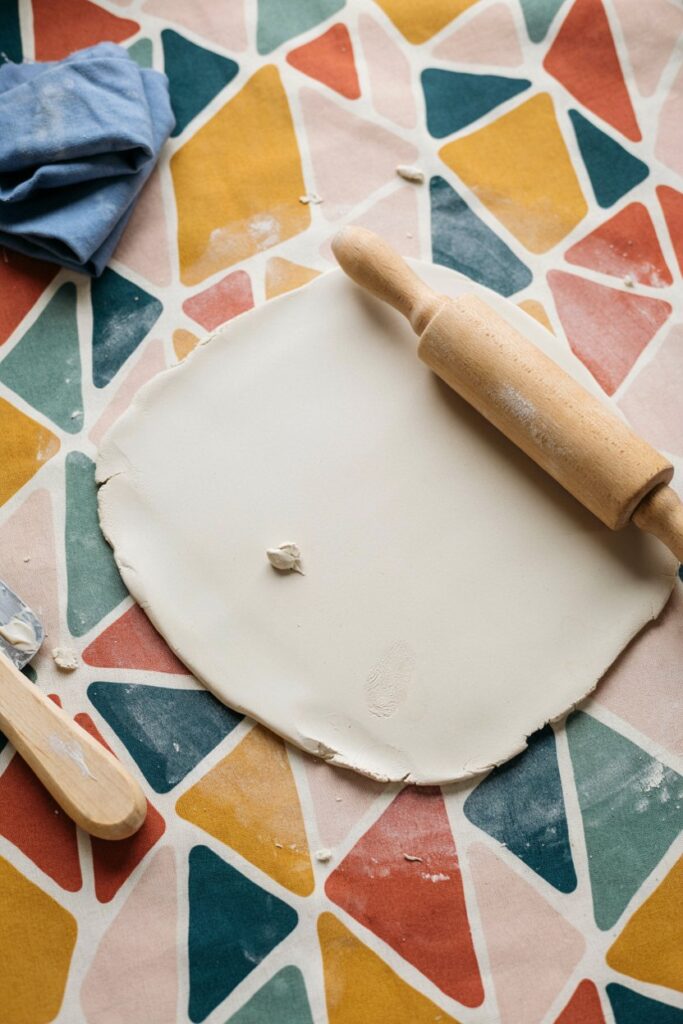
Roll the clay to about ⅛ to ¼ inch thick. A bit thicker than you’d use for a flat magnet gives the charm more durability for regular wear, since these get handled far more than a piece sitting on a shelf.
Step 3: Cut or Shape Your Charm
Cut your shape with a small cutter, or shape it by hand for a more organic look.
Step 4: Punch the Hole
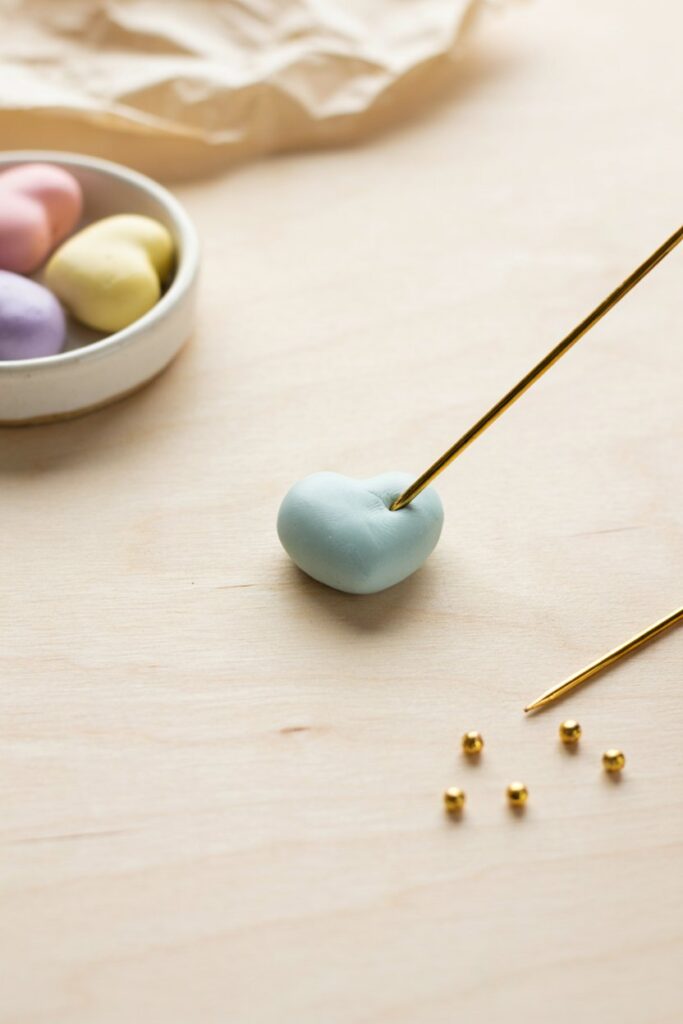
While the clay is still soft, use a straw or thin skewer to punch a hole near the top edge of the charm, leaving enough of a border around the hole, at least a few millimeters, that the surrounding clay won’t be too thin and fragile.
Make the hole noticeably larger than the jump ring you plan to use, since the clay will shrink somewhat as it dries.
Step 5: Add Detail Work
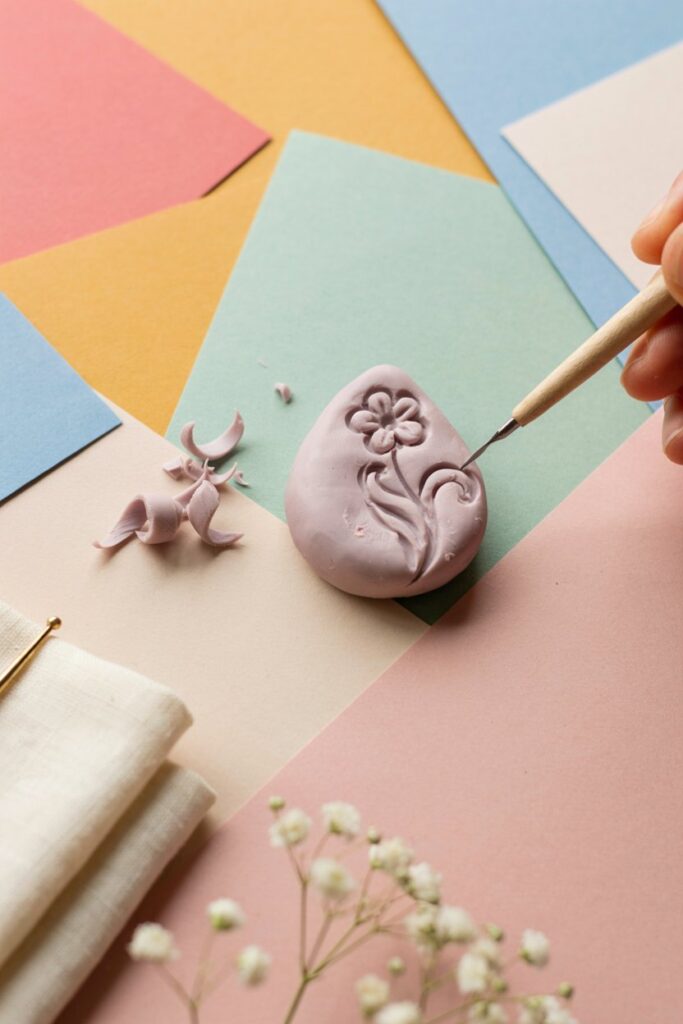
If you’re adding texture, carved lines, or lettering, do this now while the clay is still soft and easy to work with.
Step 6: Let the Charm Dry
Place your shaped charm on a flat, parchment-lined surface, away from direct sunlight or heating vents, and let it dry for 24 to 48 hours, flipping halfway through so both sides dry evenly.
Step 7: Sand
Once fully dry, gently sand any rough edges, and double-check that the hole is fully clear and hasn’t shrunk closed.
If it has narrowed too much, carefully widen it with the tip of the skewer, working slowly to avoid cracking the surrounding clay.
Step 8: Paint (Optional)
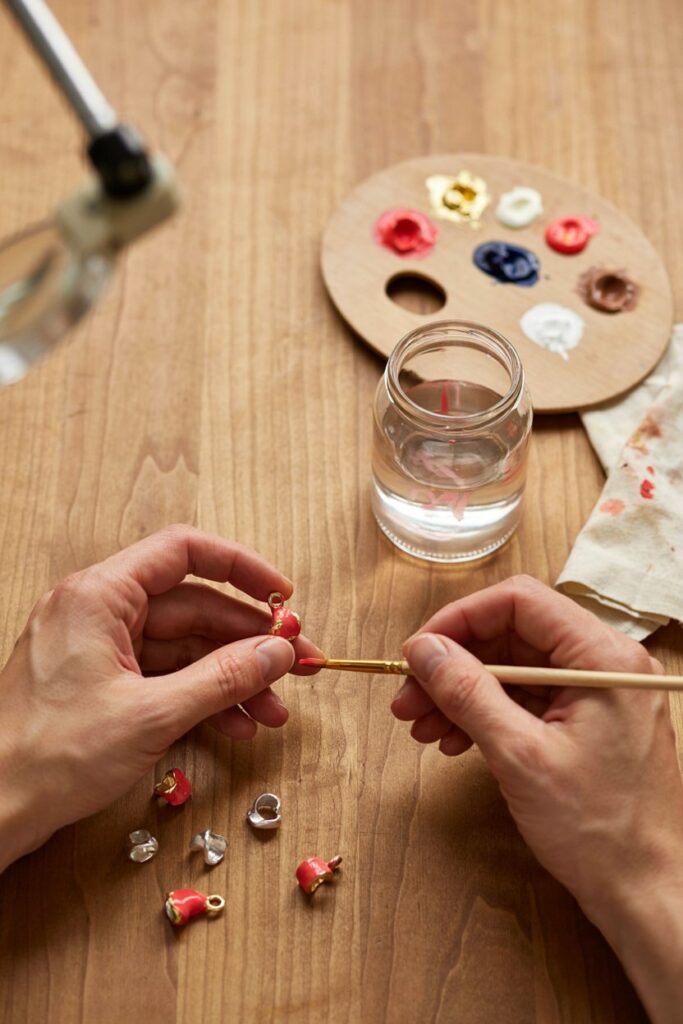
Apply thin, even coats of acrylic paint if you’re adding color or detail, letting each coat dry fully before adding another. My step-by-step post on how to paint air dry clay covers technique in more depth if you want an even, professional-looking finish.
Step 9: Seal Thoroughly
Apply a clear sealant spray or a few thin coats of Mod Podge to every surface of the charm, front, back, and the inside of the punched hole.
This step matters more here than on almost any other clay project, since jewelry gets handled constantly. If you want a full breakdown of sealant options and application technique, I cover it in detail in my post on how to seal air dry clay.
Step 10: Attach the Jump Ring and Chain
Once the sealant is fully dry, use jewelry pliers to open a jump ring sideways, not by pulling it apart, thread it through the charm’s hole, and close it back up. Attach it to your necklace chain or cord.
Tips From Making a Lot of These Now
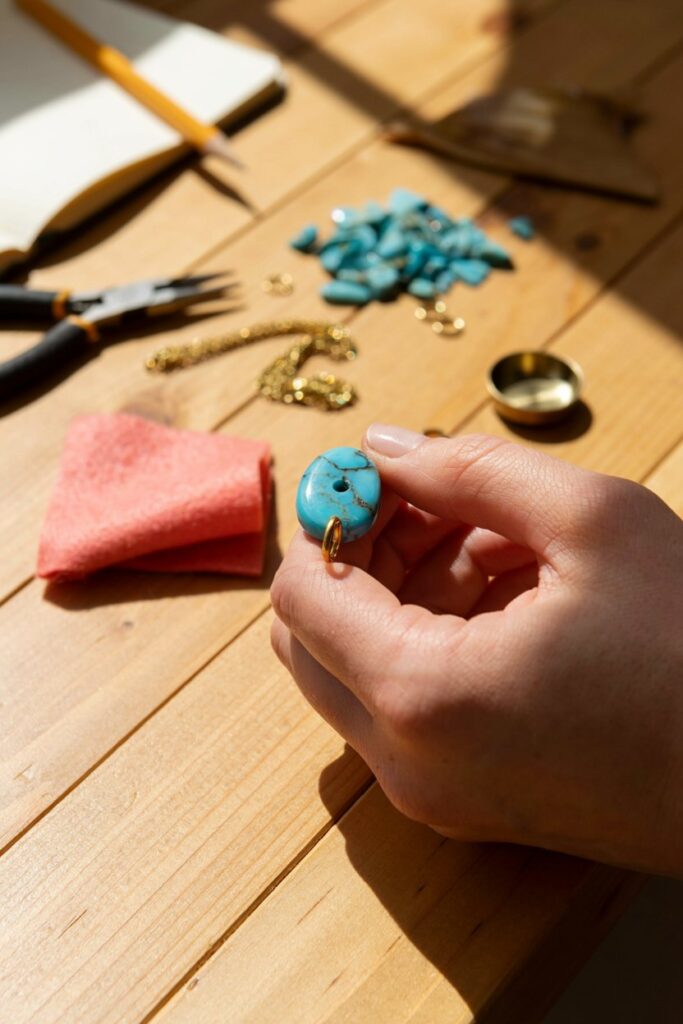
- Don’t skimp on the border around the punched hole. Too little clay around the hole is the most common reason a charm cracks right at that spot.
- Make the hole bigger than feels necessary. Shrinkage during drying will close it in more than you’d expect.
- Seal every surface, including inside the hole. This is easy to forget and genuinely matters for how long the piece lasts.
- Use real jewelry pliers if you can. Bent or damaged jump rings from improvised tools are a common source of frustration.
- Keep the charm a bit thicker than you think you need. These get bumped and handled far more than a stationary decorative piece.
Mistakes I’ve Made So You Don’t Have To
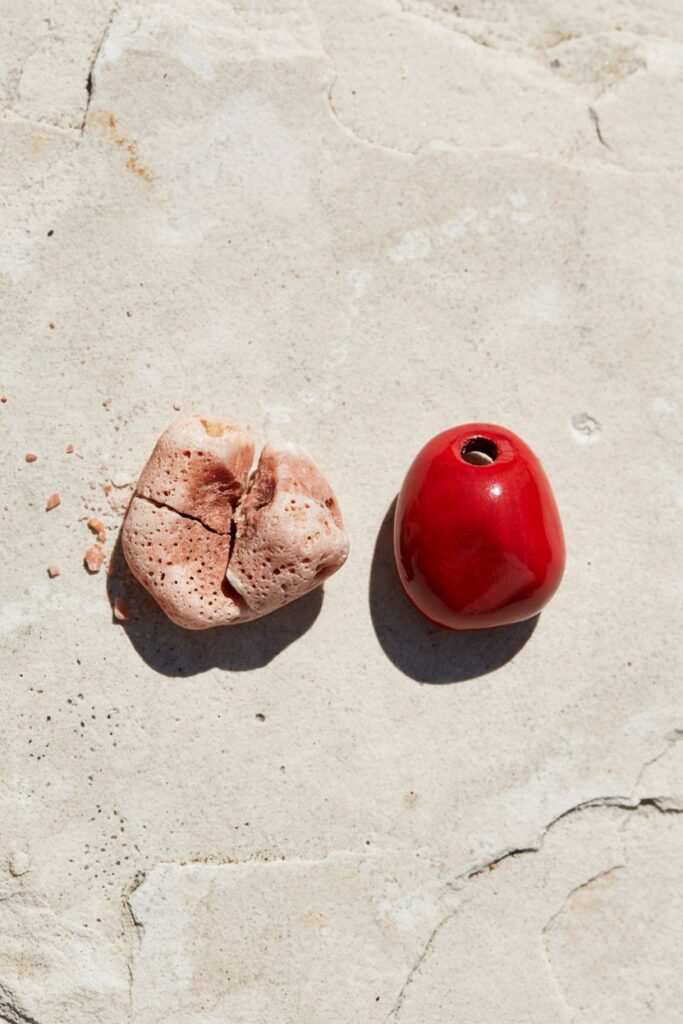
Punching the hole too close to the edge on my first attempt. It cracked right through that thin section within the first week of wear.
Not sealing inside the punched hole. The unsealed clay there started to look dull and slightly worn faster than the rest of the piece.
Making the hole too small. After shrinkage, I had to very carefully re-widen it with a skewer, risking a crack in the process.
Trying to pull a jump ring open instead of twisting it sideways. Bent it out of shape and had to toss it and start with a new one.
Troubleshooting
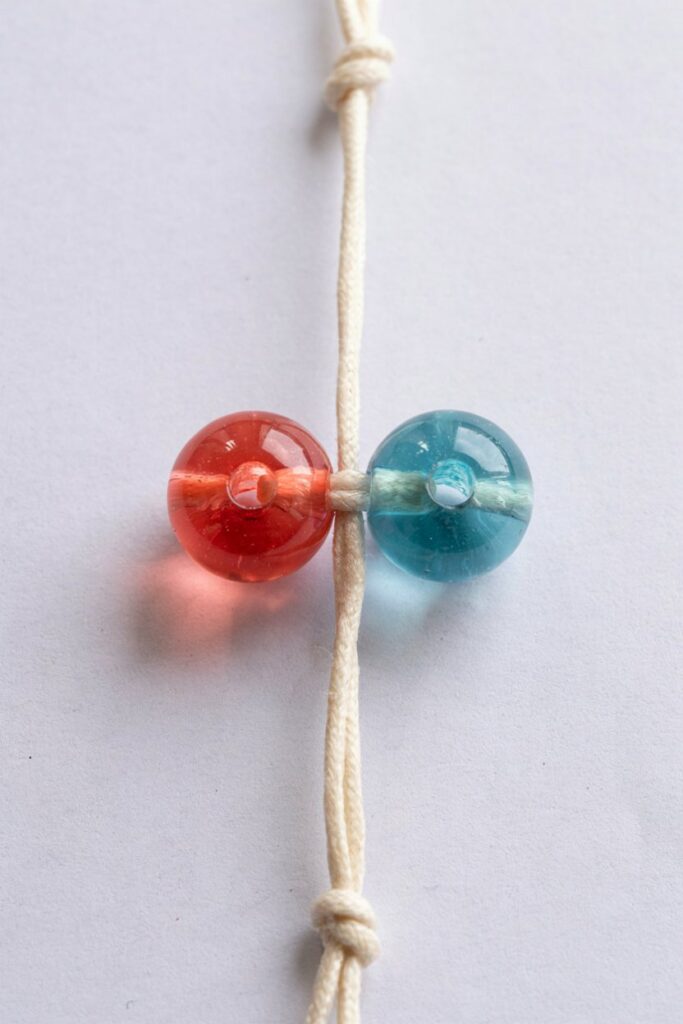
My charm cracked right at the hole. This usually means there wasn’t enough clay border left around the hole when it was punched. Leave more space next time, at least a few millimeters of solid clay surrounding the hole. My general guide on how to avoid cracks in air dry clay covers more causes worth checking too.
The hole shrank too small for my jump ring. This is a normal effect of the clay shrinking as it dries. Punch holes noticeably larger than you think you need, accounting for some shrinkage, and carefully widen a slightly-too-small hole with a skewer if needed.
My charm chipped after a bit of wear. Air dry clay is more delicate than resin or metal charms and can chip from hard knocks even once fully sealed. Handle finished pieces gently, and consider a thicker charm if this becomes a recurring issue.
The paint or sealant started wearing off in one spot. This usually happens on edges or high-contact points. Consider a couple of extra sealant coats specifically on edges and corners for jewelry that will see regular wear.
I have a charm that already cracked and I don’t want to toss it. Small cracks can often be repaired. My post on how to fix cracked air dry clay walks through the options.
Variations and Design Ideas
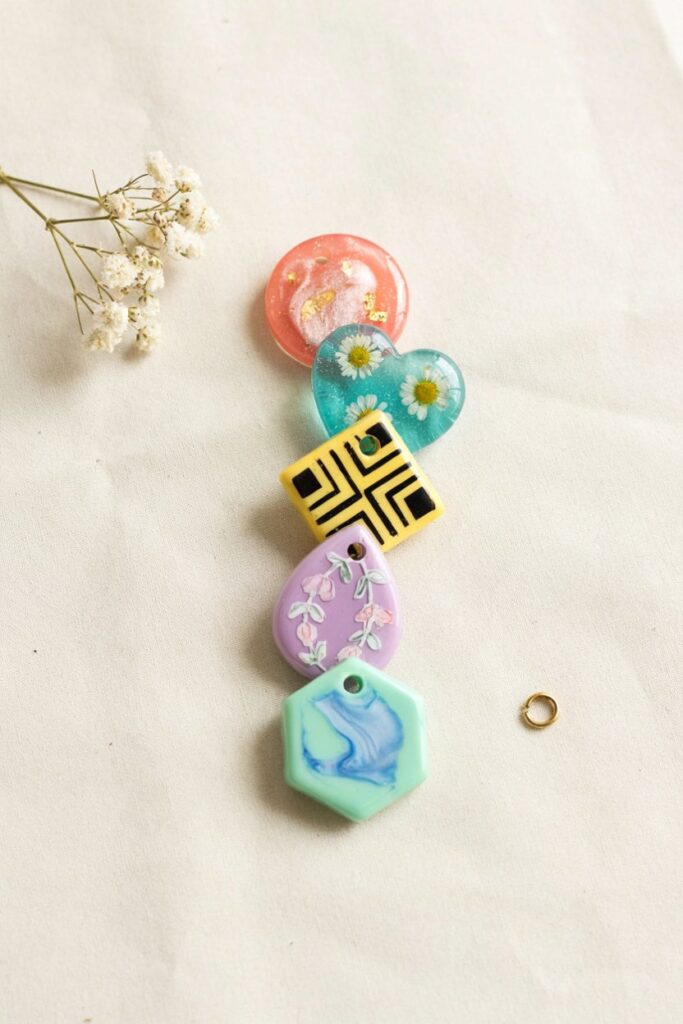
Painted Initial Charms. Small letter shapes, hand-painted in a single accent color, make a simple personalized gift.
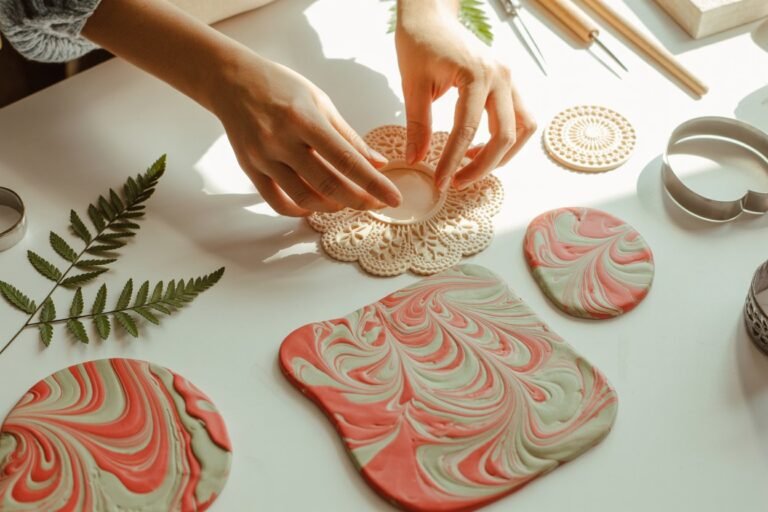
Marbled Charms. Swirl two colors of clay together before cutting for a natural marbled pattern without needing paint.
Birth Flower or Symbol Charms. Carve or press a small design into the charm before it dries for a meaningful, personalized piece.
Matching Friendship Set. Make several coordinating but not identical charms to give as a set to a small group of friends or family.
Storage and Care
Store finished charms away from prolonged moisture, and remove necklaces before showering, swimming, or any activity with heavy water exposure, since air dry clay isn’t truly waterproof even when sealed.
Wipe clean with a barely damp cloth only if needed, and store in a soft pouch or box rather than tossed loosely with other jewelry, to avoid chips from bumping against harder pieces.
Frequently Asked Questions
Is air dry clay jewelry durable enough for daily wear? With proper sealing and reasonably gentle handling, yes, though it’s more delicate than metal or resin jewelry and can chip from hard impacts.
Can I get these wet? It’s best to avoid it. Air dry clay isn’t truly waterproof even once sealed, so remove these before showering, swimming, or heavy water exposure.
How do I keep the hole from shrinking too small? Punch it noticeably larger than the jump ring you’re using, since the clay will shrink somewhat as it dries and cures.
What’s the best sealant for something that will touch skin regularly? Look for a sealant labeled non-toxic and safe for jewelry or skin contact, and apply it to every surface of the piece, not just the front.
Can kids make and wear these? Kids can usually help with the shaping and painting steps with some supervision.
For young children specifically wearing the finished piece, keep charm size and any small hardware in mind given standard jewelry choking-hazard concerns for babies and toddlers.
Final Thoughts
This project turned into one of my favorite ways to make genuinely personal, inexpensive gifts.
If you want to keep building on these small-scale shaping and finishing skills, my roundup of air dry clay projects that start simple and look stunning has plenty of other directions to take this material next.
If you make a set, I’d love to see what shapes and colors you went with, and who you’re making them for.