How to Fix Sinkholes in Candles (And Prevent Them from Happening Again)

Few things are more frustrating than pouring a candle that looks absolutely perfect, only to discover a large hole around the wick once it has cooled.
If you’ve ever lifted the lid off a freshly cured candle and found a deep sinkhole staring back at you, don’t panic.
It happens to almost every candle maker at some point, whether you’re pouring your very first candle or you’ve been making them for years.
When I first started making soy candles at home, I thought a sinkhole meant I had completely ruined the candle. I spent so much time choosing the perfect fragrance, measuring the wax, and carefully centering the wick that seeing a hole in the middle felt like a disaster.
Thankfully, I quickly learned that sinkholes are one of the easiest candle-making problems to fix.
In fact, they’re a completely normal part of the cooling process for many natural waxes. Once you understand why they happen and how to repair them, you’ll be able to rescue imperfect candles in just a few minutes and create smooth, professional-looking finishes every time.
Whether you’re making candles for yourself, giving them as gifts, or building a small candle business, this guide will show you exactly how to fix sinkholes, what causes them, and the simple techniques that help prevent them in future batches.
If you want to learn more about the basics first, check out Easy DIY: How to Make Candles at Home for Beginners.
Why You’ll Love This Guide
Candle making can feel overwhelming when things don’t go as planned, especially if you’re new to the craft.
Instead of throwing away candles that develop sinkholes, you can usually repair them with a few simple tools and a little patience.
In this guide, you’ll learn:
- What a sinkhole actually is
- Why sinkholes happen in different types of wax
- Several easy methods to repair them
- How to avoid sinkholes altogether
- Common mistakes beginner candle makers make
- Professional tips for achieving smooth candle tops
- The best practices for cooling candles correctly
By the end of this tutorial, you’ll have the confidence to troubleshoot one of the most common candle-making problems like a pro.
What Is a Sinkhole in a Candle?
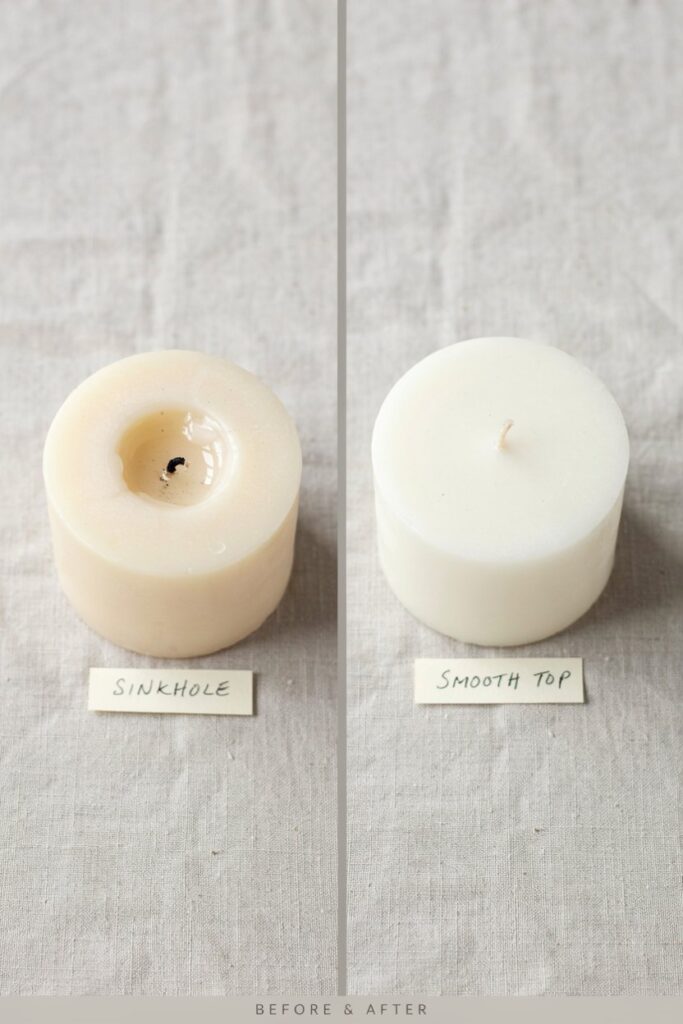
A sinkhole is exactly what it sounds like—a hollow space or depression that forms around the wick after a candle has cooled.
Although the top of the candle may appear smooth immediately after pouring, the wax beneath the surface continues changing as it hardens.
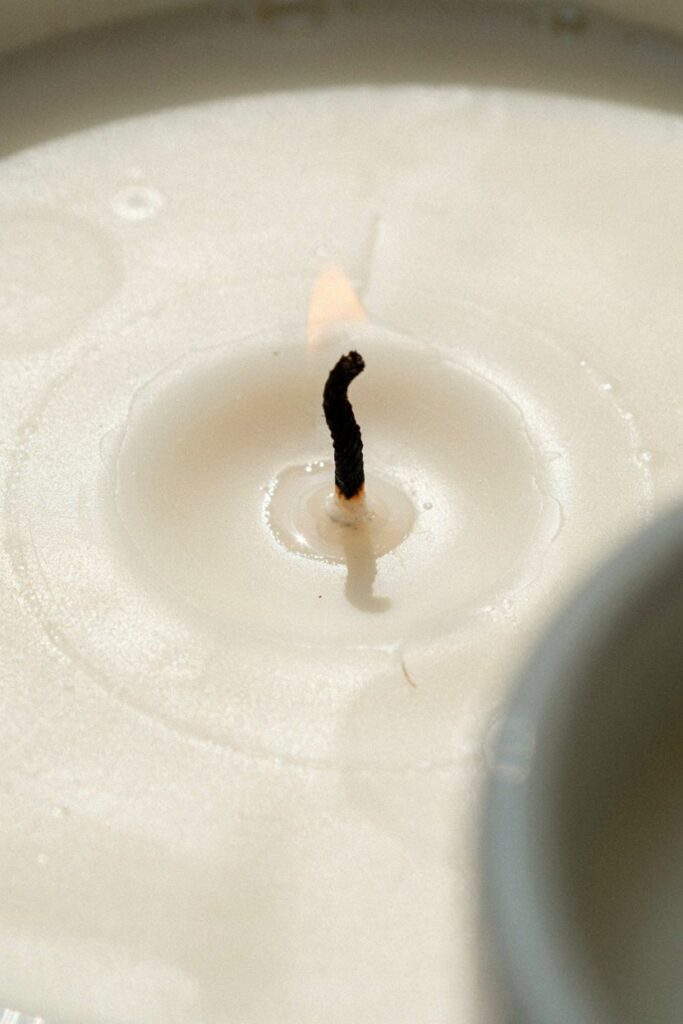
As the center cools, the wax naturally contracts. If enough shrinkage occurs, the surface sinks inward and creates a visible hole around the wick.
Sometimes the hole is only a few millimeters deep. Other times it can extend much farther beneath the surface than you expect.
This happens because the wax closest to the container cools first, while the wax around the wick remains warm much longer.
Natural waxes like soy wax, coconut wax, and soy blends are especially prone to this type of shrinkage, which is why sinkholes are one of the most common troubleshooting issues for beginners.
The good news is that sinkholes are usually cosmetic. Once repaired, the candle can burn just as beautifully as one that cooled perfectly the first time.
If you want to learn more about candle wax types and behavior, check out How Much Candle Wax Do I Need? Candle Wax Measurement Tutorial.
What Causes Sinkholes in Candles?
Understanding the cause makes the solution much easier.
Several factors can contribute to sinkholes, and in many cases, more than one is happening at the same time.
1. Wax Naturally Shrinks as It Cools
This is the number one reason sinkholes form.
When wax changes from a liquid to a solid, it takes up less space.
As the outside of the candle cools first, it forms a firm shell while the warmer wax in the center continues shrinking underneath.
Eventually, the center settles, leaving a hollow space around the wick.
This is completely normal and isn’t necessarily a sign that you’ve done anything wrong.
2. Pouring Wax at the Wrong Temperature
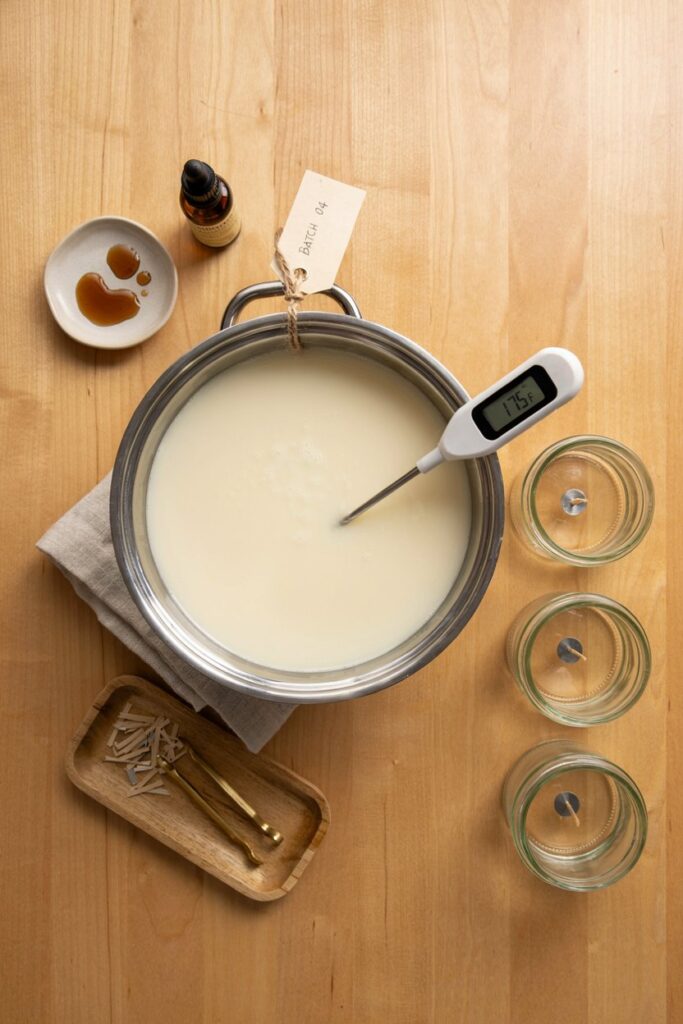
Every type of candle wax has a recommended pouring temperature.
Pouring wax that is too hot often leads to greater shrinkage during cooling.
On the other hand, pouring wax that has cooled too much may create rough tops, poor adhesion to the container, or uneven surfaces.
Using a reliable digital thermometer is one of the easiest ways to improve your candle-making results.
3. Cooling the Candle Too Quickly
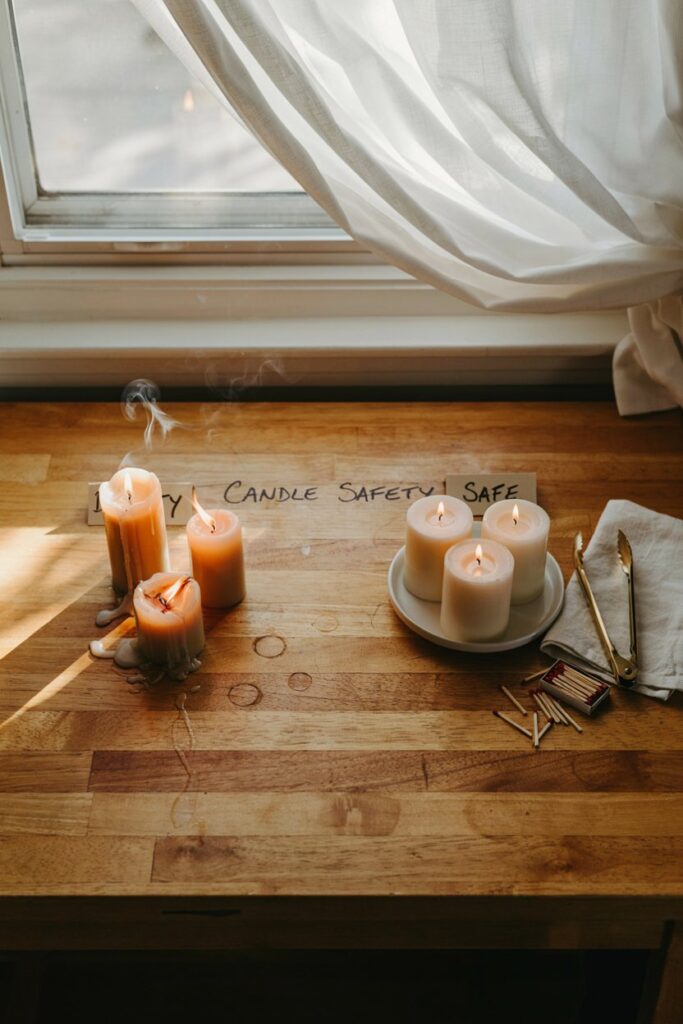
The environment where your candle cools matters more than many beginners realize.
Cold countertops, air conditioning vents, ceiling fans, or open windows can cause the outside of the candle to harden much faster than the center.
This uneven cooling increases the likelihood of sinkholes, frosting, and rough surfaces.
For the smoothest finish, allow candles to cool slowly in a room with a consistent temperature.
4. Large or Wide Containers

The wider the container, the more noticeable shrinkage can become.
Large jars hold more melted wax, which means the center stays hot much longer than the edges.
That extended cooling time creates a greater chance for cavities to develop beneath the wick.
This is one reason double-pour techniques are common when making larger container candles.
5. Trapped Air Pockets
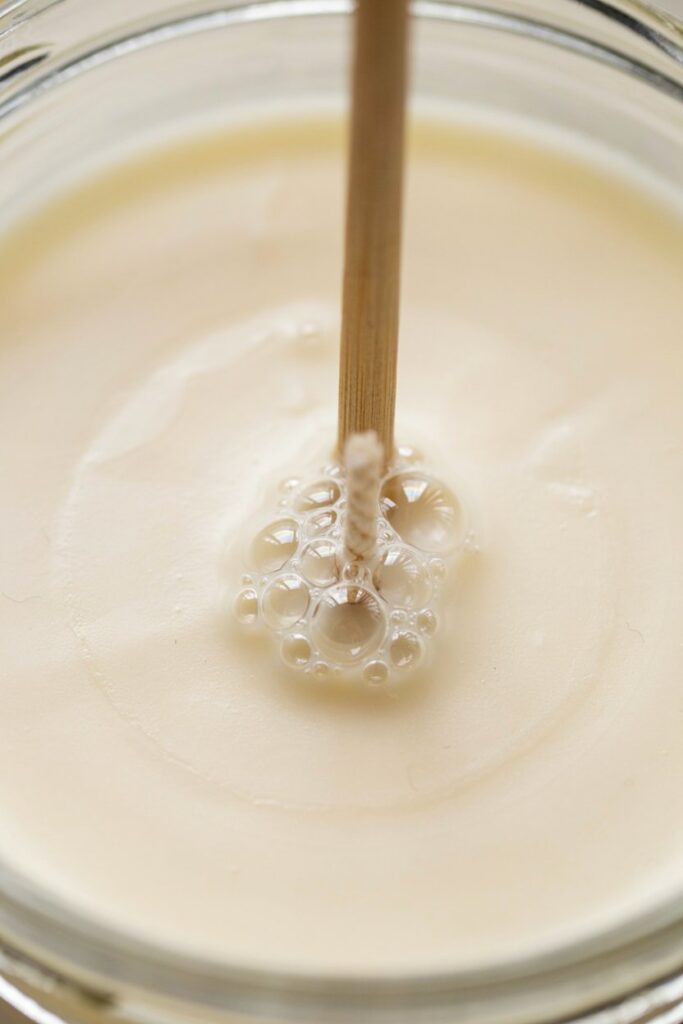
Tiny air bubbles sometimes become trapped while pouring wax.
As the candle cools, those pockets collapse and leave empty spaces below the surface.
Pouring slowly, gently tapping the jar, or carefully poking around the wick with a bamboo skewer immediately after pouring can help release trapped air before the wax begins to harden.
Supplies You’ll Need
You don’t need expensive equipment to repair a sinkhole.
Most candle makers already have everything required.
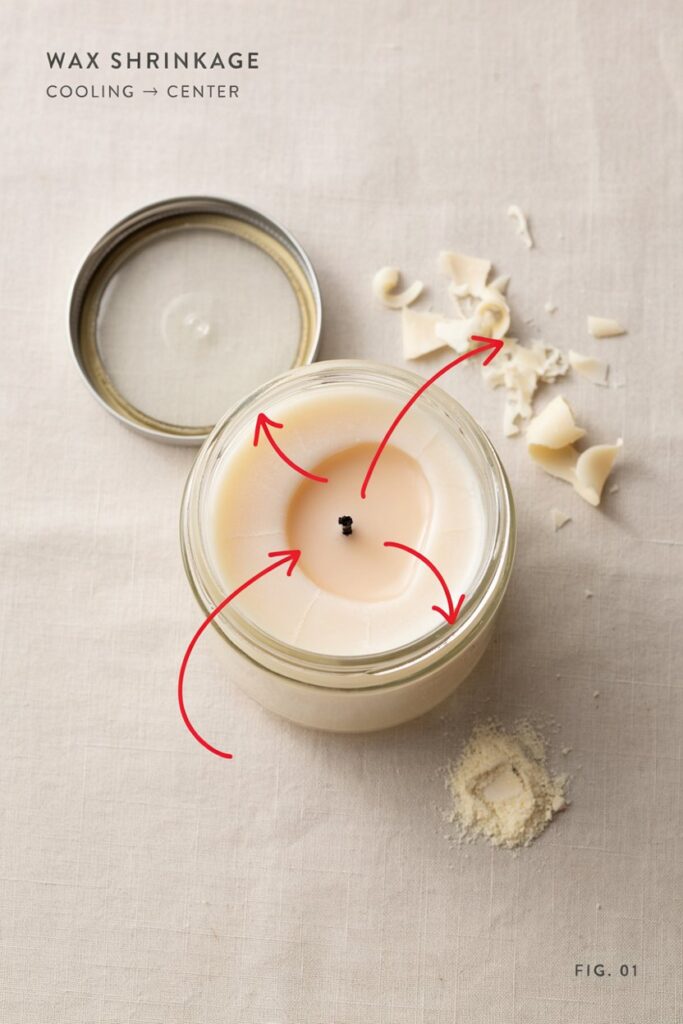
- Heat gun
- Hair dryer (for very small repairs)
- Heat-safe pouring pitcher
- Extra candle wax
- Digital thermometer
- Bamboo skewer or toothpick
- Wick centering tool
- Paper towels
- Heat-resistant work surface
Having these tools nearby makes fixing sinkholes quick, simple, and stress-free.
Method 1: Refill the Sinkhole with Melted Wax
This is the method I use most often because it’s reliable, beginner-friendly, and produces the cleanest finish.
It’s especially effective for medium to deep sinkholes.
Step 1
Allow the candle to cool completely.
Trying to repair a candle that’s still warm usually creates another uneven surface.
Step 2
Melt a small amount of the same wax you used for the original candle.
Using the same wax ensures the repair blends seamlessly with the rest of the candle.
Step 3
Slowly pour just enough melted wax into the sinkhole to fill the cavity.
Resist the temptation to overfill it. A thin repair layer almost always creates a smoother finish than pouring too much wax at once.
Step 4
Leave the candle undisturbed and allow it to cool naturally at room temperature.
Avoid placing it in the refrigerator or freezer, as rapid cooling can create new imperfections.
Method 2: Smooth the Top with a Heat Gun
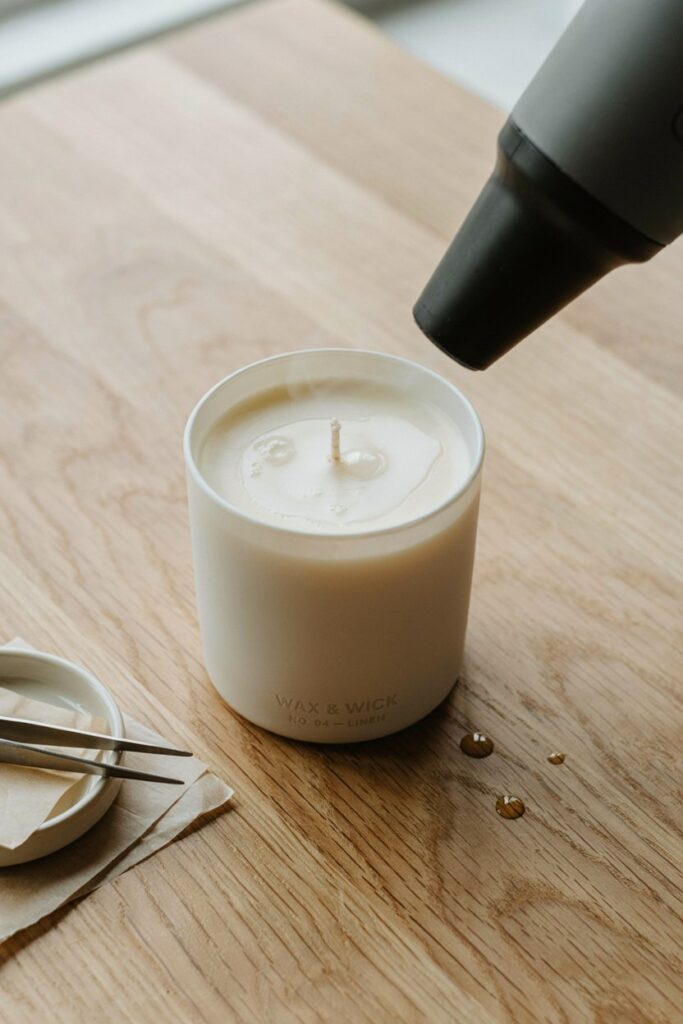
If the sinkhole is shallow or the top of the candle is simply uneven, a heat gun is often the quickest solution.
Hold the heat gun several inches above the candle and move it continuously in slow circular motions.
As the surface wax melts, it naturally levels itself and fills small imperfections.
Be patient and avoid concentrating the heat in one spot for too long, as overheating can discolor the wax, affect the fragrance, or cause the wick to lean.
Method 3: Use a Relief Hole Before Topping Off
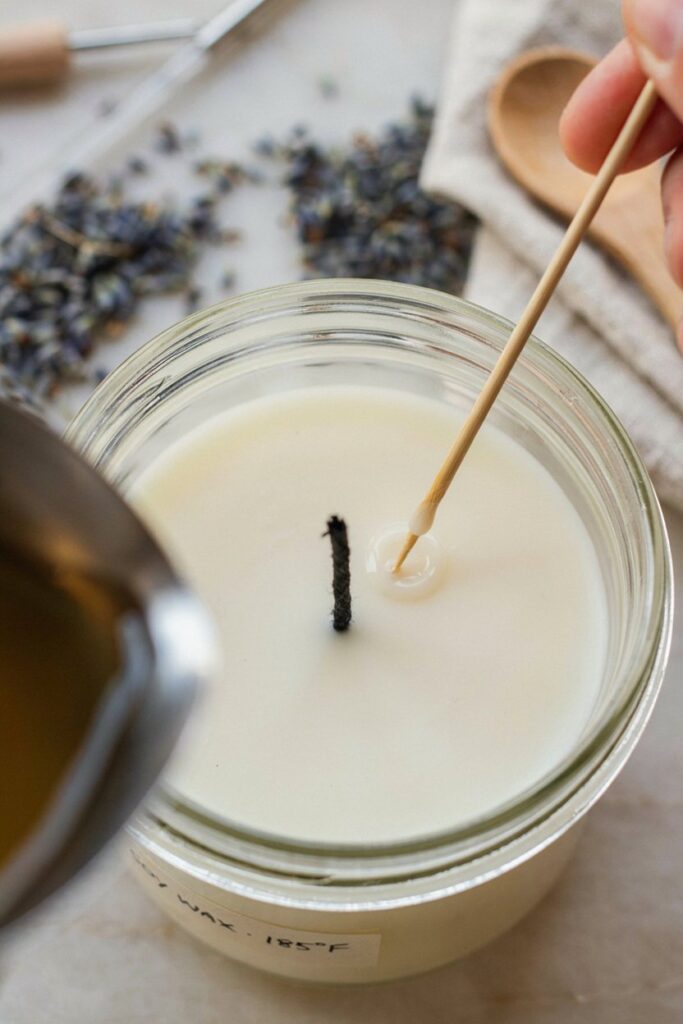
This is a technique many experienced candle makers use, especially when working with soy wax or large container candles.
Sometimes a sinkhole extends much deeper than the small opening you can see on the surface. If you simply pour fresh wax over the top, the hidden air pocket underneath may remain, causing another depression to appear later.
Creating a small relief hole helps release trapped air and allows the melted wax to fill the entire cavity.
Step 1
Once the candle has cooled completely, use a bamboo skewer or toothpick to gently poke one or two small holes near the wick.
Don’t worry if the holes aren’t perfectly neat—they’ll be covered during the repair.
Step 2
Melt a small amount of the same wax used for your candle.
Slowly pour the wax over the surface, allowing it to flow into the holes and fill the hidden air pockets beneath.
Step 3
Allow the candle to cool naturally without moving it.
Once hardened, the top should be much smoother and more even.
Method 4: Perform a Double Pour

If you’re making candles in large jars, a double pour is one of the easiest ways to prevent sinkholes before they become a problem.
Instead of filling the container all at once, pour most of the wax first and allow it to cool until a slight sinkhole forms.
Then top off the candle with a thin second layer of melted wax.
This simple technique fills any shrinkage that occurred during the first cooling phase and creates a much smoother finished candle.
Many professional candle makers use this method for larger containers because it’s quick, reliable, and produces beautiful results.
How to Prevent Sinkholes in Candles

While repairing sinkholes is simple, preventing them in the first place saves time and creates more consistent results.
These are the techniques I rely on every time I pour candles.
Pour at the Correct Temperature
Every wax has its own recommended pouring temperature.
Following the manufacturer’s guidelines helps reduce excessive shrinkage and improves the overall appearance of your candles.
A digital thermometer is one of the best investments you can make if you’re serious about candle making.
Let Candles Cool Slowly
One of the biggest mistakes beginners make is trying to speed up the cooling process.
Avoid placing freshly poured candles near:
- Open windows
- Air conditioning vents
- Fans
- Cold countertops
- Refrigerators or freezers
Instead, allow candles to cool naturally in a room with a stable temperature.
Slow, even cooling almost always produces smoother tops.
Want to avoid mistakes like this altogether? My beginner candle-making guide covers the fundamentals.
Warm Your Containers
If you’re pouring into glass jars, consider warming them slightly before adding the wax.
Cold containers can cause the outer wax to harden much faster than the center, increasing the chance of sinkholes.
The jars don’t need to be hot—just slightly warm to the touch.
Pour Slowly
Pouring too quickly can introduce unnecessary air bubbles into the wax.
A slow, steady pour helps reduce trapped air and creates a cleaner finish.
Tap the Jar Gently
After pouring, gently tap the container on your work surface.
This encourages trapped air bubbles to rise to the surface before the wax begins to harden.
It’s a small step that can make a noticeable difference.
If you want to go more in-depth, check these out:
- Easy DIY: How to Make Candles at Home for Beginners
- How Much Candle Wax Do I Need? Candle Wax Measurement Tutorial
- How to Sell Candles on Etsy and Earn Up to $3,579/Month
Expert Tips for Smooth, Professional-Looking Candles
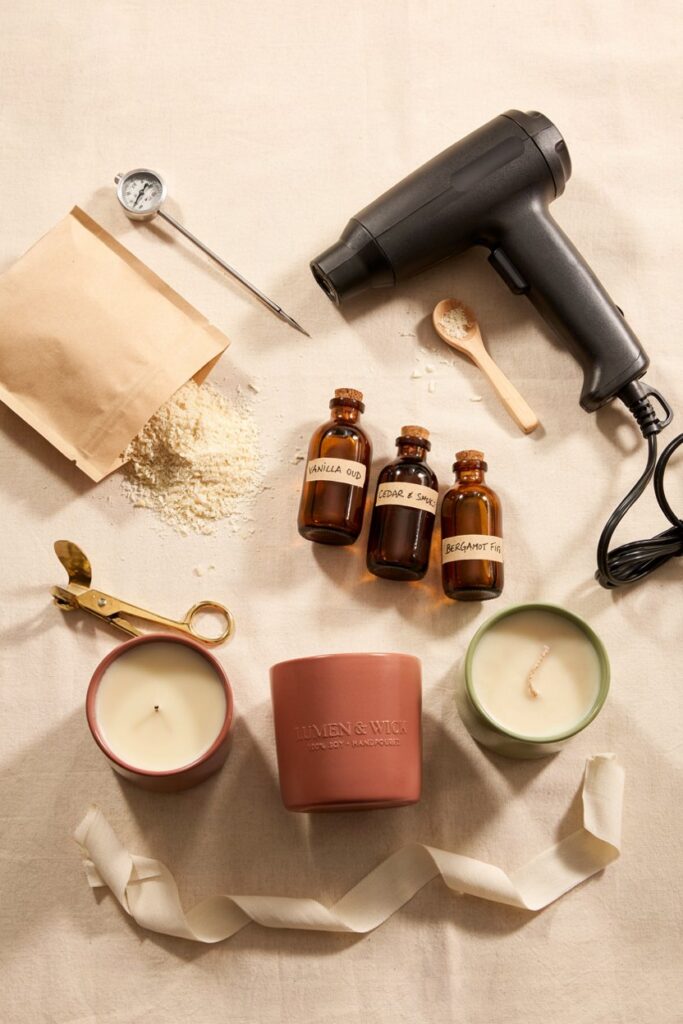
After making dozens of candles, I’ve found that the little details often have the biggest impact.
These habits consistently give me smoother, cleaner results.
Keep Notes
Write down your wax type, fragrance load, pouring temperature, room temperature, and cooling time for every batch.
If a candle turns out perfectly, you’ll know exactly how to repeat the process.
Don’t Rush the Cooling Process
Patience really pays off in candle making.
Allowing wax to cool naturally helps minimize sinkholes, frosting, and uneven tops.
Match Your Wax for Repairs
Always repair a candle using the same type and color of wax.
Different waxes shrink differently, and mixing them can create noticeable lines or texture differences.
Invest in a Heat Gun
If you make candles regularly, a heat gun is worth every penny.
It’s one of the quickest ways to smooth rough tops, remove small imperfections, and give finished candles a polished, professional appearance.
Common Mistakes to Avoid
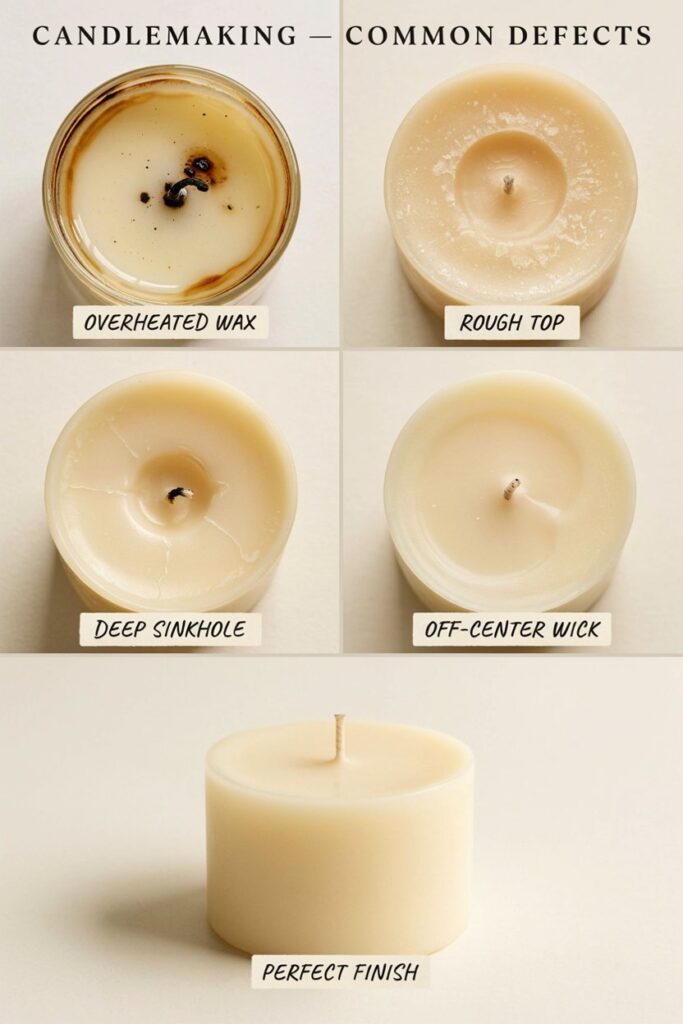
Most sinkholes happen because of a few common mistakes.
Fortunately, they’re all easy to avoid once you know what to watch for.
- Pouring wax that is too hot
- Cooling candles too quickly
- Using the wrong wick size
- Skipping a second pour for large containers
- Trying to repair candles before they’ve fully cooled
- Overheating the surface with a heat gun
- Using a different wax to repair the candle
- Forgetting to release trapped air around the wick
Even experienced candle makers occasionally deal with sinkholes, so don’t let a few imperfections discourage you.
Every batch teaches you something new.
Frequently Asked Questions
Are sinkholes normal in soy candles?
Yes. Soy wax naturally shrinks more than many other waxes, making sinkholes one of the most common issues when working with soy candles.
Can I burn a candle with a sinkhole?
Small sinkholes usually aren’t dangerous, but repairing them gives the candle a cleaner appearance and helps create a more even first burn.
Why does my candle keep getting sinkholes after I fix it?
The original cavity may extend deeper than it appears.
Try using the relief-hole method before adding more wax so the hidden air pocket can fill completely.
Does fragrance oil cause sinkholes?
Not directly.
However, adding too much fragrance oil or pouring at the wrong temperature can affect how the wax cools, increasing the chances of imperfections.
Which wax gets the most sinkholes?
Natural waxes such as soy wax and coconut wax generally shrink more than paraffin wax, making them more prone to sinkholes.
Final Thoughts
Finding a sinkhole in a freshly poured candle can feel discouraging, especially when you’ve spent time measuring ingredients, choosing the perfect fragrance, and carefully pouring the wax.
The good news is that sinkholes are one of the easiest candle-making problems to fix.
With a little patience, the right repair method, and a better understanding of how wax behaves as it cools, you can rescue imperfect candles and create smooth, professional-looking finishes that you’ll be proud to display or give as gifts.
Remember, every experienced candle maker has poured candles with sinkholes at some point. The difference is that they’ve learned to see each imperfect batch as part of the learning process rather than a failure.
The more candles you make, the more you’ll understand how your wax behaves, how your workspace affects cooling, and which techniques produce the best results.
Before long, fixing sinkholes will simply become another useful skill in your candle-making toolkit rather than something to worry about.