How Much Candle Wax Do I Need? (Candle Wax Measurement Tutorial)
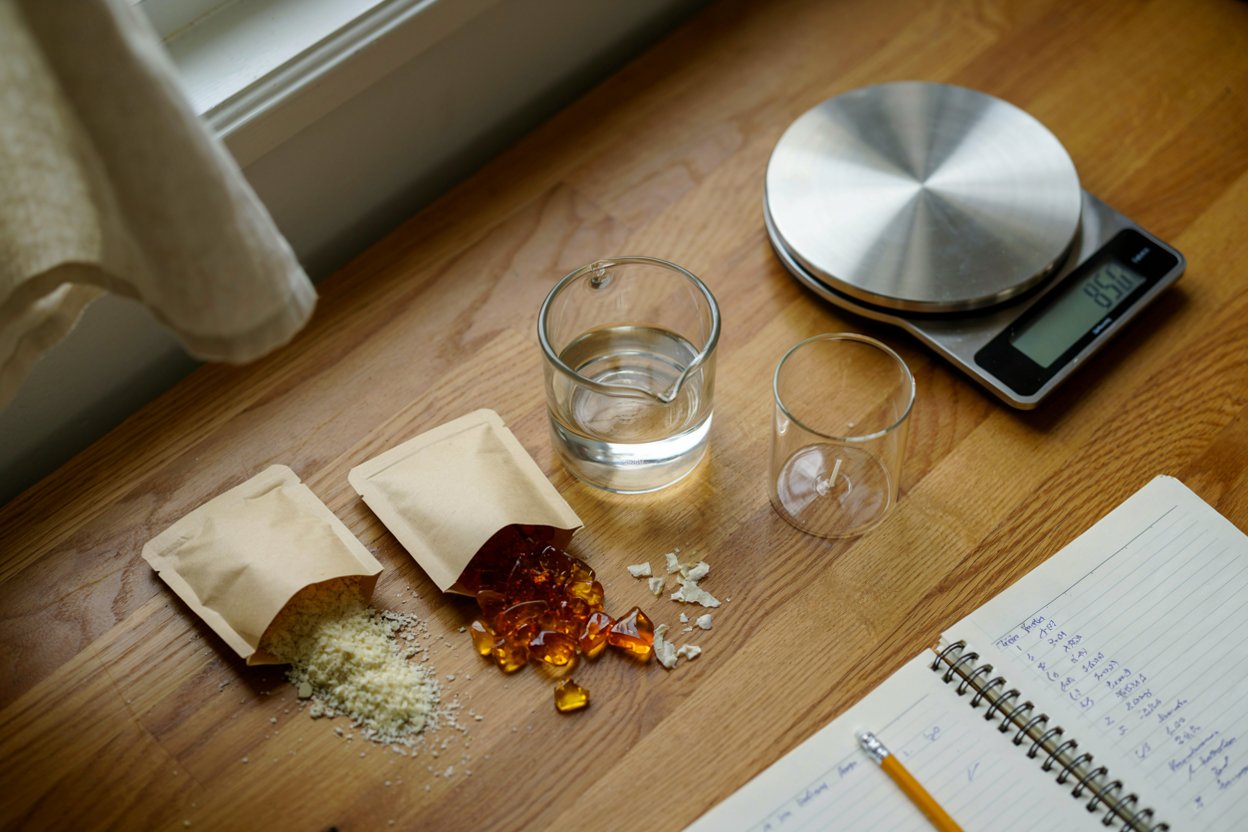
The first time I made candles, I either ended up with way too much melted wax left over in the pot, or not quite enough to fill the container, which meant a second round of melting just to top it off.
Neither is a huge problem on its own. However, it’s avoidable, and once I learned the simple math behind it, I stopped guessing.
Getting this right matters even more if you’re making candles to sell, since accurate wax costs are part of pricing them properly, something I get into more in my post on how to sell candles on Etsy.
The trick isn’t complicated, it’s just not something most beginner tutorials actually explain clearly.
You need to know your container’s volume, convert that to a wax weight using the right density for whatever wax you’re using, and then account for a small amount of extra wax to cover what gets left behind in your pouring pot.
Once you’ve done this once or twice, it becomes second nature and you’ll stop over-ordering wax or running short mid-project.
This post walks through the actual measuring method, the density numbers for the most common wax types, and the small adjustments that make your calculation more accurate, like fragrance oil load and topping off after any post-cure sinkholes.
Why This Method Works
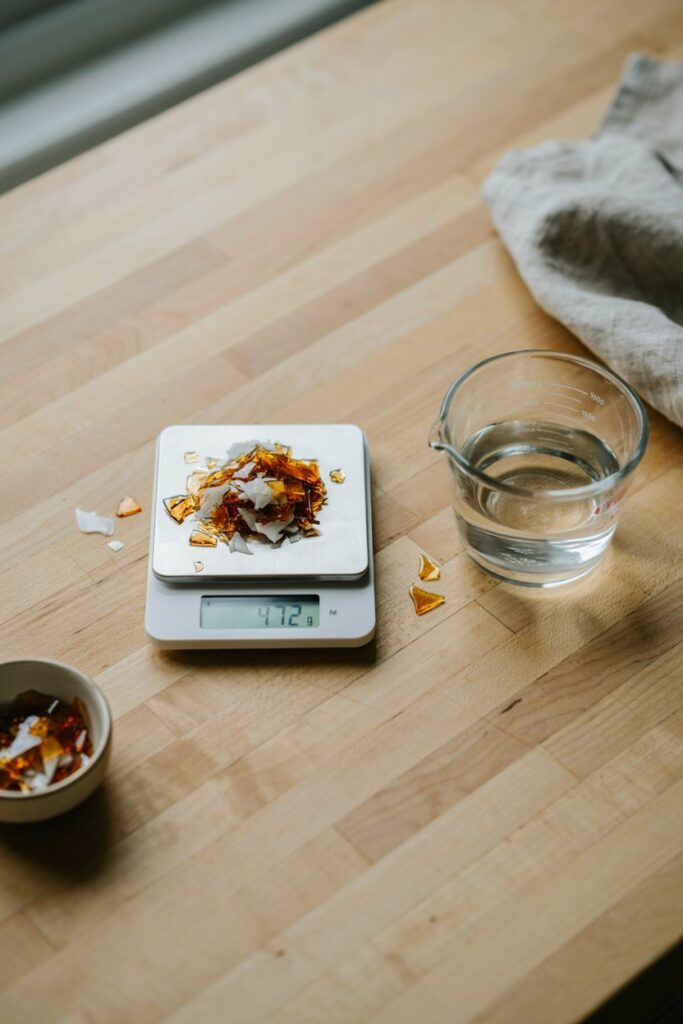
It replaces guesswork with an actual formula. Rather than eyeballing it or over-ordering “just in case,” this method gives you a specific number to work from every time, which saves money and reduces waste.
It accounts for real differences between wax types. Soy, paraffin, coconut, and beeswax all have different densities, so the same container needs a different amount of wax depending on which one you’re using.
Treating them as interchangeable is the most common reason people’s calculations are off.
It builds in a margin for the wax you’ll actually lose. A small amount of wax always stays behind in your melting pot or pitcher, and factoring that in from the start means you won’t come up short right at the pouring stage.
What Makes Wax Calculation Different From Just “Filling the Container”
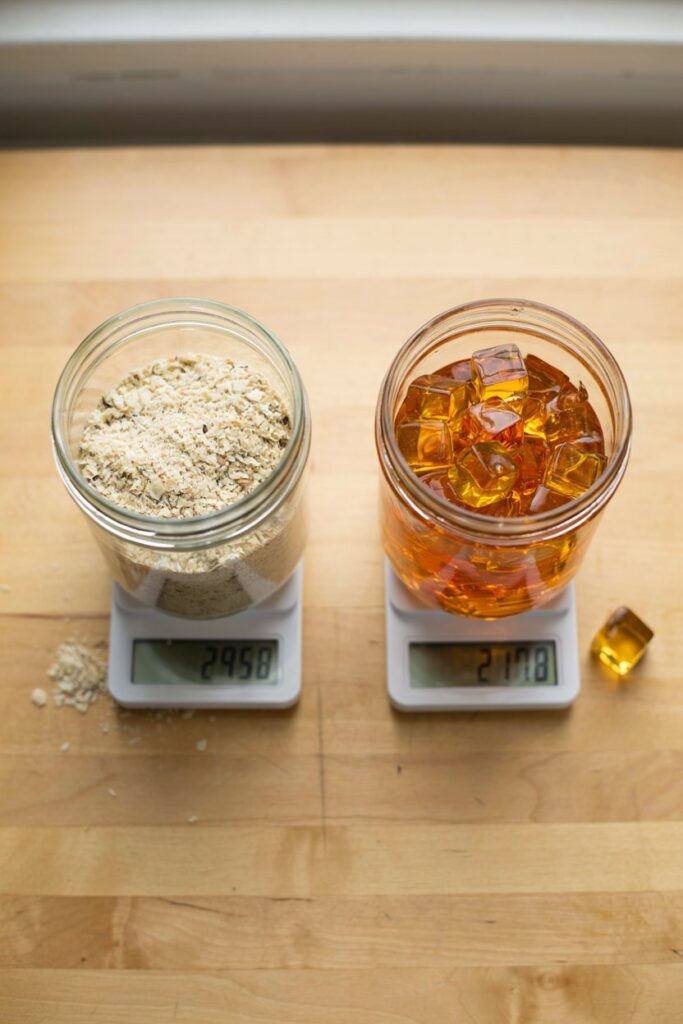
The core issue is that wax weight and container volume aren’t the same thing, and different waxes have different densities, meaning a cup of soy wax and a cup of paraffin wax don’t weigh the same amount.
Skipping this conversion and just guessing based on container size is where most measuring mistakes come from.
The other detail that trips people up is that a filled, cooled candle isn’t necessarily done.
Many waxes, especially soy, form a sunken well or small surface cracks as they cool, and a second, smaller top-off pour is often needed once the candle has mostly set.
If you didn’t calculate a small amount of reserve wax for this step, you’ll need to remelt more from scratch just for a top-off, which is a bit wasteful and easy to avoid with slightly better planning upfront.
What You’ll Need
- A kitchen scale, ideally one that measures in both ounces and grams for flexibility.
- A liquid measuring cup or graduated pitcher, for the water displacement method described below.
- Water, for measuring your container’s volume before you ever touch wax.
- A calculator, or just this post’s formulas.
- Your candle wax of choice. Density varies by type, covered in detail below.
- A notebook or notes app, for keeping track of your container measurements so you don’t have to redo this every time you reuse the same container.
The Core Formula
Step 1: Find your container’s volume in fluid ounces. Fill your container with water up to where you want the wax to reach, then pour that water into a liquid measuring cup to read the volume.
This is more accurate than trying to calculate volume mathematically from a container’s dimensions, especially for anything that isn’t a perfect cylinder.
Step 2: Convert that volume to a wax weight using density. Multiply your container’s volume in fluid ounces by the density factor for your specific wax type, listed below. This gives you the approximate weight of wax needed to fill that volume.
Step 3: Add a small buffer for pot residue and top-offs. Add roughly 10 percent extra to your calculated weight, to account for wax left behind in your melting pot and any wax needed for a top-off pour later.
Wax Density Reference (Per Fluid Ounce)
- Soy wax: approximately 0.86 to 0.88 ounces of wax per fluid ounce of volume
- Paraffin wax: approximately 0.9 ounces of wax per fluid ounce of volume
- Coconut wax: approximately 0.83 to 0.85 ounces of wax per fluid ounce of volume
- Beeswax: approximately 0.95 to 0.97 ounces of wax per fluid ounce of volume
These are approximate figures, since exact density can vary slightly between brands and wax blends. If your specific wax supplier lists a density figure on their packaging or website, use that number instead for the most accurate result.
Worked Example
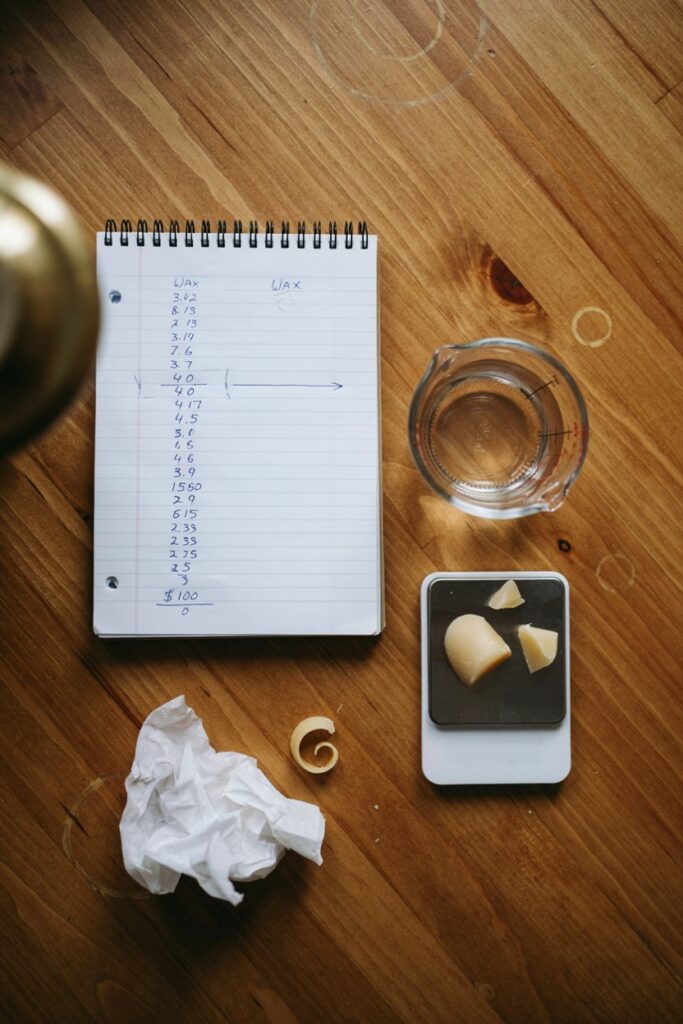
Let’s say you have a container that holds 9 fluid ounces of water when measured to your fill line, and you’re using soy wax.
9 fluid ounces × 0.87 (soy wax density) = about 7.83 ounces of wax needed
Add a 10 percent buffer: 7.83 × 1.1 = about 8.6 ounces of wax to melt
That’s the total weight of wax you’d want to measure out and melt for that single candle.
Don’t Forget to Account For Fragrance Oil
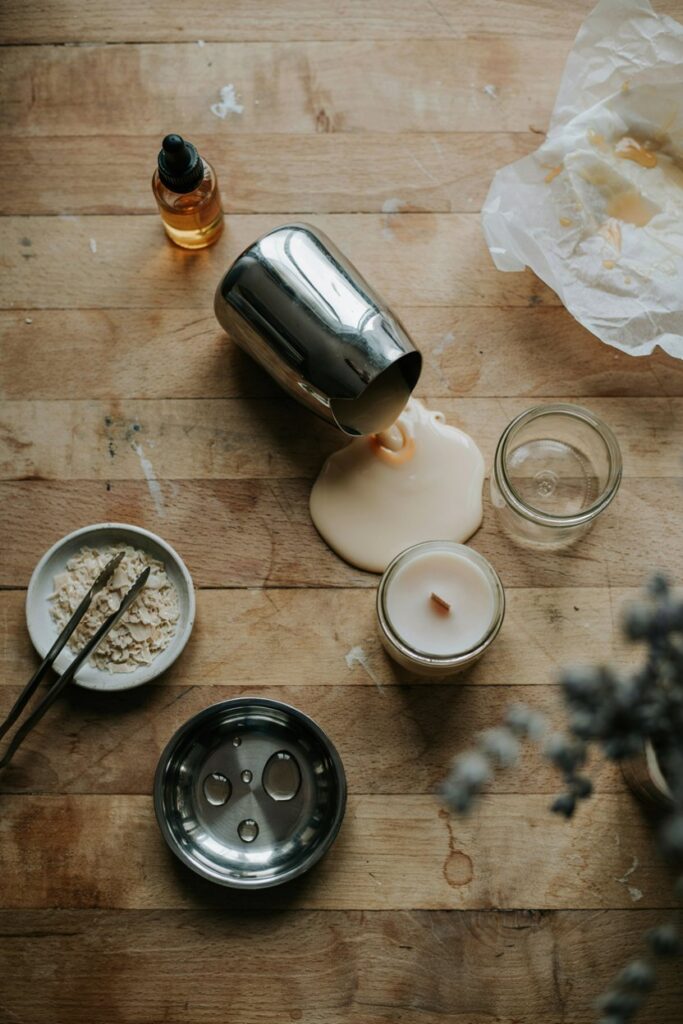
If you’re adding fragrance oil, most wax manufacturers recommend a fragrance load between 6 and 10 percent of the total wax weight, meaning the oil itself takes up some of that final weight and volume.
For a highly fragranced candle, you can slightly reduce your wax amount to make room, but for most home candle making, the fragrance oil amount is small enough relative to the total that it doesn’t meaningfully change your wax calculation, and the 10 percent buffer already covers this in most cases.
If you’re trying to get a stronger scent throw rather than just accounting for the oil’s volume, I go into that specifically in my post on how to make candles smell stronger.
Tips From Measuring a Lot of Candles at This Point
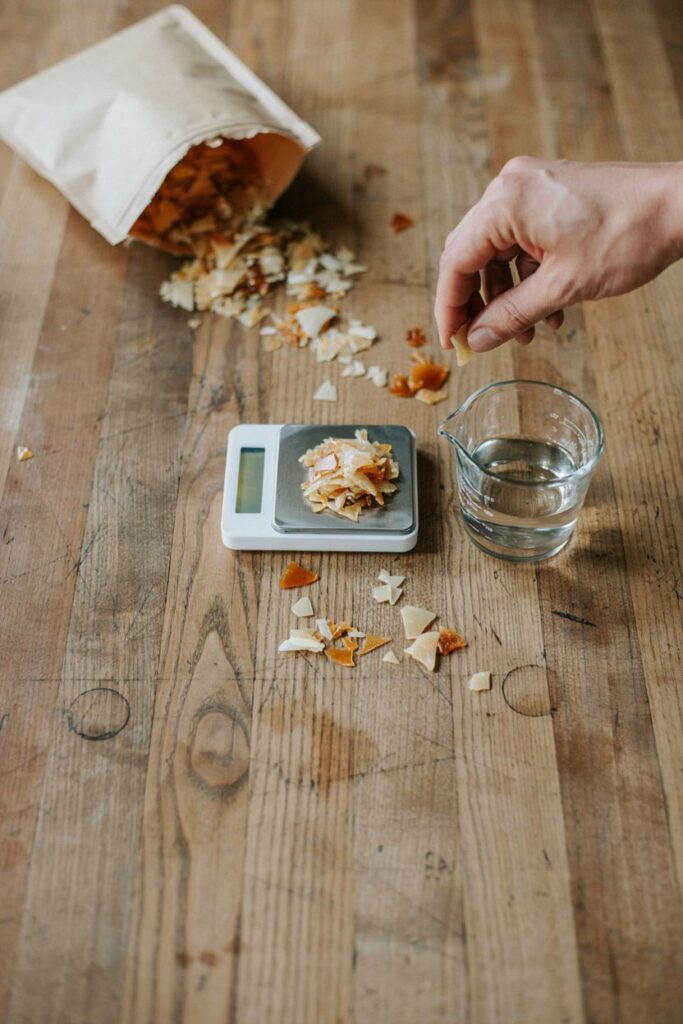
- Always measure with water first, not estimated math. Especially for oddly shaped containers, actual water displacement is far more accurate than calculating volume from measurements.
- Keep a running notes file of container volumes you use often. This saves you from re-measuring the same jar every single time you make a batch.
- Weigh your wax, don’t measure it by volume. Wax pellets or flakes have air gaps between them, so a measuring cup of wax flakes doesn’t correspond reliably to a weight the way a scale does.
- Always melt slightly more than your calculated amount. It’s much easier to have a small amount of leftover wax than to come up short mid-pour.
- Save any leftover melted wax for a top-off pour, rather than only melting exactly your calculated amount and having nothing in reserve if a sinkhole forms.
Mistakes I’ve Made So You Don’t Have To
Using a generic “wax density” number without accounting for the specific type I was using. My first several candles either had noticeable gaps or wasted extra wax, since I was treating all wax types as if they weighed the same.
Measuring wax flakes by volume instead of weighing them. The air pockets between flakes threw off my calculation more than I expected, since a cup of loosely packed flakes weighs less than the same cup packed down.
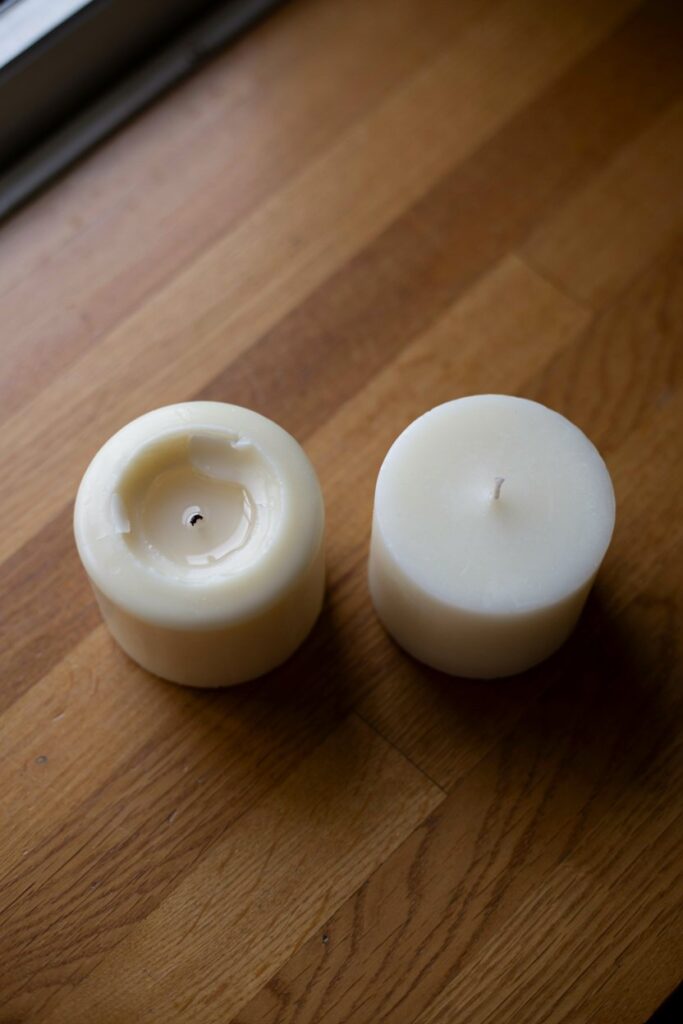
Not accounting for a top-off pour. My first soy candles formed a visible sunken well as they cooled, and I hadn’t saved any extra melted wax to fix it, meaning a whole second round of melting just for a small top-off.
Calculating container volume by measuring its dimensions instead of using water. For anything that wasn’t a perfect cylinder, my math was noticeably off compared to the water displacement method.
Troubleshooting
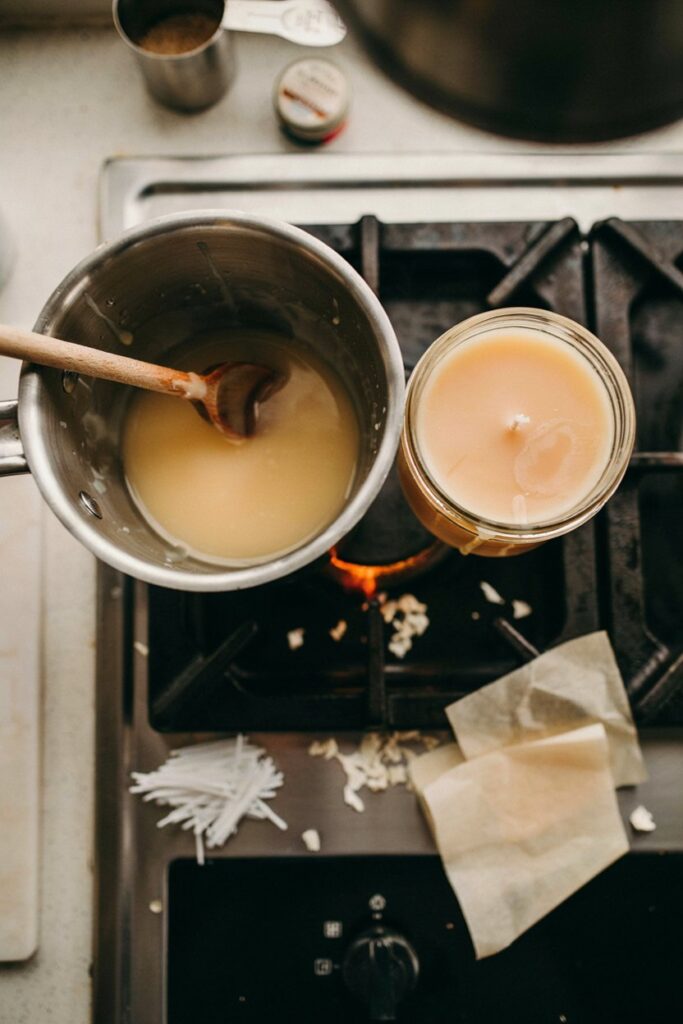
I ran short on wax partway through pouring. This usually means the density figure used didn’t match the actual wax type, or the container volume was estimated rather than measured with water. Recalculate using the water displacement method and the correct density for your specific wax.
I have a lot of leftover wax after pouring. This is generally fine and expected to some degree given the buffer built into the calculation, but if it’s a significant amount, double check you used the right density figure and didn’t overestimate your container’s volume.
My finished candle has a sunken well in the middle. This is a normal characteristic of many waxes, especially soy, as they cool and contract. Save some reserved melted wax specifically for a second, smaller top-off pour once the candle has mostly set.
My calculation seems consistently off from batch to batch. Double check whether you’re weighing your wax on a scale versus measuring it by volume, since volume measurements of solid wax flakes or pellets are much less consistent than a weight measurement.
A Few Notes on Container Shape
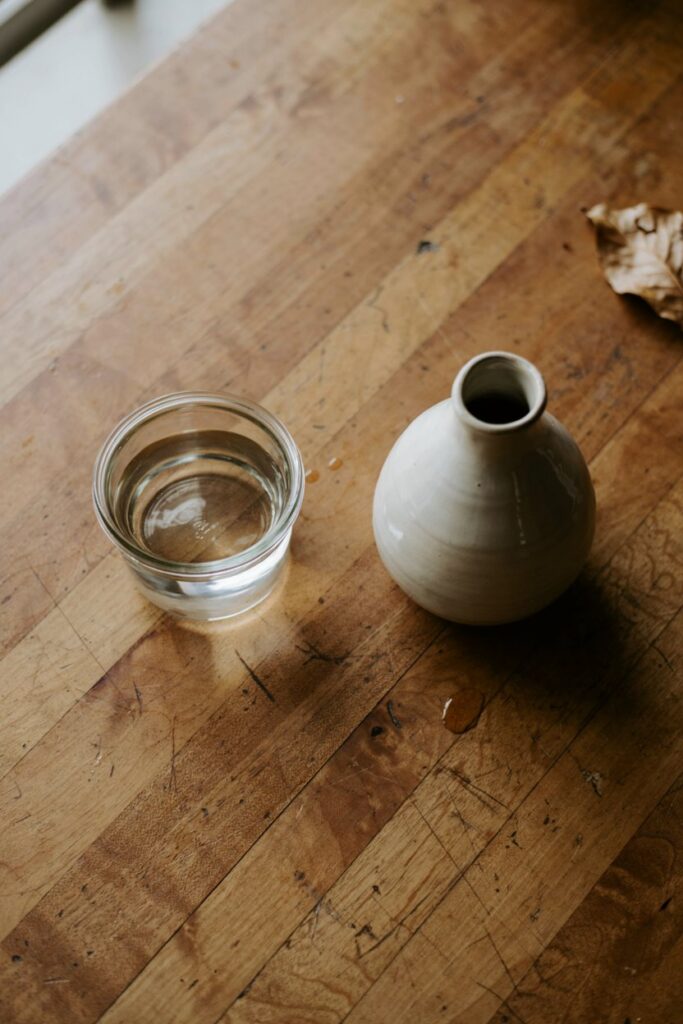
Straight-sided, cylindrical containers are the easiest to measure accurately and the most forgiving if your calculation is slightly off.
Containers with a narrow neck, unusual curves, or a tapered shape benefit even more from the water measurement method described above, since dimensional math gets increasingly inaccurate the more irregular a container’s shape becomes.
My DIY ice cream candles tutorial is a good example of this, since the container shape there is far from a simple cylinder, and water measurement was the only reliable way I found to calculate it accurately.
Frequently Asked Questions
Do I really need a kitchen scale, or can I estimate? A scale makes a meaningful difference in accuracy, especially once you’re trying to nail a specific fragrance load percentage or working with wax types that have very different densities from each other.
Does the type of wick I use affect how much wax I need? Not meaningfully. Wick size affects burn performance, not the volume of wax required to fill a container.
How much extra wax should I keep on hand for a top-off pour? About 10 percent of your total calculated wax weight is usually enough, which is why building that buffer into your initial calculation is worth doing from the start rather than melting a second batch later.
Can I use this same method for wax melts instead of candles? Yes, the same volume-to-weight conversion applies. Just measure your wax melt mold’s volume with water the same way you would a candle container.
Why do different wax types need different amounts for the same container? Because they have different densities, meaning a given volume of one wax type weighs a different amount than the same volume of another. This is the core reason a single “one size fits all” measurement doesn’t work across wax types.
Final Thoughts
Once you’ve measured a container with water a couple of times and gotten comfortable with the basic formula, this stops being something you have to think hard about and just becomes part of your regular candle-making process.
It’s a small bit of upfront math that saves a real amount of wasted wax and frustration down the line. If you’re just getting started with candle making in general, my DIY cinnamon candle tutorial for beginners is a good next stop for putting this math into practice on an actual project.
If you’ve got a container you’re not sure how to calculate for, let me know in the comments and I’m happy to help you work through it.