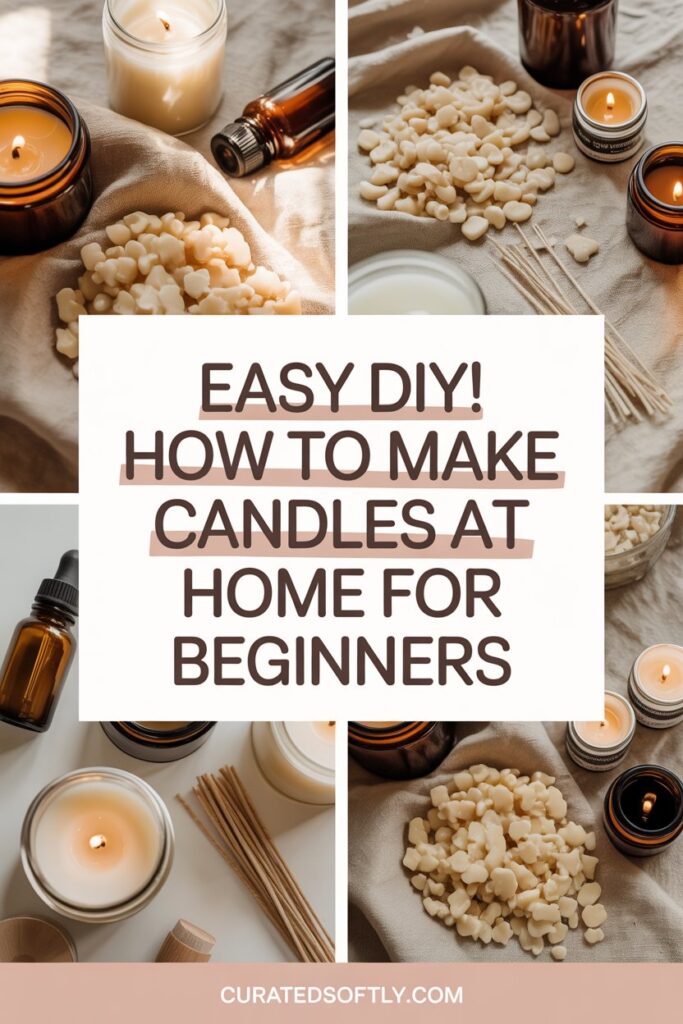
Making candles at home has quickly become one of my favorite ways to relax and get creative.
Even if you have never tried it before, I promise you can make beautiful candles with rich scents and smooth finishes by following a few simple steps.
I love how homemade candles feel personal and meaningful.
You get to pick every detail from the scent and color to the container and style so each candle reflects your taste and creativity.
Plus, they are perfect for your own home or as thoughtful gifts for friends and family.
What I have discovered is that candle making is truly beginner friendly. You do not need fancy tools or complicated techniques.
Once you get the hang of the basics, you will be amazed at how polished and professional your candles can look.
In this guide, I will walk you through every step so you can start making candles confidently.
Whether you want to brighten your home, create gifts, or even start a small business, I will show you exactly how to do it in a way that is simple and fun.
Supplies You Will Need (All Easy to Find on Amazon)
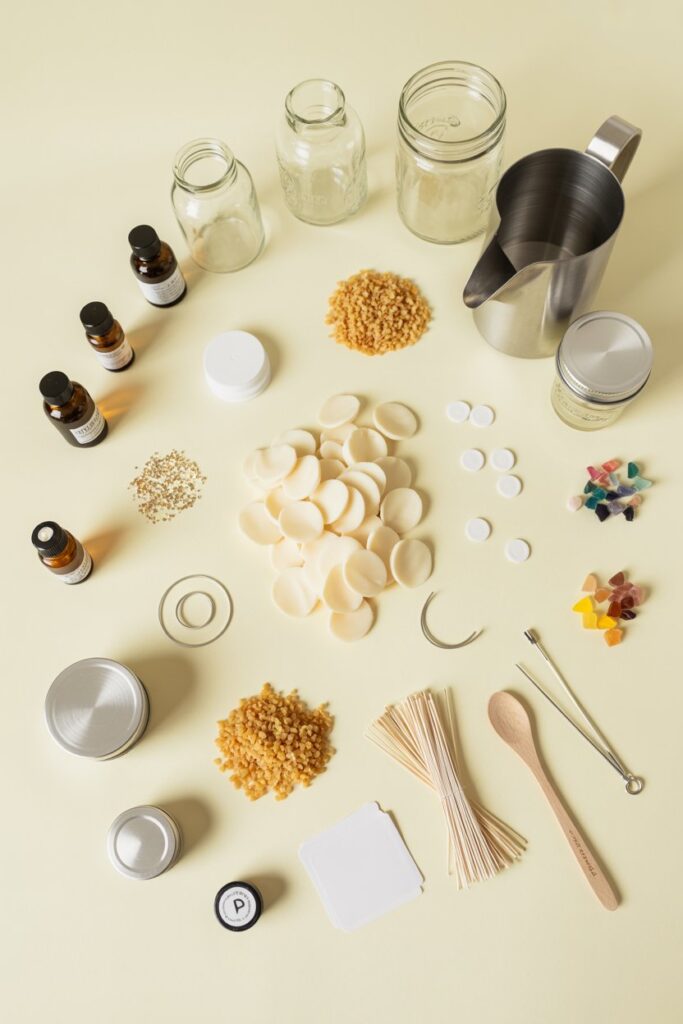
These are the simple, beginner friendly candle making supplies you can order quickly from Amazon.

Premium Soy Candle Making Kit – Full Set
Complete soy candle making kit including all essential materials for creating beautifully scented candles at home. Perfect for beginners and DIY enthusiasts.
Get it on AmazonOverall List
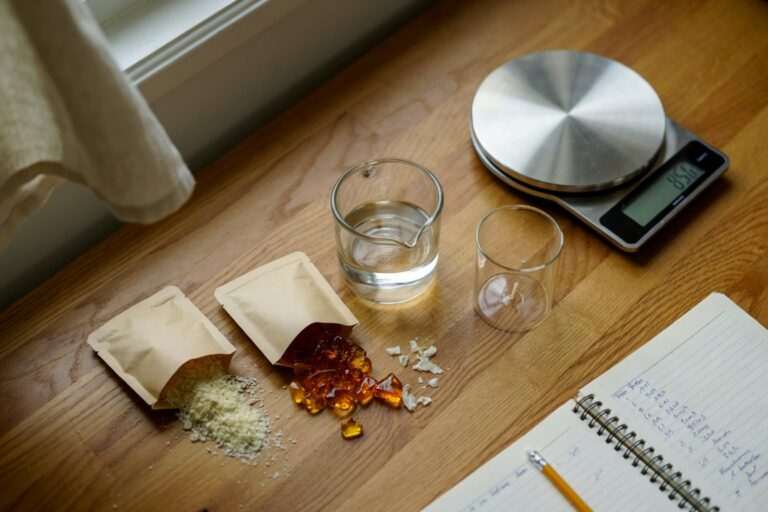
- Soy wax flakes
- Beeswax pellets
- Candle wicks
- Heat safe containers
- Candle pouring pitcher
- Fragrance oils
- Candle dye
- Thermometer
- Stirring spoon
- Essential oils
These are the basic tools that almost every candle project uses. Once you have them, you can make endless candle styles.
Why Making Your Own Candles Is Worth It
Before we start, here are a few reasons candle making is such a popular beginner DIY craft:
1. It saves money
Store bought candles can be pricey. Making your own costs a fraction of the price.
2. You control everything
You choose the scent, the strength, the color, the jar, and the overall style.
3. It is relaxing and therapeutic
Melting, pouring, and designing candles is calming and enjoyable.
4. They make amazing gifts
Handmade candles feel personal and thoughtful, which makes them perfect for birthdays, holidays, and thank you gifts.
5. It is beginner friendly
You do not need special skills or experience. Anyone can make a perfect candle with simple instructions.
How to Make Candles at Home Step by Step
This is a simple method that works for almost every beginner candle style.
Step 1. Prepare Your Workspace
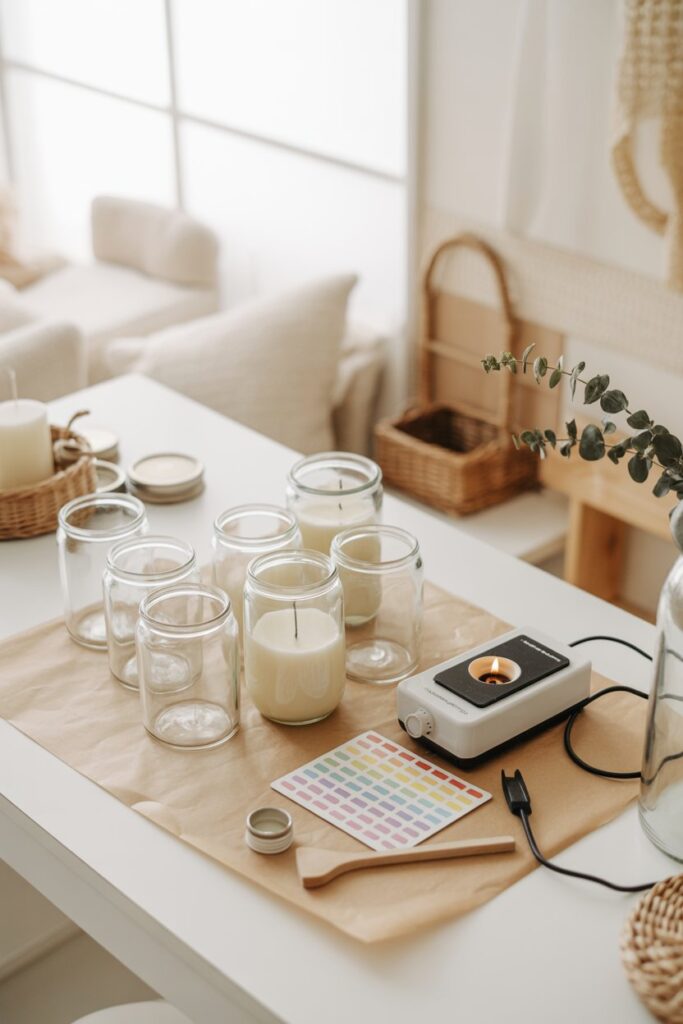
Before you start, set up a small area where you can melt, pour, and cool your candles safely.
You will need:
- A clean table
- Paper towels
- A heat safe surface
- Your containers
- Your wicks and stickers
Tip: Lay down parchment paper for easy cleanup if wax drips.
Step 2. Attach the Wick
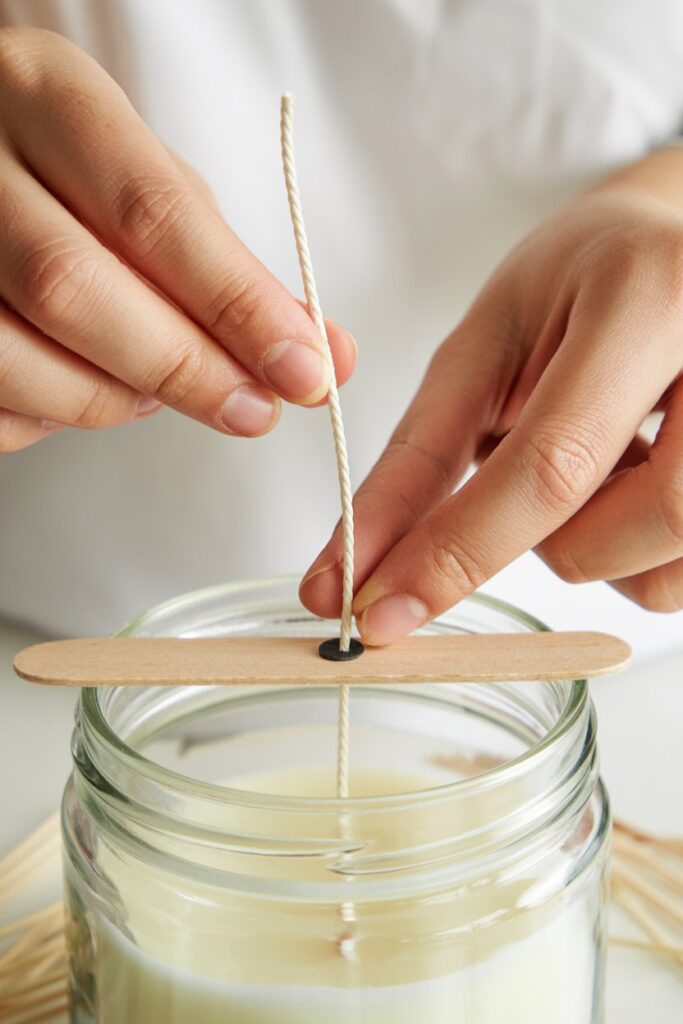
Stick your wick to the bottom center of your container using a wick sticker or glue dot.
Make sure it is centered. A centered wick helps your candle burn evenly and cleanly.
Use a wick holder or popsicle stick to keep the wick standing straight.
Step 3. Melt Your Wax
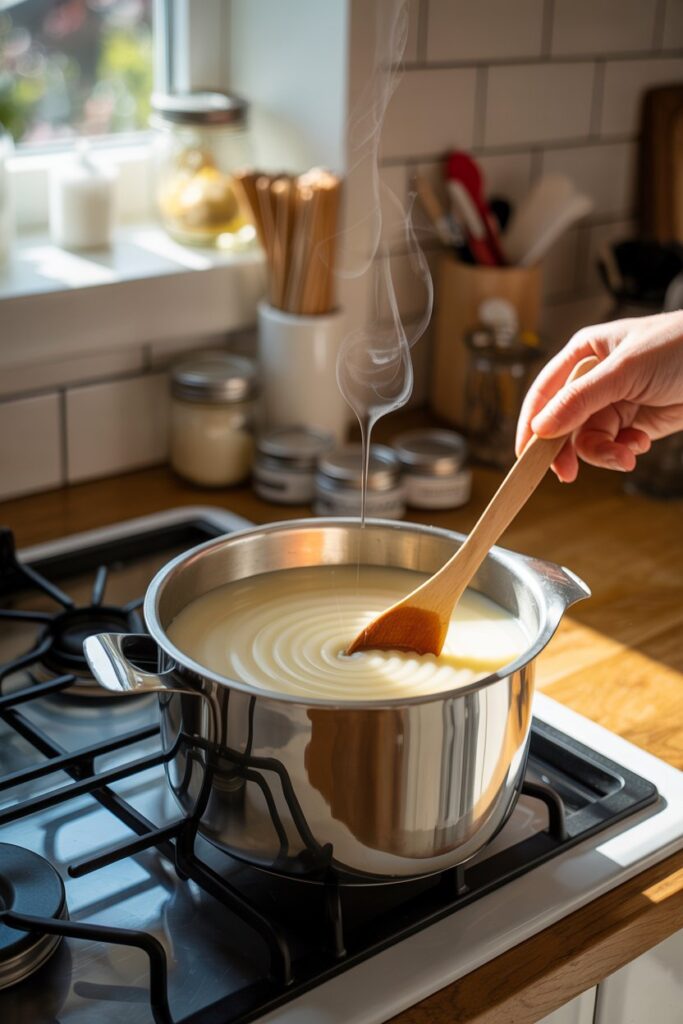
Fill your pouring pitcher with soy wax flakes or beeswax pellets.
Place it inside a pot of simmering water to create a double boiler.
Stir gently until the wax becomes completely melted and smooth.
Tip: Keep the heat low to reduce smoke or burning.
Step 4. Check the Temperature
Use a thermometer to check when the wax cools to the right pouring temperature.
Most soy wax is ready between 120 and 140 degrees Fahrenheit.
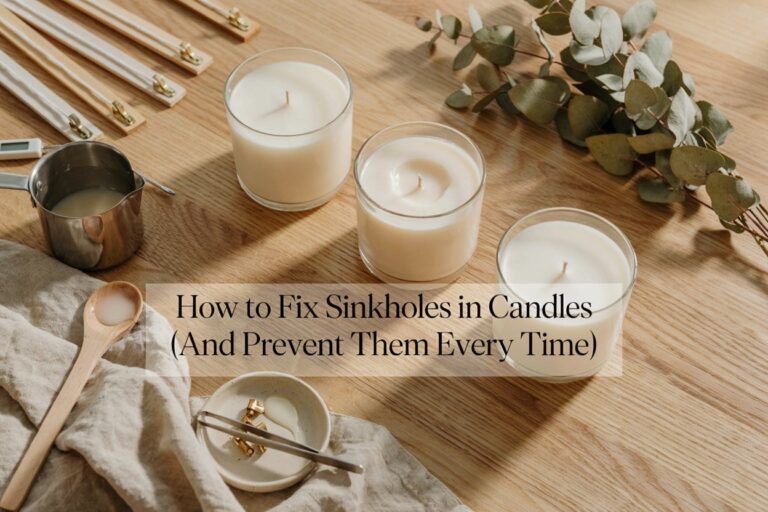
This step helps prevent cracking, frosting, or sinkholes.
Step 5. Add Your Fragrance and Color
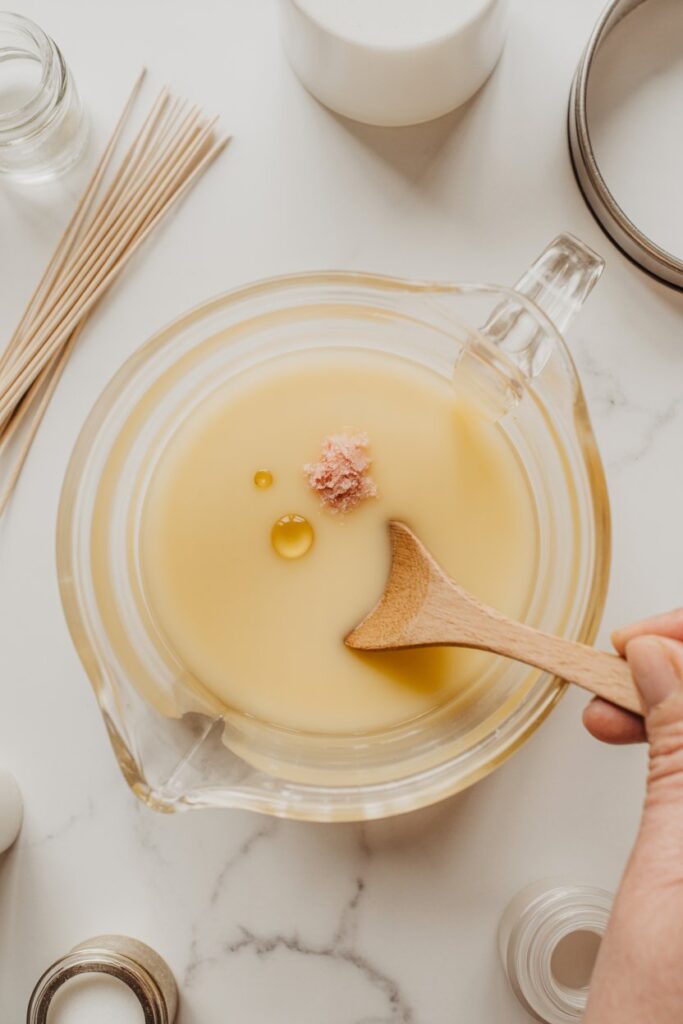
Once the wax is warm but not too hot:
- Add a few drops of fragrance oil
- Add dye or mica powder if you want color
Stir slowly for a full minute so everything blends well.
Tip: Start with a small amount of fragrance. You can always add more next time.
Step 6. Pour the Wax
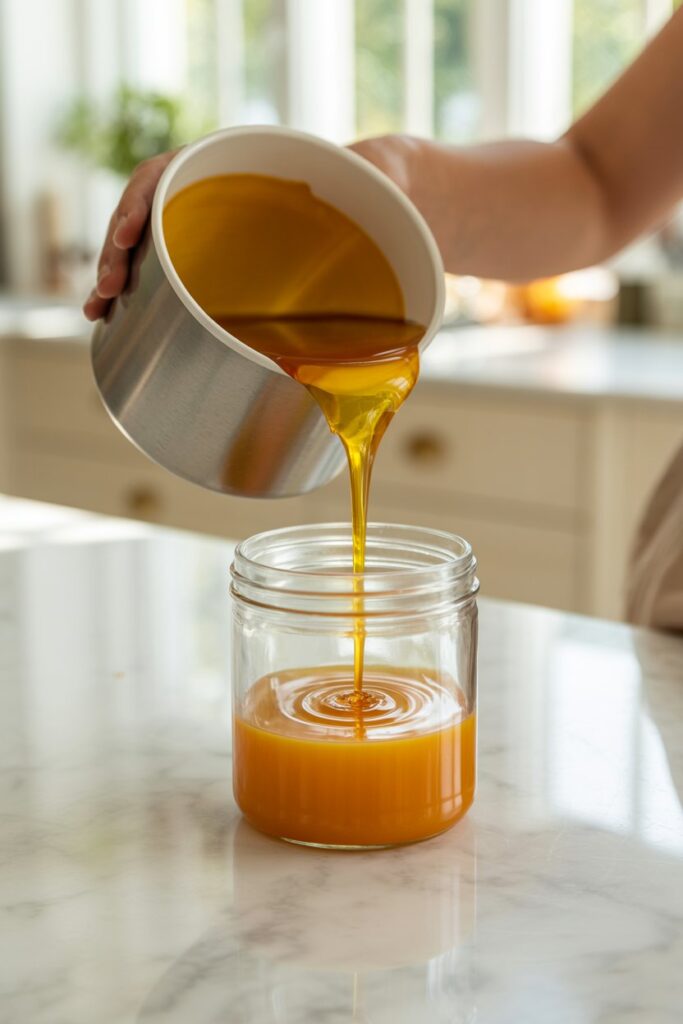
Slowly pour the melted wax into your container.
Pour close to the surface so you do not make bubbles.
Leave a little space at the top of the jar.
Keep the wick centered while the candle starts to set.
Step 7. Let It Cool and Cure
Allow your candle to cool untouched for several hours.
Do not move the container while the wax is hardening. Moving it can cause cracks or uneven surfaces.
After the candle is fully set, trim the wick to about one quarter inch.
For the best scent, let your candle cure for 24 to 48 hours before lighting.
Also Check out – 10 DIY Candles That Make Great Gifts
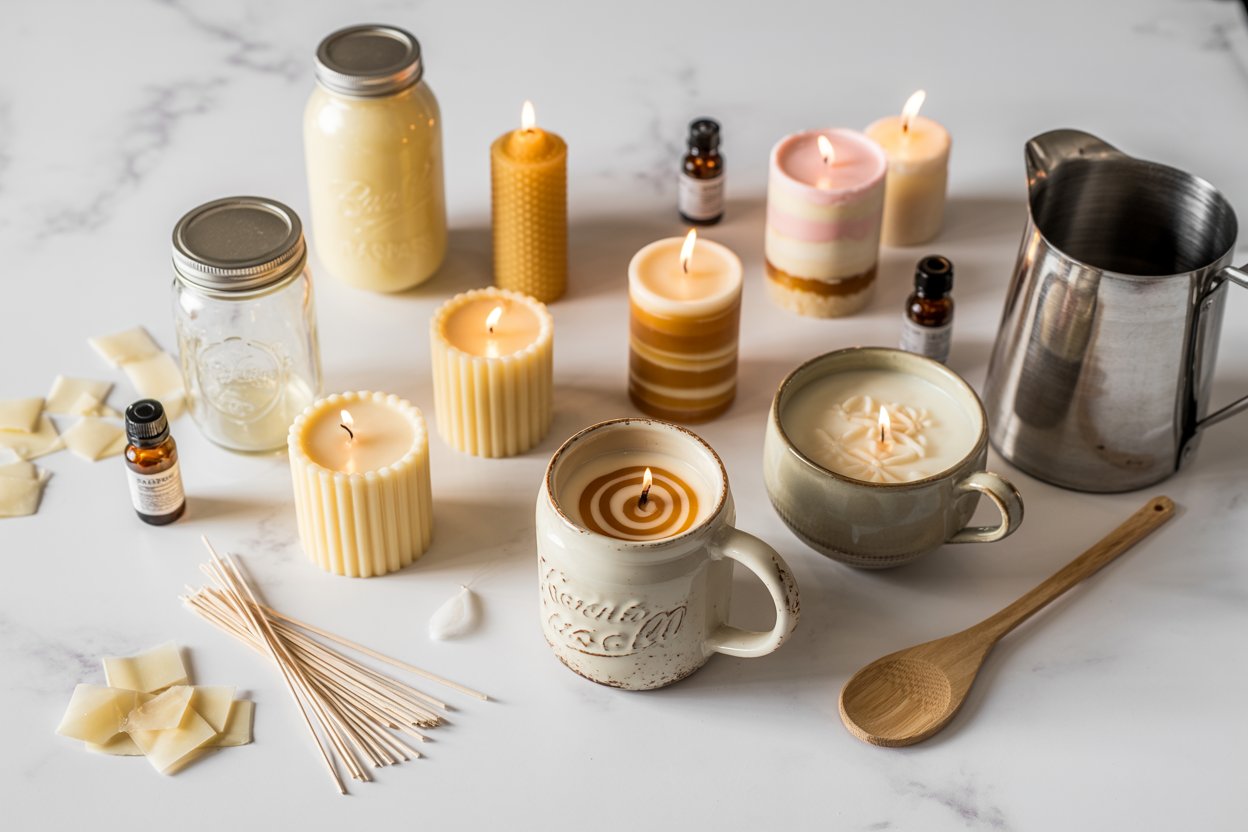
Beginner Friendly Candle Types You Can Make
Once you know the basic method, you can create different candle styles with ease.
1. Scented Soy Candles
Soft, clean, and ideal for everyday use.
2. Beeswax Candles
Natural, long lasting, and great for sensitive people.
3. Mason Jar Candles
Cute, rustic, and perfect for gifting.
4. Layered Color Candles
Beautiful and eye catching, great for decor.
5. Essential Oil Candles
Perfect for aromatherapy lovers.
6. Dessert Inspired Candles
Fun and playful candles that look like treats.
7. Minimalist White Candles
Simple, clean, and modern.
8. Coffee Candles in Mugs
Great for coffee lovers and unique gifts.
Troubleshooting Tips for Perfect Candles Every Time
If you want your candles to look clean and professional, these tips will help:
Keep the wick straight
A centered wick prevents tunneling and uneven burning.
Avoid overheating the wax
High heat weakens scent and changes wax texture.
Let the wax cool before adding fragrance
This gives you a stronger scent throw.
Fix rough tops with a heat gun
A quick gentle pass over the surface smooths imperfections.
Do not rush the cooling process
Slow cooling leads to smooth, even candles.
Trim the wick before gifting or burning
A trimmed wick keeps the flame controlled.
Safety Tips for Beginners
Candle making is safe when you follow simple rules:
- Never leave melting wax unattended
- Always use heat safe containers
- Keep children and pets away while pouring
- Use low heat while melting
- Do not add water to melted wax
- Store fragrance oils safely
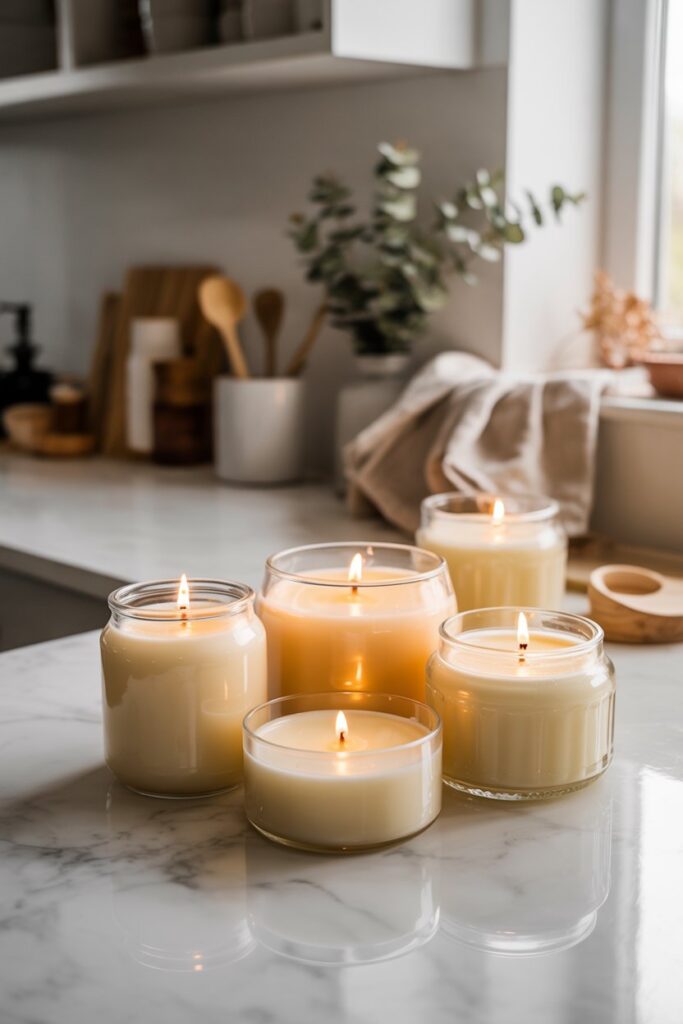
Why Your Homemade Candles Will Feel Special
Homemade candles carry a warmth that store bought candles cannot match. You are adding your time, creativity, and personal touch. The person receiving it knows you made something just for them. Even if you are making candles for yourself, they feel more meaningful because you created them.
Every candle becomes a small piece of art with your scent, your color, and your style.
Final Thoughts
Making candles at home is one of the easiest and most enjoyable DIY crafts for beginners. You only need a few simple supplies and a little patience to create candles that look beautiful, smell amazing, and burn clean.
Whether you want to enjoy them in your home or share them as gifts, homemade candles always feel personal and meaningful.
Once you learn the basics in this guide, you can start experimenting with scents, colors, layers, and creative containers. Candle making is a skill that grows with you, and every candle you make will look better than the last.