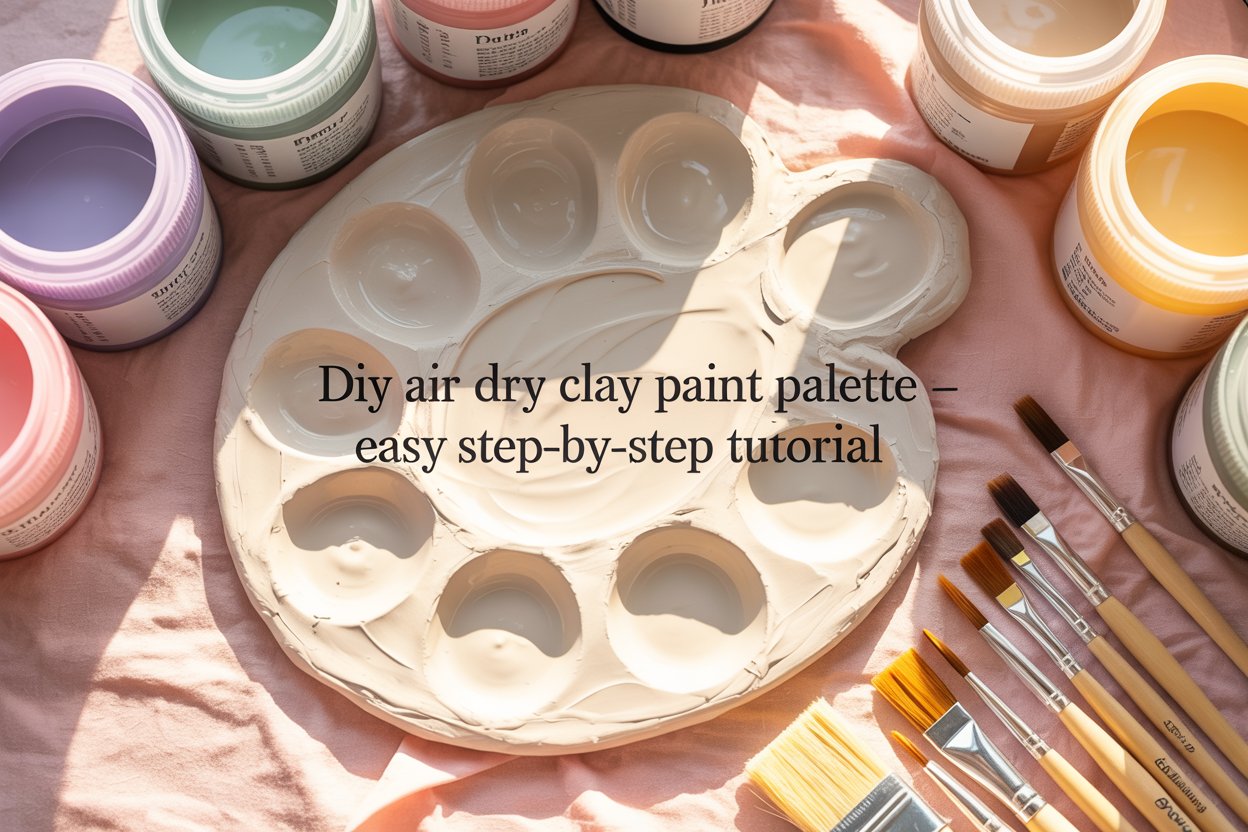
Making your own paint palettes with air dry clay is one of those small creative projects that feels surprisingly rewarding. You get something functional, beautiful, and completely made by hand.
Plus, you can shape it to fit your painting style, whether you like deep paint wells or wide mixing spaces.
The first time I tried making a clay paint palette, I honestly wasn’t sure it would work.
I kept checking it while it dried, worried it might crack or warp.
But once it fully dried and I started using it, I was hooked. There’s something special about painting with tools you made yourself.
In this post, I’ll walk you through how to make paint palettes using air dry clay from start to finish.
You’ll learn what materials to use, how to shape and smooth your palette, and how to finish it so it actually works like a real paint palette.
By the end, you’ll be able to create a handmade palette that looks good, feels sturdy, and is a joy to use.
Before You Start
Before working with air dry clay, take a few minutes to prepare your space and materials.
Air dry clay starts drying as soon as it’s exposed to air, so having everything ready helps you work smoothly without rushing.
Cover your workspace with parchment paper or a silicone mat to keep the clay from sticking. Keep a small bowl of water nearby for smoothing edges and fixing cracks as you shape. It also helps to decide the size and shape of your paint palette ahead of time so you’re not changing your mind mid-process.
Working on a flat, level surface is important. If the surface is uneven, your palette may dry warped and wobble when you use it. Taking care of these small details early makes a big difference in how professional your final palette looks.
Materials You’ll Need
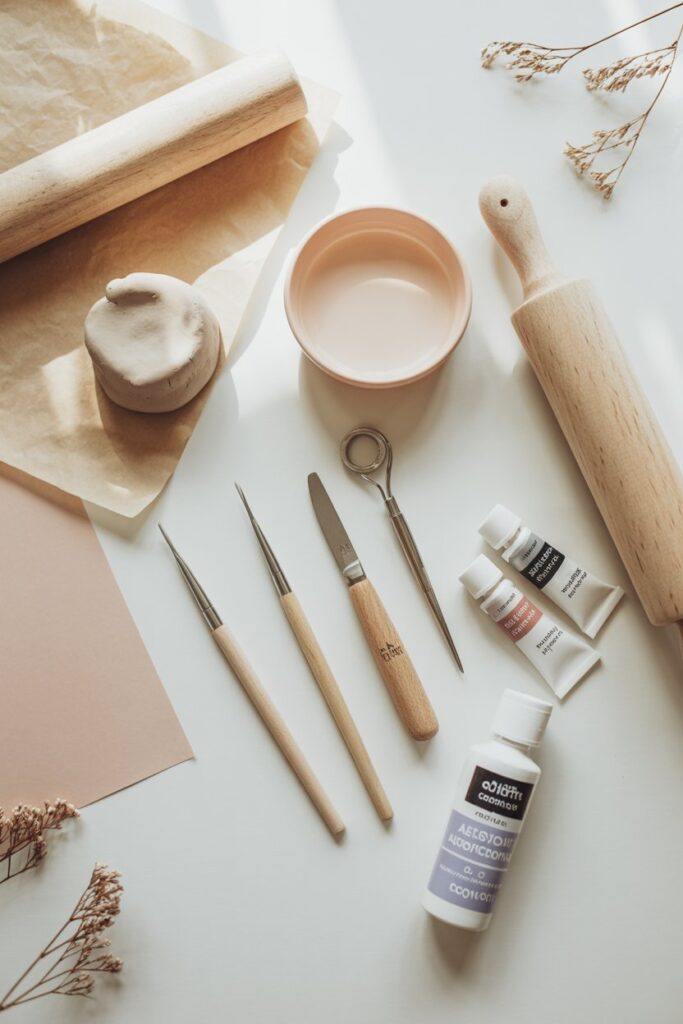
• Air dry clay in white or a light color
• Rolling pin or smooth glass bottle
• Parchment paper or silicone mat
• Small bowl of water
• Paintbrush handle, spoon, or sculpting tools for shaping wells
• Craft knife or clay cutter for trimming edges
• Baking tray or flat board for drying
• Acrylic paint or glaze for decorating
• Clear sealant or varnish for protection
How to Make Paint Palettes with Air Dry Clay
Handmade paint palettes made with air dry clay are an easy and creative DIY project for artists of all levels.
With just a few simple materials, you can shape, customize, and seal a palette that looks professional, works beautifully, and adds a personal touch to your art space.
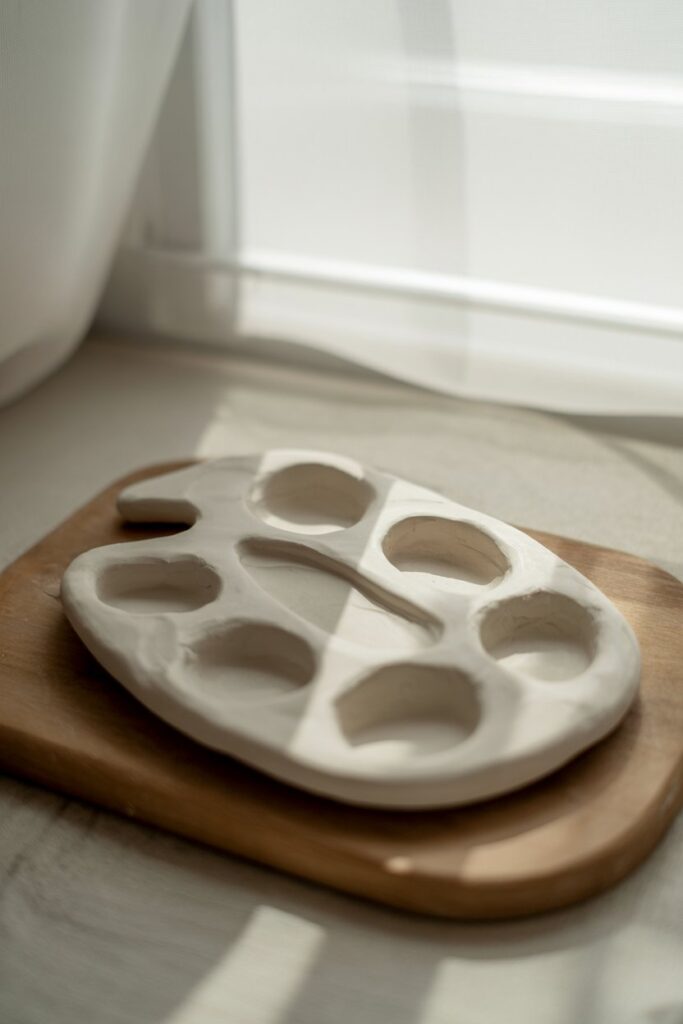
Shaping the Paint Palette Base
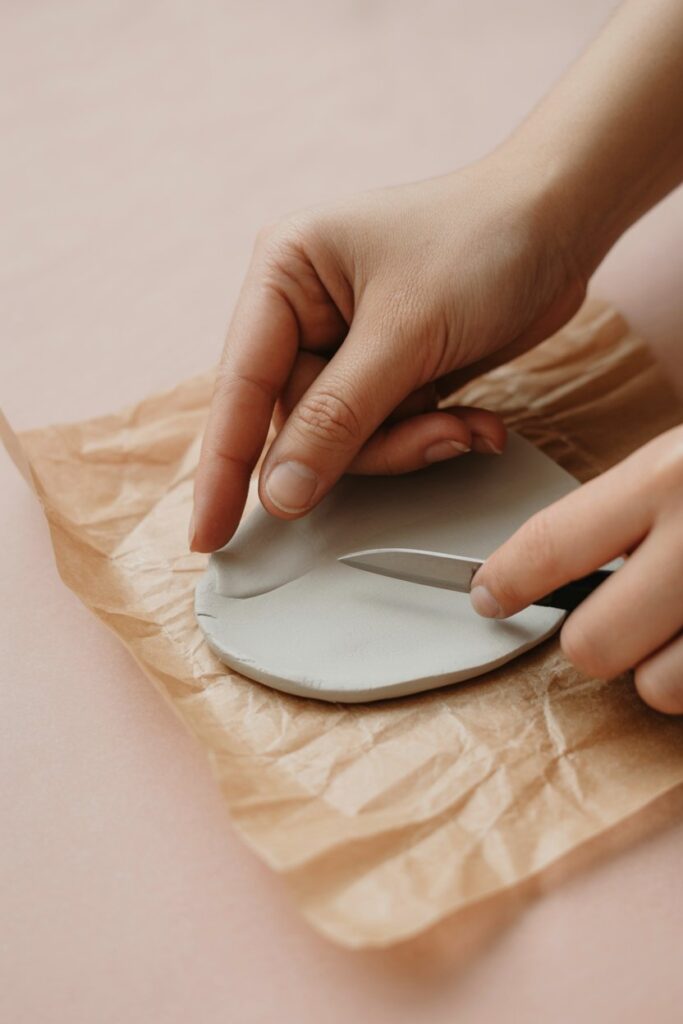
Decide on the shape of your palette before cutting. Organic shapes feel natural and artistic, while circles and ovals give a clean, classic look.
Use a craft knife or clay cutter to trim the edges. Move slowly and keep your hand steady. After cutting, lightly smooth the edges using a damp fingertip or a soft brush dipped in water.
This step gives your palette a polished, finished look and helps prevent sharp or uneven edges once it dries.
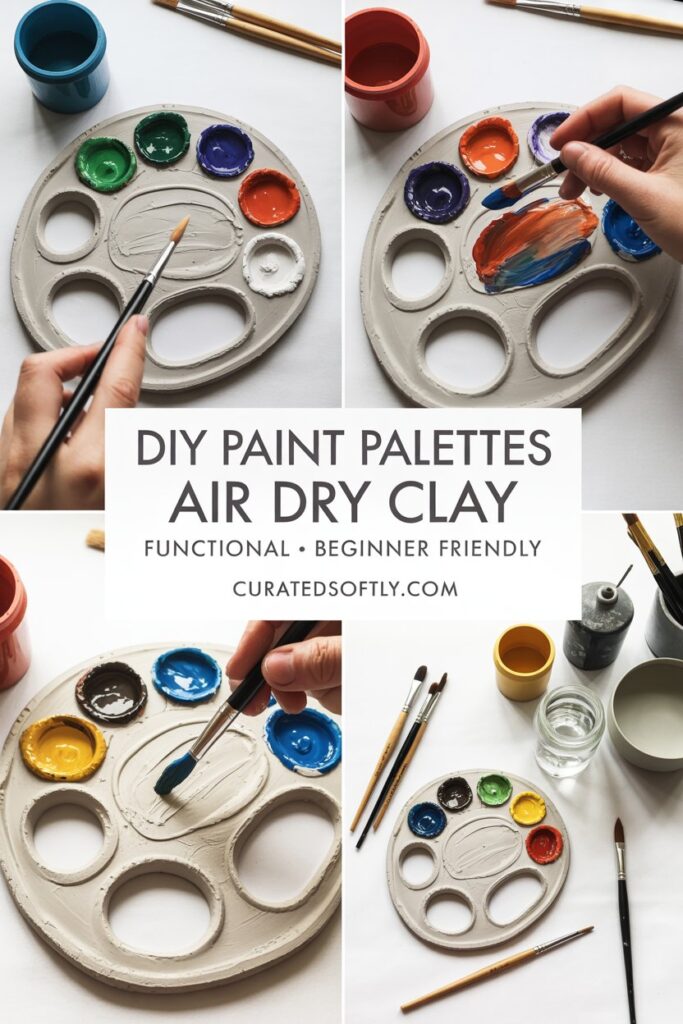
Creating the Paint Wells
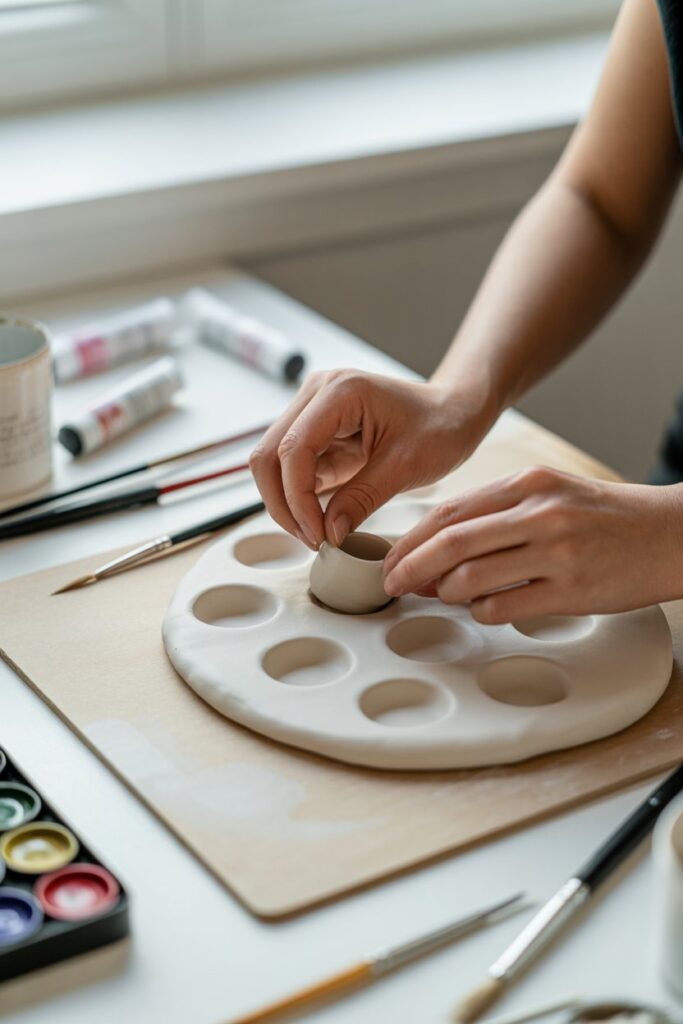
To create the wells where paint will sit, choose a small round object like a bottle cap, spoon end, or clay tool.
Press gently into the clay, being careful not to push all the way through. Each well should be deep enough to hold paint but thick enough at the bottom to stay strong as it dries.
Space the wells evenly and leave enough room around the edges so the palette stays sturdy. If the clay shifts slightly, reshape it gently with your fingers.
Smooth the inside of each well with a damp brush or sponge to remove cracks or rough spots.
Drying the Palette Properly
Let your palette dry slowly at room temperature. Place it on a flat surface and avoid moving it for the first several hours.
After about a day, carefully flip it over so both sides dry evenly. This helps prevent warping and curling at the edges.
Drying time depends on thickness, but most palettes take 24 to 48 hours to fully harden. Make sure it is completely dry before moving on.
Sanding for a Smooth Finish
Once the palette is fully dry, use fine grit sandpaper to smooth the surface and edges.
Sand gently, focusing on rough spots or uneven areas. Wipe away dust with a dry cloth or soft brush.
This step makes a huge difference in how professional your palette looks and feels.
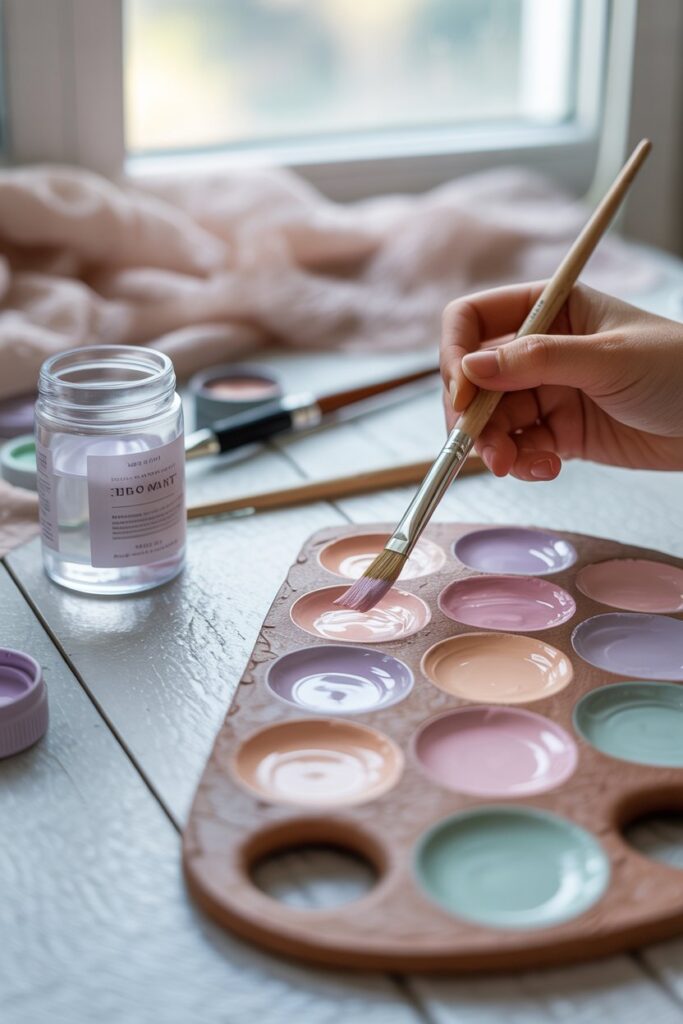
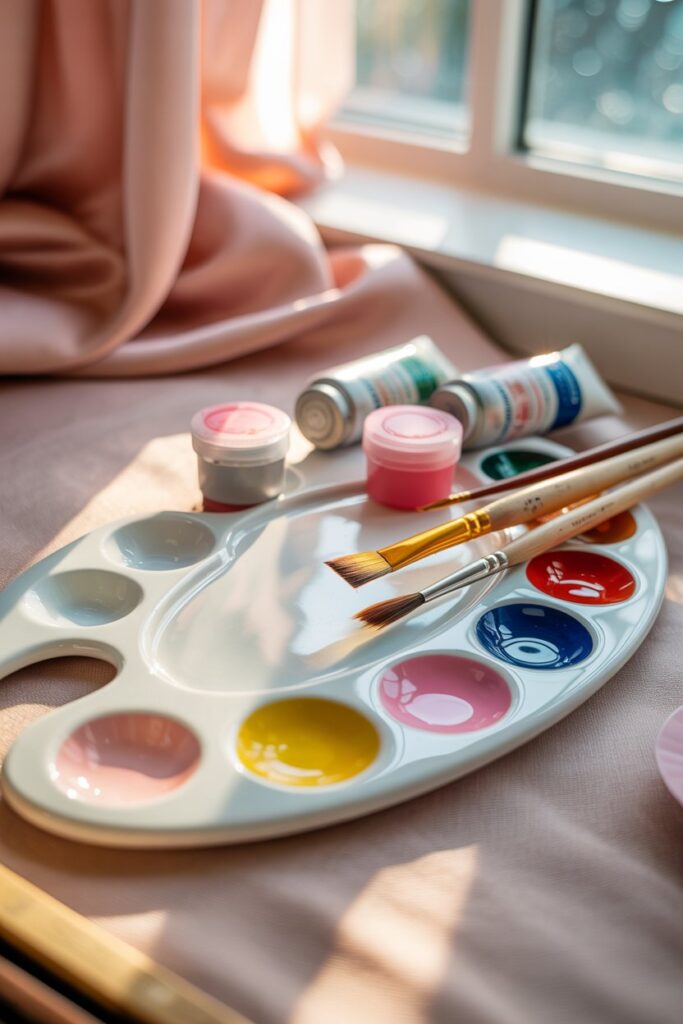
Painting and Sealing Your Palette
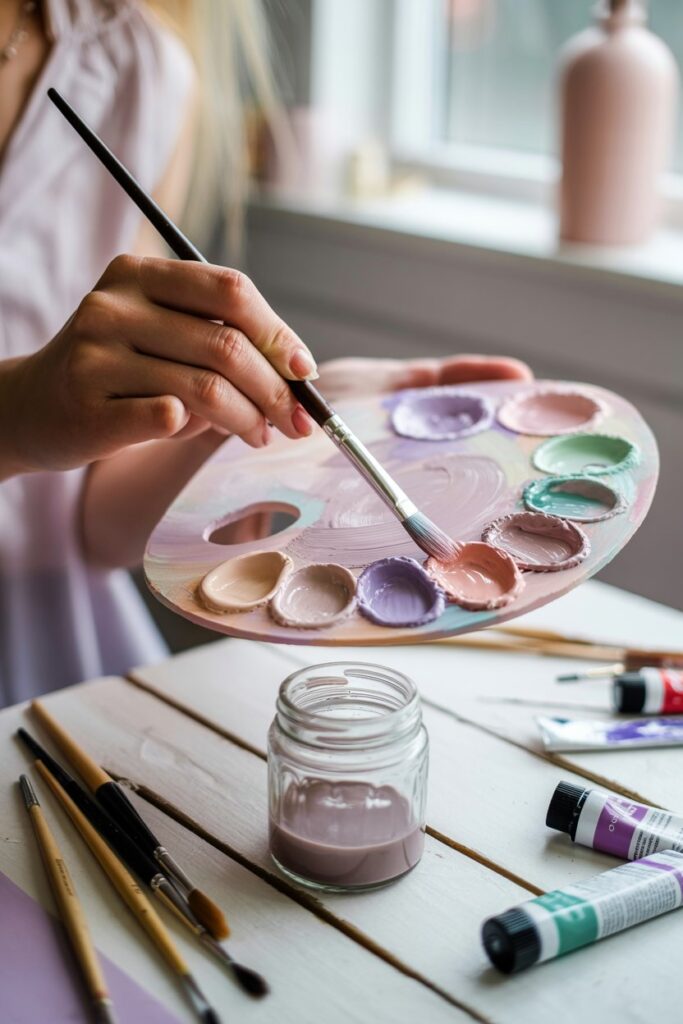
If you want to add color, now is the time. Acrylic paint works well, or you can use a ceramic style glaze look with white or neutral tones.
Apply thin, even coats and allow each layer to dry fully before adding another.
Once you are happy with the finish, seal the palette with a clear varnish or waterproof sealer. This protects the surface from moisture and makes it easy to clean after use.
Let the sealer cure completely according to the instructions before using your palette.
Expert Pro Tip
To make your air-dry clay paint palette look professional and last longer, start by shaping it with slightly thicker edges and deeper paint wells. This prevents cracking as the clay dries and ensures your paints do not spill over.
Drying slowly at room temperature is key. Avoid placing it in direct sunlight or near a heater because rapid drying can cause warping or cracks. Turning the palette occasionally allows both sides to dry evenly.
Once the palette is completely dry, lightly sand any rough edges or bumps for a smooth finish.
Applying a clear, waterproof varnish or sealant not only protects the surface from moisture but also gives it a polished, glossy look, making it feel like a real artist-grade palette.
These small steps can make your handmade palette both functional and beautiful.
Final Thoughts
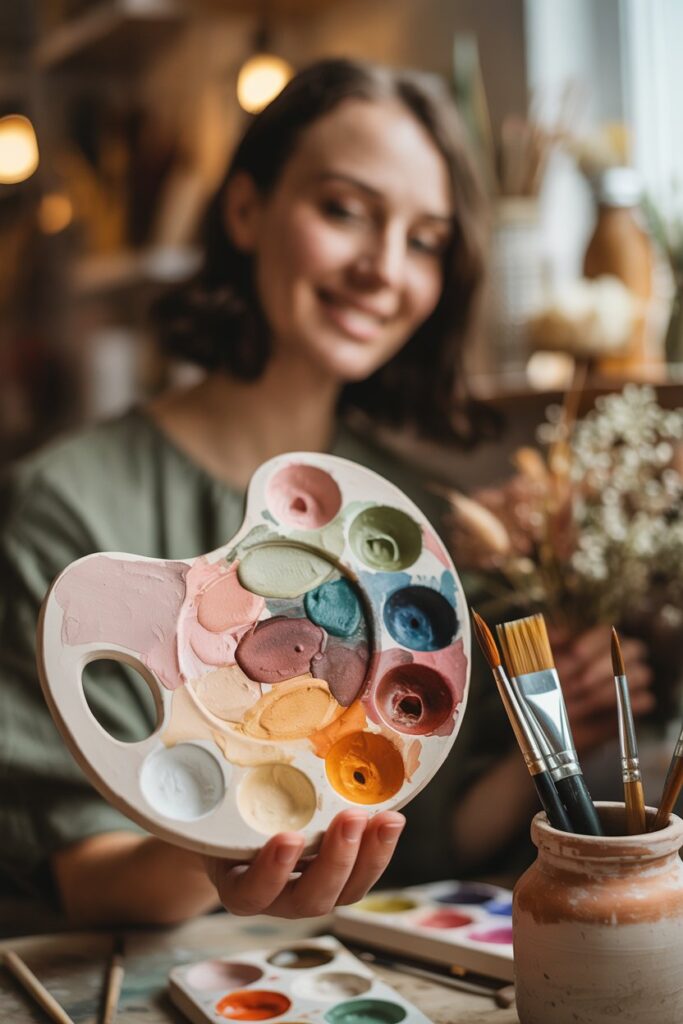
Making paint palettes with air dry clay is a simple project that adds a personal touch to your creative routine. Each palette is unique, practical, and surprisingly durable when made with care.
Take your time, enjoy the process, and do not worry about perfection. Small imperfections often make handmade pieces even more special.
Once you start using a palette you created yourself, it becomes more than just a tool. It becomes part of your creative journey.