If you have ever picked up a lip gloss and thought, “I wish I could make something like this myself,” you are not alone.
I had that exact thought one day after buying yet another gloss that looked amazing in the tube but felt too sticky on my lips.
It either wore off too fast or just did not give me that smooth, glossy finish I wanted.
After a bit of frustration and curiosity, I decided to try making my own lip gloss at home.
Honestly, I expected it to be complicated. I thought I would need special tools or professional skills. But once I tried it, I realized how simple and fun the process actually is.
And the best part is this. You can completely customize your lip gloss to match exactly what you like.
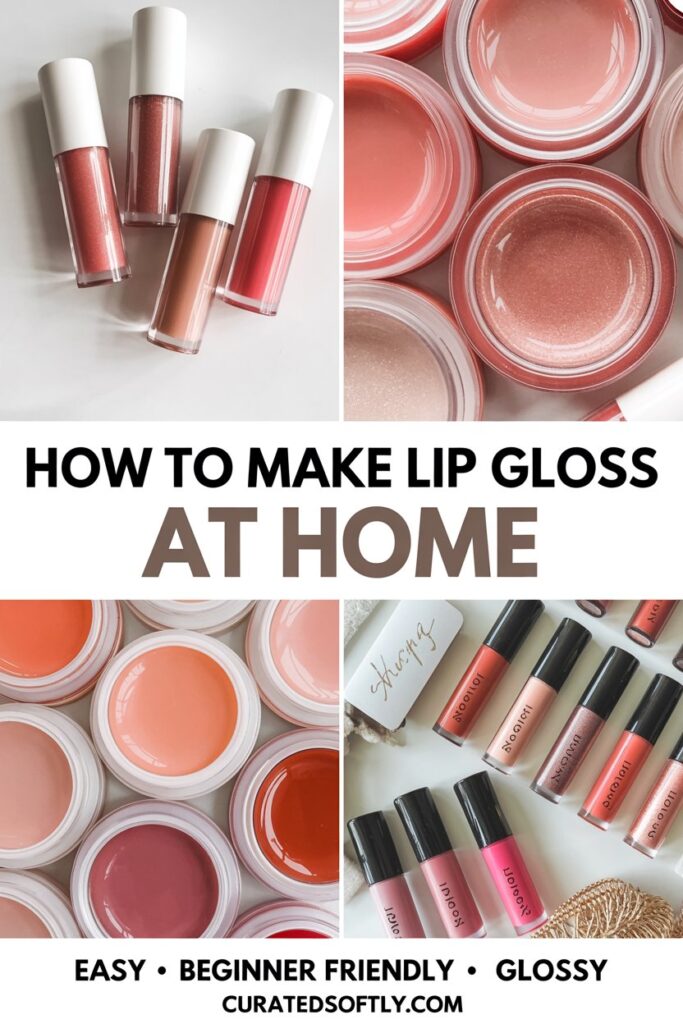
In this guide, I am going to show you exactly how to make DIY lip gloss step by step using simple ingredients.
Even if you are a beginner, you will be able to create a glossy, beautiful product that feels just as good as store-bought.
Why I Started Making My Own Lip Gloss
Before I walk you through the process, I want to share why I personally made the switch. This might help you see why DIY lip gloss is more than just a fun project.
You Know Exactly What You Are Using
One of the biggest reasons I started was because I wanted more control over the ingredients.
When you buy lip gloss from a store, you usually have no idea what half the ingredients are. Some of them can be drying or irritating, especially if you have sensitive lips.
When you make your own, you keep things simple. You choose ingredients that are safe, gentle, and actually nourishing.
It Saves You Money Over Time
I used to buy multiple lip glosses just to find one that I really liked.
It adds up quickly.
When you start making your own, you realize that one set of ingredients can make several glosses. After your first batch, everything becomes much more affordable because you already have most of what you need.
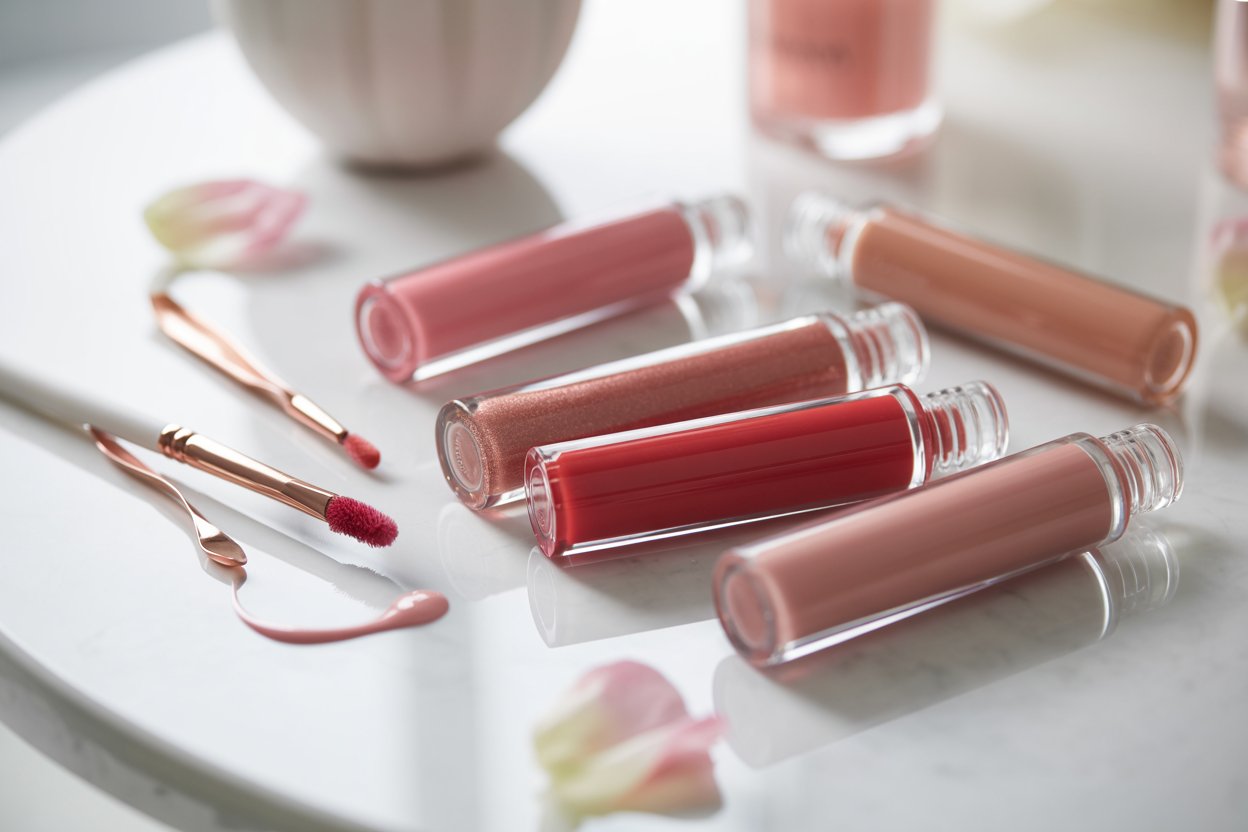
You Can Create Exactly What You Want
This is the part I enjoy the most.
You are not limited to what is on store shelves. You can create your own shades, finishes, and scents.
You can make:
- A clear everyday gloss
- A soft pink tint
- A bold glossy shine
- A glitter gloss for special occasions
It feels more personal because it is something you created yourself.
It Can Turn Into Something Bigger
At first, I was just making lip gloss for myself. Then I started sharing it with friends, and they loved it.
That is when I realized this could actually turn into a small business.
A lot of people are selling DIY lip gloss online and making real income from it. So if you enjoy the process, this could easily grow into something more.
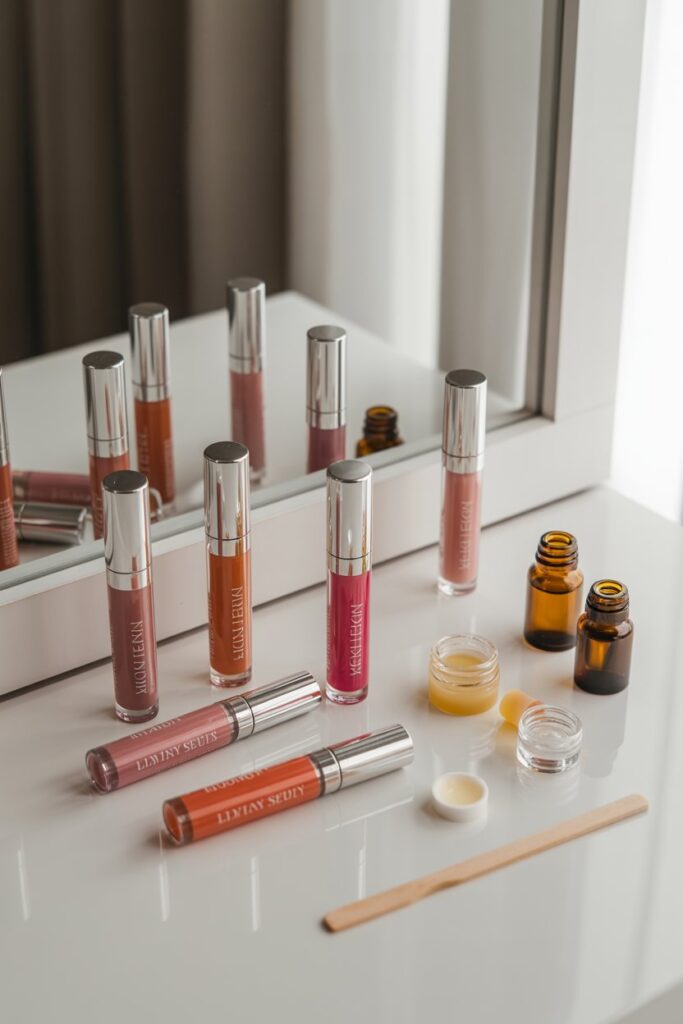
What You Need to Make DIY Lip Gloss
When I first looked into this, I thought I would need a long list of complicated supplies. But the truth is, you only need a few basic ingredients to get started.
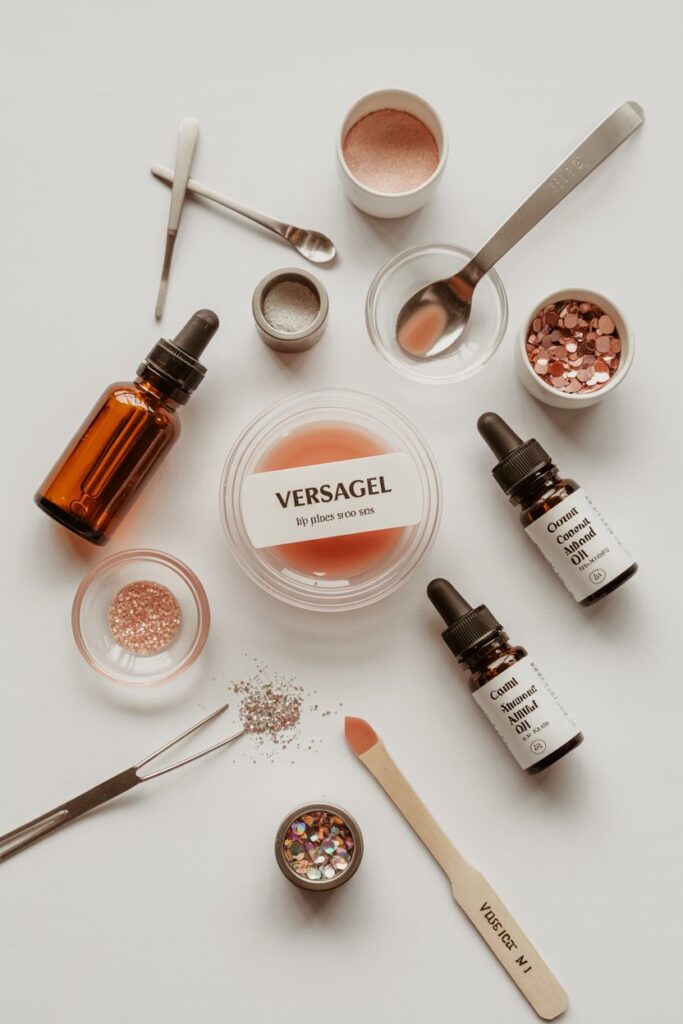
Essential Ingredients
Here are the core ingredients you will need:
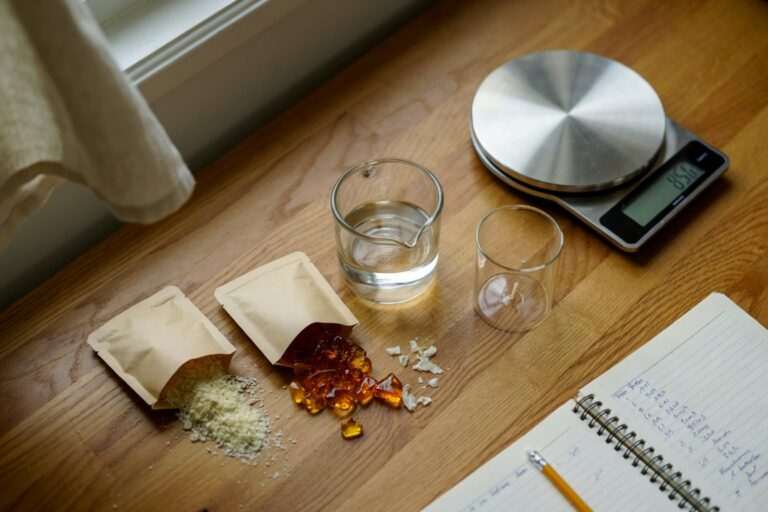
Lip gloss base (Versagel)
This is what gives your gloss that smooth, shiny texture. It is the foundation of your product.
Carrier oil
This helps soften the gloss and moisturize your lips. You can use coconut oil, almond oil, or jojoba oil.
Flavor oil or essential oil (optional)
This adds a scent or taste. Vanilla, strawberry, and mint are popular choices.
Color or pigment (optional)
If you want tinted lip gloss, you can use mica powder, a small amount of eyeshadow, or even a bit of lipstick.
Cosmetic glitter (optional)
If you want a sparkly finish, make sure you use glitter that is safe for lips.
Tools You Will Need
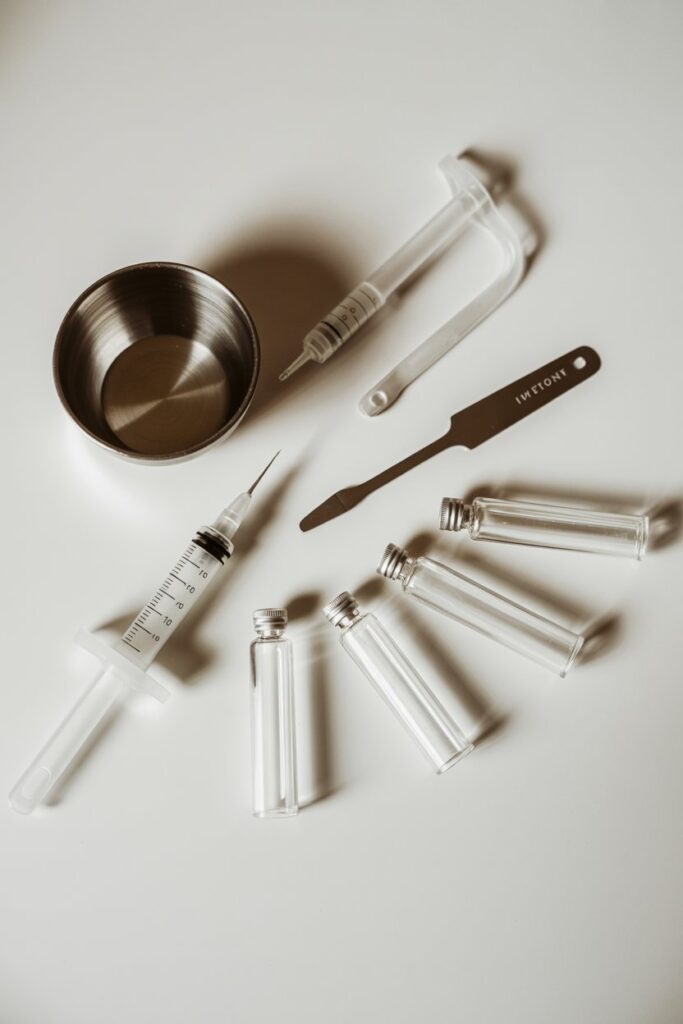
You do not need anything fancy here.
- A small mixing bowl
- A spoon or spatula
- A syringe or pipette for filling
- Lip gloss tubes or small containers
The first time I made lip gloss, I did not even have proper tools. I improvised with what I had at home, and it still worked. So do not let a lack of equipment stop you.
Step by Step Guide to Making DIY Lip Gloss
Now let me walk you through the exact process I use. Once you try it, you will see how simple it really is.
Step 1: Start With Your Lip Gloss Base
Add your Versagel lip gloss base into a clean bowl.
If you are just starting, I recommend using about two to three tablespoons. It is better to make a small batch first so you can test and adjust.
I learned this the hard way when I made too much on my first try and did not like the texture. Starting small gives you more control.
Step 2: Add Your Oil
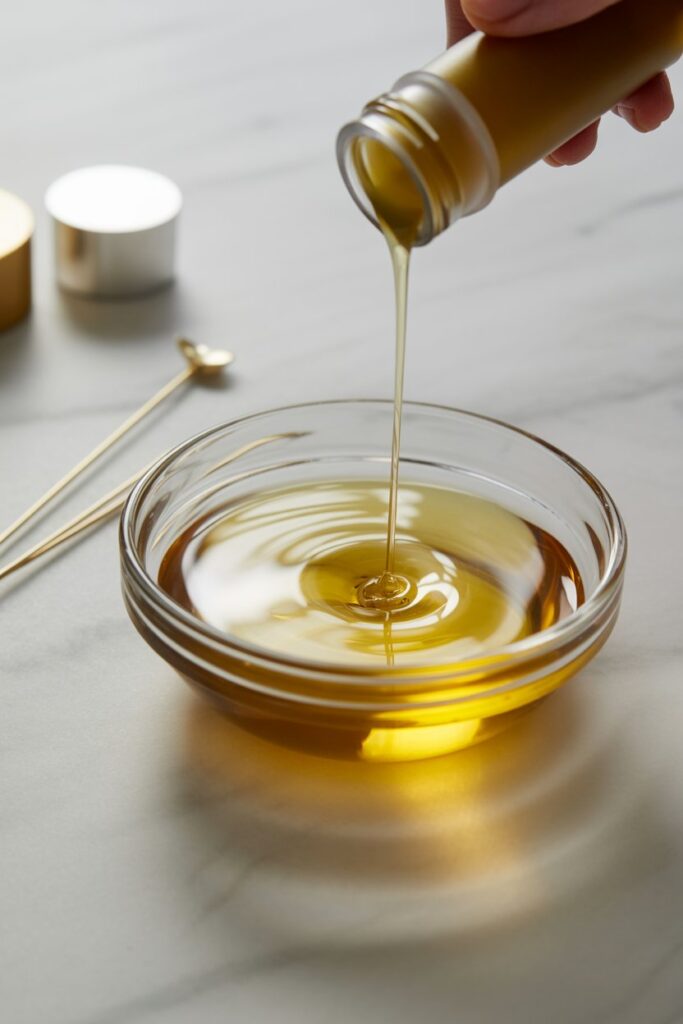
Next, add your carrier oil.
Start with about half a teaspoon, then mix. You can always add more if needed.
If you want a thicker gloss, use less oil. If you prefer a smoother and more lightweight feel, add a little more.
Mix slowly until the texture looks smooth and even.
Step 3: Add Your Color
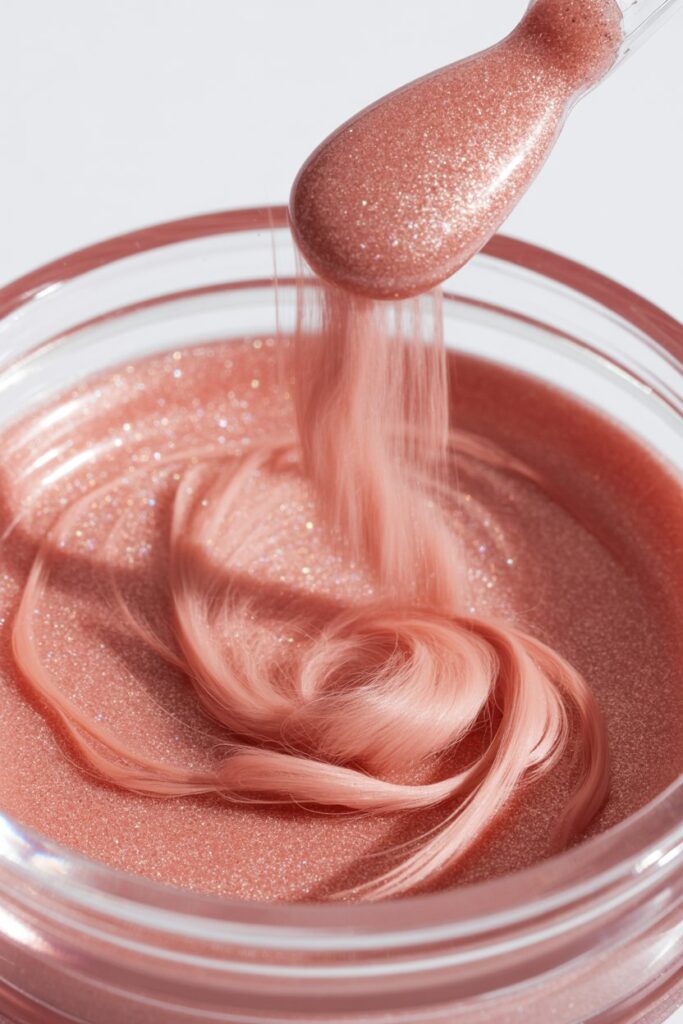
This is where your gloss starts to come to life.
If you want a tinted gloss, add a small amount of your chosen pigment.
You can use:
- Mica powder for a smooth finish
- Eyeshadow for easy color options
- A tiny amount of lipstick for a richer tone
When I first tried this, I added too much pigment and ended up with something that looked more like liquid lipstick. So take your time and build the color gradually.
Mix well until everything is evenly blended.
Step 4: Add Scent or Flavor
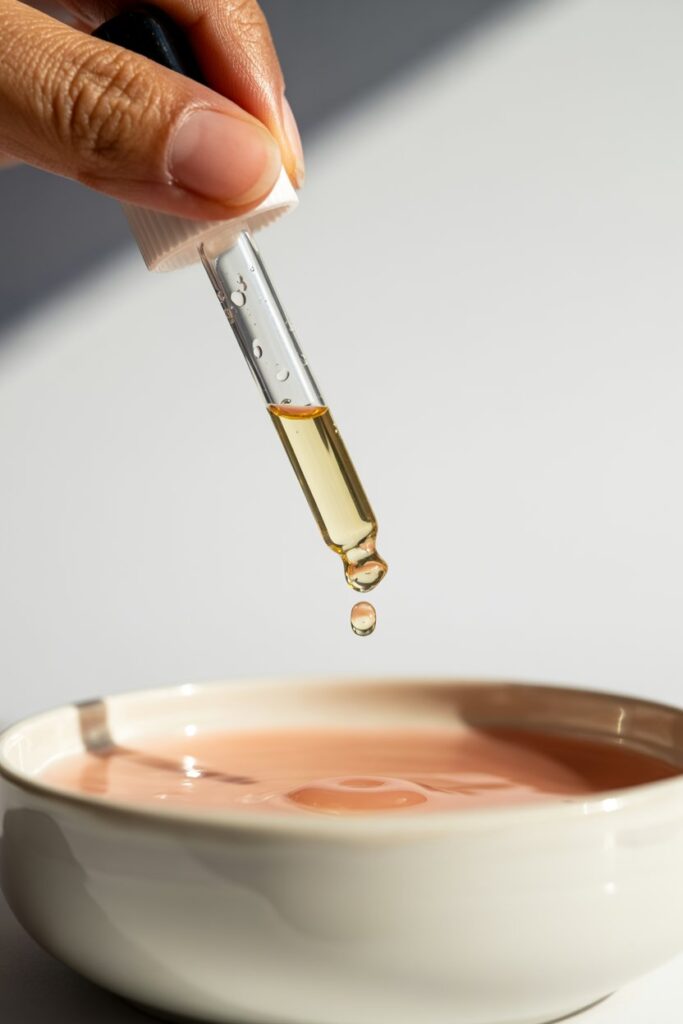
Now it is time to give your gloss a nice scent.
Add one or two drops of your flavor oil or essential oil.
I usually go for vanilla because it smells soft and natural, but you can choose whatever you like.
Be careful not to add too much. A little goes a long way.
Step 5: Add Glitter if You Want Extra Shine
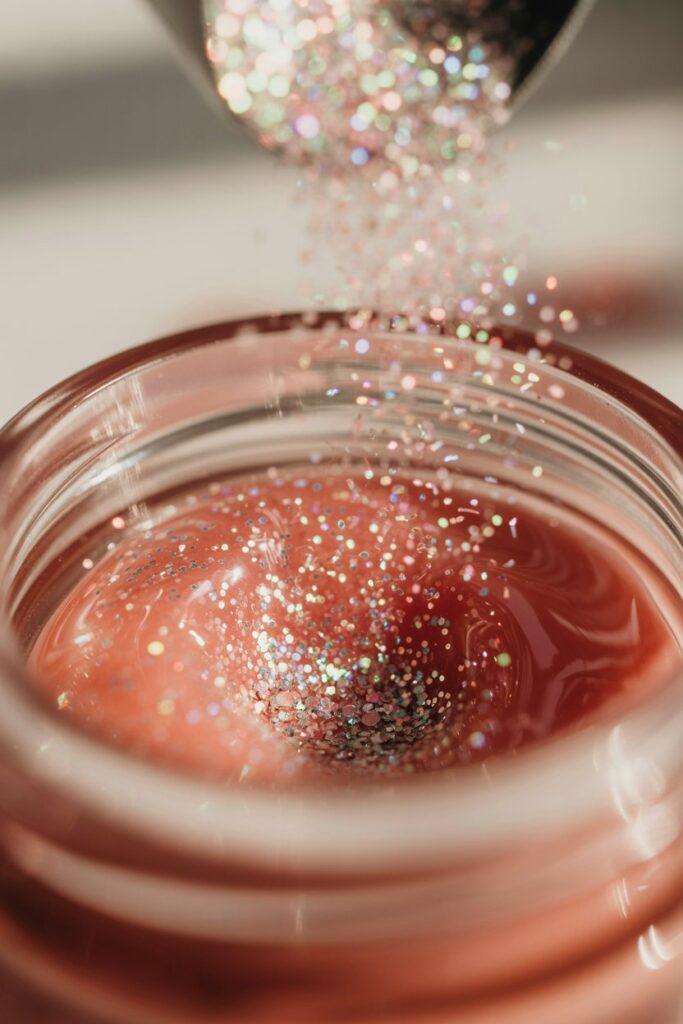
If you like a glossy, sparkly finish, you can add a small amount of cosmetic glitter.
This step is optional, but it can make your gloss stand out, especially in the light.
Mix everything thoroughly so the glitter is evenly distributed.
Tips for Getting the Perfect Texture
Getting the texture right is just as important as the look.
Here are a few things I learned from trial and error:
- If your gloss feels too thick, add a little more oil
- If it feels too runny, add more lip gloss base
- Mix slowly to avoid bubbles
- Always test a small amount before finishing
Do not worry if it is not perfect on your first try. It gets easier every time.
Common Mistakes to Avoid
When I first started making DIY lip gloss, I made a few mistakes that affected my results. Avoiding these will save you time and ingredients.
Using Too Much Pigment
Too much color can take away from the glossy effect and make the texture heavy.
Using the Wrong Type of Glitter
Always use cosmetic grade glitter. Regular glitter is not safe for your lips.
Not Cleaning Your Tools
This is very important. Clean tools help prevent contamination and keep your gloss safe to use.
Adding Too Much Oil
Too much oil can make your gloss feel greasy or cause it to separate.
How to Fill Your Lip Gloss Tubes the Right Way
Once your lip gloss mixture is smooth, blended, and exactly how you like it, the next step is getting it into your containers.
This part felt a bit tricky the first time I did it, but once you get the hang of it, it becomes really easy.
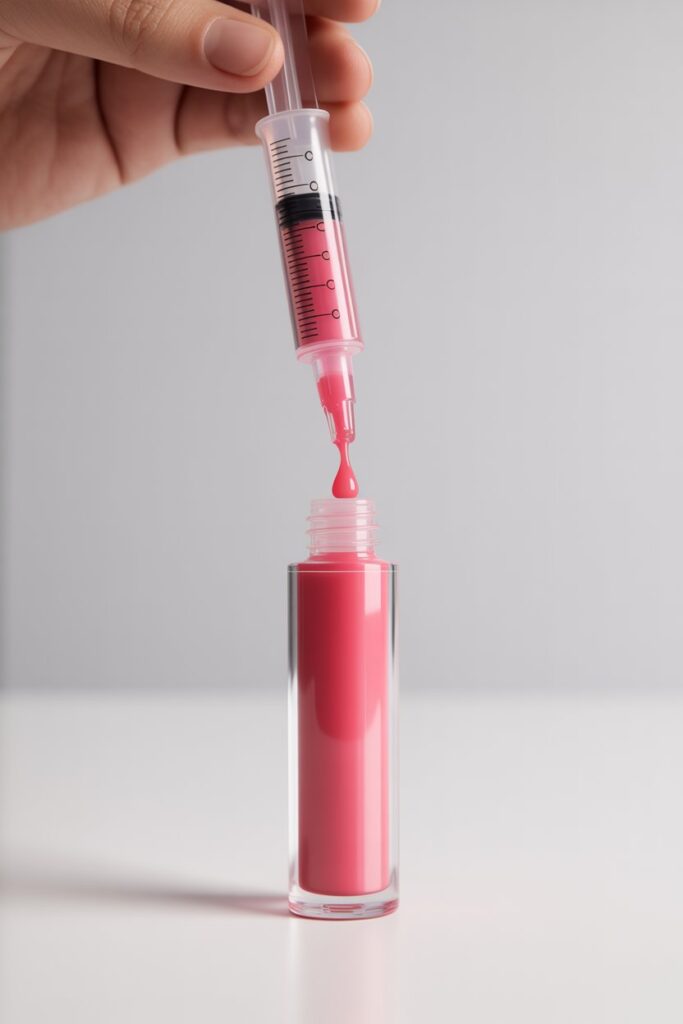
The cleanest and most efficient way to do this is by using a syringe or pipette.
Simply draw the gloss into the syringe and slowly fill each tube. Take your time here. If you rush, you might end up with air bubbles or spills, which can make your gloss look less professional.
If you do not have a syringe, you can still make it work. I used a small plastic bag on my first try. I filled it with gloss, cut a tiny corner, and squeezed it gently into the tubes. It worked surprisingly well.
Once your tubes are filled, secure the caps tightly and wipe off any excess gloss from the outside.
How to Store Your DIY Lip Gloss
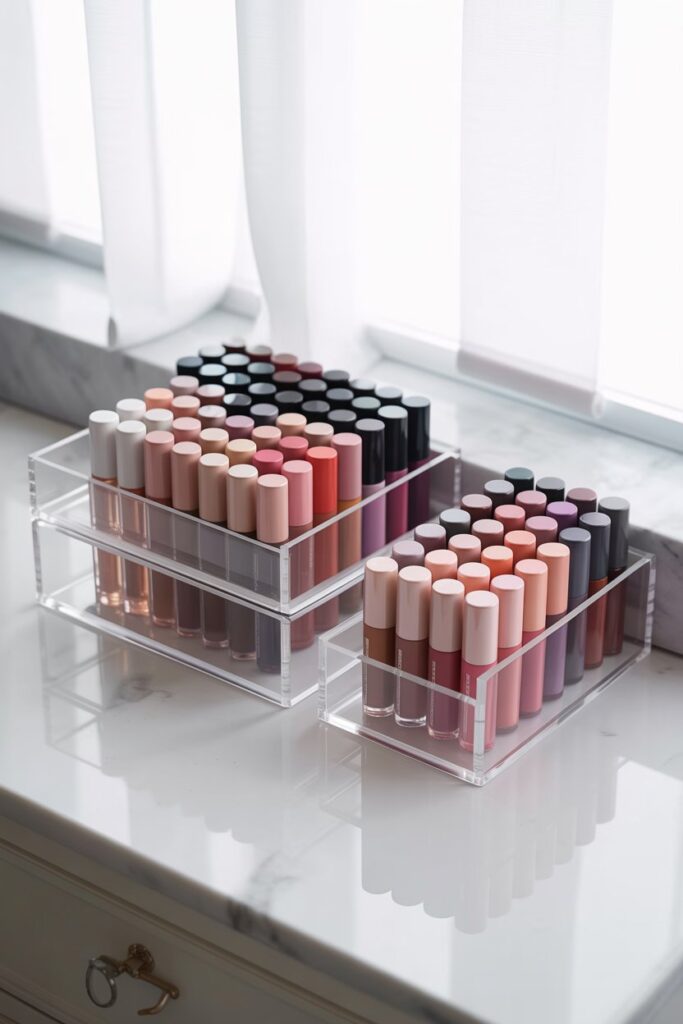
After putting in the effort to make your lip gloss, you want it to stay fresh and safe to use.
From my experience, storage makes a big difference in how long your gloss lasts.
Here are a few simple tips:
- Keep your lip gloss in a cool, dry place
- Avoid direct sunlight, as heat can affect the texture
- Always close the cap tightly after use
- Do not introduce water into your gloss
If you are using natural oils, your gloss will typically last 6 to 12 months. If you notice any change in smell, texture, or color, it is best to stop using it.
Easy DIY Lip Gloss Variations You Can Try
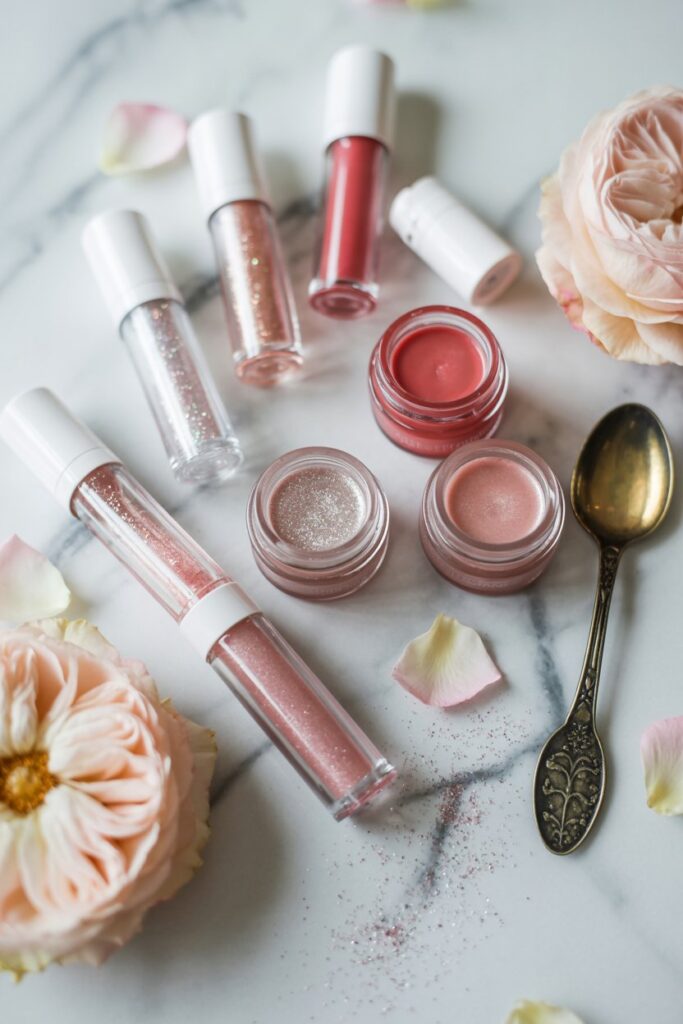
One thing I love about making lip gloss is how easy it is to experiment.
Once you understand the basic process, you can start creating different versions depending on your mood or style.
Here are a few ideas you can try:
Clear Everyday Gloss
This is the simplest version. Just use your base and oil with a light scent. It gives a clean, natural shine that works with anything.
Tinted Gloss
Add a small amount of pigment for a soft wash of color. Perfect if you want something subtle but noticeable.
Glitter Gloss
Add cosmetic glitter for a sparkling finish. This works great for events, photos, or when you just want something extra.
Moisturizing Lip Gloss
You can add ingredients like vitamin E oil for extra hydration. This is perfect if your lips tend to get dry.
Flavored Lip Gloss
Try fun flavors like strawberry, coconut, or mint. This makes your gloss feel more unique and enjoyable to use.
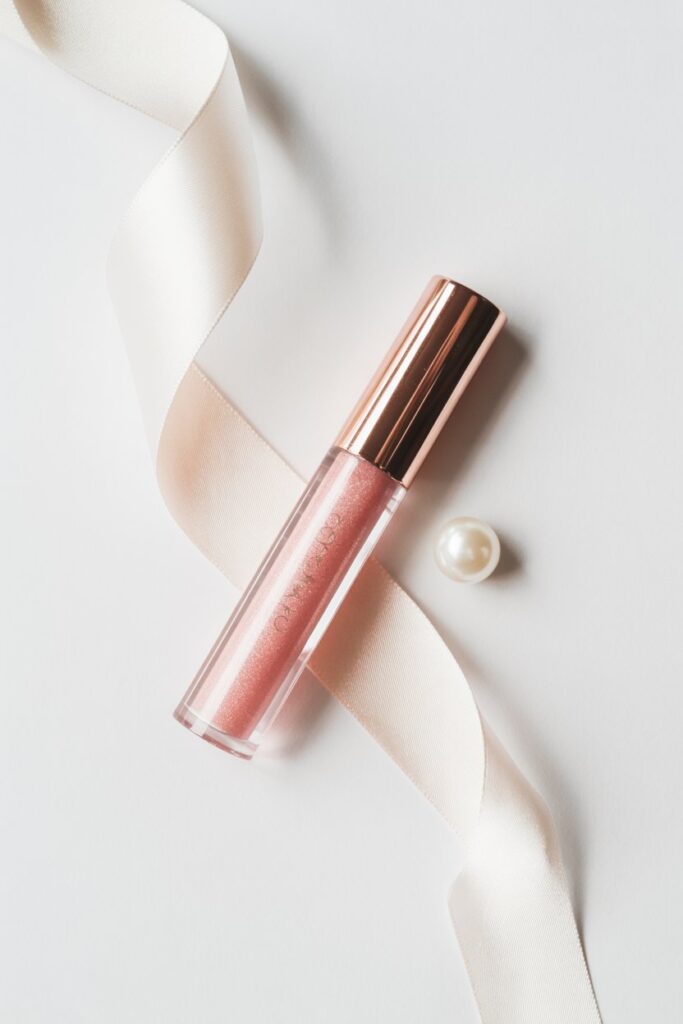
Can You Sell DIY Lip Gloss?
This is a question I get asked a lot, and the answer is yes.
I did not think about selling at first, but once people started asking me to make some for them, I realized there was real potential here.
If you are thinking about turning this into a small business, here are a few things to keep in mind:
- Use high quality, lip-safe ingredients
- Invest in clean, attractive packaging
- Create unique shades or collections
- Price your products to cover costs and profit
- Start by selling to friends, then expand online
Platforms like Etsy, Instagram, and even local markets are great places to begin.
Just remember, consistency and presentation matter just as much as the product itself.
Frequently Asked Questions About DIY Lip Gloss
Is DIY lip gloss safe to use?
Yes, as long as you use cosmetic-grade, lip-safe ingredients and keep everything clean during the process.
Can I make lip gloss without Versagel?
Versagel is the most common base because it gives the best texture. Without it, the consistency may not feel like traditional lip gloss.
How long does homemade lip gloss last?
Most DIY lip gloss lasts between 6 and 12 months, depending on the ingredients and how it is stored.
Why is my lip gloss too sticky?
This usually happens when there is not enough oil in the mixture. Try adding a small amount and mixing again.
Can I use food coloring for lip gloss?
It is not recommended. Food coloring does not mix well with oil-based products and can affect the texture.
Final Thoughts
Making your own DIY lip gloss is one of those things that feels small at first but quickly becomes something you really enjoy.
I started out just wanting a better gloss for myself, and now it is something I genuinely have fun creating.
There is something satisfying about using a product you made with your own hands, especially when it turns out exactly how you want it.
The best advice I can give you is this. Start simple, experiment as you go, and do not be afraid to make mistakes. That is how you learn and improve.
Before you know it, you will have your own collection of custom lip glosses that look amazing, feel great, and maybe even turn into something bigger.