Lavender Soap DIY Recipe
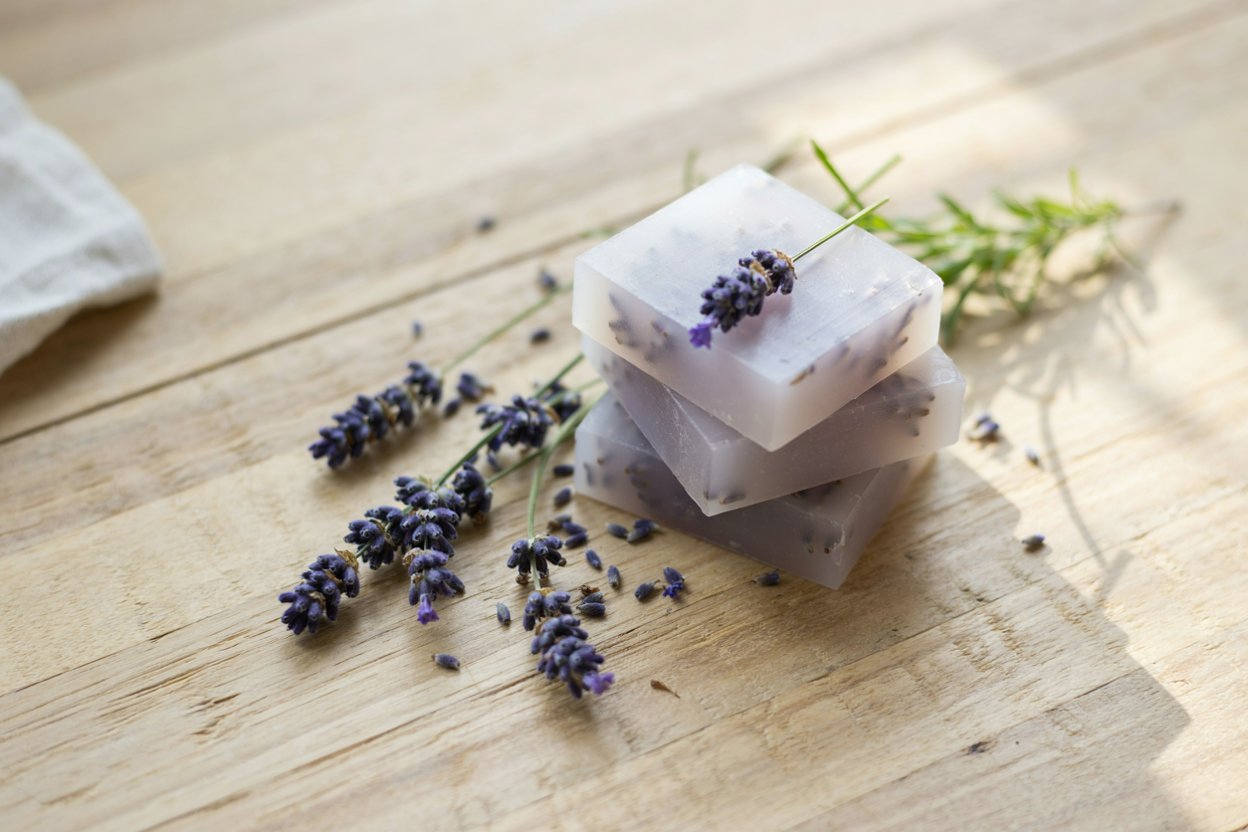
Lavender soap is a melt-and-pour bar scented with real lavender essential oil, often finished with a few dried lavender buds pressed into the surface or suspended through the bar, made without any of the raw lye handling that scares a lot of people away from soap making in the first place.
It’s genuinely one of the easiest scented soaps to make at home, and it’s become my go-to gift for pretty much any occasion that calls for something small and thoughtful.
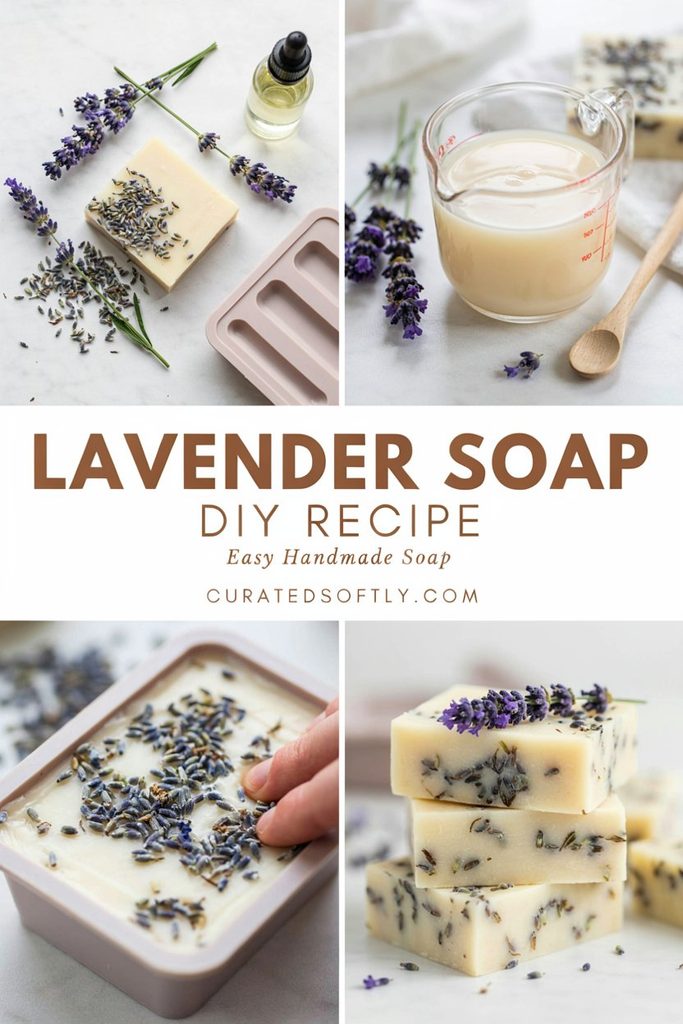
I’ve made a lot of scented soap batches at this point, and lavender is consistently the one people ask for again. It’s calming without being overly floral, it pairs beautifully with the visual of real lavender buds suspended in the bar, and it’s forgiving enough as a recipe that a slightly imperfect pour still looks intentional rather than like a mistake.
If you haven’t made melt-and-pour soap before, my soap making for beginners guide covers the full process and safety basics in more depth than I’ll repeat here, this post assumes you’ve got that foundation and just want the lavender-specific version.
Why Lavender Works So Well in Soap
Lavender essential oil holds its scent well in a melt-and-pour base compared to some lighter, more delicate florals that tend to fade fast once cured. It’s also genuinely one of the more universally liked scents I’ve worked with, calming without reading as old-fashioned or overly perfumed.
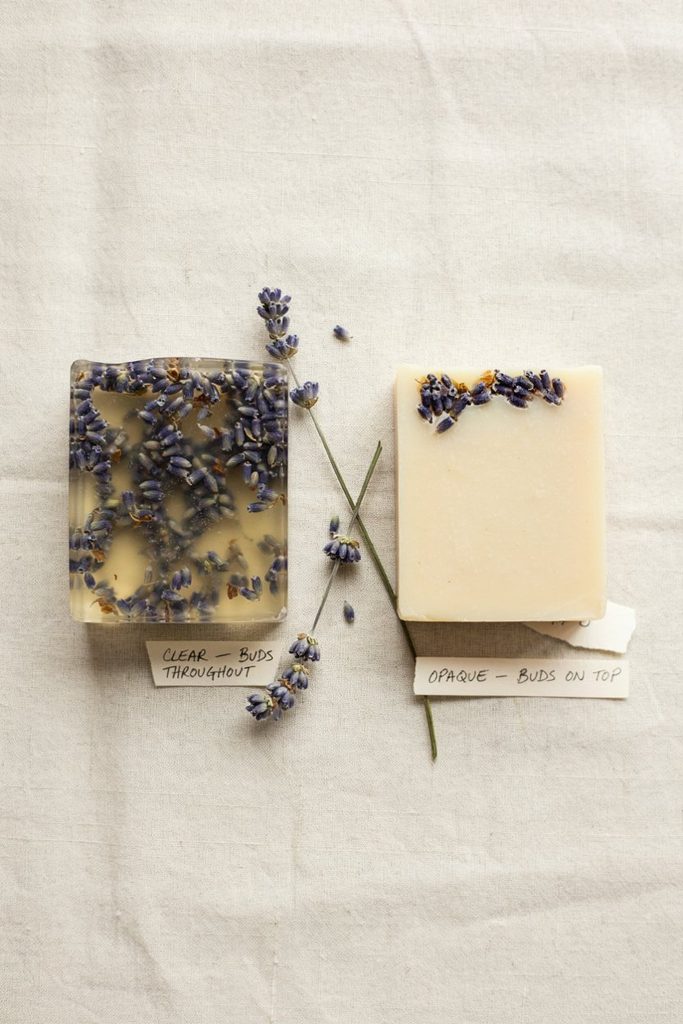
Dried lavender buds add a real visual signature, not just decoration. Suspended in a clear glycerin base, or pressed lightly into the top of an opaque base, they immediately signal what the soap is before anyone even smells it, which matters more for gifting than you’d expect.
It pairs beautifully with purple and lilac tones if you want to add color, though it’s also genuinely lovely left uncolored in a natural cream or white base if you’d rather keep it simple.
Ingredients
- Melt-and-pour soap base, a clear glycerin base if you want the lavender buds visibly suspended, or a goat milk or shea base for a softer, more opaque finish.
- Lavender essential oil, real essential oil rather than a synthetic fragrance oil if you want the calming aromatherapy benefit alongside the scent itself.
- Dried lavender buds, food-grade or cosmetic-grade, specifically labeled safe for skin contact rather than a craft-only decorative variety.
- Purple or lilac soap-safe colorant, optional, mica powder or liquid soap dye both work.
- A silicone soap mold, loaf-style if you want to slice individual bars, or individual cavity molds for a more uniform shape.
- Rubbing alcohol in a spray bottle, for popping surface bubbles.
If You Need to Substitute
No clear glycerin base on hand? A goat milk or shea base works fine, you’ll just lose the visual effect of the lavender buds floating suspended in the bar, since an opaque base hides that detail.
No dried lavender buds? The soap is still completely lovely without them, scented lavender soap doesn’t require the visual add-in to work, it’s purely an aesthetic choice.
Sensitive to essential oils? A skin-safe lavender fragrance oil is a reasonable substitute if essential oil intensity is a concern, though you lose some of the aromatherapy quality real essential oil brings.
How to Make Lavender Soap
Step 1: Cut and Melt the Soap Base
Cut your soap base into roughly one-inch cubes and melt in a microwave-safe container in 20-second bursts, stirring between each one, or over a double boiler. Short bursts prevent scorching, which can happen fast with a base left too long in one go.
Step 2: Let the Base Cool Slightly
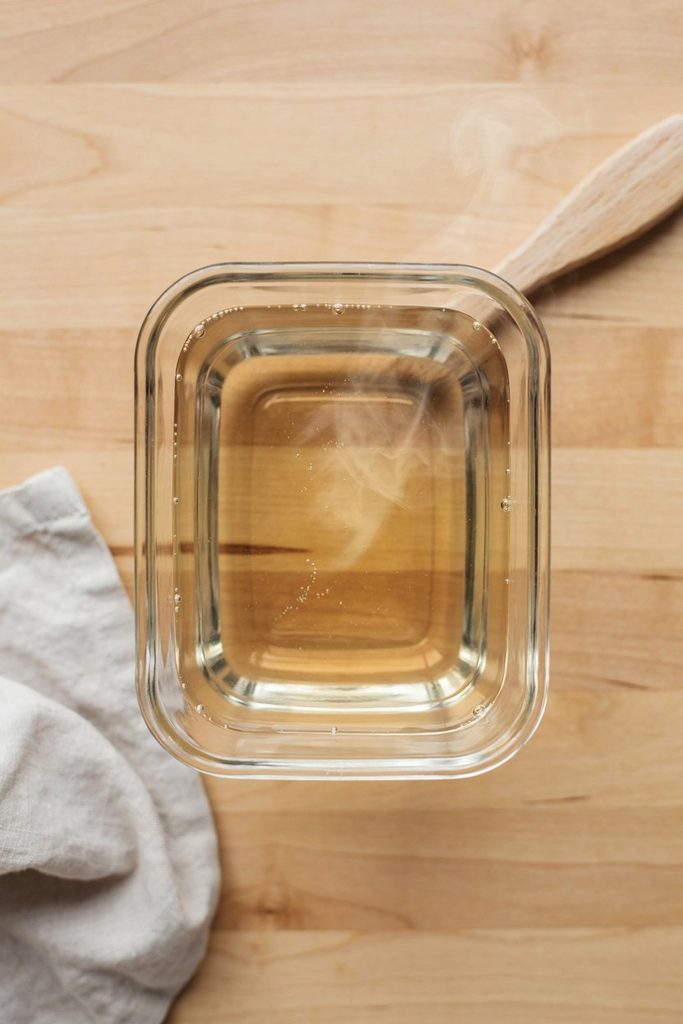
Let the fully melted base sit for a minute or two before adding your essential oil. Adding it while the base is too hot causes some of the scent to evaporate off before it ever sets into the bar.
Step 3: Add the Lavender Essential Oil
Stir in your lavender essential oil, starting around 0.3 ounces per pound of soap base as a general guideline, adjusting slightly to your own scent preference. Stir gently but thoroughly for about 30 seconds so the scent distributes evenly rather than settling toward the bottom of the container.
Step 4: Add Color, If Using
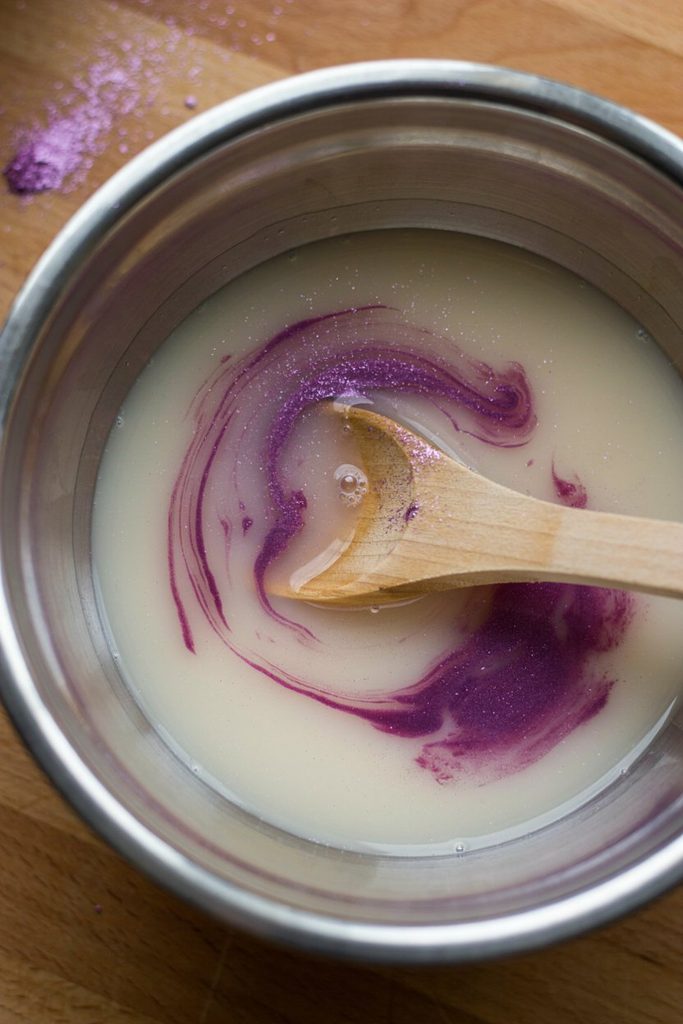
Stir in a small amount of purple or lilac colorant, starting with less than you think you need. Mica powder and liquid dye both behave a little differently, so add gradually and check the color against the side of the container as you go.
Step 5: Add Lavender Buds to the Mold First
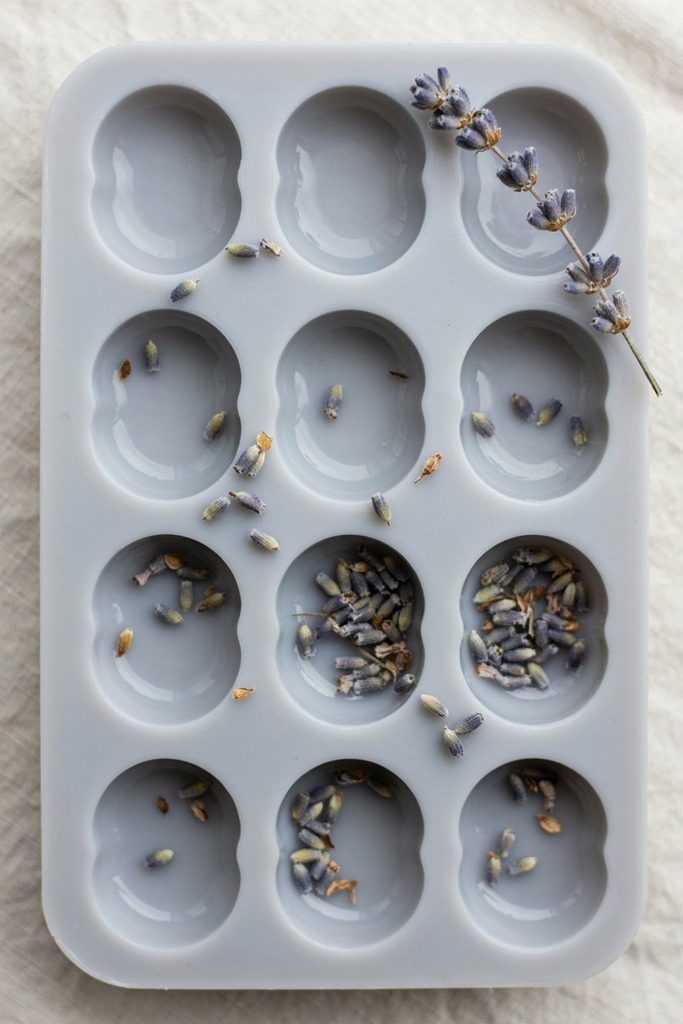
If you want the buds visibly suspended in the finished bar, sprinkle a small amount into the bottom of your mold before pouring, this is what actually gets you that layered, floating effect once the bar sets. If you’d rather have them pressed into just the top surface, skip this step and move to Step 7 instead.
Step 6: Pour the Base Into the Mold
Pour the scented, colored base slowly into the mold, holding the container close to the mold’s surface to minimize new bubbles as it goes in.
Step 7: Add Buds to the Surface, If Not Suspending Them
If you skipped Step 5, gently press a few dried lavender buds into the still-liquid surface of the poured soap now, they’ll set into the top layer as the bar firms up.
Step 8: Remove Surface Bubbles
Spray the top lightly with rubbing alcohol, which pops any remaining surface bubbles almost instantly and leaves a smoother, more finished-looking top once set.
Step 9: Let It Set and Unmold
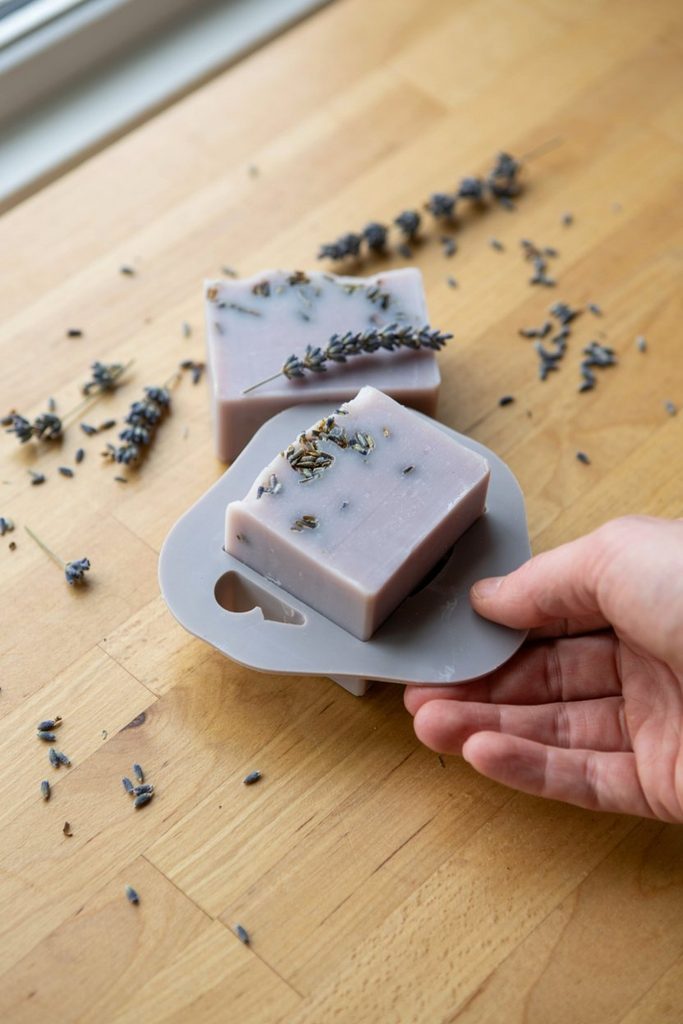
Let the soap sit undisturbed until fully firm, usually a couple of hours at room temperature. Once firm, gently flex a silicone mold to release the bar rather than pulling or prying it out.
Tips From Making a Lot of These
- Add the essential oil after the base has cooled slightly, not straight off the heat, for a scent that actually holds once the bar sets.
- If suspending lavender buds, use a light hand. Too many buds sink together into a dense clump rather than distributing evenly through the bar.
- Spray with rubbing alcohol after every pour, even if you don’t see obvious bubbles yet, it’s a fast step with a consistently better finished result.
- Let bars sit out uncovered for a day or two after unmolding before wrapping, which helps any remaining surface moisture fully evaporate before packaging.
- Start with less colorant and less essential oil than you think you want. Both are far easier to add more of than to correct once poured.
Mistakes I’ve Made So You Don’t Have To
Adding the lavender buds too heavily into one section of the mold instead of distributing them. That section of the finished bar was almost entirely bud, dense and a bit rough against the skin, while the rest was completely bare.
Adding the essential oil while the base was still too hot, expecting it to smell stronger, not weaker. The scent mostly cooked off, and the finished bars barely smelled like lavender at all compared to batches where I let the base cool first.
Using a decorative, non-skin-safe dried lavender labeled for potpourri rather than cosmetic use. It’s worth double-checking the label specifically states it’s safe for skin contact before adding dried botanicals to something that’ll be used on skin.
Skipping the rubbing alcohol spray on an early batch. The surface came out visibly bubbly and less polished-looking than the batches I sprayed properly.
Troubleshooting
The lavender buds all sank to the bottom in a clump. This usually means too many were added at once, or the base was poured too quickly on top of them. Use a lighter hand and pour slowly and gently over a scattered layer of buds.
The scent is barely noticeable in the finished bar. Check whether the essential oil was added while the base was too hot, and consider a slightly higher amount next time, staying within a safe usage rate.
The soap surface looks bubbly or rough. This is almost always a missed rubbing alcohol step. Spray immediately after pouring, before the surface begins to set.
The color turned out darker or more saturated than expected. Add colorant gradually next time, checking against the container as you go, since it’s much easier to add more than to correct an overly dark batch.
Variations and Uses
Lavender and Oatmeal Bar. Fold in a small amount of finely ground oats along with the lavender for a gently exfoliating version.
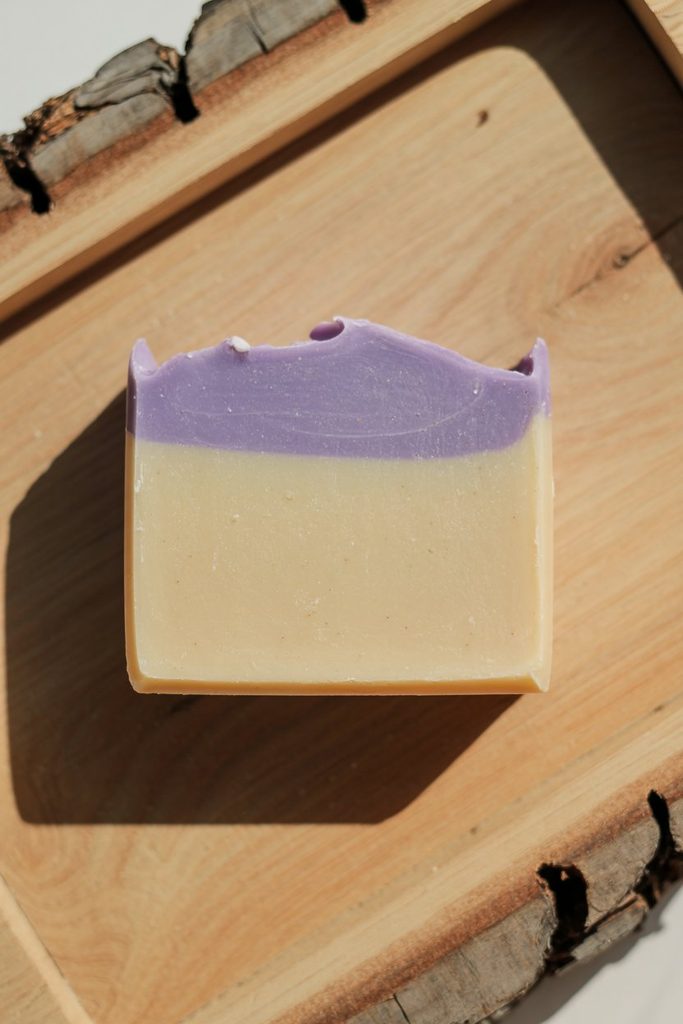
Layered Lavender Bar. Pour a plain, uncolored layer first, let it firm up slightly, then pour a lavender-colored layer on top for a two-tone bar with a cleaner, more finished look.
Lavender Chamomile Blend. A few drops of chamomile essential oil alongside the lavender softens the scent into something even more calming, closer to a bedtime blend.
Gift Set. A few bars wrapped simply and labeled with the scent make a genuinely well-received gift. These pair naturally with my DIY bath salts for a coordinated bath gift set, or my homemade aloe cucumber after-sun soap if you want a second soap variety in the same set.
Storage
Store finished bars somewhere cool and dry, out of direct sunlight, which can fade both the color and the dried lavender buds over time. Wrapped bars keep well for several months, and the scent gradually softens the longer a bar sits unused before its first wash.
Frequently Asked Questions
Is this real, traditional soap? Yes, in the sense that the melt-and-pour base has already gone through full saponification before you buy it, you’re remelting, scenting, and reshaping an already-finished soap rather than making it entirely from scratch.
Can I use dried lavender from my garden instead of buying it? Yes, as long as it’s been properly dried and hasn’t been treated with any pesticides or chemicals not meant for skin contact.
Will the lavender buds feel scratchy in the finished bar? A light scattering shouldn’t feel rough during use, but a heavy concentration in one spot can feel a bit textured against skin, which is part of why an even, light hand matters here.
How strong should the lavender scent be? That’s genuinely personal preference. I’d start on the lighter side and increase slightly in your next batch if you want it stronger, rather than going heavy on your very first try.
Can kids help make this? Kids can help with adding buds and choosing color, but I’d handle the actual melting step myself, given how hot the base gets.
Final Thoughts
This has become one of my most requested handmade gifts, simple enough to make in an afternoon, and it somehow always smells like exactly what people didn’t know they needed on their bathroom counter. If you make a batch, I’d love to hear whether you went with suspended buds or kept it simple.