DIY Air Dry Clay Soap Dish Tutorial
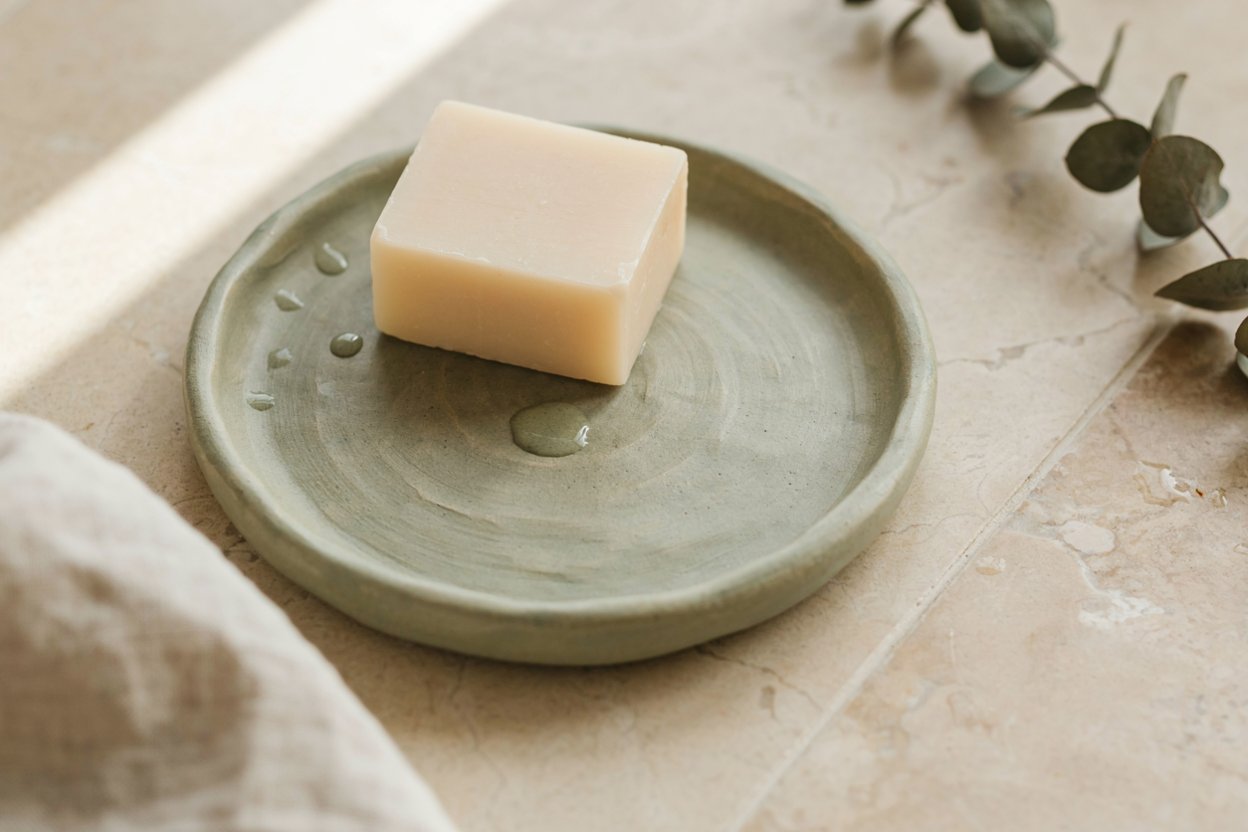
A clay soap dish is a small, shallow tray with raised ridges or drainage grooves built into the surface, made to keep a bar of soap up out of standing water so it doesn’t turn into a soft, dissolving puddle by the end of the week. That last part is really the whole point of a soap dish, and it’s also the part most beginner clay tutorials skip entirely, so this one leans into it properly.
I want to be upfront that this is one of the more demanding pieces on this site, not because the shaping is hard, but because a soap dish lives in near-constant contact with water, which means sealing it correctly matters far more here than on a purely decorative piece. If you skip or rush that part, you’ll end up with a dish that softens, stains, or breaks down within weeks.
If you haven’t read my guide to making air dry clay waterproof yet, I’d genuinely read it before starting this project, not after, since the sealing approach for this piece follows that guide closely rather than the lighter sealing most decorative clay pieces need.
Why Sealing Matters So Much More Here
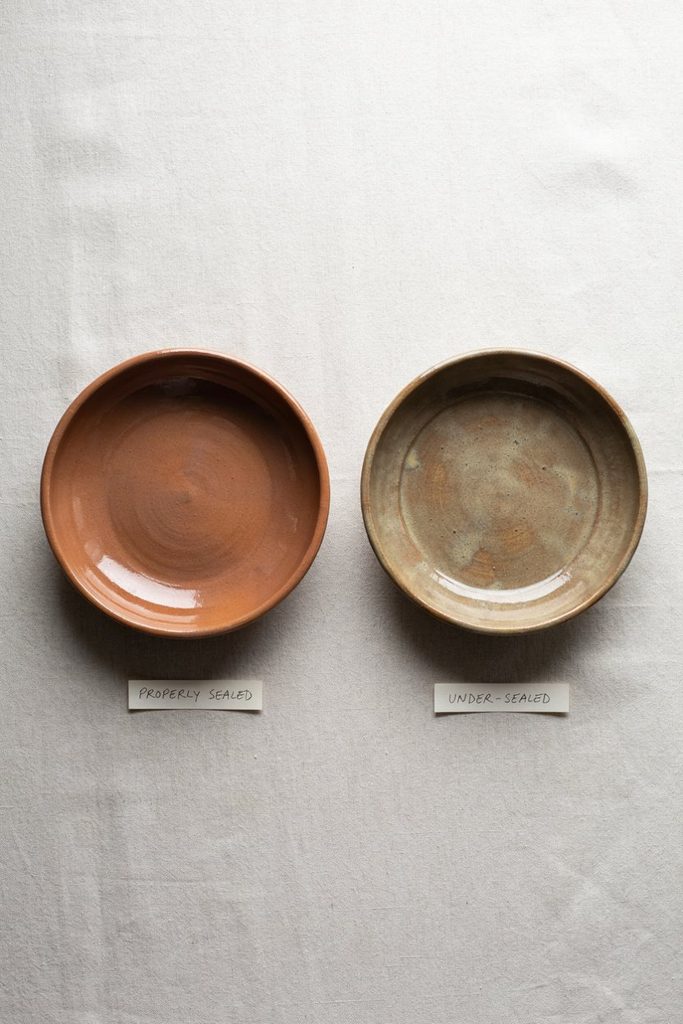
Most clay projects on this site touch water occasionally, a quick wipe, the odd splash. A soap dish sits in near-continuous contact with wet soap and runoff water, which is a genuinely different durability requirement than a trinket dish or an ornament.
Unsealed or lightly sealed air dry clay absorbs water, and repeated absorption is what causes a piece to soften, warp, or eventually crumble at the edges. A soap dish needs multiple coats of a real water-resistant sealant, not just a light varnish, and it needs to fully cure before it ever touches wet soap for the first time.
Drainage design matters as much as sealing. A soap dish with no way for water to actually run off just becomes a small basin that holds standing water against the soap and the clay both, which defeats the purpose even with a well-sealed piece underneath it.
Materials You’ll Need
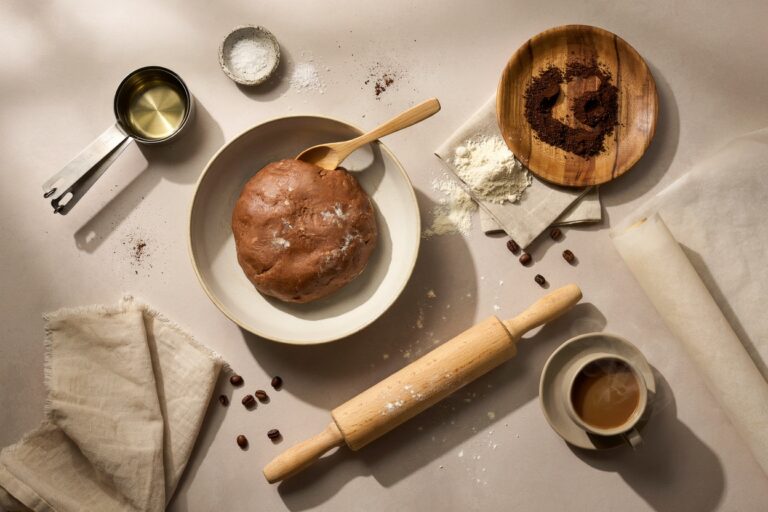
- Air dry clay, white or terracotta depending on your finish preference. My homemade air dry clay recipe works fine for this project if you’d rather not buy a full block.
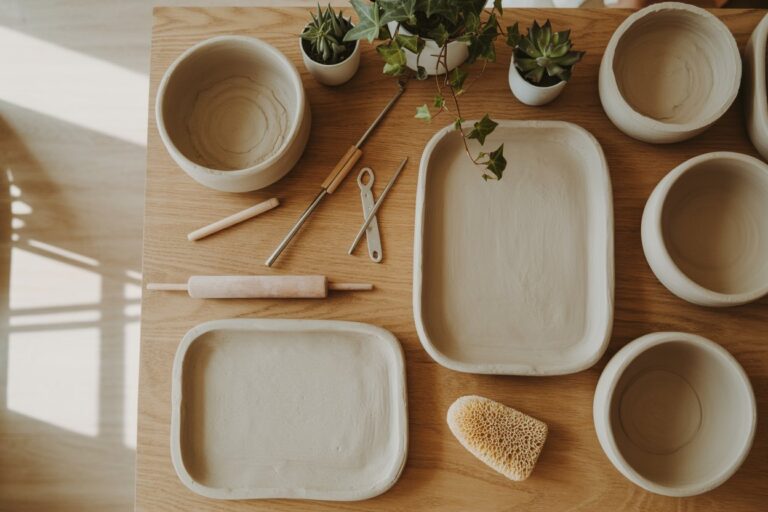
- A rolling pin, for flattening the base evenly.
- A small bowl, jar lid, or cookie cutter, for shaping the outer edge of the dish.
- A butter knife or clay cutting tool, for carving the drainage ridges.
- Sandpaper, 400 grit, for smoothing once fully dry.
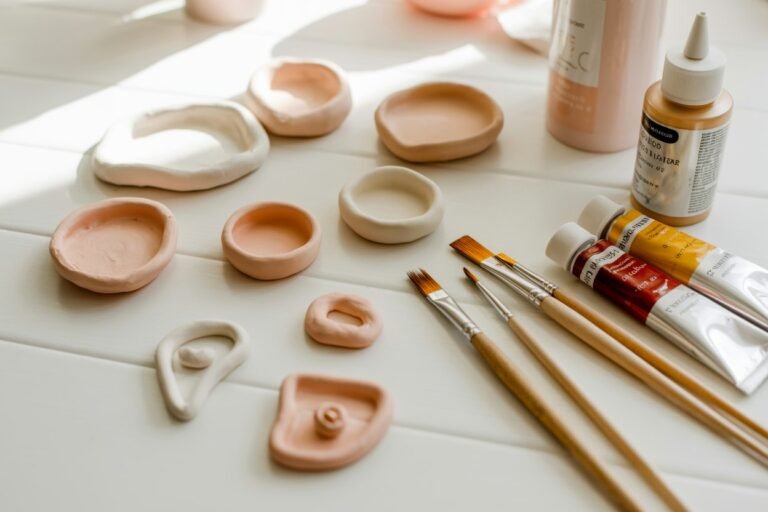
- Acrylic paint, for your chosen finish.
- A genuine water-resistant sealant, like Mod Podge Outdoor formula or a polycrylic water-based sealant, not a standard indoor Mod Podge or basic craft varnish.
Substitutions I’ve Actually Tested
No specific bowl or cutter for the shape? A simple oval or rounded rectangle, cut freehand with a butter knife around a plate or lid as a guide, works fine and is genuinely what I use most of the time.
Only have standard indoor Mod Podge? I’d hold off starting this project until you can get an outdoor-rated version or a polycrylic sealant instead. Indoor Mod Podge genuinely isn’t built for this level of water exposure, and using it here is the single most common reason a soap dish fails within its first month.
Want a two-tone look? Paint the base one color and the raised ridges a contrasting color once dry, applying both base coats before you move on to sealing.
How to Make an Air Dry Clay Soap Dish
Step 1: Roll Out Your Base
Roll your clay to about half an inch thick, thicker than most decorative pieces on this site, since a soap dish needs real structural strength to hold up under daily handling and moisture. Cut it into your chosen shape, roughly 4 to 5 inches across.
Step 2: Build Up the Rim
Press the outer edge of the base gently upward with your fingers, creating a shallow raised rim about a quarter inch tall around the perimeter. This keeps runoff water contained on the dish rather than dripping straight onto your counter.
Step 3: Carve the Drainage Ridges
Using a butter knife, carve a few shallow parallel ridges or a simple crosshatch pattern across the center of the dish, deep enough that a bar of soap sits raised above the ridges rather than flat against the surface. This is the step that actually keeps water from pooling directly under the soap.
Step 4: Smooth the Details
Clean up the edges of the rim and the ridges with a slightly damp fingertip, making sure there are no sharp, thin edges that could chip easily once the piece is dry and in daily use.
Step 5: Let It Dry Fully
Set the piece on a flat, non-stick surface and let it dry undisturbed for 48 to 72 hours, longer than most projects on this site given the thickness needed here. Check that the center of the base feels completely firm, not just the surface, before moving on.
Step 6: Sand
Once fully dry, sand the ridges and rim edges with 400 grit sandpaper, smoothing anything that feels sharp or rough to the touch.
Step 7: Paint
Paint your base color, letting it dry fully before adding a second coat or any additional detail work on the ridges.
Step 8: Seal, Properly, in Multiple Coats
This is the step that actually determines whether this piece survives real use. Apply a thin, even coat of your water-resistant sealant, let it dry fully, usually 15 to 20 minutes for Mod Podge Outdoor formula, then repeat for a total of 3 to 4 coats, not the 1 to 2 coats you’d use on a decorative piece. Let the final coat cure for a full 24 to 48 hours before the dish touches any water or soap at all.
Tips From Making a Few of These
- Build the walls and ridges thicker than feels necessary. Thin details are the first thing to chip or wear down under daily soap-and-water use.
- Don’t rush the cure time on the final sealant coat. A dish that gets wet before the sealant has fully cured won’t protect the clay properly, even if it looks dry on the surface.
- Reapply sealant every few months as part of normal upkeep. Even a well-sealed piece benefits from a fresh coat over time, especially with daily water exposure.
- Angle the whole dish very slightly if your counter allows it. A barely tilted dish helps water run toward one edge instead of sitting flat across the whole surface.
- Test the dish empty, with just water, for the first day or two before trusting it with soap daily. This gives you a low-stakes way to catch any sealing gaps before they become a real problem.
Mistakes I’ve Made So You Don’t Have To
Using a standard indoor Mod Podge on my first soap dish instead of an outdoor-rated sealant. Within about two weeks, the surface underneath the soap had started to soften and the paint began lifting slightly at the edges.
Only applying two coats of sealant because I was impatient to start using it. Water eventually found its way through, and the base began absorbing moisture right where the soap sat most often.
Carving drainage ridges too shallow. The soap barely cleared the surface, and water still pooled underneath it almost as much as it would have on a completely flat dish.
Using the dish before the final sealant coat had fully cured. It looked and felt dry, but the first splash of water left a small, permanent water mark where the sealant hadn’t finished setting.
Troubleshooting
The dish feels soft or the surface is breaking down. This is almost always an under-sealed piece. Depending on how far along the damage is, you may be able to sand back the affected area, let it fully dry out, and reseal with proper coverage, but a badly compromised piece may need to be remade.
Water is pooling instead of draining. Check your ridge depth. Shallow ridges don’t do enough to lift the soap and channel water away, and this is worth fixing before the piece ever gets sealed and used.
The paint is lifting or peeling. This usually points back to insufficient sealant coverage underneath. Once repaired and dry, reseal thoroughly rather than just touching up the paint alone.
A rim or ridge chipped after regular use. This is a thickness issue from the build stage. If you’re remaking the piece, build those details noticeably thicker than felt necessary the first time around.
Variations and Uses
Double-Compartment Version. A slightly larger dish divided into two sections, one for a bar of soap, one for a small sponge or brush, using the same ridge and rim technique throughout.
Guest Bathroom Set. A matching soap dish and a small air dry clay coaster or trinket tray, in the same color and finish, makes a simple, coordinated bathroom set.
Kitchen Sink Version. The same basic build works well for a sink-side dish scrubber or bar soap holder, just scaled slightly larger if needed.
If you want to understand sealing in more depth before tackling a piece with this much water exposure, my full guide to sealing air dry clay covers the different sealant options and finishes in more detail than I can fit here.
Storage and Care
Rinse and let air dry between uses rather than leaving it sitting in standing water for extended periods, even a well-sealed dish benefits from not being asked to hold water constantly. Reapply a fresh coat of sealant every few months as routine maintenance, especially if you start to notice the surface looking duller or slightly more porous than when it was new. If a piece ever does crack or chip despite proper care, my guide to fixing cracked air dry clay covers the repair process.
Frequently Asked Questions
Will this actually hold up to daily use? Yes, but only with proper sealing. A soap dish built thick, with real drainage ridges, and sealed in 3 to 4 coats of a genuine water-resistant sealant, holds up well to daily bathroom use. Skipping any of those steps significantly shortens its lifespan.
How is this different from a regular decorative clay dish? Thickness, drainage design, and sealant strength. A decorative dish just needs to look nice and survive occasional handling. A soap dish needs to survive constant water contact, which changes almost every step of the build.
Can I use this for a kitchen sink instead of a bathroom? Yes, the same build and sealing approach works fine for a kitchen sink-side soap or scrubber dish.
How often do I need to reseal it? I’d check every few months, more often if you notice the surface looking dull, porous, or starting to feel slightly rough compared to when it was new.
What if I don’t want to deal with this much sealing? This might not be the right project if you want something low-maintenance. Consider a purely decorative piece, like a trinket dish or coaster, instead, both of which need far less sealing upkeep than something that lives in constant water contact.
Final Thoughts
This is genuinely one of the more involved projects I’ve shared here, but it’s also one of the most satisfying once it’s actually holding up in daily use, a handmade piece doing real, practical work instead of just sitting decoratively. If you make one, take the sealing steps seriously, that’s really the difference between a piece that lasts and one that doesn’t.