Cozy Crochet Ear Warmer Patterns for All Skill Levels
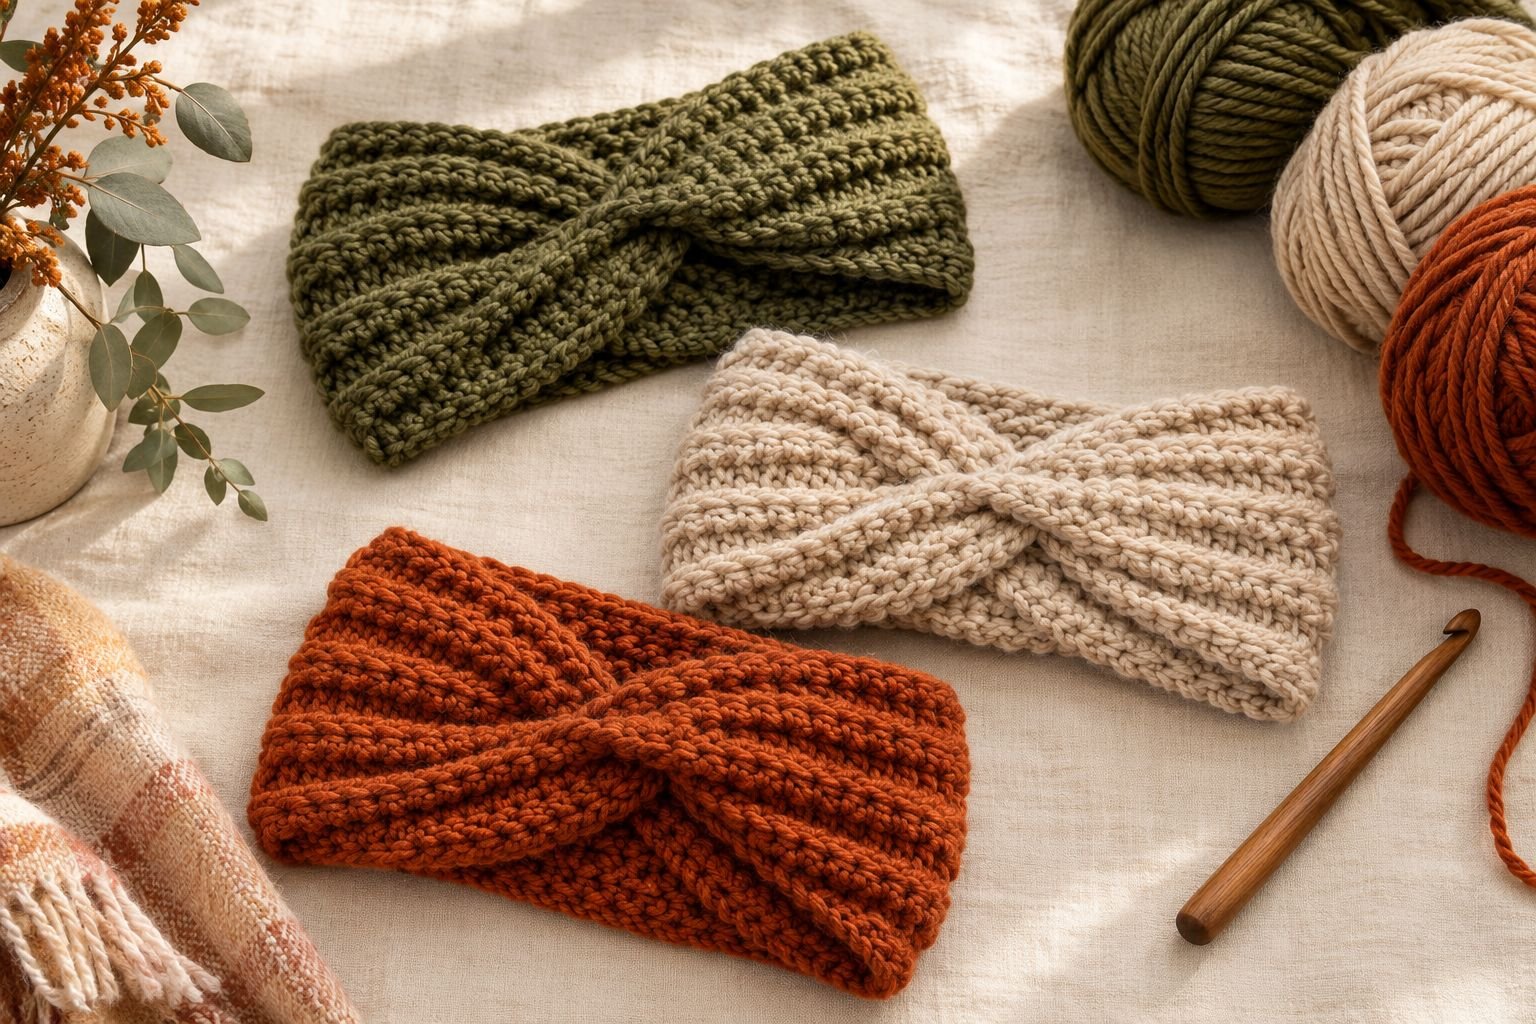
When the weather starts getting cooler, I love having a few cozy crochet accessories ready to wear. A crochet ear warmer is one of those small projects that looks beautiful, keeps you warm, and doesn’t require a huge amount of yarn or time to make.
If you’ve seen chunky crochet headbands with a pretty twisted detail at the front, you probably already know how lovely they look.
They’re especially beautiful in fall colors like olive green, cream, rust, caramel, and warm brown. You can wear one with your hair up or down, and it adds a handmade touch to even a simple outfit.
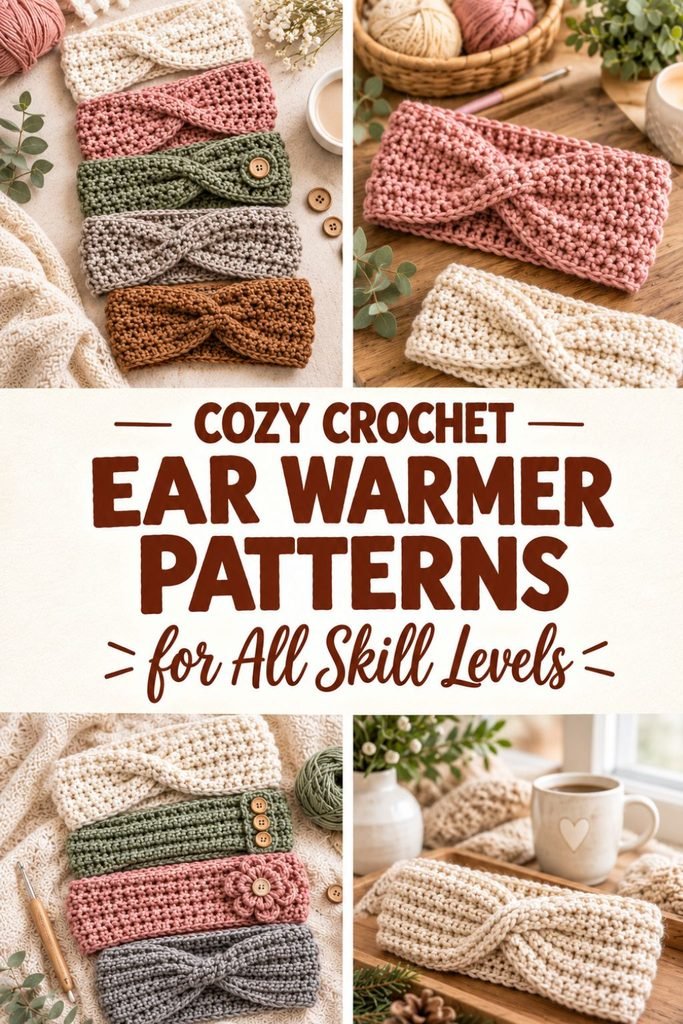
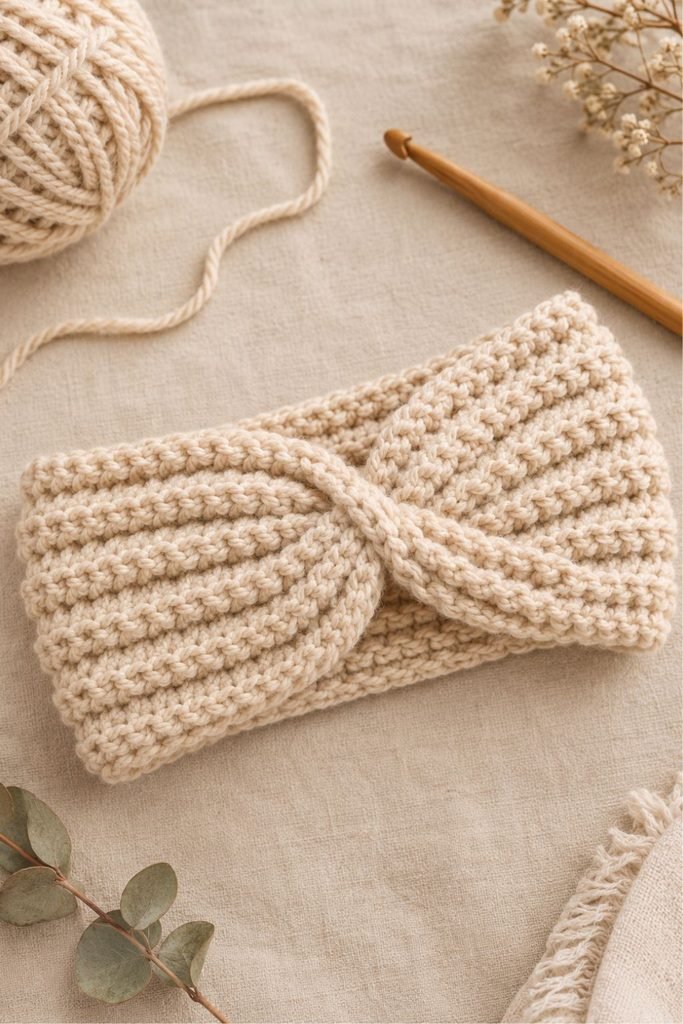
In this tutorial, I’ll show you how to make a cozy twisted crochet ear warmer with a textured finish. The main band is worked flat in rows, then folded and joined to create the gathered twist at the front. It’s a lovely project if you’re learning to crochet, but it’s also quick and enjoyable for more experienced crocheters.
If you enjoy making handmade crochet accessories, you might also like my Free Crochet Bandana Pattern: Easy Crochet Bandana Tutorial. It’s another simple wearable project you can customize with your favorite yarn colors.
You can make one ear warmer for yourself, create matching ones for family members, or crochet several in different colors for handmade gifts.
Why You’ll Love This Crochet Ear Warmer
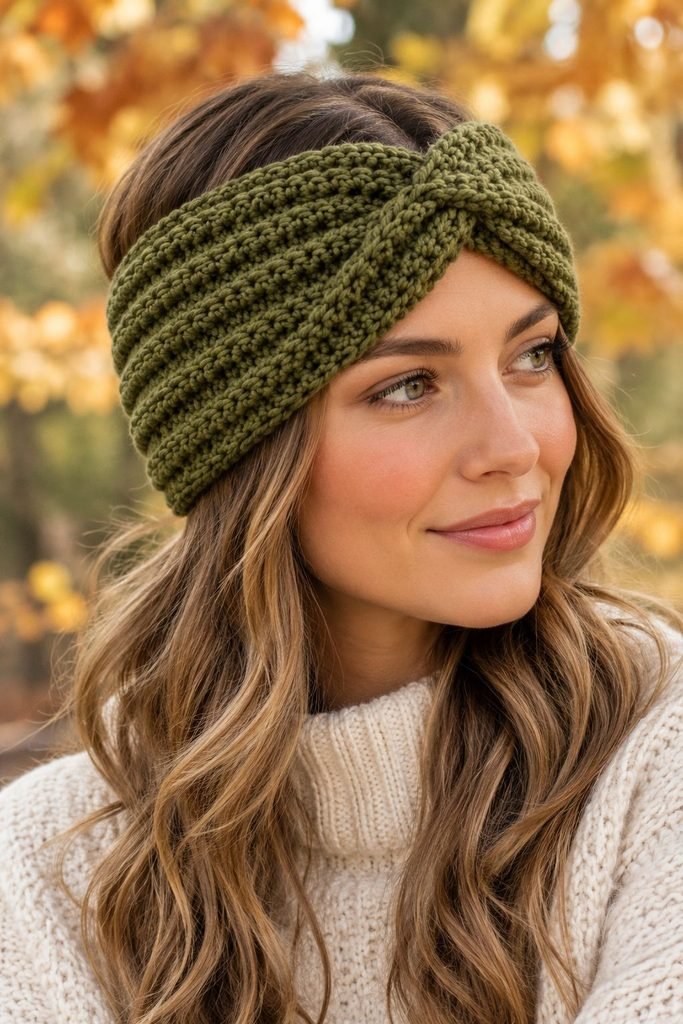
There are plenty of reasons to add a crochet ear warmer to your project list, especially when you’re looking for something practical that doesn’t take weeks to finish.
- Beginner-friendly construction: The main band is worked in rows, so you don’t need to crochet complicated shapes.
- A beautiful twisted finish: The front twist gives the ear warmer a polished look without needing a separate decorative piece.
- Perfect for fall and winter: The wider band covers your ears and helps keep them warm when the weather gets chilly.
- Great for using leftover yarn: Depending on the size, you may only need a small amount of bulky yarn.
- Easy to customize: Change the yarn color, texture, or width to create a different look.
Materials You’ll Need
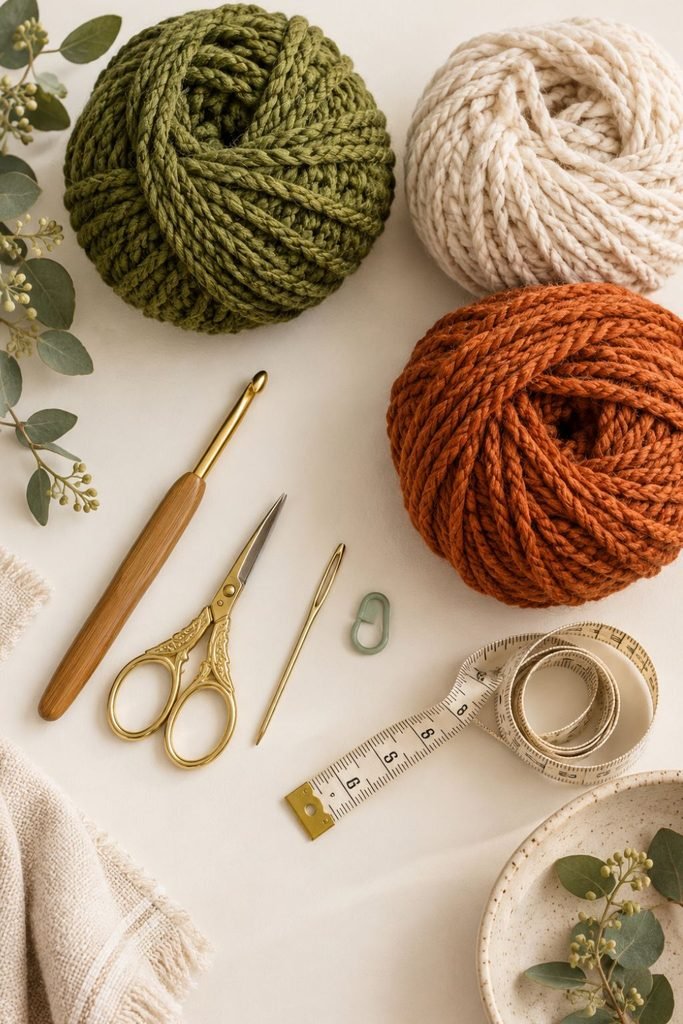
Before starting, gather your supplies. I recommend using a soft yarn with enough thickness to create a warm, textured band.
- Bulky or chunky weight yarn (Category 5), approximately 50 to 80 yards depending on the size.
- 6 mm crochet hook, or the hook recommended for your yarn.
- Scissors.
- Yarn needle for joining and weaving in ends.
- Measuring tape.
- Stitch marker (optional).
Choosing your yarn: For a cozy fall ear warmer, try a soft acrylic yarn, acrylic-wool blend, or washable wool blend. Olive green, cream, oatmeal, rust, and chocolate brown all work beautifully for this style.
If you prefer a lighter headband, you can use worsted-weight yarn with an appropriately sized hook. Just remember that your finished band may need additional rows to reach the same measurements.
Crochet Abbreviations
This pattern uses standard US crochet terminology.
- ch: Chain
- hdc: Half double crochet
- st: Stitch
- sts: Stitches
- sl st: Slip stitch
- rep: Repeat
- BLO: Back loop only
Easy Twisted Crochet Ear Warmer Pattern
Skill level: Beginner
Construction: Worked flat in rows and joined with a twisted seam.
Finished width: Approximately 4 inches.
Finished length before joining: Approximately 19 to 20 inches for an adult.
These measurements are a starting point. Your finished size will depend on your yarn, hook, and crochet tension, so measure the band before joining it.
Step 1: Make the Foundation Chain
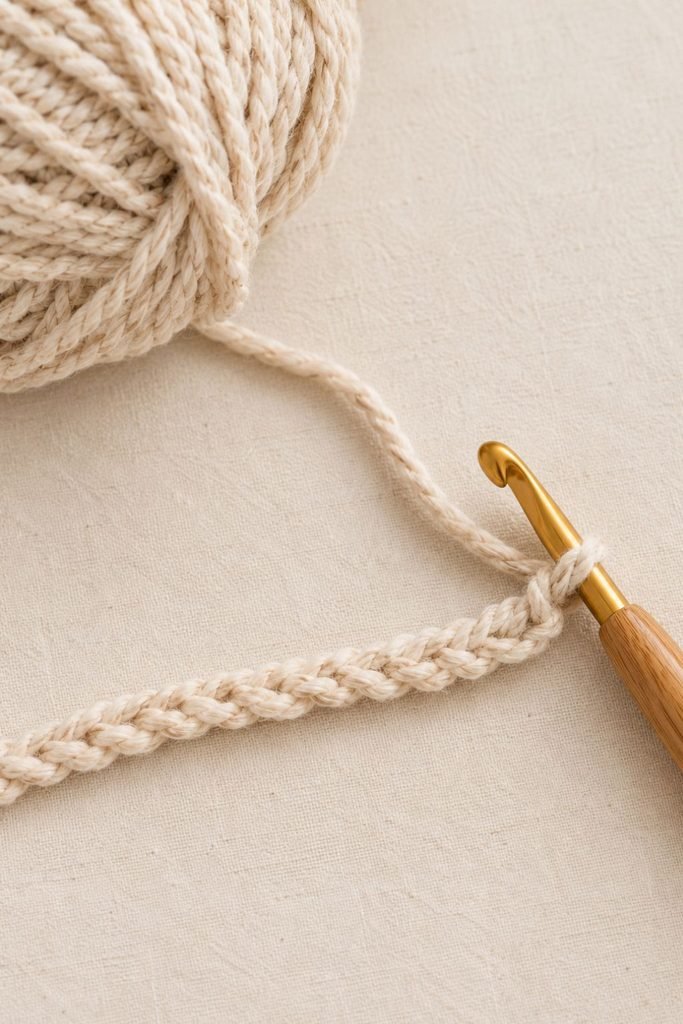
Chain 13.
This creates a band approximately 4 inches wide with bulky yarn. If you want a wider ear warmer, add a few more chains. For a narrower design, use fewer chains.
Your foundation chain should measure approximately the width you want your finished ear warmer to be.
Step 2: Crochet the First Row
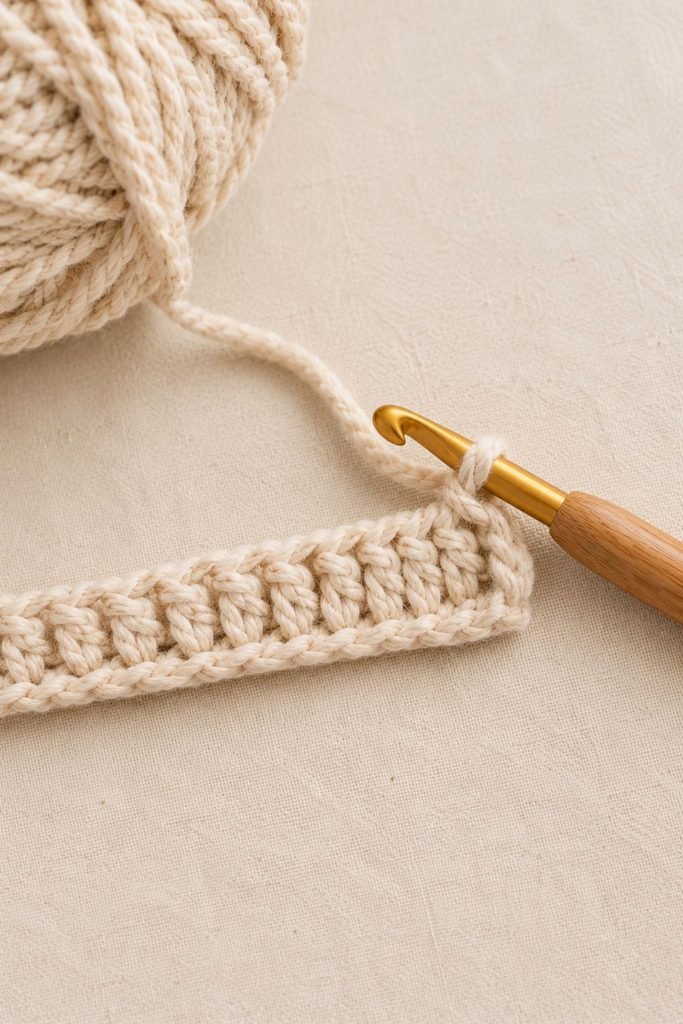
Work 1 half double crochet into the second chain from your hook.
Continue working 1 half double crochet into each chain across.
You should have 12 half double crochet stitches.
Chain 1 and turn.
Step 3: Build the Textured Band
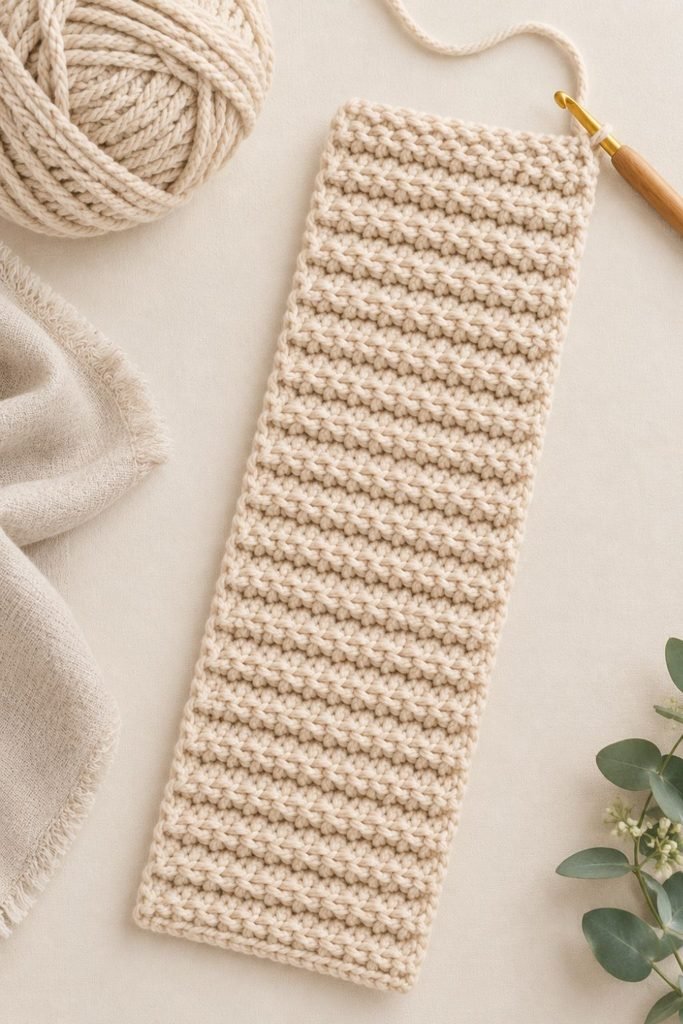
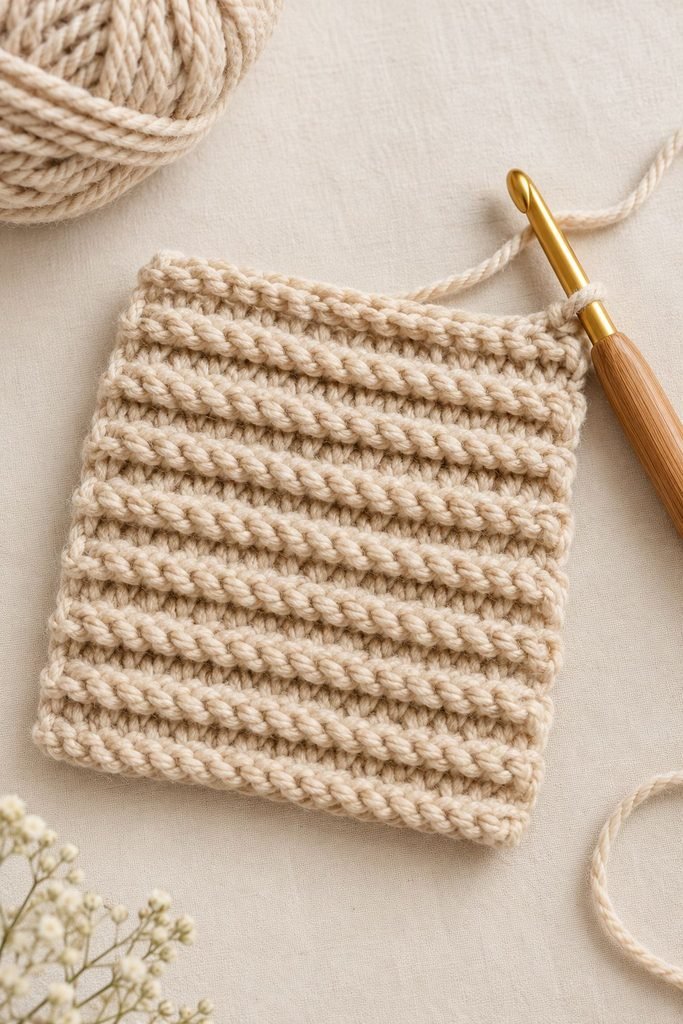
For the next row, work 1 half double crochet into the back loop only of each stitch across.
Chain 1 and turn.
Repeat this row until your rectangle measures approximately 19 to 20 inches long.
Working into the back loops creates a ribbed texture that gives the ear warmer a little stretch and a cozy handmade appearance.
Beginner tip: Measure your rectangle as you go. The length matters more than reaching a particular row count because yarn thickness and individual crochet tension can change the finished size.
Step 4: Check the Fit
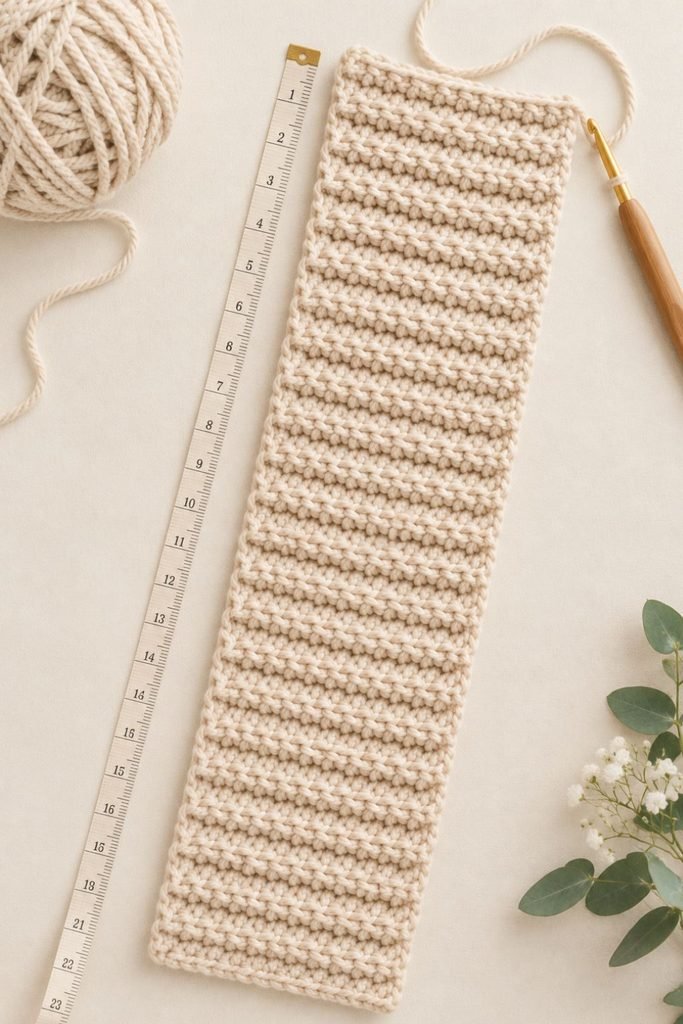
Before joining the ends, wrap the rectangle gently around your head.
It should fit comfortably without feeling too tight. Remember that crochet ribbing stretches, so avoid making the band much smaller than your actual head measurement.
If it feels too loose, undo a few rows. If it feels too tight, add more rows until you have a comfortable fit.
Step 5: Create the Twisted Front
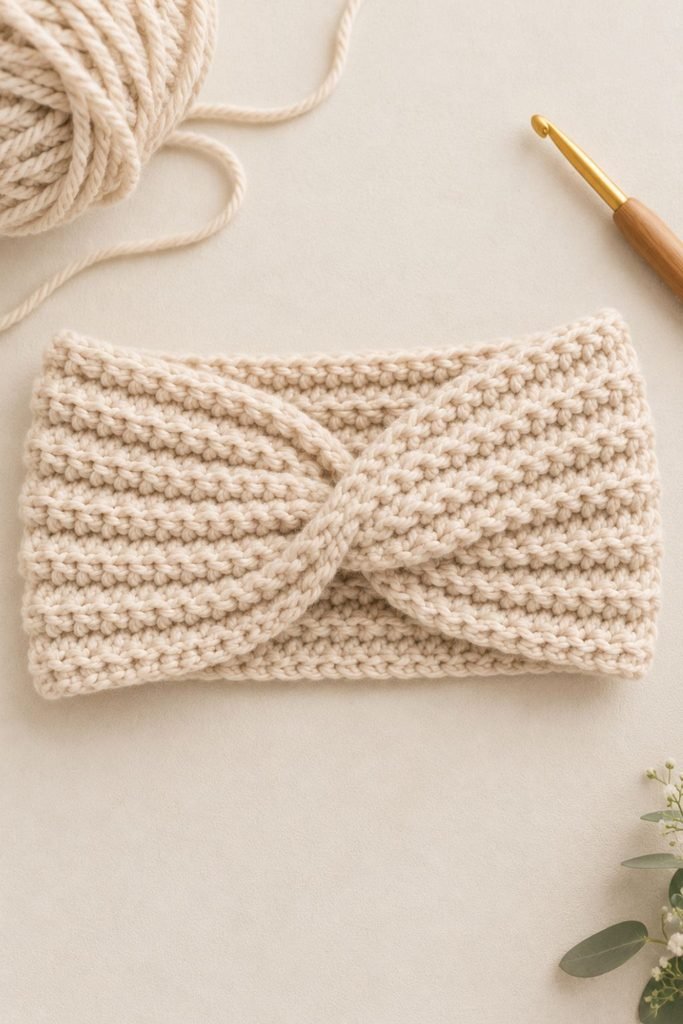
Lay your rectangle flat with the textured side facing up.
Bring the two short ends together. Fold each end in half lengthwise so that each end forms two layers.
Overlap the folded ends, arranging them so the folded sections interlock. This creates the gathered twist in the center.
Take a moment to check the front before sewing. The layers should sit neatly together rather than bunching unevenly.
Step 6: Sew the Ends Together
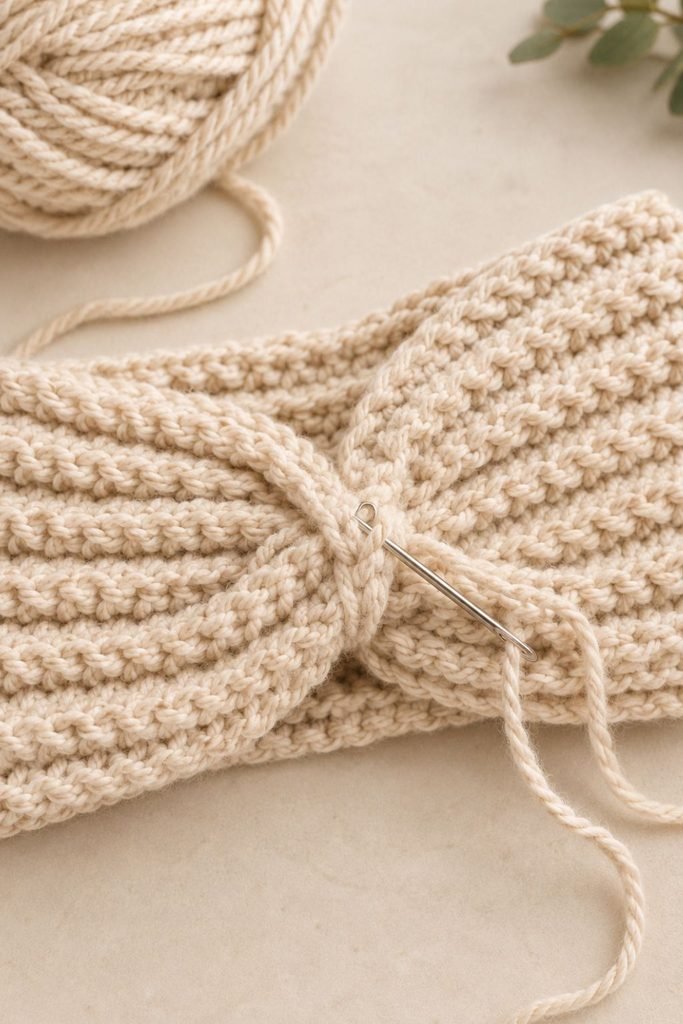
Using your yarn needle and a long yarn tail, sew through all the folded layers to secure them.
Make several firm stitches so the twist stays in place when you wear the ear warmer.
Turn the seam so the joined section sits neatly on the inside of the band. Weave in the loose ends.
Your twisted crochet ear warmer is ready!
How to Adjust the Size
One of the best things about making your own crochet ear warmer is that you can change the measurements to suit the person who will wear it.
The foundation chain determines the width, while the number of rows determines the length.
| Size | Approximate head circumference | Suggested band width |
|---|---|---|
| Child | 18–19 inches | 3–3.5 inches |
| Teen | 20–21 inches | 3.5–4 inches |
| Adult | 21–23 inches | 4 inches |
| Larger adult | 23–24 inches | 4–4.5 inches |
These are starting measurements, not strict sizing rules. Crochet tension, yarn stretch, and yarn thickness all affect the final fit. Measure the band around the intended wearer’s head before joining it.
Tips for Getting a Beautiful Finished Ear Warmer
A few small details can make a big difference in how your finished headband looks and feels.
Keep your stitches consistent. Try to maintain the same tension throughout the rectangle. Uneven stitches can make the edges look wavy.
Choose soft yarn. Because the ear warmer sits against your forehead and around your ears, a soft yarn is much more comfortable than a scratchy one.
Don’t make the band too tight. The ribbed texture has some natural stretch. A slightly relaxed fit is usually more comfortable for everyday wear.
Take your time with the twist. Before sewing, arrange the folded ends carefully. This is the detail that gives the finished headband its distinctive appearance.
Weave in the ends securely. A neat finish helps your ear warmer hold up to regular use.
Beautiful Fall Colors to Try
The same crochet pattern can look completely different depending on the yarn color you choose. If you’re making a few ear warmers for yourself, family, or handmade gifts, try these combinations.
- Olive green: A rich earthy shade that looks lovely with neutral fall outfits.
- Oatmeal or cream: A soft, classic option that pairs easily with almost anything.
- Rust or burnt orange: A warm autumn color that stands out without being too bright.
- Chocolate brown: A deeper shade that gives the headband a cozy, traditional look.
- Charcoal gray: A simple everyday option that works throughout fall and winter.
You can also use variegated yarn for a more colorful finish. Choose a yarn with good stitch definition so the ribbed texture remains visible.
Common Mistakes to Avoid
Even a simple crochet project can be frustrating if you don’t check a few details along the way.
Making the rectangle too short: The band needs enough length to fit around your head comfortably. Measure it before joining the ends.
Using a hook that’s too small: Very tight stitches can make the headband stiff and uncomfortable. If your fabric feels too firm, try a larger hook.
Pulling the seam too tightly: The twisted section should be secure, but pulling the yarn excessively can make the center bulky and distorted.
Joining the ends without arranging the folds: Simply sewing the two ends together creates a plain loop, not the twisted-front finish. Take time to overlap the folded sections correctly.
Choosing scratchy yarn: A headband is worn directly against your skin, so comfort matters just as much as appearance.
How to Care for Your Crochet Ear Warmer
Always check the yarn label before washing your finished project. Many acrylic yarns can be washed gently, while some wool blends need more delicate care.
If the yarn is machine washable, follow the care instructions on its label and place the ear warmer in a laundry bag to protect its shape.
For delicate yarn, hand wash in cool water with a mild detergent. Avoid twisting or wringing the fabric. Press out excess water with a towel and lay the ear warmer flat to dry.
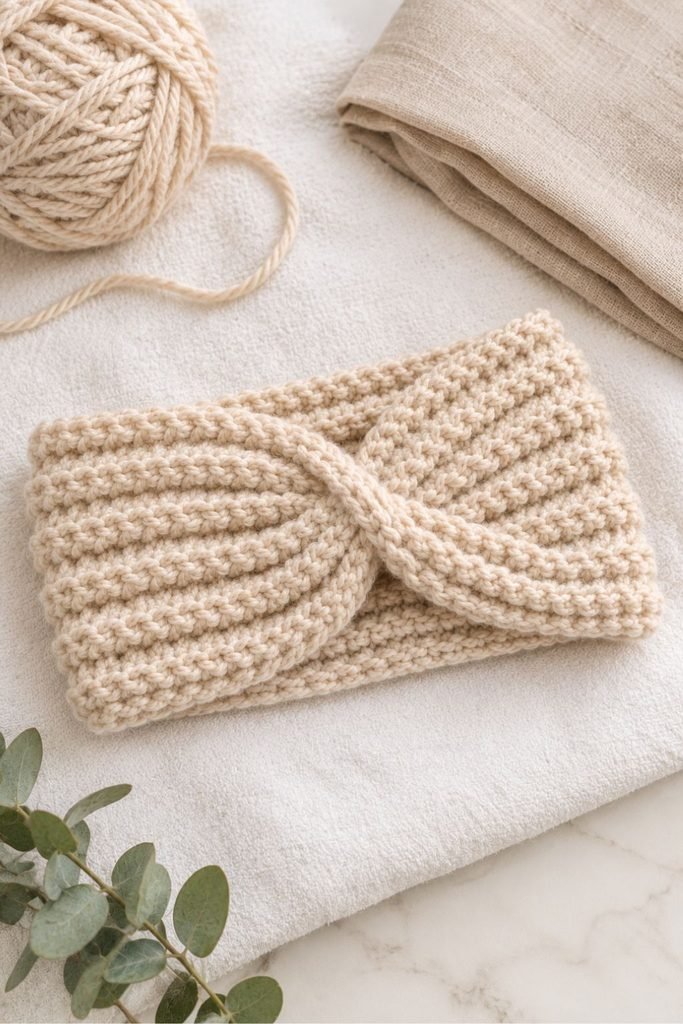
Reshape the twisted section while it is still damp so it keeps its neat appearance.
Frequently Asked Questions
Are crochet ear warmers easy for beginners?
Yes. This style is a good beginner project because the main band is made in simple rows. Once you understand the stitches, the only part that may take a little practice is folding and joining the ends to create the twist.
How much yarn do I need for a crochet ear warmer?
A typical adult ear warmer made with bulky yarn may use approximately 50 to 80 yards. The amount depends on the width, length, yarn thickness, and your crochet tension.
Can I make this ear warmer with worsted-weight yarn?
Yes. You can use worsted-weight yarn, but the finished fabric will be thinner. You may need to add more chains to achieve the desired width and more rows to reach the correct length.
How do I make the twisted front?
The twist is made when joining the short ends of the rectangle. Fold the ends into sections, overlap them, and sew through the layers to hold the twisted shape.
Can I make this crochet ear warmer for children?
Yes. Simply adjust the length to fit the child’s head circumference. Measure before joining the band, and make sure the finished piece is comfortable rather than tight.
Can I sell the finished crochet ear warmers?
You can make and sell finished handmade ear warmers, but always check the terms of any pattern you use. Keep your measurements and finishing method consistent so each piece has a similar fit.
Final Thoughts
A twisted crochet ear warmer is one of those projects that proves you don’t need complicated stitches to make something beautiful. With a simple rectangular band, a little texture, and a carefully joined front, you can create a cozy accessory that looks lovely throughout fall and winter.
I especially love how these look in olive green, cream, and rust. You can make one for yourself, create matching colors for family members, or put together a few handmade pieces as thoughtful gifts.
If you’re new to crochet, this is a lovely project to practice your stitches and learn a simple finishing technique. And if you want another wearable project to try next, take a look at my easy crochet bandana tutorial. Once you’ve made your first ear warmer, you may find yourself wanting to make another in every fall color!