DIY Resin Coasters With Dried Flowers
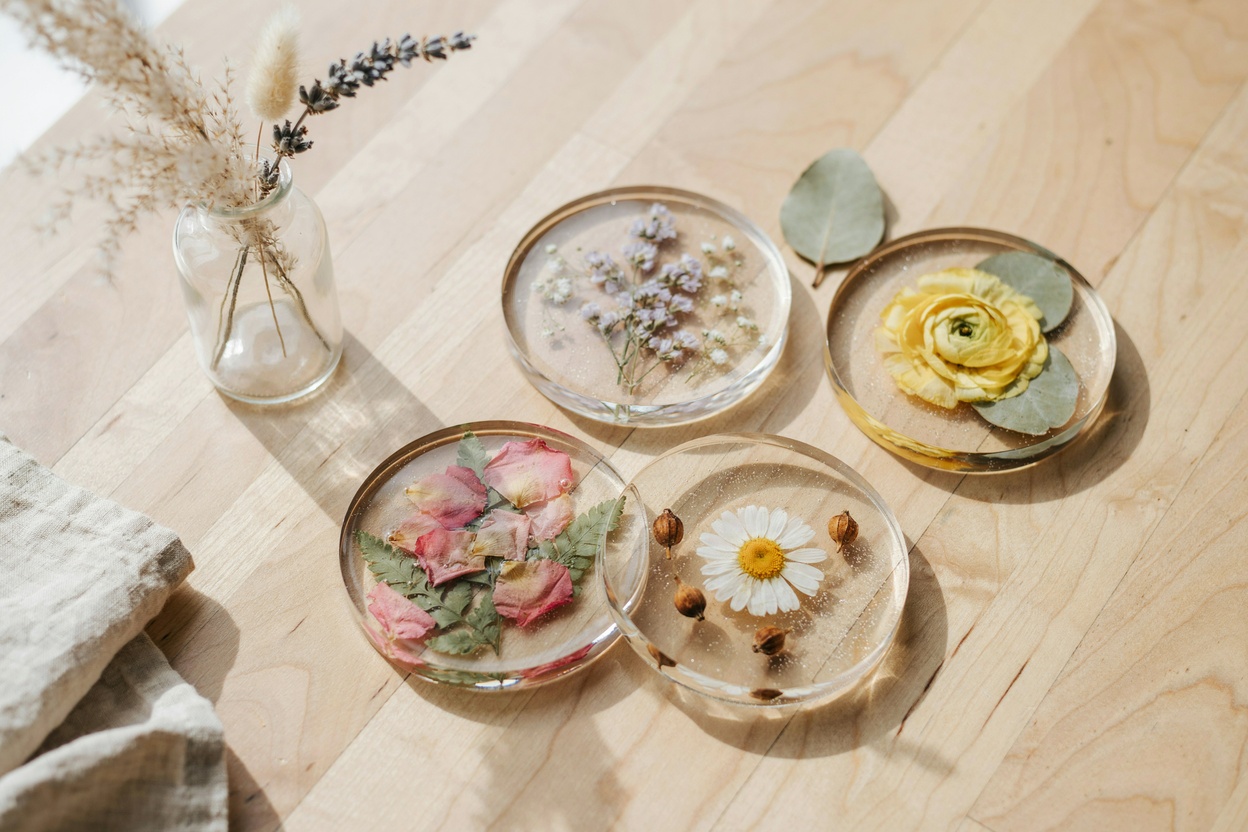
Resin coasters with dried flowers are one of the more approachable ways to preserve flowers permanently, whether that’s a bouquet from an event, garden clippings, or blooms you just don’t want to see go into the trash.
If you’ve worked with air dry clay coasters before, this is a genuinely different material and process, but the appeal is the same: a functional, everyday object that also preserves something you’d otherwise lose.
The real barrier to entry with this craft isn’t skill, it’s patience with drying time, plus a couple of safety basics that matter more here than in most crafts, since resin behaves very differently from clay or wax while it’s still uncured.
I want to front-load the safety information here, more than usual, because resin is a genuinely different category of material than the clay and candle projects covered elsewhere on this site.
A quick but important safety note: uncured epoxy resin releases fumes, and you should always work in a well-ventilated space, ideally with a window open or a fan pulling air away from you, not just a room that feels airy.
Wear nitrile gloves, not latex, since resin can degrade latex, and avoid direct skin contact, since repeated exposure can cause a skin sensitivity to develop over time even in people who had no reaction initially. Keep resin off of surfaces you care about, since it’s very difficult to remove once cured, and keep it away from kids and pets during the mixing and curing stages.
Most craft resin is not food-safe and shouldn’t be treated as a food-contact surface even after fully cured, so these coasters are meant to sit under a cup or mug, not have food placed directly on the resin itself.
Why Resin and Dried Flowers Work So Well Together
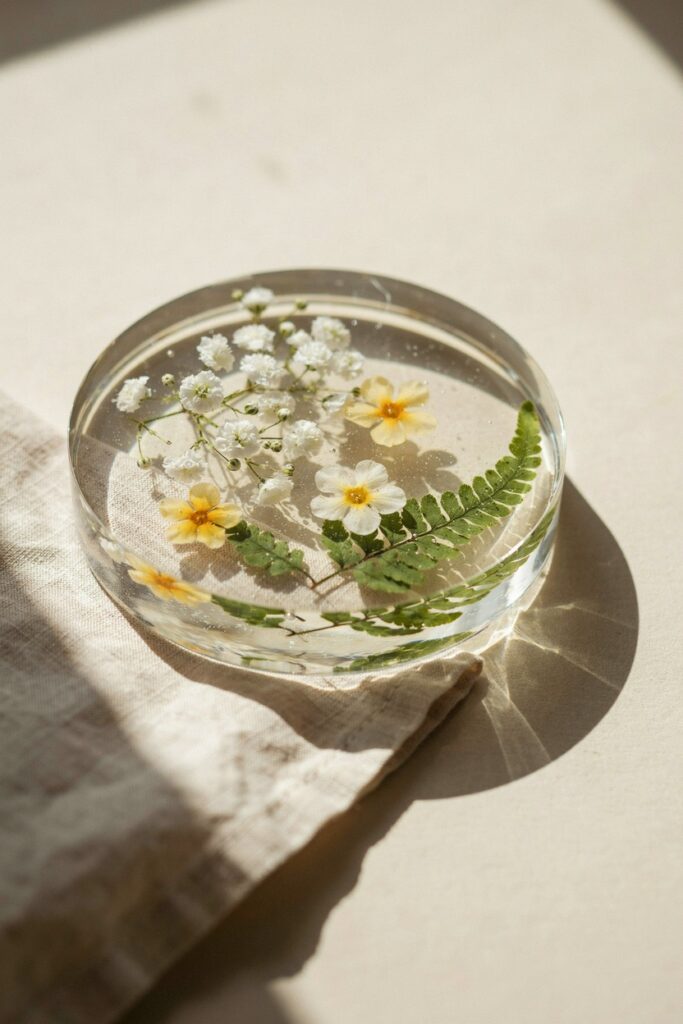
Resin preserves color and detail in a way that pressing alone can’t. A pressed flower under glass or in a frame is beautiful but fragile, resin locks the flower in place permanently and protects it from the physical wear a coaster actually goes through.
Fully dried flowers are non-negotiable here, and this is the single biggest technical hurdle in this craft. Any trapped moisture in a flower or petal will react with the curing resin, causing cloudiness, tiny bubbles, or in some cases a flower that visibly browns or rots slightly inside the finished piece, since the moisture has nowhere to go once it’s sealed in.
It’s a genuinely satisfying way to extend the life of flowers that would otherwise get thrown away, whether that’s a bouquet, garden clippings, or, in my case, wedding flowers that meant something and were otherwise headed for the trash.
Pressed vs. Silica-Dried Flowers for Resin
I want to be specific about this because the drying method actually affects your final result more than most tutorials mention.
Pressed flowers, dried flat between heavy books or in a flower press, are the easier and more common choice, and they work well for flatter blooms and individual petals. The trade-off is that pressing flattens the flower’s natural shape, which some people love for a more graphic, botanical look, and others find disappointing if they wanted the flower to keep its dimension.
Silica gel drying preserves more of the flower’s original shape and color, since it draws moisture out quickly while the flower holds its form, but it takes a specific product, a sealed container, and doesn’t work as well for very flat, thin petals, which can be more efficiently and reliably dried by pressing instead.
Either method needs real time. Rushing a flower that isn’t fully dried is the most common reason a first resin project doesn’t turn out the way people expect, more so than any mistake in the resin mixing itself.
Ingredients and Materials
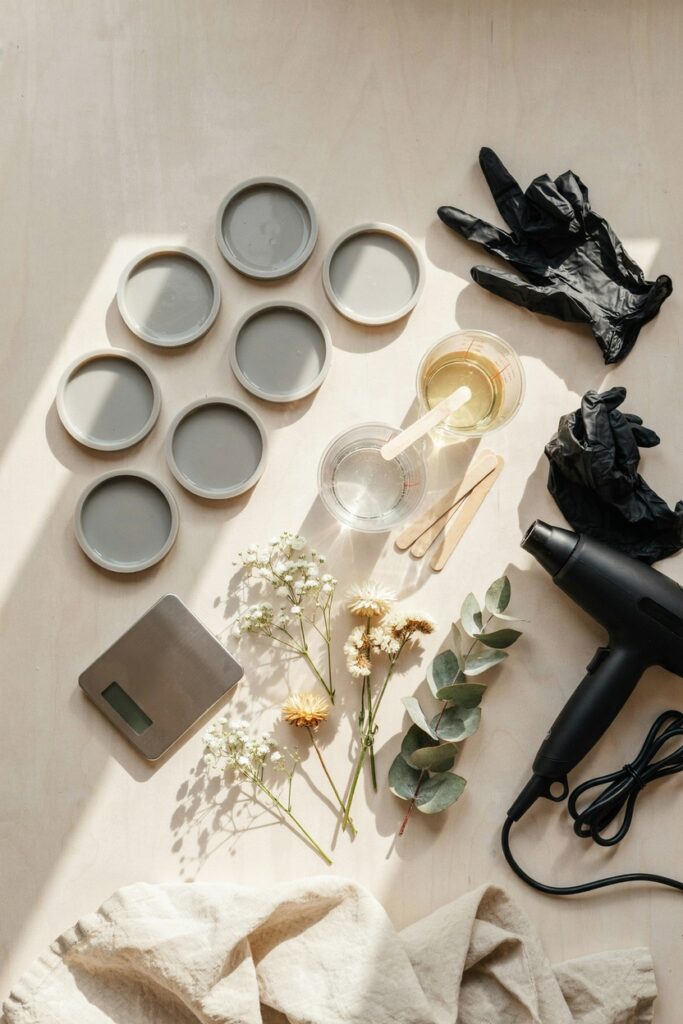
Beyond the flowers themselves, the material list here is short but specific, and substituting the wrong type of resin is the fastest way to end up with a coaster that never fully hardens.
If you’re coming from clay work and are used to sealants like the ones in my waterproofing air dry clay guide, resin is a different category of durability entirely, worth treating with its own set of rules rather than assuming clay logic carries over.
- Clear casting or tumbler-grade epoxy resin, specifically a two-part resin and hardener kit made for casting rather than a coating-only resin, since casting resin is formulated to cure properly in a thicker pour like a coaster.
- Dried flowers or petals, either pressed or silica-dried, fully dry with no lingering moisture.
- Silicone coaster molds. Resin doesn’t stick to silicone, which is what makes it possible to pop the finished coaster out cleanly.
- A digital scale, for precisely measuring your resin and hardener by weight, which is more accurate than measuring by volume with most resin brands.
- Mixing cups and stir sticks, for combining the resin and hardener.
- Nitrile gloves and a well-ventilated workspace.
- A heat gun or small kitchen torch, for popping surface bubbles after pouring.
- A level surface, since resin self-levels but only if the surface it’s curing on is actually flat.
Substitutions I’ve Actually Tested
No silicone coaster molds? A small round or square container lined with plastic wrap works in a pinch, though the finished edge is never as clean as what a proper mold gives you.
No heat gun? A basic kitchen torch, used briefly and from a distance, pops bubbles nearly as well, though I’d avoid a full-size propane torch, which puts out more heat than a small pour needs.
Fresh flowers only, no time to fully dry them? I’d genuinely wait. I tried rushing a batch with flowers that felt dry to the touch but weren’t fully dried through, and the finished coasters clouded slightly around every petal within a few days.
How to Make Resin Coasters With Dried Flowers
Step 1: Fully Dry Your Flowers
Press your flowers between heavy books for at least one to two weeks, or use silica gel drying beads in a sealed container for a few days to a week, depending on the flower’s thickness. Check that petals feel papery and stiff, not just dry on the surface, before moving on.
Step 2: Arrange Your Flowers in the Mold
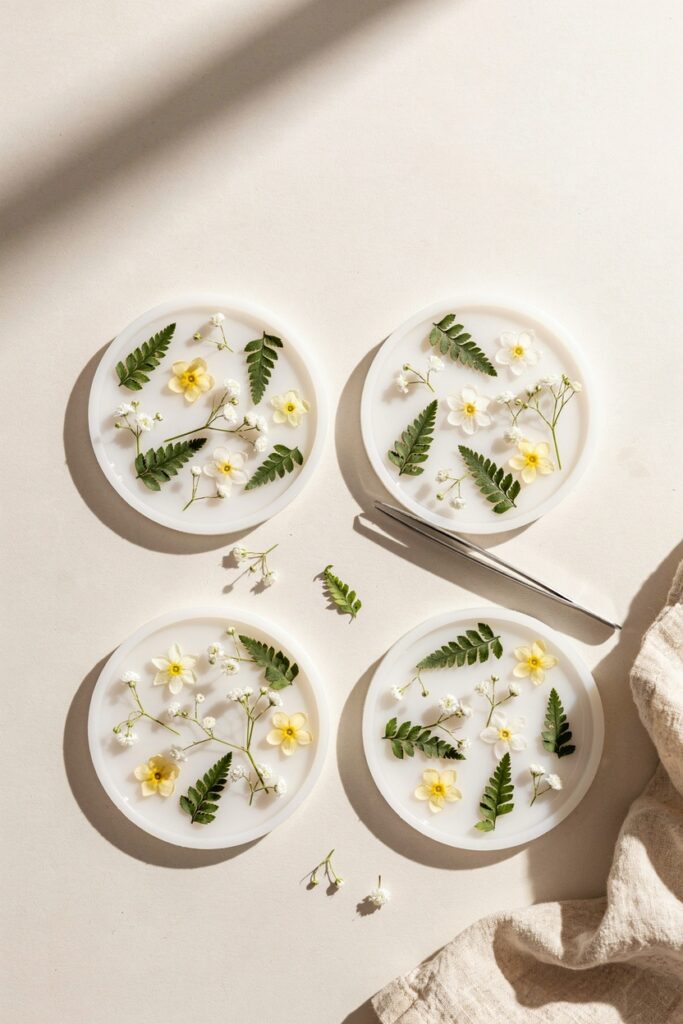
Lay your dried flowers and petals into the silicone mold in your desired arrangement. I usually do a light test-arrangement dry, without resin, and take a quick photo on my phone so I have something to reference once I start working with resin and can’t easily readjust things.
Step 3: Measure and Mix the Resin
Measure equal parts resin and hardener by weight on your digital scale, following the specific ratio listed on your product, since this varies by brand and getting it wrong is the most common reason a batch never fully cures.
Stir slowly and thoroughly for a full two minutes, scraping the sides and bottom of the cup, not just the surface, since unmixed resin along the edges will stay soft even after everything else cures.
Step 4: Pour a Thin First Layer
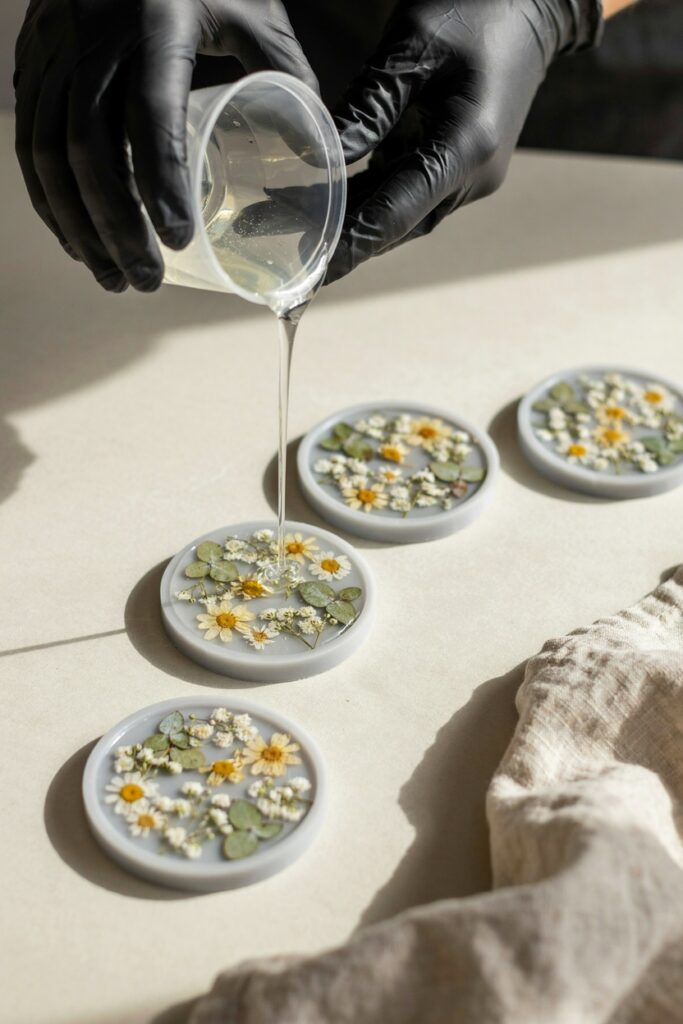
Pour a thin base layer of resin into the mold first, just enough to cover the bottom, and let it set until slightly tacky, usually 20 to 30 minutes depending on your resin. This locks your flowers in place before the full pour, which keeps delicate petals from floating or shifting later.
Step 5: Add Your Flowers and Pour the Final Layer
Once the base layer is tacky, place your flowers if you haven’t already, then pour the remaining resin over the top in a slow, steady stream to fill the mold.
Step 6: Pop the Bubbles
Pass a heat gun or torch briefly over the surface, a few seconds at a time, to pop any bubbles that have risen. Don’t linger in one spot, since too much direct heat can scorch the resin surface.
Step 7: Let It Cure Undisturbed
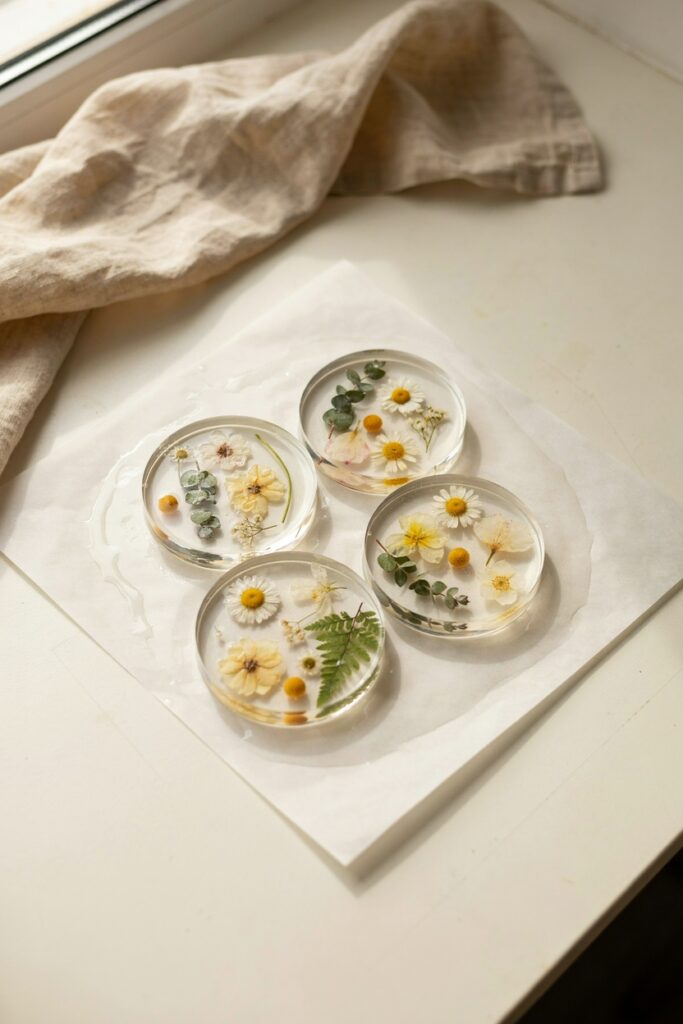
Cover loosely with a box or container to keep dust out, and let the coasters cure fully, typically 24 to 72 hours depending on your specific resin, without moving or touching them. Rushing this step is the most common cause of a soft or tacky finished surface.
Step 8: Unmold and Finish
Once fully cured, gently flex the silicone mold to release the coaster. If the edges feel sharp, a light pass with fine sandpaper smooths them out.
Tips From Making a Lot of These Now
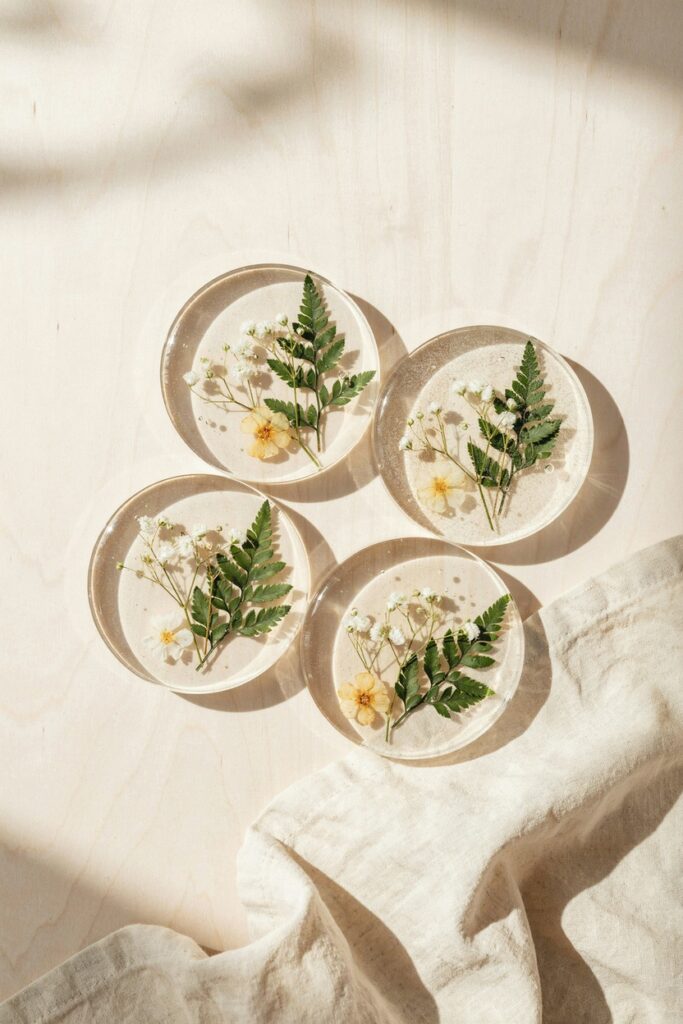
- Weigh your resin and hardener rather than eyeballing the ratio. Being even slightly off can leave you with a batch that never fully hardens.
- Work in a room with a consistent, moderate temperature. Resin cures unevenly, or sometimes not at all, in a cold room.
- Do your flower arranging dry, before you touch any resin, so you’re not making design decisions while also racing against the clock of a mixed batch starting to set.
- Pour slowly. A fast pour introduces more air bubbles than a slow, steady one.
- Keep a dust cover over curing pieces. I lost a nearly finished batch to stray pet hair once, described below.
Mistakes I’ve Made So You Don’t Have To
Using flowers that felt dry to the touch but weren’t dried all the way through. Every petal in that batch developed a faint cloudy halo within about a week, which never went away once the resin had cured.
Eyeballing my resin-to-hardener ratio instead of weighing it. That batch stayed slightly tacky on the surface for weeks and never fully hardened, and I ended up having to discard it entirely.
Skipping the dust cover during curing. A cat hair landed in the resin about an hour into curing, and once resin starts to set, you genuinely cannot remove something like that without damaging the surface.
Pouring too fast and trying to fix the resulting bubbles entirely with the heat gun afterward. Some bubbles were too deep in the pour to reach, and they’re still visible in that coaster today.
Troubleshooting
My flowers turned brown or cloudy inside the resin. This is almost always trapped moisture. The flowers weren’t fully dried before being sealed in, and there’s no fix once it’s cured, only prevention for next time.
My resin never fully hardened. Check your resin-to-hardener ratio first, since an inaccurate measurement is the most common cause. Room temperature during curing is the second most common culprit.
There are visible bubbles throughout the coaster, not just on the surface. This usually means the pour itself was too fast, introducing air that was too deep to reach with a heat gun afterward. Pour more slowly next time, in a thin, steady stream.
The finished coaster has a tacky or sticky top surface. This can mean an inaccurate resin ratio, or that the piece was disturbed or exposed to humidity during the early stages of curing.
Variations and Uses
Single Statement Flower. One larger bloom centered in the coaster, rather than a full arrangement, for a cleaner, more minimal look.
Mixed Botanical Blend. A combination of flowers, leaves, and even small pieces of dried herbs for a more layered, garden-inspired look.
Gift Sets From a Single Bouquet. A full bouquet, from an event or just from your own garden, can realistically make a small set of four to six coasters, which makes this a meaningful, low-cost gift option, similar in spirit to the ideas in my air dry clay gift guide, just built around resin instead of clay.
If dried botanicals are a direction you enjoy working in, my leaf imprint jewelry dish tutorial uses a similar preserved-nature approach with air dry clay instead of resin, and pairs well as a companion gift.
If coasters specifically are a craft you enjoy, my roundup of air dry clay coaster ideas is worth a look for a different material and technique aimed at the same end result.
And if you’re deciding between resin and a sealant for durability on a different project entirely, my guide on making air dry clay waterproof covers that same durability question from the clay side.
Storage and Care
Wipe finished coasters with a soft, dry cloth. Avoid soaking them in water for extended periods or putting them in the dishwasher, since prolonged water exposure isn’t necessary for care and can dull the resin’s shine over time.
Keep them out of direct, prolonged sunlight if possible, since UV exposure can cause some dried flowers to fade or yellow inside the resin over months and years, even once fully cured and sealed.
Frequently Asked Questions
Is resin dangerous to work with? In its uncured, liquid state, yes, it requires real precautions: ventilation, gloves, and avoiding skin contact. Once fully cured, the hardened resin itself is inert and safe to handle and display.
Are these coasters food-safe? Most craft resin is not rated as food-safe, so I’d treat these as coasters for cups and mugs rather than as a surface food is placed directly on.
Will the flowers fade over time? Some fading is normal, especially with prolonged direct sunlight exposure, even once the flower is sealed inside cured resin. Keeping finished pieces out of constant direct sun slows this down.
Can I use fresh flowers instead of dried? No, fresh flowers contain too much moisture and will cause clouding, discoloration, or even visible decay inside the resin. Full drying, whether pressed or silica-dried, is a required step, not an optional one.
How long does the whole process take, start to finish? Between flower drying time and resin curing time, I’d budget at least two to three weeks total for a batch, even though the hands-on working time itself is genuinely just an hour or two.
Final Thoughts
This is one of the more satisfying ways to keep flowers that would otherwise get thrown out, whether from an event, a garden, or a bouquet that’s just past its prime.
A single batch realistically covers a small set of coasters, so it’s worth planning for a few pieces at once rather than a single one-off.