Easy DIY Potholder Sewing Tutorial: Make a Unique Fabric Lid Grip
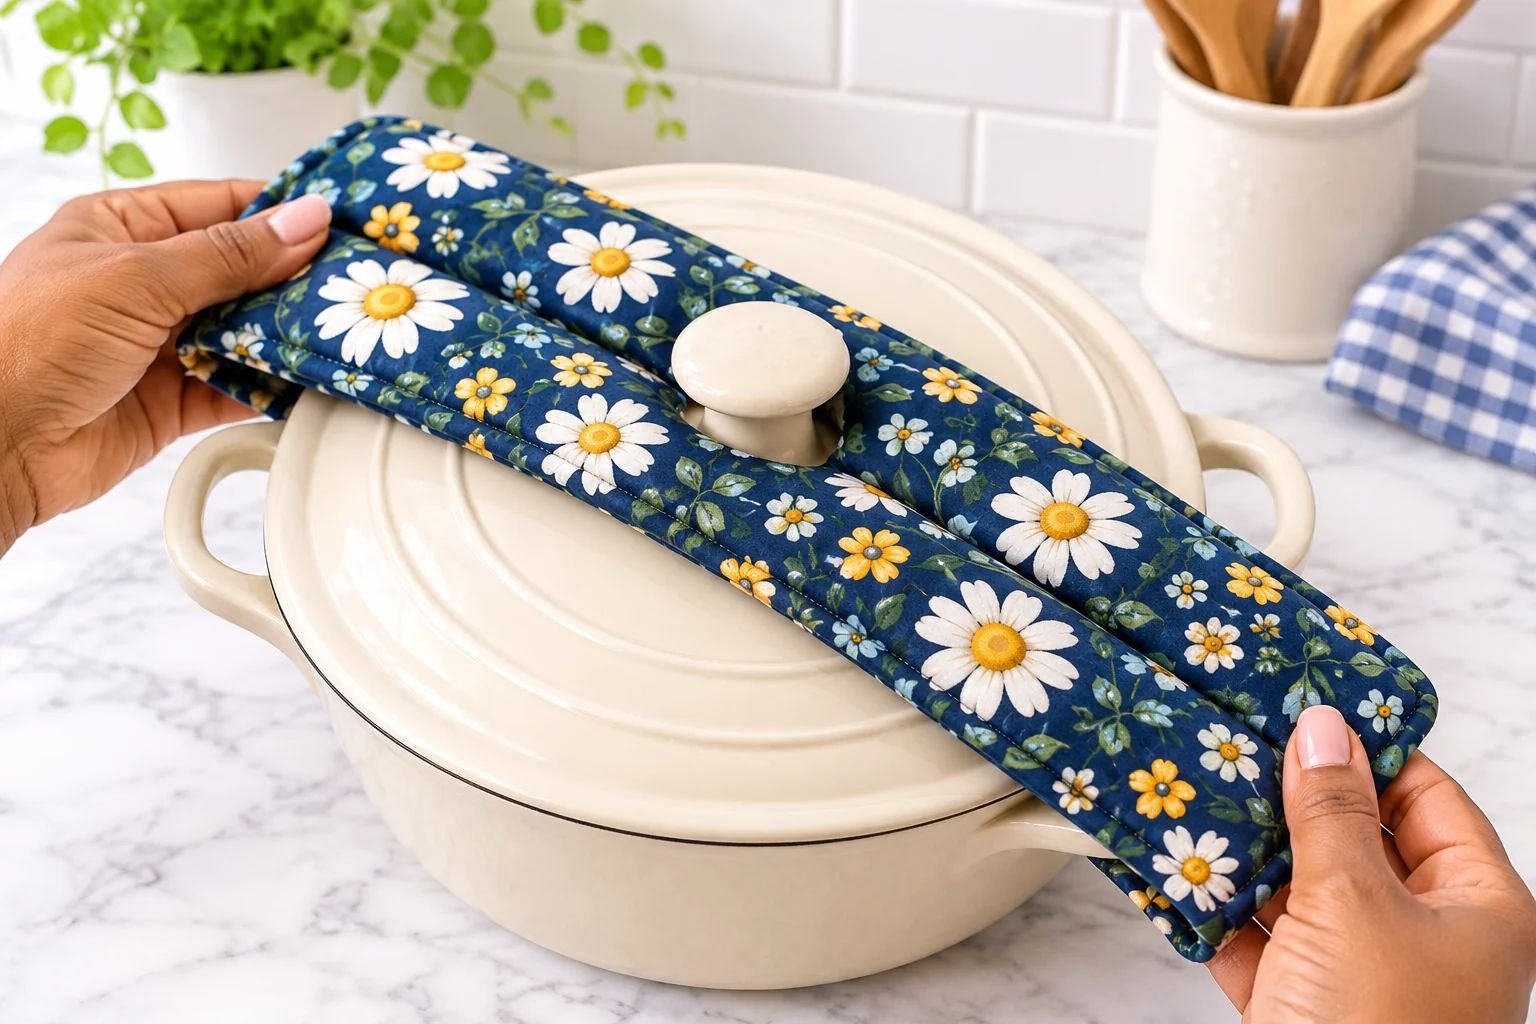
If you enjoy sewing practical things for your kitchen, this DIY potholder is such a fun little project to try. It looks different from the usual square potholders, but that is exactly what makes it interesting. Instead of one flat padded piece, this design has two long, cushioned sections with a narrow opening between them.
That opening allows the potholder to sit around the knob of a pot or casserole lid, while the padded sides give you something comfortable to grip when lifting it.
It is a lovely project for using pretty cotton fabric, and you can easily choose a print that matches your kitchen.
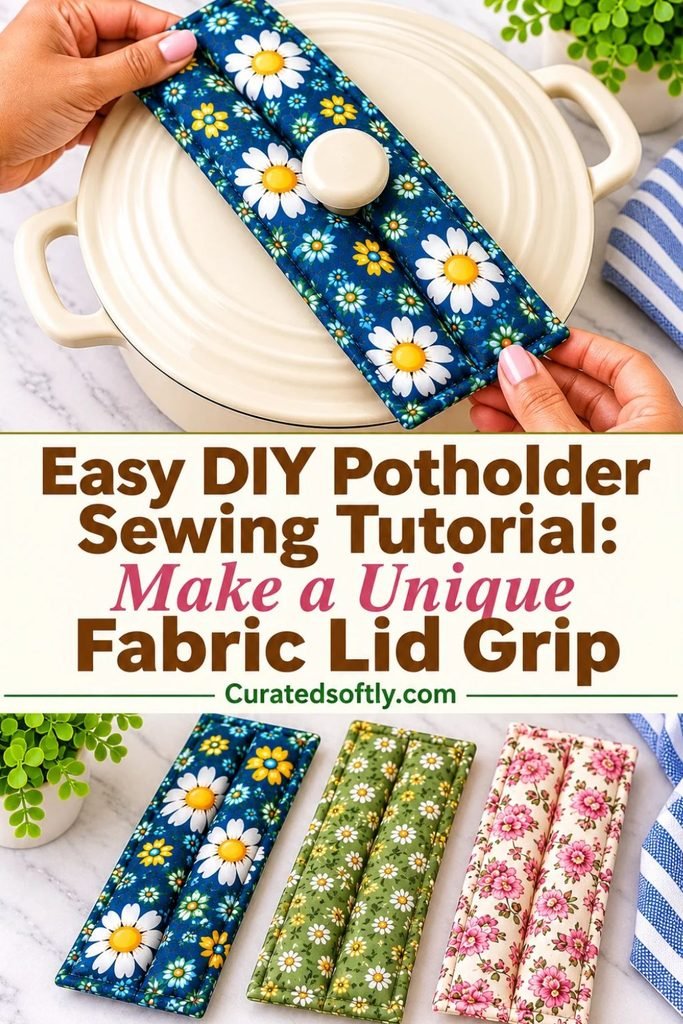
I especially love projects like this because they are both decorative and useful. A pretty floral fabric can turn a simple kitchen essential into something that looks thoughtful enough to give as a handmade gift.
If you are new to sewing, don’t worry. I’ll walk you through the materials, preparation, cutting, and sewing process so you can make your own version at home.
What Is a Two-Channel Potholder?
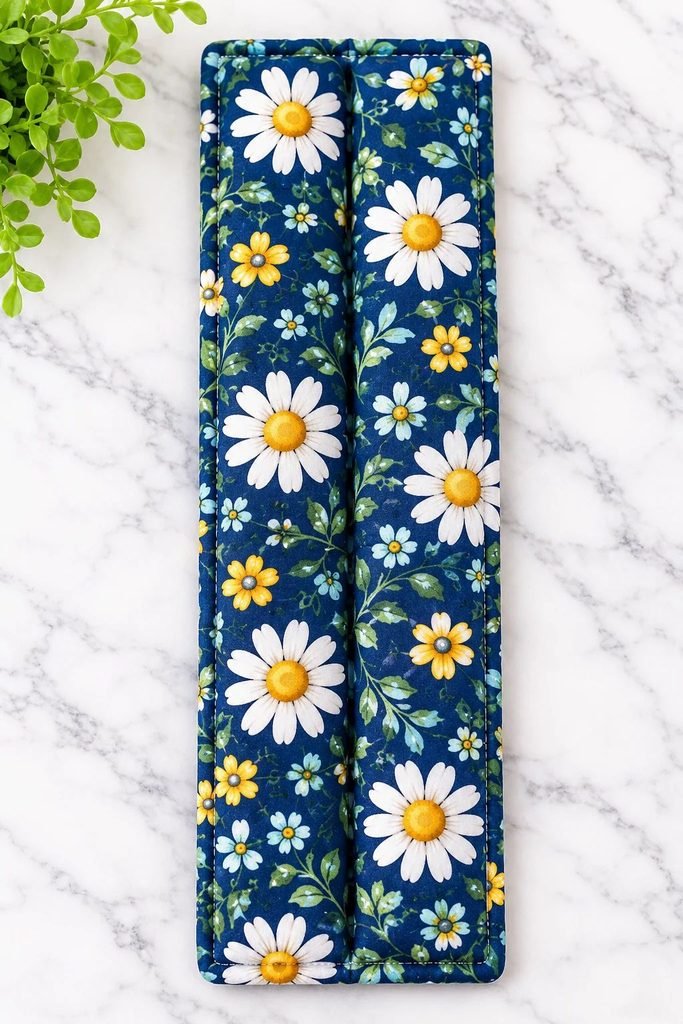
A two-channel potholder is a padded fabric kitchen accessory designed with two raised, cushioned sections running lengthwise, leaving a space between them.
Unlike an ordinary flat potholder, this style is shaped to fit around a pot lid knob. The two padded sides sit on either side of the knob, helping you grip and lift the lid without holding the hot knob directly.
You can customize the length and width to suit the lids you use most often. It is also a lovely way to use a small amount of your favorite quilting cotton.
Important: This project is intended as a lid-gripping accessory, not a replacement for a properly tested, heat-rated oven mitt.
Use suitable heat-resistant batting and test your finished project carefully. Never use it if the fabric, stitching, or padding is damaged, damp, or too thin to protect your hands.
Why You’ll Love This DIY Sewing Project
- Beginner-friendly: You only need basic sewing skills, straight stitching, and a little patience.
- Practical for the kitchen: The two padded channels are designed to sit around a pot lid knob.
- Easy to personalize: Choose floral cotton, gingham, stripes, or a fabric print that matches your kitchen.
- A thoughtful handmade gift: It makes a lovely addition to a kitchen gift basket or a housewarming present.
- Uses simple sewing supplies: You can make it with cotton fabric, suitable heat-resistant batting, and basic sewing tools.
Materials You’ll Need
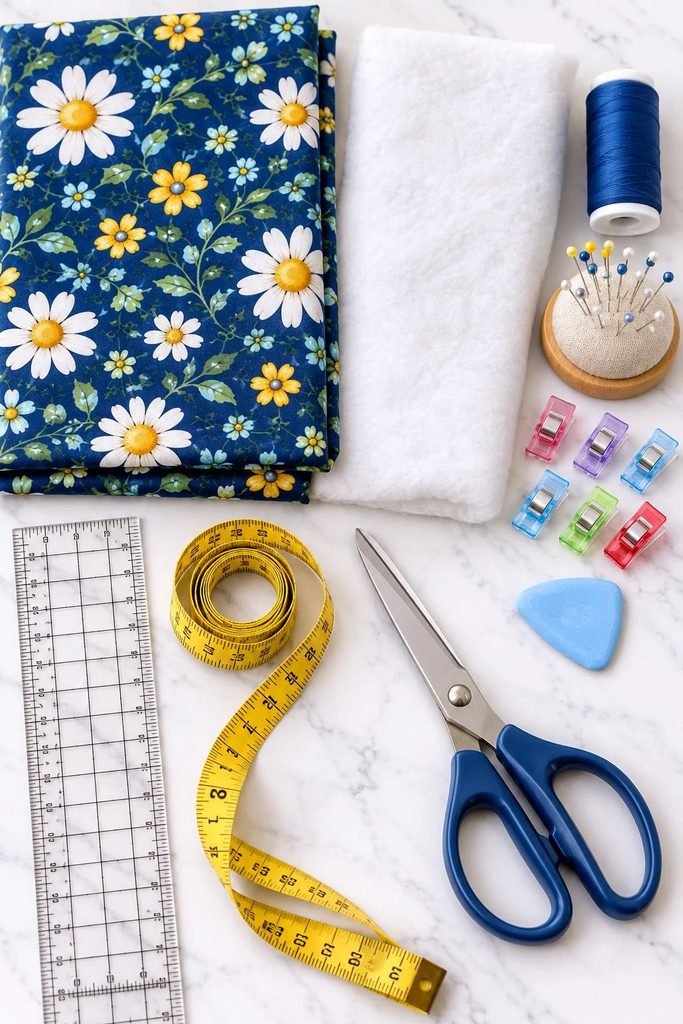
Before you start, gather your supplies. The most important thing is choosing materials that are appropriate for handling hot cookware.
- 100% cotton fabric: Choose tightly woven quilting cotton for the outer fabric. You will need enough for the front, back, and padded channel sections.
- Heat-resistant batting: Use batting specifically designed and rated for potholders or oven mitts. Follow its manufacturer’s instructions for layering and use.
- 100% cotton thread: Cotton thread is a good choice for this project.
- Sewing machine: A regular domestic sewing machine should work with suitable needles and fabric layers.
- Rotary cutter or fabric scissors: For cutting straight, even pieces.
- Quilting ruler and measuring tape: To measure your fabric accurately.
- Pins or sewing clips: To hold the layers together.
- Iron and ironing board: For pressing seams and preparing the fabric.
- Fabric marking pen or chalk: To mark your stitching lines.
Avoid polyester fabric, polyester thread, ordinary craft felt, and standard polyester quilt batting for a potholder intended to handle heat. Also, do not assume that several layers of ordinary cotton batting automatically make a project heat-safe.
Measurements for Your DIY Potholder
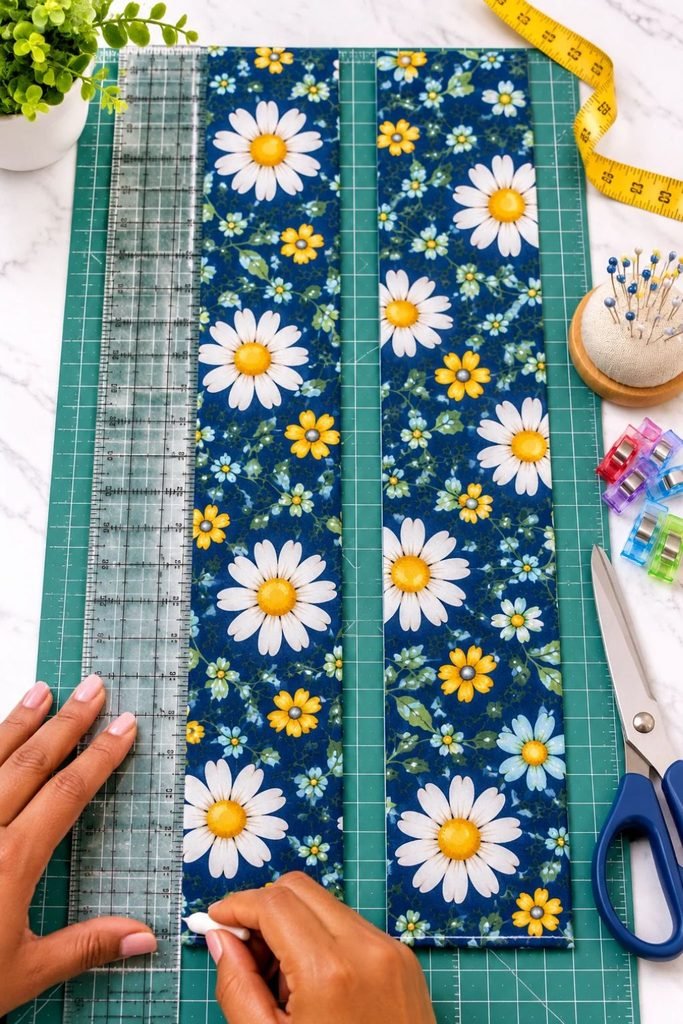
The measurements below are a starting point for an adult-sized lid-grip potholder. The best size depends on the lid knob you want to use it with, so measure your cookware before cutting.
For a sample project, prepare:
- Two outer fabric panels measuring approximately 5 x 16 inches.
- Two matching lining or backing panels measuring approximately 5 x 16 inches, if your construction uses separate backing pieces.
- Two heat-resistant batting strips measuring approximately 4 x 15 inches.
- Additional fabric for the two padded channel sections, based on the finished width and height you want.
These are cutting suggestions, not a certified heat-protection specification. Adjust the finished length to suit your pot lid, and make sure the central opening is wide enough to fit around the knob without stretching or pulling the seams.
Before sewing, lay your fabric pieces out and check that the planned two-channel shape will sit comfortably around the lid knob.
How to Make an Easy DIY Potholder
Step 1: Wash, Dry, and Prepare Your Fabric
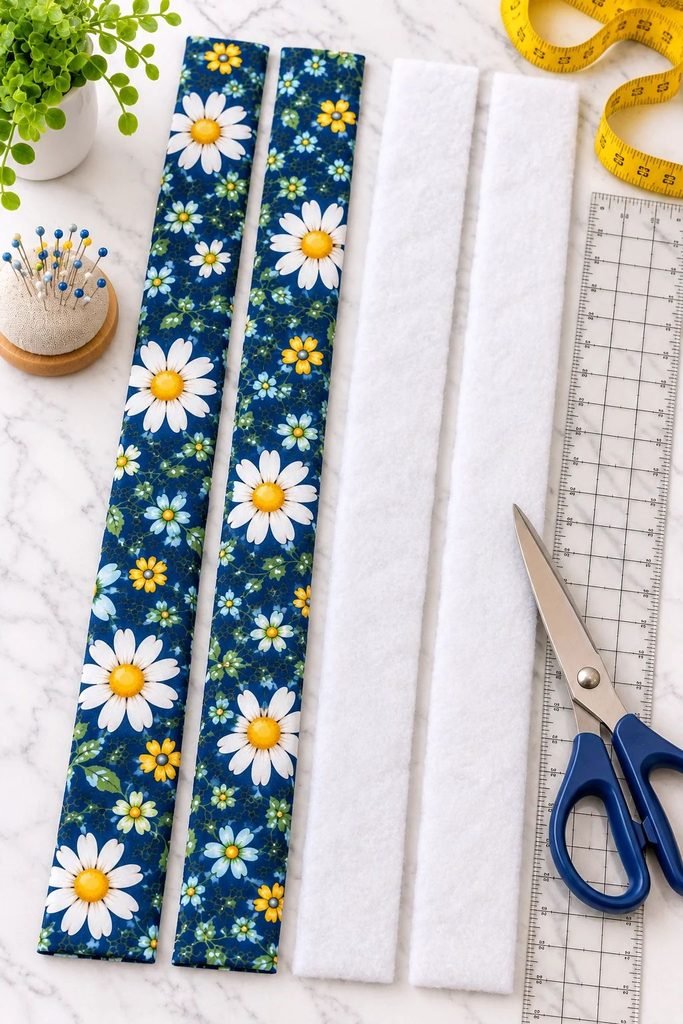
Start by washing and drying your cotton fabric if it is washable. This helps reduce the chance of unwanted shrinkage after your potholder is finished.
Press the fabric flat with an iron, then place it on your cutting surface. Use a ruler to mark your measurements carefully before cutting.
Try to keep your fabric pieces straight and even. Accurate cutting makes the sewing process much easier, especially when you are joining several padded sections together.
Step 2: Cut the Fabric and Heat-Resistant Batting
Cut your outer fabric pieces according to the measurements you have chosen.
Next, cut the heat-resistant batting pieces. Follow the batting manufacturer’s instructions for the number of layers and how they should be positioned.
Keep your pieces organized so you can easily identify the front, back, and padded sections.
If you are using a directional print, such as flowers or stripes, check that the pattern will face the right way when the potholder is assembled.
Step 3: Prepare the Two Padded Channels
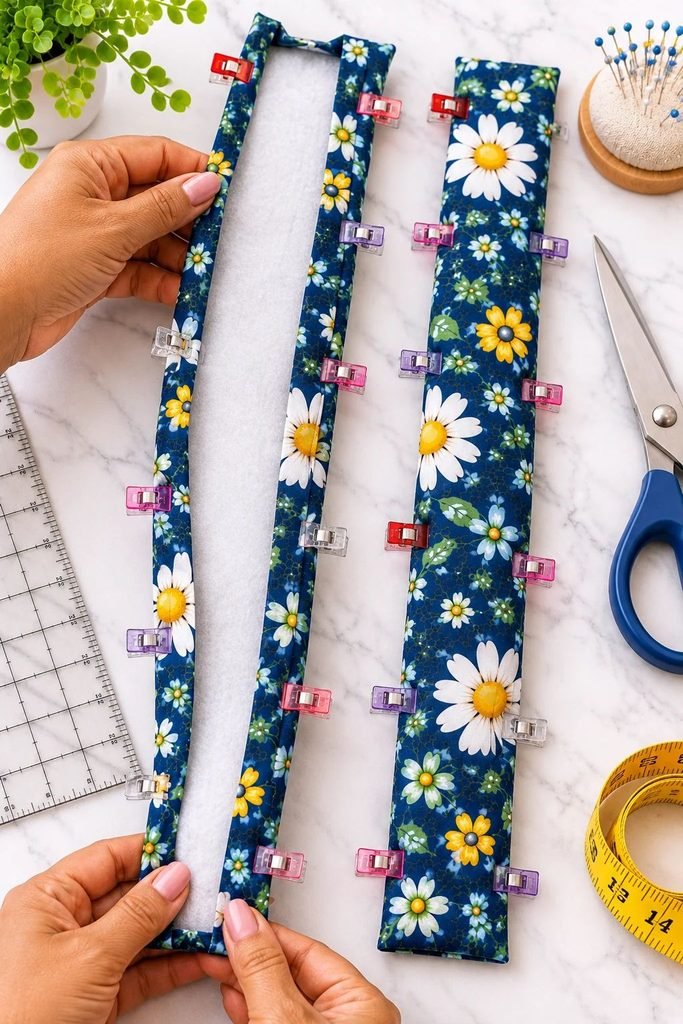
The two raised sections are what make this potholder different from a regular flat design.
Prepare the fabric and batting for each channel, keeping the batting enclosed within the fabric layers. Arrange the layers neatly and secure them with clips.
Sew along the planned channel edges using your sewing machine. Keep your stitching straight and consistent so both padded sections have a similar shape.
Do not rush this part. Even channels will help the finished potholder sit more neatly around a pot lid knob.
Step 4: Assemble the Main Potholder
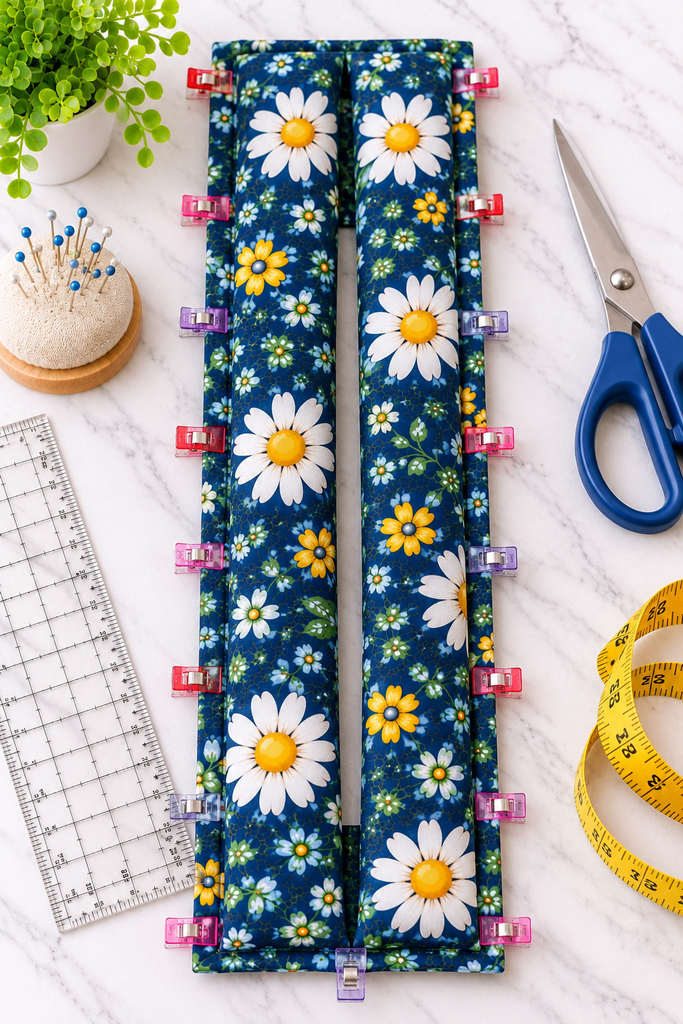
Place the padded channels on the main fabric section according to your planned layout. Leave an even opening between them.
That central space is important because it allows the knob of your pot lid to sit between the two padded sections.
Secure the pieces with clips and check the placement before sewing. Make sure the channels are parallel and that the opening is centered.
Stitch the sections together using the construction method you have planned, keeping the seam allowances consistent. Reinforce the ends and any points that will experience pulling when you lift a lid.
Step 5: Finish the Edges
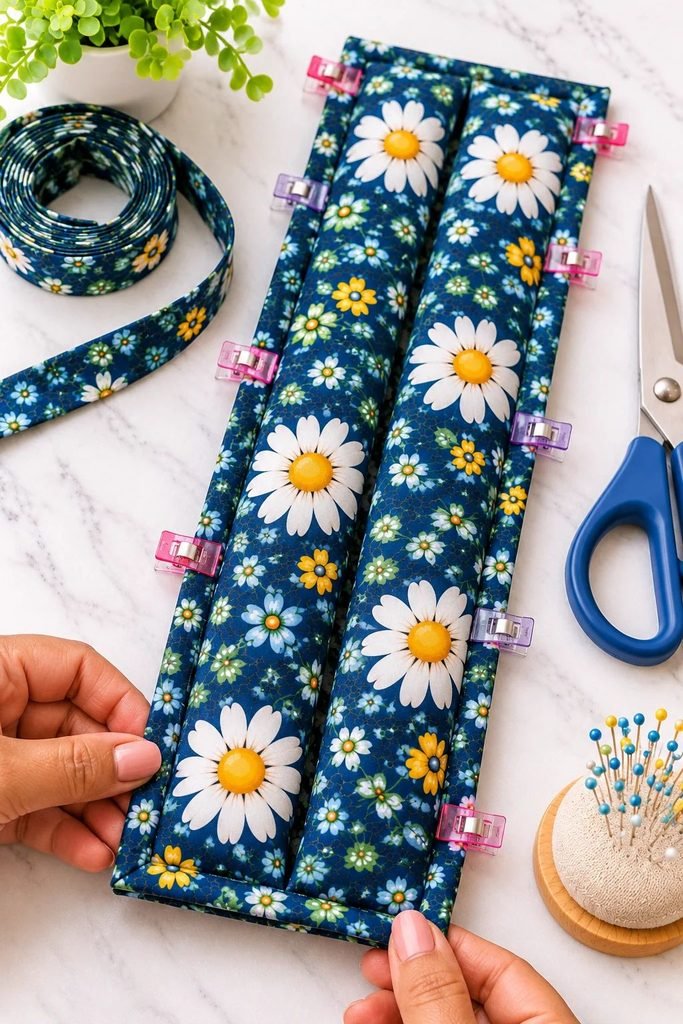
Once the main sections are attached, finish the outside edges neatly.
Depending on your construction, you can use a cotton binding or another suitable cotton finishing method to enclose the raw edges.
Turn and press the finished edges carefully. Check that no batting is exposed and that all seams are secure.
A neat finish makes a big difference to the final appearance, especially if you are making this as a handmade gift.
Step 6: Check the Fit and Inspect Your Sewing
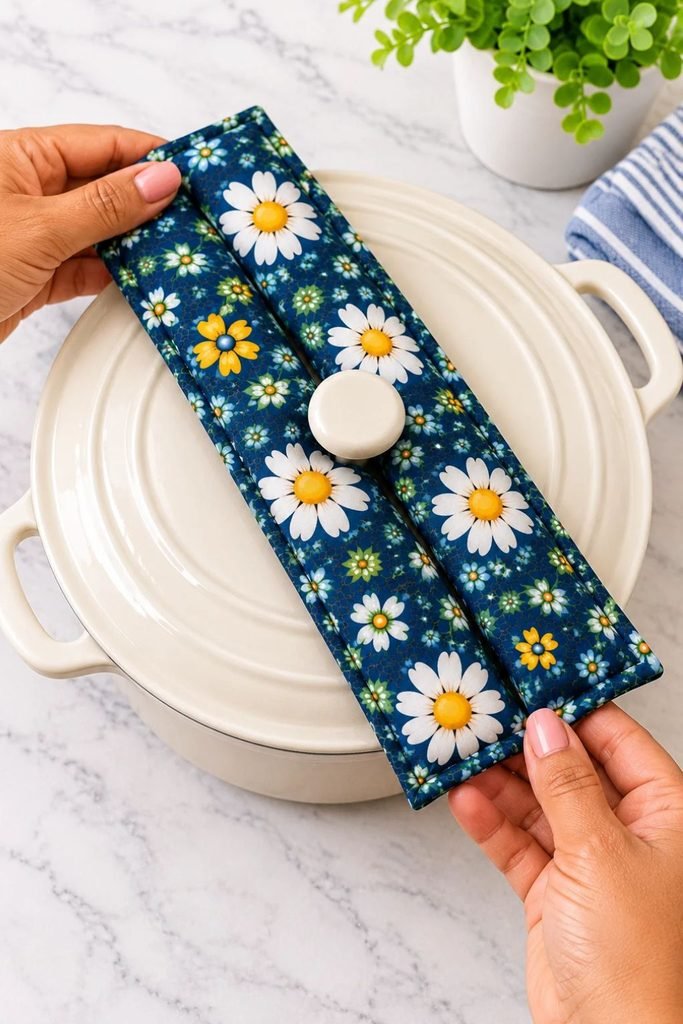
Before using your potholder, place it over a completely cool pot lid to check the fit.
The knob should sit comfortably between the two padded sections. The potholder should not slide around, stretch, or pull at the seams when you lift the cool lid.
Inspect every seam and check that the batting is fully enclosed. If anything looks loose, uneven, or poorly secured, fix it before considering the project complete.
Remember that a cool-lid fit test does not prove that a homemade potholder provides adequate heat protection. Use only materials rated for this purpose, follow their instructions, and do not use the project with cookware until you are confident it is suitable for its intended use.
Tips for Making Your Potholder Look Beautiful
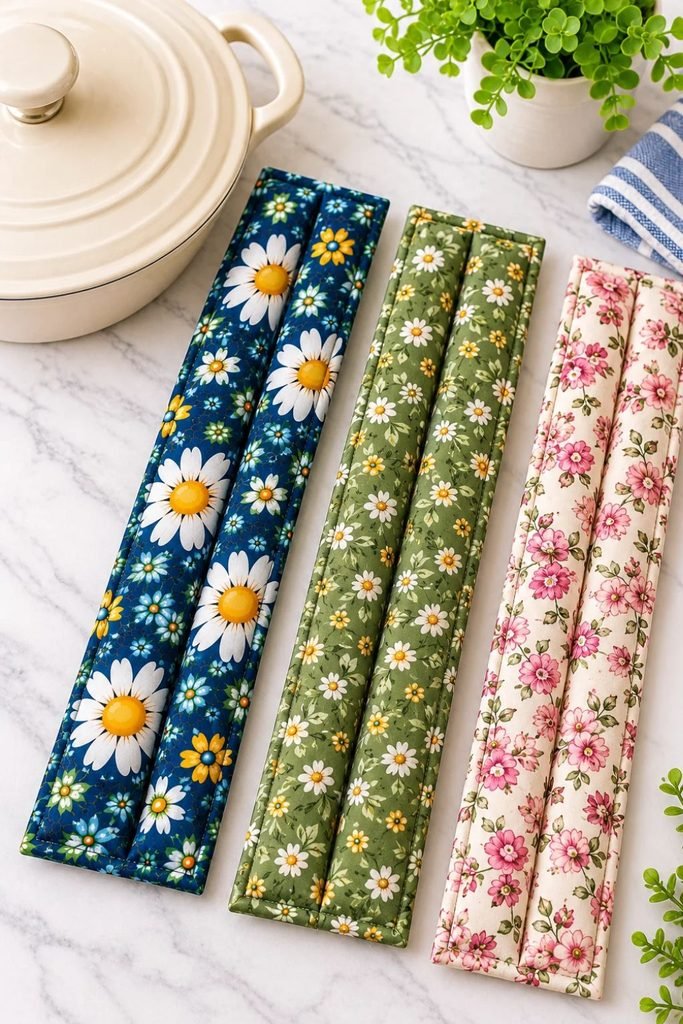
Choose a fabric you love. This project looks especially pretty with small floral prints, gingham, simple stripes, and classic kitchen patterns. Navy blue, cream, sage green, and muted pink are lovely choices.
Keep the channels even. Measure their placement before sewing so one side does not end up wider or longer than the other.
Use suitable heat-resistant materials. The batting and construction matter more than the appearance. A beautiful fabric is not enough to make a potholder safe for hot cookware.
Press as you sew. Pressing the fabric between steps helps keep the seams neat and gives the finished project a more professional appearance.
Make a test version first. If you are unsure about the dimensions, try your measurements with inexpensive fabric on a cool lid before cutting your favorite fabric.
Common Mistakes to Avoid
- Using ordinary batting: Standard quilt batting is not necessarily designed for heat protection. Choose a product specifically rated for potholders.
- Making the center opening too narrow: The opening should fit around your intended lid knob without stretching the seams.
- Cutting uneven pieces: Inconsistent measurements can make the two padded channels look mismatched.
- Skipping seam reinforcement: The sections used for gripping should be securely attached.
- Using synthetic materials: Avoid polyester fabric and thread for this heat-handling project.
- Assuming a thick potholder is automatically safe: Thickness alone does not guarantee heat resistance. Follow the material manufacturer’s instructions.
How to Care for Your Fabric Potholder
Always follow the washing and care instructions for the fabric and batting you use.
If the materials are machine washable, wash the potholder according to their recommended temperature and drying instructions. Avoid harsh cleaning methods that could damage the batting or stitching.
Allow it to dry completely before storing or using it. Replace the potholder if it becomes thin, damaged, scorched, damp, or loses its shape.
Frequently Asked Questions
Can a beginner sew this DIY potholder?
Yes. The project uses basic sewing techniques, including measuring, cutting, straight stitching, and finishing edges. Beginners should take their time with the padded sections and check the fit before finishing.
What fabric is best for a homemade potholder?
Tightly woven 100% cotton quilting fabric is a good choice for the outer fabric. Use 100% cotton thread and batting specifically rated for potholders or oven mitts.
Can I use regular quilt batting?
Not unless the manufacturer specifically rates it for potholder or oven-mitt use. Ordinary quilt batting may not provide suitable protection from heat.
What is the opening in the middle for?
The opening allows the two padded channels to sit on either side of a pot lid knob. This is what gives the design its unusual shape and makes it different from a traditional flat potholder.
Can I make this as a handmade gift?
Absolutely. Choose a pretty fabric print, finish the edges neatly, and pair it with a matching kitchen towel or another handmade kitchen accessory. It makes a thoughtful gift for someone who enjoys cooking.
Can I use this potholder to remove baking dishes from the oven?
This particular design is intended as a lid-gripping accessory. Do not assume it is suitable for lifting hot baking dishes or handling oven cookware. Use properly tested oven mitts or potholders designed for that purpose.
Final Thoughts
I love how this DIY potholder takes an everyday kitchen essential and gives it a more interesting shape. The two padded channels make it look different from the usual flat potholder, and choosing your own fabric means you can make one that feels completely personal.
It is a lovely sewing project to try when you want to make something useful, practice your sewing skills, or create a thoughtful handmade kitchen gift.
Choose a pretty cotton print, take your time with the measurements, and remember that the right heat-resistant materials and secure construction are essential for anything intended to handle hot cookware.