Crochet Wrist Warmers: Free Crochet Pattern for Beginners
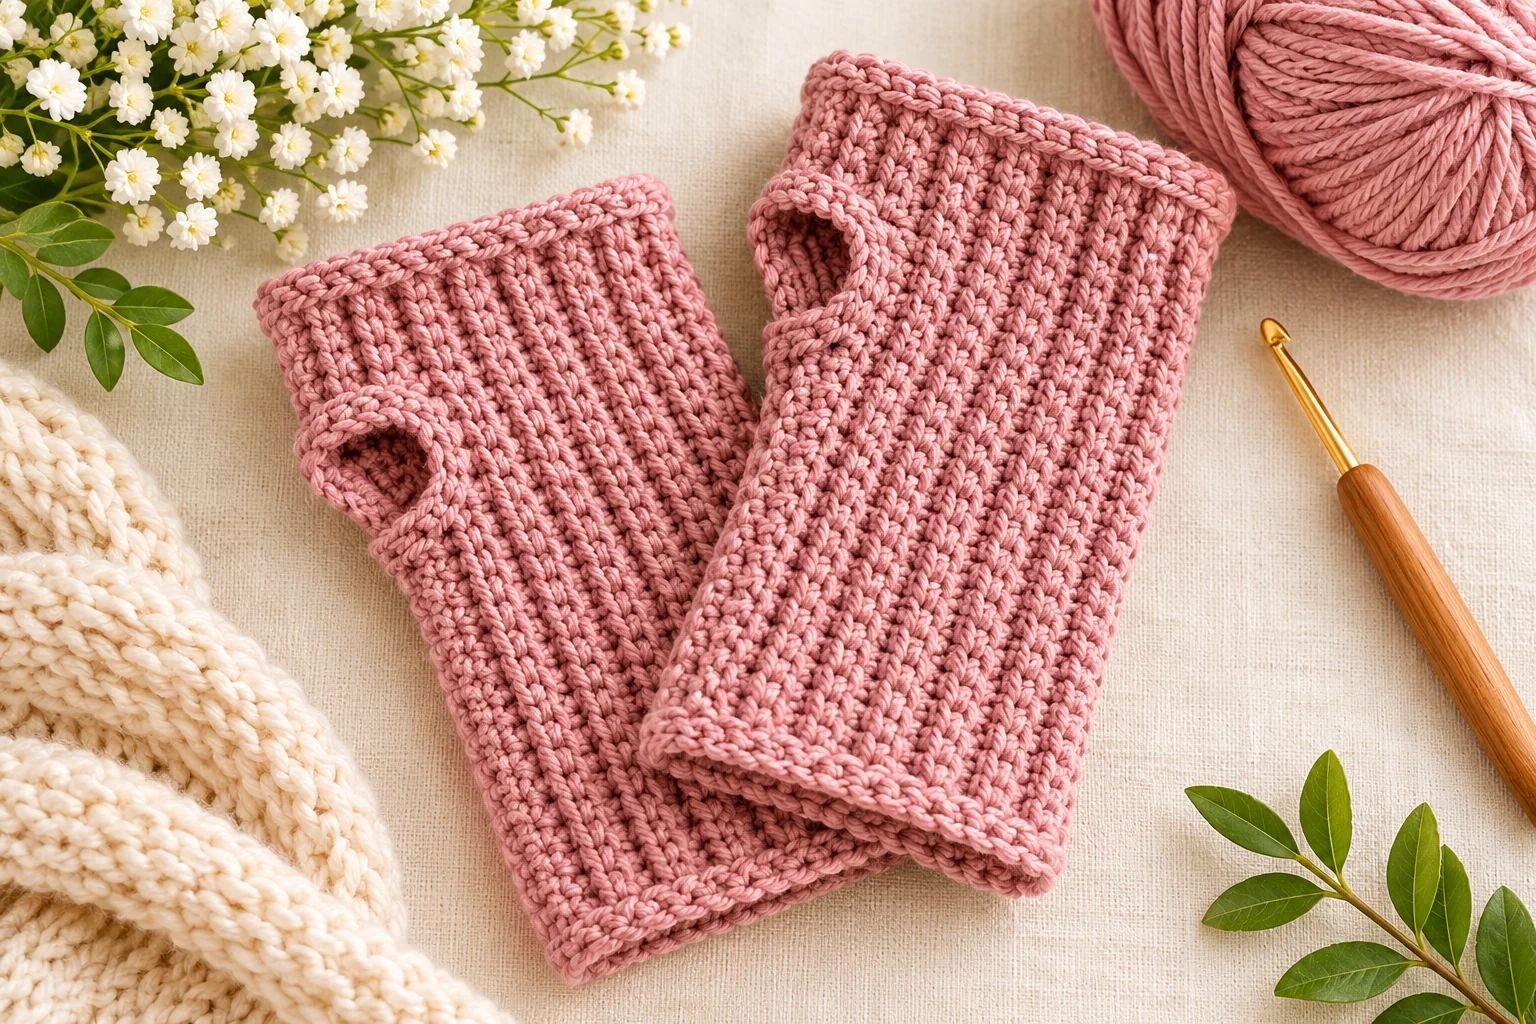
When the weather gets chilly, I love having little handmade accessories that keep me warm without feeling bulky. Crochet wrist warmers are perfect for this because they cover your wrists and part of your hands while leaving your fingers free to move.
They’re especially useful when you’re working, typing, reading, driving, or using your phone. You get a little extra warmth without having to keep taking off your gloves every time you need your fingers.
If you’ve been wanting to make something cozy with your crochet hook, this is a lovely project to try.
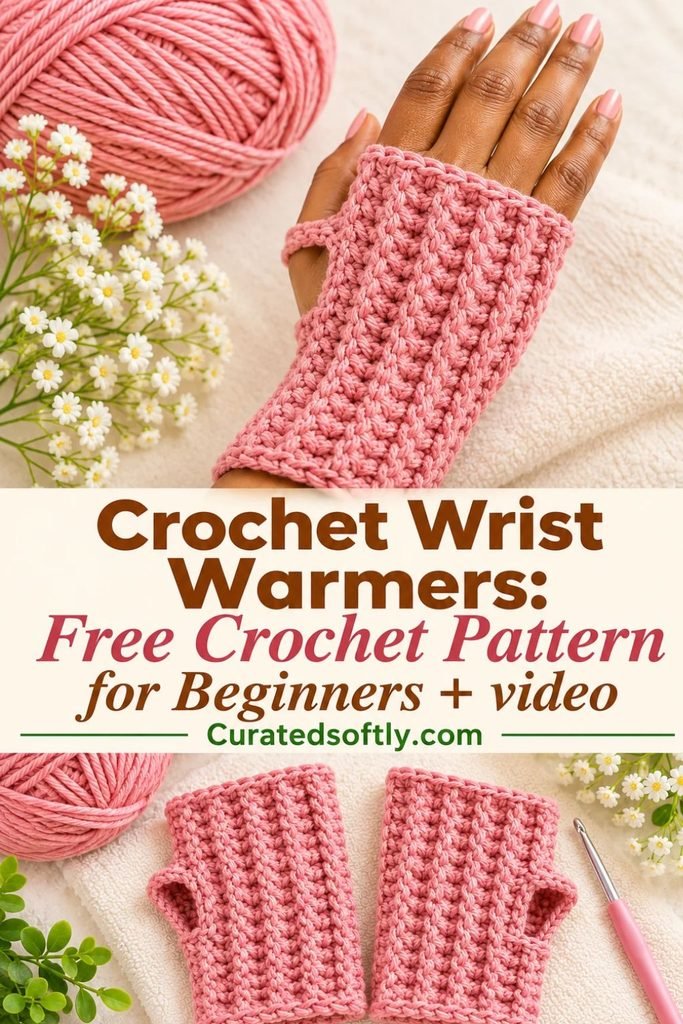
These crochet wrist warmers are made using a simple rectangular design and basic crochet stitches. You don’t need complicated shaping, special tools, or advanced techniques to make them.
I also love how easy they are to customize. You can use a soft neutral yarn for a minimalist look, choose dusty pink or lavender for something more feminine, or make a colorful pair to match your winter outfits.
If you’re building a collection of handmade winter accessories, you might also enjoy my easy crochet scarf pattern for beginners and these cozy crochet ear warmer patterns.
In this tutorial, I’ll show you how to crochet a pair of wrist warmers, how to create the thumb opening, and how to adjust the measurements for a comfortable fit.
Why You’ll Love These Crochet Wrist Warmers
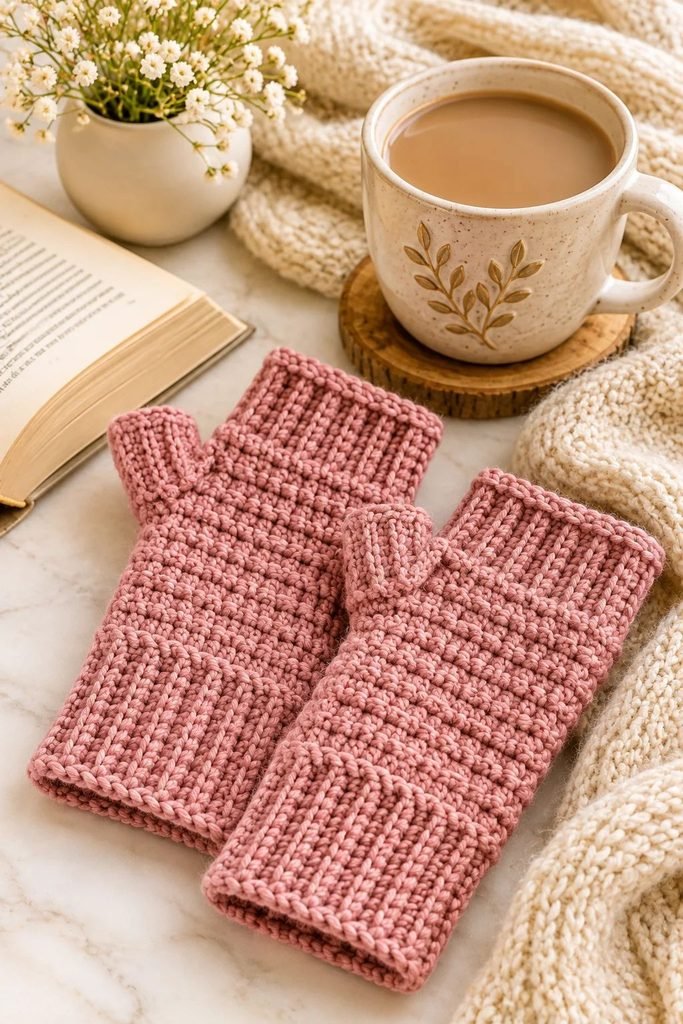
There are plenty of reasons to add this little project to your crochet list.
First, they’re beginner-friendly. The main pattern uses simple half double crochet stitches, and the ribbed texture is created by working into the back loops. Once you get comfortable with the stitch, the rest is mostly repetition.
They’re also quick to make. You can work on one wrist warmer at a time, and because the design is made from a rectangle, you don’t have to worry about complicated shaping around the thumb.
Another thing I like is how practical they are. Unlike full gloves, wrist warmers leave your fingers uncovered, making everyday tasks much easier.
They’re also lovely handmade gifts. A pair made in someone’s favorite color can be a thoughtful birthday, Christmas, or winter gift. You could even make several pairs in different colors to keep in your handmade gift collection.
If you enjoy making crochet accessories, you can also try my free crochet bandana pattern. It’s another beginner-friendly project that works beautifully with soft yarn.
What You’ll Need
You don’t need a long list of supplies for this project. A small amount of yarn and a crochet hook are enough to get started.
- Worsted-weight yarn: approximately 100–150 yards
- 5 mm crochet hook, or the hook needed to achieve gauge
- Scissors
- Yarn needle for sewing the seams
- Measuring tape
- Stitch markers, optional
Choosing your yarn
I recommend using a soft worsted-weight yarn for these wrist warmers. Acrylic yarn is affordable, easy to find, and comes in plenty of colors. A wool blend is another lovely option if you want something especially warm.
Try to avoid yarn that feels scratchy against your skin. Since the wrist warmers will sit directly against your hands and wrists, softness makes a big difference.
If you’re making them as a gift, check the yarn label for washing instructions so the recipient knows how to care for them.
Finished Measurements
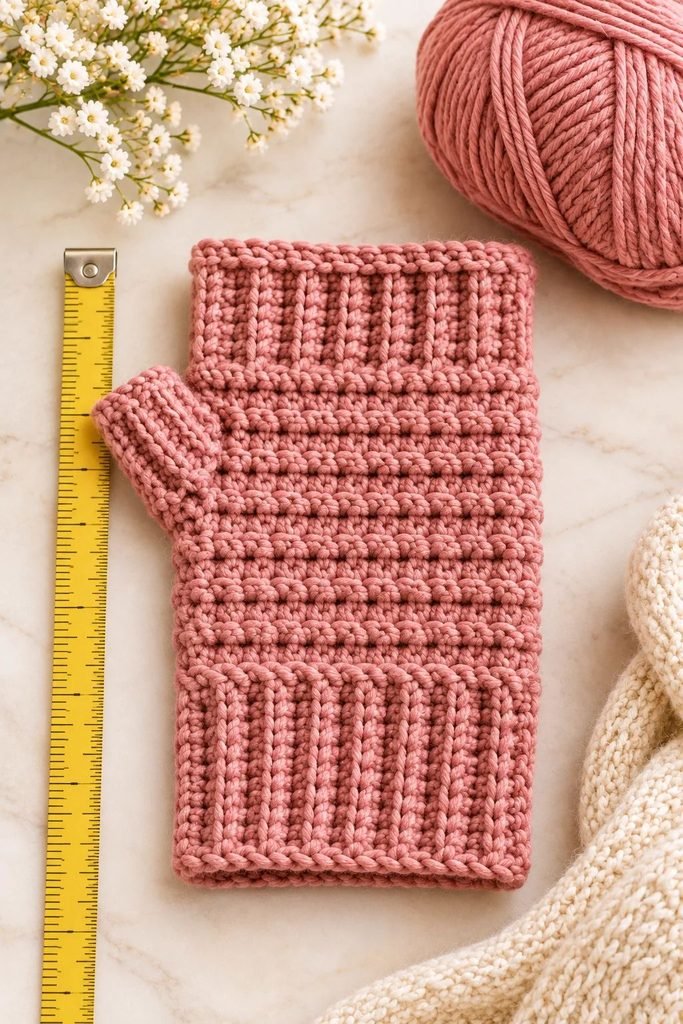
The sample pattern is designed for an average adult hand.
- Approximate length: 7 inches
- Approximate circumference: 8–8½ inches before seaming
- Thumb opening: approximately 1½ inches
These are approximate measurements and will vary depending on your yarn, hook, and tension.
The wrist warmers are designed with a little flexibility, but you should still measure your hand before beginning. Measure around the widest part of your hand, just below your knuckles, and check the length from your wrist to the base of your fingers.
If you want a closer fit, you can reduce the number of rows. If you want a longer wrist warmer that covers more of your forearm, simply add extra rows.
Crochet Abbreviations
This pattern uses US crochet terminology.
- ch: Chain
- hdc: Half double crochet
- BLO: Back loop only
- st: Stitch
- sl st: Slip stitch
- FO: Fasten off
Stitch Notes
The main stitch used in this pattern is the half double crochet worked through the back loop only.
When you look at the top of a crochet stitch, you’ll see two loops that form a small V shape. Instead of inserting your hook under both loops, you’ll insert it under the loop farthest away from you.
Working into the back loop creates a stretchy ribbed texture that looks lovely on wrist warmers.
The ribbing also gives the fabric a little flexibility, which helps the finished piece sit comfortably around your wrist and hand.
Gauge
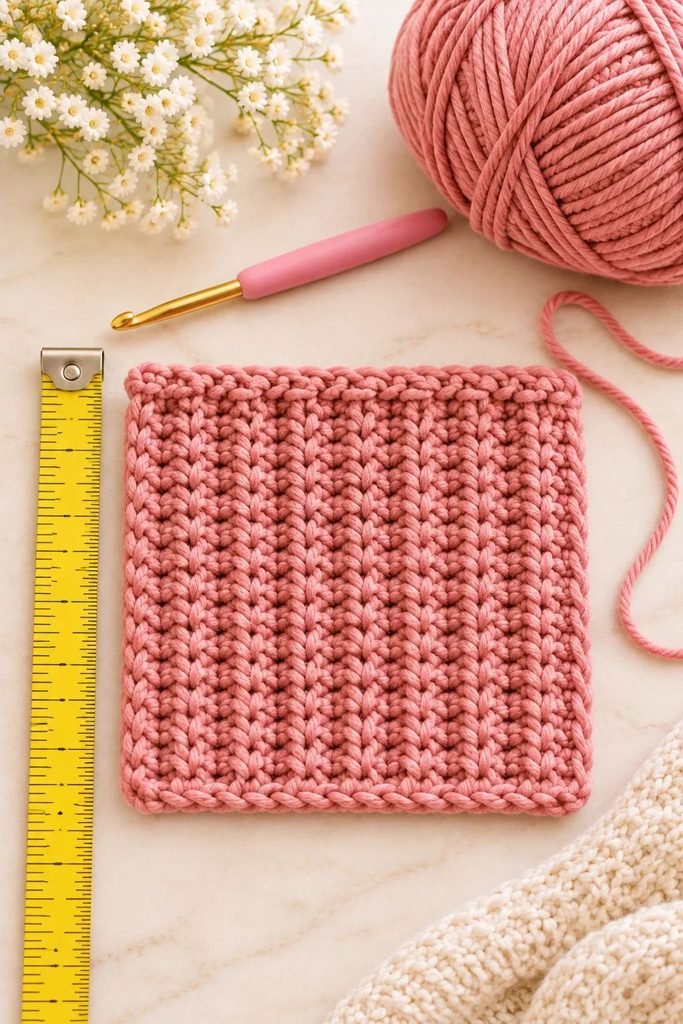
For the sample pattern, aim for approximately 12 half double crochet stitches and 9 rows over 4 inches using a 5 mm crochet hook.
Gauge is important because it affects the finished size. If your stitches are much larger than the sample, your wrist warmers may feel loose. If they’re smaller, the finished pair may be too tight.
Crochet a small swatch before starting and adjust your hook size if needed.
Free Crochet Wrist Warmers Pattern
These wrist warmers are worked flat as two matching rectangles. You’ll fold each rectangle in half and sew the long edges together, leaving a small gap for your thumb.
Make two identical pieces for a complete pair.
Step 1: Create the Foundation Chain
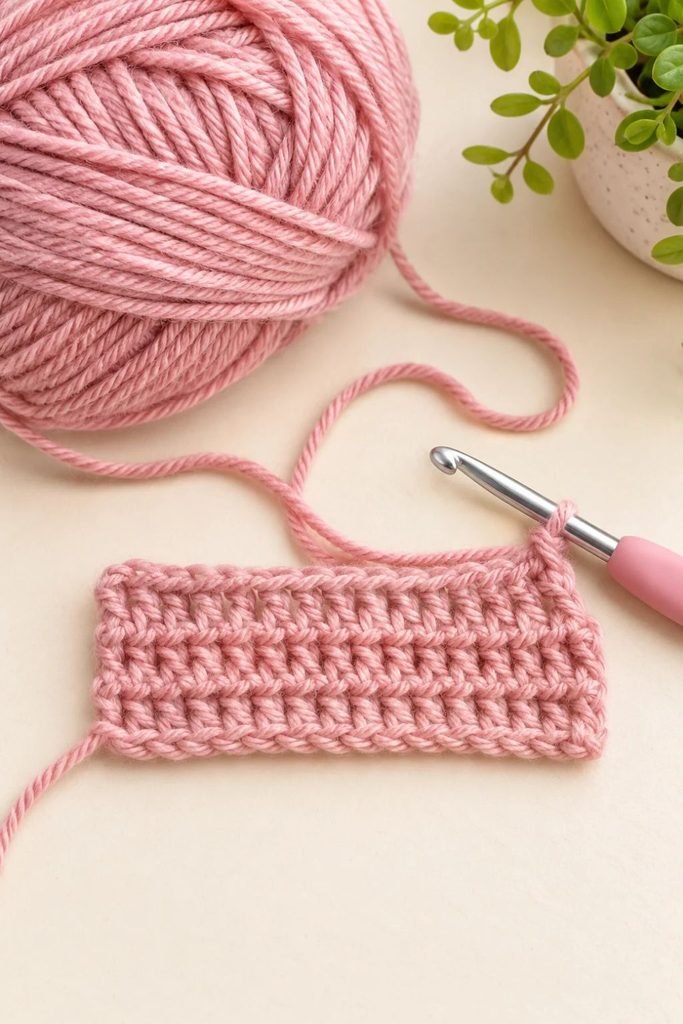
Start with a slip knot and chain 26.
This gives you a starting width of approximately 7 inches, depending on your tension and yarn.
For the first row, yarn over and insert your hook into the third chain from the hook. Work one half double crochet into that chain.
Continue working one half double crochet into each chain across.
You should have 24 half double crochet stitches.
Chain 2 and turn your work.
Step 2: Crochet the Ribbed Rectangle
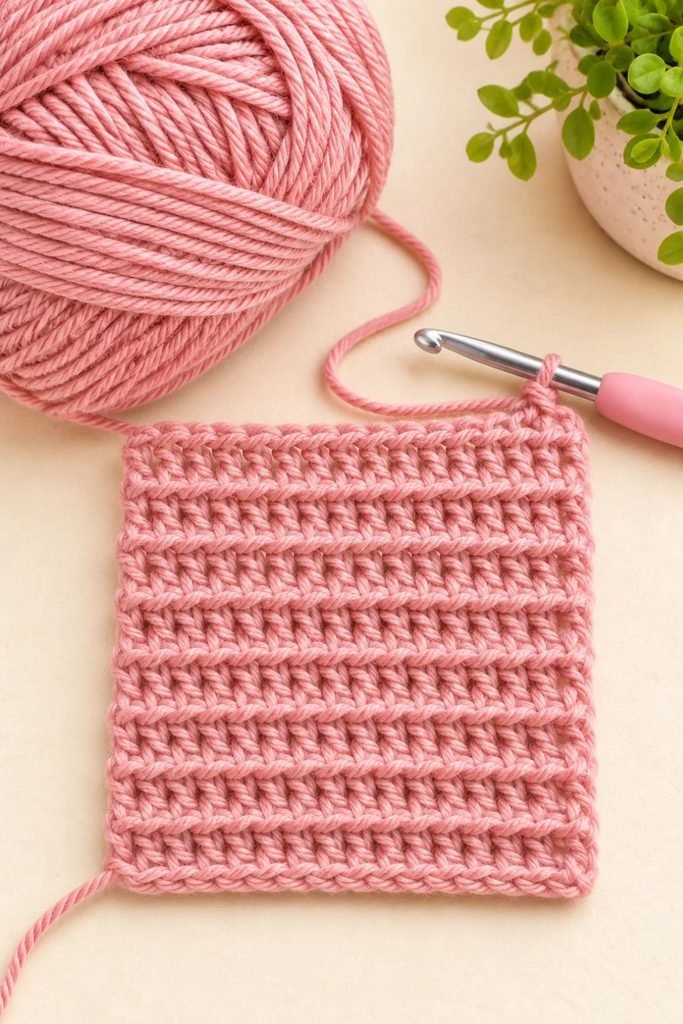
For the second row, work one half double crochet into the back loop only of each stitch across.
Chain 2 and turn.
Continue repeating this row, working one half double crochet into the back loop only of every stitch.
The back-loop stitches will gradually create raised horizontal ridges across the fabric. This is what gives the wrist warmers their soft ribbed appearance.
Keep working until your rectangle measures approximately 8–8½ inches long.
You can hold the fabric around your hand as you work to check the fit. It should wrap around comfortably without feeling too tight.
Once the first rectangle reaches your desired length, fasten off and leave a long yarn tail for sewing.
Step 3: Fold and Sew the Wrist Warmer
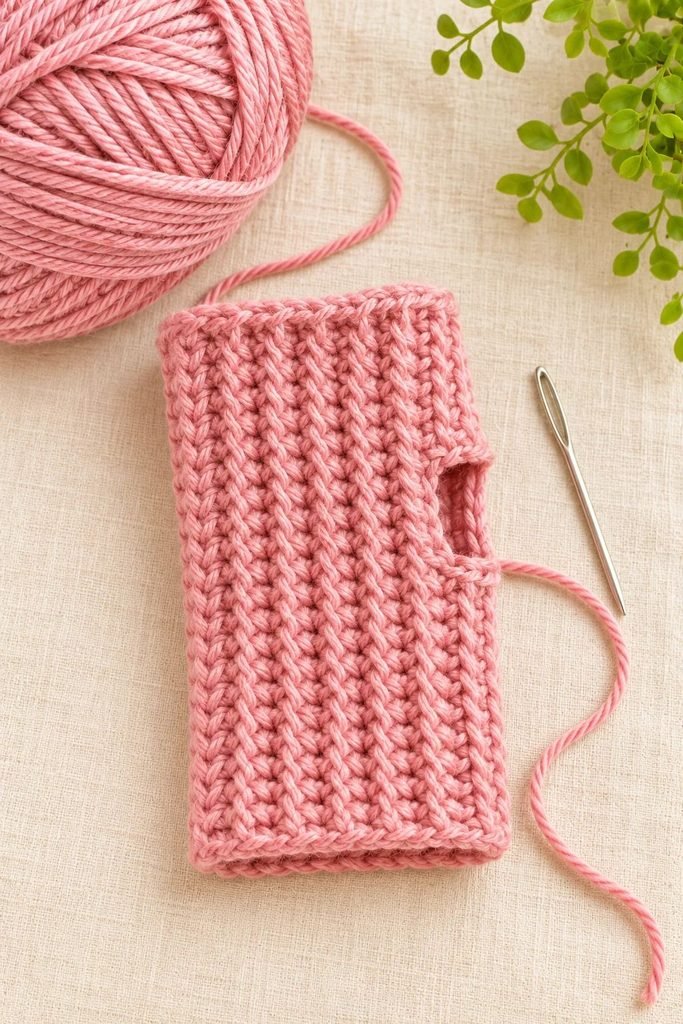
Lay your crochet rectangle flat with the ribbed side facing outward.
Fold it in half so the two short edges meet. The piece should now form a tube shape once the long edges are sewn together.
Thread your yarn needle with the long yarn tail.
Starting at one end, sew the long edges together using a whip stitch or mattress stitch.
Here’s the important part: don’t sew the entire edge closed.
Leave an opening of approximately 1½ inches for your thumb. For an average adult, you can start the thumb opening around 2 inches from the top edge, but adjust its position to suit your hand.
Sew the remaining edge closed.
Turn the wrist warmer right side out. You should now have a soft ribbed tube with an opening along the side for your thumb.
Try it on before finishing the second one. Your thumb should pass through comfortably, and the opening shouldn’t pull or feel restrictive.
Step 4: Make the Second Wrist Warmer
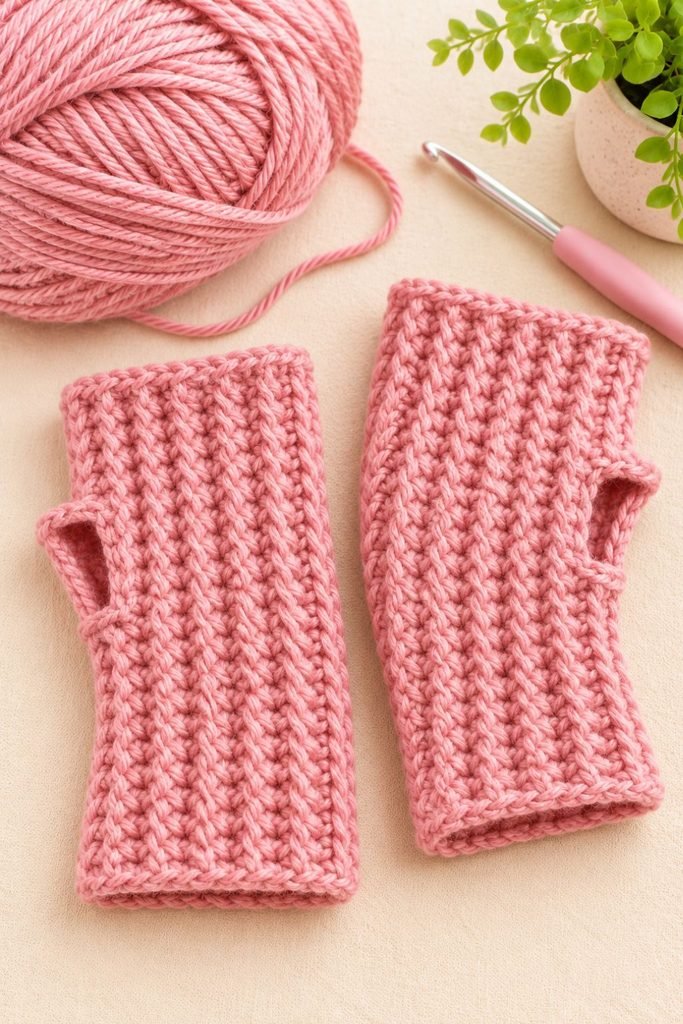
Repeat the same instructions to make your second wrist warmer.
Try to keep the stitch count, row count, and thumb opening position consistent so the pair looks even.
Once both pieces are finished, weave in any loose ends with your yarn needle.
Try them on together and check that the thumb openings sit comfortably. If one feels tighter than the other, you can adjust the seam before trimming the yarn tails.
And that’s it! Your handmade crochet wrist warmers are ready to wear.
How to Customize Your Crochet Wrist Warmers
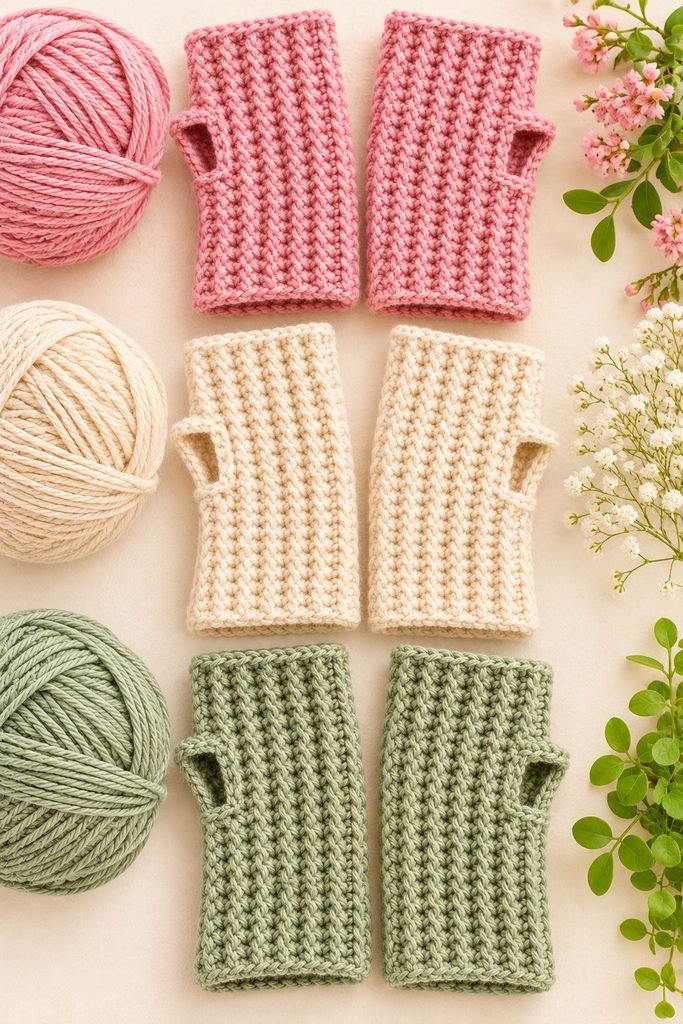
One of the nicest things about this pattern is how easy it is to change the finished look.
Choose different yarn colors
For a simple everyday pair, I love cream, oatmeal, beige, charcoal, and soft brown. If you want something a little more playful, dusty pink, sage green, lavender, and burgundy are beautiful options.
Make them longer
If you prefer extra coverage around your wrists, continue crocheting additional rows before folding and sewing the rectangle. You can make them long enough to extend slightly up your forearm.
Add a decorative edge
You can finish the open edges with a round of single crochet stitches. This gives the wrist warmers a more polished appearance and helps the edges look neat.
Try a contrasting color
Another easy way to customize the pattern is to use a different color for the edging. A cream wrist warmer with a dusty pink border, for example, looks lovely without requiring a complicated stitch pattern.
Make a matching set
You could crochet a matching headband or scarf using the same yarn. My simple crochet scarf pattern is a good project to pair with these wrist warmers.
You can also make a matching headband using one of the designs in my crochet ear warmer pattern collection.
How to Get the Best Fit
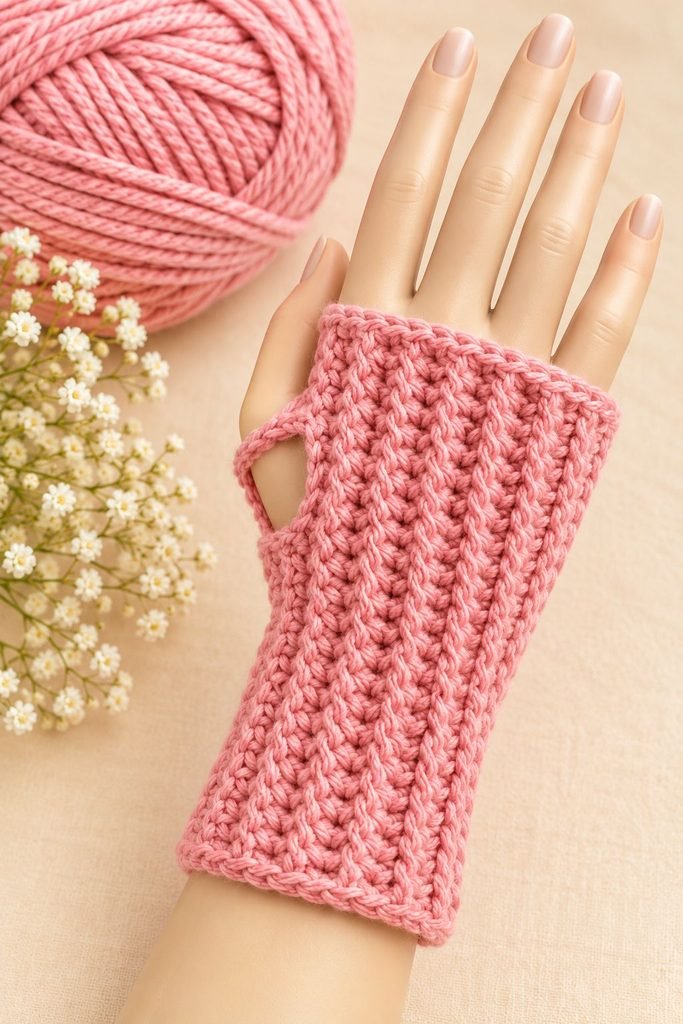
The most important thing when making wrist warmers is getting the fit right.
Before sewing the seams, wrap your rectangle around your hand. It should feel comfortably snug but shouldn’t squeeze your wrist or make it difficult to move your thumb.
If the rectangle is too wide around your hand, reduce the number of rows. If it feels too tight, add a few more rows.
You can also adjust the length by changing the number of foundation chains. More chains will create a longer wrist warmer from wrist to fingers, while fewer chains will make it shorter.
I recommend checking the fit before making the second piece. That way, if you need to adjust anything, you won’t have to redo an entire pair.
Common Mistakes to Avoid
Crocheting too tightly
If your stitches are very tight, the ribbed fabric may lose some of its stretch. Try to keep your tension even and relaxed.
Forgetting to leave a thumb opening
It’s easy to get carried away sewing the seam, but remember to leave enough space for your thumb. A small opening can make the wrist warmer uncomfortable to wear.
Making the two pieces different sizes
Count your rows for the first wrist warmer and use the same number for the second. This will help the pair look consistent.
Choosing uncomfortable yarn
Softness matters for an accessory that sits directly against your skin. Feel the yarn before starting, especially if you’re sensitive to rough textures.
Not checking the fit before finishing
Try the first wrist warmer on before weaving in all the ends. It’s much easier to adjust the seam while you’re still working on the piece.
How to Care for Your Crochet Wrist Warmers
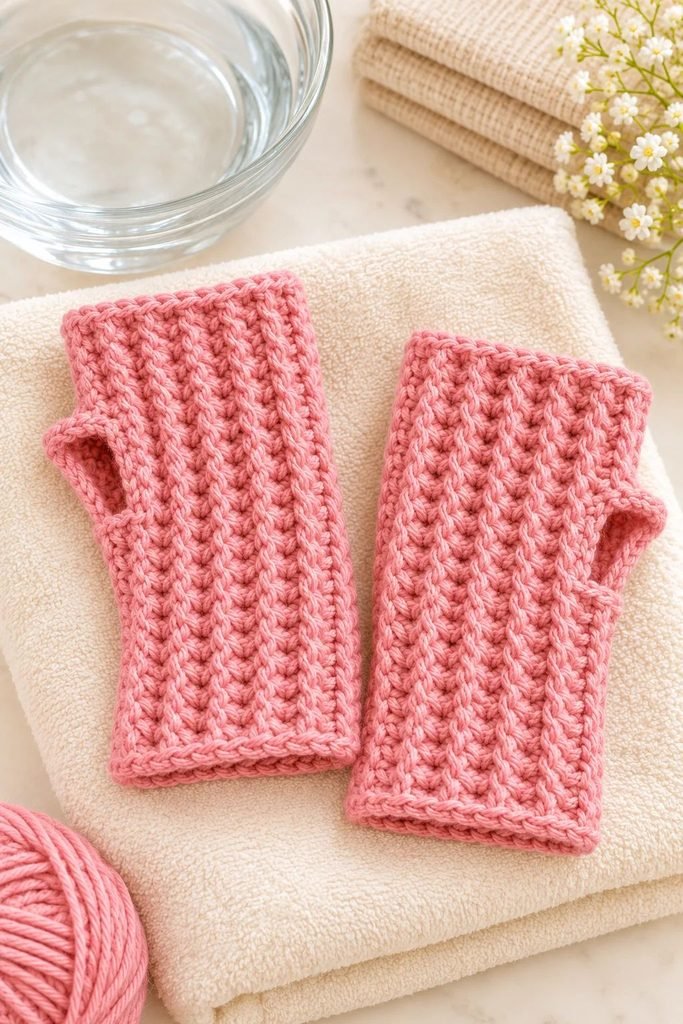
Always check the yarn label before washing your finished wrist warmers.
Most acrylic yarn can be gently washed according to its care instructions. Wool and wool-blend yarn may need more delicate handling.
If hand washing is recommended, use cool water and a gentle detergent. Avoid twisting or wringing the fabric because this can stretch the ribbing.
Press out excess water using a clean towel and reshape the wrist warmers before leaving them to dry.
Let them dry completely before storing them.
Frequently Asked Questions
Are crochet wrist warmers beginner-friendly?
Yes! This pattern uses basic half double crochet stitches. The ribbed texture is created by working into the back loops, and the finished rectangles are sewn together with a small opening for the thumb.
How much yarn do I need for crochet wrist warmers?
Approximately 100–150 yards of worsted-weight yarn should be a useful starting estimate for an average adult pair. The amount will depend on your yarn, hook, tension, and finished size.
What is the best yarn for wrist warmers?
Soft acrylic, wool, and wool-blend yarns are all good options. Choose something comfortable against your skin and warm enough for the weather where you live.
How do I make wrist warmers smaller or larger?
Adjust the number of rows to change the circumference and the number of foundation chains to change the length from your wrist to your fingers. Try the rectangle around your hand before sewing it closed.
Can I make these wrist warmers without the ribbed texture?
Yes. You can work regular half double crochet stitches through both loops instead of using back-loop-only stitches. The fabric will have a flatter appearance and less pronounced ribbing.
Can I crochet these wrist warmers in the round?
Yes, but this particular pattern is designed to be worked flat as a rectangle and sewn together. Working in the round would require a different set of instructions.
Can I sell the wrist warmers I make?
You can generally sell finished handmade items you make, but check the terms of any pattern you use. If you’re selling them, remember to include the cost of yarn, your time, packaging, and other supplies when setting your price.
Final Thoughts
These crochet wrist warmers are such a lovely little project when you want to make something useful without committing to a large crochet project.
I especially like the simple rectangular construction because it makes the pattern approachable for beginners while still giving you a finished accessory that looks cozy and stylish.
Once you’ve made your first pair, you can experiment with different yarn colors, longer cuffs, contrasting edges, and matching winter accessories.
If you’re enjoying making cozy crochet accessories, you can also try my crochet mittens tutorial for another winter project.
Make a pair for yourself, or choose a beautiful yarn color and turn them into a thoughtful handmade gift. Either way, they’re a lovely addition to your crochet projects.