DIY Christmas Mug Candles: Cozy & Easy to Make
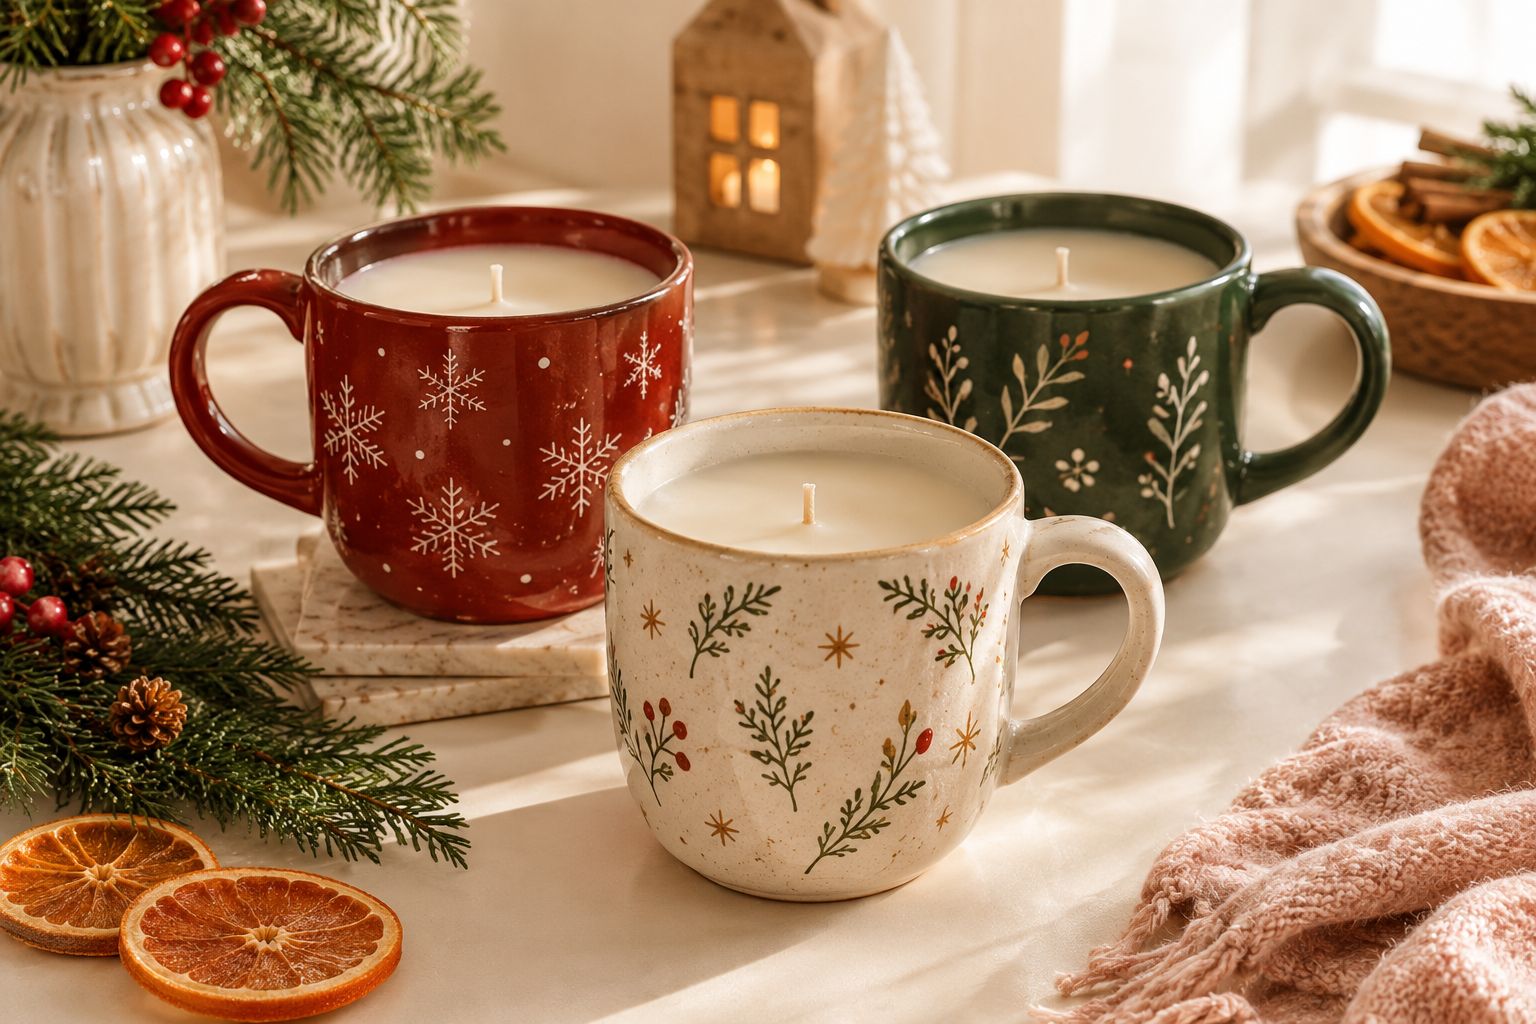
Christmas is the perfect time to try handmade projects that make your home feel warm and inviting. DIY Christmas mug candles combine festive colors, cozy seasonal fragrances, and charming containers to create decorations you can enjoy at home or give as thoughtful holiday gifts.
Imagine a cream-colored vessel with a dark green rim, a smooth layer of candle wax, and a fragrance inspired by cinnamon, orange, or vanilla. Paired with simple Christmas decor, it can make a lovely addition to a coffee table, kitchen shelf, or gift basket.

You can customize your candle to match almost any holiday style, from traditional red and green to minimalist cream and beige. The most important part is choosing suitable candle-making materials and testing the finished candle rather than relying on appearance alone.
In this tutorial, you’ll find the supplies you need, step-by-step instructions, seven festive design ideas, practical troubleshooting advice, and tips for gifting your finished candles.
Important: Use a ceramic vessel specifically designed and tested for candle-making. An ordinary coffee mug is not automatically safe for a burning candle. Keep dried flowers, cinnamon sticks, dried orange slices, evergreen branches, ribbons, and other flammable decorations away from the wax and flame.
Supplies You’ll Need
Gather your materials before starting so you can work carefully while handling hot wax.
- Candle-safe ceramic mug or vessel: Choose one intended and tested for candle-making, without cracks or chips.
- Container candle wax: Soy container wax is a popular option for beginners.
- Candle wick: Select a wick appropriate for your wax, vessel diameter, and fragrance.
- Wick adhesive: Use an adhesive designed for candle-making.
- Wick-centering tool: Keeps the wick upright while the wax cools.
- Candle fragrance oil: Choose a fragrance formulated for candle-making.
- Digital thermometer: Helps you monitor wax temperature.
- Digital scale: Allows you to measure wax and fragrance accurately.
- Wax-melting pitcher and suitable heating equipment: Follow the wax manufacturer’s recommended melting method.
- Scissors: For trimming the wick according to its manufacturer’s instructions.
- Heat-resistant work surface: Protects your workspace.
- Ribbon, gift tags, and gift packaging: Optional finishing touches for the outside of the vessel or the finished gift.
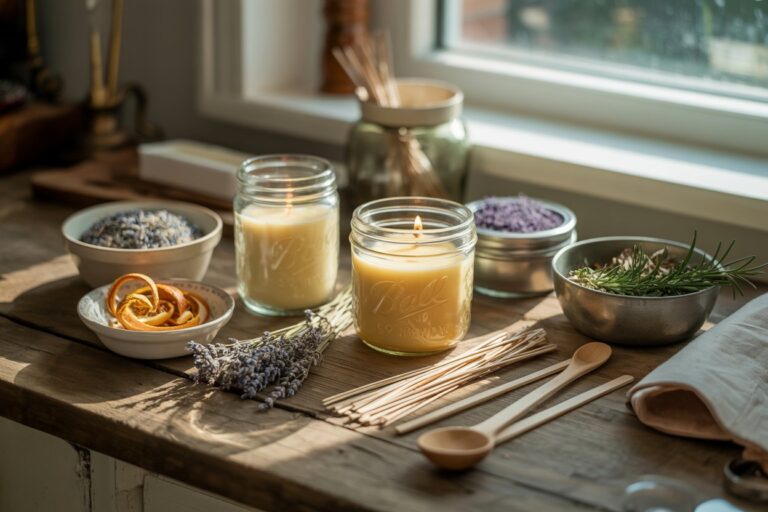
You can also gather dried orange slices, cinnamon sticks, and evergreen sprigs for styling photographs or decorating the surrounding display. These items should remain outside the candle and away from the flame.
If you’re new to candle-making, my guide to easy DIY candles at home for beginners is a helpful place to learn about basic supplies and candle-making techniques.
How to Make DIY Christmas Mug Candles
The process below provides a general guide for making a container candle. Always follow the instructions supplied with your specific wax, fragrance, wick, and vessel because recommended temperatures and measurements vary.
Step 1: Prepare Your Vessel

Inspect the candle-safe vessel for cracks, chips, or other damage. Make sure it is clean and completely dry.
Place it on a stable, heat-resistant surface away from children, pets, curtains, and other flammable materials.
Do not assume that an ordinary drinking mug is suitable simply because it is made from ceramic.
Step 2: Secure the Wick

Attach the wick tab to the center of the vessel’s base using suitable wick adhesive.
Position a wick-centering tool across the top to hold the wick upright. Check that it is secure before pouring the wax.
The wick needs to remain centered as the candle sets so that it can burn as intended.
Step 3: Measure Your Wax

Use a digital scale to measure the wax needed for your vessel. The quantity depends on the vessel’s capacity and the wax manufacturer’s guidance.
Leave the recommended headspace at the top rather than filling the container to the rim.
Record your measurements if you’re making multiple candles. This will make it easier to reproduce the same design later.
Step 4: Melt the Wax

Melt the wax using the method recommended by its manufacturer, monitoring the temperature with a thermometer.
Never leave melting wax unattended or heat it over an uncontrolled open flame. Keep children and pets away from the work area, and remember that hot wax can cause burns.
Step 5: Add the Fragrance

When the wax reaches the recommended fragrance-addition temperature, weigh and add your candle fragrance oil.
Follow the recommended fragrance load for your wax. Adding extra fragrance does not necessarily produce a stronger scent and may affect the candle’s performance.
For a Christmas-inspired fragrance, consider scents featuring orange, cinnamon, vanilla, evergreen, or warm spices. Use fragrance products specifically formulated for candle-making.
Stir for the time recommended by your wax supplier.
Step 6: Pour the Wax

Allow the wax to reach its recommended pouring temperature, then carefully pour it into the prepared vessel.
Pour slowly to avoid splashing and disturbing the wick. Keep the wick centered and leave the required space at the top.
Place the candle in a stable location where it can cool undisturbed, away from drafts and sudden temperature changes.
Step 7: Let the Candle Cool and Cure
Allow the wax to cool completely without moving the vessel.
Some waxes require additional curing time before the first burn, especially scented candles. Follow the manufacturer’s instructions rather than assuming the candle is ready as soon as the surface hardens.
Step 8: Finish Your Candle

Once the candle has set and completed its recommended curing period, trim the wick according to the wick manufacturer’s instructions.
Add a ribbon around the outside of the vessel or attach a gift tag to the packaging. Remove all decorative packaging before lighting the candle.
Before gifting or selling your candles, test the complete combination of vessel, wax, wick, and fragrance using appropriate candle-testing procedures.
7 Christmas Mug Candle Ideas
You can create different holiday looks by changing the vessel, fragrance, and packaging while keeping the basic candle-making process the same.
1. Traditional Red and Green Candle
Choose a candle-safe vessel decorated with Christmas trees, berries, snowflakes, or traditional red-and-green patterns.
A simple red ribbon and a small gift tag complete the look. This design suits classic Christmas decor and traditional holiday gift baskets.
2. Cream and Evergreen Candle
A cream vessel with a dark green rim creates a softer, more understated look.
Pair it with neutral packaging and a muted green ribbon. This style works particularly well with natural wood, warm white lights, and minimalist Christmas decorations.
3. Snowflake Winter Candle
Choose a candle-safe vessel decorated with snowflakes or winter patterns in white, pale blue, or silver.
Keep the rest of the design simple so the pattern stands out. This is a lovely option for winter birthdays, hostess gifts, and homes decorated in cooler seasonal colors.
4. Cinnamon-Inspired Christmas Candle
Select a candle-safe fragrance inspired by cinnamon and warm spices. A brown, cream, or deep red vessel complements the cozy scent theme.
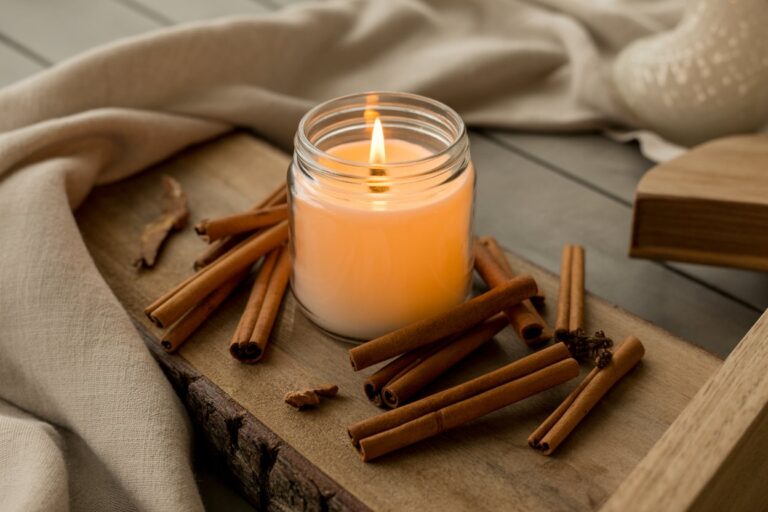
For photographs, arrange cinnamon sticks and dried orange slices beside the unlit candle. Keep these props outside the wax and away from the flame.
5. Orange and Vanilla Candle
A fragrance inspired by orange and vanilla creates a sweet, citrusy holiday theme.
Use a cream or white vessel and finish the packaging with a warm brown or muted red ribbon. Dried citrus slices can be arranged nearby as decorative props.
6. Minimalist Neutral Candle
If your home decor leans toward modern farmhouse or Scandinavian-inspired style, choose a plain cream, beige, or warm white candle-safe vessel.
Use a simple gift tag and neutral packaging. The finished candle can fit into your holiday decor without looking overly seasonal.
7. Personalized Christmas Gift Candle
Make a small collection of candles using matching candle-safe vessels, then personalize each gift with a name or handwritten message on the packaging.
This works well for family, friends, teachers, or coworkers. You can keep the vessels consistent while using different tags to make each gift feel personal.
For another handmade holiday project, try these DIY Christmas air-dry clay ornaments. A personalized ornament can accompany a candle in a coordinated Christmas gift set.
Tips for Better Results

Choose the Right Wick
Wick selection depends on the wax, vessel diameter, fragrance, and overall candle design. Follow the wick manufacturer’s sizing guidance and test the complete candle before making a batch.
Measure Everything Accurately
Weigh your wax and fragrance rather than estimating. Keeping a record of the products, measurements, and temperatures will help you reproduce a successful result.
Follow the Recommended Temperatures
Different waxes have different melting, fragrance-addition, and pouring requirements. Use a thermometer and follow the instructions for your particular wax.
Keep the Finished Design Simple
A beautiful vessel, a neat wax surface, and attractive packaging can be enough. You don’t need to place decorative objects inside the wax to create a festive appearance.
Test Before Gifting or Selling
A candle that looks attractive may not burn safely. Test the complete candle system and discontinue use if you notice excessive smoke, an unusually large flame, overheating, or vessel damage.
Troubleshooting DIY Christmas Mug Candles
If your finished candle doesn’t look or perform as expected, identify the problem before making changes. Some imperfections are cosmetic, while others may indicate a safety concern.
Why Is My Candle’s Surface Uneven?
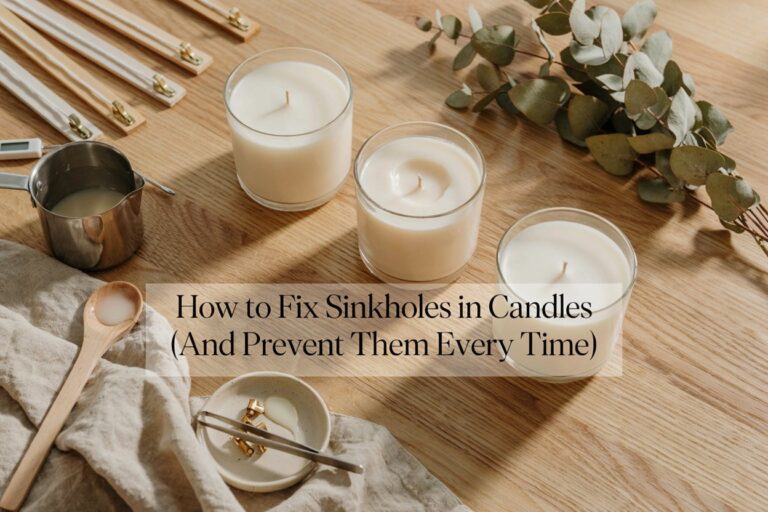
Some waxes shrink as they cool, creating shallow dips, small holes, or an uneven surface.
What to do: Consult the wax manufacturer’s instructions for correcting surface imperfections. Some waxes may require a carefully controlled second pour.
Prevention: Follow the recommended pouring temperature and let the candle cool undisturbed.
Why Is My Candle Tunneling?
Tunneling occurs when a candle burns down the center while leaving a thick ring of unmelted wax around the sides.
What to do: Review the wick selection and burn-test results. If the candle produces excessive heat or burns abnormally, extinguish it safely and discontinue use until the problem has been assessed.
Prevention: Choose a wick suitable for the wax and vessel diameter, then test the complete candle.
Why Is My Candle Producing Black Smoke?
Excessive smoke or soot can be associated with an unsuitable wick, a wick that needs trimming, a draft, or an incompatible candle formula.
What to do: Extinguish the candle safely and let it cool. Check the wick length against the manufacturer’s recommendations and inspect the area for drafts.
Prevention: Use compatible materials, measure the fragrance accurately, and test the candle under appropriate conditions. If heavy smoking continues, stop using it.
Why Is My Candle’s Fragrance Weak?
A weak scent may result from an unsuitable fragrance, an incorrect fragrance load, or insufficient curing time.
What to do: Check the wax and fragrance manufacturer’s instructions. Do not add extra fragrance to a finished candle.
Prevention: Use candle-safe fragrance oil, measure it by weight, and follow the recommended curing period.
Why Is My Wick Leaning?
A wick may move during pouring or while the wax cools.
What to do: Do not force the wick into position while the candle is burning. If the candle has already set, follow the manufacturers’ guidance to determine whether it can be corrected safely. If not, do not burn it.
Prevention: Secure the wick before pouring and use a centering tool until the wax has set.
Why Does My Soy Candle Have White Patches?
Some soy waxes develop a whitish, crystalline appearance known as frosting. It is often a cosmetic characteristic of the wax.
What to do: Follow the wax manufacturer’s recommendations for pouring and cooling. Test small batches if you want to compare different finishes.
Prevention: Use a consistent process, while recognizing that some natural waxes may not maintain a perfectly smooth appearance.
What If My Vessel Cracks?
A cracked vessel must not be used for a burning candle.
What to do: If the candle is burning, extinguish it safely and allow it to cool. Discontinue use of the damaged candle. Do not attempt to make the vessel safe with glue or decorative coverings.
Prevention: Use a vessel specifically designed and tested for candle-making, inspect it before pouring, and test the finished candle appropriately.
Common Mistakes to Avoid
These are the main choices to get right before you begin, rather than fixes for problems that have already appeared.
- Buying a vessel based on appearance alone: Check that it is intended and tested for candle-making.
- Mixing incompatible materials: Confirm that the wax, wick, fragrance, and vessel are suitable for use together.
- Guessing the measurements: Use a scale for the wax and fragrance, and follow the manufacturers’ recommended limits.
- Skipping burn testing: Test the complete candle before gifting or selling it.
- Using flammable decorations in the wax: Keep dried flowers, citrus slices, cinnamon sticks, and evergreen pieces outside the candle and away from the flame.
Candle Safety Before the First Burn
Before lighting your finished candle, check the following:
- Place it on a stable, heat-resistant surface.
- Keep it away from curtains, paper, evergreen branches, ribbons, and other flammable objects.
- Remove all gift packaging and decorative accessories.
- Keep the candle away from children and pets.
- Never leave a burning candle unattended.
- Follow the wick manufacturer’s trimming recommendations.
- Do not burn a candle in a cracked or damaged vessel.
- Follow the candle manufacturer’s guidance on burn duration and when to discontinue use.
A decorative ceramic mug is not automatically heat-safe for candle use. Choosing an appropriate vessel and testing the complete candle are essential parts of the project.
How to Style Christmas Mug Candles at Home

Once your candle is finished, use it as part of a simple seasonal display.
On a Coffee Table
Place the unlit candle on a decorative tray with holiday books and a small seasonal accent. Remove flammable props before lighting the candle.
On a Kitchen Shelf
Use a festive candle-safe vessel to add a seasonal touch to a kitchen shelf or countertop. Position it away from curtains, paper, and other combustible materials.
In a Christmas Gift Basket
Pair the candle with a handwritten card or a handmade ornament. Keep the candle separate from loose packaging materials when it is being burned.
As Part of a Holiday Centerpiece
Use the candle as an accent on a stable, heat-resistant surface, leaving plenty of clear space around it. Never burn it among evergreen branches, ribbons, dried fruit, or other flammable decorations.
For another seasonal lighting project, explore my guide to DIY Christmas snowy mason jar candle holders.
Frequently Asked Questions
Are Christmas mug candles suitable for beginners?
They can be a beginner project if you follow the instructions for your wax and wick, use a vessel designed for candle-making, and test the finished candle. Beginners should start with a simple design rather than adding complicated decorative elements.
How much does it cost to make a Christmas mug candle?
The cost depends on the vessel, wax, wick, fragrance, and packaging you choose. Buying supplies for several candles may reduce the cost per candle, but calculate the actual quantities used rather than assuming every batch will cost the same.
How many candles can I make from one batch of wax?
That depends on the weight of wax available and the amount needed for each vessel. Weigh the wax and determine the fill quantity for your specific container to estimate how many candles a batch will produce.
Can I use essential oils instead of candle fragrance oil?
Not every essential oil is suitable for candle-making. Use only fragrance materials appropriate for your chosen wax and follow the manufacturer’s guidance on compatibility and usage rates.
Can I sell my homemade Christmas mug candles?
You may be able to sell them, but you should use appropriate candle-safe vessels, test the finished candle, provide suitable product labeling, and follow the safety and consumer-product requirements that apply where you sell.
More DIY Christmas Projects
If you enjoy handmade decorations and gifts, here are a few more projects to explore:
- DIY Christmas air-dry clay ornaments: Make personalized tree decorations and handmade holiday gifts.
- DIY Christmas snowy mason jar candle holders: Create another festive lighting accent for your seasonal decor.
- Christmas mason jar gift ideas: Find inspiration for assembling thoughtful gifts at home.
- Easy DIY candles at home for beginners: Learn about basic candle-making supplies and techniques.
Final Thoughts
DIY Christmas mug candles are a lovely way to add a handmade touch to your holiday decor or create thoughtful gifts for people you love.
Choose a festive candle-safe vessel, use compatible wax and wick products, and select a seasonal fragrance that suits your style. Keep the decoration simple, test the finished candle, and use dried citrus, cinnamon sticks, and evergreen branches only as props away from the flame.
With careful preparation and a little creativity, you can make a Christmas candle that looks beautiful and puts safety first.