DIY Christmas Snowy Mason Jar Candle Holders
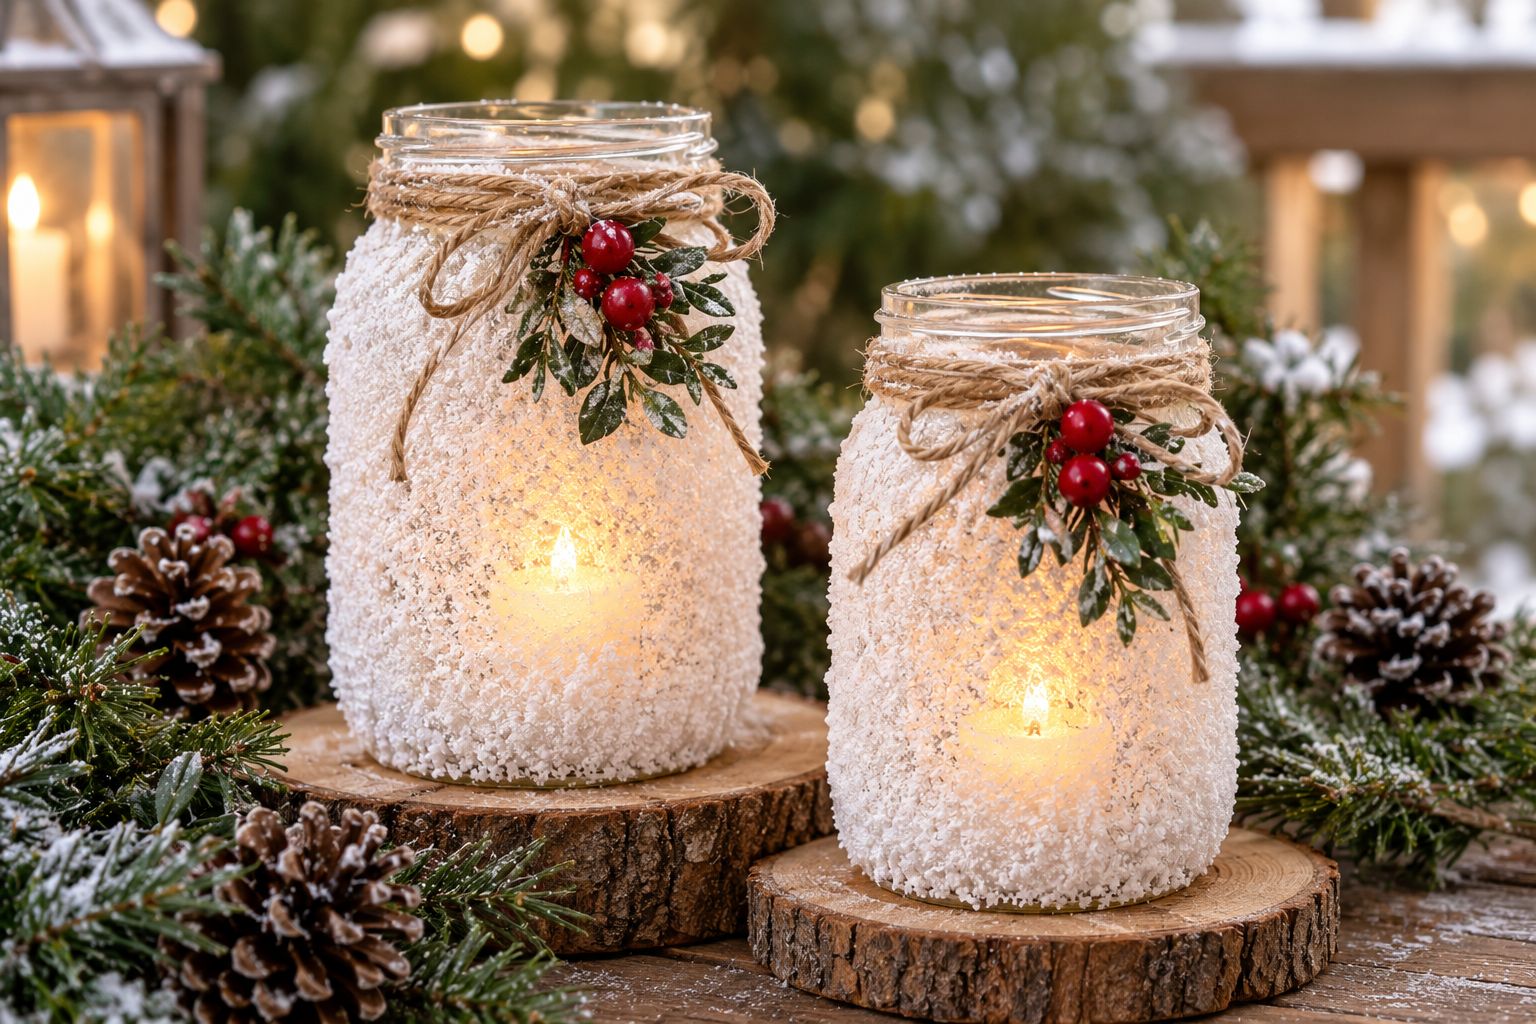
Snowy mason jar candle holders are regular glass jars coated in a textured, frosted white finish that mimics fresh snow, finished with a twine bow and a small sprig of greenery, and lit from inside with a candle or fairy lights for a soft, glowing effect.
They’re one of the easiest Christmas decorations you can make from things you probably already own, mostly Mod Podge, Epsom salt or fine glitter, and a jar that’s been sitting in your recycling bin.
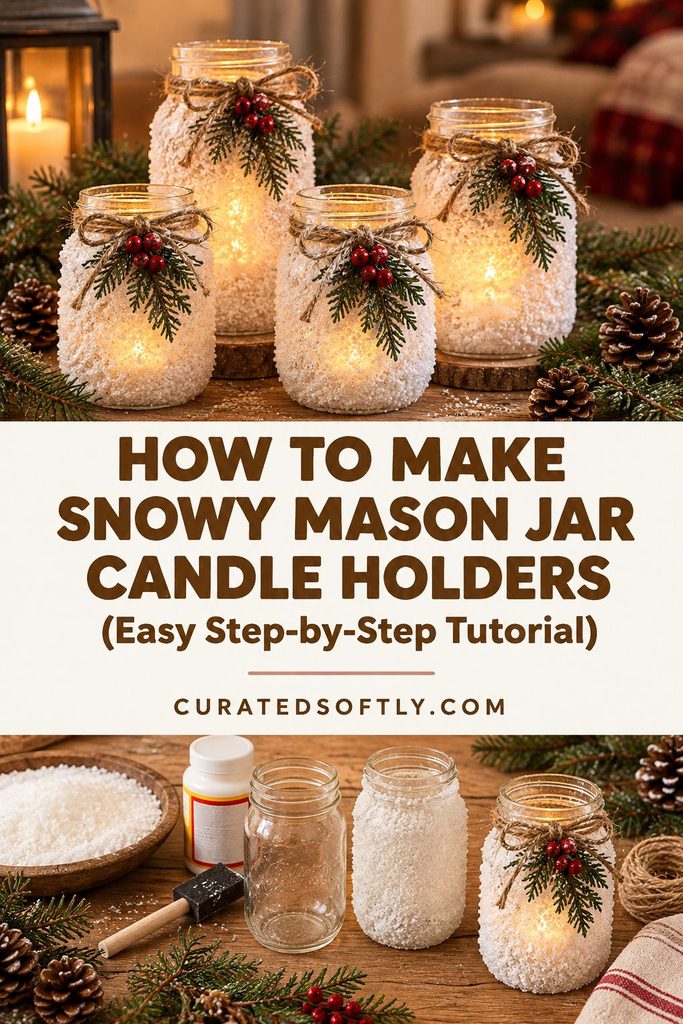
I made my first batch as a last-minute centerpiece idea two Christmases ago, when I didn’t have time to shop for actual holiday decor, and they turned out so well they’ve become an annual thing.
What I like most is that the technique itself isn’t seasonal at all, once you know how to get that frosted texture right, you can adapt the same base method for winter decor that lasts well past December, for wedding centerpieces, or for a simple everyday candle holder with the snow effect left off entirely.
If you want more mason jar project ideas beyond this one, my 1-hour craft ideas post covers a few other quick jar transformations worth trying.
Why This Technique Works So Well
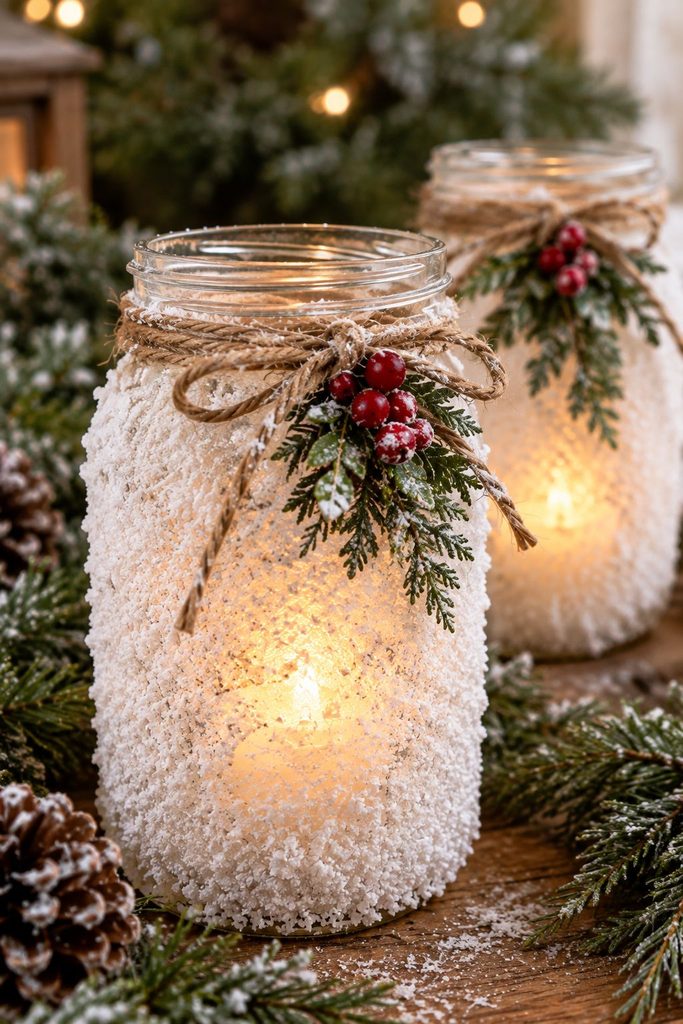
The frosted, snowy texture comes from two things working together: a tacky Mod Podge base coat that dries with a slightly rough, uneven surface on its own, and a layer of fine-textured Epsom salt or extra-fine glitter pressed into that tacky coat before it sets.
The combination reads as genuinely snow-like in a way that paint alone never quite achieves, since it has real dimension and catches light unevenly, the same way actual snow does.
Using a real candle or a flameless LED tea light inside changes the effect entirely once it’s dark. The glow diffuses softly through the frosted glass rather than shining directly through, giving the whole jar a warm, gently lit look instead of a harsh single point of light.
What You’ll Need
- Clean glass mason jars, labels fully removed, any size works
- Mod Podge, matte finish works best for a true frosted look, though gloss also works if you want more shine
- A foam brush, for applying an even coat
- Fine Epsom salt or extra-fine white glitter, for the snow texture
- A shallow tray or plate, for rolling the jar through the texture material
- Twine or ribbon, for the neck of the jar
- Small faux greenery or berry sprigs, for the decorative accent
- A battery-operated tea light or a real candle, for the glow
How to Make Snowy Mason Jar Candle Holders
Step 1: Clean the Jars Thoroughly
Remove any labels and adhesive residue completely, warm soapy water and a bit of scrubbing usually does it, and let the jars dry fully.
Any leftover residue or moisture will interfere with how evenly the Mod Podge coat sets.
A quick wipe with rubbing alcohol on any stubborn sticky spots helps make sure nothing’s left behind that could show through the finished texture.
Step 2: Apply an Uneven Coat of Mod Podge
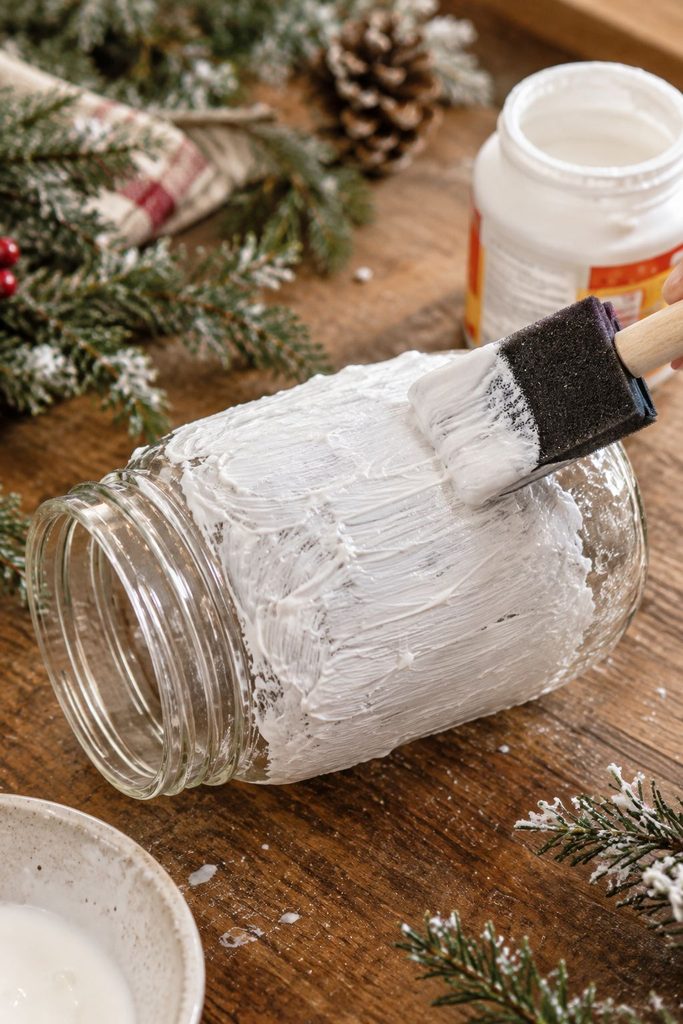
Using the foam brush, apply Mod Podge across the outside of the jar in a deliberately uneven, textured pattern rather than one smooth, even coat, think of the natural, slightly clumped way real snow builds up on a surface.
Work in sections if it’s easier to control. Dabbing the brush rather than dragging it in long strokes helps build up that clumped, drifted look more convincingly than a smooth, brushed-on application ever does.
Step 3: Roll the Jar Through the Texture Material
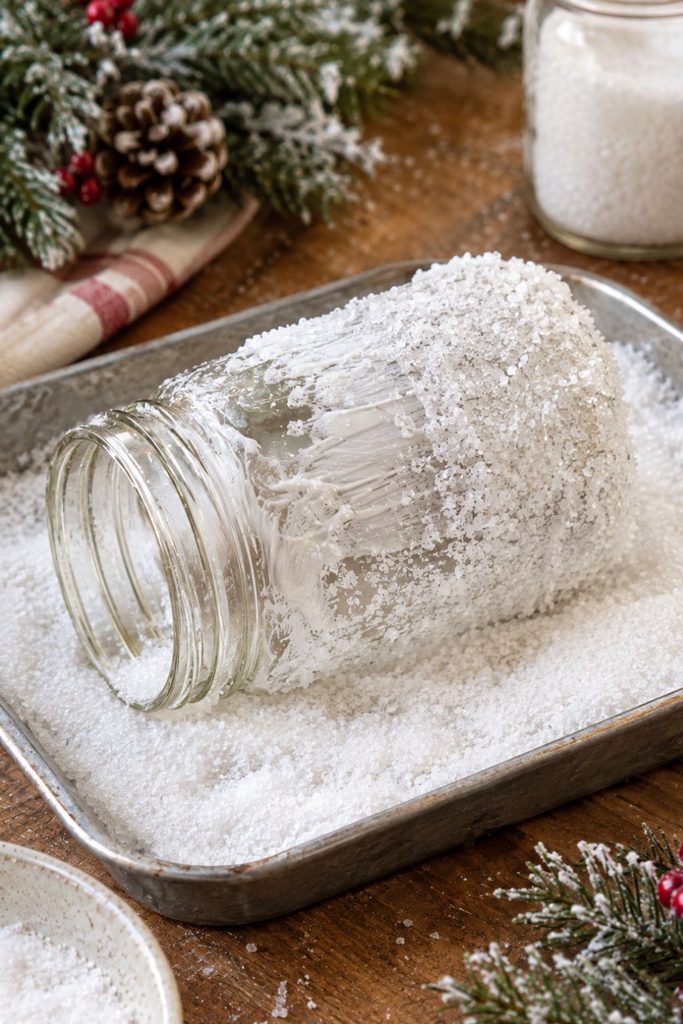
While the Mod Podge is still wet and tacky, roll the jar through a shallow tray of Epsom salt or fine glitter, pressing gently so the material adheres to every coated section.
Work quickly here, the tackiness window is fairly short before the coat starts to set. If any bare patches show up once you’ve rolled it, sprinkle a bit more texture material directly onto those spots by hand while the coat is still workable.
Step 4: Let It Dry Fully
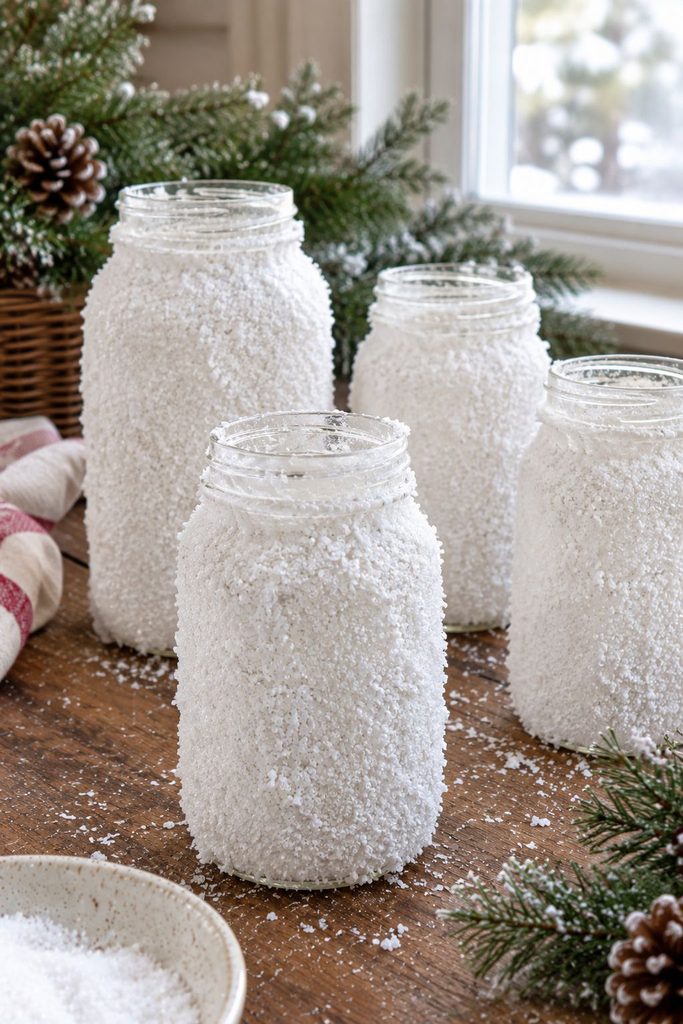
Set the jar upright somewhere it won’t be disturbed and let it dry completely, usually 1 to 2 hours depending on how thick the coat was.
Avoid touching the textured surface during this time, it can smudge or lose some of its texture if handled too soon. A well-ventilated spot speeds this along noticeably compared to a closed, humid room.
Step 5: Add the Twine and Greenery
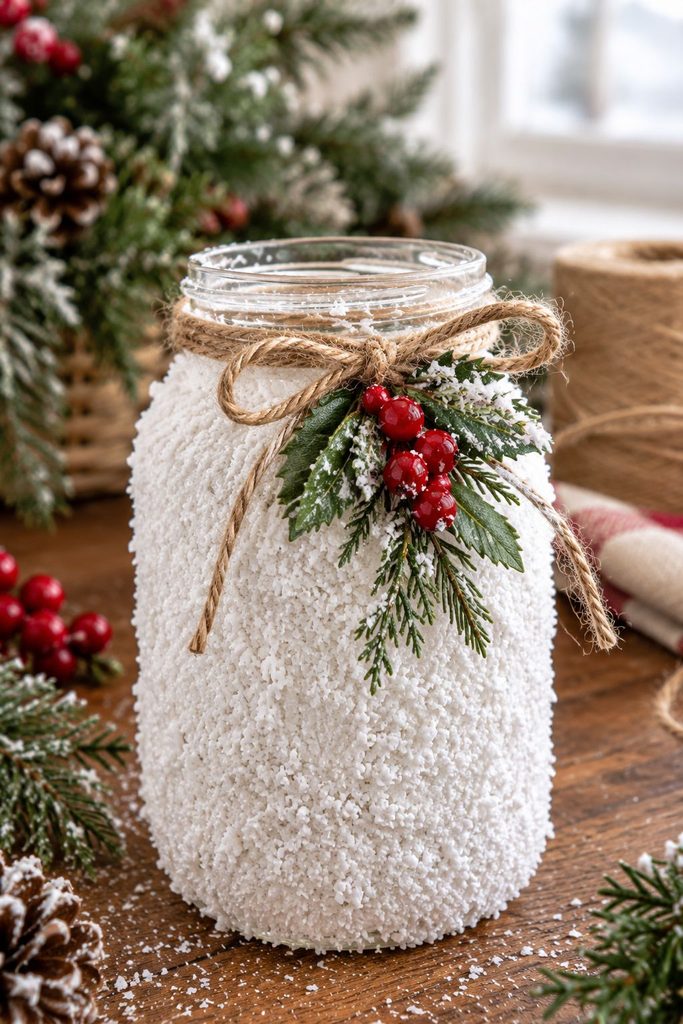
Once fully dry, wrap twine or ribbon around the jar’s neck and tie it into a simple bow. Tuck a small sprig of faux greenery or berries under the twine, securing it with a small dab of hot glue if it doesn’t sit snugly on its own.
Step back and look at the jar from a few feet away before committing to the final placement, small adjustments are much easier to make now than after the glue has set.
Step 6: Add Your Light Source
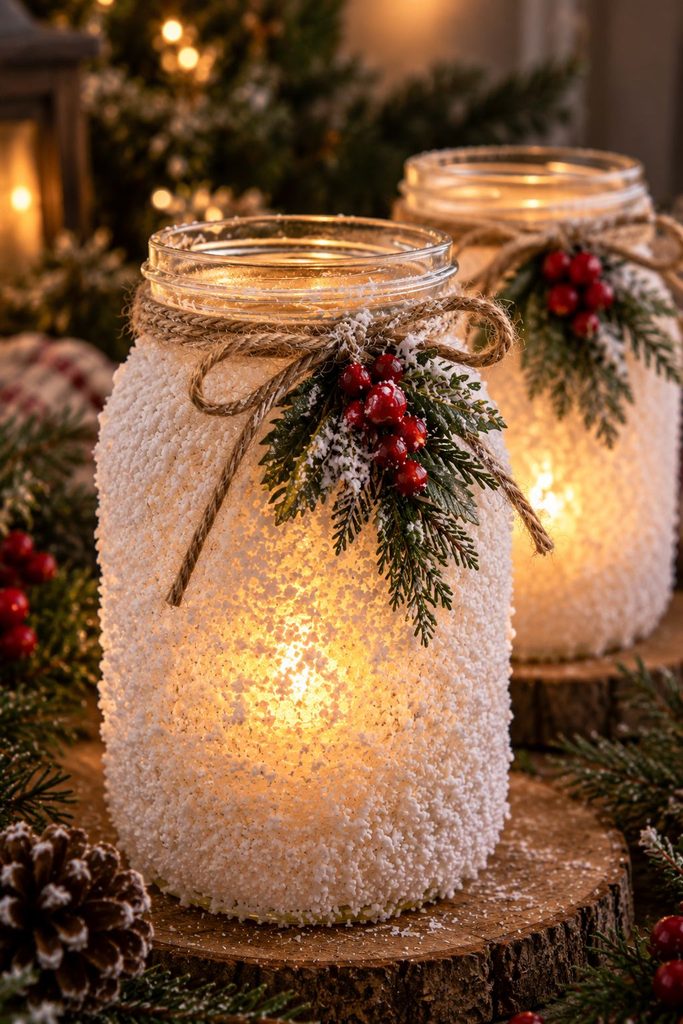
Drop in a battery-operated tea light for safety, especially if these will be left unattended, or use a real candle if you’ll be present while it’s lit.
Either way, the frosted texture does the real visual work once it’s glowing.
Try it in a dimly lit room before your final display, this is the best way to judge how much light diffuses through and whether you want to adjust the coating thickness on future jars.
Tips From Making a Lot of These
- Work in a well-ventilated space, Mod Podge has a noticeable smell while wet, and it’s more pleasant to work with some airflow.
- Don’t rush the tacky window in Step 3. If the Mod Podge has already started to set before you roll it in the texture material, the salt or glitter won’t adhere evenly.
- Vary the coating thickness slightly jar to jar if you’re making a set, a little inconsistency between jars actually looks more natural than a perfectly matched, uniform set.
- Battery tea lights are the safer choice for anything left unattended for hours, like a mantel display running through an evening party.
- Test your texture material on a scrap jar first if you’re unsure between Epsom salt and glitter, they give a noticeably different look, salt reads more matte and true-to-snow, glitter reads more sparkly and festive.
Mistakes I’ve Made So You Don’t Have To
Applying the Mod Podge in one smooth, even layer instead of an intentionally uneven one. The finished jar looked like it had a plain white coating rather than actual snow texture, since there was no dimension for the salt to cling to unevenly.
Rolling the jar in glitter after the Mod Podge had already started to set. Most of the glitter fell right off once dry, leaving bald patches I had to go back and touch up.
Handling a jar too soon after coating, before it had fully dried. My fingerprints left visible smudges in the texture that never fully disappeared, even after the rest of the coat set.
Using a real candle in a jar I knew would be left unattended near a holiday gathering. Nothing went wrong, but it was a genuinely unnecessary risk in hindsight, a battery tea light gives you the same glow without that concern.
Beyond Christmas: Year-Round and Other-Occasion Variations
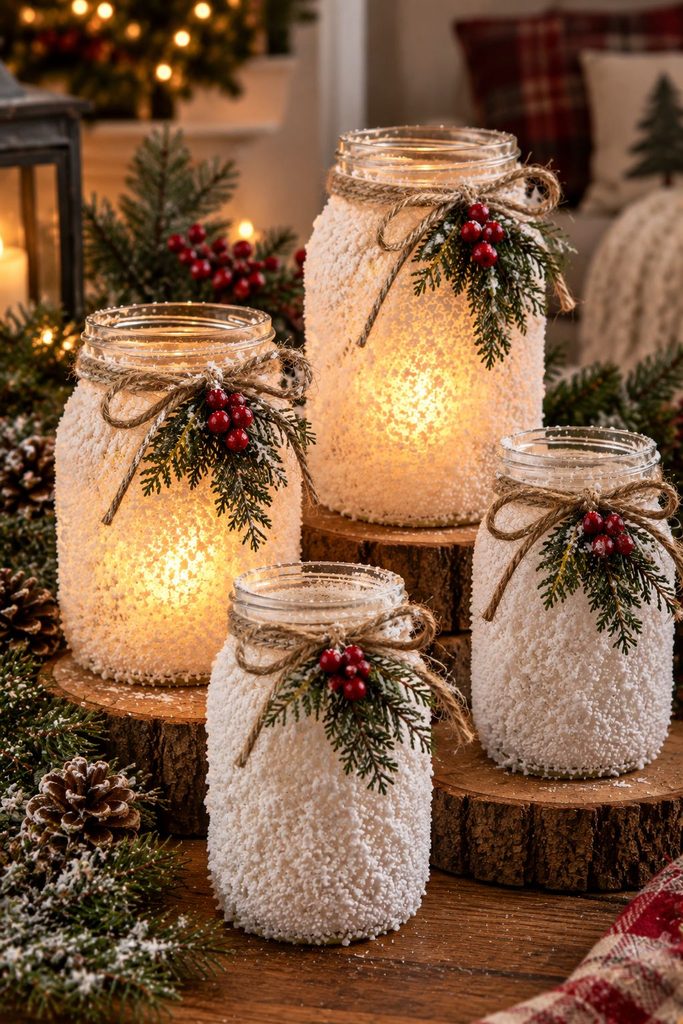
Winter Decor Through February. Skip the red berries and keep just the greenery, or leave the jar undecorated beyond the snow texture itself, and this reads as general winter decor rather than strictly Christmas, easily carrying a mantel display from December through the end of the season.
Wedding Centerpieces. Swap the twine for a thin white ribbon and the greenery for a few small white or ivory silk flowers, and the same frosted technique becomes a soft, romantic centerpiece for a winter wedding.
Everyday Candle Holders, No Snow Texture. Skip the Epsom salt or glitter step entirely and just use a tinted or frosted Mod Podge coat alone for a simple, year-round frosted glass candle holder that isn’t seasonal at all.
Fall Version. Swap the white texture coat for a translucent amber or warm-toned tint, and pair with dried wheat or small faux fall leaves instead of winter greenery, for an autumn-appropriate version of the same base technique.
Baby Shower or Winter Birthday. A pale blue or silver tint instead of pure white, paired with simple ribbon, adapts this into a soft, wintry centerpiece for a non-holiday occasion.
Storage and Care
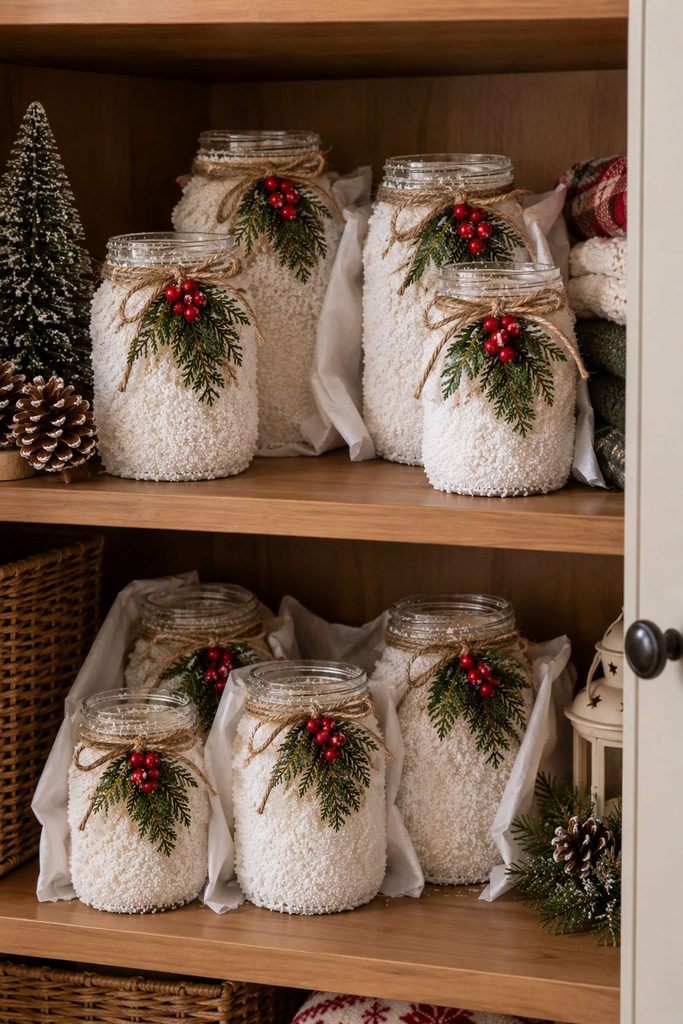
Store finished jars somewhere dry between uses, humidity can affect the texture coating over time, especially if it wasn’t allowed to fully cure.
Dust gently with a soft, dry brush rather than a wet cloth, since moisture can dull or damage the Mod Podge finish.
If using real candles, replace them as needed and check the wax hasn’t dripped onto the textured exterior, which can be difficult to clean off without disturbing the finish.
Troubleshooting
The texture material fell off in patches after drying. This almost always means the Mod Podge had already started to set before you rolled the jar through the salt or glitter. Work faster next time, or coat and texture the jar in smaller sections rather than the whole surface at once.
The coating looks smooth instead of textured. Your Mod Podge layer was likely applied too evenly. Go back in with an extra, deliberately uneven coat on top, dabbing rather than brushing smoothly, to build up more dimension before the texture step.
The jar feels sticky even after several hours of drying. This usually means the coat was applied too thick in one layer. Thinner, slightly uneven layers dry faster and more completely than one heavy coat, and a very thick coat can stay tacky far longer than expected, especially in humid conditions.
The twine or greenery won’t stay in place. A small dab of hot glue underneath the twine knot, and another at the base of the greenery sprig, solves this reliably without being visible once everything’s arranged.
Ideas for Displaying a Finished Set
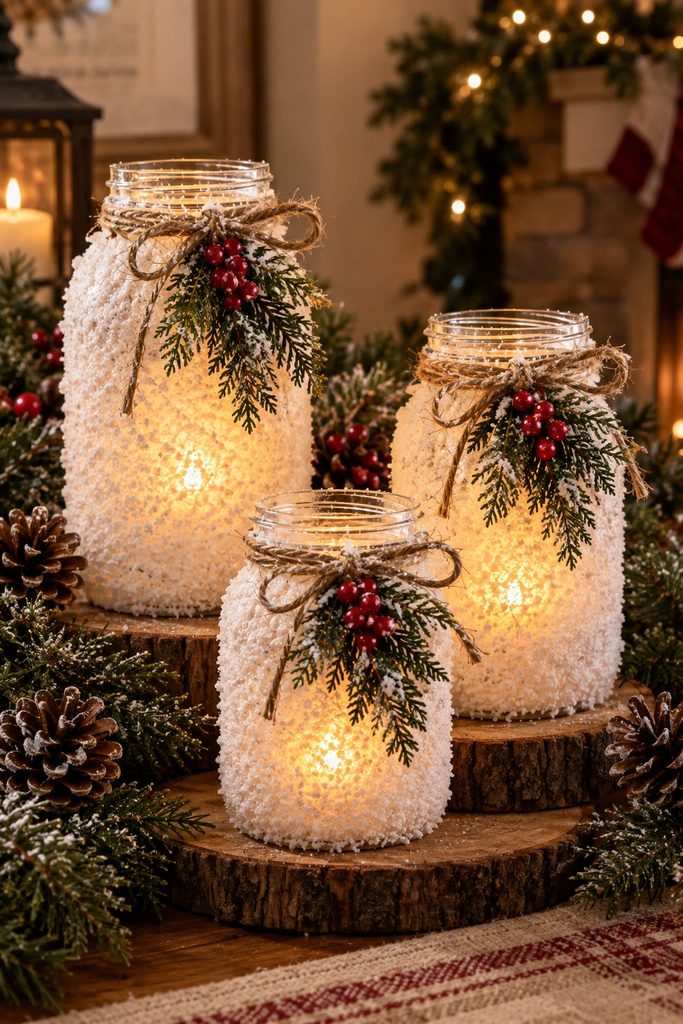
A cluster of three jars in varying heights, grouped together on a mantel or table runner, reads as far more intentional than jars spaced out individually across a room.
Vary the greenery slightly between jars in a cluster, one with berries, one without, one with a slightly different sprig, so the set feels curated rather than mass-produced.
For a table setting, a single jar at each place setting doubles as both decor and a small functional light source once your overhead lighting dims for the evening.
For a mantel or shelf display, tuck a few real or faux pinecones and a strand of simple string lights around the base of the jars to fill out the display without overshadowing the jars themselves.
What to Do With Them After the Season
These hold up well enough to store and reuse year after year, but if you’d rather not store them, a few afterlife options are worth considering.
Repurpose them as everyday candle holders once the greenery comes off, the frosted texture works fine as a year-round look on its own.
They also make an easy, low-cost hostess or teacher gift if you make an extra batch specifically to give away rather than keep.
If you’re fully done with a jar, the Mod Podge coating can be soaked off in warm water over time, returning the jar to a plain glass state for a completely different future project.
Related Posts
- Creative 1-Hour Craft Ideas for Adults
- Air Dry Clay Candle Holder Tutorial
- DIY Ice Cream Candles
- How to Fix Sinkholes in Candles
Frequently Asked Questions
Can I use these with real candles safely? Yes, if you’ll be present while they’re lit and the jar itself stays cool to the touch on the outside, which it should with a standard tea light or votive. For anything left unattended, a battery-operated option is the safer choice.
How long does the snowy texture actually last? With proper drying and gentle handling, the coating holds up well for years of seasonal reuse, stored dry between uses.
Can I make these with colored jars instead of clear glass? Yes, though the frosted white texture shows up most dramatically against clear glass, where the light can shine through and highlight the contrast.
What’s the difference between using Epsom salt versus glitter for the texture? Epsom salt gives a more matte, true-to-snow look with visible granular texture, while glitter adds sparkle and shine. Both are valid choices depending on the look you’re going for.
Can kids help make these? The Mod Podge application and adding greenery are both fine for kids to help with. I’d handle the actual candle placement and lighting myself, regardless of which light source you choose.
Final Thoughts
These have become one of my favorite low-cost, high-impact Christmas projects, genuinely quick to make in bulk for a whole mantel display, and forgiving enough that even a first attempt looks intentional rather than messy.
If you make a set, I’d love to hear whether you went with salt or glitter for the texture, and what occasion you ended up using them for beyond the holidays.